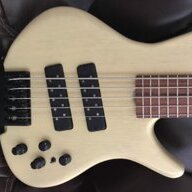
After recently receiving this Mike Lull M5V with single coils, I was convinced that I need to try single coils in one of my basses. I've been paranoid for years about noise, but I finally decided that the tonal improvements might be worth a little extra effort in the shielding department (and maybe still having to live with a little more noise than usual in some environments).
I already had a set of Nordstrand NJ5 single coils pickups in stock. Since they fit in my Lull and not King Koa, my Lull M5V got to be the guinea pig.
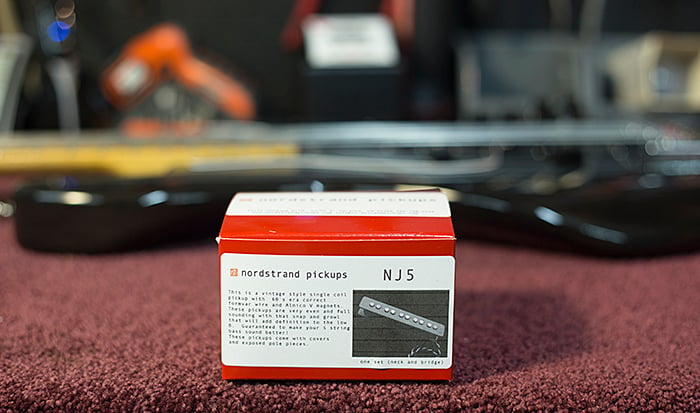
Here's tip #1: not all 5-string J pickups are the same size!! There are two fairly common variants: the NJ5's are the shorter variant, and the neck and bridge pickups are the same size. Mike Lull uses this size on most (all?) of his 5-string J & PJ basses. The other variant is usually called something with "Fender" in the name. These types (Nordstrand NJ5FS, for example) are longer, and the bridge pickup is even longer than the neck pickup.
Here's what the NJ5's looked like right out of the box. These are upside down, so you're looking at the bottoms of the pickups.
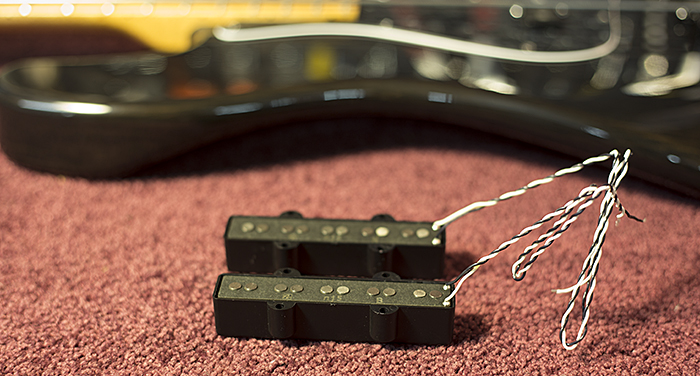
Notice anything strange? If you do enough pickup swapping with pole-based pickups, you get used to seeing the poles grounded/shielded together. These pickups don't come that way. It won't necessarily cause a problem, but if it does it would likely be that you get some crackling when your fingers touch the exposed pole pieces. It's easy enough to cure with some copper foil tape. I could have just taped over the pickups black ground to make the connection, but I don't trust the adhesive to stick forever. So I added a wire from the copper foil to the existing black wire on the pickup. CAUTION: heat can de-magnetize alnico magnets, so solder the wire to the tape BEFORE you stick the tape on.

The last thing I'll do to the pickups is add a wider strip of tape to shield the entire back of the pickup, and I'll add a wire than I can use later to connect all of this pickup shielding to the pickup cavity's shielding.

Tip #2 - the adhesive on the back of most copper foil is conductive. If you lay one piece of tape across another, they will be shorted together.
OK, that's all we have to do to the pickups, they're ready to be installed. But first, in the next post, I'll add some shielding to the pickup cavities.
I already had a set of Nordstrand NJ5 single coils pickups in stock. Since they fit in my Lull and not King Koa, my Lull M5V got to be the guinea pig.
Here's tip #1: not all 5-string J pickups are the same size!! There are two fairly common variants: the NJ5's are the shorter variant, and the neck and bridge pickups are the same size. Mike Lull uses this size on most (all?) of his 5-string J & PJ basses. The other variant is usually called something with "Fender" in the name. These types (Nordstrand NJ5FS, for example) are longer, and the bridge pickup is even longer than the neck pickup.
Here's what the NJ5's looked like right out of the box. These are upside down, so you're looking at the bottoms of the pickups.
Notice anything strange? If you do enough pickup swapping with pole-based pickups, you get used to seeing the poles grounded/shielded together. These pickups don't come that way. It won't necessarily cause a problem, but if it does it would likely be that you get some crackling when your fingers touch the exposed pole pieces. It's easy enough to cure with some copper foil tape. I could have just taped over the pickups black ground to make the connection, but I don't trust the adhesive to stick forever. So I added a wire from the copper foil to the existing black wire on the pickup. CAUTION: heat can de-magnetize alnico magnets, so solder the wire to the tape BEFORE you stick the tape on.
The last thing I'll do to the pickups is add a wider strip of tape to shield the entire back of the pickup, and I'll add a wire than I can use later to connect all of this pickup shielding to the pickup cavity's shielding.
Tip #2 - the adhesive on the back of most copper foil is conductive. If you lay one piece of tape across another, they will be shorted together.
OK, that's all we have to do to the pickups, they're ready to be installed. But first, in the next post, I'll add some shielding to the pickup cavities.