- Sep 5, 2011
- 774
- 130
- Disclosures
- Uncompensated endorsing user: fEARful
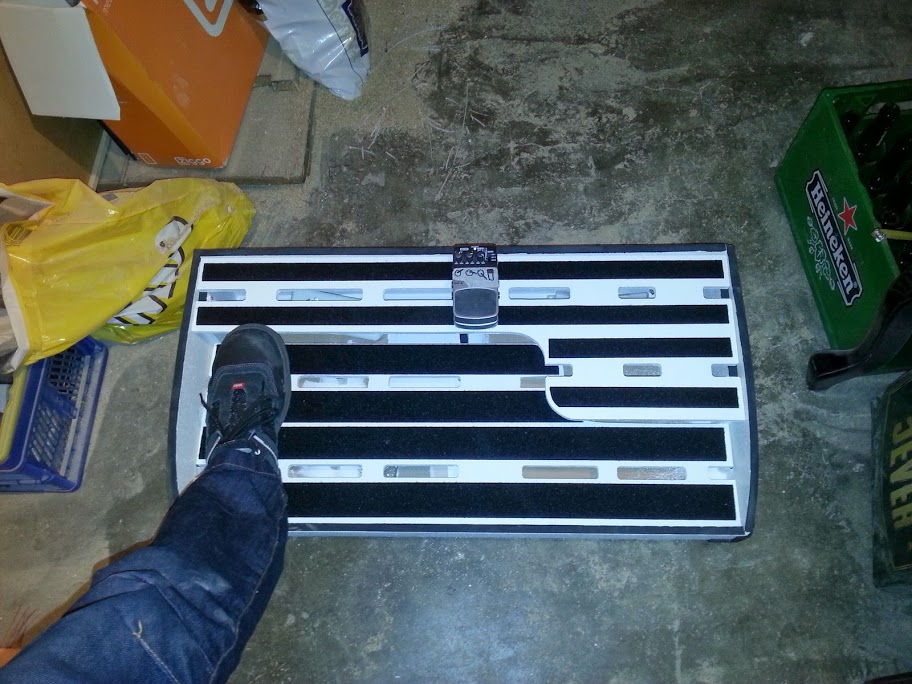
Since I built my fEARful cabs, the DIY virus has infected me with heavy impact. On the lookout for a new project I (literally) trapped on my current pedal-board, which looks like this:
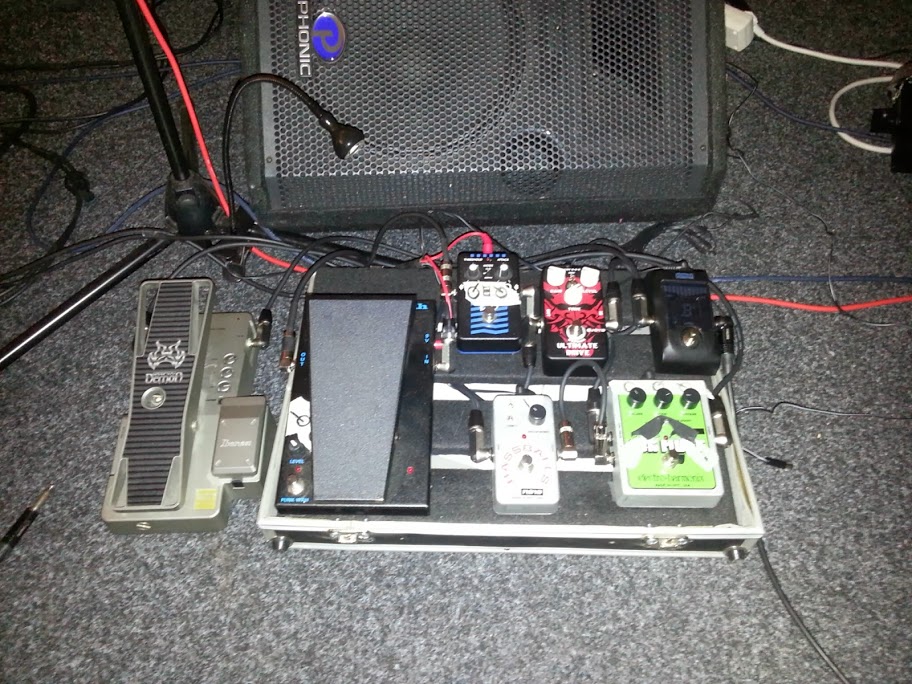
And that is not even all of the pedals I need, it is just a collection for the current set-list we compiled. So I was on the look-out for a new pedalboard. My major handicap is that I am left-handed and by this also left-footed, and that means that my pedalboard needs to be mirrored (wahwahs on the left, chain from left to right). I eventually found the Smith&Stange pedals boards which I found very inspirating but I wasn't amused to pay +500 euros for a pedalboard. In the end, it is just a bunch of fancy-sawn panels glued together. So I planned to do it myself, with the knowledge that it will look a bit less professional, might be less stable but will be much cheaper and absolutely and 100% designed for my very needs and requirements! And as the great philosopher ALF already said: If you want it to be done well, do it yourself!
So, here are the requirements:
- 2 layer design
- upper layer can swing open (up) to give access to room underneath
- Room underneath gives space for all power wiring and allows storage of wires from/to pedalboard
- Should be lightend in some way
- Must end up as a kind of case, must be light and easily moveable (road-ready)
- future-proof - means that I do not have all the pedals yet but do know which I want to add. Leave room for 2 more
- Maybe (I am not sure about that yet) add wheels to one side and a handle to the other
- Costs < 100€
OK?
Here we go:
Preperation
At first, I made paper dummies of all pedals I have and/or intent to have in the near future. With that in hands, I experimented with room/space:
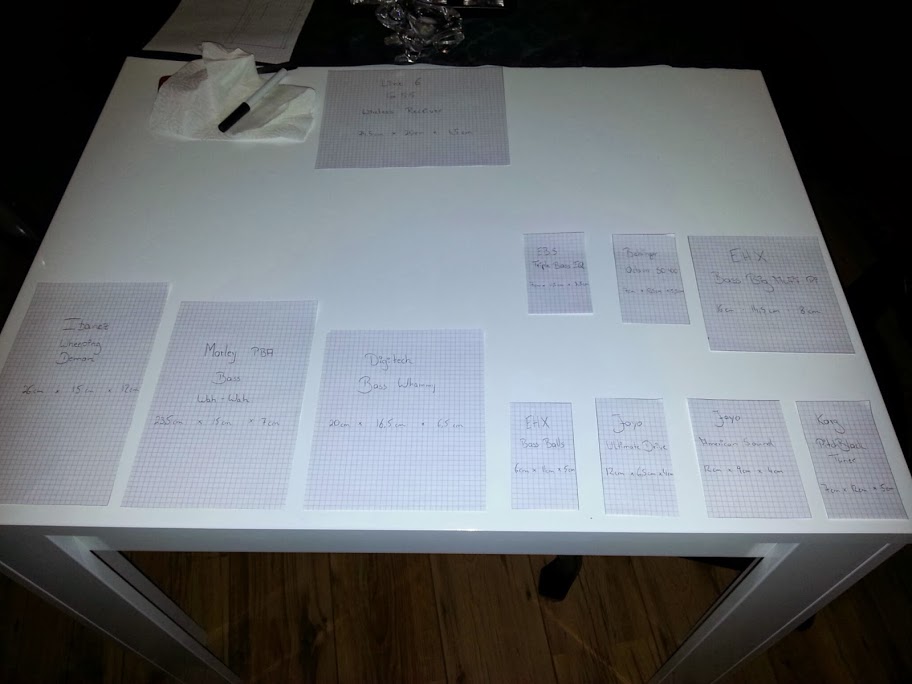
Afterwards I used the pedals I already have for a more realistic test. As you can see it was my intention to have my G55 receiver in sight but in some way hidden.
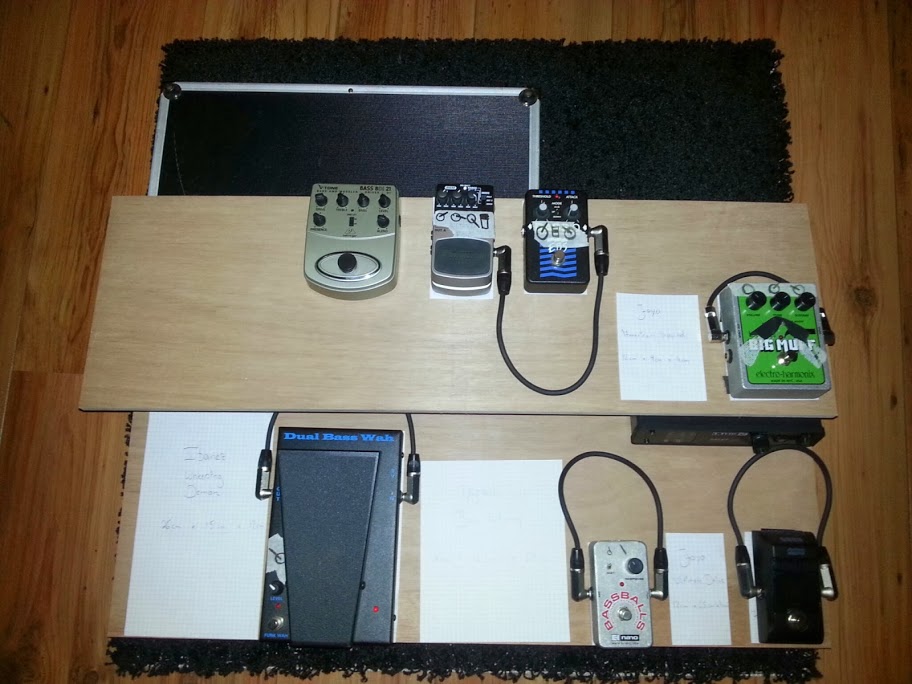
I eventually went with a width of 80cm, depth of 40cm and hights of 25cm
Sawdust, glue and paint
OK, time to make some sawdust! I live in an appartement and have no room for big machines, so I had the saw-guy at the DIY store have horrible time cutting the panels. But he did a fine job after all:
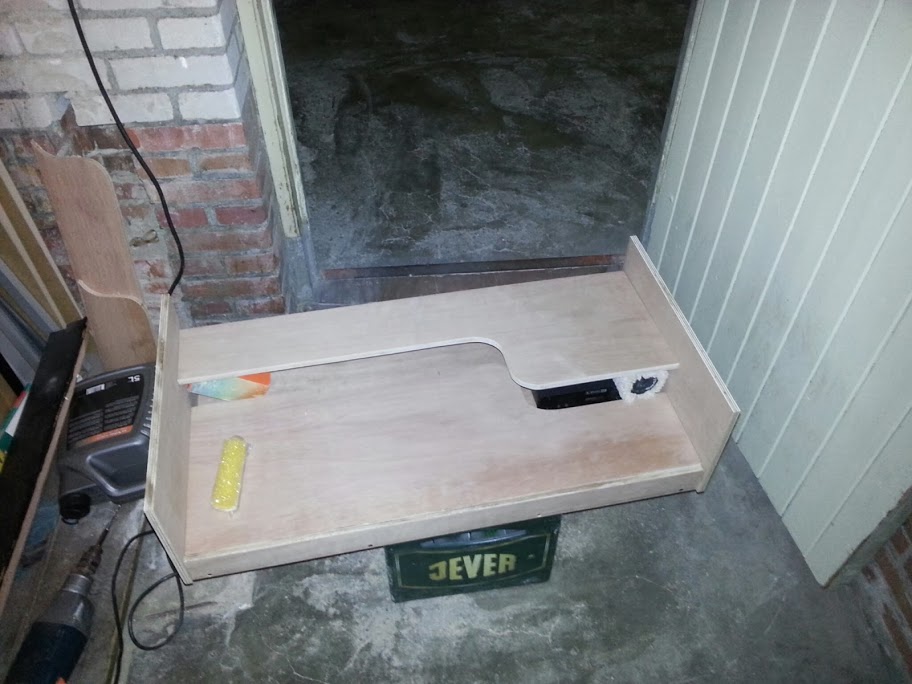
A bit of assemblage already:
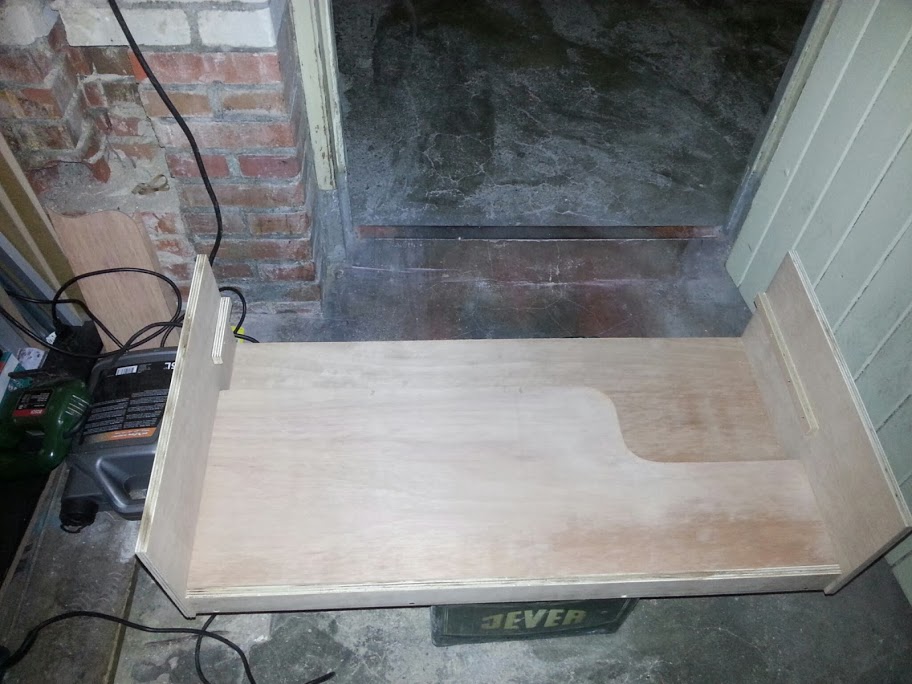
New check with pedals:
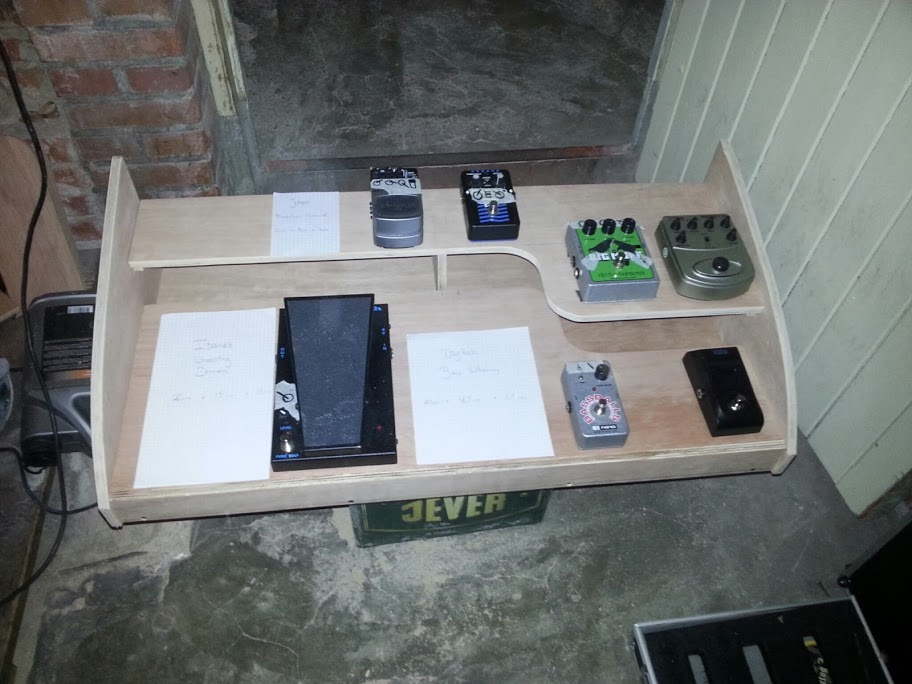
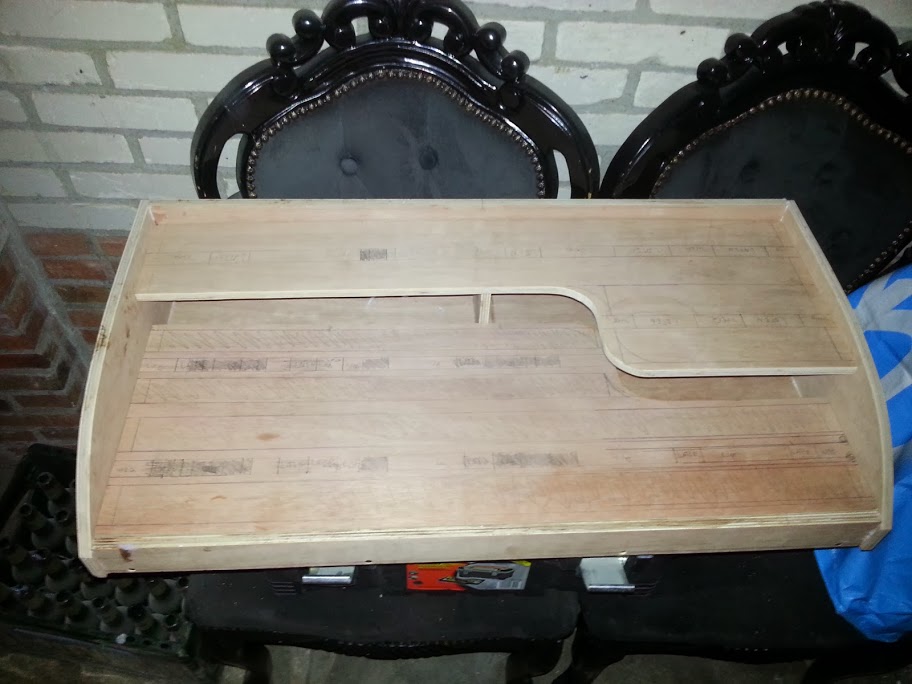
Adjusting the side panels and calculate the wire channels:
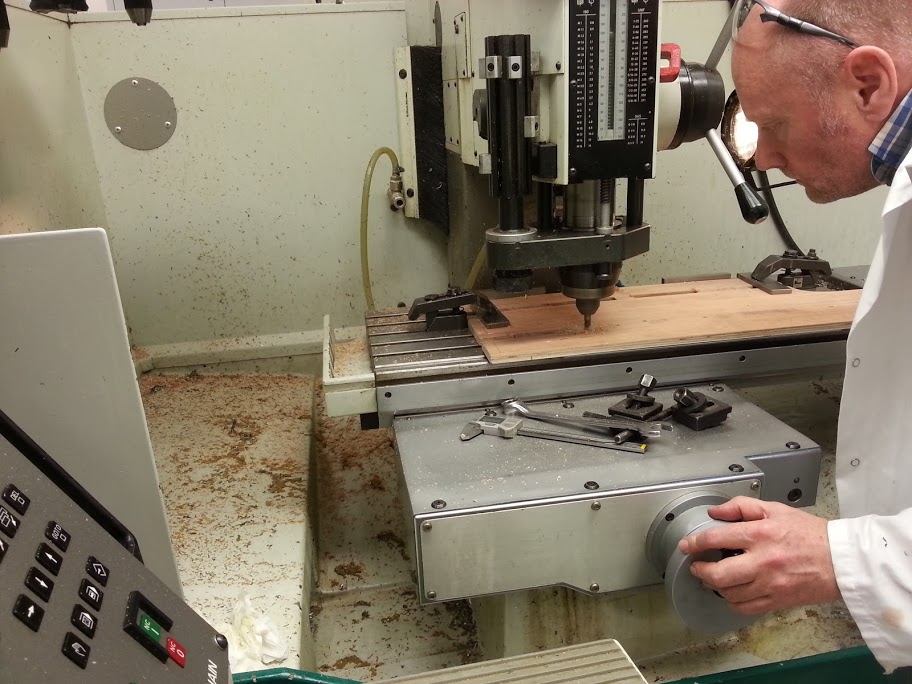
A colleague at work helps me with a CNC cutter with the wire channels in the panels. They are now routed with 0,1mm precision (a bit overkill ;-)):
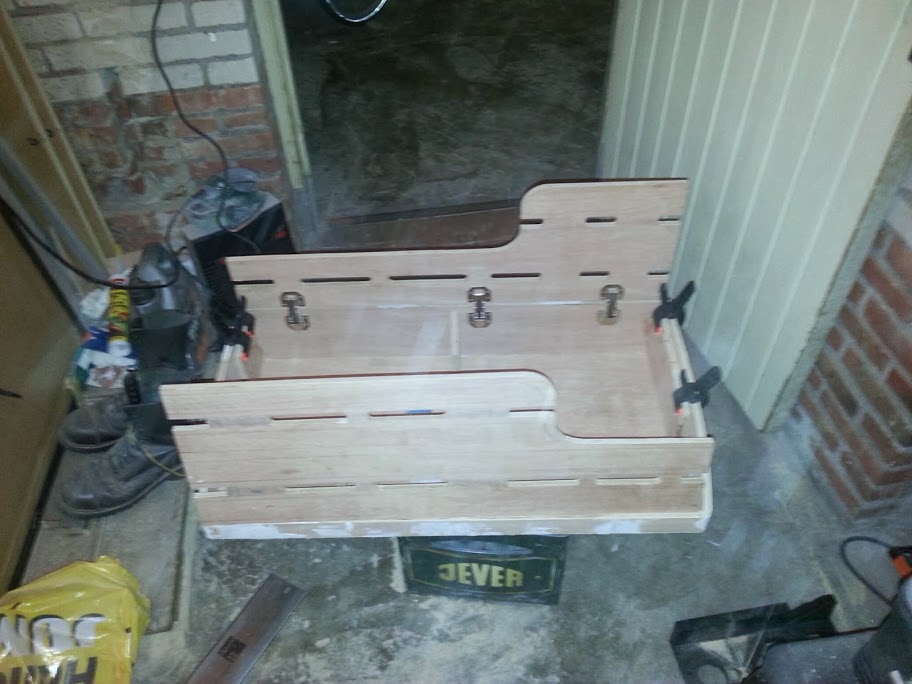
Both layer installed with hinges:
Time for some Duratex - I went with a white finish and black hardware:
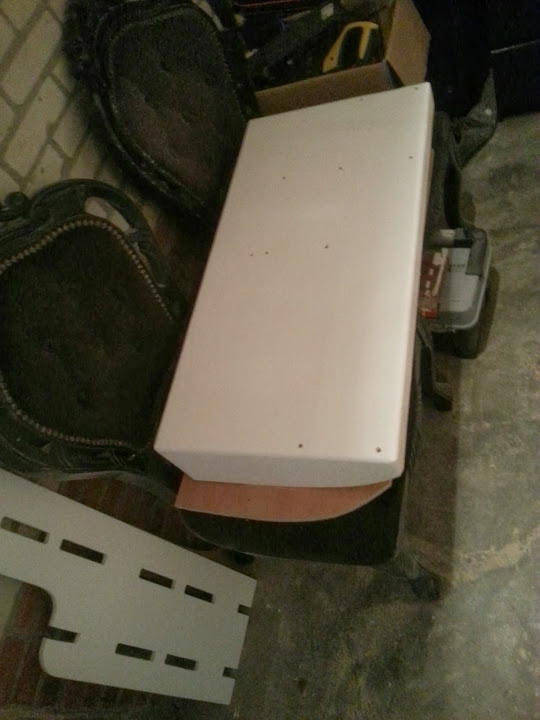
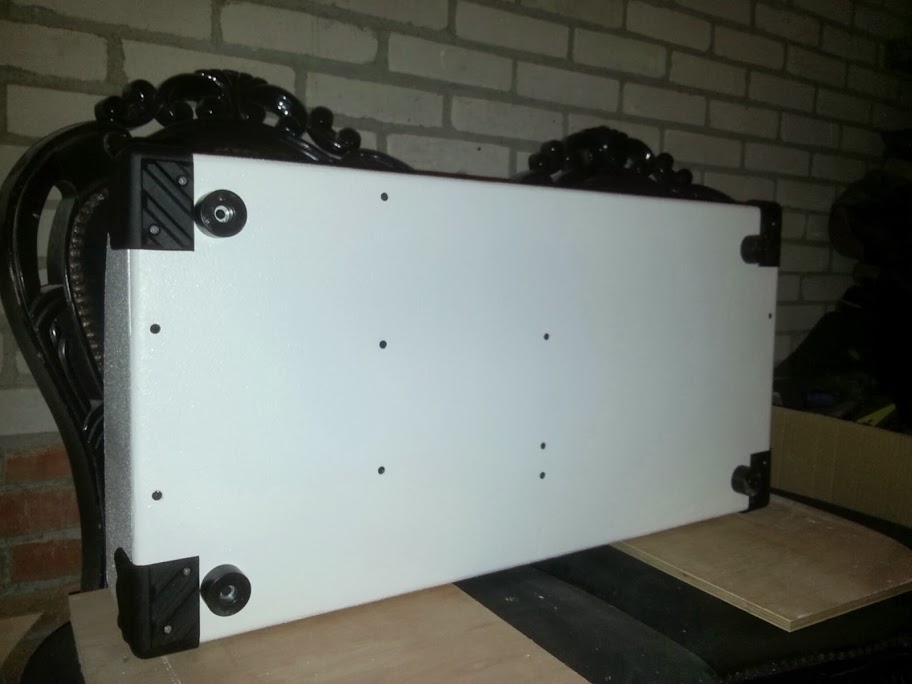
That whole things gets a lid, too:
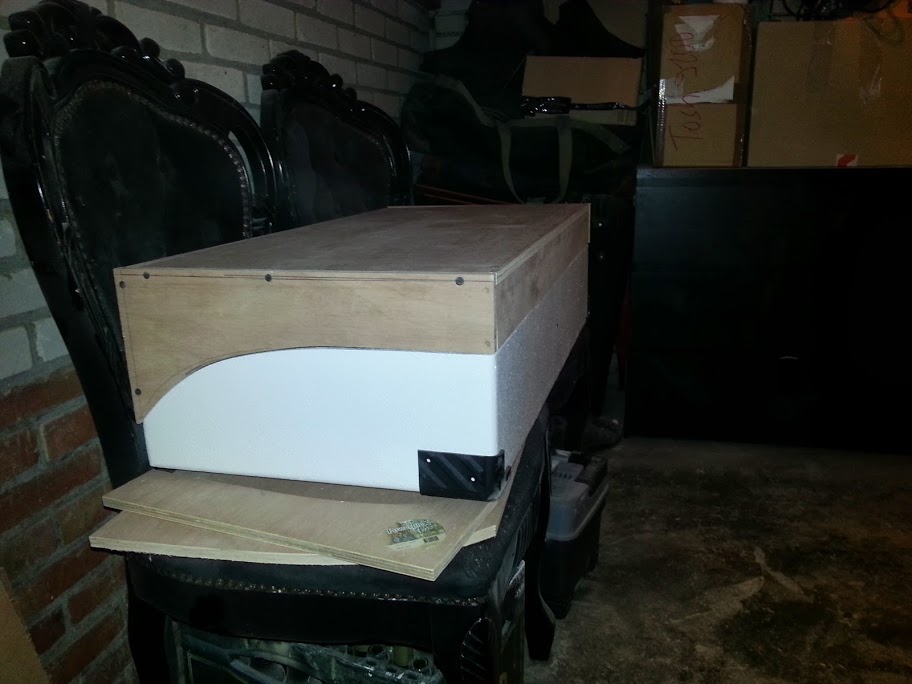
stability test:
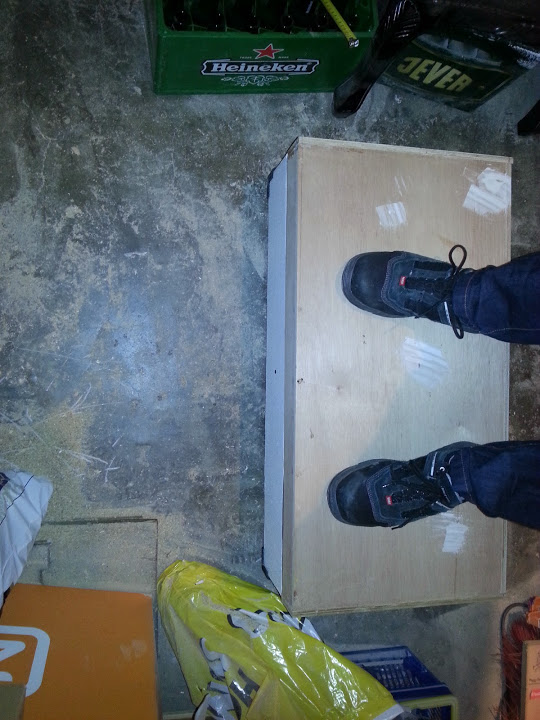
The lid is paint, too!
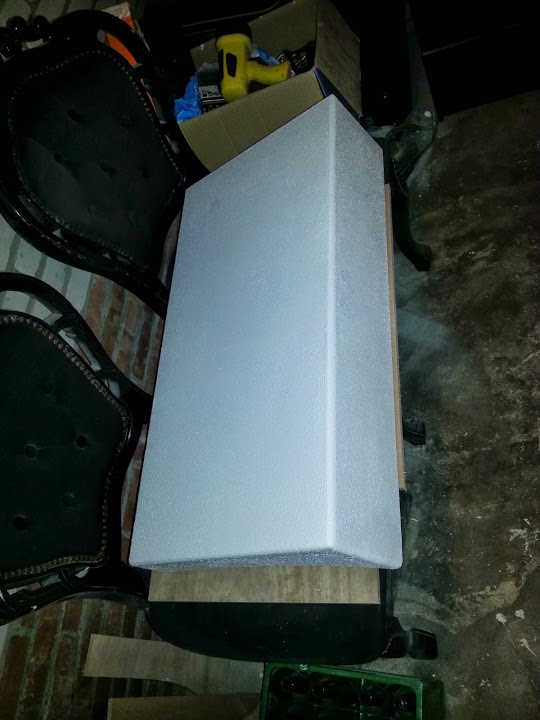
Finishes and details
Size-comparison:
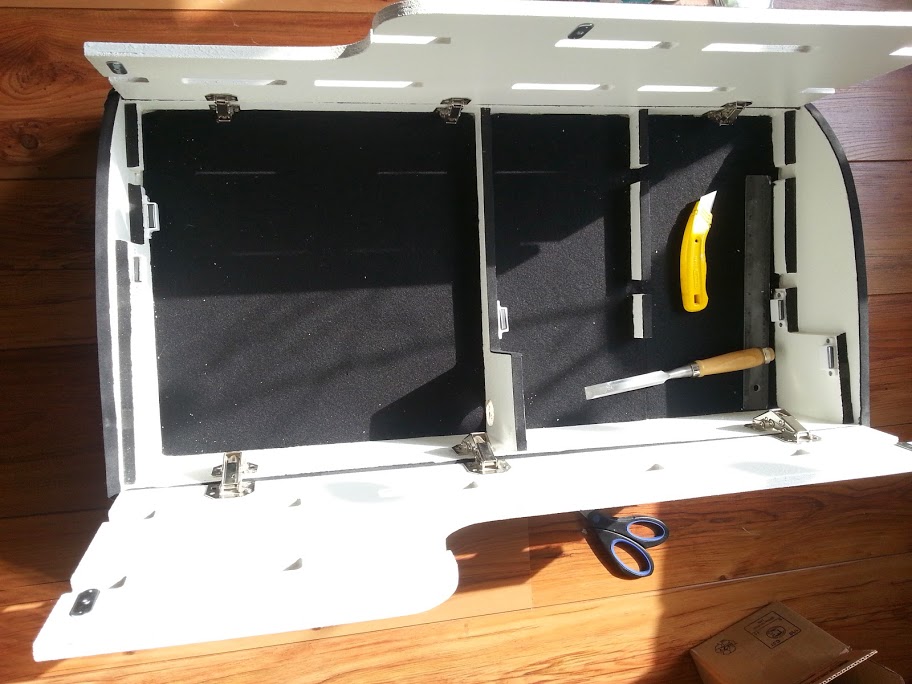
felt inlay:
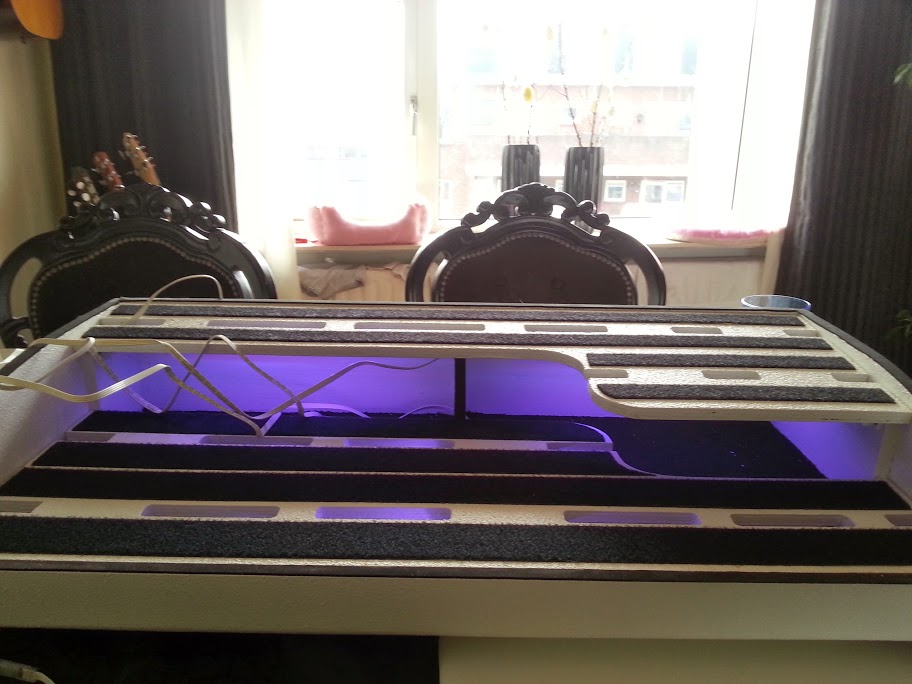
Raising the NERD factor - RGB lights:
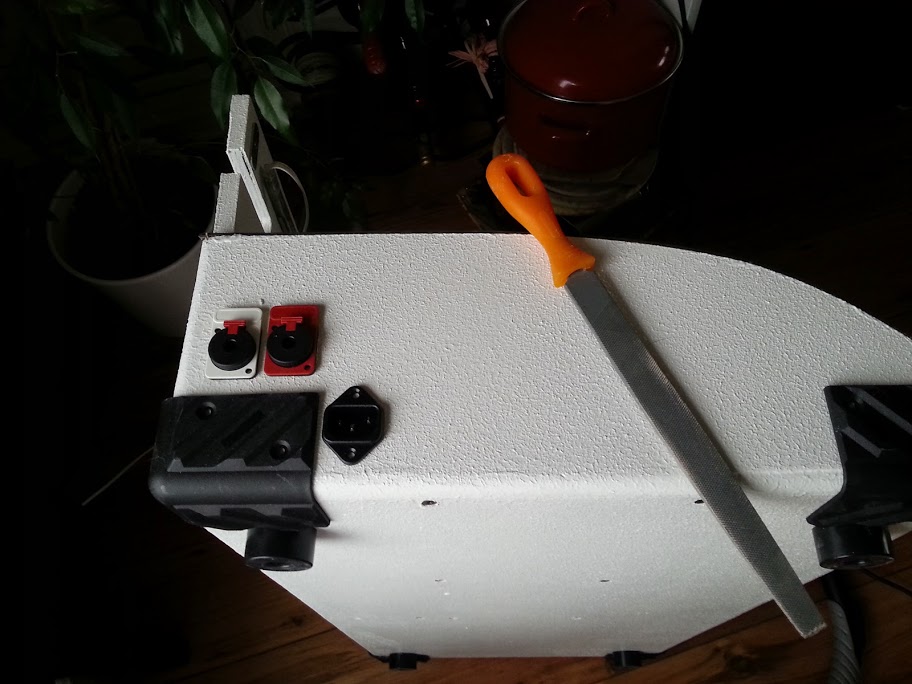
Connectivity to the outside world! One power connector and two jacks.
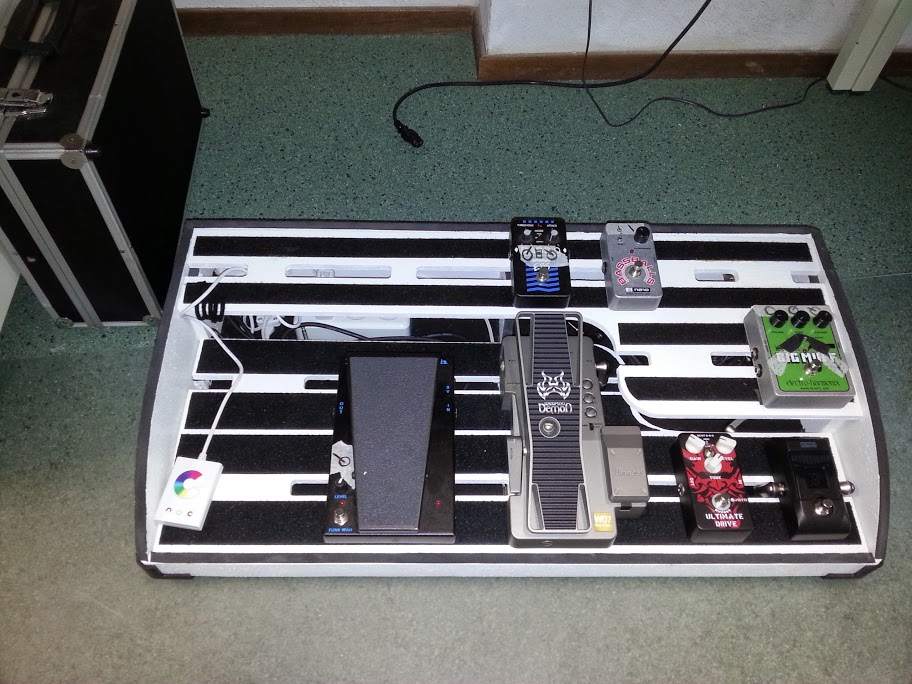
And finally, the status of this very morning!!!
-------------------------------------------------------
I have to admit that this board is huge! Since we do not gig massively (2 shows per month) I don't care as much, but with a tour I guess this thing can become a burdon.
All went well but took a lot of time - especially since I have no pro machines nor the propper space for that kind of work (all happened in the basement).
Regarding the costs: I went with 12mm PowerPlex panels which were 50 euros in total (incl cutting). Velcro strips 10 euros, bunch of hardware and paint another 40 euros. So, the 100 euros were a good target. I have to admit that I fancy those RGB LEDs which came in at 30 euros from IKEA, so I eventually paid 30 euros more than intended.
Things left to do:
- the lid must be equipped with hardware (corners, feet, locks)
- Lid-inside will get felt inlay
- Install handles
Thanks for watching
All pictures of this build can be seen in my web album:
[Invalid or Expired Link Removed]
And that is not even all of the pedals I need, it is just a collection for the current set-list we compiled. So I was on the look-out for a new pedalboard. My major handicap is that I am left-handed and by this also left-footed, and that means that my pedalboard needs to be mirrored (wahwahs on the left, chain from left to right). I eventually found the Smith&Stange pedals boards which I found very inspirating but I wasn't amused to pay +500 euros for a pedalboard. In the end, it is just a bunch of fancy-sawn panels glued together. So I planned to do it myself, with the knowledge that it will look a bit less professional, might be less stable but will be much cheaper and absolutely and 100% designed for my very needs and requirements! And as the great philosopher ALF already said: If you want it to be done well, do it yourself!
So, here are the requirements:
- 2 layer design
- upper layer can swing open (up) to give access to room underneath
- Room underneath gives space for all power wiring and allows storage of wires from/to pedalboard
- Should be lightend in some way
- Must end up as a kind of case, must be light and easily moveable (road-ready)
- future-proof - means that I do not have all the pedals yet but do know which I want to add. Leave room for 2 more
- Maybe (I am not sure about that yet) add wheels to one side and a handle to the other
- Costs < 100€
OK?
Here we go:
Preperation
At first, I made paper dummies of all pedals I have and/or intent to have in the near future. With that in hands, I experimented with room/space:
Afterwards I used the pedals I already have for a more realistic test. As you can see it was my intention to have my G55 receiver in sight but in some way hidden.
I eventually went with a width of 80cm, depth of 40cm and hights of 25cm
Sawdust, glue and paint
OK, time to make some sawdust! I live in an appartement and have no room for big machines, so I had the saw-guy at the DIY store have horrible time cutting the panels. But he did a fine job after all:
A bit of assemblage already:
New check with pedals:
Adjusting the side panels and calculate the wire channels:
A colleague at work helps me with a CNC cutter with the wire channels in the panels. They are now routed with 0,1mm precision (a bit overkill ;-)):
Both layer installed with hinges:
Time for some Duratex - I went with a white finish and black hardware:
That whole things gets a lid, too:
stability test:
The lid is paint, too!
Finishes and details
Size-comparison:
felt inlay:
Raising the NERD factor - RGB lights:
Connectivity to the outside world! One power connector and two jacks.
And finally, the status of this very morning!!!
-------------------------------------------------------
I have to admit that this board is huge! Since we do not gig massively (2 shows per month) I don't care as much, but with a tour I guess this thing can become a burdon.
All went well but took a lot of time - especially since I have no pro machines nor the propper space for that kind of work (all happened in the basement).
Regarding the costs: I went with 12mm PowerPlex panels which were 50 euros in total (incl cutting). Velcro strips 10 euros, bunch of hardware and paint another 40 euros. So, the 100 euros were a good target. I have to admit that I fancy those RGB LEDs which came in at 30 euros from IKEA, so I eventually paid 30 euros more than intended.
Things left to do:
- the lid must be equipped with hardware (corners, feet, locks)
- Lid-inside will get felt inlay
- Install handles
Thanks for watching
All pictures of this build can be seen in my web album:
[Invalid or Expired Link Removed]