

I want to explore the world of refinishing and finally settled on a Peavey as a good subject for my efforts.
The Fury has a good rep on TB as a solid USA built precision bass and I wanted a bass that would be a keeper after I finished it.
I located one in a local pawnshop. They were asking $100, but I talked them down to $75. I wasn't sure I was making a good purchase. The neck had a LOT of dents, the body had a few chips in it, the neck would have easily substituted for a recurve bow. The saddles were topped out and were in straight line as though the bass had never been intonated.
I had read that a lot of the Fury's had had the neck screwed up by people setting the microtilt incorrectly, so there were issues with the bass that had me worried.
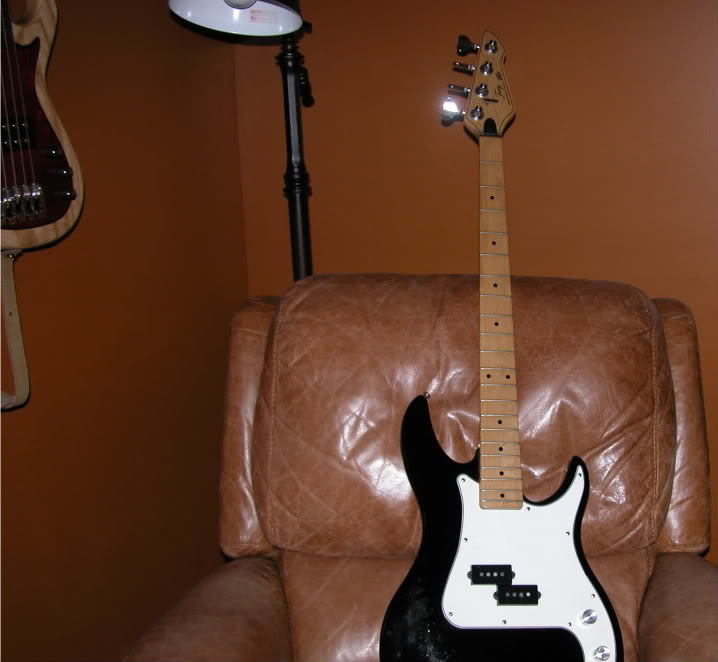
On the other hand, all the hardware was present and worked well. The headstock decals were complete and the electronics worked well. I'm not a fan of black basses, so a refinish would work for me.
Seemed like a good risk.
After I got it home I spent some time annoying the guys in the repair and setup forum, but they really came through for me. At first the bass had a lot of fret buzz when fretted at the 12th and above. Following the advice of the forum I glued down a few fret ends and then had a local tech level a few others for me.
I had borrowed a Peavey truss rod tool from the shop and confirmed that the truss rod worked beautifully. I suspect it had never been adjusted in 21 years. It was totally loose and worked very smoothly.
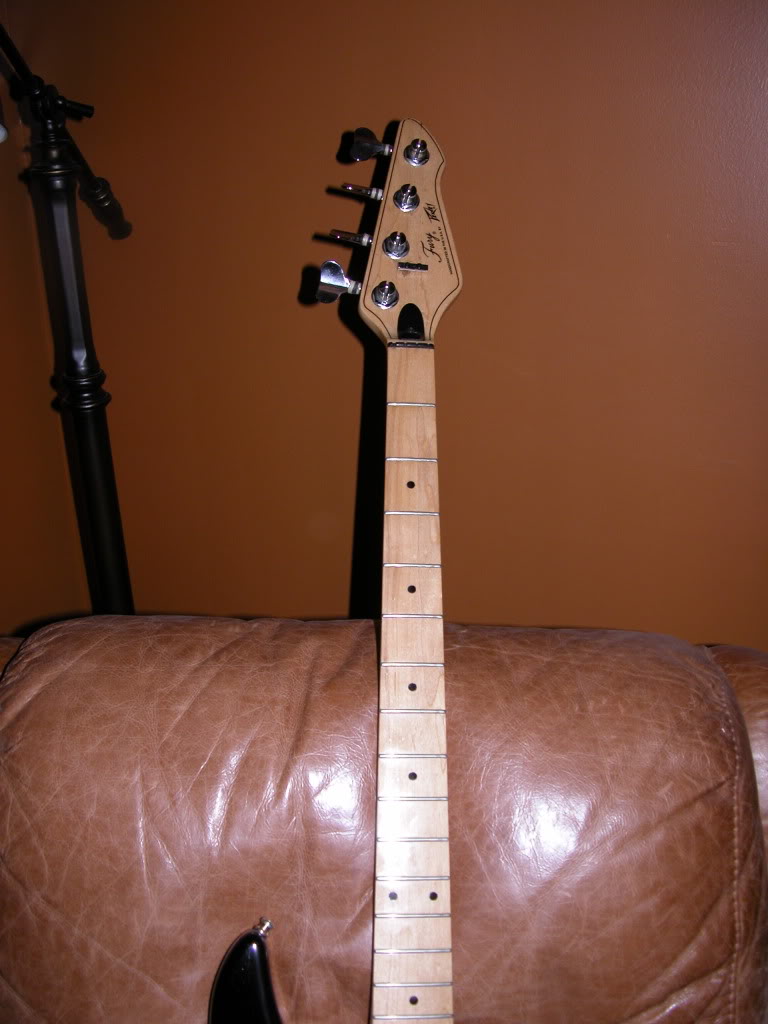
After I got that done (I put on Dean Markley Stainless Steels) and got it setup with a really low action, I decided that the bass really is a keeper. I have three other basses, all more expensive, and I find myself picking this one up first.
I've been playing it for a week with all the dents in the neck and I really like the neck. Thin and fast...I finally get what that means.
Last night, unable to sleep after the excitement of the Men's Long Form Skating Competition in Vancouver , I decided to start on the neck.
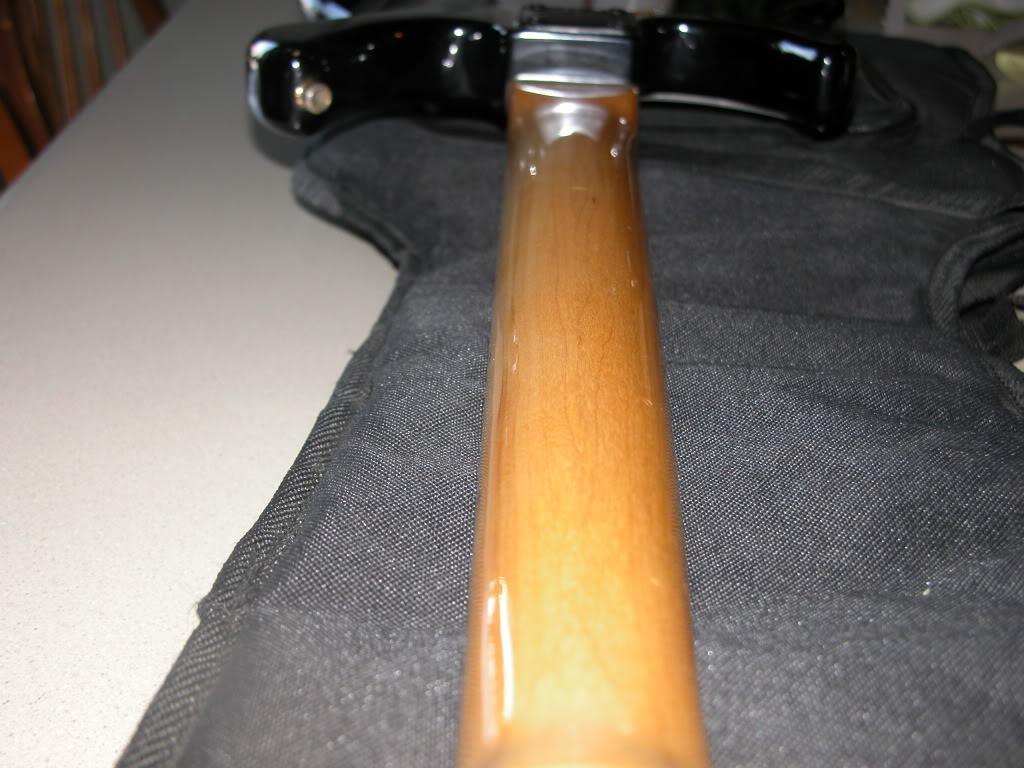 Before I started work on the neck.
I drop filled the dents with Deft lacquer and let it dry. I wet sanded and then did second round of drop filling. I wet sanded again this a.m. before work. The neck is as close to perfect as I am likely to get it, so I'll add a coat of gloss Deft lacquer to the back of the neck tomorrow.
Here's where we hit the slow part. I want to play the bass at practice in the a.m. and then play it on Sunday. I'm just planning to wait to tear it apart until late in the day on Sunday.
The plan will be to do a tear down and strip the black paint. Bought a heat gun some months ago when I first started dreaming of doing this.
I'm leaning toward some form of orange finish, but more of a burnt orange. Perhaps metallic.
I haven't taken any photos of the neck after sanding. Hard to see much difference. I'll take more as I move through the process, perhaps add some videos too.
The project will take awhile. I teach video production and we are switching from one editing system to another right in the middle of the semester. I'll be a bit preoccupied. Will post when I can.
The Fury has a good rep on TB as a solid USA built precision bass and I wanted a bass that would be a keeper after I finished it.
I located one in a local pawnshop. They were asking $100, but I talked them down to $75. I wasn't sure I was making a good purchase. The neck had a LOT of dents, the body had a few chips in it, the neck would have easily substituted for a recurve bow. The saddles were topped out and were in straight line as though the bass had never been intonated.
I had read that a lot of the Fury's had had the neck screwed up by people setting the microtilt incorrectly, so there were issues with the bass that had me worried.
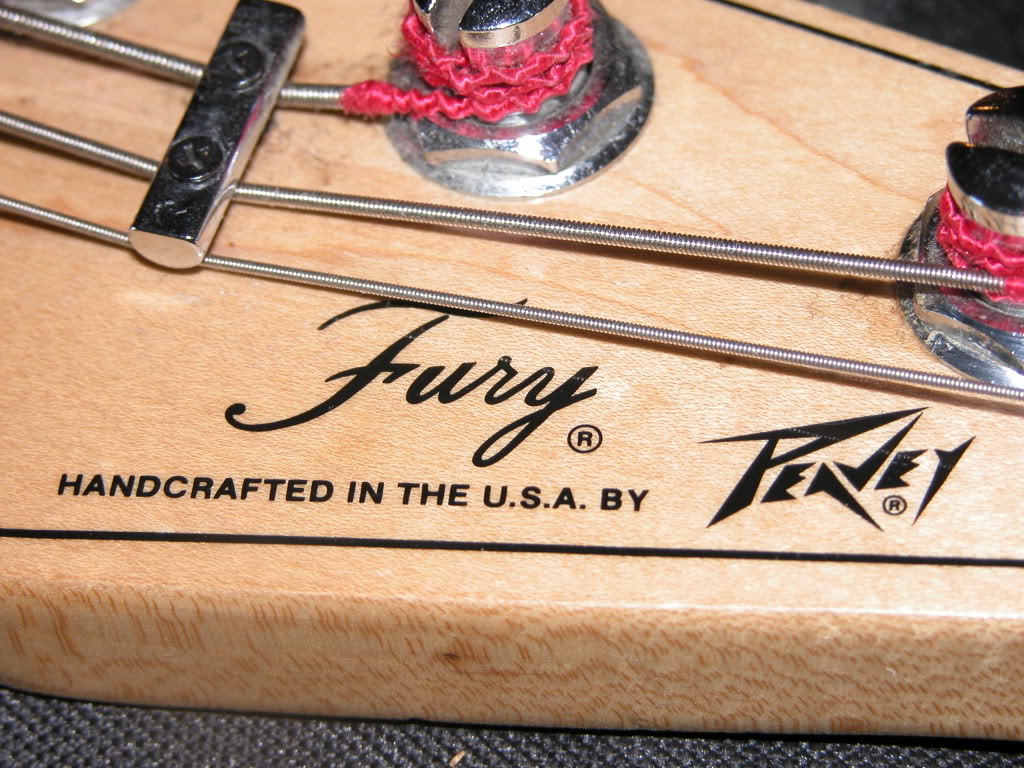
On the other hand, all the hardware was present and worked well. The headstock decals were complete and the electronics worked well. I'm not a fan of black basses, so a refinish would work for me.
Seemed like a good risk.
After I got it home I spent some time annoying the guys in the repair and setup forum, but they really came through for me. At first the bass had a lot of fret buzz when fretted at the 12th and above. Following the advice of the forum I glued down a few fret ends and then had a local tech level a few others for me.
I had borrowed a Peavey truss rod tool from the shop and confirmed that the truss rod worked beautifully. I suspect it had never been adjusted in 21 years. It was totally loose and worked very smoothly.
After I got that done (I put on Dean Markley Stainless Steels) and got it setup with a really low action, I decided that the bass really is a keeper. I have three other basses, all more expensive, and I find myself picking this one up first.
I've been playing it for a week with all the dents in the neck and I really like the neck. Thin and fast...I finally get what that means.
Last night, unable to sleep after the excitement of the Men's Long Form Skating Competition in Vancouver
, I decided to start on the neck. I drop filled the dents with Deft lacquer and let it dry. I wet sanded and then did second round of drop filling. I wet sanded again this a.m. before work. The neck is as close to perfect as I am likely to get it, so I'll add a coat of gloss Deft lacquer to the back of the neck tomorrow.
Here's where we hit the slow part. I want to play the bass at practice in the a.m. and then play it on Sunday. I'm just planning to wait to tear it apart until late in the day on Sunday.
The plan will be to do a tear down and strip the black paint. Bought a heat gun some months ago when I first started dreaming of doing this.
I'm leaning toward some form of orange finish, but more of a burnt orange. Perhaps metallic.
I haven't taken any photos of the neck after sanding. Hard to see much difference. I'll take more as I move through the process, perhaps add some videos too.
The project will take awhile. I teach video production and we are switching from one editing system to another right in the middle of the semester. I'll be a bit preoccupied. Will post when I can.





