- Aug 24, 2010
- 440
- 1,082
- Disclosures
- Builder/Owner:Drake Custom Bass Guitars
Hello all, I have been working on a customer build for a few weeks and I thought I would share the build with the LC.
This bass is a 5 string 33 inch scale with 24 frets (25 with zero fret) on the Ebony fret board. For the body the top, back, and peg head veneers are going to be Walnut and the core and neck will be 5 A grade curly Maple.
This bass will get EMG 40P and 40J pickups and will have a piezo loaded Hipshot bridge. She will be string through the body and will have glow in the dark side position markers only.
As you can see, this bass is in progress but I will go back to the the starting point so you all can see how she got this far.
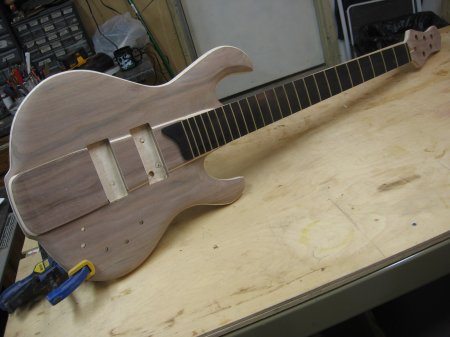
In this photo you can see that I have made the body and neck, slotted and fretted the fret board, cut the neck pocket and completed the pickup routing. Still a lot to go.
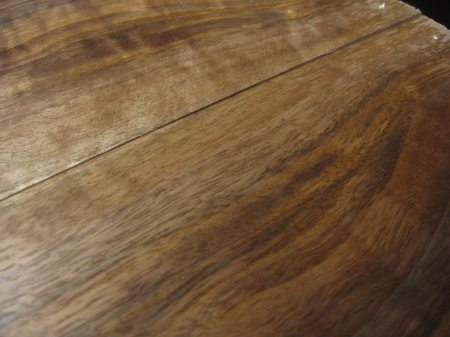
Here is some of the Walnut I will be using. I have wiped some naphtha on to show off the color of this wood. The Walnut does have some figure but it is very slight. What I love about this wood is the colors and the fact that it is from very large Walnut trees harvested near my shop.
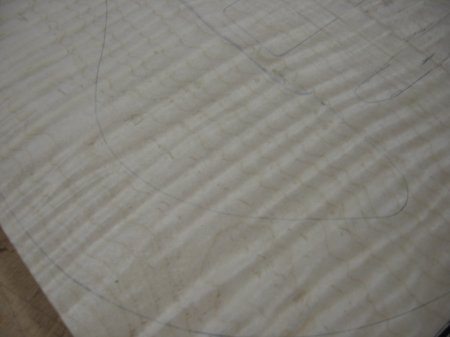
This curly Maple has been around my shop for some time. I have been waiting to use it on a special project and when this order came in I was pleased that I would be able to use it.
For the body...after working the top and back woods to the correct thickness I need to layout the body. Since this is what I call a laminated stack type construction, I first trace the shape of the body (using a template) onto the face of each of the layers starting with the back. I trace my shape onto the face of the back and then pencil some index lines so that I can see from the side showing me where the end of the body and the edge of the neck heel area are. The goal is to have all of the tracings line up on each level of the stack. I then place the pieces of the core wood on top of the two pieces of the back. I line up the template with the lines I can see from the side. I did show this process in more detail on my last 5 string LC post if you wish to see this better. Note that I do not glue the two halves together until I have the two sides completed. That will be done later.
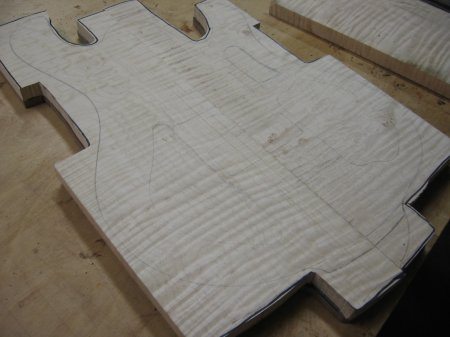
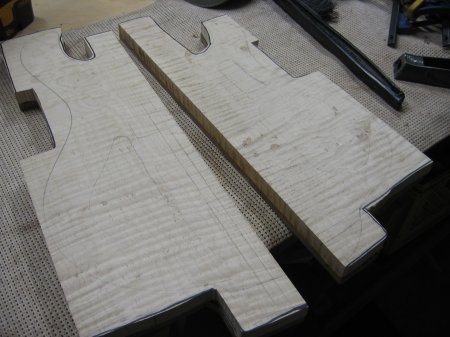
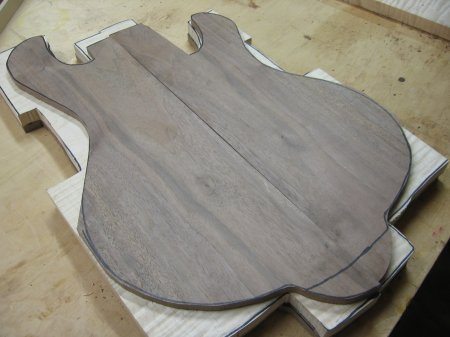
I do this same thing to the top pieces until I have all of the layers marked with the basic shape.
I then cut the basic shape out on the top only. I leave the core and back somewhat blocky so I can glue the two completed sides together easier. This gives my pipe clamps some flat surfaces to work with. This may look ugly now but the end result is what is important.
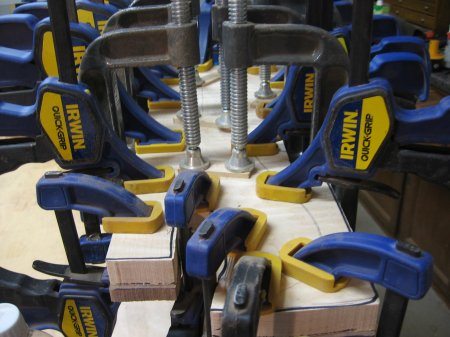
I glue the backs onto the core pieces. I used my toothpick method to help line up the two layers so that they do not slide out of line when going into the clamps. This method has been depicted in all of my builds so far. Don't want to bore anyone by repeating too much.
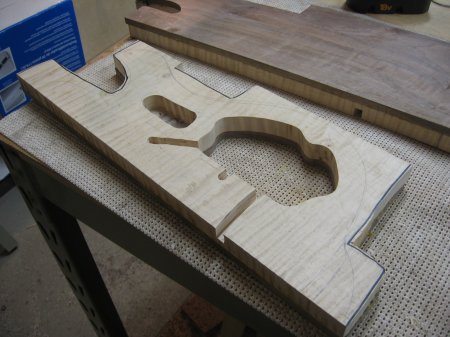
After the glue is dry I route out the chambers in the core. I do this on the bass side as well. This removes weight and gives the bass a nice warm tone. More acoustic properties. I went ahead and routed some channels for the piezo and pickup wiring. Easier to do now than later.
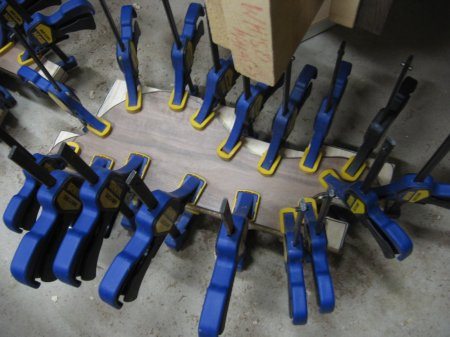
Then I glue the top pieces on. After the glue has dried, I will glue the two halves together with pipe clamps.
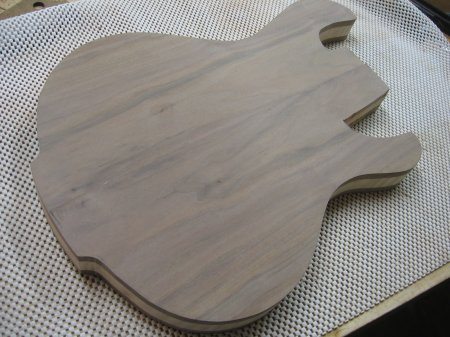
Here is the body after the glue dried and I cut out the shape. I leave some meat around the neck pocket so that I have some area to stick my template to.
Thanks for looking at my build.
This bass is a 5 string 33 inch scale with 24 frets (25 with zero fret) on the Ebony fret board. For the body the top, back, and peg head veneers are going to be Walnut and the core and neck will be 5 A grade curly Maple.
This bass will get EMG 40P and 40J pickups and will have a piezo loaded Hipshot bridge. She will be string through the body and will have glow in the dark side position markers only.
As you can see, this bass is in progress but I will go back to the the starting point so you all can see how she got this far.
In this photo you can see that I have made the body and neck, slotted and fretted the fret board, cut the neck pocket and completed the pickup routing. Still a lot to go.
Here is some of the Walnut I will be using. I have wiped some naphtha on to show off the color of this wood. The Walnut does have some figure but it is very slight. What I love about this wood is the colors and the fact that it is from very large Walnut trees harvested near my shop.
This curly Maple has been around my shop for some time. I have been waiting to use it on a special project and when this order came in I was pleased that I would be able to use it.
For the body...after working the top and back woods to the correct thickness I need to layout the body. Since this is what I call a laminated stack type construction, I first trace the shape of the body (using a template) onto the face of each of the layers starting with the back. I trace my shape onto the face of the back and then pencil some index lines so that I can see from the side showing me where the end of the body and the edge of the neck heel area are. The goal is to have all of the tracings line up on each level of the stack. I then place the pieces of the core wood on top of the two pieces of the back. I line up the template with the lines I can see from the side. I did show this process in more detail on my last 5 string LC post if you wish to see this better. Note that I do not glue the two halves together until I have the two sides completed. That will be done later.
I do this same thing to the top pieces until I have all of the layers marked with the basic shape.
I then cut the basic shape out on the top only. I leave the core and back somewhat blocky so I can glue the two completed sides together easier. This gives my pipe clamps some flat surfaces to work with. This may look ugly now but the end result is what is important.
I glue the backs onto the core pieces. I used my toothpick method to help line up the two layers so that they do not slide out of line when going into the clamps. This method has been depicted in all of my builds so far. Don't want to bore anyone by repeating too much.
After the glue is dry I route out the chambers in the core. I do this on the bass side as well. This removes weight and gives the bass a nice warm tone. More acoustic properties. I went ahead and routed some channels for the piezo and pickup wiring. Easier to do now than later.
Then I glue the top pieces on. After the glue has dried, I will glue the two halves together with pipe clamps.
Here is the body after the glue dried and I cut out the shape. I leave some meat around the neck pocket so that I have some area to stick my template to.
Thanks for looking at my build.