• TalkBass has been independent since 1998. Add your voice.
    Create a free account to reply to discussions, view embedded media, and browse with fewer display ads.
    Join freeLog in
    Want zero display ads or expanded classifieds tools? Compare plans.

3/4 Precision

Hello my good LC peoples!

Spring is back and has brought along motivation to start something new. This build is inspired by gifts. First, I got a P-bass pickup from @moonshinegtrs a few years back during his generous santashine giveaway (haven't heard from him in a while, apparently on "vacation" from TB). Second, I got some lumber from a friend whose father passed recently (so this will be in part a tribute to a man I never met).

The plan: a 3/4 P-bass (25.5" scale, in essence a capo on the fifth fret of 34" scale)
The wood: mahogany (I believe, not sure what kind... let me know what you think!)

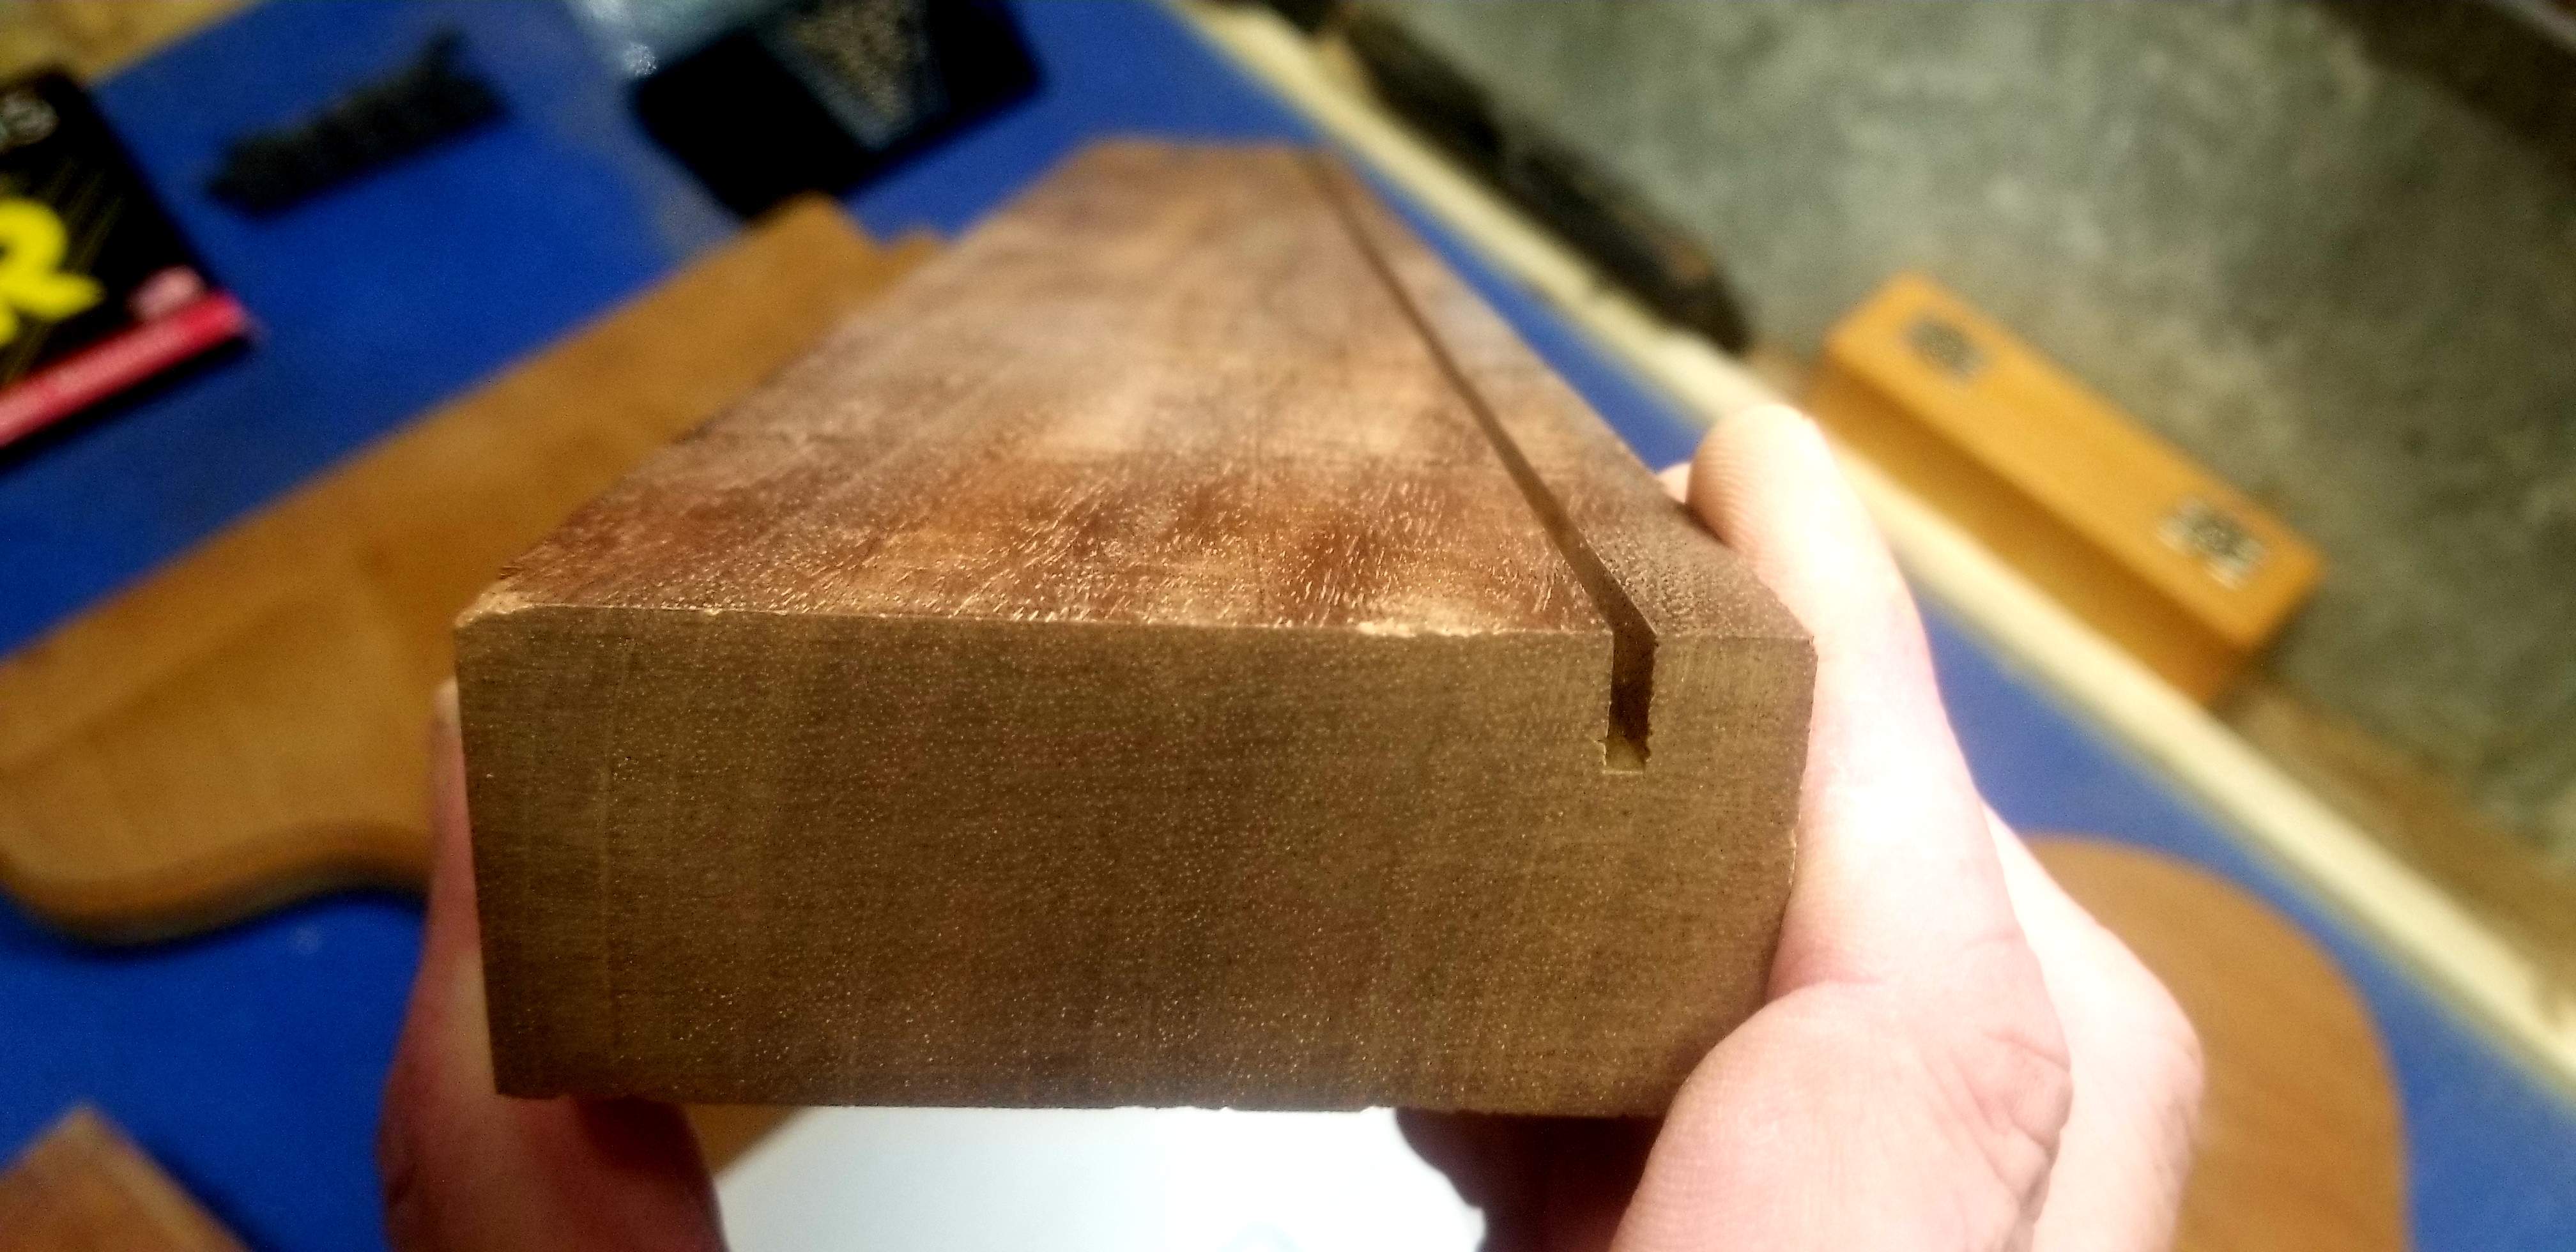
Here's the piece for the neck
20210403_111132.jpg

just about quarter sawn

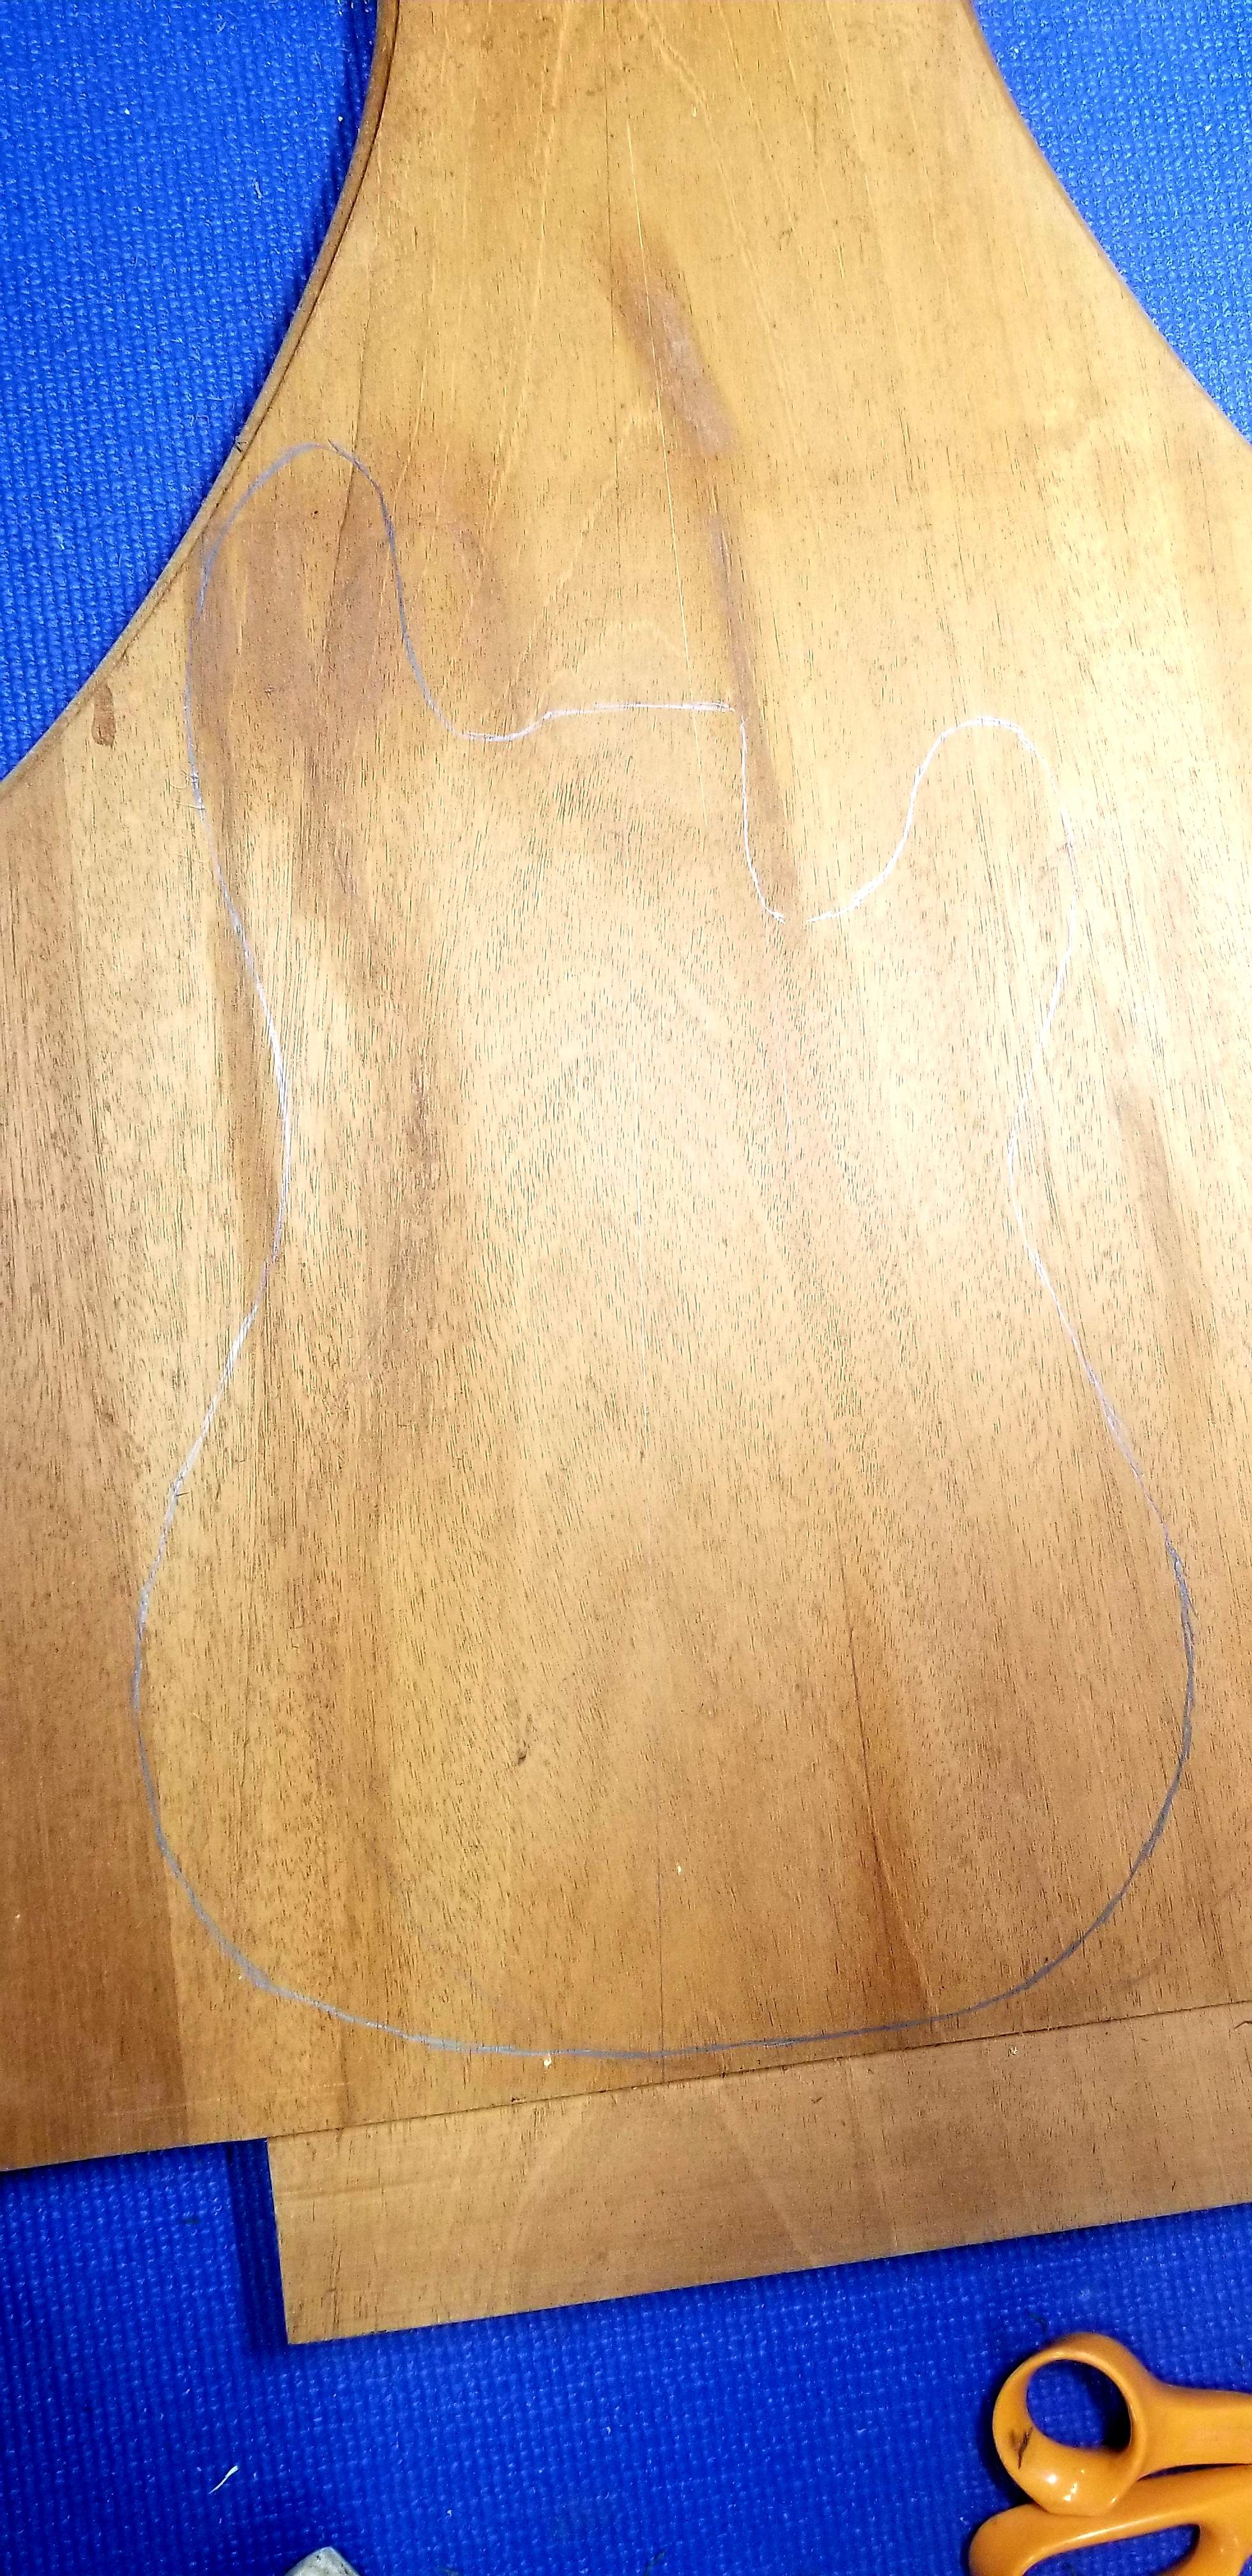
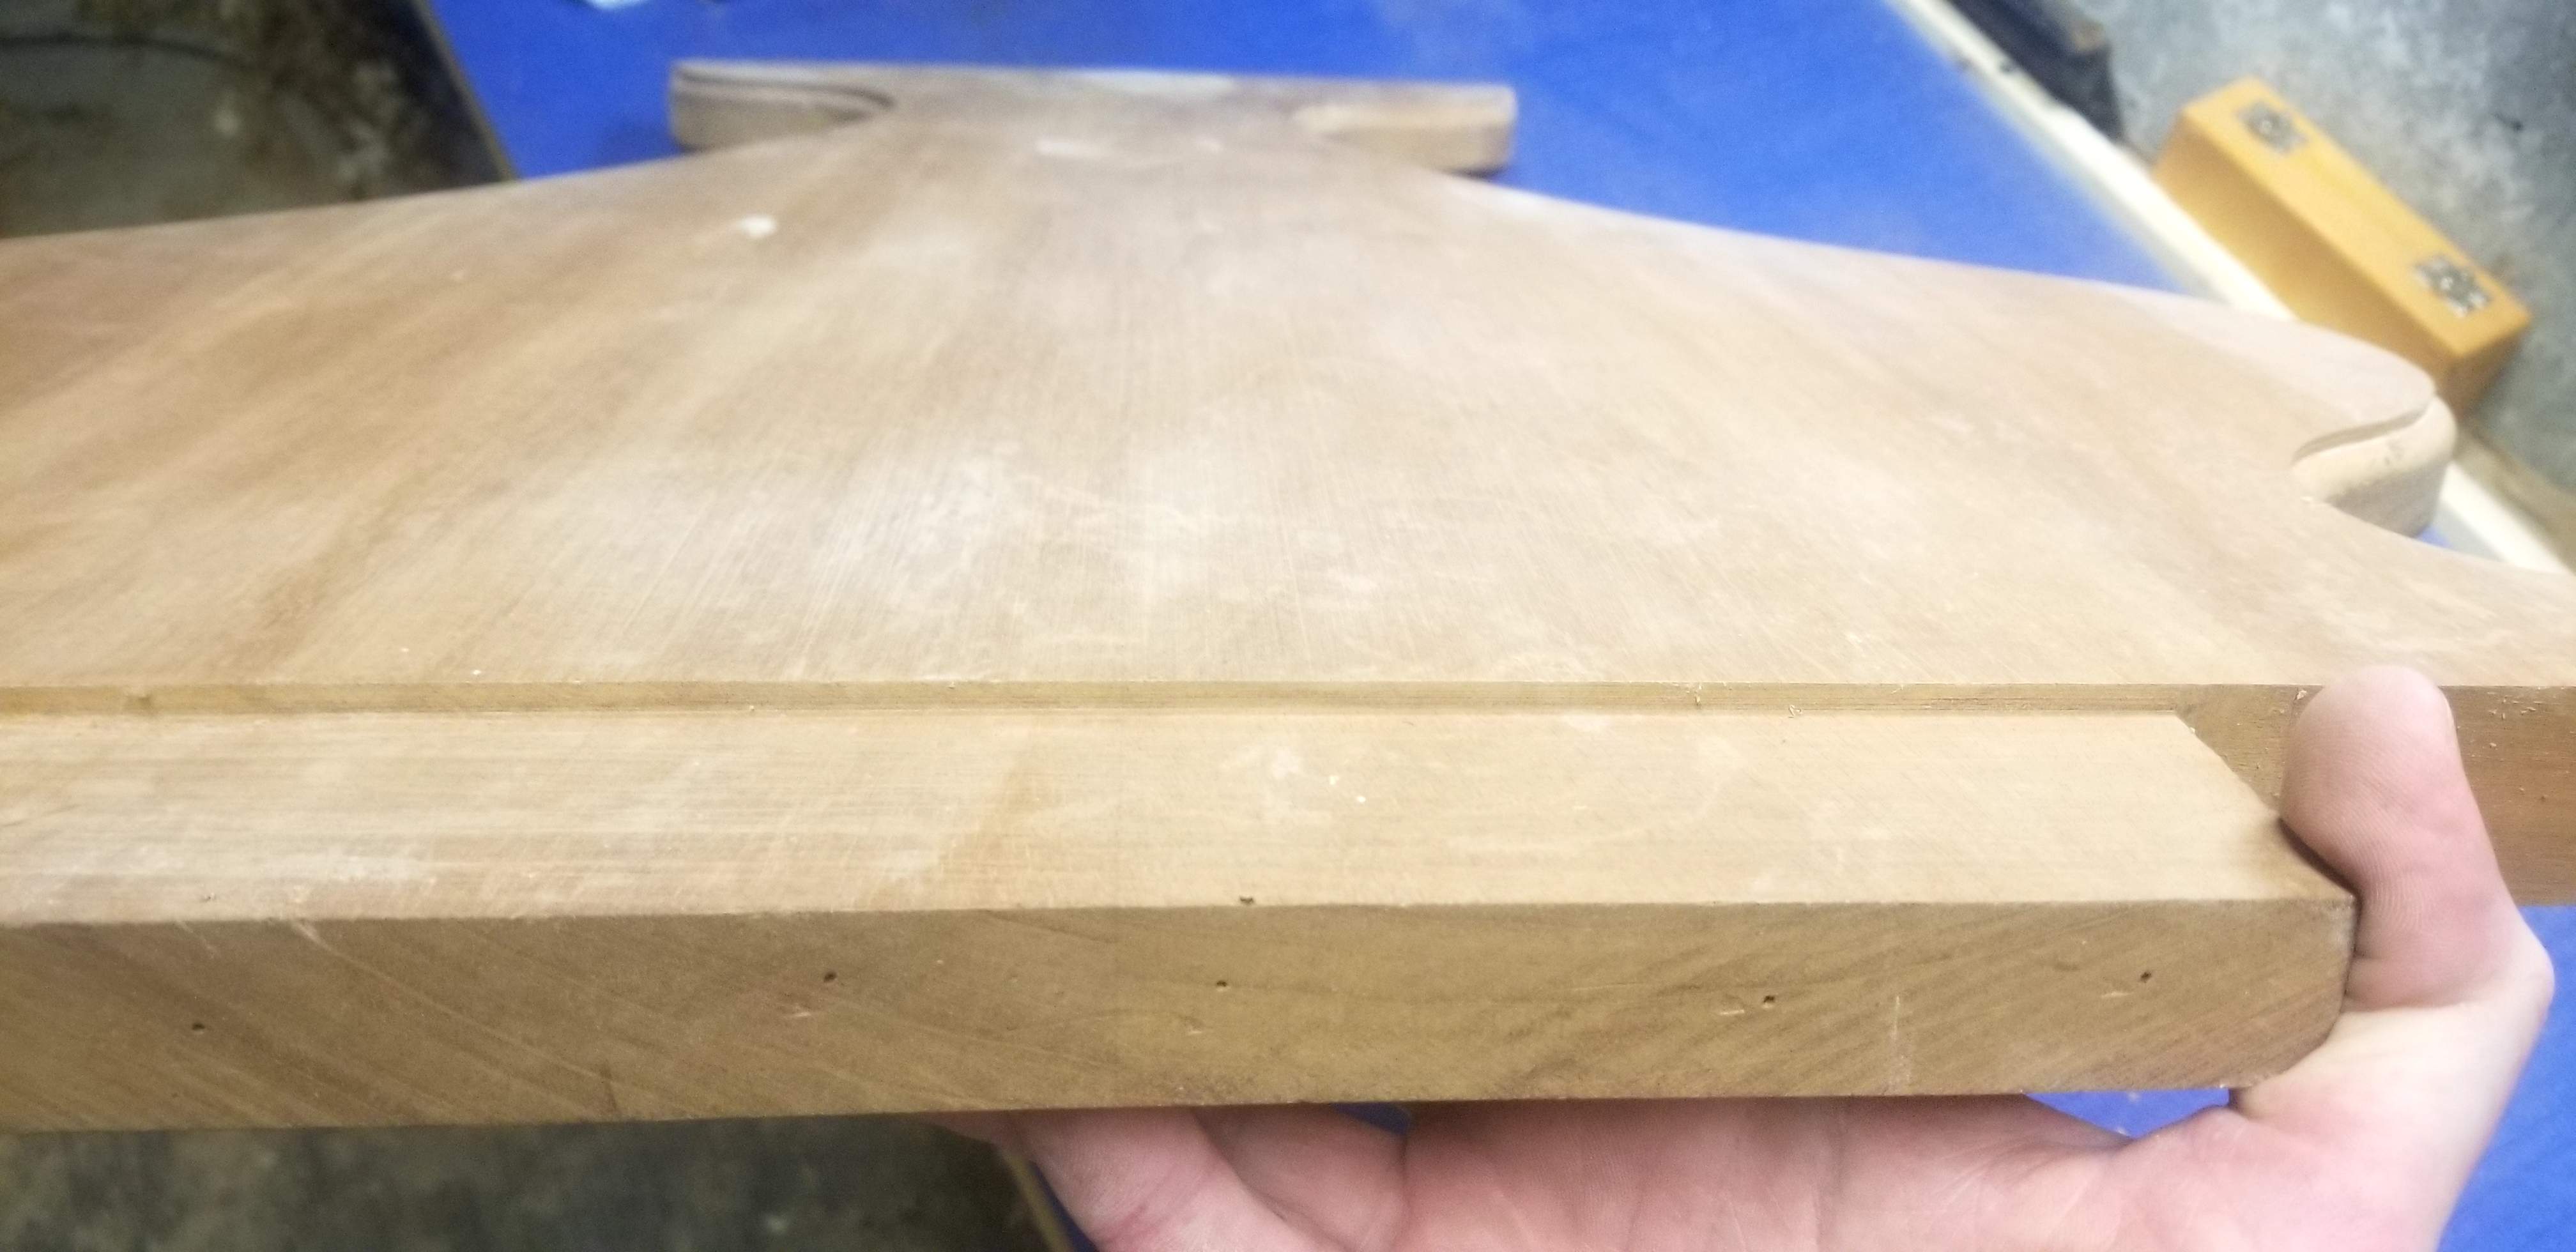
And the body will be cut from this
20210403_112154.jpg


20210403_114246.jpg

intended use was one of the legs for a desk. Slightly more than 1.5" thick. The outline drawn here is not what will be cut out, more on that later...

I have a leftover piece of teak for the fretboard, planning to ebonize it with India ink.

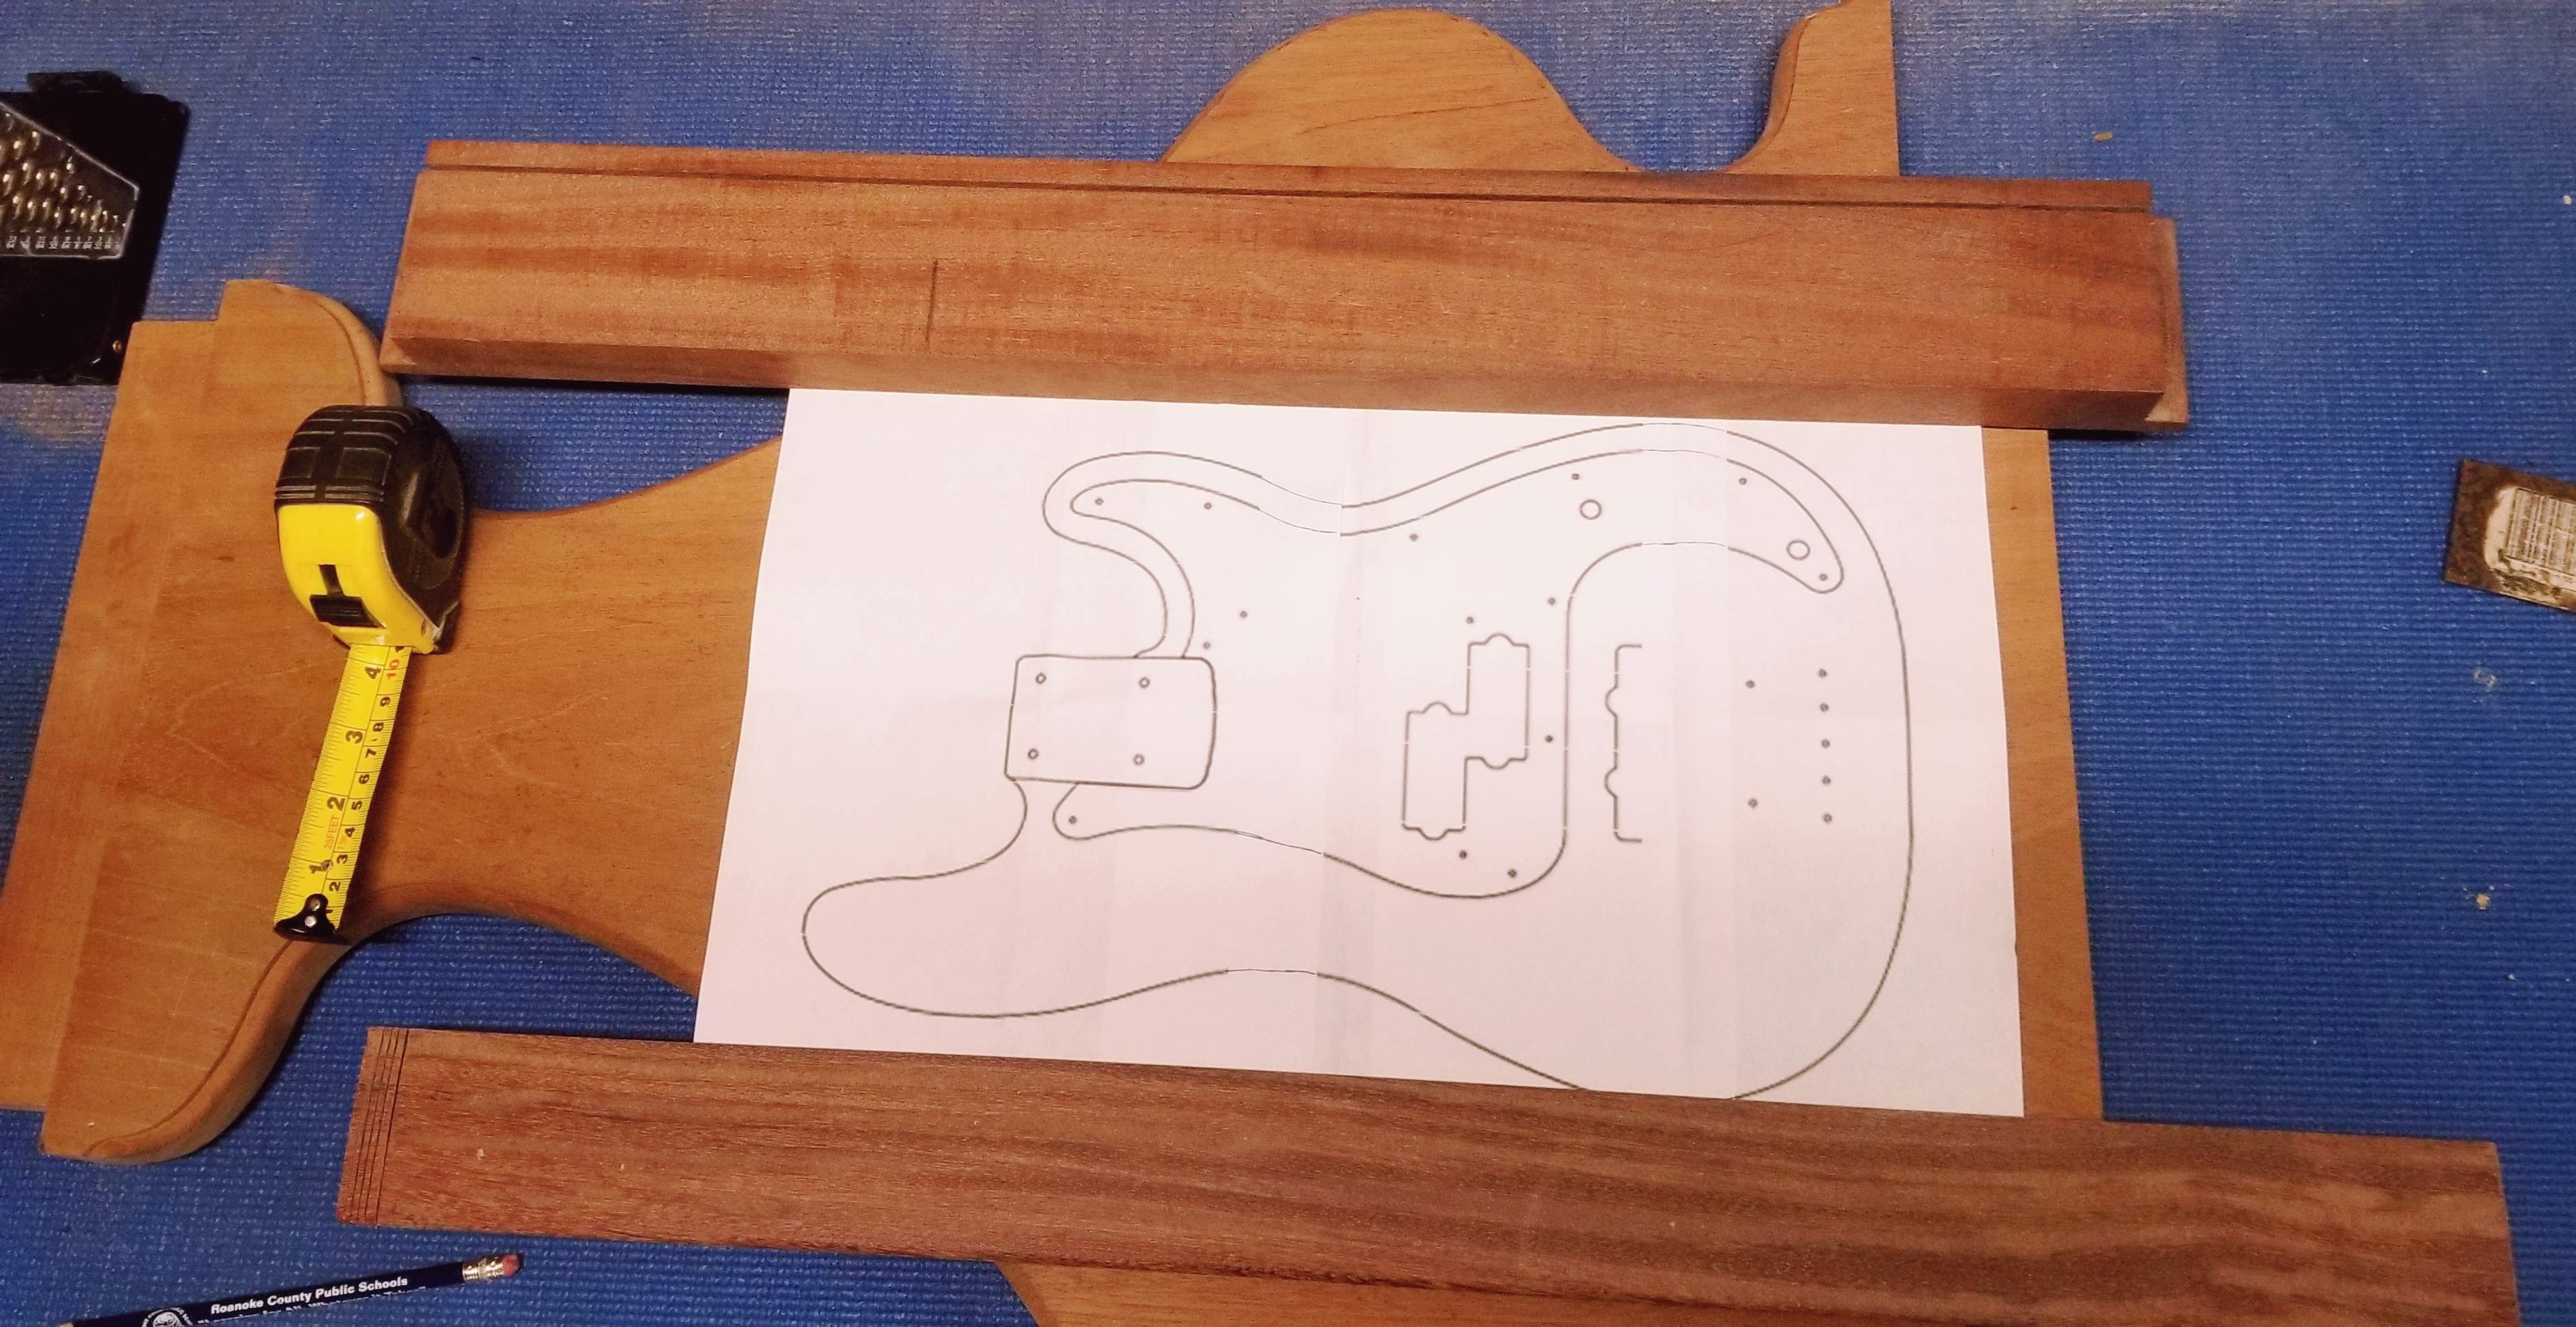
All together
20210331_182711.jpg


Mingus agrees that the headstock should be reversed
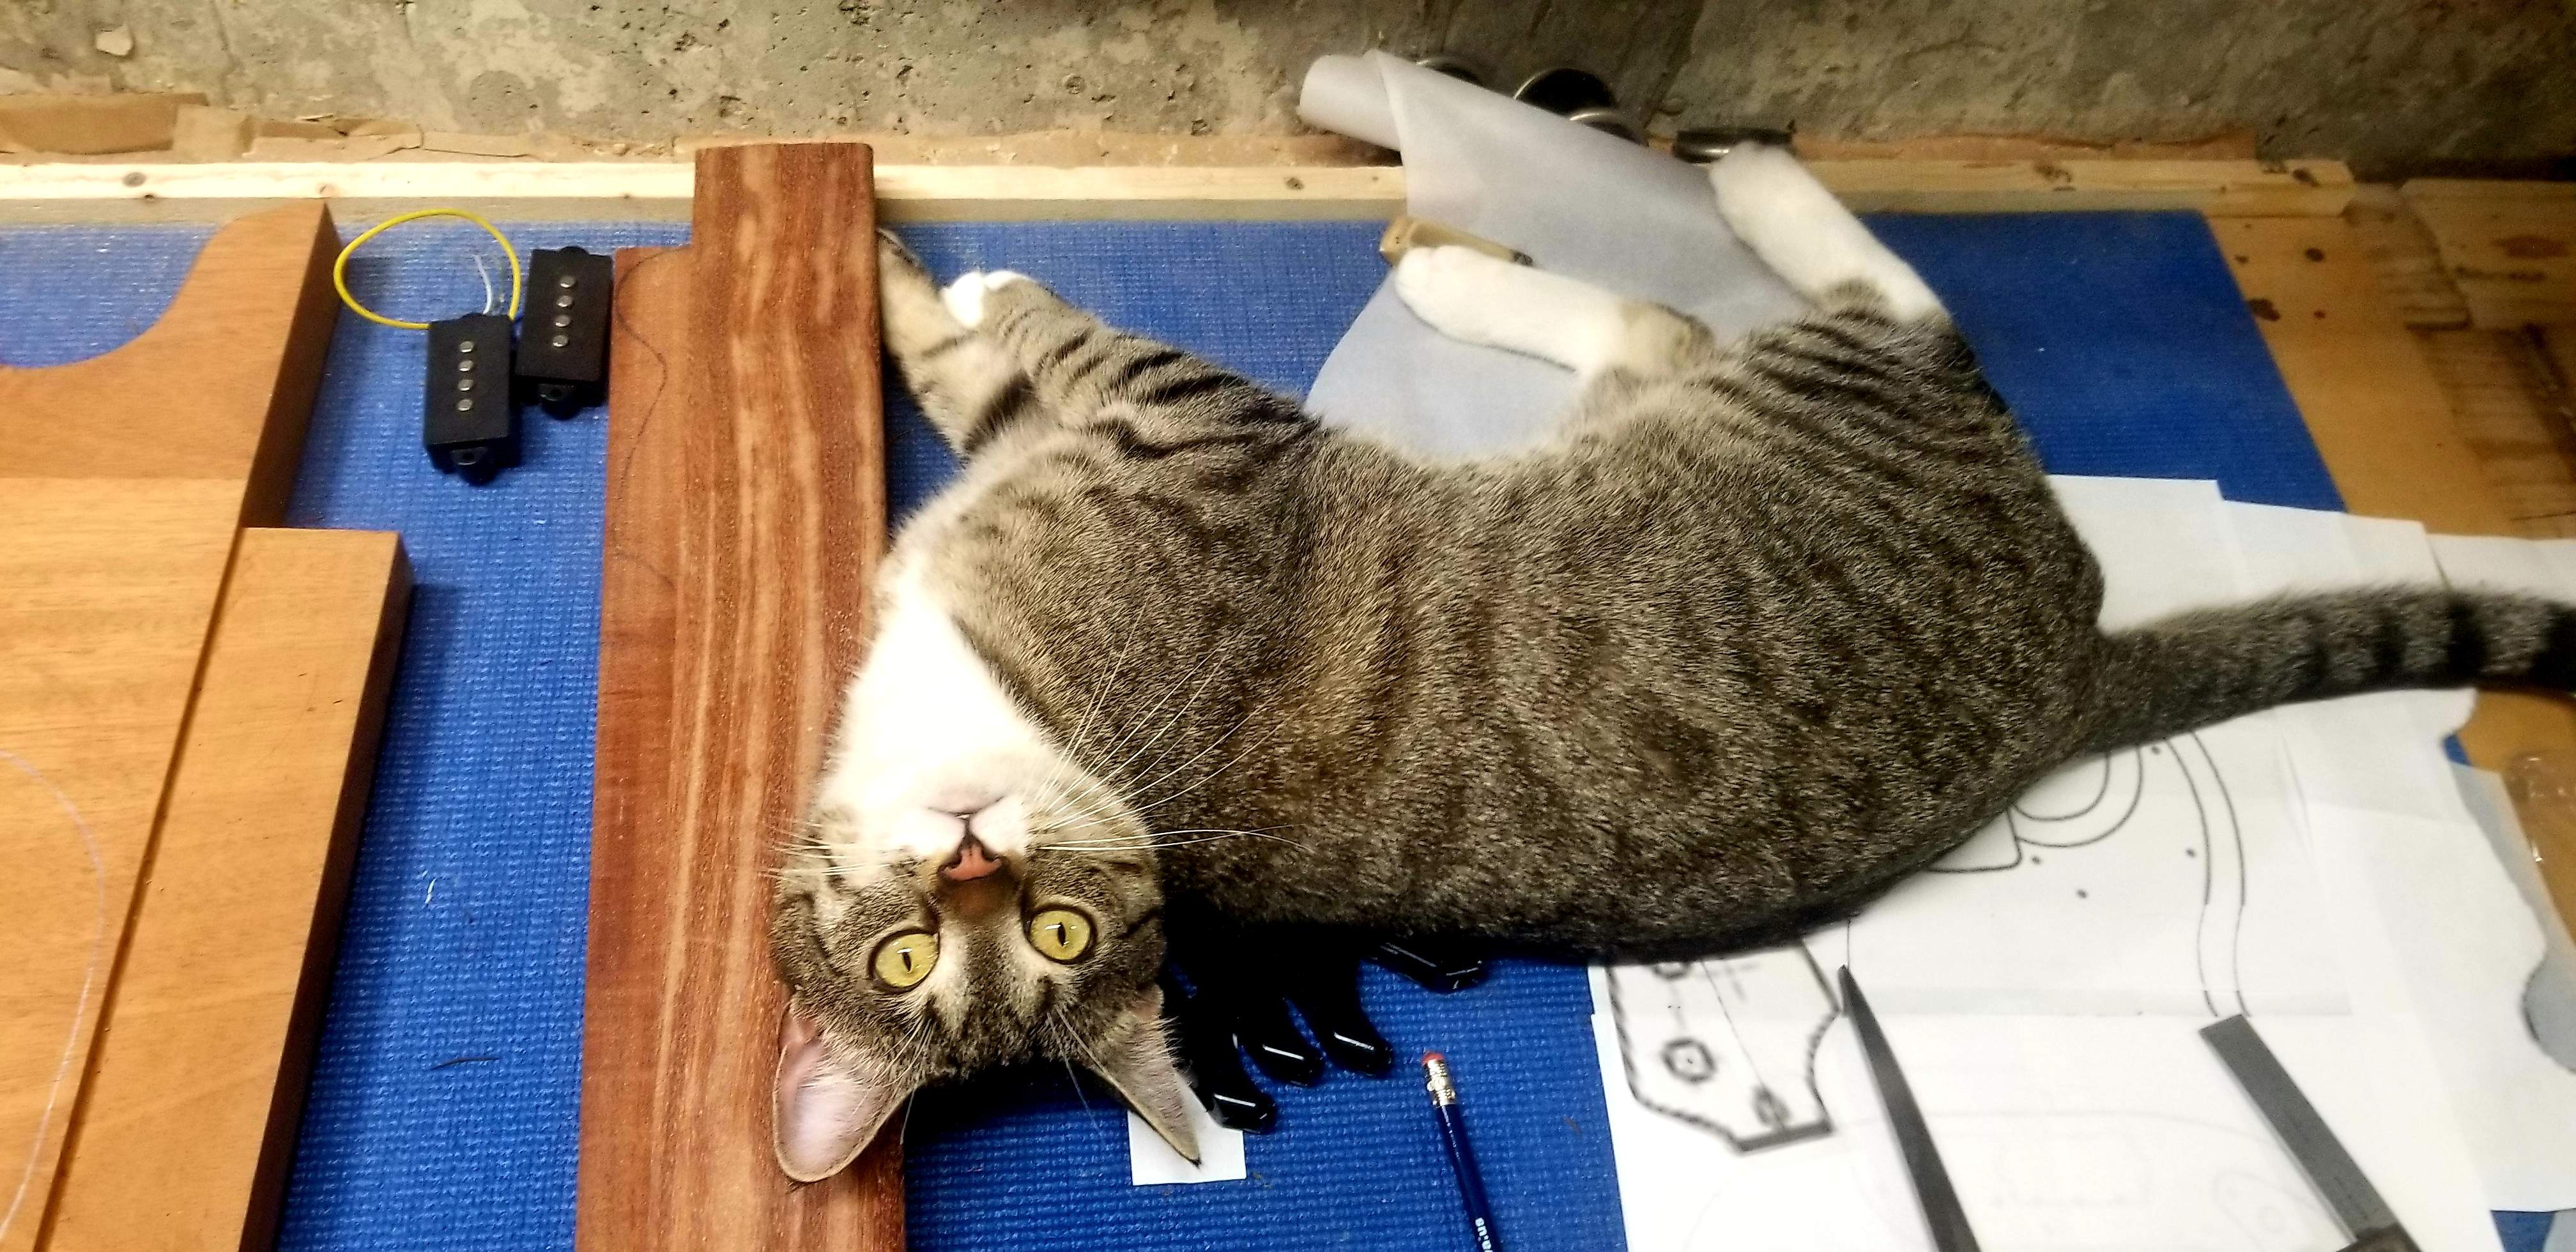
20210404_113002.jpg


The PU will also be reversed, and slanted.

The bridge will be individual-string, 15 mm spacing. 34 mm nut width. So both of those are slightly wider than a true 3/4 size and in the ballpark of the spacing you might see on some fivers.

I'm thinking of using the B E A D of a five-string set, but not set in stone, might just end up going for a P'colo :smug:

This will be my first solid body and first bolt on. Wish me luck! :thumbsup:
 

Attachments

  • 20210403_114308.jpg
    20210403_114308.jpg
    563.7 KB · Views: 36
I started last Sunday and hope to be moving along at a pace (for me ;))

Let's talk neck.

Pictured from the back. Using a coping saw for the curves into the nut area.
20210404_120911.jpg


Then a pull saw to rip the neck taper.
20210404_120852.jpg


Cleaned up with sandpaper on a level beam.
20210404_153230.jpg


Shaped the headstock with the coping saw, rasps, and a new toy. I got myself a standing drill press with a spindle sander option (it moves up and down automatically).
20210404_153204.jpg


More pull saw for the headstock face.
20210404_153121.jpg


And cleaned up with a sanding block.
20210404_185906.jpg


Lastly, brought the neck to 0.8" thickness with (you guessed it) the pull saw.
20210406_161548.jpg


More to follow soon!

Peace, thanks for watching! :bassist:
 
If you're doing a 3/4 scale length, are you going to make everything else 3/4 scale? One of the things I dislike about short scale Fenders is that they have a full sized headstock and body. It makes them look like toys. I did a 90% scale bass. I made the body 90% size, even 90% as thick. I used smaller tuning keys too, rather than the huge cloverleafs of a Fender.
 
  • Like
Reactions: I-Am-The-Slime
If you're doing a 3/4 scale length, are you going to make everything else 3/4 scale? One of the things I dislike about short scale Fenders is that they have a full sized headstock and body. It makes them look like toys. I did a 90% scale bass. I made the body 90% size, even 90% as thick. I used smaller tuning keys too, rather than the huge cloverleafs of a Fender.

The plan is to make everything except the string spacing and the body/neck thickness 75%. I have some smaller tuners on order and the bridge will be individual-string. Kinda flying by the seat of my pants here, but should hopefully work out... ;)
 
  • Like
Reactions: smart51
Oops, meant to update sooner! But I've kinda just been on a roll :bassist:

I did document just about every step though. I'll break it up into a few posts. Maybe be a bit tedious to go through all the steps, but my style is kind of eccentric (aka amateur) so might be fun. In no way do I say you should do it like I do! :D

OK, continuing on with the neck!

The fretboard is teak. Boy, does that stuff stink (literally!), nice to work though...

Cutting the slots, used the fretcalculator to get the positions for 25.5" scale, scored with a marking knife, and cut with the fretsaw in a miter box. 21 frets
20210410_174553.jpg


Nut slot hogged out with a dremel router bit in the drill press (worked well enough)
20210411_134400.jpg


Next is cutting the truss rod channel. A wiser man would have done this when the neck blank was still square and used a router jig, but not this fool :smug: 1/4" router bit in the drill press, neck fixed to a floorboard, magswitches to keep it centered. Not ideal, but with shallow passes the chatter wasn't too bad, far from pretty though
20210413_190716.jpg


The wider and deeper section for the bolt end was done with a router plane and chisel
20210413_190743.jpg


Good thing this ugliness will be hidden under the fretboard! :laugh:
 
Moving on. I plugged the end of the truss rod slot
20210413_190805.jpg


and drilled a hole
20210414_181452.jpg


Glued on the fretboard next
20210416_092556.jpg


Radiused the board, 12". The board is still square at this point
20210417_140343.jpg


Fretboard tapered with the pullsaw
20210417_140311.jpg


And sanded flush
20210417_140249.jpg


Fretslots cut to depth
20210417_140228.jpg


Sanded the board up to 1200 grit. Looks pretty good to me! I changed my mind about ebonizing it, too nice as is :drool:
20210417_185609.jpg


Happy with how things are going at this point! :bassist:
 
Last edited:
Scalloped the fretboard-headstock transition
20210417_223735.jpg


Tuner holes were next
20210417_223643.jpg


Brought the headstock to approximate thickness with the old pullsaw
20210417_223619.jpg


Frets hammered in. Brass color to match the nut
20210418_200959.jpg


Nipped with this awesome tool (Bruce Johnson reco)
20210418_201027.jpg


Filed flush and beveled with a little improv on a stewmac fret leveling file
20210418_201124.jpg


Glow in the dark side dots
20210420_192638.jpg


This is about where we are now. Neck carve is next!!

Thanks for following along :thumbsup::thumbsup:
 
  • Like
Reactions: rwkeating and Beej
I can't imagine the skill it takes to do that. Great job!!

Thanks Rdubs! :);)

I certainly don't consider myself a skilled woodworker. The pull saw is great to work with IMO. Score your lines with a marking knife and make sure you stay on the correct side of the line. I use the cross cut side. Slow and steady. Use diagonal cuts and flip your piece regularly.
|/\| if that makes sense...
 
  • Like
Reactions: rwkeating