
Building a 5-string fretted for one of my good friends, Eric. He's coming to visit in 7 weeks, to stand in my wedding to Dr. Girlfriend. 
In an attempt to speed things along, I started by "re-engineering" a neck from a previous build. Here's what I started with:
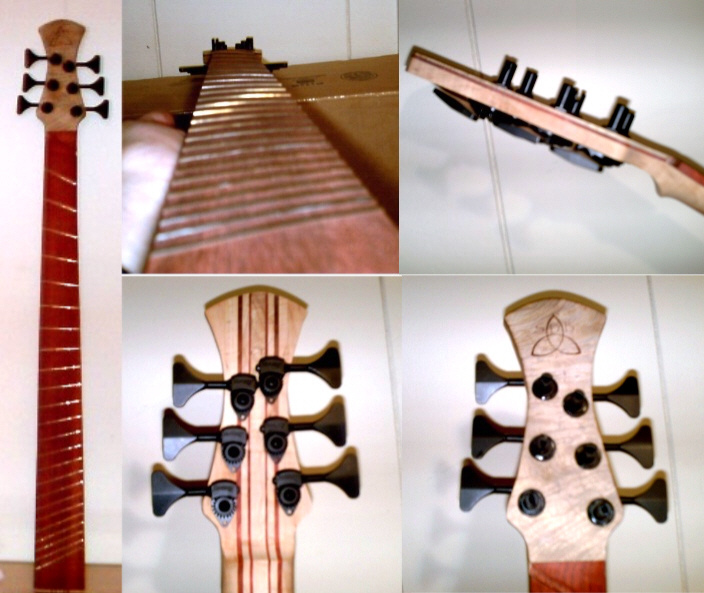
It was a neck for a 6-string fanned-fret project I was working on years ago, and I made the neck taper too narrow at the nut. It's just a few mm over what you'd want on a P-spaced 5-string. SOOOOOOooo, I figured I could re-engineer it for this 5'er. More on that in a bit.
I had a nice one-piece burled and mildly-figured Claro Walnut top ~15" wide. Here it is, wet with a little water (pardon the camera phone pic):

I had a medium-weight mahogany board that I used to make the body blank:
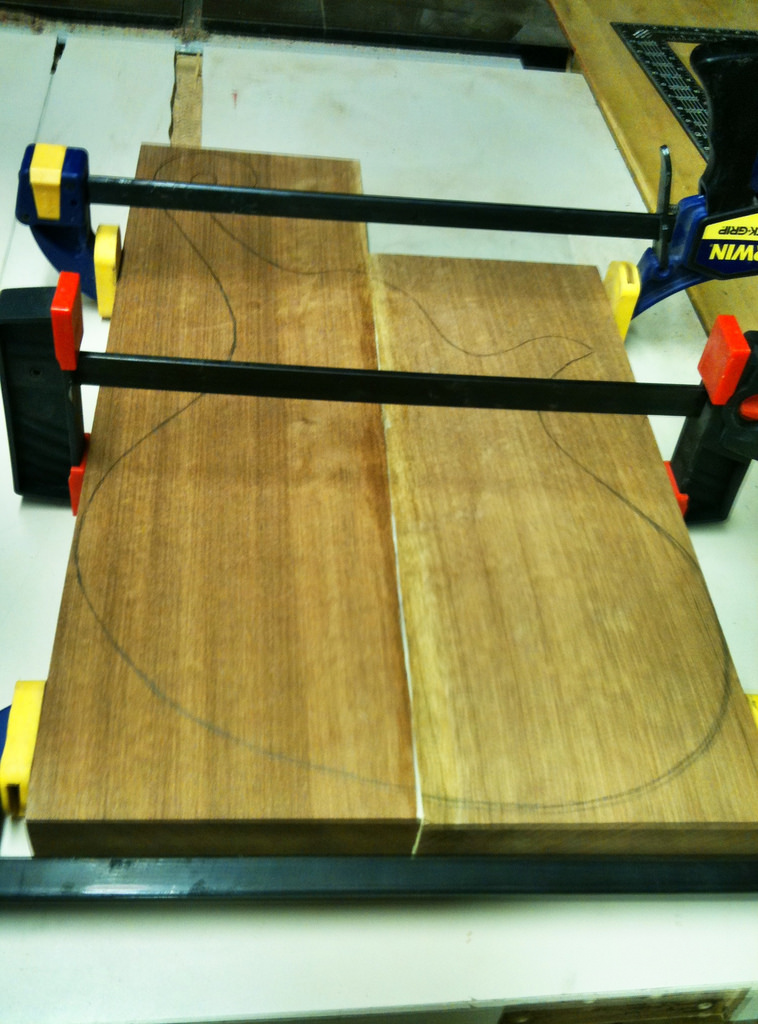
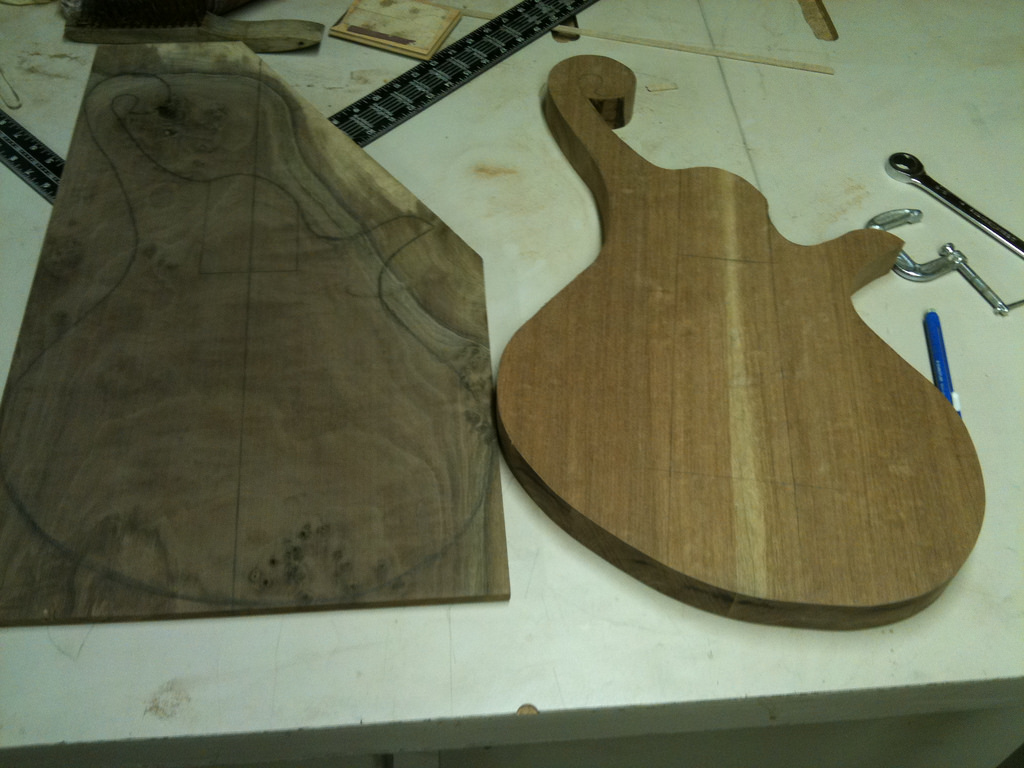
Here they are together, with the shape traced on the top, and the body blank glued up/sanded/cut out:
So, on to the neck. Because this was a 37" - 33.25" fanned fret neck, it was way too long for a 35" scale neck. Couple that with the headstock that is too narrow, and I decided that something has got to go. I started with the fingerboard:
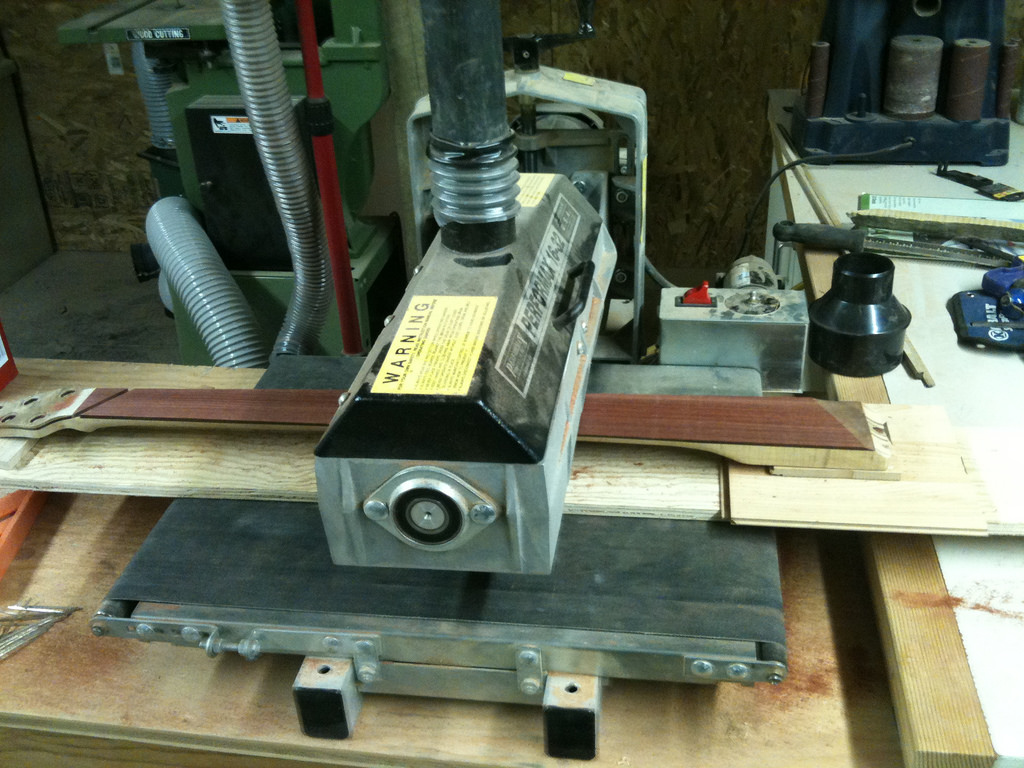
I made a jig to hold the fingerboard parallel to the feeder belt on the Performax 1632, as seen above, and fed it through until the fingerboard was completely planed off:
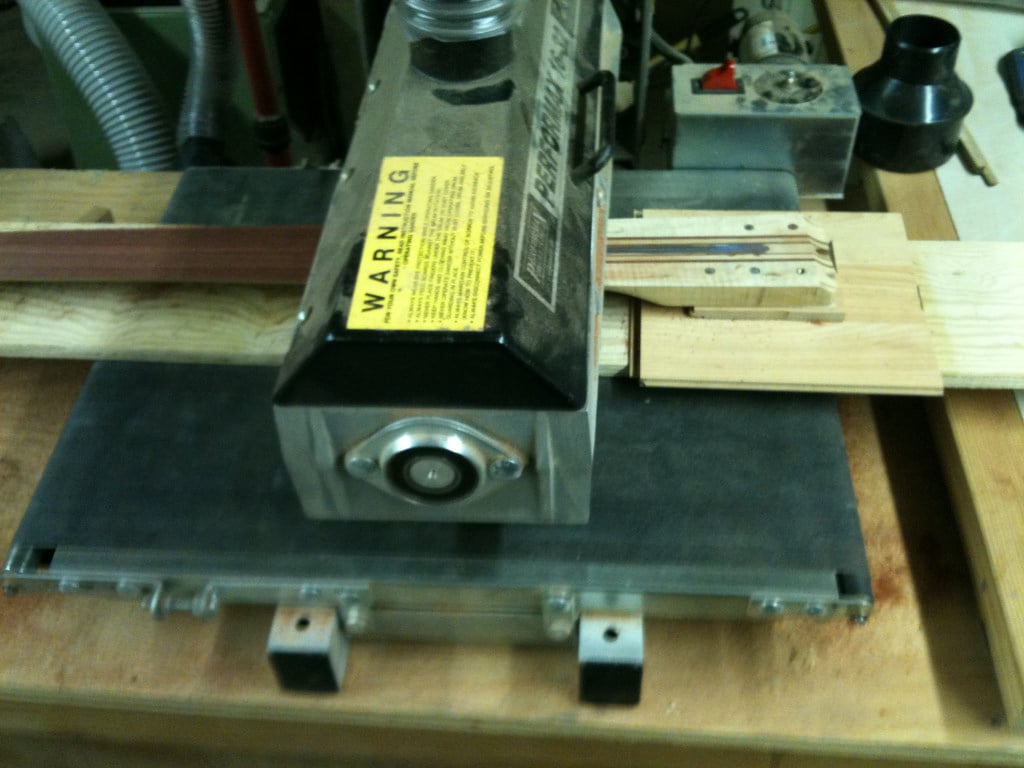
Once I had the fingerboard off, I removed the truss rod. I routed an oversized channel in the neck to clean it up, and then inserted a 1/2" wide by 3/8" deep purpleheart filler strip. The original truss rod was accessed at the neck pocket end, and I wanted to convert this to have headstock truss rod access. Here's the filler strip installed:

I initially thought to shorten the neck at the heel end, and square up the headstock, and add new wings. however, the more I thought about this, the less likely it seemed like it would work. I talked to Eric about what he wanted in a bass, and his biggest concern was that he wanted to have headstock density in order to try to avoid the "G-string 5th fret dead spot". The width at the heel was about 6mm over, I had some room to trim there. So, I decided to cut off the headstock (and a couple inches of the neck, too), and glue a new one on. I used my 13° headstock jig to do the deed, making sure that the neck's centerline was completelylevel on the jig, so the cut would be perfect:
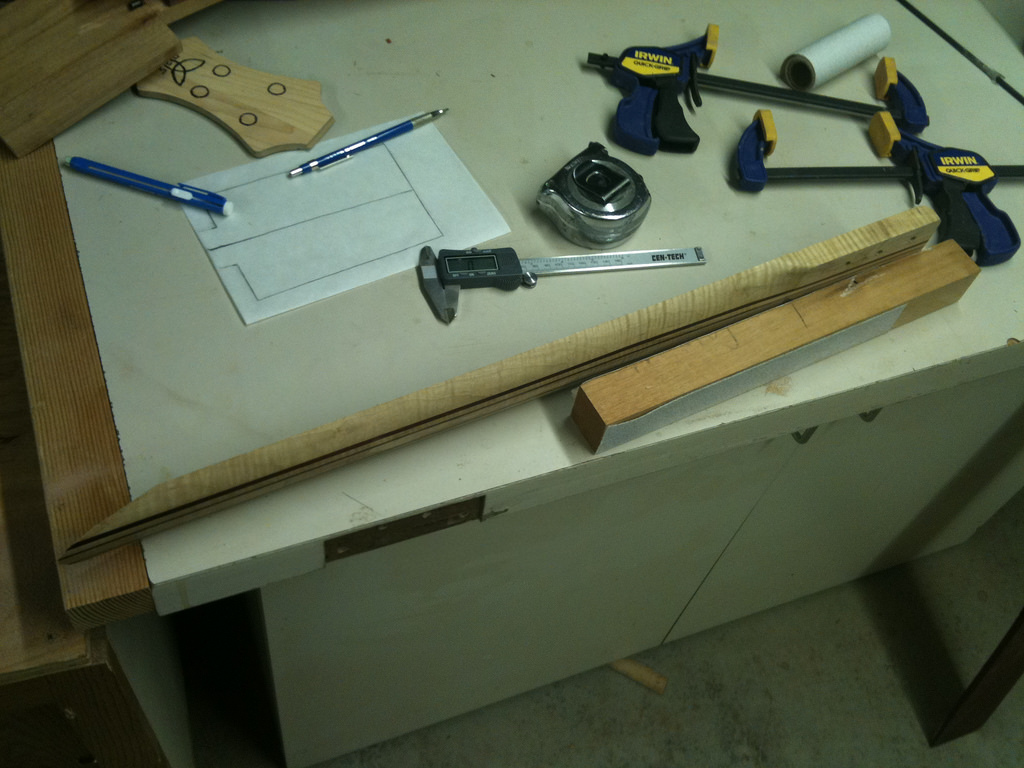
Here's another angle... you can see the assymetrical carve on the back of the neck, it's thinner on the treble side:
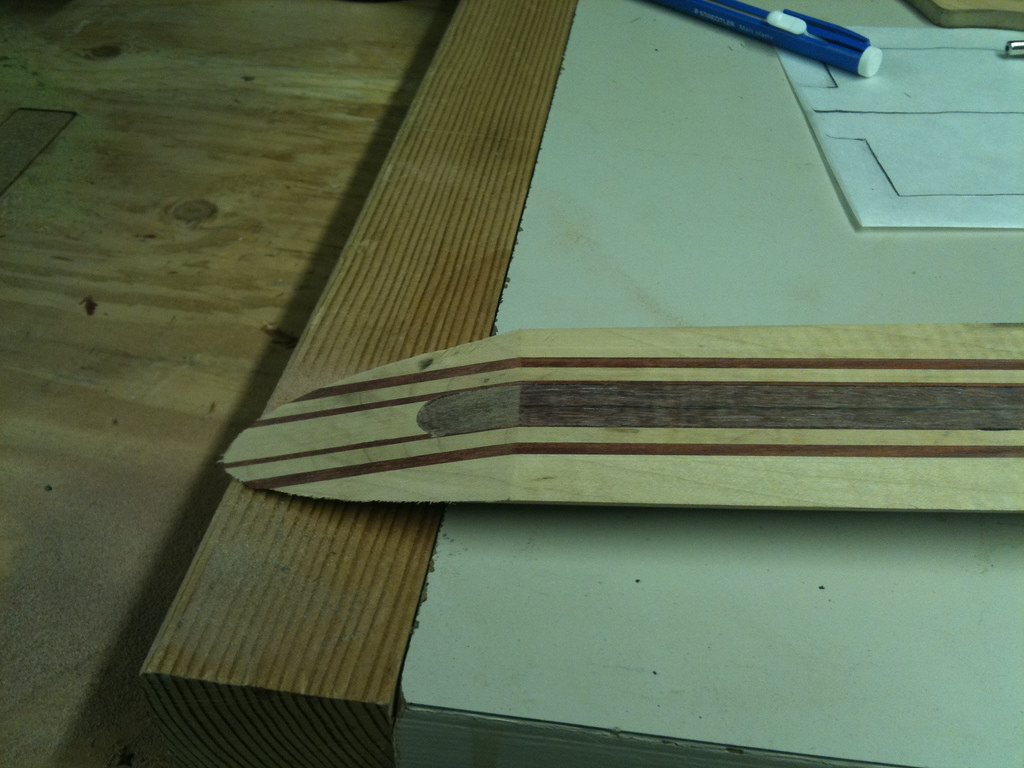
I was originally going to try to replicate all of the neck laminations through the new headstock, but decided that in the interest of time (and frustration level) it would be better to let that go. Because he wanted more weight/density at the headstock end, I kinda took the route Warmoth uses on their lam-neck headstocks. I used a single piece of fairly heavy hard maple for the headstock core, which will then get a set of wings attached (probably bloodwood). Here I am gluing the new headstock onto the neck:
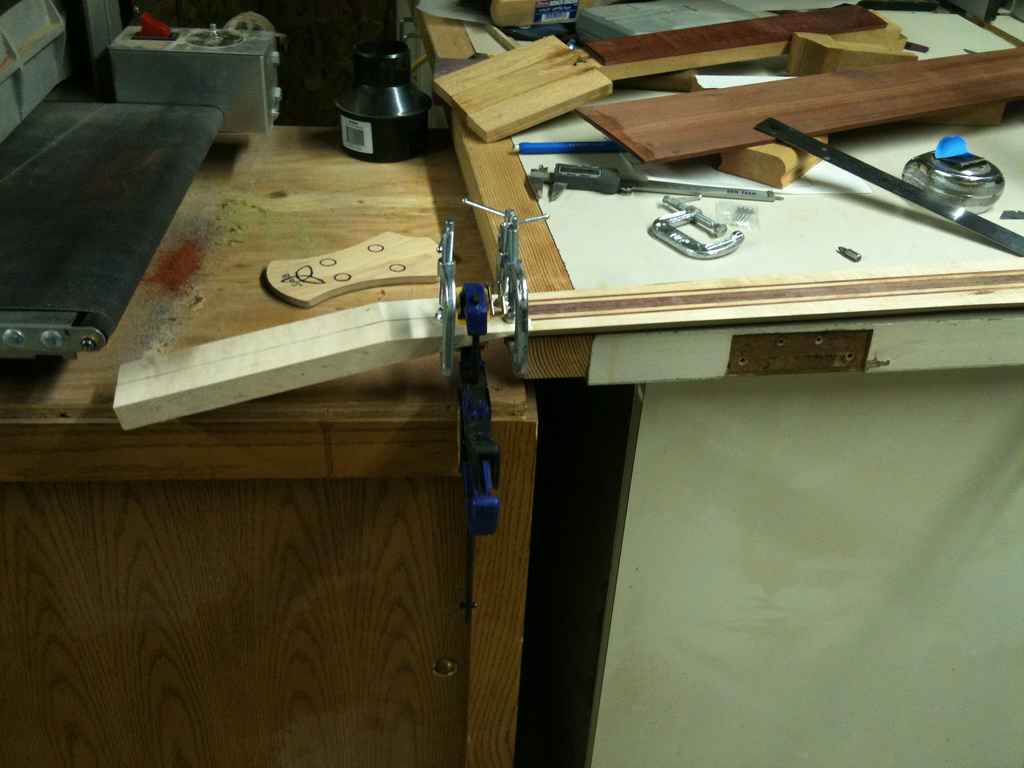
...and here's the result:
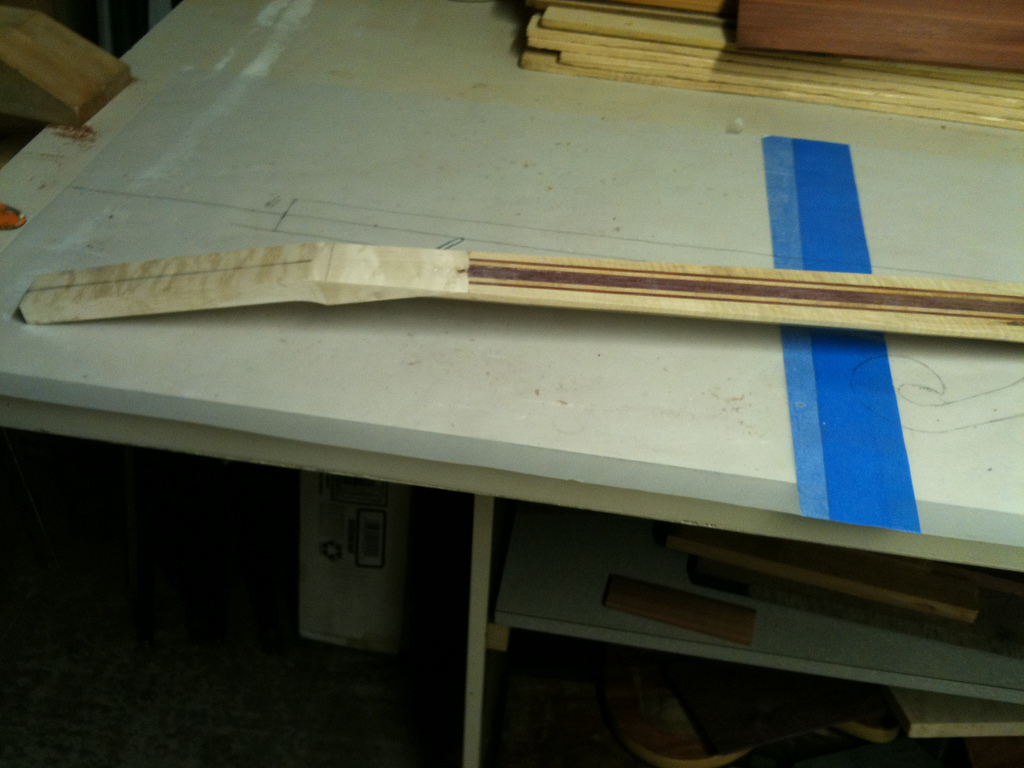
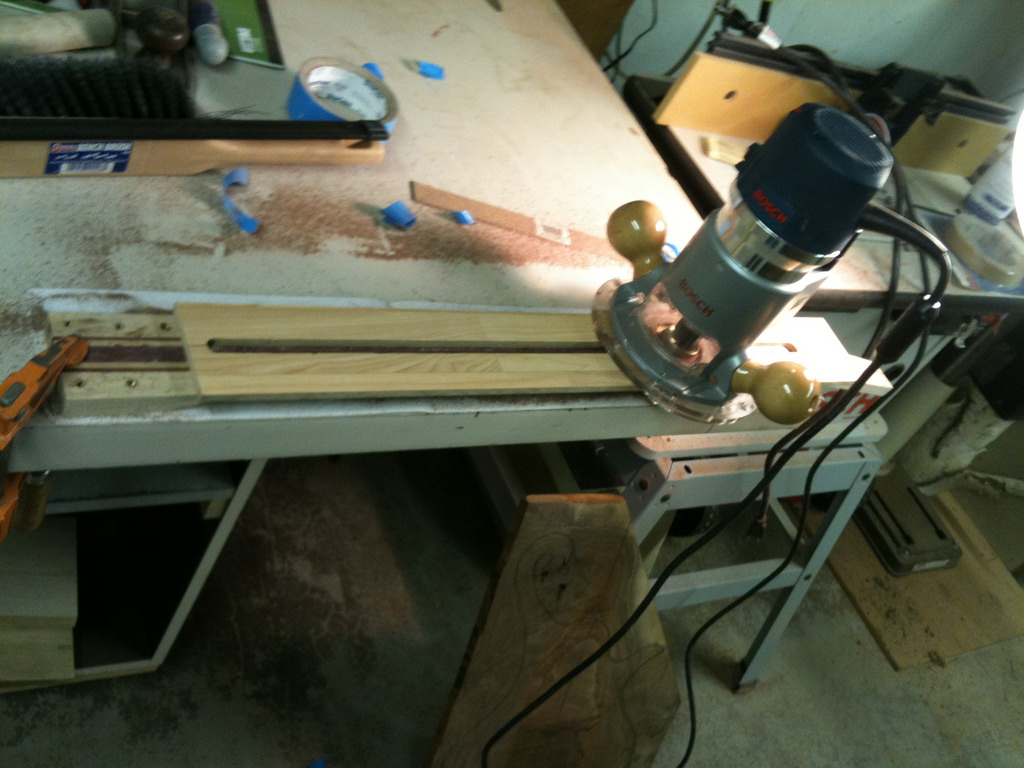
Used my truss rod jig to route the truss rod channel... nothing new to see here!
Decided that I wanted the headstock access to be nice and clean, so I made a jig to drill straight through the headstock into the truss rod channel, as opposed to routing the channel clear through into the headstock:

Another angle on the jig:
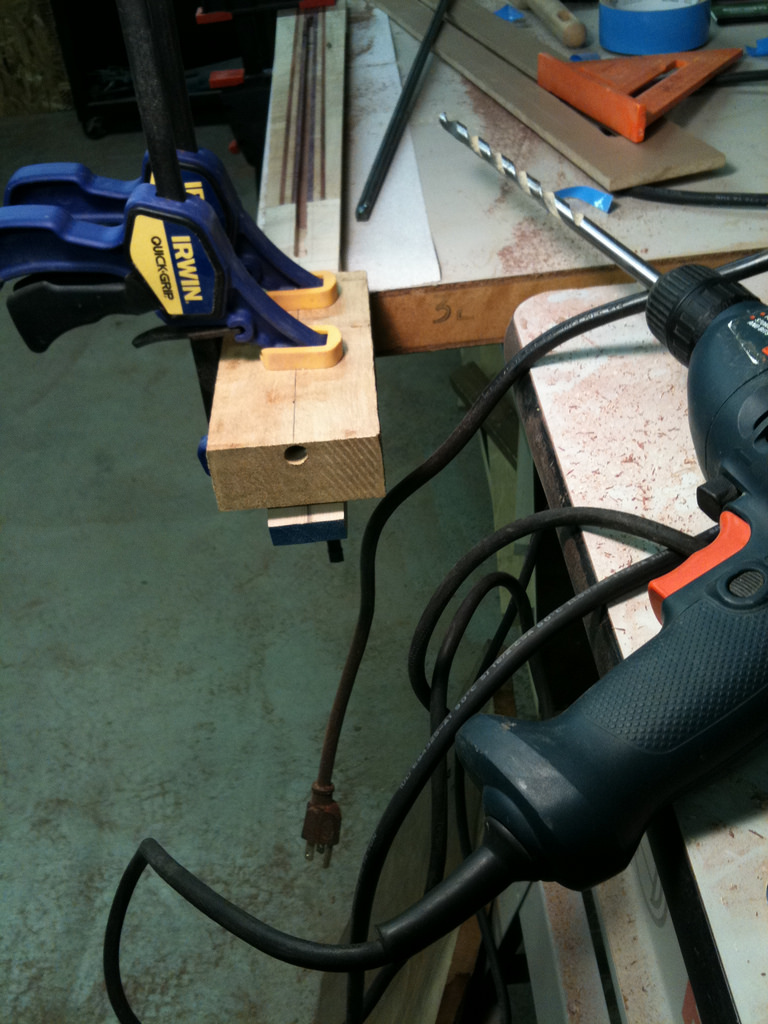
And the result:

More pics to come. Need to order hardware and pickups, still, so this is definitely a work-in-progress...
Thoughts?
In an attempt to speed things along, I started by "re-engineering" a neck from a previous build. Here's what I started with:
It was a neck for a 6-string fanned-fret project I was working on years ago, and I made the neck taper too narrow at the nut. It's just a few mm over what you'd want on a P-spaced 5-string. SOOOOOOooo, I figured I could re-engineer it for this 5'er. More on that in a bit.
I had a nice one-piece burled and mildly-figured Claro Walnut top ~15" wide. Here it is, wet with a little water (pardon the camera phone pic):
I had a medium-weight mahogany board that I used to make the body blank:
Here they are together, with the shape traced on the top, and the body blank glued up/sanded/cut out:
So, on to the neck. Because this was a 37" - 33.25" fanned fret neck, it was way too long for a 35" scale neck. Couple that with the headstock that is too narrow, and I decided that something has got to go. I started with the fingerboard:
I made a jig to hold the fingerboard parallel to the feeder belt on the Performax 1632, as seen above, and fed it through until the fingerboard was completely planed off:
Once I had the fingerboard off, I removed the truss rod. I routed an oversized channel in the neck to clean it up, and then inserted a 1/2" wide by 3/8" deep purpleheart filler strip. The original truss rod was accessed at the neck pocket end, and I wanted to convert this to have headstock truss rod access. Here's the filler strip installed:
I initially thought to shorten the neck at the heel end, and square up the headstock, and add new wings. however, the more I thought about this, the less likely it seemed like it would work. I talked to Eric about what he wanted in a bass, and his biggest concern was that he wanted to have headstock density in order to try to avoid the "G-string 5th fret dead spot". The width at the heel was about 6mm over, I had some room to trim there. So, I decided to cut off the headstock (and a couple inches of the neck, too), and glue a new one on. I used my 13° headstock jig to do the deed, making sure that the neck's centerline was completelylevel on the jig, so the cut would be perfect:
Here's another angle... you can see the assymetrical carve on the back of the neck, it's thinner on the treble side:
I was originally going to try to replicate all of the neck laminations through the new headstock, but decided that in the interest of time (and frustration level) it would be better to let that go. Because he wanted more weight/density at the headstock end, I kinda took the route Warmoth uses on their lam-neck headstocks. I used a single piece of fairly heavy hard maple for the headstock core, which will then get a set of wings attached (probably bloodwood). Here I am gluing the new headstock onto the neck:
...and here's the result:
Used my truss rod jig to route the truss rod channel... nothing new to see here!
Decided that I wanted the headstock access to be nice and clean, so I made a jig to drill straight through the headstock into the truss rod channel, as opposed to routing the channel clear through into the headstock:
Another angle on the jig:
And the result:
More pics to come. Need to order hardware and pickups, still, so this is definitely a work-in-progress...
Thoughts?







