• TalkBass has been independent since 1998. Add your voice.
    Create a free account to reply to discussions, view embedded media, and browse with fewer display ads.
    Join freeLog in
    Want zero display ads or expanded classifieds tools? Compare plans.

Back From The Back Burner Build

the feebler elf

Supporting Member
Oct 9, 2004
412
46
Central California
This is a continuation of a project I started 2 years ago. I built and finished a body, only to decide that I hated the body shape. I scrapped the old body, and I'm just now getting around to building the neck and a new body.

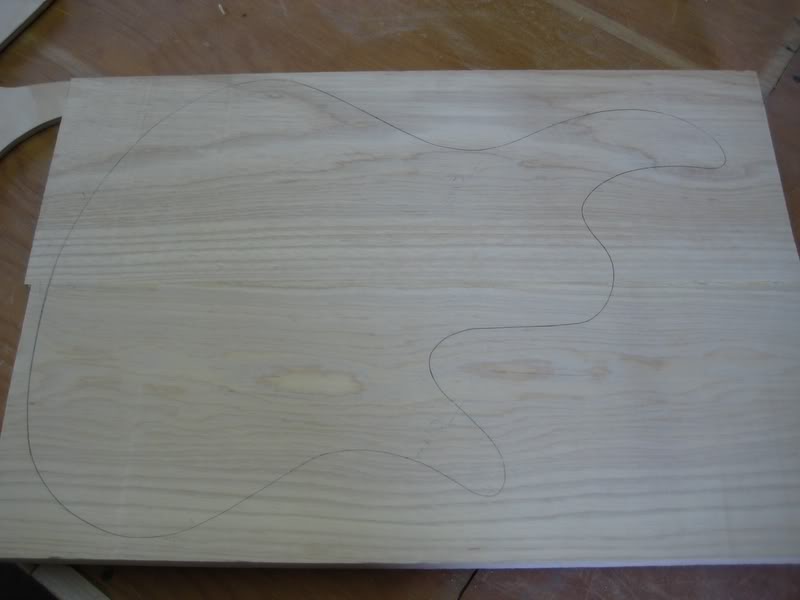
Rough Template -
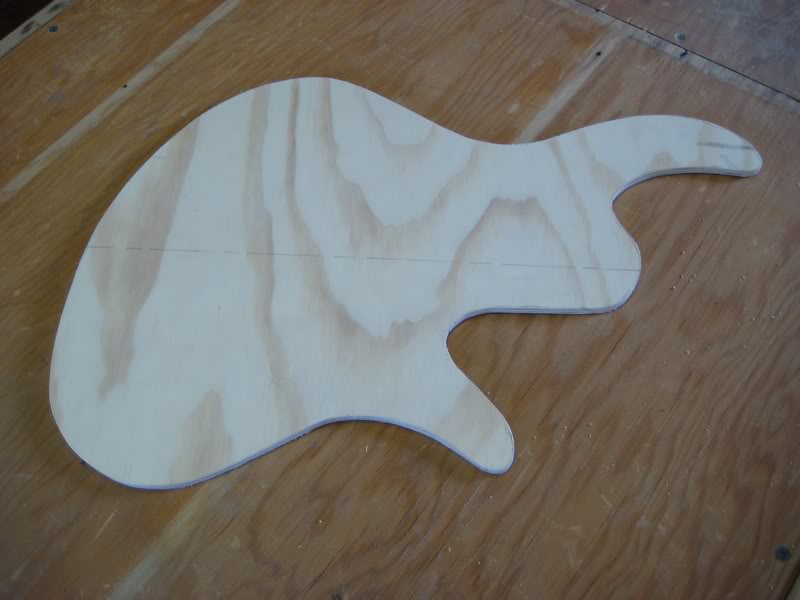
IMG_0715.jpg


Ash Body Blank -

IMG_0717.jpg


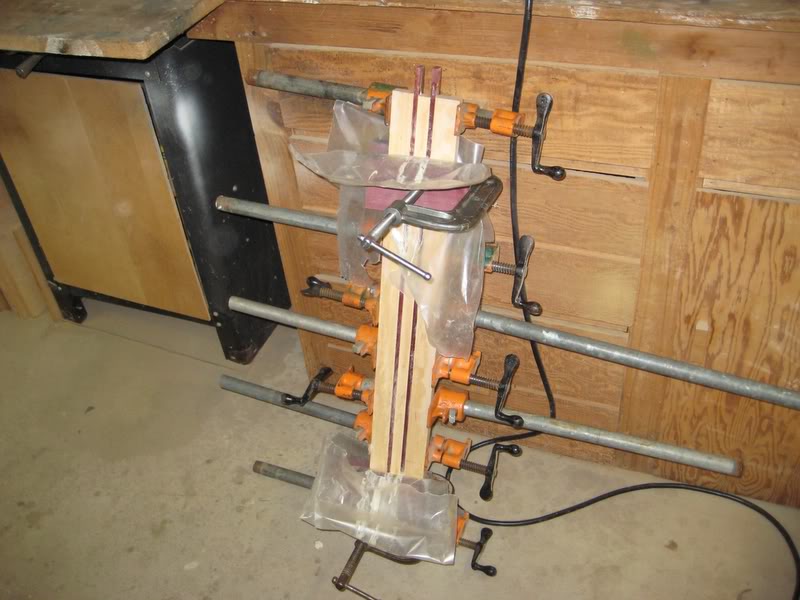
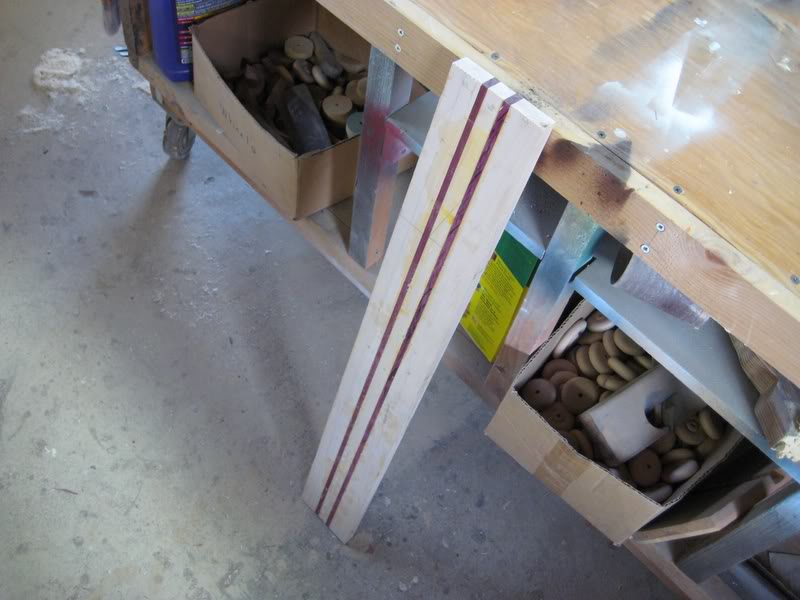
Ubiquitous Maple/Purpleheart Neck -

IMG_0718.jpg


IMG_0720.jpg


I had a little accident that resulted in some excessive glue on the neck surface... I'm planning on planing the neck down today, and making my scarf joint tomorrow.
 
I decided I wanted to try my hand at some pickup covers. I'm using ash for the "body" and top, with a rosewood veneer in between. I'm going to be using Jazz pups on this build, but I decided to make the pickup covers (and the pup routes) the same size as a Nordstrand Signature or Bart pickup, in case I decide to try something different later on.

IMG_0724.jpg


IMG_0726.jpg


IMG_0728.jpg


The Bearings on my router bit slipped while routing out the cavity, resulting in a less than perfect edge on the left side of the block... Fortunately, you'll never see it while it's installed.

IMG_0730.jpg


Rough pickup cover -

IMG_0739.jpg


IMG_0740.jpg
 
Cocobolo board after slotting -

IMG_0755.jpg


IMG_0756.jpg


After gluing in maple veneer lines -

IMG_0760.jpg


I'm not 100% happy with the way the veneer is seating in the fret slots... I may saw them out and try again. Even kicked around the idea of just fretting it later on.

Since my jointer is a PITA to work with, I dropped my neck blank off with a local woodworker this evening to have the top and bottom surfaces planed down.
 
sweet, thats gonna be cool. lovin the shape

Thanks!

Ive done 4 maple/rosewood venner fretlines so far. Its a bit funky everytime. Using a laquer pen on the ends or a burn in stick always seems to work well for me though.

I should have taken more time and care to prep my fret slots. I cut them using Stewart Macdonald's fret saw, and they were just a hair thinner than the veneer. I had to widen the slots with a knife to avoid splitting the veneer as I pressed them into the slots, and even still, I had some trouble getting them seated.

I wound up with uneven lines when viewing the board from the side - as in some strips of veneer are deeper into the board than others. Not the end of the world, but a cosmetic annoyance... I've decided to attempt a maple binding to hide the fret lines from the side.
 
Not a whole lot of progress tonight. I got my neck blank back from the shop, ready for me to make the scarf joint. Next time around, I'm going to spend a day getting my jointer adjusted so I can avoid sourcing out any work. On the upside, I've found a friendly new wood supplier.

Board after sanding down fret lines -

IMG_0765.jpg


Glamor shots -

IMG_0762.jpg


IMG_0761.jpg


IMG_0766.jpg
 
Thanks!


I should have taken more time and care to prep my fret slots. I cut them using Stewart Macdonald's fret saw, and they were just a hair thinner than the veneer. I had to widen the slots with a knife to avoid splitting the veneer as I pressed them into the slots, and even still, I had some trouble getting them seated.

I wound up with uneven lines when viewing the board from the side - as in some strips of veneer are deeper into the board than others. Not the end of the world, but a cosmetic annoyance... I've decided to attempt a maple binding to hide the fret lines from the side.


yup starting from well fit slots helps a lot : )

Also being sure that your vanner is cut flat on the bottom makes a big diff. Messed that one up on the first one.
 
good luck with the binding but its really not that difficult.

binding before installing the board is much easyer then you would think :)

Yeah, I'm thinking it shouldn't be too difficult. I think I'll just make another template that's 1/2" narrower than my existing template, and use 1/4" maple strips to bind the fingerboard.
 
yeah, if you attach the board first, taper your neck to the template, and the use a rabbiting bit along the fretboard, it will make a nice binding channel for you. then just use some maple thats a little bit wider than the channel and when the glue dries, router it flush
 
Things have been slow going over the past few days...

I used a couple of finish nails to locate and hold the headstock in place while gluing. Notice the bite from the router bit near where the nut will mount... :hmm: Luckily, that area will be trimmed away.

IMG_0773.jpg


IMG_0774.jpg


I will be using veneers on both the front and back of the headstock. Maple over rosewood on the back, and I've been eyeballing a bookmatched spalted maple top that I may use for both a body top and matching headstock veneer.
 
Alright.... After a move late last year, and a badly broken hand and two surgeries, I'm back on the build.

Routed the neck and headstock shapes yesterday -

IMG_0930.jpg

IMG_0931.jpg

IMG_0933.jpg

IMG_0934.jpg


The router bit actually ripped out the maple veneer at the first fret line... :hmm:

Time willing, I'll start shaping the back of the neck this week.