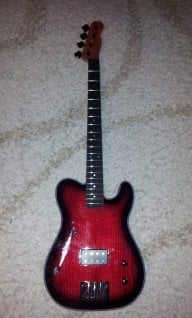
Some of you might remember this thread: http://talkbass.com/threads/horrible-frankenbass-body-neck.953877/
I left that bass pretty much in the state it was when I took those pictures more than a year ago, aside from destroying a bit of the fingerboard... Meanwhile I moved out of my parent's house, got a job in another city etc etc.
These days I'm visiting my parents. Since lately I've been wanting to do some DIY but had been shot down by lack of space and tools, I decided to take advantage of the old man's garage. I had this fingerboard-sized piece of teak laying around, so I decided to try and bring this bass back to life.
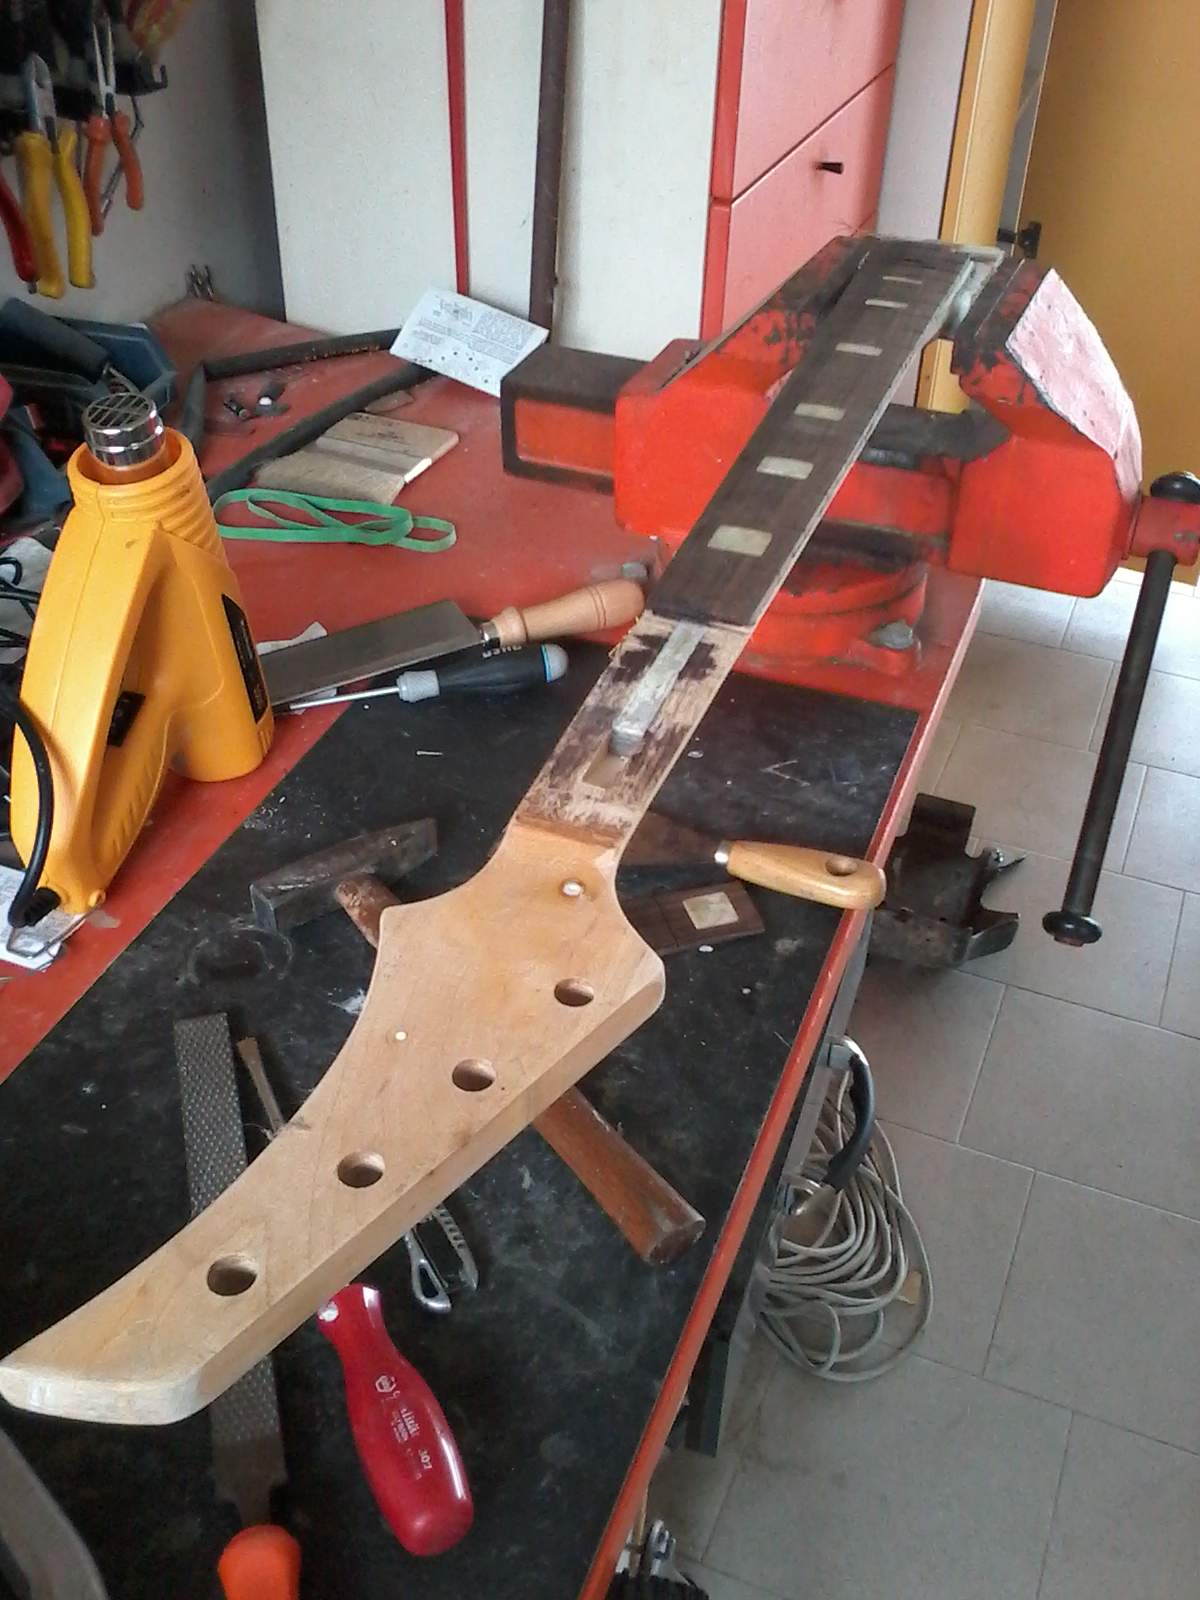
I first tried removing the old fingerboard by sawing, but it didn't do much good. I found out that the best way is to use a spatula and a heat gun. I was able to remove the rest of the board without significant damage. The block inlays however started to burn once reached a certain temperature, so after the first one started burning i removed the others with a chisel. Wouldn't really know how to do it if the board had to be reattached.
The teak piece, yet to be sanded:
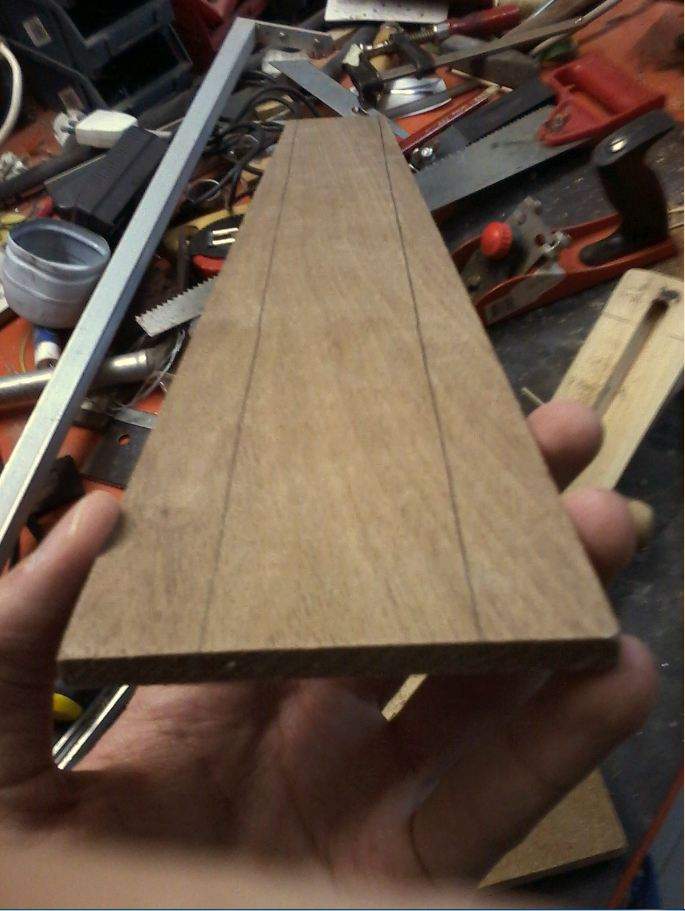
This is going to be a 3 octave fretless unlined fingerboard. I think I'll add a side marker at the 12th and 24th positions.
It's also going to be flat, because I want to try the feel of it but primarily because I don't have a sanding block available, and making one with the tools I have is too time consuming.
I then sanded the "finish" away from the body with an amazing Makita sander the old man just got himself. I'll remember to take a pic of it tomorrow.
I did a lot more work today and especially took a dozen more pictures of it... Except those damn photos won't be uploaded! Neither here nor on imageshack. I suppose the camera app on my phone is to blame (IG camera), it does this thing when saving images that I don't really feel like typing about now.
EDIT: Converting them doesn't seem to work. I'll take a screenshot of every picture and report back.
EDIT: Hallelujah!
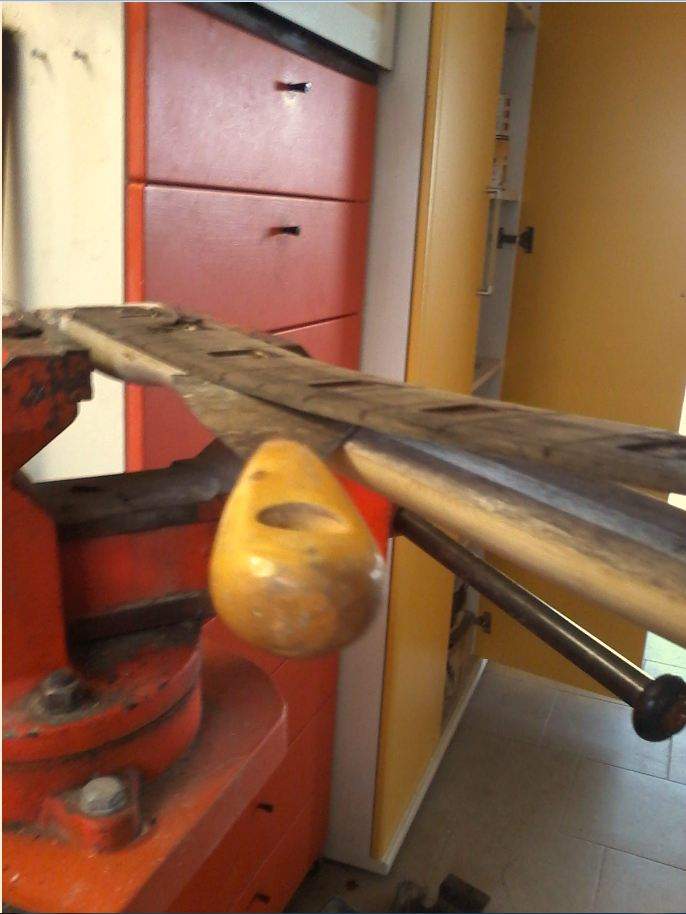
Here's the body before sanding:
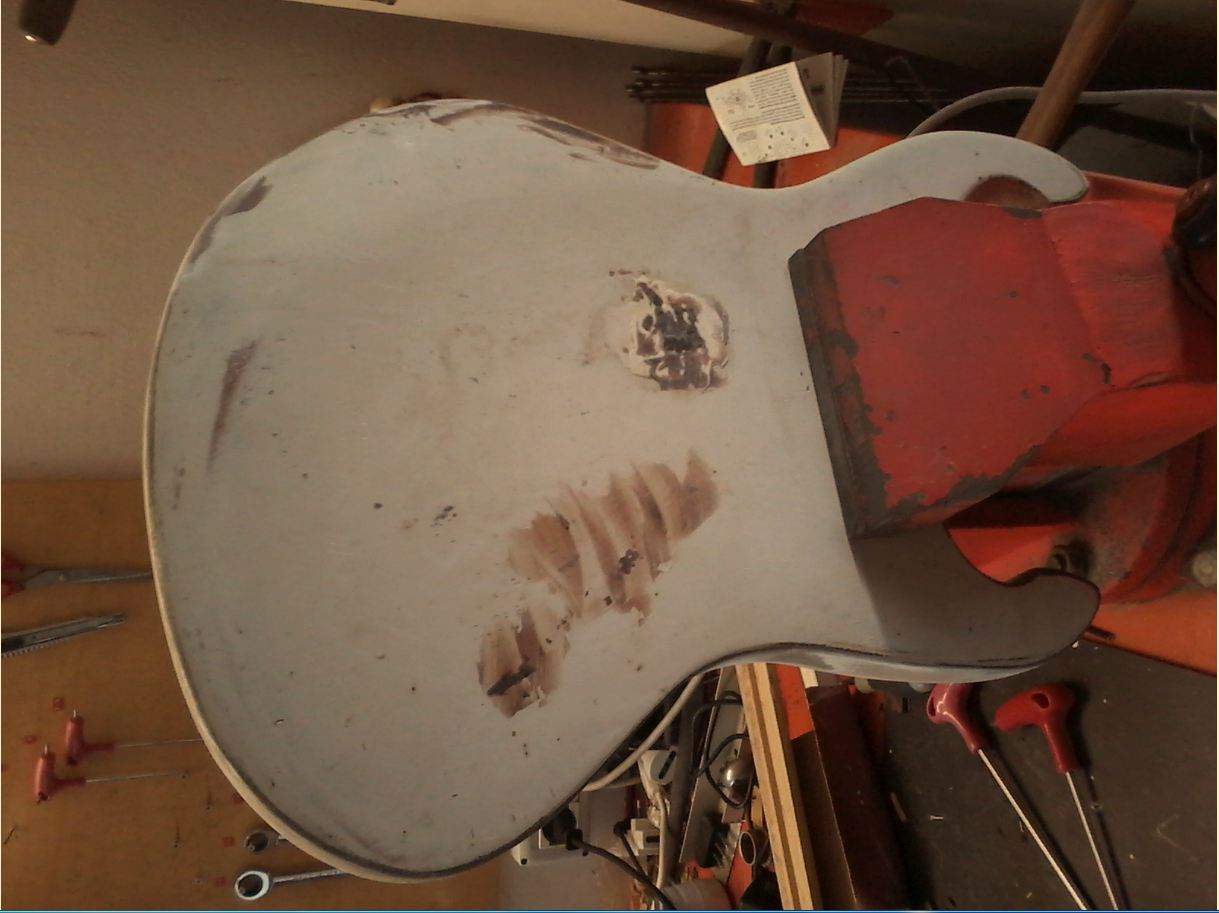
And after:
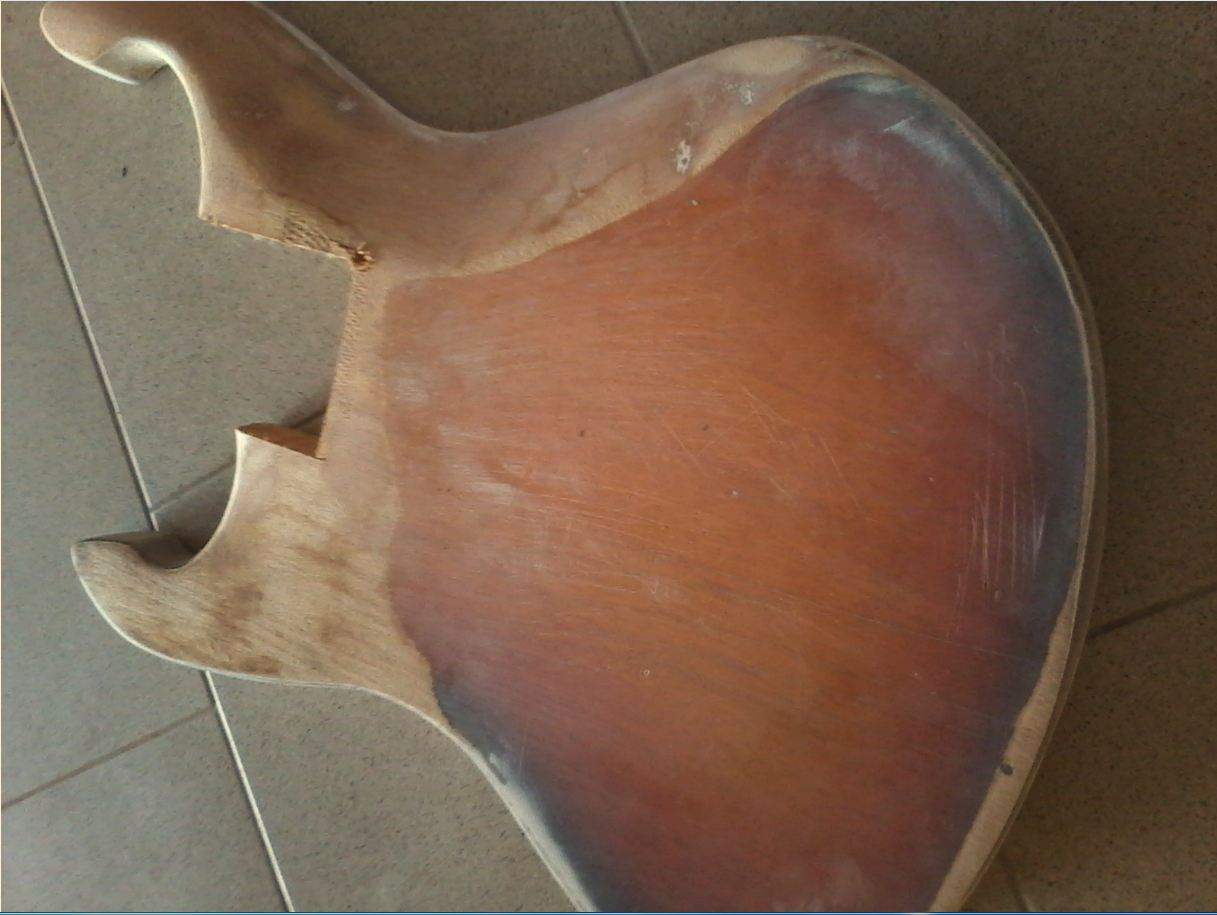
I then sanded it away too... Took a lot of work, forgot to take pictures.
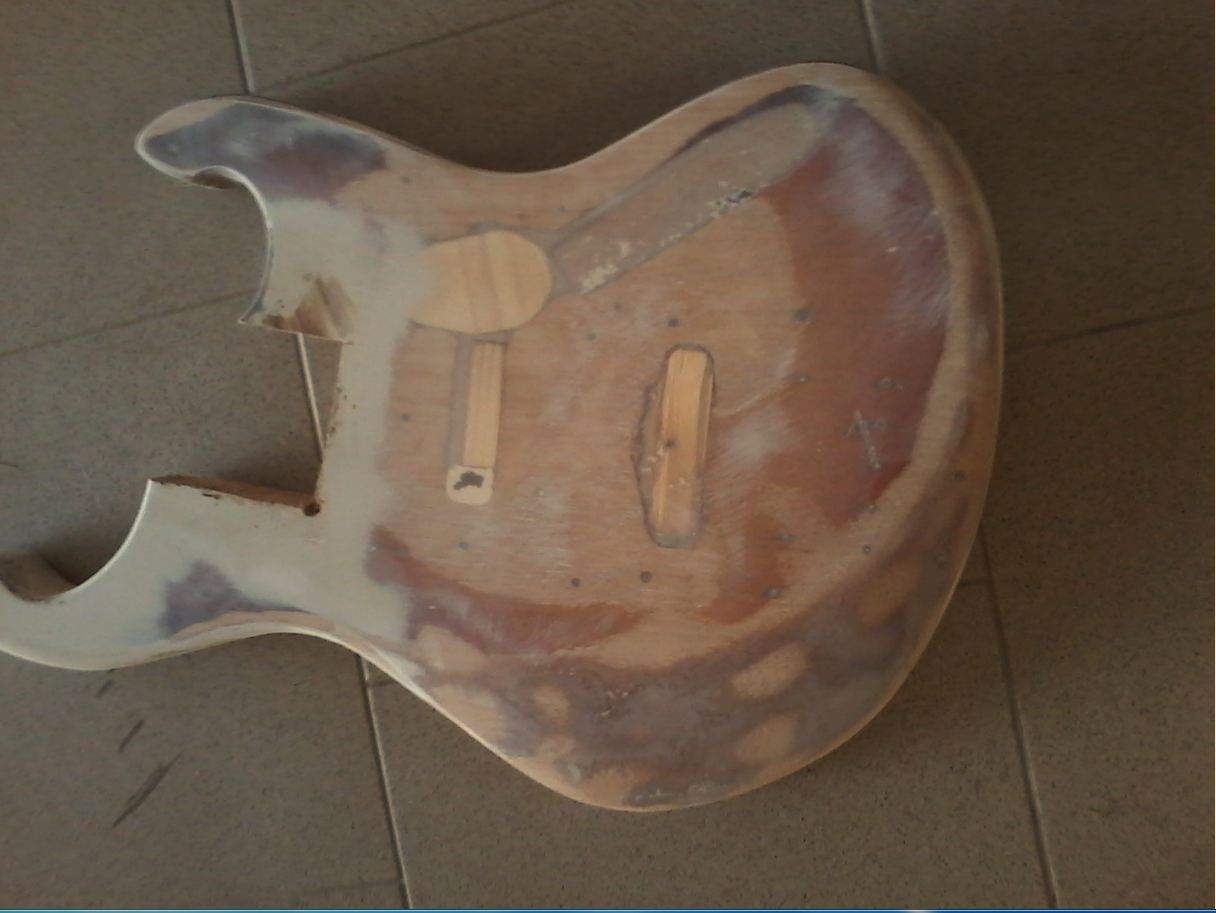
Looks like the previous owner filled the pickup routs with some pine... He also messed up the whole neck joint by applying putty and needlessly rounding the joint part, meaning it will be a lot of extra work to have it consistently fit into a neck pocket.
Here's the neck, sans fretboard:
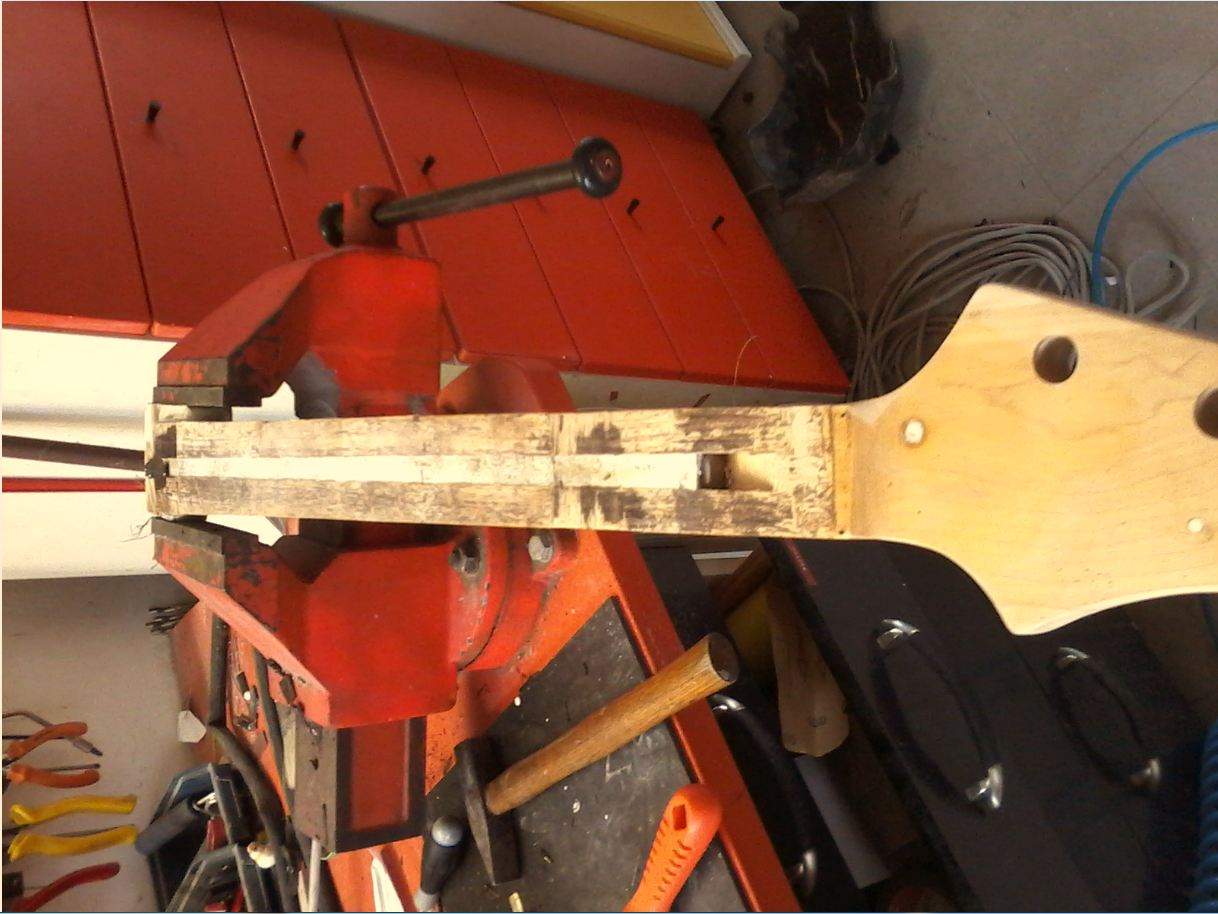
Here is a little screwup, probably cause when trying to cut the FB away:
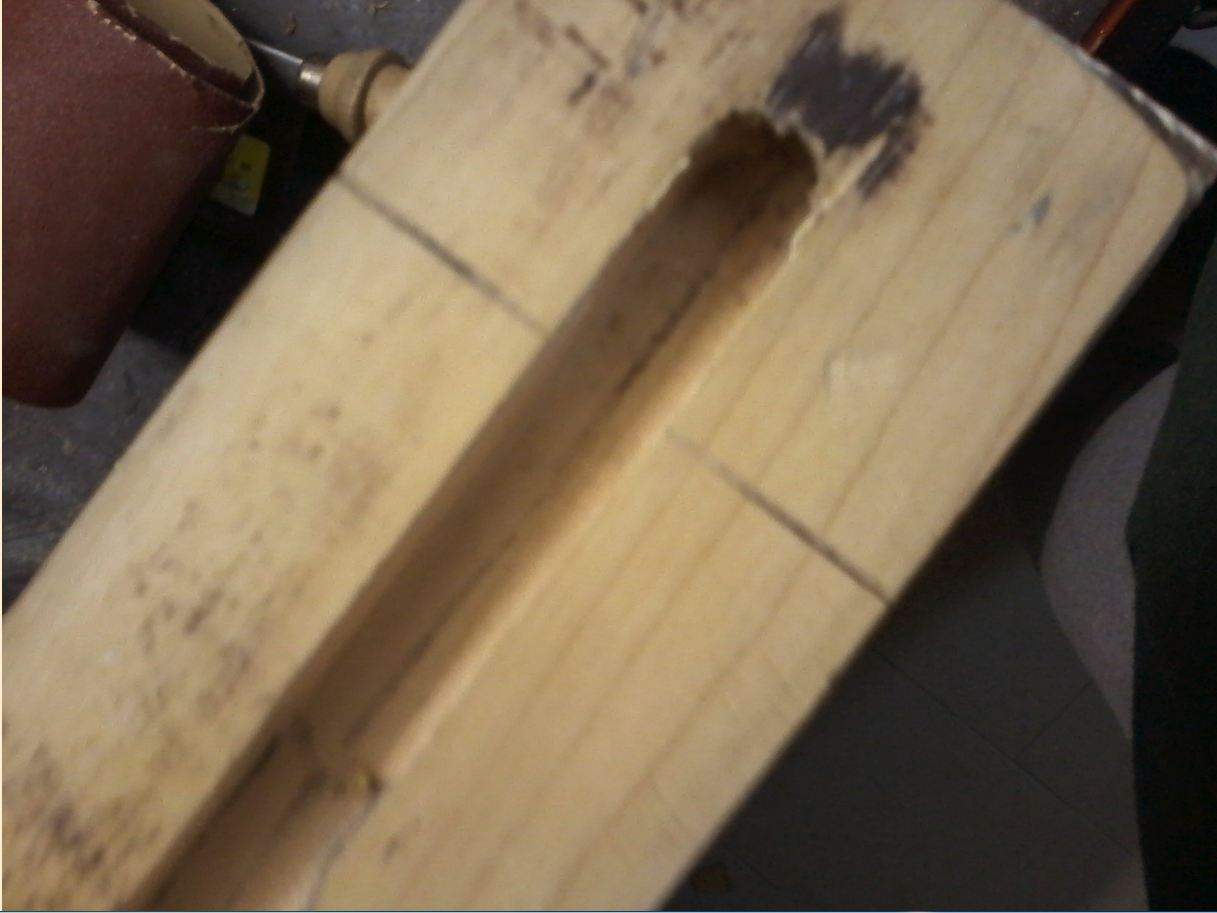
I suppose it's not going to be much of a problem when I glue the new FB up.
I then filled the holes on the back of the headstock with some wood glue and toothpicks:
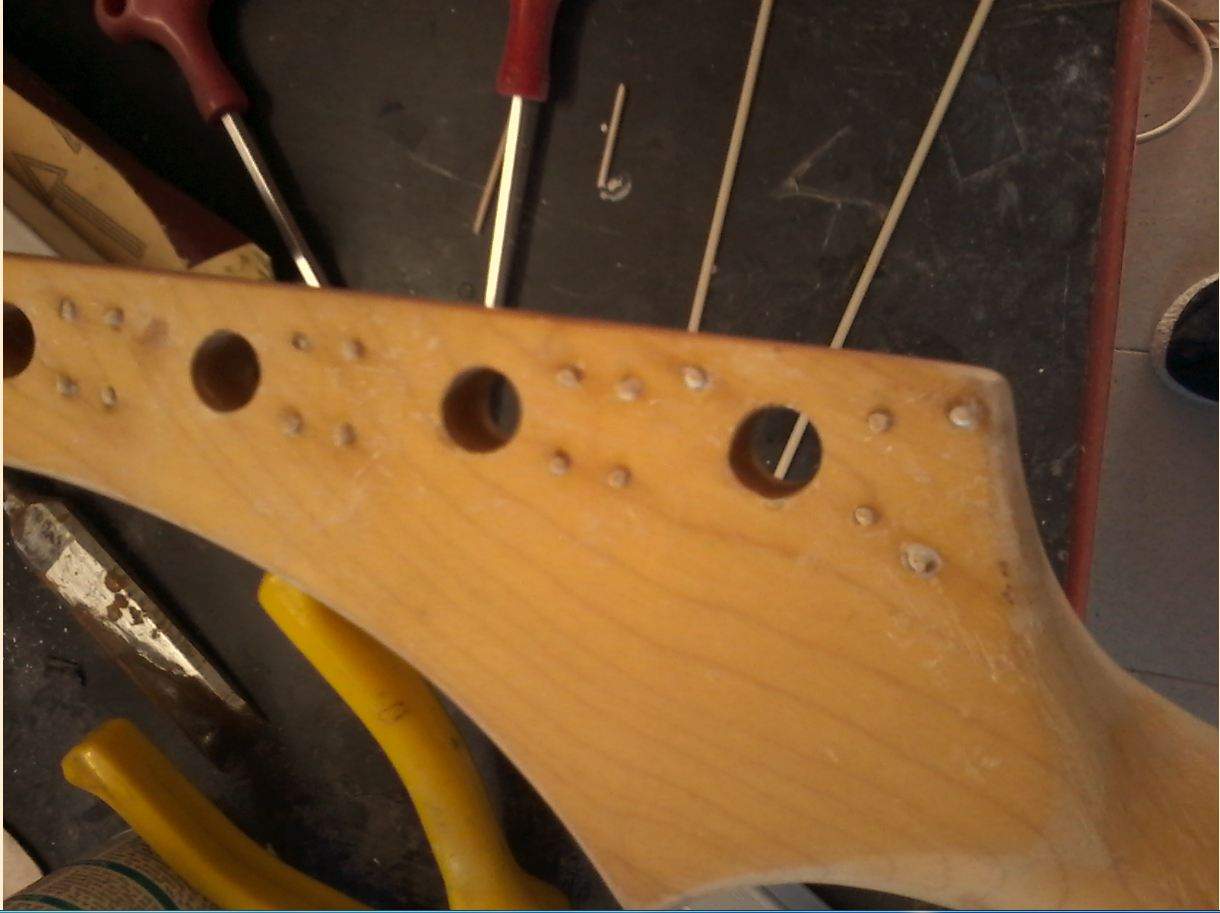
Tomorrow, after the glue is dried, I'll level them out.
I plan on making a Steinberger-style body using pieces of the old one, and probably finish it a solid colour since it looks kinda bad. I might finish the neck too. I am also considering turning it into a 5 stringer, but I don't know how well the neck will hold. Plus, since it's a 3 octave FB, I might as well string it BEAD and I won't lose anything in the top end.
The pickups will be... Whatever I find. Probably an old J pup of unknown origin (its story would need a whole other thread). Since the fretboard will extend well over the neck, I'm thinking about making space for another pickup in Ric position, under the fretboard!
Tomorrow, if I have time, I'll glue up the fretboard and start preparing the body. I'm open to suggestions!
Over and out for now...
I left that bass pretty much in the state it was when I took those pictures more than a year ago, aside from destroying a bit of the fingerboard... Meanwhile I moved out of my parent's house, got a job in another city etc etc.
These days I'm visiting my parents. Since lately I've been wanting to do some DIY but had been shot down by lack of space and tools, I decided to take advantage of the old man's garage. I had this fingerboard-sized piece of teak laying around, so I decided to try and bring this bass back to life.
I first tried removing the old fingerboard by sawing, but it didn't do much good. I found out that the best way is to use a spatula and a heat gun. I was able to remove the rest of the board without significant damage. The block inlays however started to burn once reached a certain temperature, so after the first one started burning i removed the others with a chisel. Wouldn't really know how to do it if the board had to be reattached.
The teak piece, yet to be sanded:
This is going to be a 3 octave fretless unlined fingerboard. I think I'll add a side marker at the 12th and 24th positions.
It's also going to be flat, because I want to try the feel of it but primarily because I don't have a sanding block available, and making one with the tools I have is too time consuming.
I then sanded the "finish" away from the body with an amazing Makita sander the old man just got himself. I'll remember to take a pic of it tomorrow.
I did a lot more work today and especially took a dozen more pictures of it... Except those damn photos won't be uploaded! Neither here nor on imageshack. I suppose the camera app on my phone is to blame (IG camera), it does this thing when saving images that I don't really feel like typing about now.
EDIT: Converting them doesn't seem to work. I'll take a screenshot of every picture and report back.
EDIT: Hallelujah!
Here's the body before sanding:
And after:
I then sanded it away too... Took a lot of work, forgot to take pictures.
Looks like the previous owner filled the pickup routs with some pine... He also messed up the whole neck joint by applying putty and needlessly rounding the joint part, meaning it will be a lot of extra work to have it consistently fit into a neck pocket.
Here's the neck, sans fretboard:
Here is a little screwup, probably cause when trying to cut the FB away:
I suppose it's not going to be much of a problem when I glue the new FB up.
I then filled the holes on the back of the headstock with some wood glue and toothpicks:
Tomorrow, after the glue is dried, I'll level them out.
I plan on making a Steinberger-style body using pieces of the old one, and probably finish it a solid colour since it looks kinda bad. I might finish the neck too. I am also considering turning it into a 5 stringer, but I don't know how well the neck will hold. Plus, since it's a 3 octave FB, I might as well string it BEAD and I won't lose anything in the top end.
The pickups will be... Whatever I find. Probably an old J pup of unknown origin (its story would need a whole other thread). Since the fretboard will extend well over the neck, I'm thinking about making space for another pickup in Ric position, under the fretboard!
Tomorrow, if I have time, I'll glue up the fretboard and start preparing the body. I'm open to suggestions!
Over and out for now...
Last edited:

 ).
).