• TalkBass has been independent since 1998. Add your voice.
    Create a free account to reply to discussions, view embedded media, and browse with fewer display ads.
    Join freeLog in
    Want zero display ads or expanded classifieds tools? Compare plans.

Birdseye Purpleheart Reverse P - Summer Build Off 2024

Barticus

Supporting Member
Sep 16, 2017
6,963
20,152
Midwest
Birdseye Purpleheart Reverse P

Scratch build
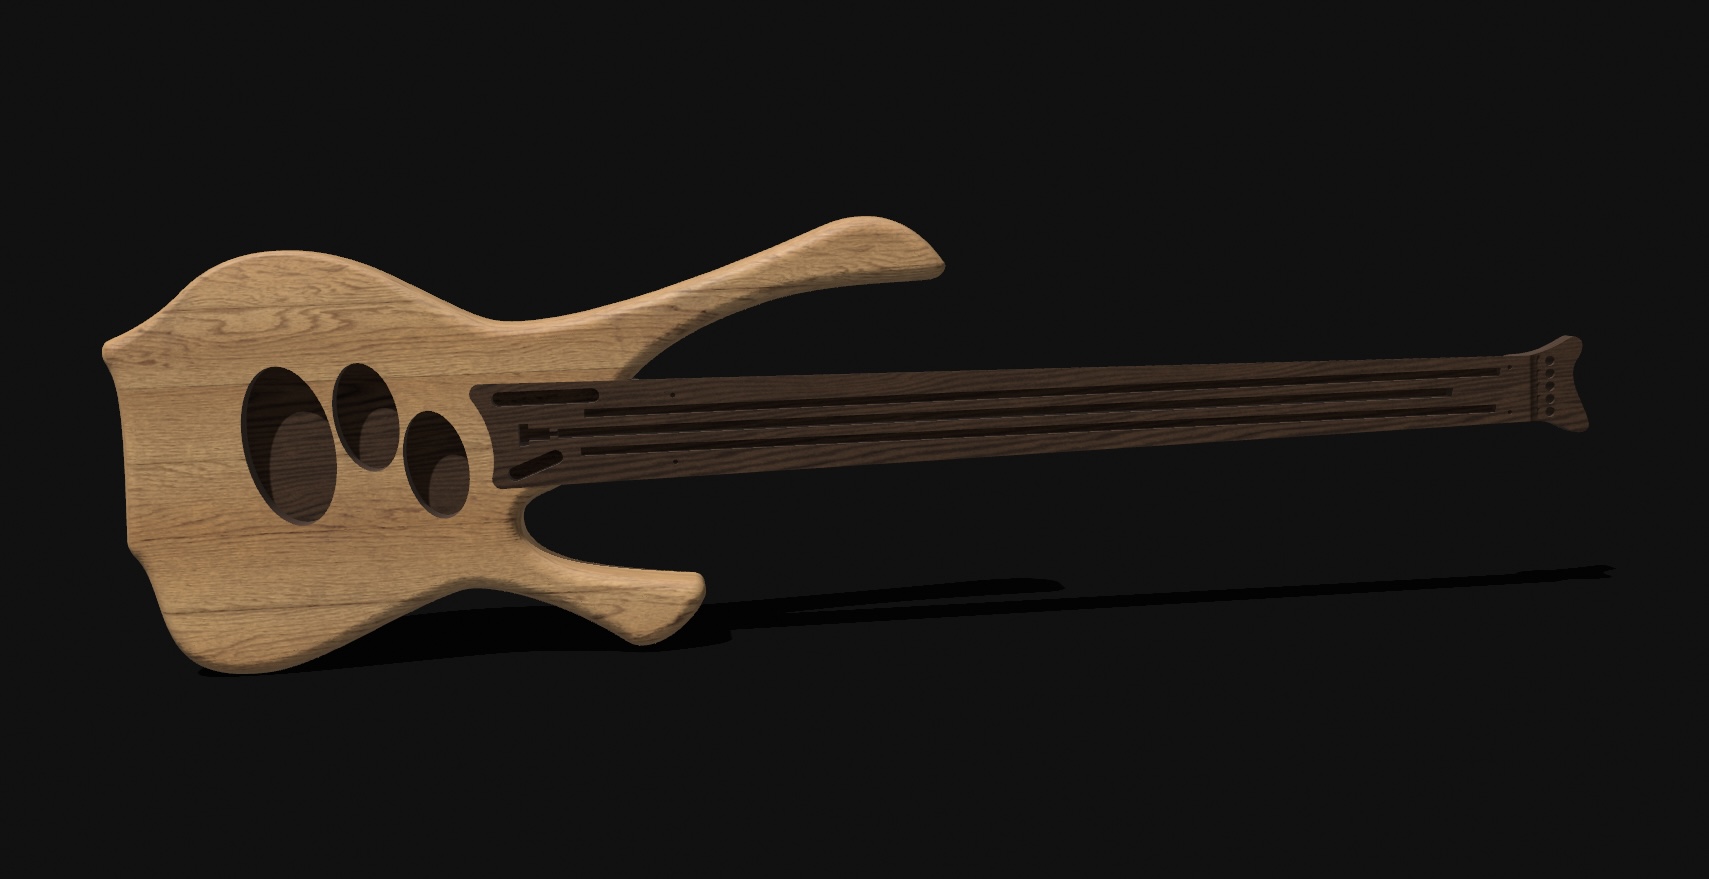
So anybody that knows me, knows I am a bit anti FSO or traditional old-school basses and a P has never lasted in my stable, until now. I had NO PLANS for a 3rd build, and then a fellow craftsman that builds custom drum shells reached out to me about a week ago and asked if I could use a piece of Birdseye Purpleheart, which to be honest, I had never seen before until he exposed me to it… so I said sure! …originally I thought I was going to add it to my build number two (the gig machine,) but then I thought why not? So here's my take on what my version of a P might look like.

3D model rendering
IMG_1157.jpeg


Here's a quick rundown on the specs:
  • Headless with "Barticus Bunny Ears" so it can hang in a regular guitar stand
  • Black Limba body with figured, Burdseye Purpleheart top
  • Pink and black veneer layer
  • Wenge finger board / EVO Gold frets
  • Riviera tuners
  • Delano Xtender Quad cool and split Quad coil (I've had these on order for about three months, and I was just notified that they arrived from Germany this week)
  • Darkglass Tone Capsule preamp
  • Multi-lam neck (Birdseye Maple, Purpleheart) with 2-way Hotrod and carbon rods and Bruce-bar threaded brass inserts for neck bolts
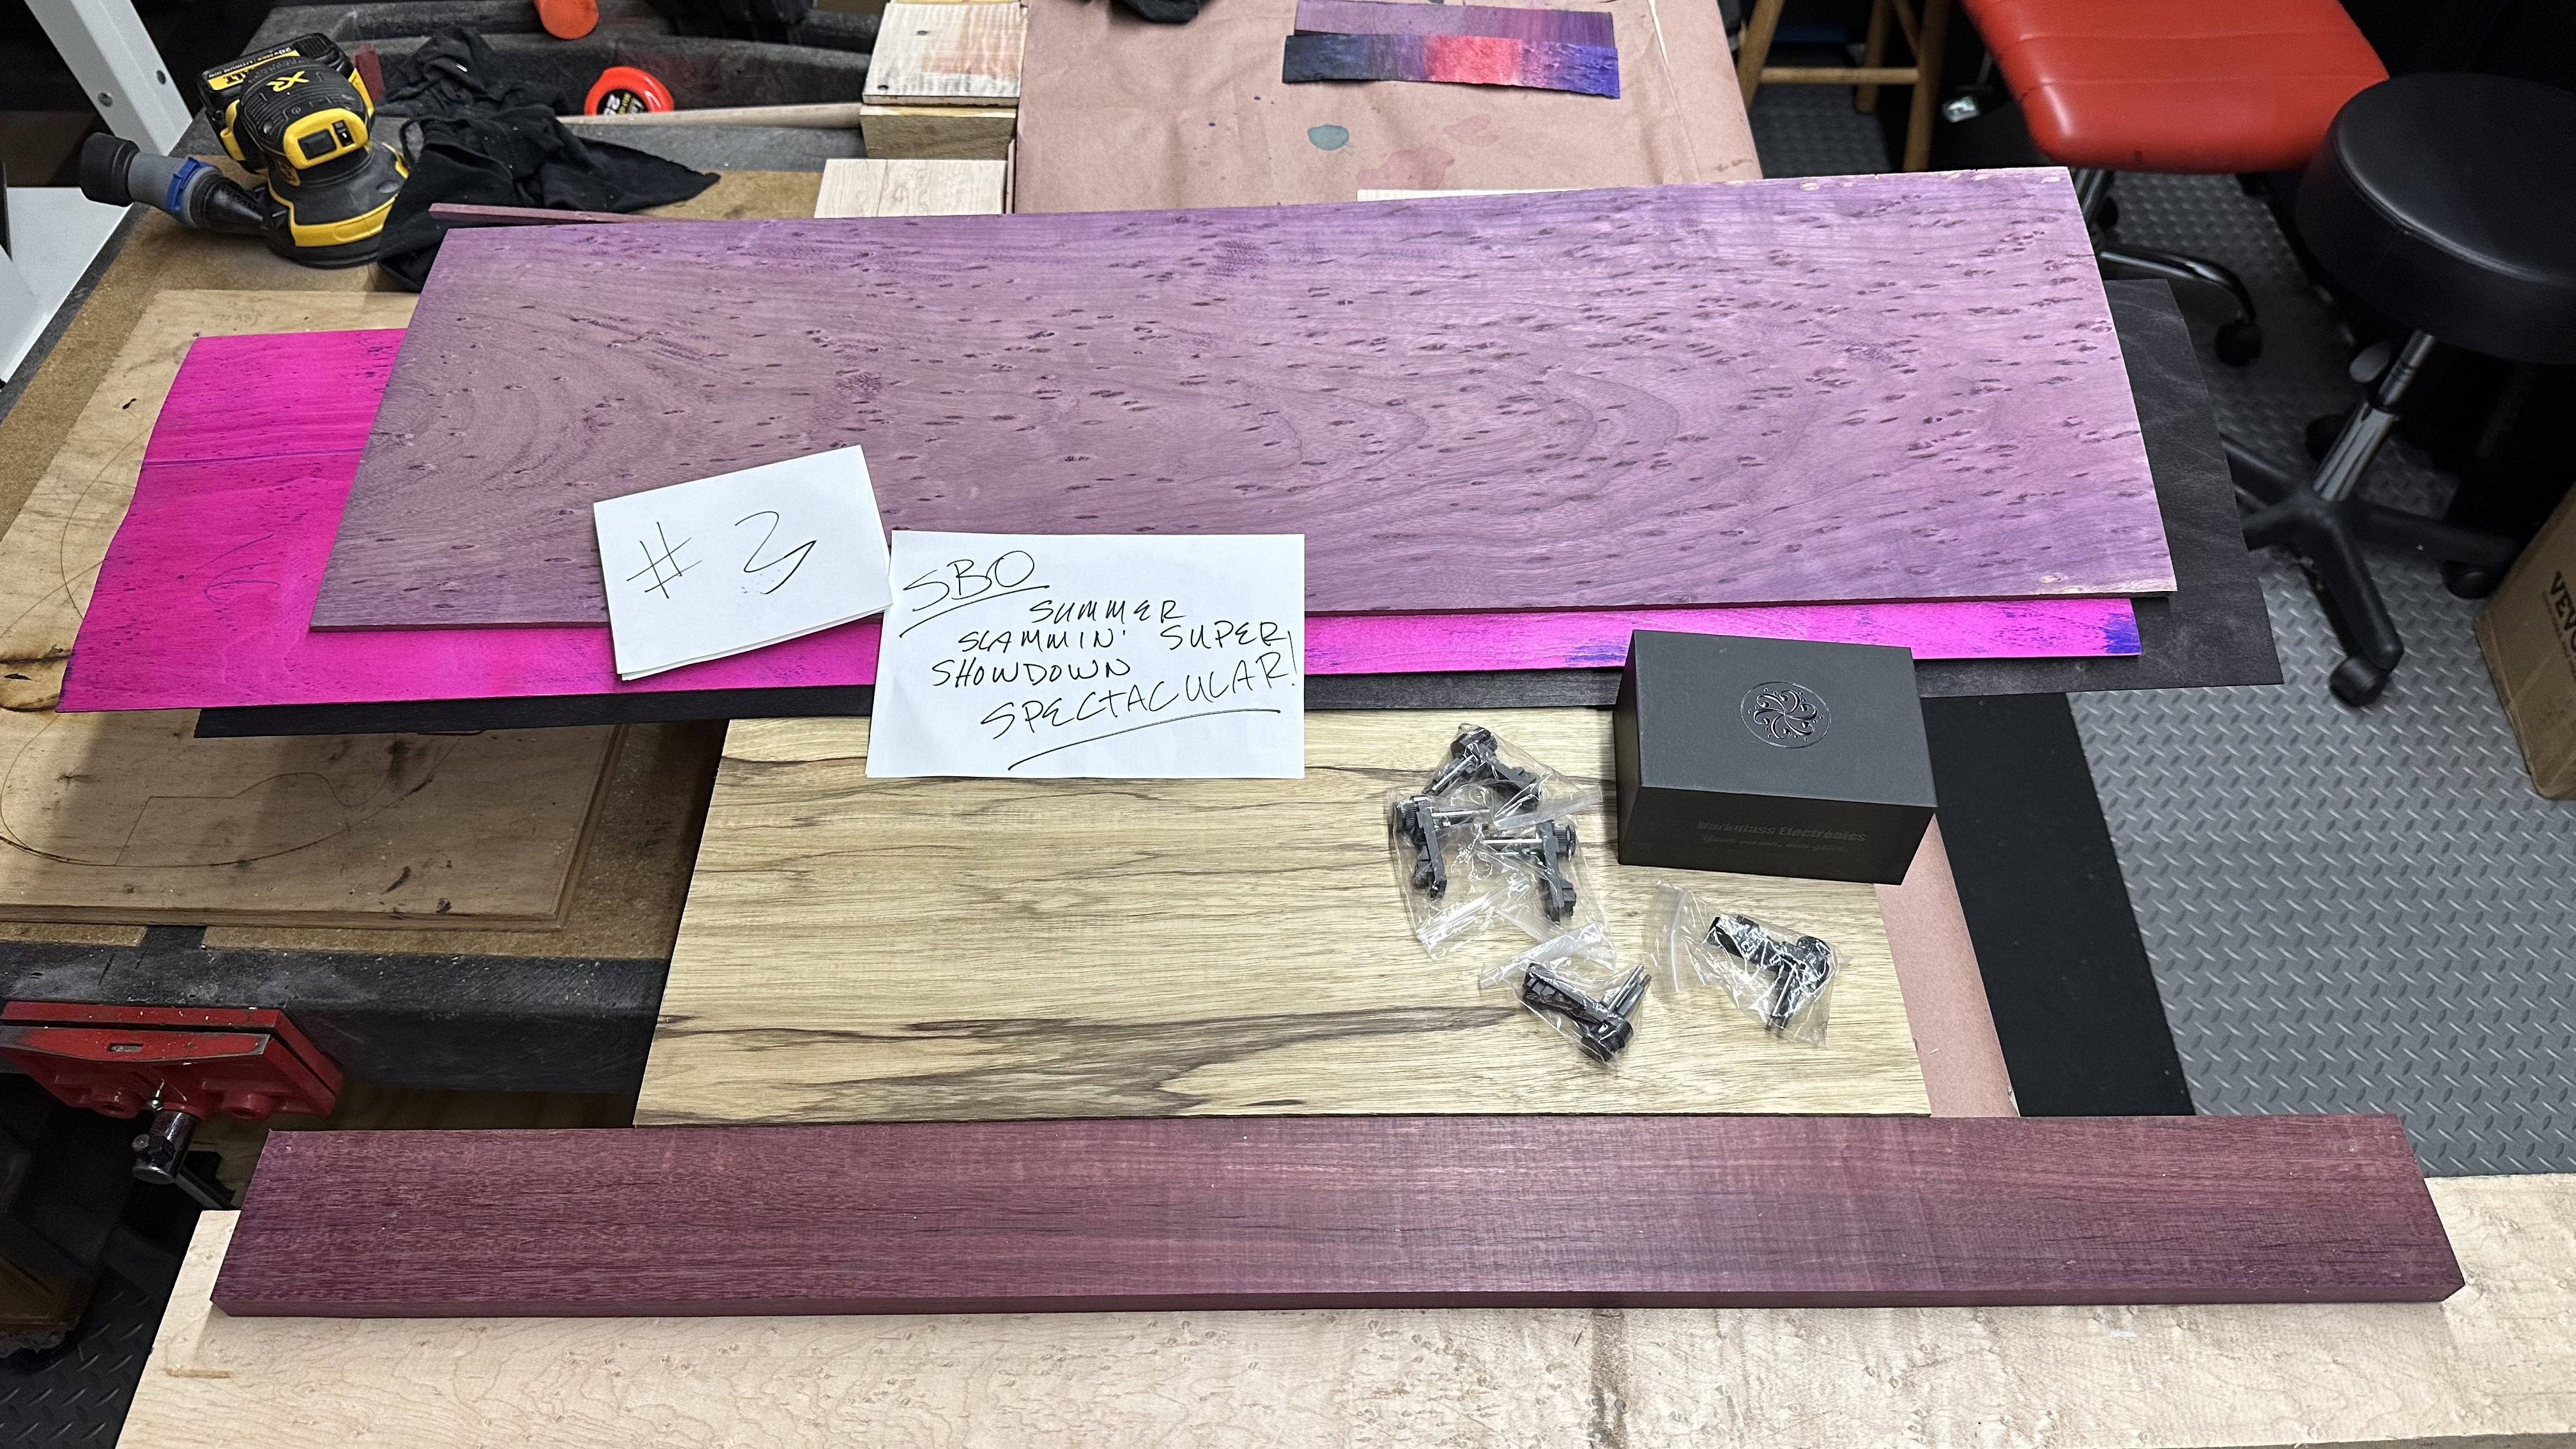
Required "pile-o-parts"
IMG_8174.jpeg


I had all of the other wood laying around so this new piece of Purpleheart
was really needed to bring that wood to life.
 
Last edited:
I'm doing some prep work by getting all the layers cut to size and ready to go into the body bag for epoxy.

Once it comes out of the bag, I'll trim the size down to the width that I need and will resaw a quarter inch off of the back of the body. This will bring the body blank down to the thickness that I need for carving and that quarter inch piece can be set aside and used to laser cut a control cavity cover that will match the woodgrain precisely because it's coming off of the back :thumbsup:.

I'm using a sample carve body that was carved from scrap wood as a prototype body for sizing verification / pickups, pot scallops, back scallop, neck pocket, etc.

The progress pics
IMG_8192.jpeg
IMG_8185.jpeg
IMG_8189.jpeg
IMG_8191.jpeg
IMG_8190.jpeg
 
So by tomorrow, all three of my bodies will be ready for carving so tomorrow will be a big day running the router.

Today in the background, I ended up running a bunch of signature drumsticks for our band. Signatures on one side and the band logo and URL on the other.

We've had requests at the last several shows for signed drumsticks, and I didn't want our drummer to be giving away his good sticks for this (too expensive). I was able to buy 12 pairs of good maple sticks for this on Amazon for $20. So these are getting run while I'm doing other stuff.
IMG_8195.jpeg
 
Once again, the Amazon vacuum bag reuse worked perfectly. I came out today and the bag was still sealed up tight no issues whatsoever the epoxy doesn't stick to it. These things work really well.
IMG_8207.jpeg
IMG_8206.jpeg
IMG_8208.jpeg

I'll trim the body blank to the width that I need today but I'm waiting on the Delano split pickups to show up. They should be here by Monday or Tuesday. But otherwise, this one is ready to carve. My test carving has been completed on scrap wood, tuners, neck pocket, curved front and back, so it should go fairly smooth when it comes time to carve this one. I will do some final test carves for the split P pickups when they arrive just to make sure I have tolerances correct.
 
I re-sawed a layer from the bottom of this body blank to set aside as the control cover. I'll clamp it between a couple of extra body blanks to keep it flat and then I'm sure I'm going to have to soak it in epoxy to stabilize it so it's nice and hard and doesn't warp. I've never done this before, but I want to see if I can match up the grain pretty close. It does vary between that quarter inch piece but should look pretty good since it's actually coming from that part of the body versus another random piece of wood.
IMG_8214.jpeg
IMG_8215.jpeg
IMG_8217.jpeg