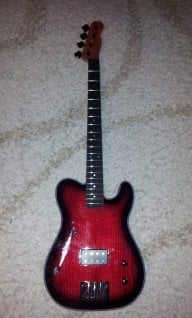
So i won't be able to bring this beast to my dad anytime soon because it exceeds the train carry on weight & i don't feel "safe' having it put in storage on the train (+ the ticket is much more expensive). So it'll probably be in the spring/summertime when i go. But in the mean time since i do play it sometimes, i'm gonna do a little revisit. Today i disassembled it, & routed a channel between the pickups & controls, i should always do this when there's a pickguard with the controls attached to it, it's easier to wire (only exception is a jazz bass, it's cool to take the guard off & have more colour exposed).
In the upcoming months, i'm also going to pull the frets off to radius the board to 12". It's almost flat now straight from all parts & i thought it had a radius, oh well it's fine more work but less at the same time. while that's being done, i've noticed that there isn't enough clear over top the flakes cause my forearm does still feel the texture of them, It's my own mistake, i didn't build the clear at all really. There is some but it's not covering the flakes, so it'll be taken apart in a few months & with 1-2 coats per day (in space of 7 hours between both coats), over a period of 7 days, it should be enough to have a good build of clear coat & then it'll be left to dry/cure for a month. If i start mid january (hopefully), i'll be roughly done mid-end february. No pictures for this, but i'll post an update when i get to it.
Cheers!

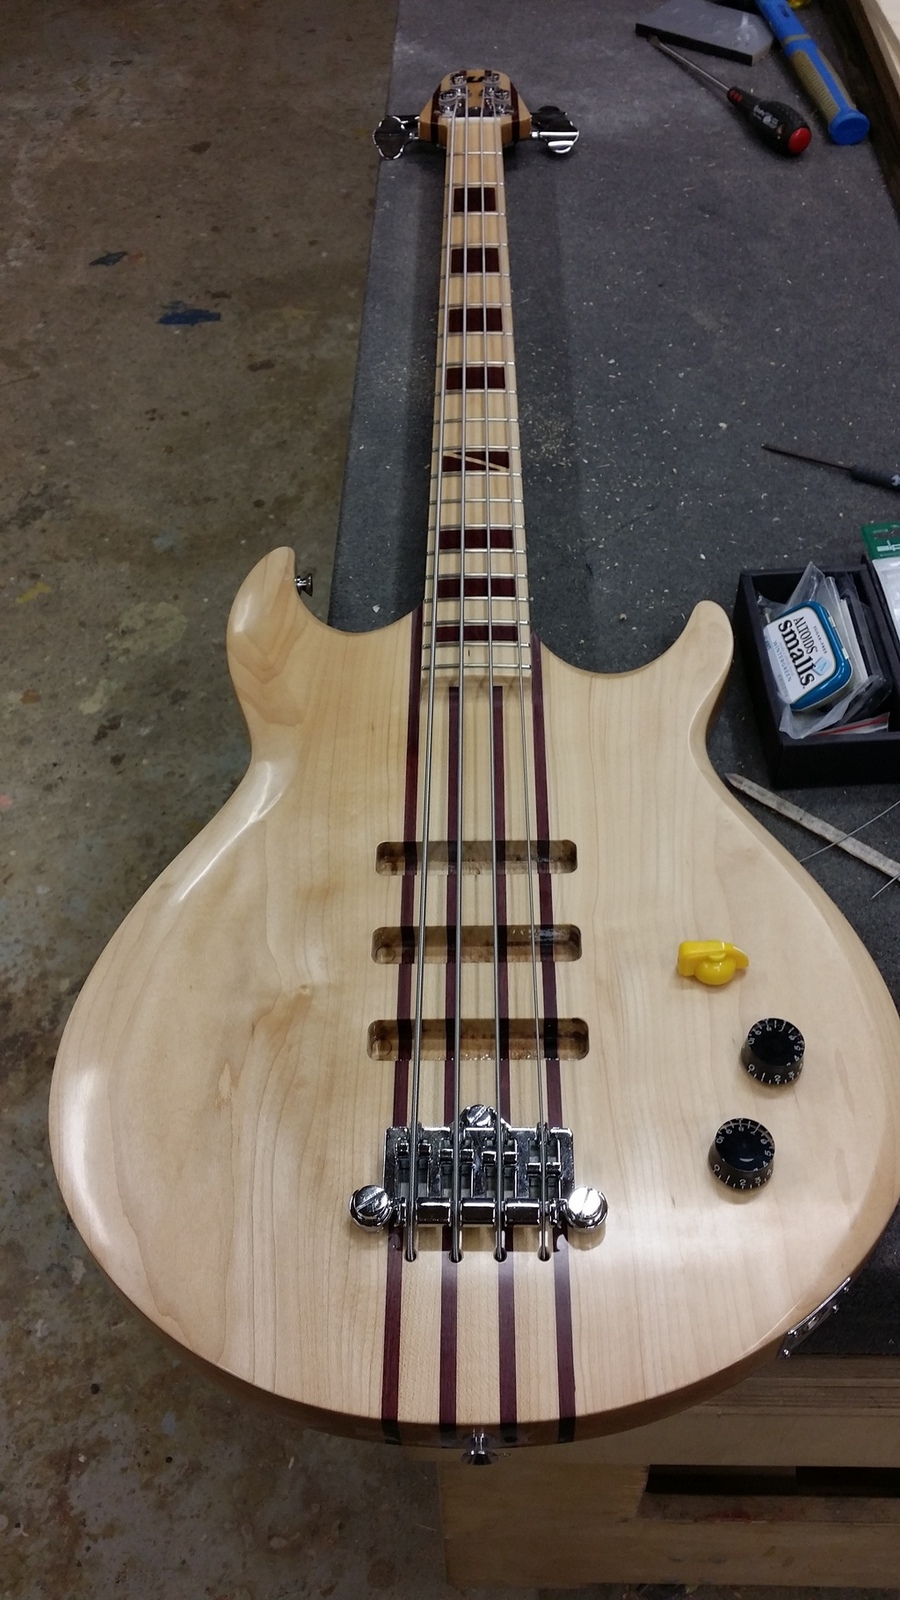


 What pickups are you using & will the rotary switch have the same "wiring" as the old G3s + a bypass (if it's a 4 way rotary).





