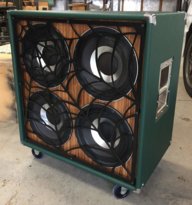
I bought a new Orange 4 Stroke a few months ago when Proaudiostar.com was blowing them out. Since it’s a keeper and I have no other rack gear, I thought it should have a home worthy of it’s greatness as an amp.
I wanted it to look like a stand alone head, rather than put it in a generic rack case. After doing a web search for photos of boutique and vintage amp heads, I decided to go 3 space with a vented rack panel to allow for proper cooling, and the proportions just looked right to me over a 2 space.
I was thinking of using 1/2” expensive, but strong Finnish birch, to keep the weight down, but my test routes on the prototype mock ups didn’t go well with the joints I was intending to use. I had to simplify the design and I settled on some 3/4” birch from Home Depot that I had lying around from a previous project. No cost, and more room for error due to the thickness.
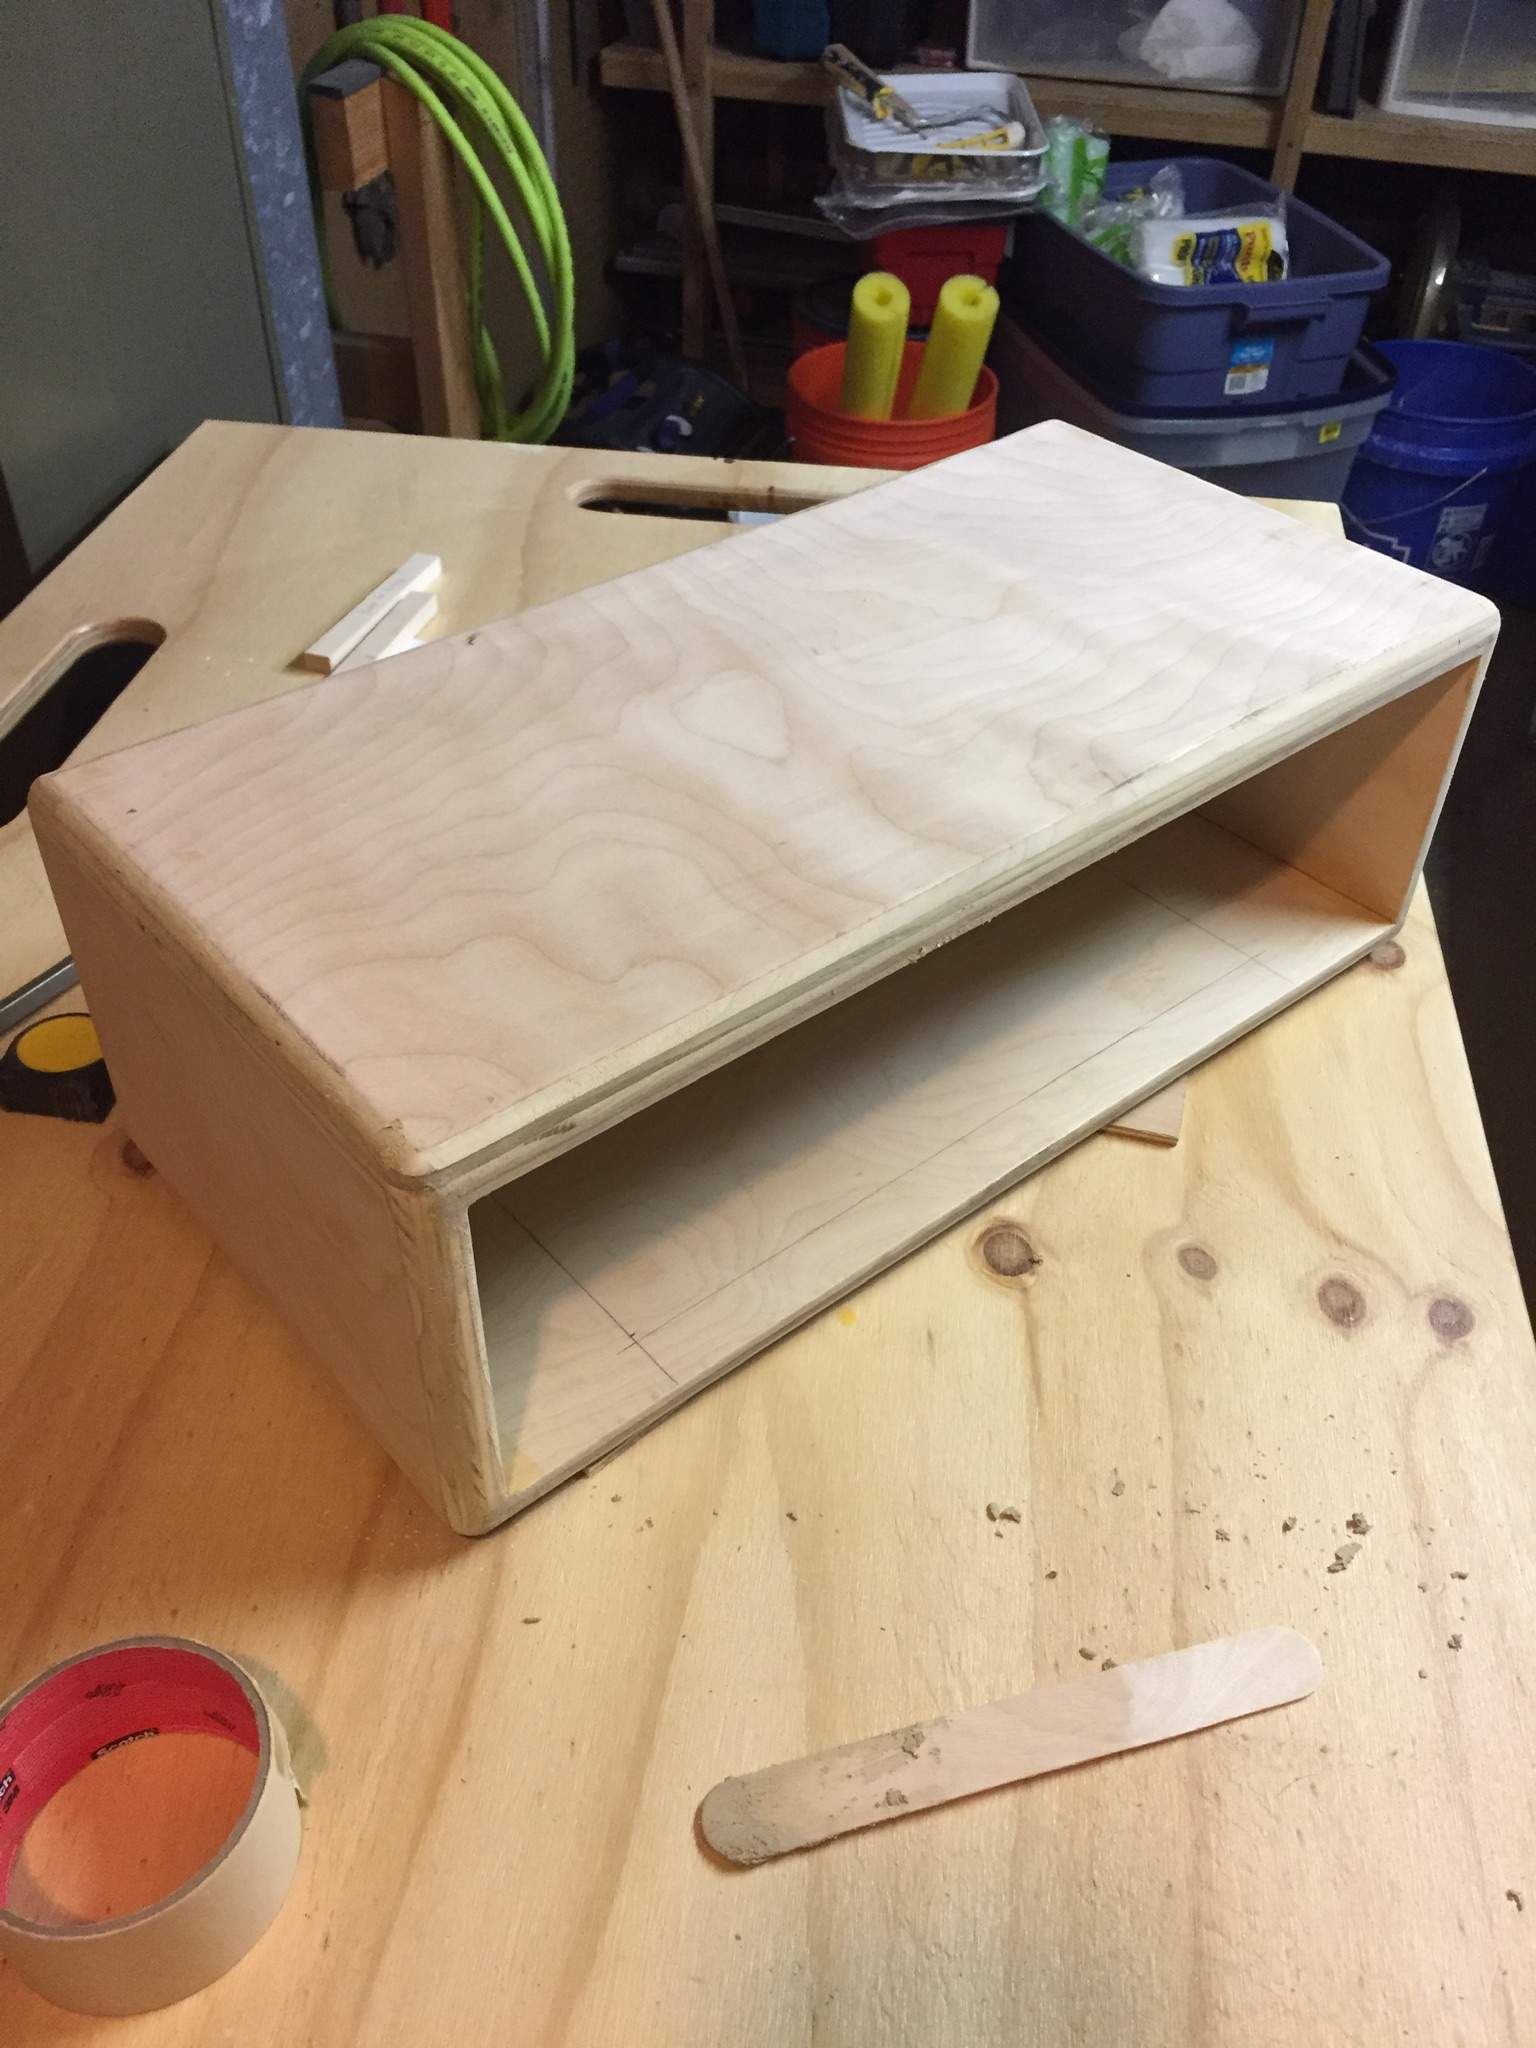
Unfortunately, this is the only pic I have of the build process. I tried using DAP waterbased contact cement for the tolex, but the adhesion was not great unless I heated it with a hair dryer. I splurged on some proper tolex adhesive from Amplifiedparts.com which I wish I had done from the start. It took a couple months to complete with my scarce spare time, but here it is.
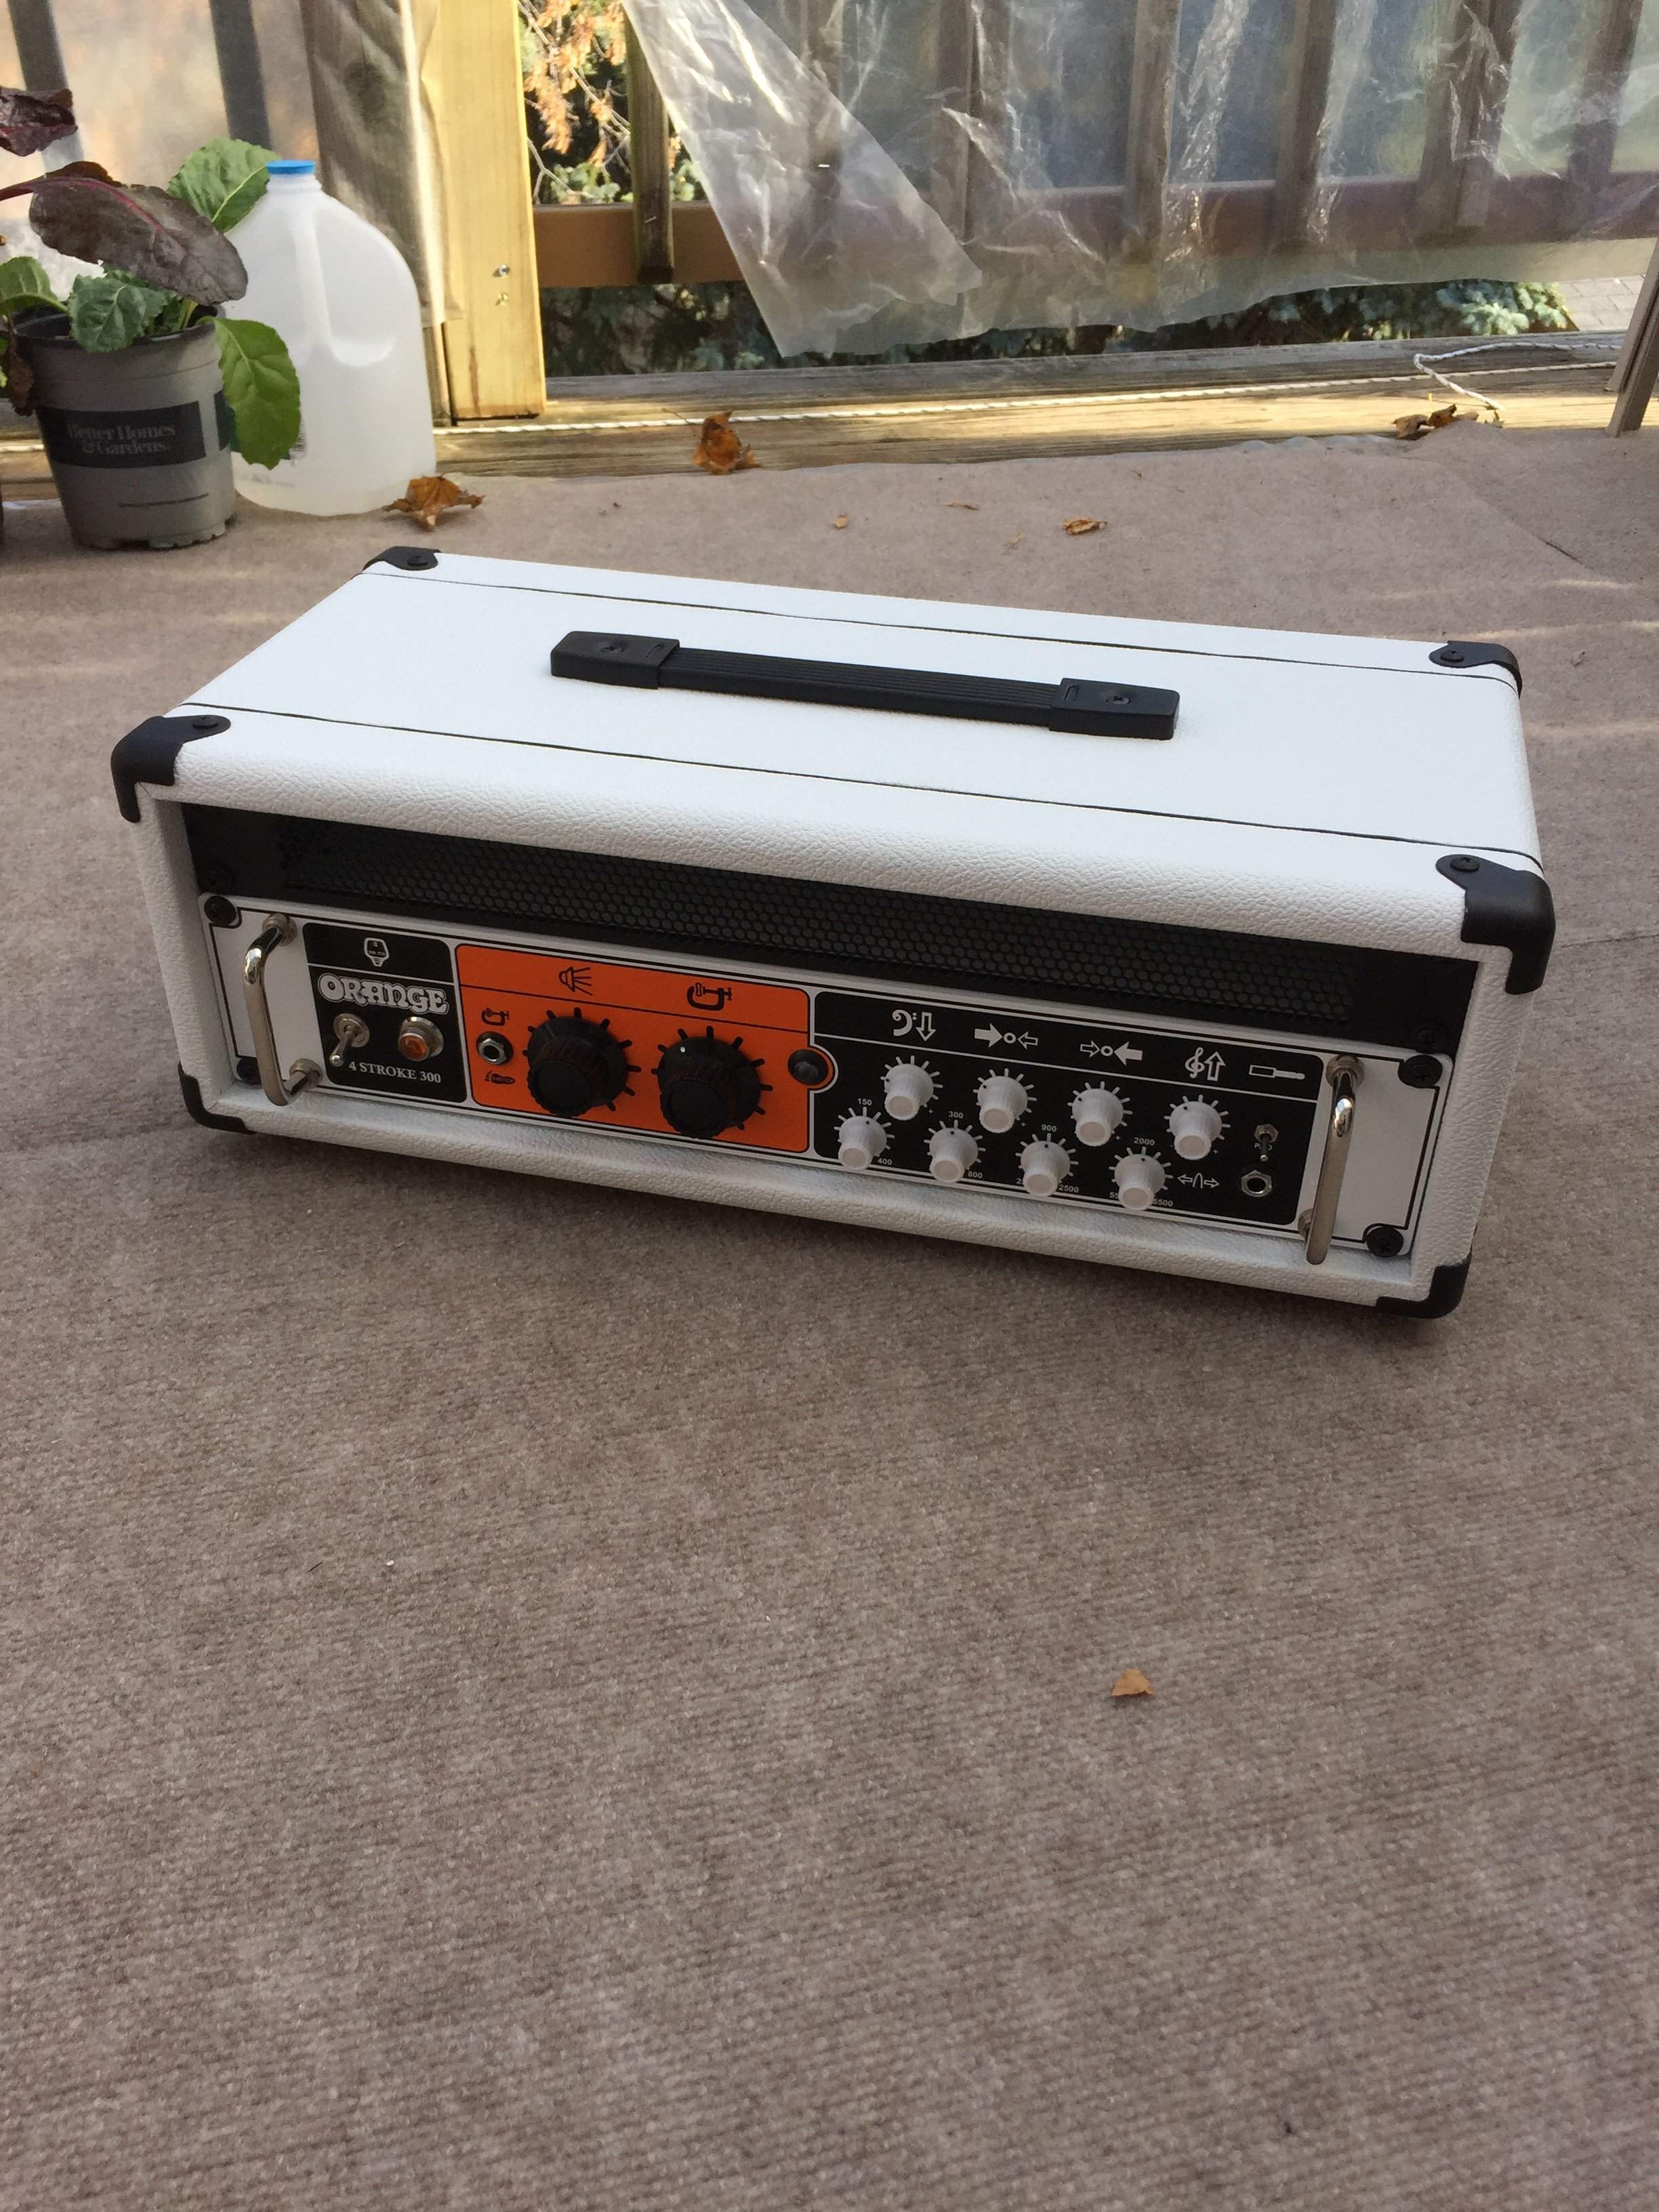
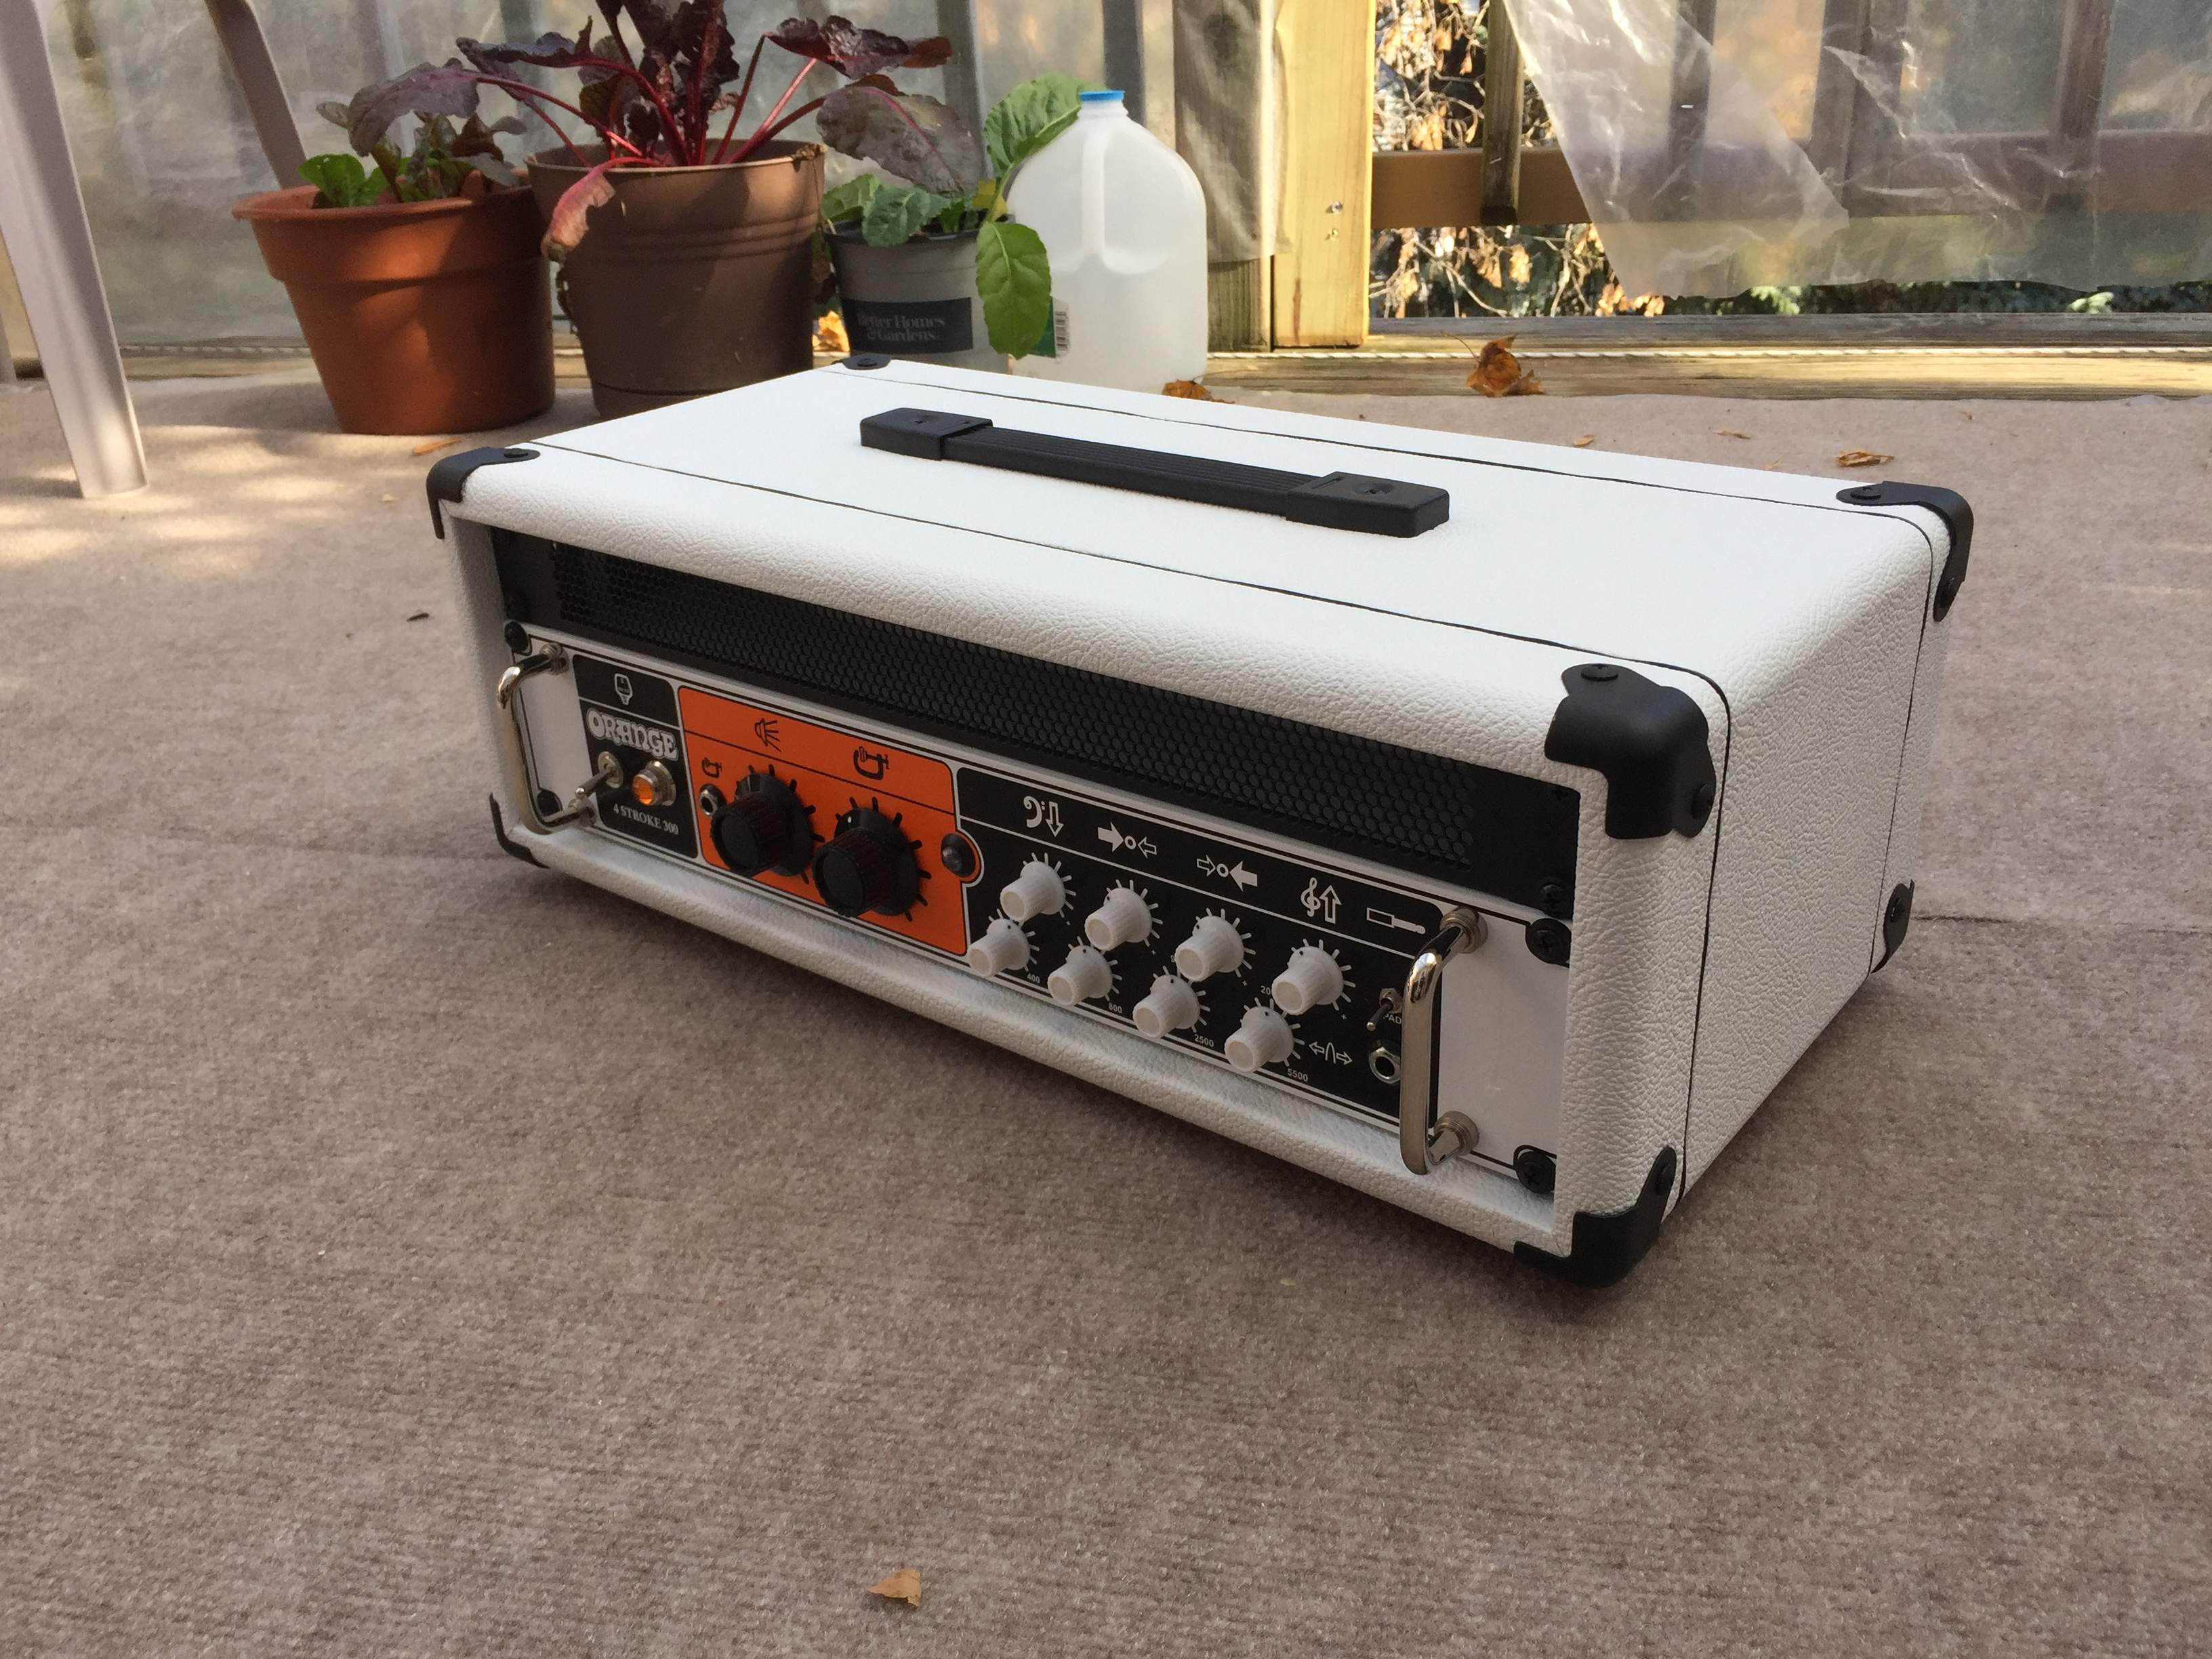
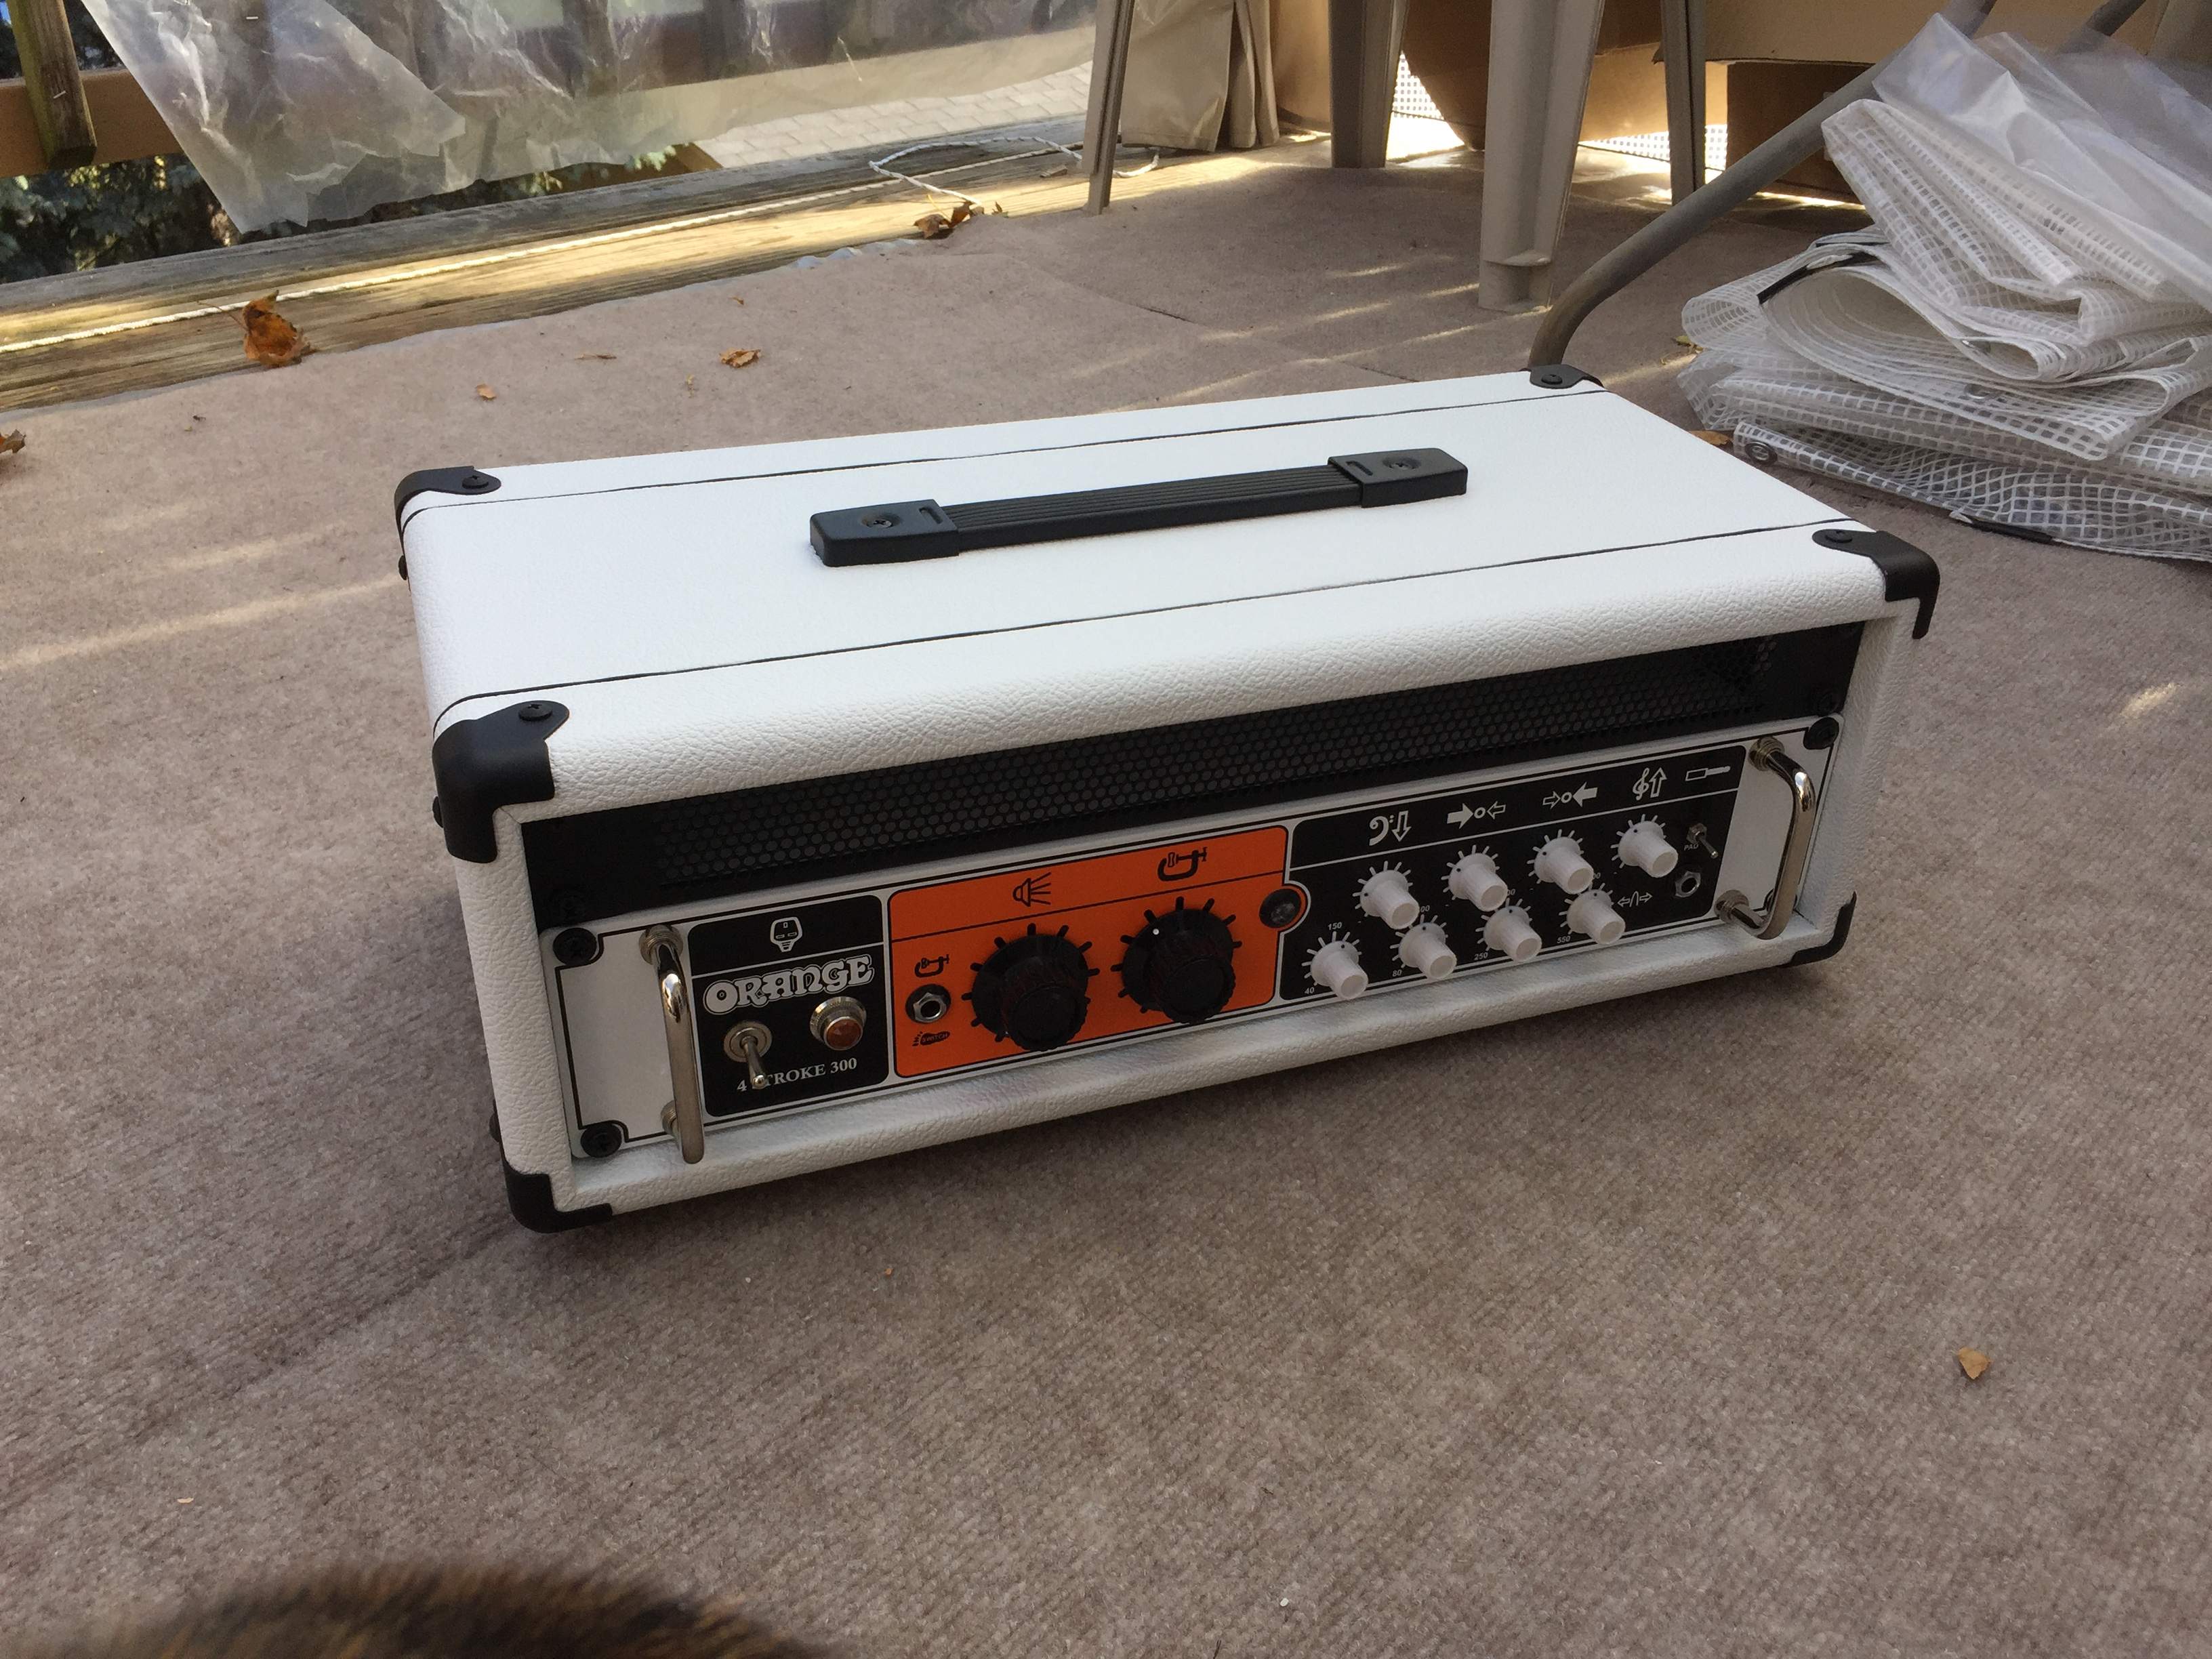
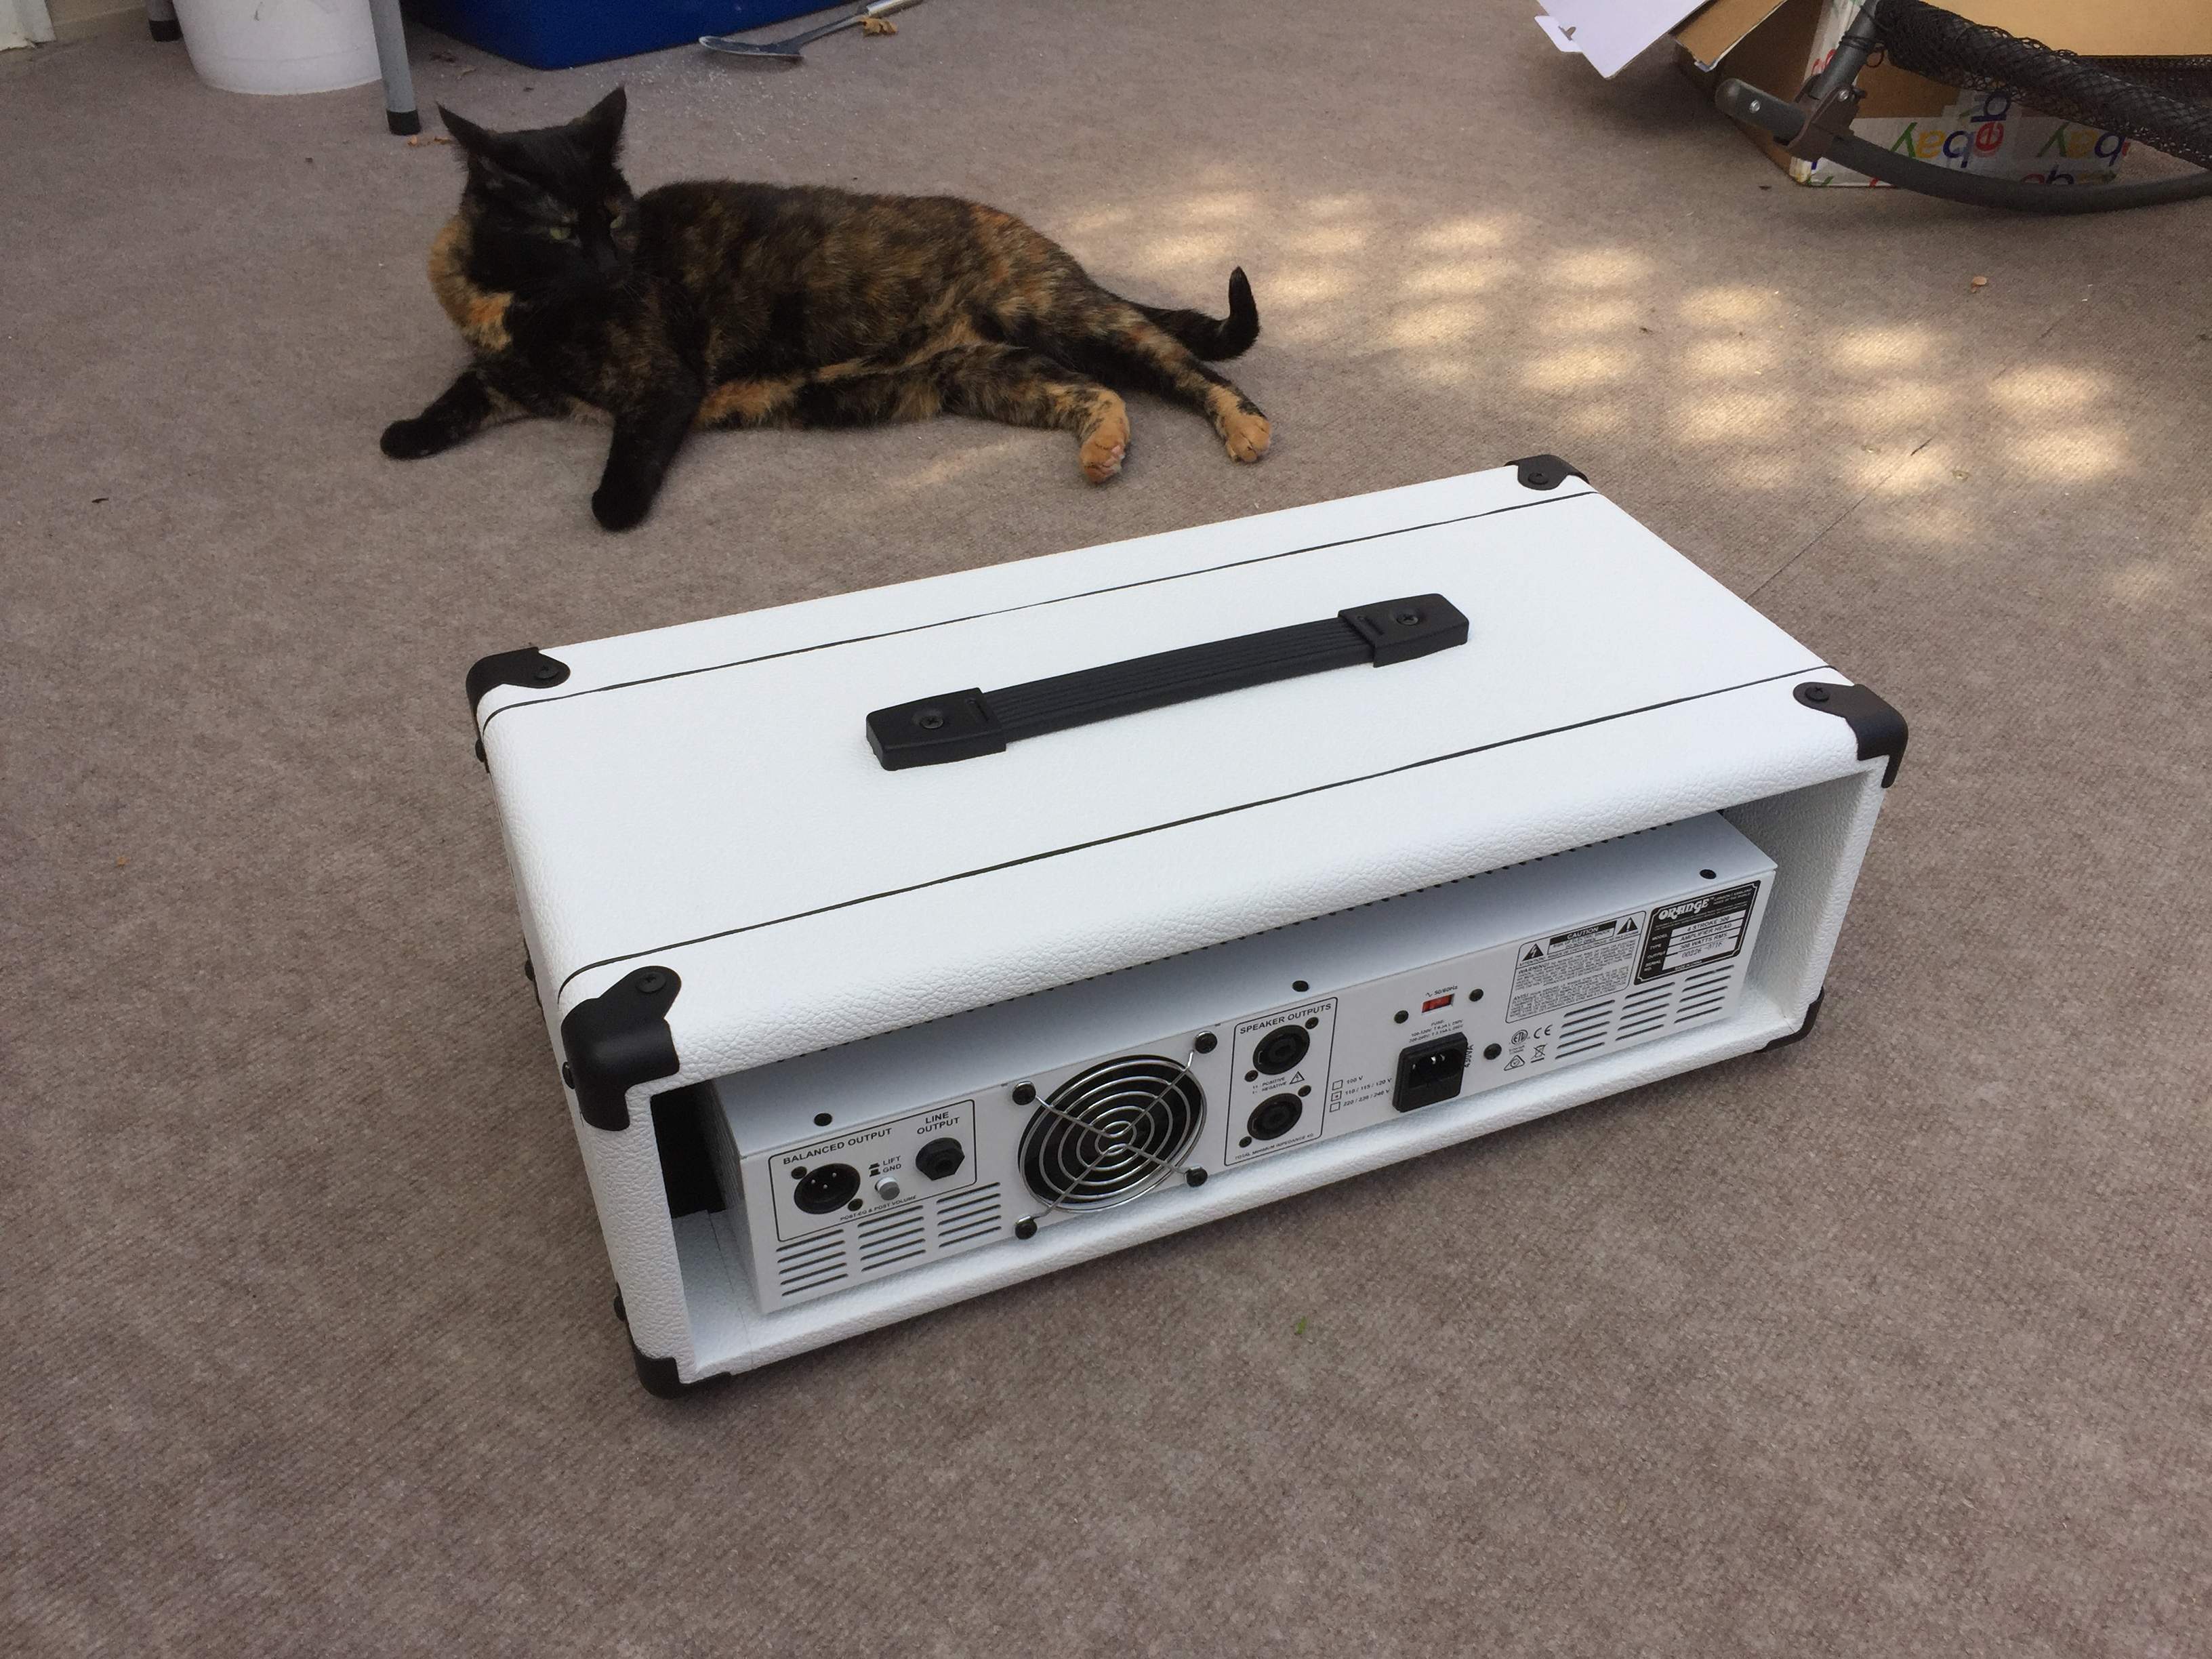
The piping was the hardest part. It’s not perfect, but I’m pleased with how it turned out.
I wanted it to look like a stand alone head, rather than put it in a generic rack case. After doing a web search for photos of boutique and vintage amp heads, I decided to go 3 space with a vented rack panel to allow for proper cooling, and the proportions just looked right to me over a 2 space.
I was thinking of using 1/2” expensive, but strong Finnish birch, to keep the weight down, but my test routes on the prototype mock ups didn’t go well with the joints I was intending to use. I had to simplify the design and I settled on some 3/4” birch from Home Depot that I had lying around from a previous project. No cost, and more room for error due to the thickness.
Unfortunately, this is the only pic I have of the build process. I tried using DAP waterbased contact cement for the tolex, but the adhesion was not great unless I heated it with a hair dryer. I splurged on some proper tolex adhesive from Amplifiedparts.com which I wish I had done from the start. It took a couple months to complete with my scarce spare time, but here it is.
The piping was the hardest part. It’s not perfect, but I’m pleased with how it turned out.