• TalkBass has been independent since 1998. Add your voice.
    Create a free account to reply to discussions, view embedded media, and browse with fewer display ads.
    Join freeLog in
    Want zero display ads or expanded classifieds tools? Compare plans.

Fretboard LEDs

I did a search but didn't find the info I'm looking for.
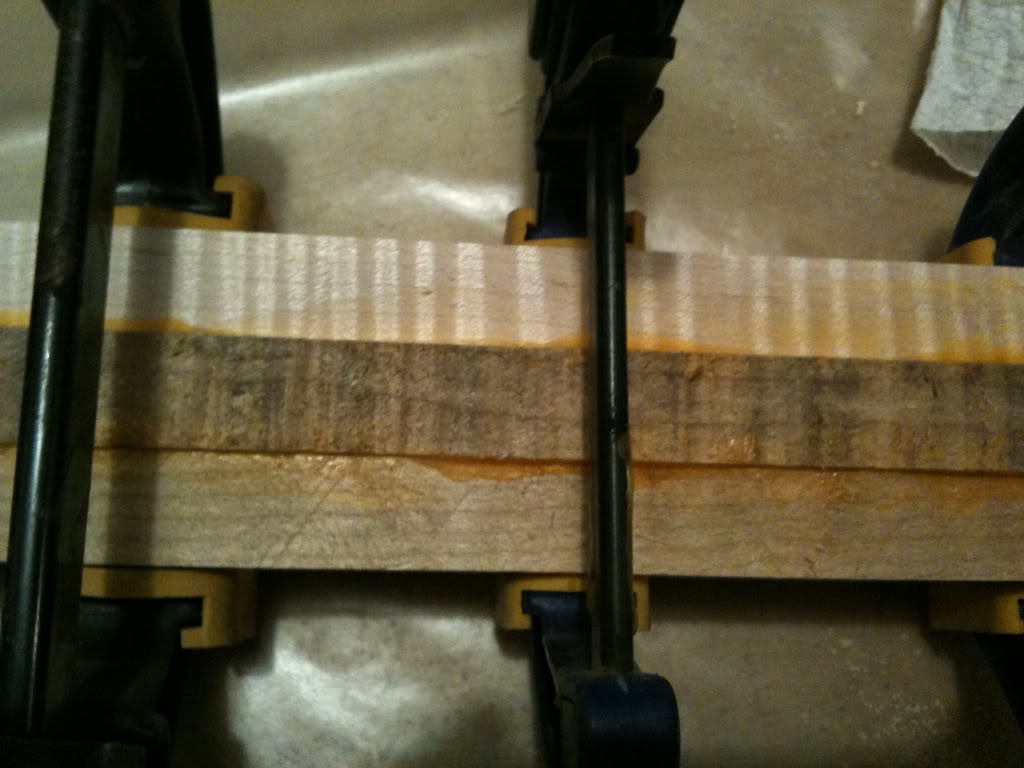
I just glued up a neck blank last night for my next build, and as I was looking at how nice the figuring of the curly maple I'm using looks even as it's a rough blank, I started to ponder installing LEDs in this build.
48003a7f.jpg

Has anyone done a tutorial on this? Specifically, a wiring diagram. I'm pretty sure I can figure out the routing and all, but I have no experience with LEDs and I know they get resistors wired inline and all, so I was hoping to find an easy to follow tutorial on the installation of fretboard LEDs.
The wood for this particular neck is gonna look fantastic, and I just thought some pretty lights would set it off really nicely.
Anyone?
 
Wiring LEDs is pretty simple. You will need an in-line resistor for each LED, and a power source (which presumably will be a 9v battery). To determine the value of the resistor, use the following formula:

R = (E-e)/i

Where E is voltage of your power supply (presumably a 9 volt battery) , e is the voltage rating for the LED, and i is the rated current for the LED. The operating voltage and current of the LED will be marked on the packaging somewhere. So if you buy a 3v LED that operates with 10mA, it would look like this:

R = (9 - 3) / 0.01
R = 6 / 0.01
R = 600

And R would be 600, which means you need at least a 600 ohm resistor. Note that you can use larger ones, but don't go any smaller than what the formula gives you.

As for installing the LEDs into the freboard, I don't know.

The only thing I would suggest is being reasonable with the color choice for your LEDs. My opinion is that super-bright blue LEDs (which every blasted electronics manufacturer seems enamoured with) do nothing but detract from the overall aesthetic of any given design. If I was installing LEDs in my fingerboard, I would use soft amber.
 
yes thats for a single LED. from what I understand the companies and guys that do this only use one led at the neck/body joint and use fiber optics to transfer that single led to the different holes in the neck, that way youre getting all the light you need to the areas you want and you only need one led to do it. Im guessing they use some sort of glassy/plastic material for the dots so the light shines through. I dont know specifics though, its just speculation.
 
Wow great info!! Thanks.

I have NO real plans yet, it just kinda dawned on me as I was checking the neck blank when I got up this morning. I think it would look nice, and I agree that a softer light would be best.

I'll be doing more research on this for sure, just to decide if I'm ready to undertake the project.

If anyone can add to this, please do. This will be my 8th build, and I'm gonna slow things down a bit and try to take my work to a higher level of craftsmanship. If I decide to run with the fretboard LEDs, I'll be sure to document the process.

Thanks again, in advance, to everyone that shares their experience.
 
Is that formula for a single led? Would you need a resistor with three 3v leds and a 9v battery?

It is best to wire them in parallel if you use more than one. There are a few reasons for this. First, if you need 3v for each LED, you will need a lot more than 9v to power enough LEDs for the whole fingerboard (even side-dot LEDs). Second, if you wire them in series and one burns out (creates an open circuit), the whole circuit is dead. Third, if you wire them in series, and one shorts out, the others will immediately be receiving too much voltage, which may burn one or more out, and your whole circuit is dead.

If you wire them in series, a single 9v battery (or 2 in parallel) will run them all, and if one goes out, the other lights remain active.