Picked up a loaded Warmoth body on the classifieds because it seemed like a fun pandemic project. Based on the cost-to-component ratio, I wasn’t too surprised to find that the advertised “just add a neck” was far too good to be true. Most glaringly, the DIY paint job looked to have been a first attempt at wood finishing.
I don’t have a full before picture, but you can see some of the finish problems here:
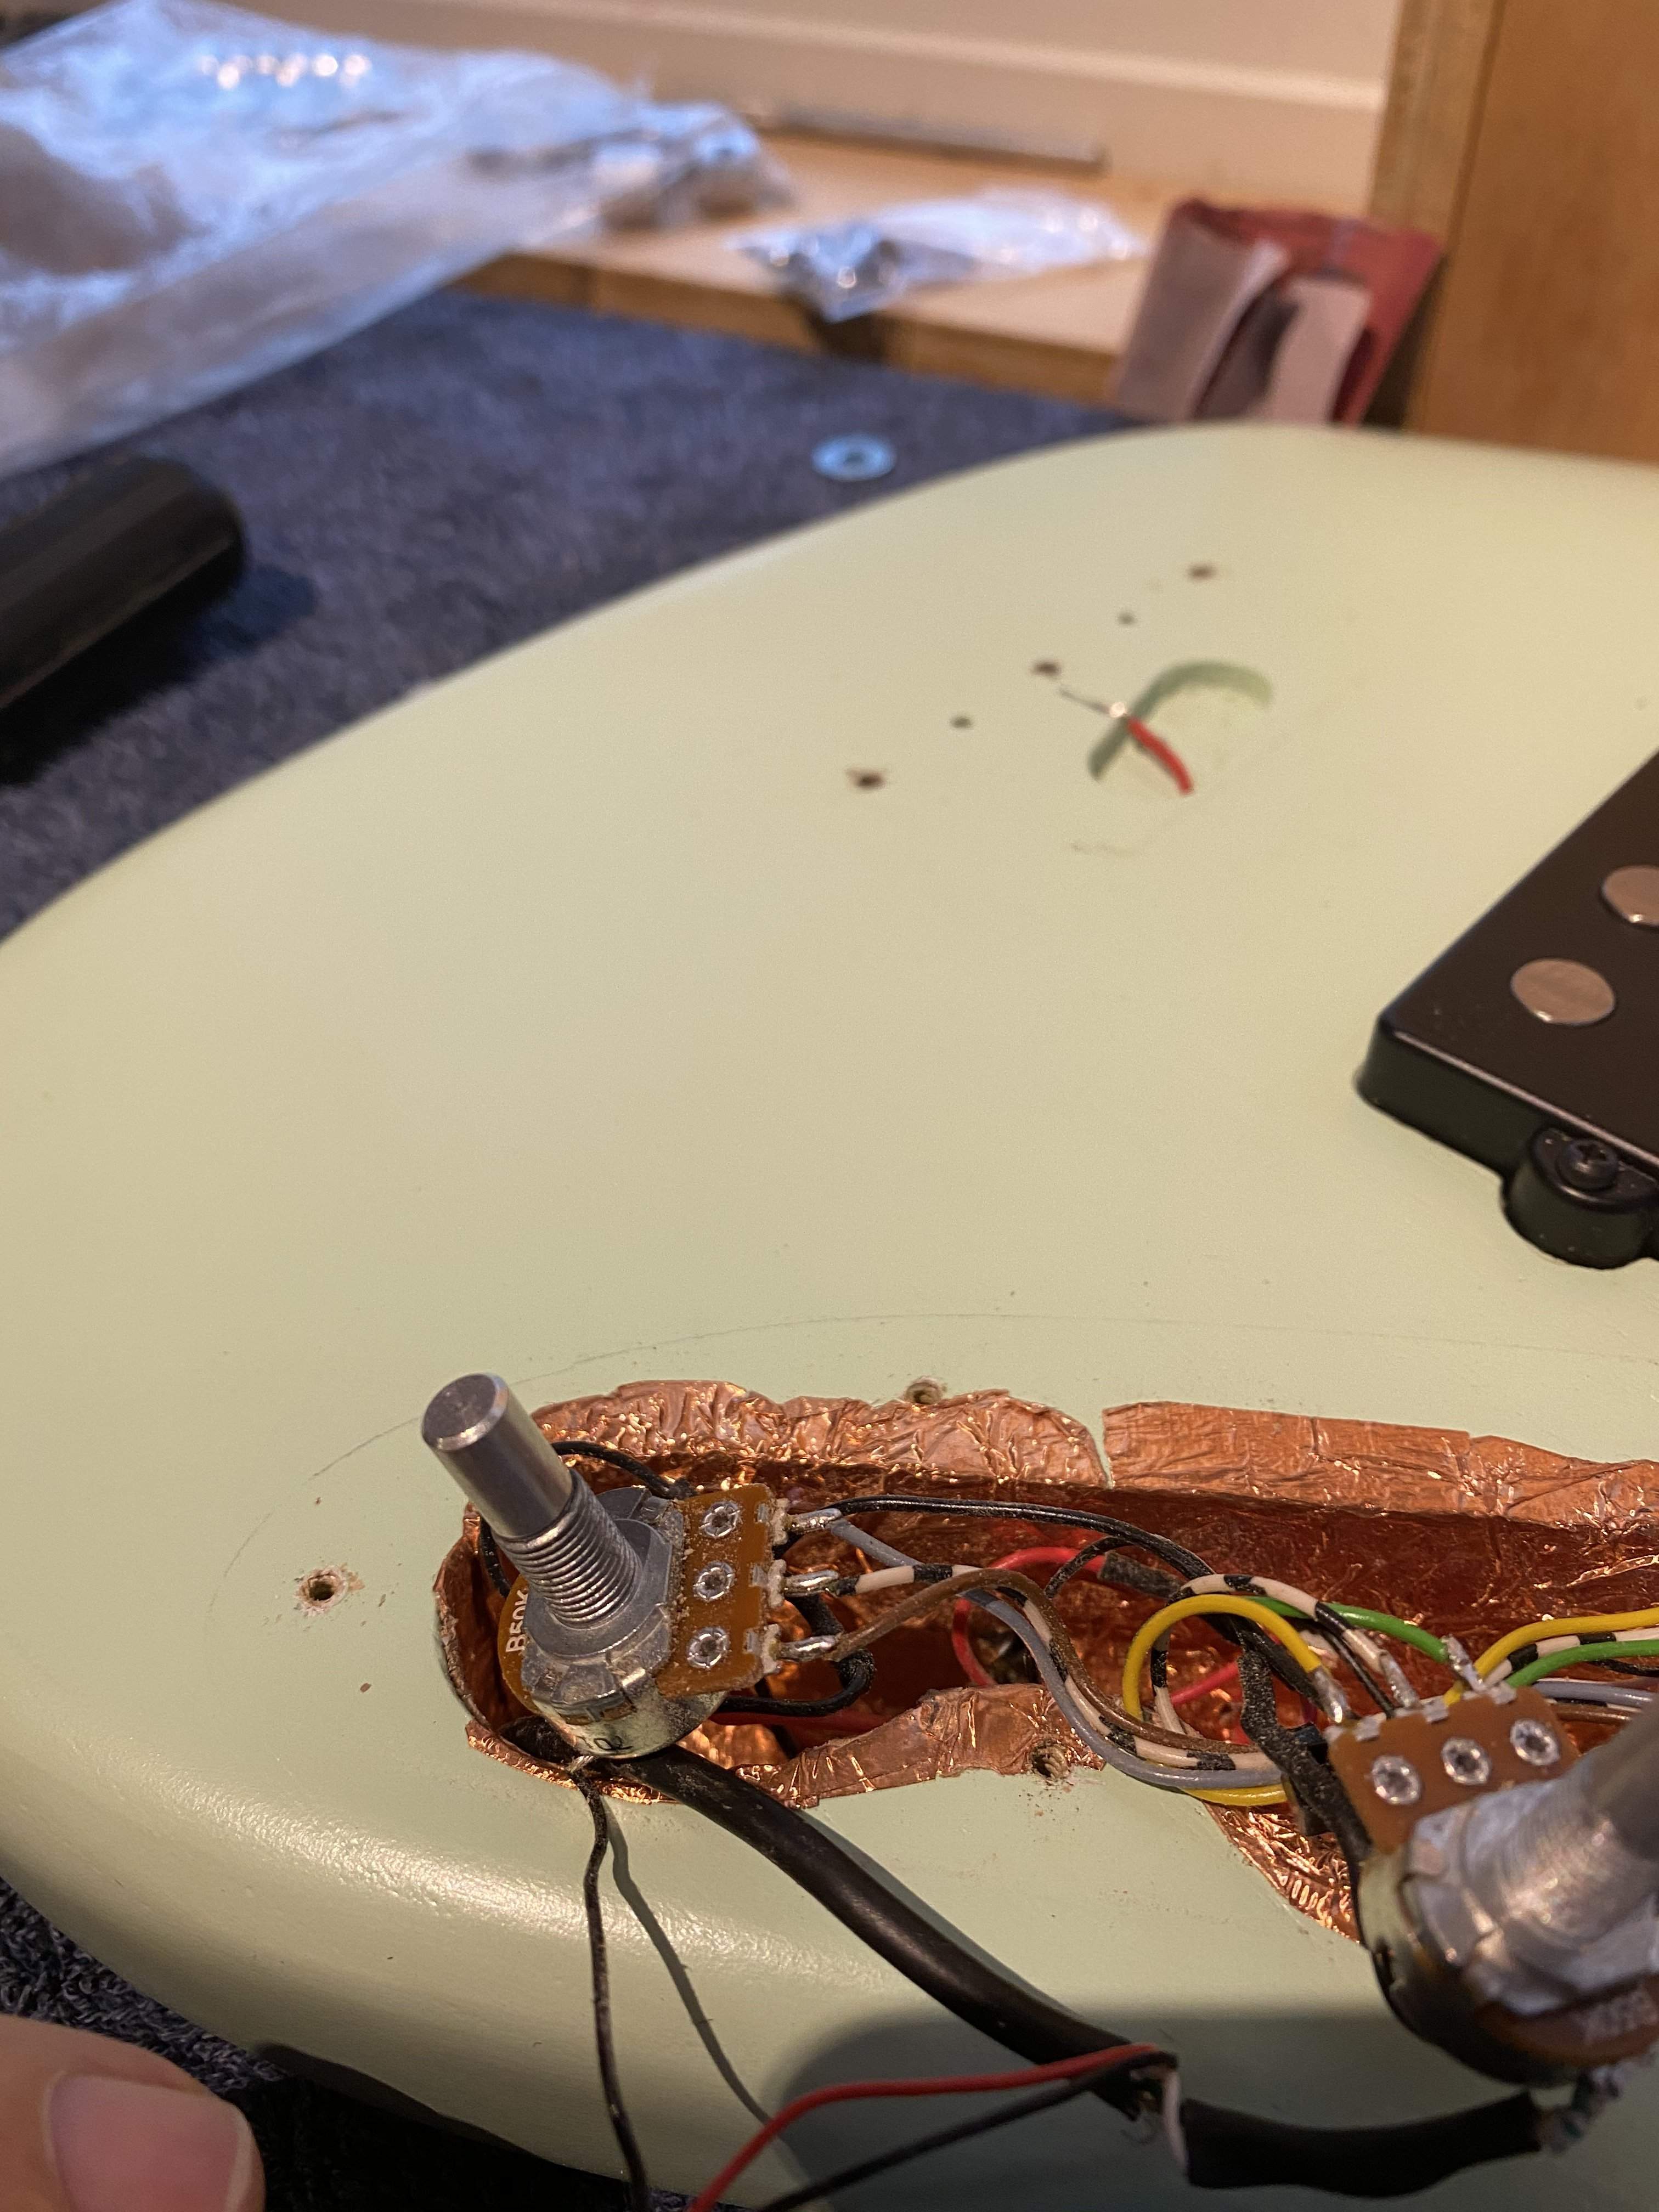
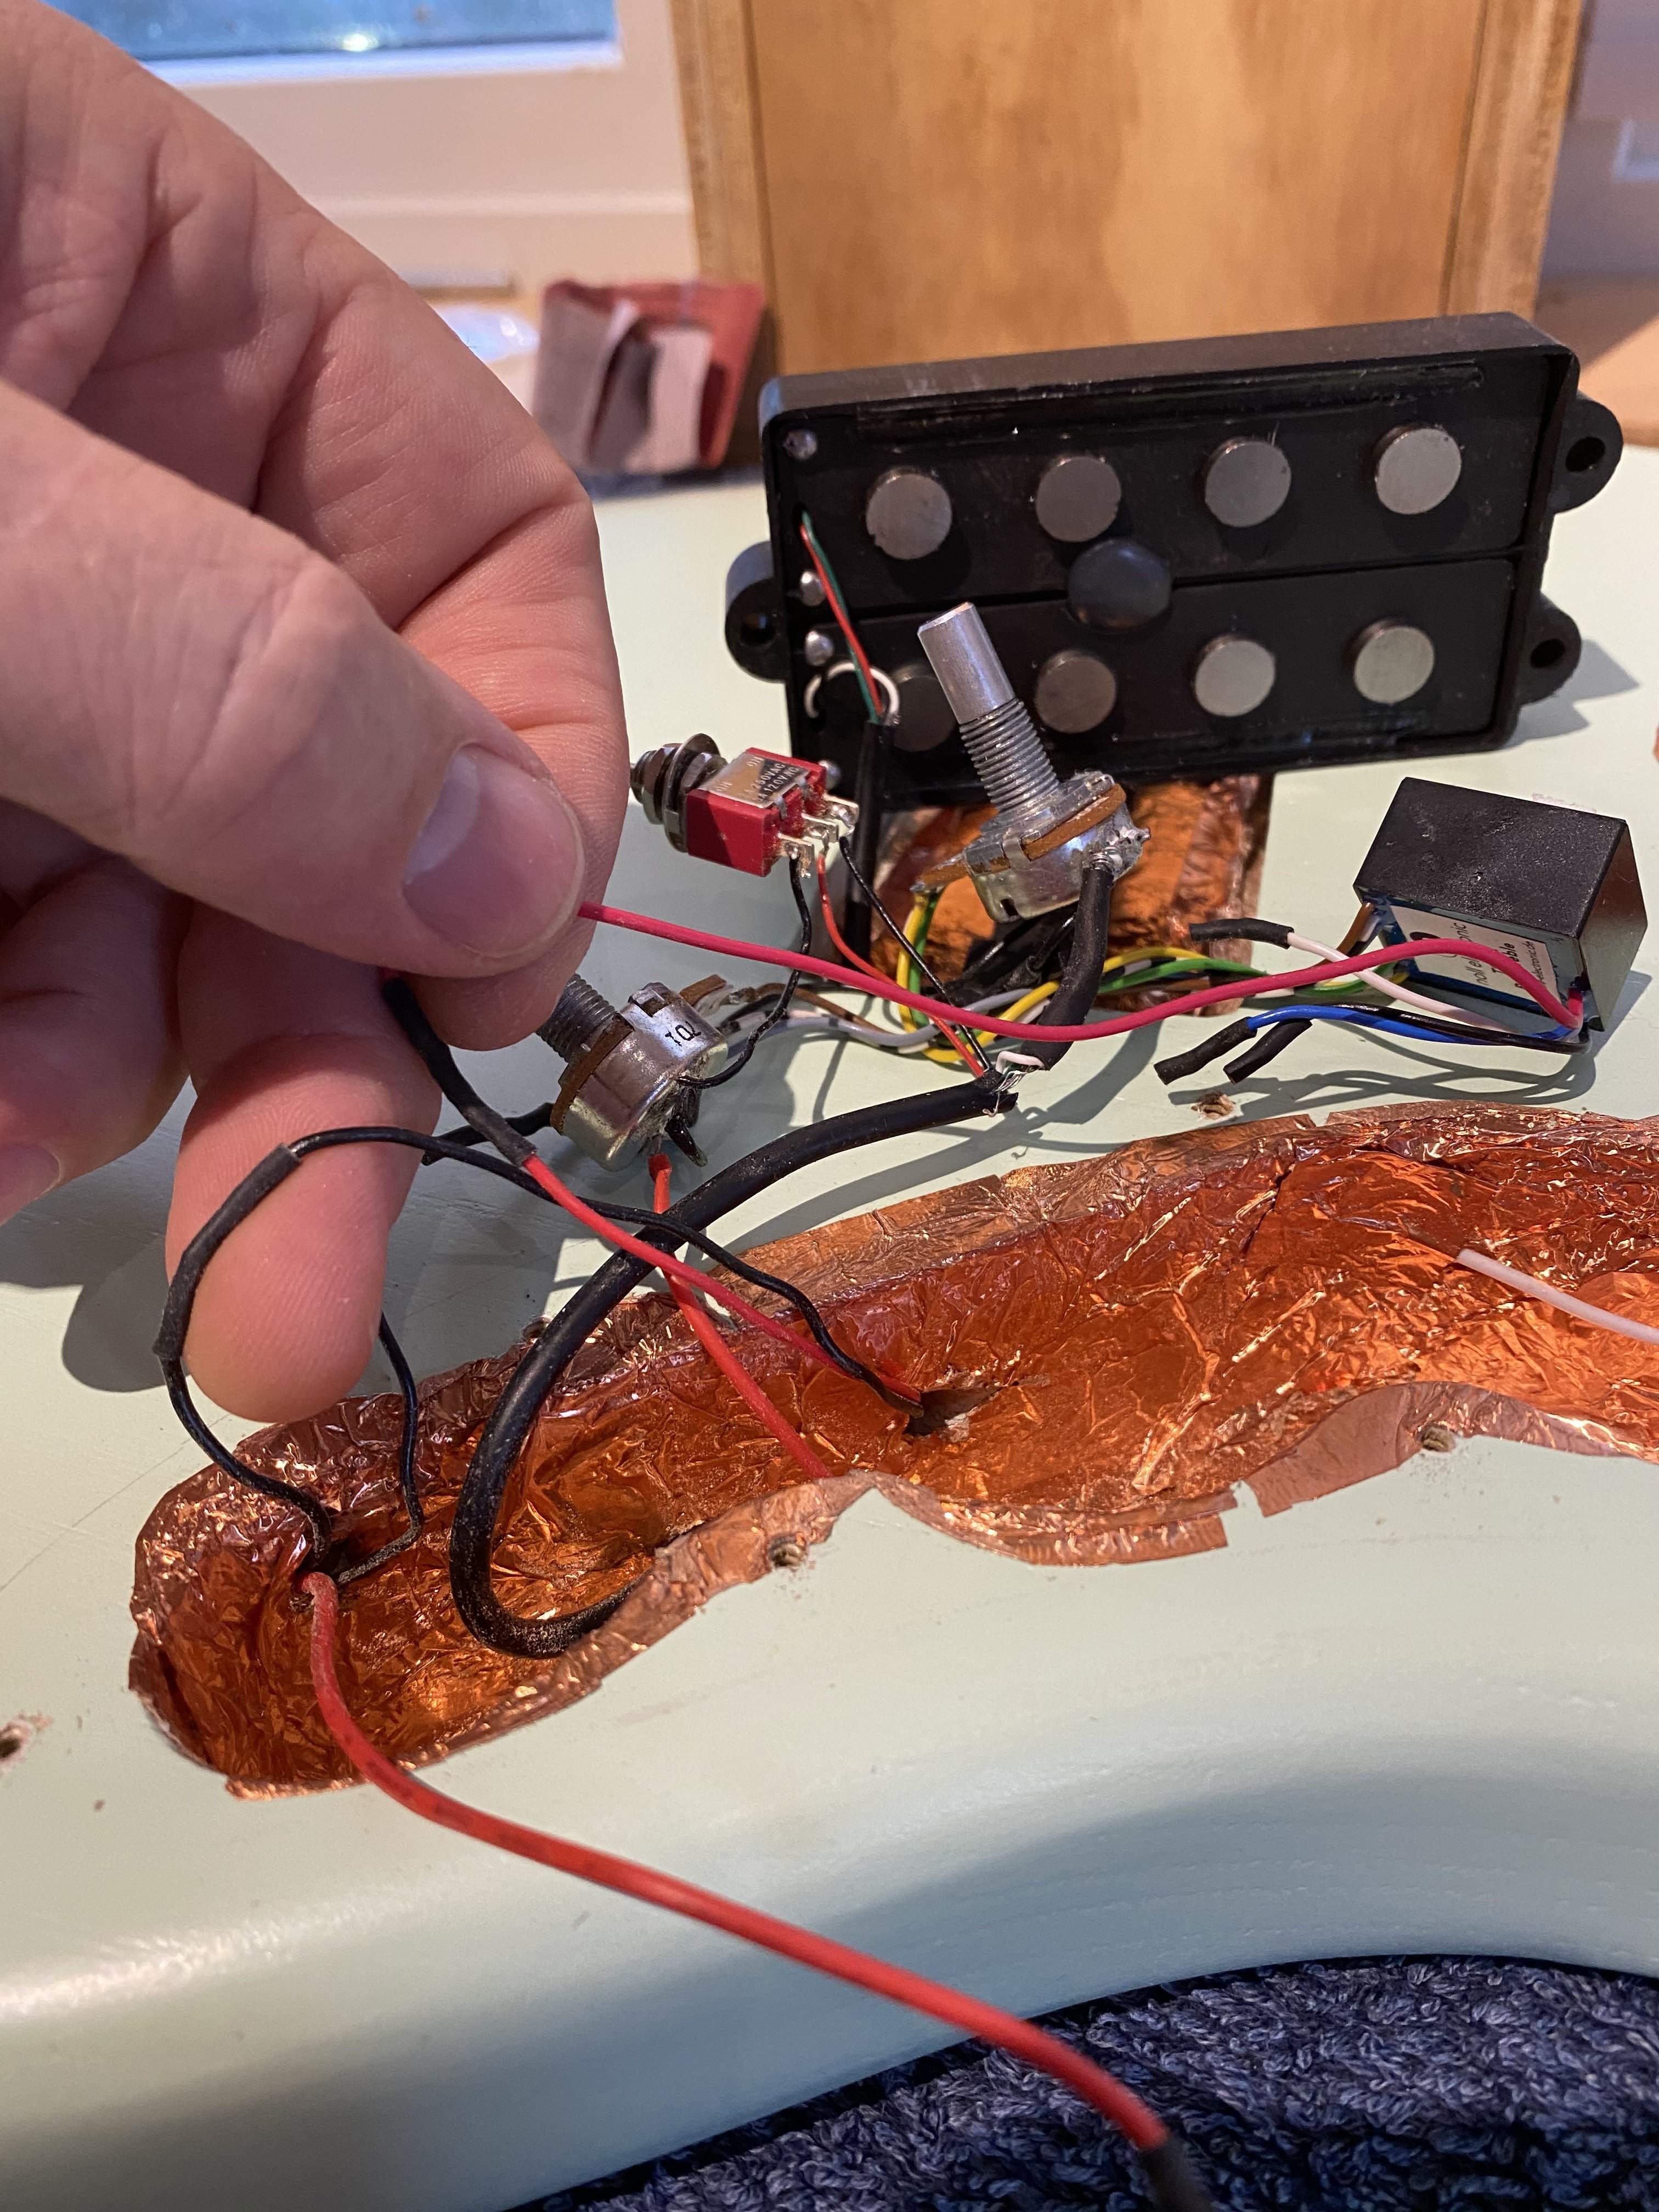
The motto I was taught is: “A good paint job is 80% prep work.” This Swamp ash body from Warmoth had never been sanded or had the wood grain filled prior to primer and paint. So the finish was telegraphing all kinds of imperfections.
The good news is that a bad DIY paint job is easy to strip. I used SmartStrip, which is very mild and easy to work with. (Just give it time to work, and Bob's your uncle.) I also discovered that the previous owner paid extra for a 1-piece swamp ash slab body—and then made the odd decision to bury it behind paint. Very curious. (If you want a painted bass that doesn’t require grain filler, buy a 2-piece alder body.)

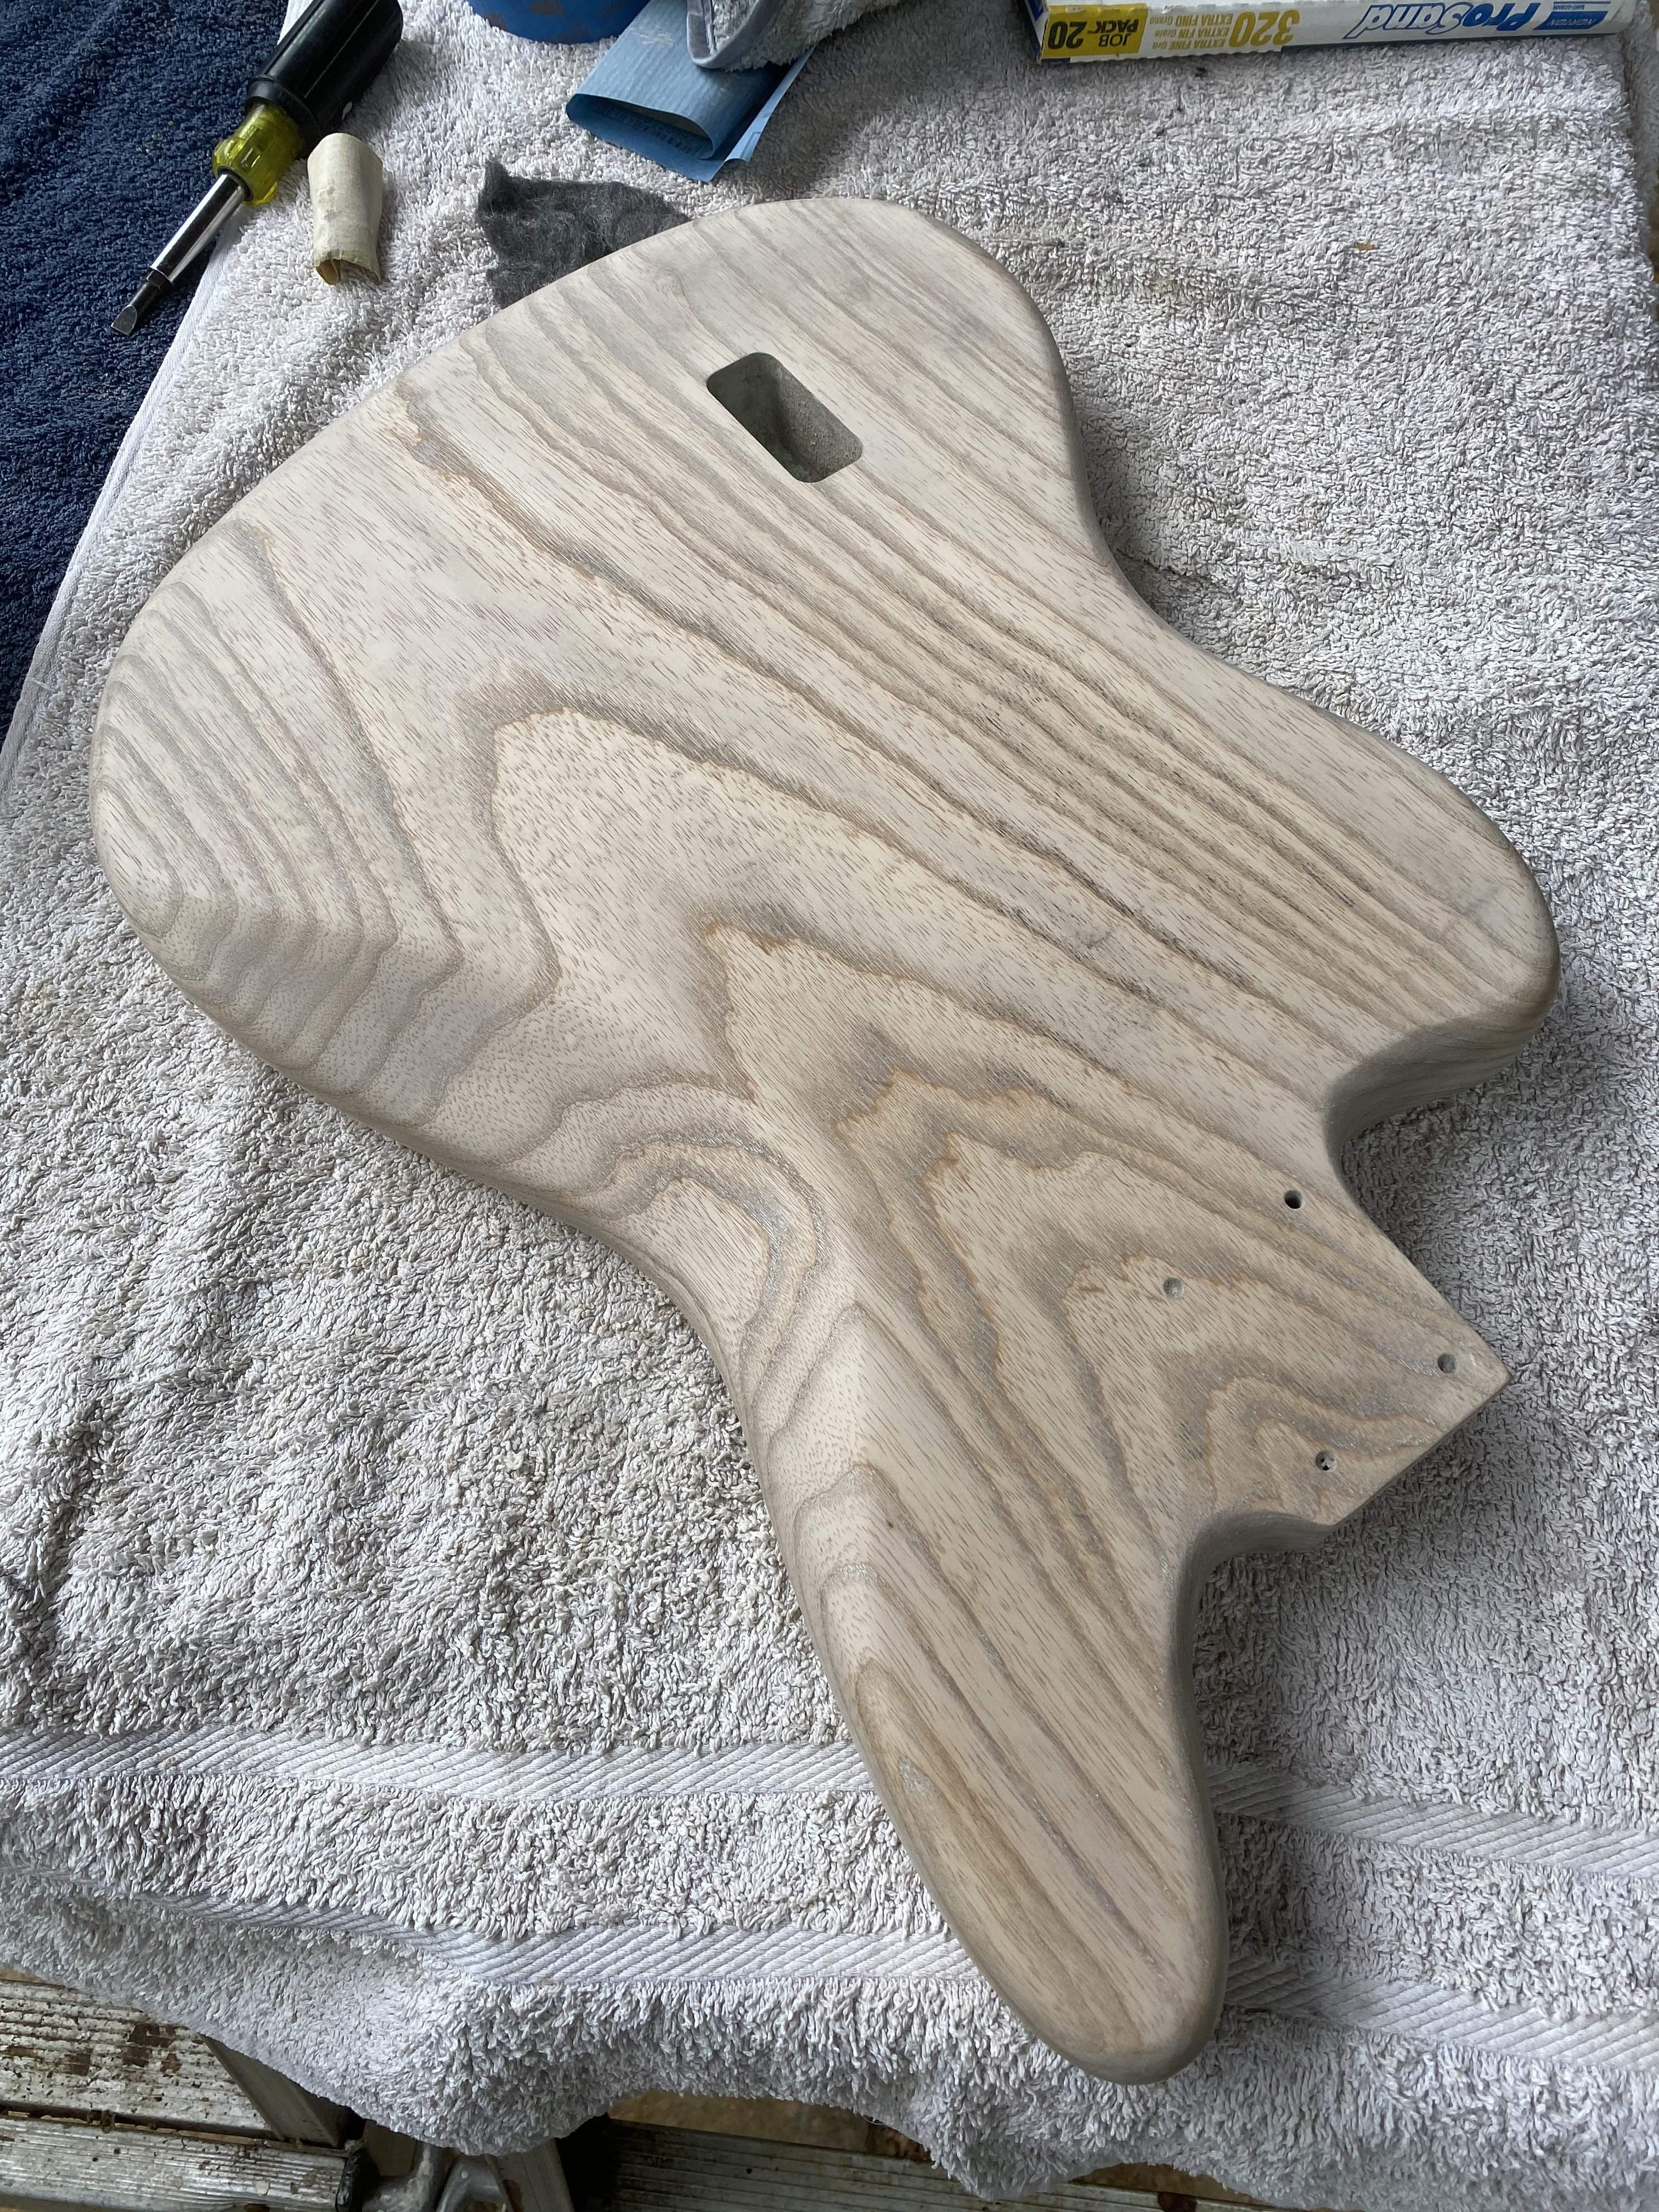
After studying early Jazzmaster guitars, I had picked up a 70s-style blocked and bound Allparts bass neck for this project. So I am going to finish the body to suit that neck, which is leveled, dressed, and ready for hardware. Many of the vintage Jazzmaster guitars have a sunburst finish, so I decided to finish this Swamp ash body accordingly. Given that it is a nice 1-piece slab, a semi-transparent finish is appropriate.
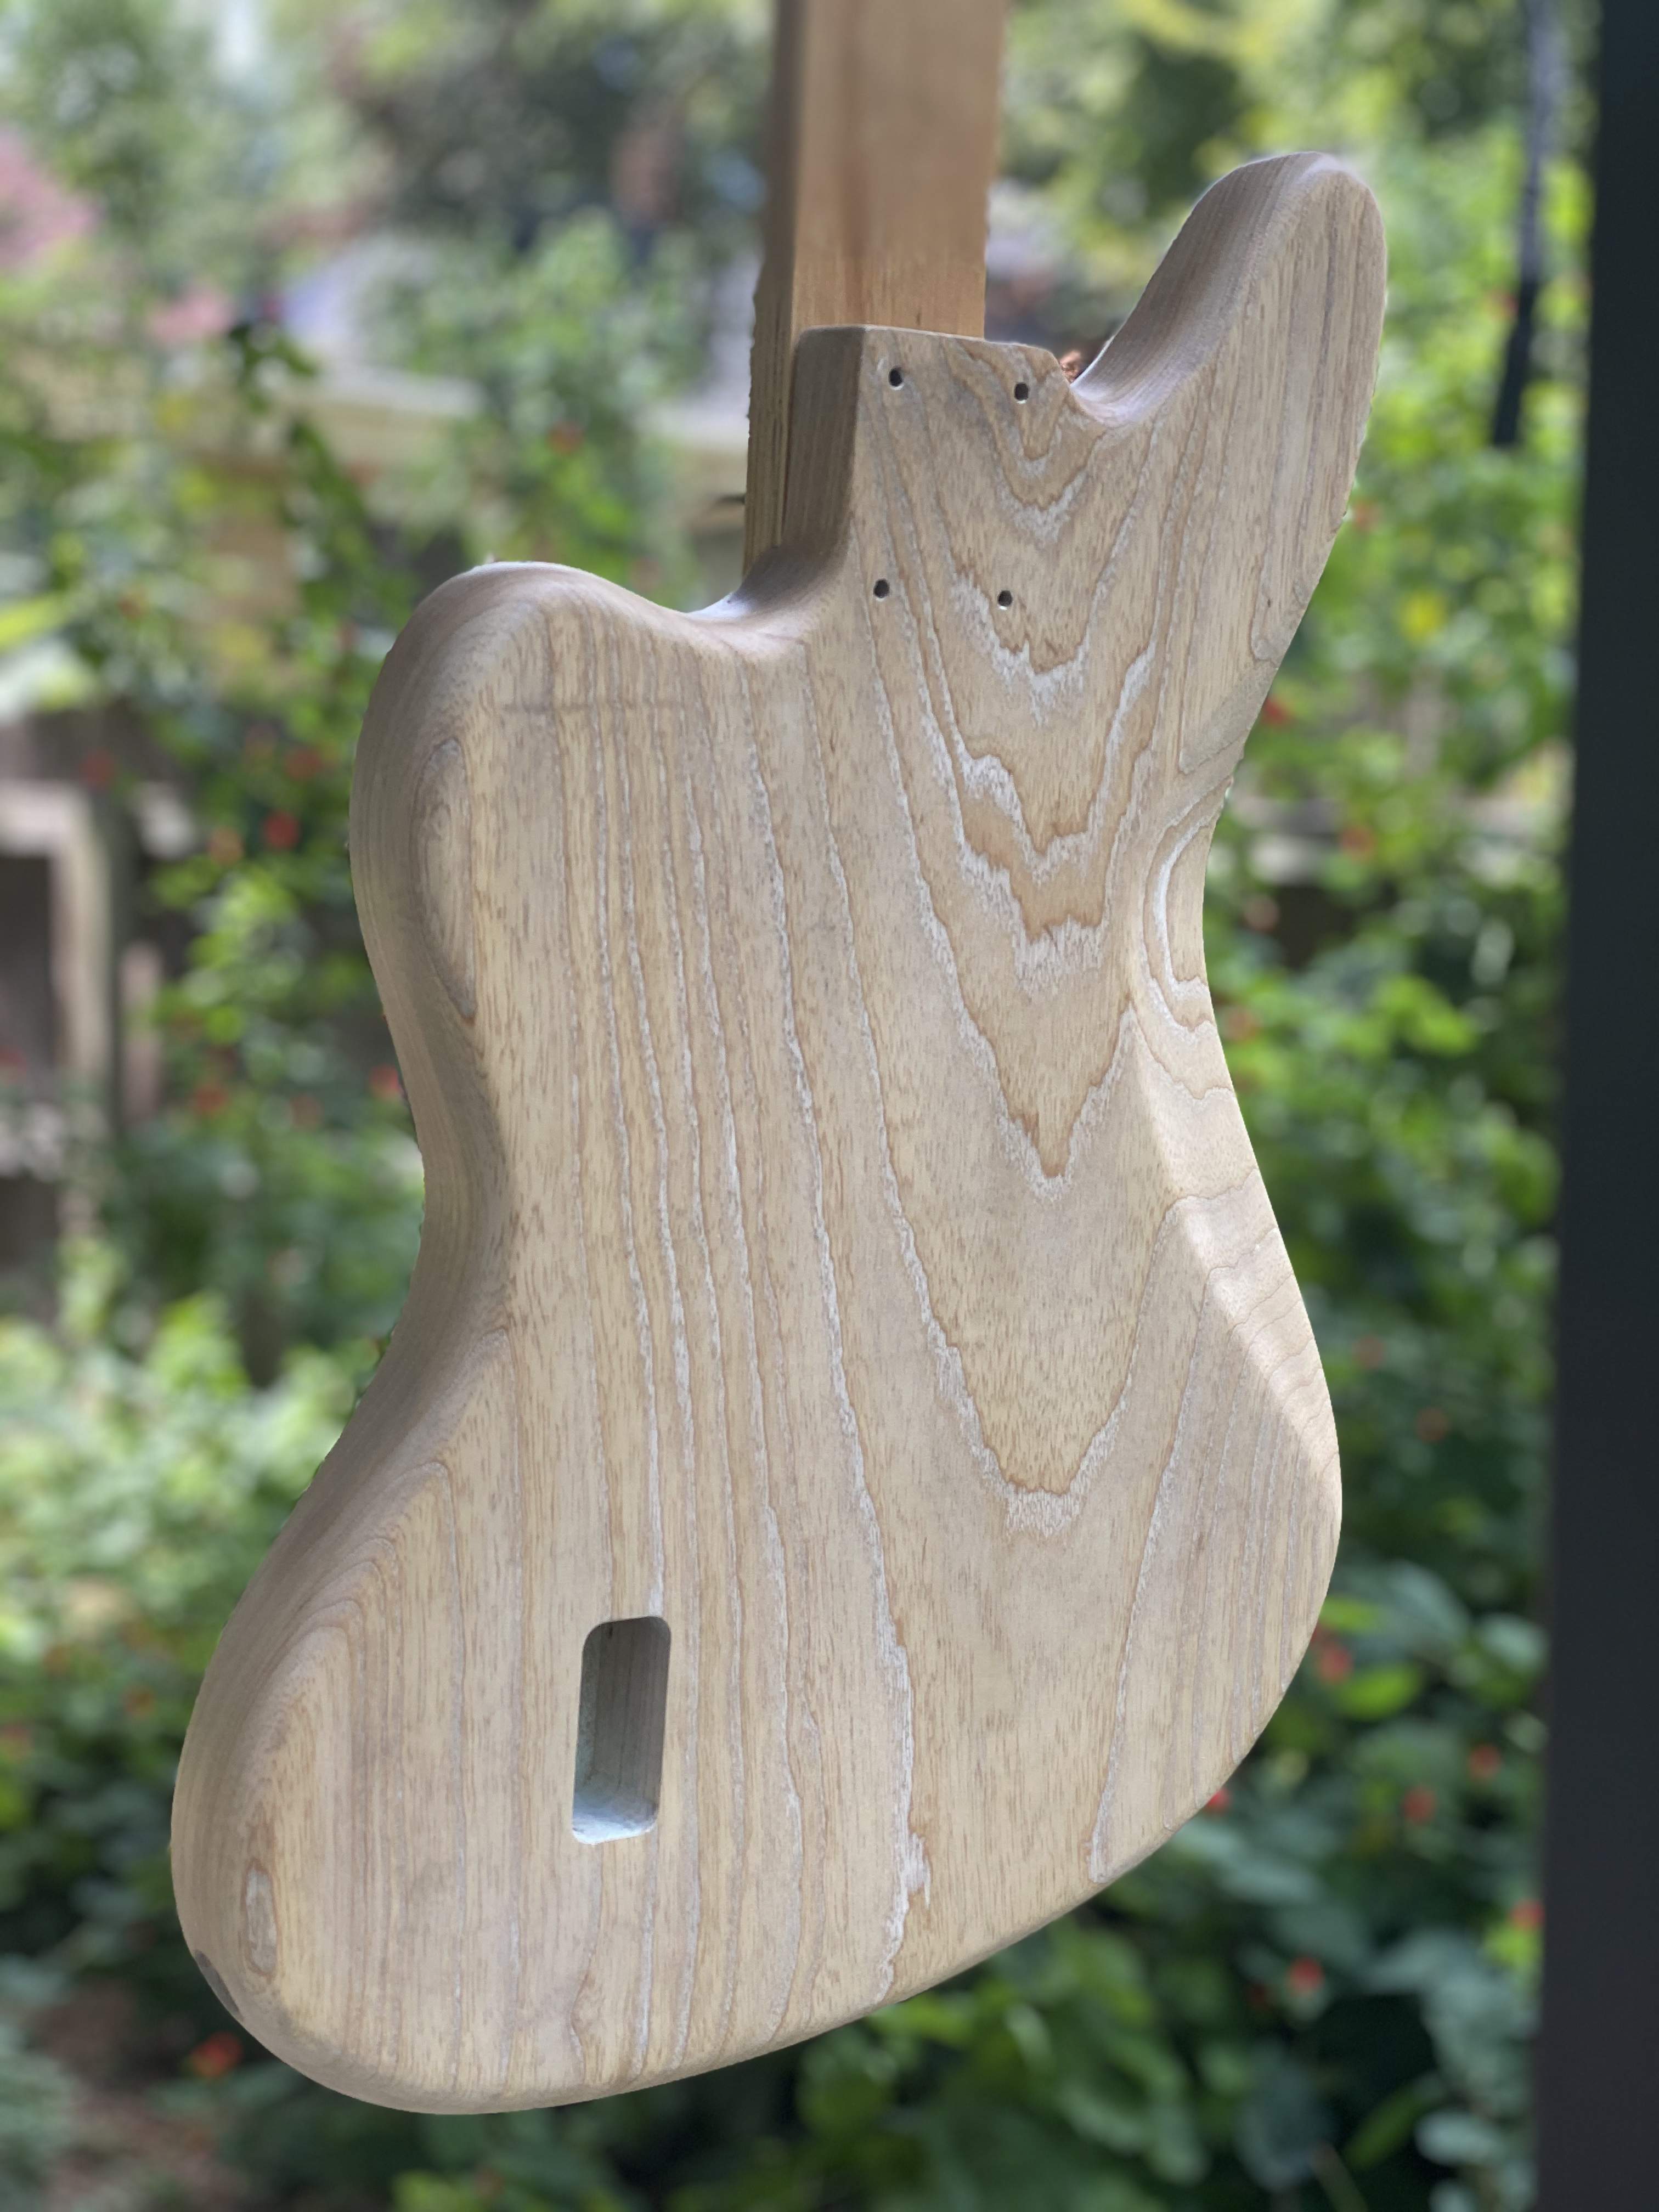
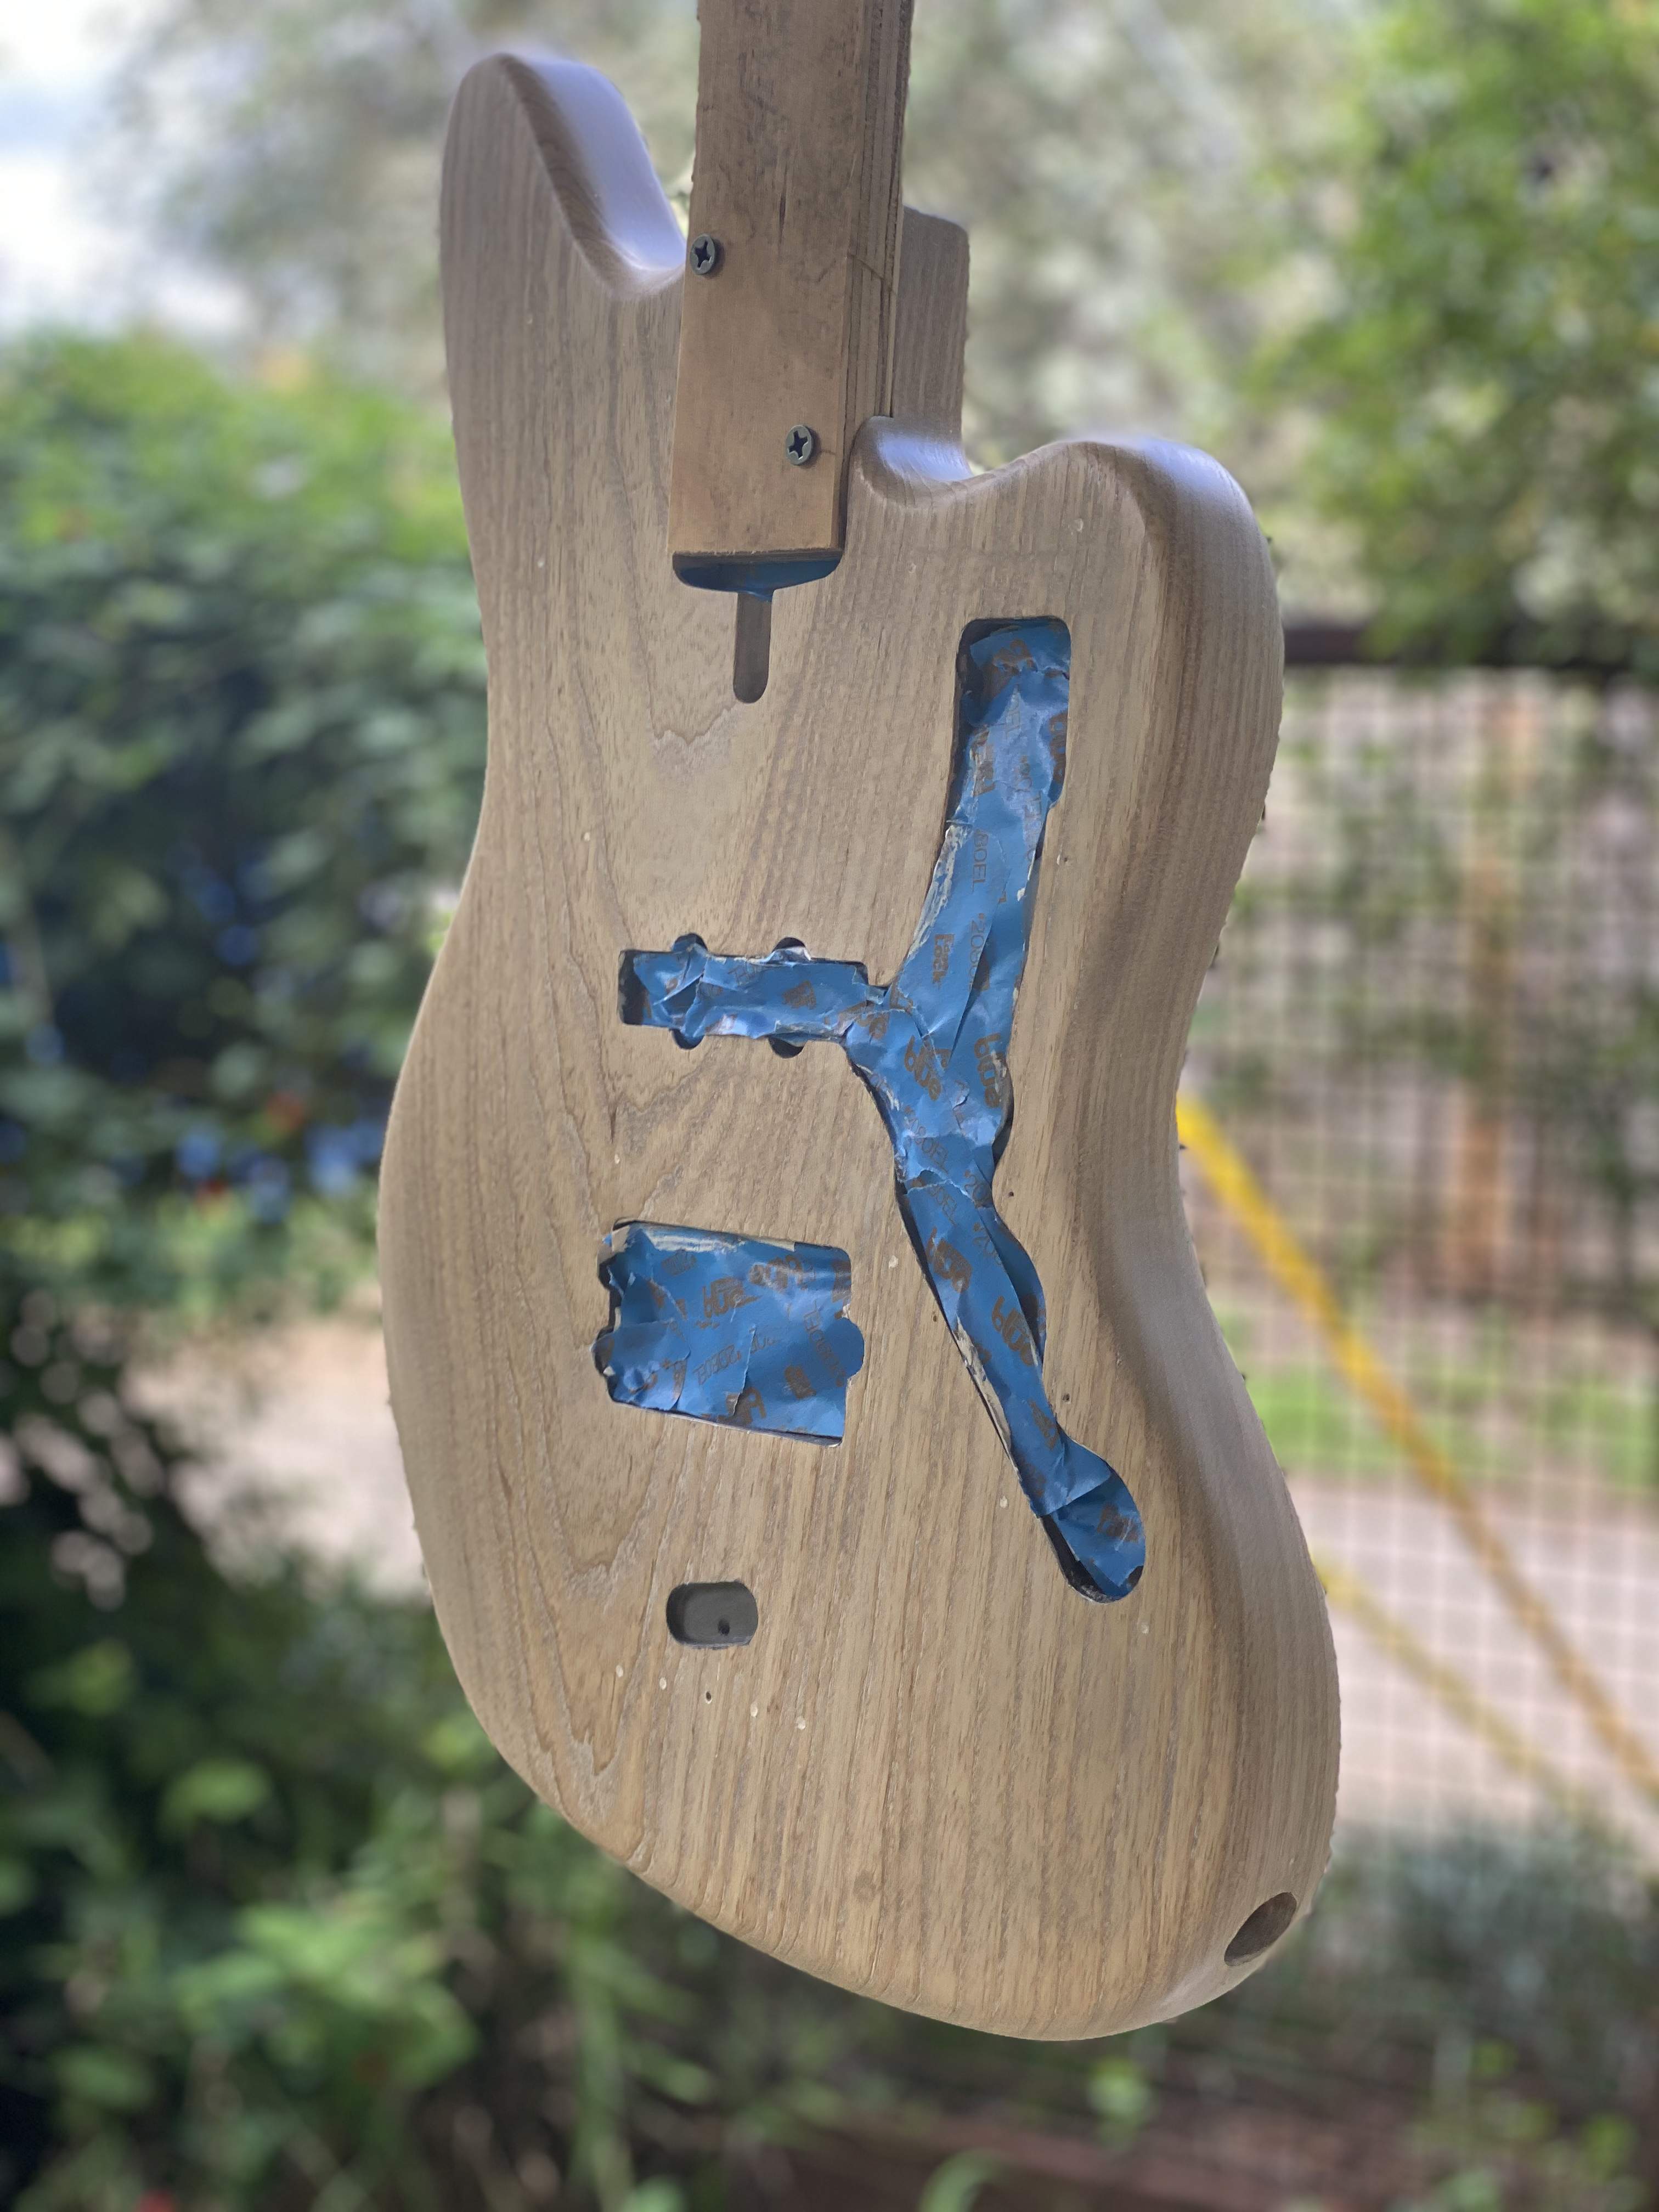
Since I don’t have any specialized gear or a spray booth, I’ll be doing a DIY 3-color sunburst using the StewMac spray can lacquer kit. Here’s the bass after sanding, grain filler, and a vinyl sealer clear coat:
I’ll start building nitrocellulose lacquer coats tomorrow and document my steps. There are some good resources online for doing a diy sunburst. I’ll be employing some techniques to work around the deficiencies of spray cans vis-a-vis a professional spray gun.
I don’t have a full before picture, but you can see some of the finish problems here:
The motto I was taught is: “A good paint job is 80% prep work.” This Swamp ash body from Warmoth had never been sanded or had the wood grain filled prior to primer and paint. So the finish was telegraphing all kinds of imperfections.
The good news is that a bad DIY paint job is easy to strip. I used SmartStrip, which is very mild and easy to work with. (Just give it time to work, and Bob's your uncle.) I also discovered that the previous owner paid extra for a 1-piece swamp ash slab body—and then made the odd decision to bury it behind paint. Very curious. (If you want a painted bass that doesn’t require grain filler, buy a 2-piece alder body.)
After studying early Jazzmaster guitars, I had picked up a 70s-style blocked and bound Allparts bass neck for this project. So I am going to finish the body to suit that neck, which is leveled, dressed, and ready for hardware. Many of the vintage Jazzmaster guitars have a sunburst finish, so I decided to finish this Swamp ash body accordingly. Given that it is a nice 1-piece slab, a semi-transparent finish is appropriate.
Since I don’t have any specialized gear or a spray booth, I’ll be doing a DIY 3-color sunburst using the StewMac spray can lacquer kit. Here’s the bass after sanding, grain filler, and a vinyl sealer clear coat:
I’ll start building nitrocellulose lacquer coats tomorrow and document my steps. There are some good resources online for doing a diy sunburst. I’ll be employing some techniques to work around the deficiencies of spray cans vis-a-vis a professional spray gun.
Last edited: