• TalkBass has been independent since 1998. Add your voice.
    Create a free account to reply to discussions, view embedded media, and browse with fewer display ads.
    Join freeLog in
    Want zero display ads or expanded classifieds tools? Compare plans.

Making A Humbucker

jworrellbass

Commercial User
May 17, 2009
1,271
11
62
Colorado Springs CO
www.jworrellbass.com
Disclosures
Owner, builder: jworrellbass
To go along with my "Free Pickup" thread
http://www.talkbass.com/forum/showthread.php?t=664919
I've decided to show you how I make a side-by-side humbucker.
I'll start with making the bobbin and over the next few days or weeks (depending on how slow I am). I'll show you my whole process.
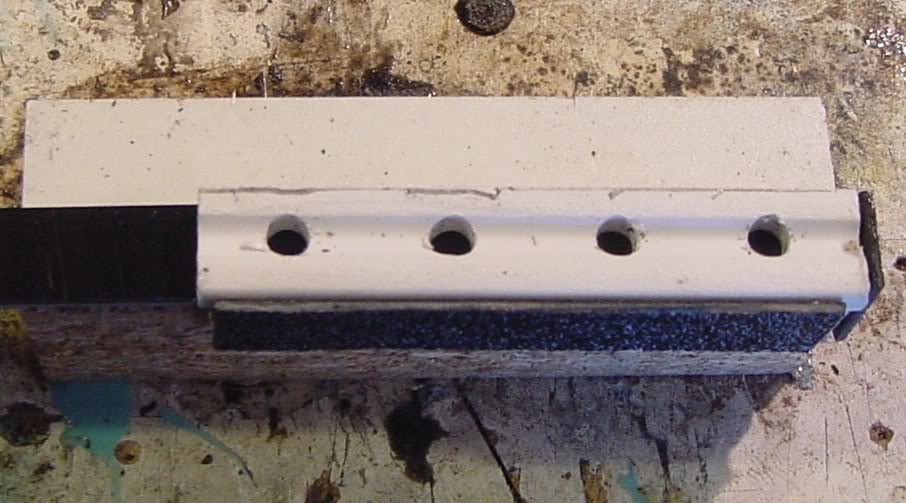
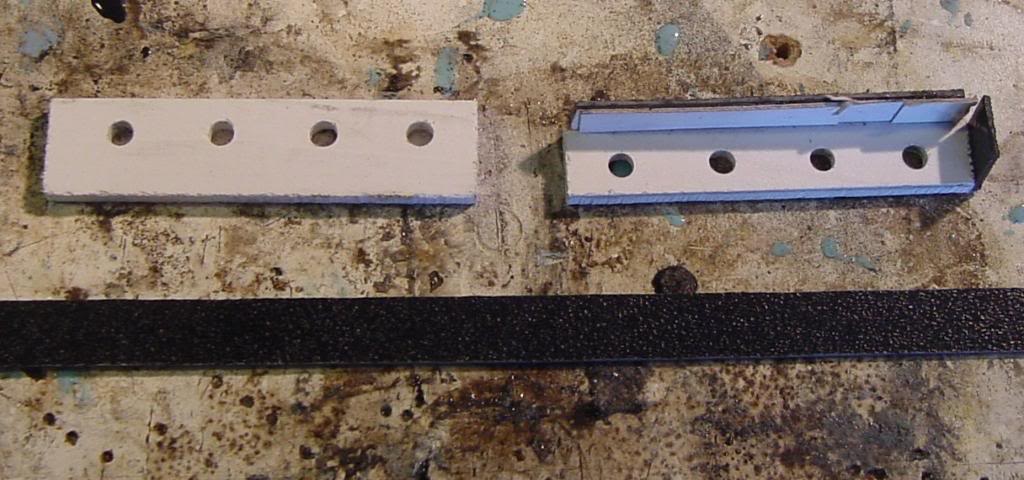
I start with cutting abs into 1/2" strips. I already have a jig made for a standard 4 string 2.25" spread.
makingapickup001.jpg

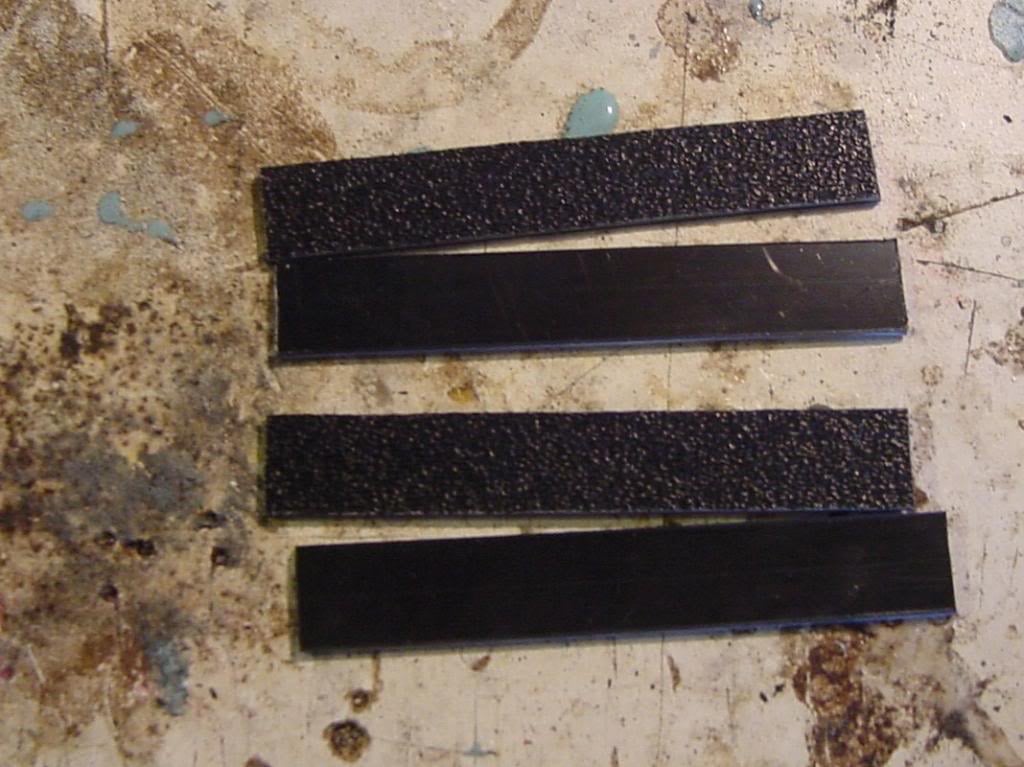
Then I cut the abs.
makingapickup002.jpg

makingapickup003.jpg

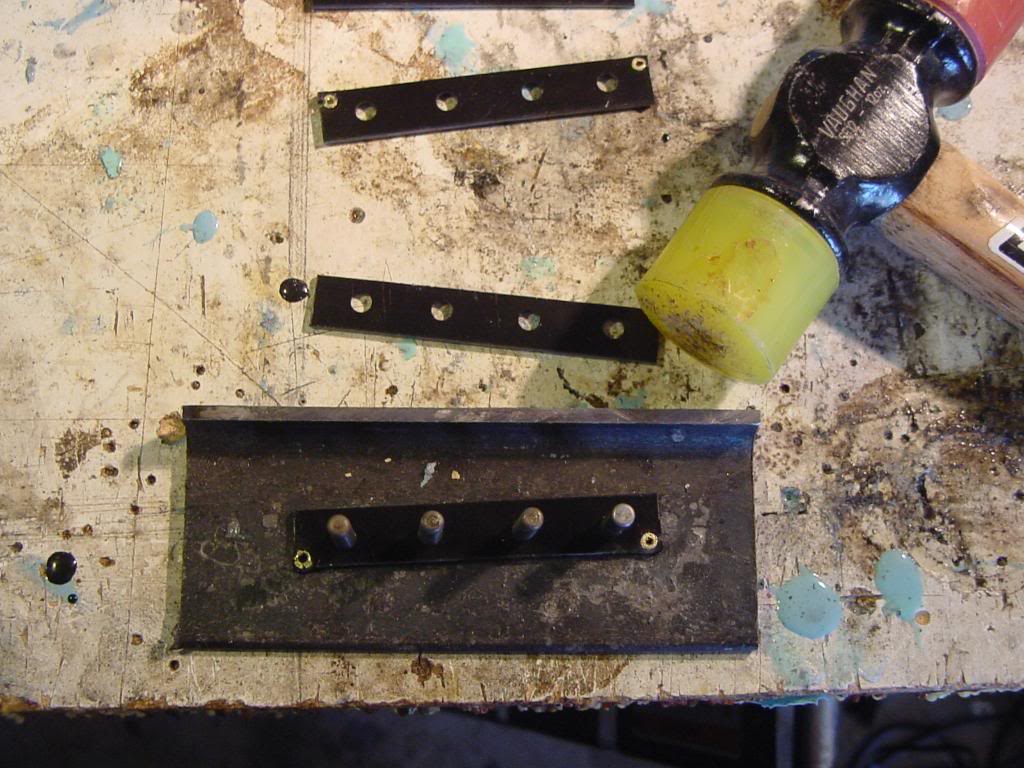
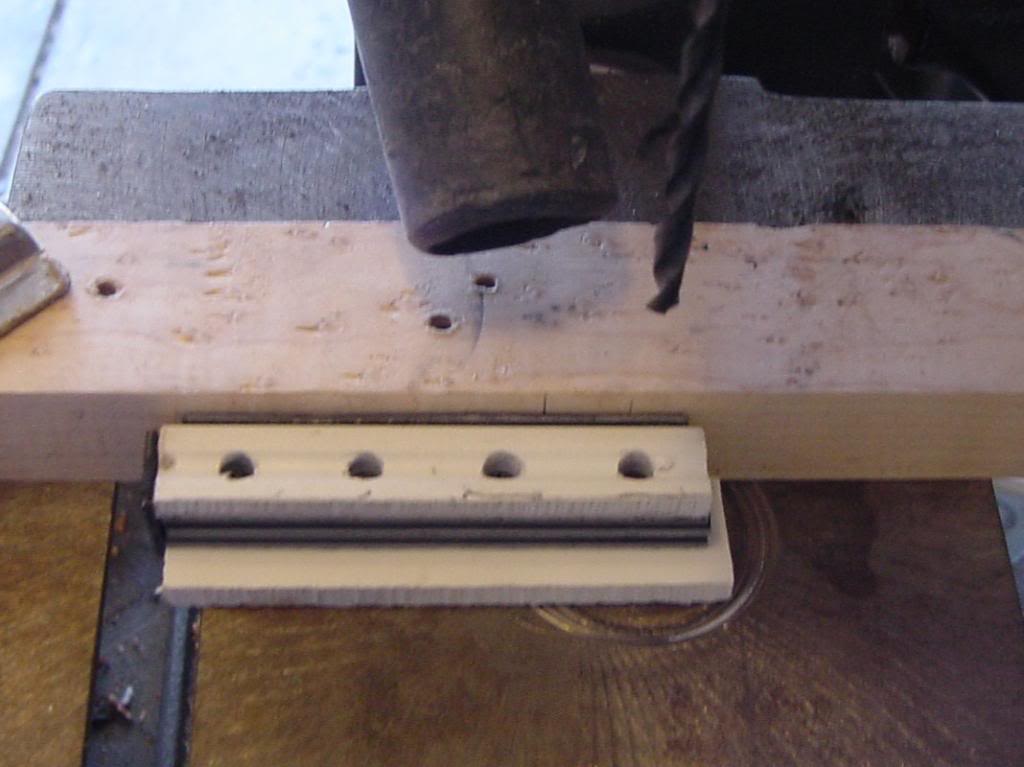
The 4 strips go into the jig and over to the drill press.
makingapickup005.jpg

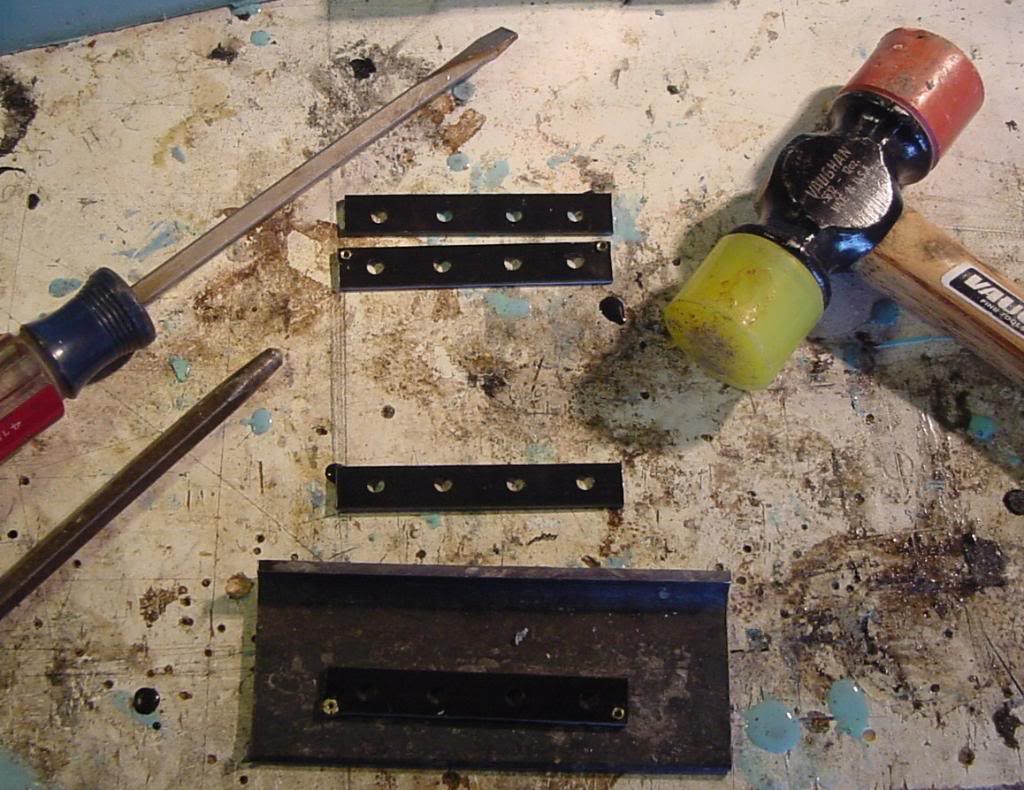
Two of the strips get drilled for the brass eyelets
makingapickup008.jpg

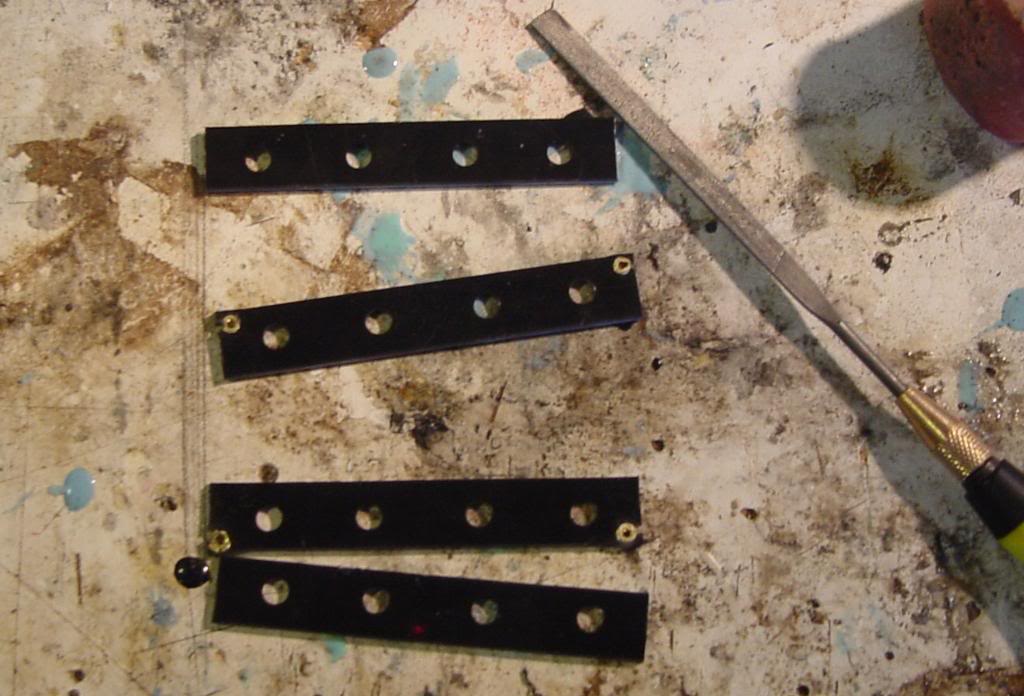
I use a small needle file to remove any burrs and to make a slot for the wire.
makingapickup009.jpg

Then I hammer in metal dowel pins,
makingapickup010.jpg

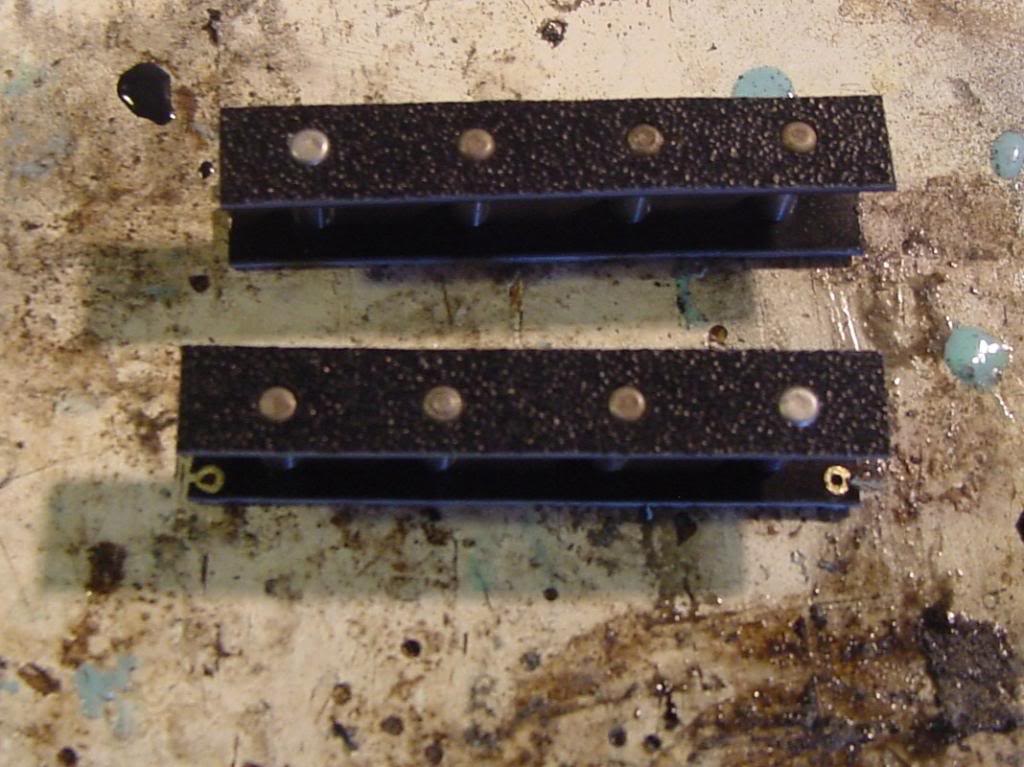
And put the top on.
makingapickup011.jpg

After that it's time to brush on some super glue.
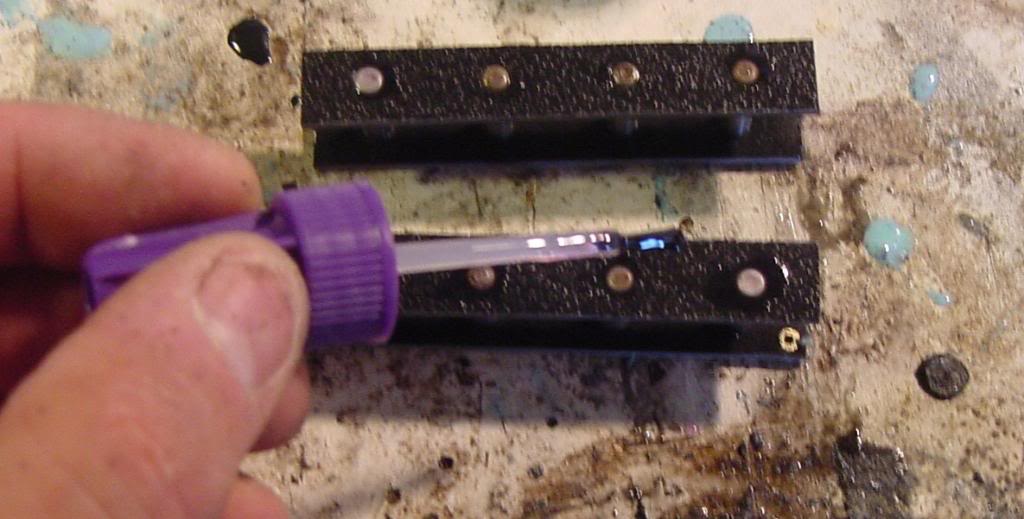
makingapickup013.jpg


Next time I'll show you how I wind the pickups.
 
Is superglue normal for pickups? I would have thought that it would turn brittle eventually - maybe not tomorrow but I wouldn't necessarily trust it to be there in 15 years?

I just use the super to secure the pole piece to the bobbin, other wise after winding the top and or bottom can work their way off, then it's a mess. Super glue will not hurt anything.
The whole lot is eventually encased with resin.......

Yes, I put the entire pickup in the mold and pour the resin, the pickup is almost indestructible when it's done, unless you take a hammer to one.
Subscribed just because it's extremely intricately explained. Keep 'em coming, please :D

Thanks, I will
 
I decided to show you my homemade winder.

makingapickup019.jpg


The motor is from a 9" box fan. I cut the housing out and screwed it to the blocks and re-installed the motor, then shimmed it until it was level. The block is a 1" x 4" piece of maple. I have a magnet on one end (for the sensor) and a lag bolt with washers to balance it.
I wired up a varible fan speed control. The counter, reed switch and magnet is from Fargo Control. I called them and told them what I needed and they hooked me up, it was around $70.
http://www.fargocontrols.com/counter/totalizing.html
The wire is on the wall about 4' from the winder, it runs though the eyelets and around the front so I can hand feed it.
The big eyelet bolt and set couplers are to limit the wire, so it doesn't run over the bobbin. The whole set up was $95. I usally wind around 500-600 rpm.

makingapickup020.jpg
 
Lets continue on. Today it's about wind the coils. But first for those of you that don't understand how a hummer is wound check out this link;
http://www.1728.com/guitar1a.htm

The coil goes on the winder, it's held with double sided tape. The main reason I use super glue when I make the bobbin is after the coil is wound the DST can cause the freshly wound bobbin to come apart.

makingapickup023.jpg


As the bobbin spins I move the wire between the collar locks, this keeps the wire from going over the edge of the bobbin.

makingapickup024.jpg


After 7500 turns one half of a humbucker is done.

makingapickup026.jpg


Then I tie the wire to the eyelet.

makingapickup027.jpg


The coils are then soldered and tested, the number on the multi tester is for one coil.

makingapickup029.jpg


Both coils.

makingapickup030.jpg


I mix 30 minute epoxy together along with rubbing alcohol, I use about 2x as much rubbing alcohol as epoxy mix.

makingapickup031.jpg


I brush the mixture on the coils and let it set over night.

makingapickup032.jpg


People love to get their hands on a shiny new coil.

makingapickup034.jpg
 
Are you referring to the use of rubbing alcohol? If so no. I've got a coil that I took apart and it's solid all the way though. Besides the coil wire is SPN. Single Poly Nylon coated.
I use the alcohol to thin out the epoxy, so I can brush it on. It dryes pretty fast.

Where do you get your wire from? I think the wire I've been buying is poly coated and doesn't hold up to alcohol (denatured) very well (that's how I remove the coating to check the coil's resistance, I'm from a different winding school ;)) so I typically pot my coils with paraffin and then once the wax is trimmed I encase them in epoxy. I'd much rather go the all epoxy route.
 
Where do you get your wire from? I think the wire I've been buying is poly coated and doesn't hold up to alcohol (denatured) very well (that's how I remove the coating to check the coil's resistance, I'm from a different winding school ;)) so I typically pot my coils with paraffin and then once the wax is trimmed I encase them in epoxy. I'd much rather go the all epoxy route.

MWS. I use 43 gauge from Electricsola. I did try to remove the coating with RA and it did nothing. I use a little 600 grit sandpaper to remove the coating. I asked on Pickups and Electronic form (the one on TB) about epoxy potting and someone (sorry I can't remember who) said that they used to use 5 minute exopy and RA. So I gave it a try, but I find the 30 minute kind to be easier to work with, it's more forgiving with the amount of time you have to work with it.
Also I have left extra in the cup just to see what happens after awhile, it leaves a hard epoxy when it dries.
I'll take a picture of the coil I removed to show you.

Found the thread;

http://www.talkbass.com/forum/showthread.php?t=579467&highlight=
 

Latest posts