• TalkBass has been independent since 1998. Add your voice.
    Create a free account to reply to discussions, view embedded media, and browse with fewer display ads.
    Join freeLog in
    Want zero display ads or expanded classifieds tools? Compare plans.

MPU Scroll bass

This morning I sanded the body faces. Final shape is drawn but not sanded yet. After breakfast I shaped the headstock, tapered the neck and glued the headstock.
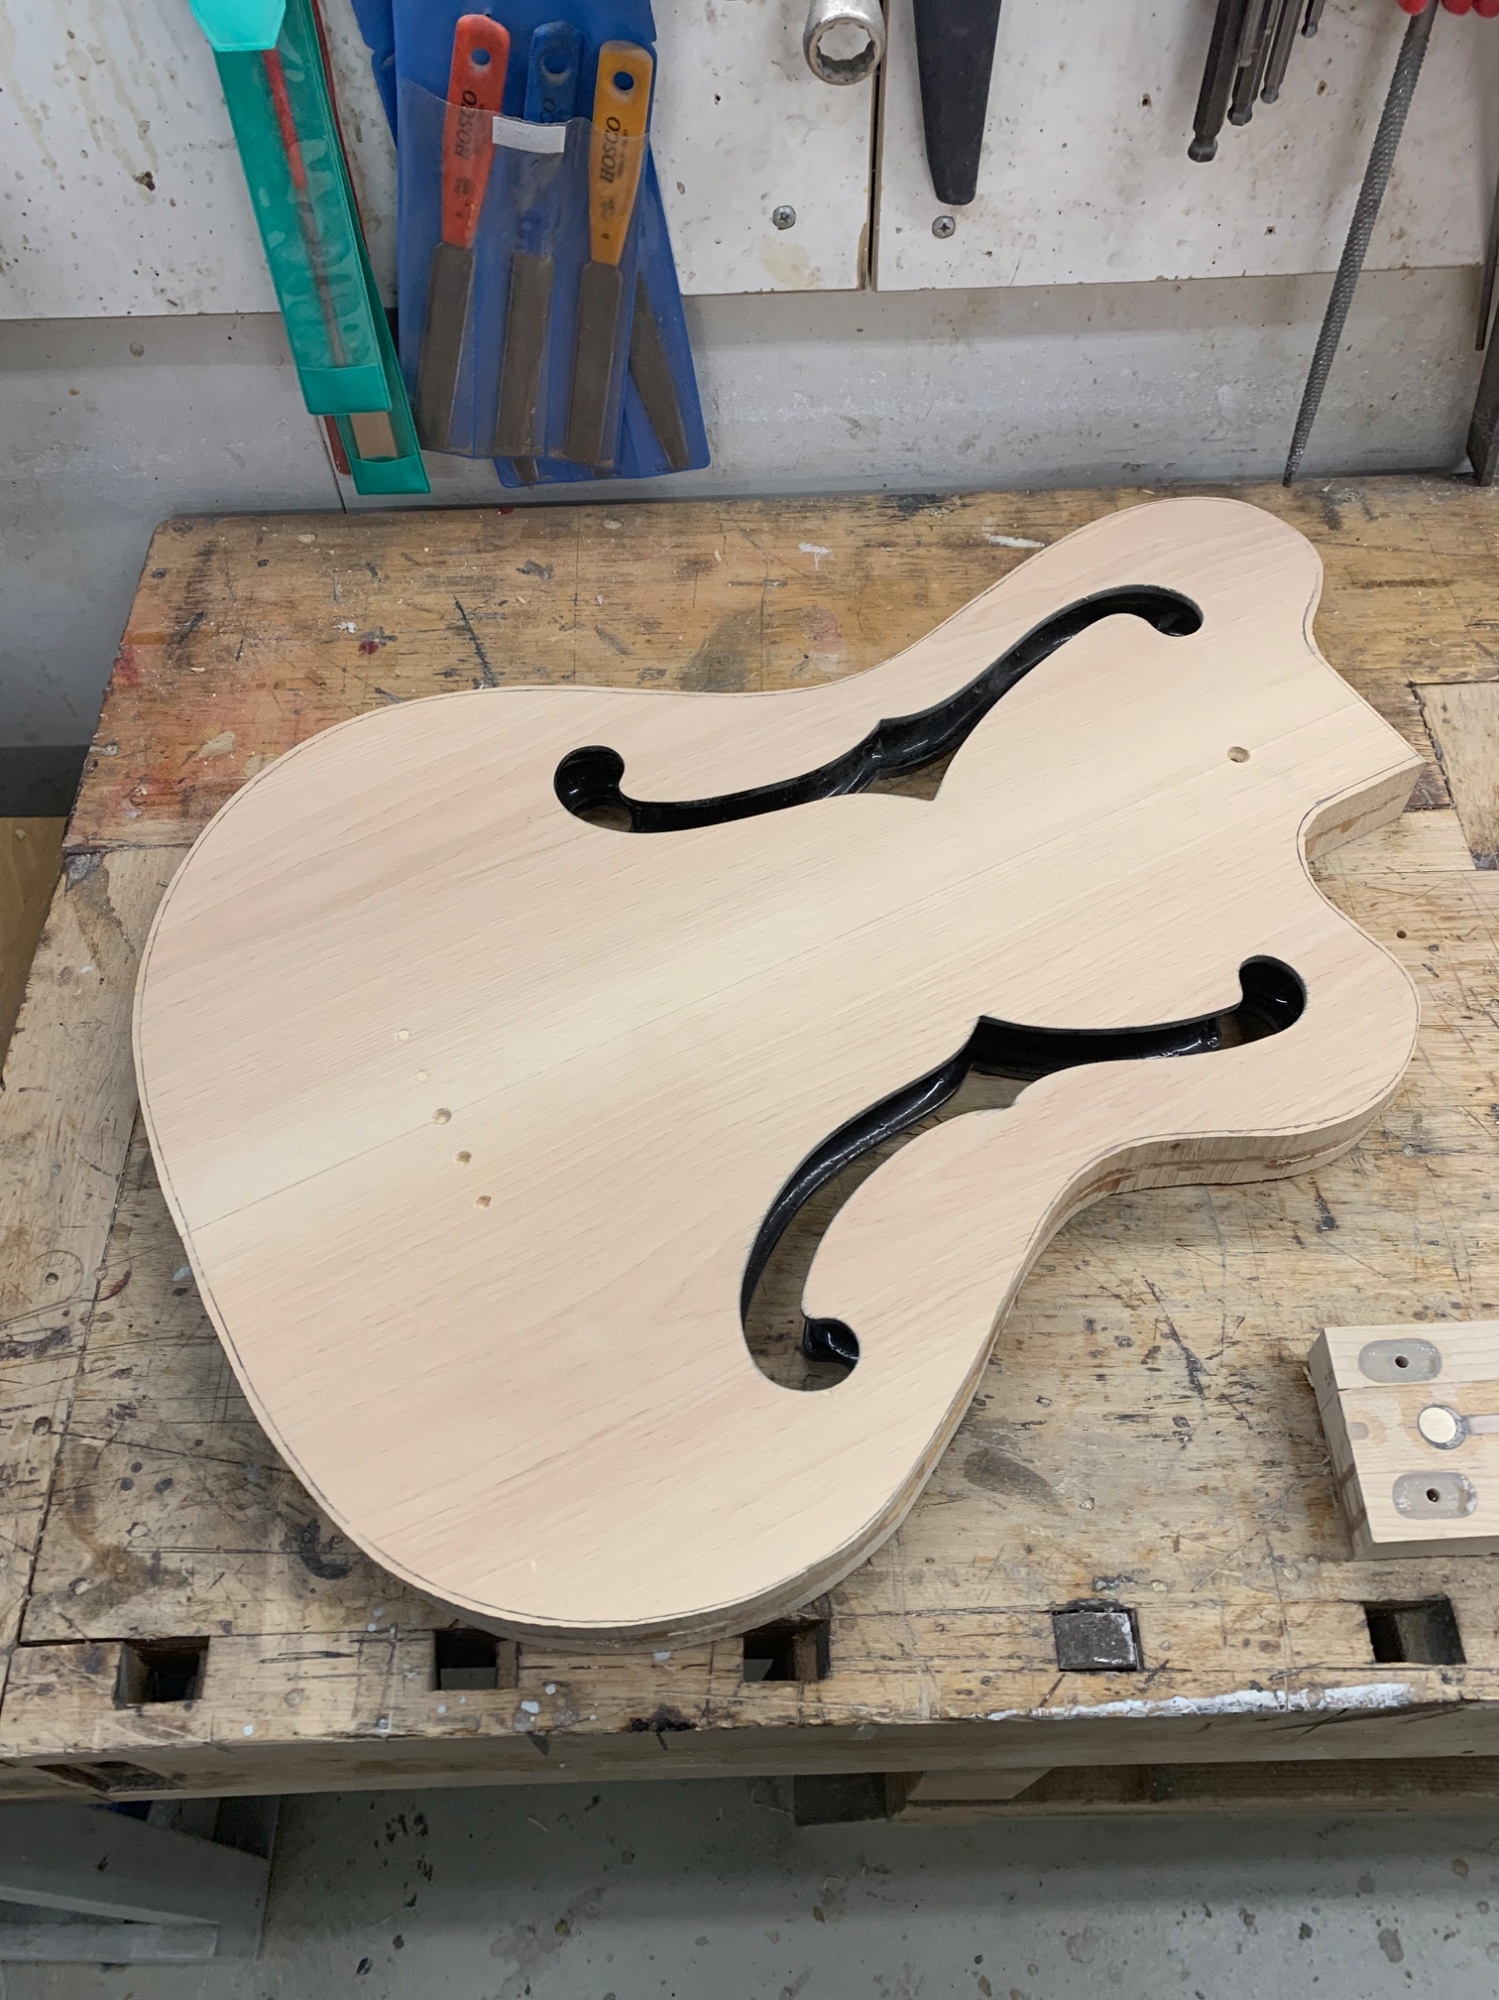
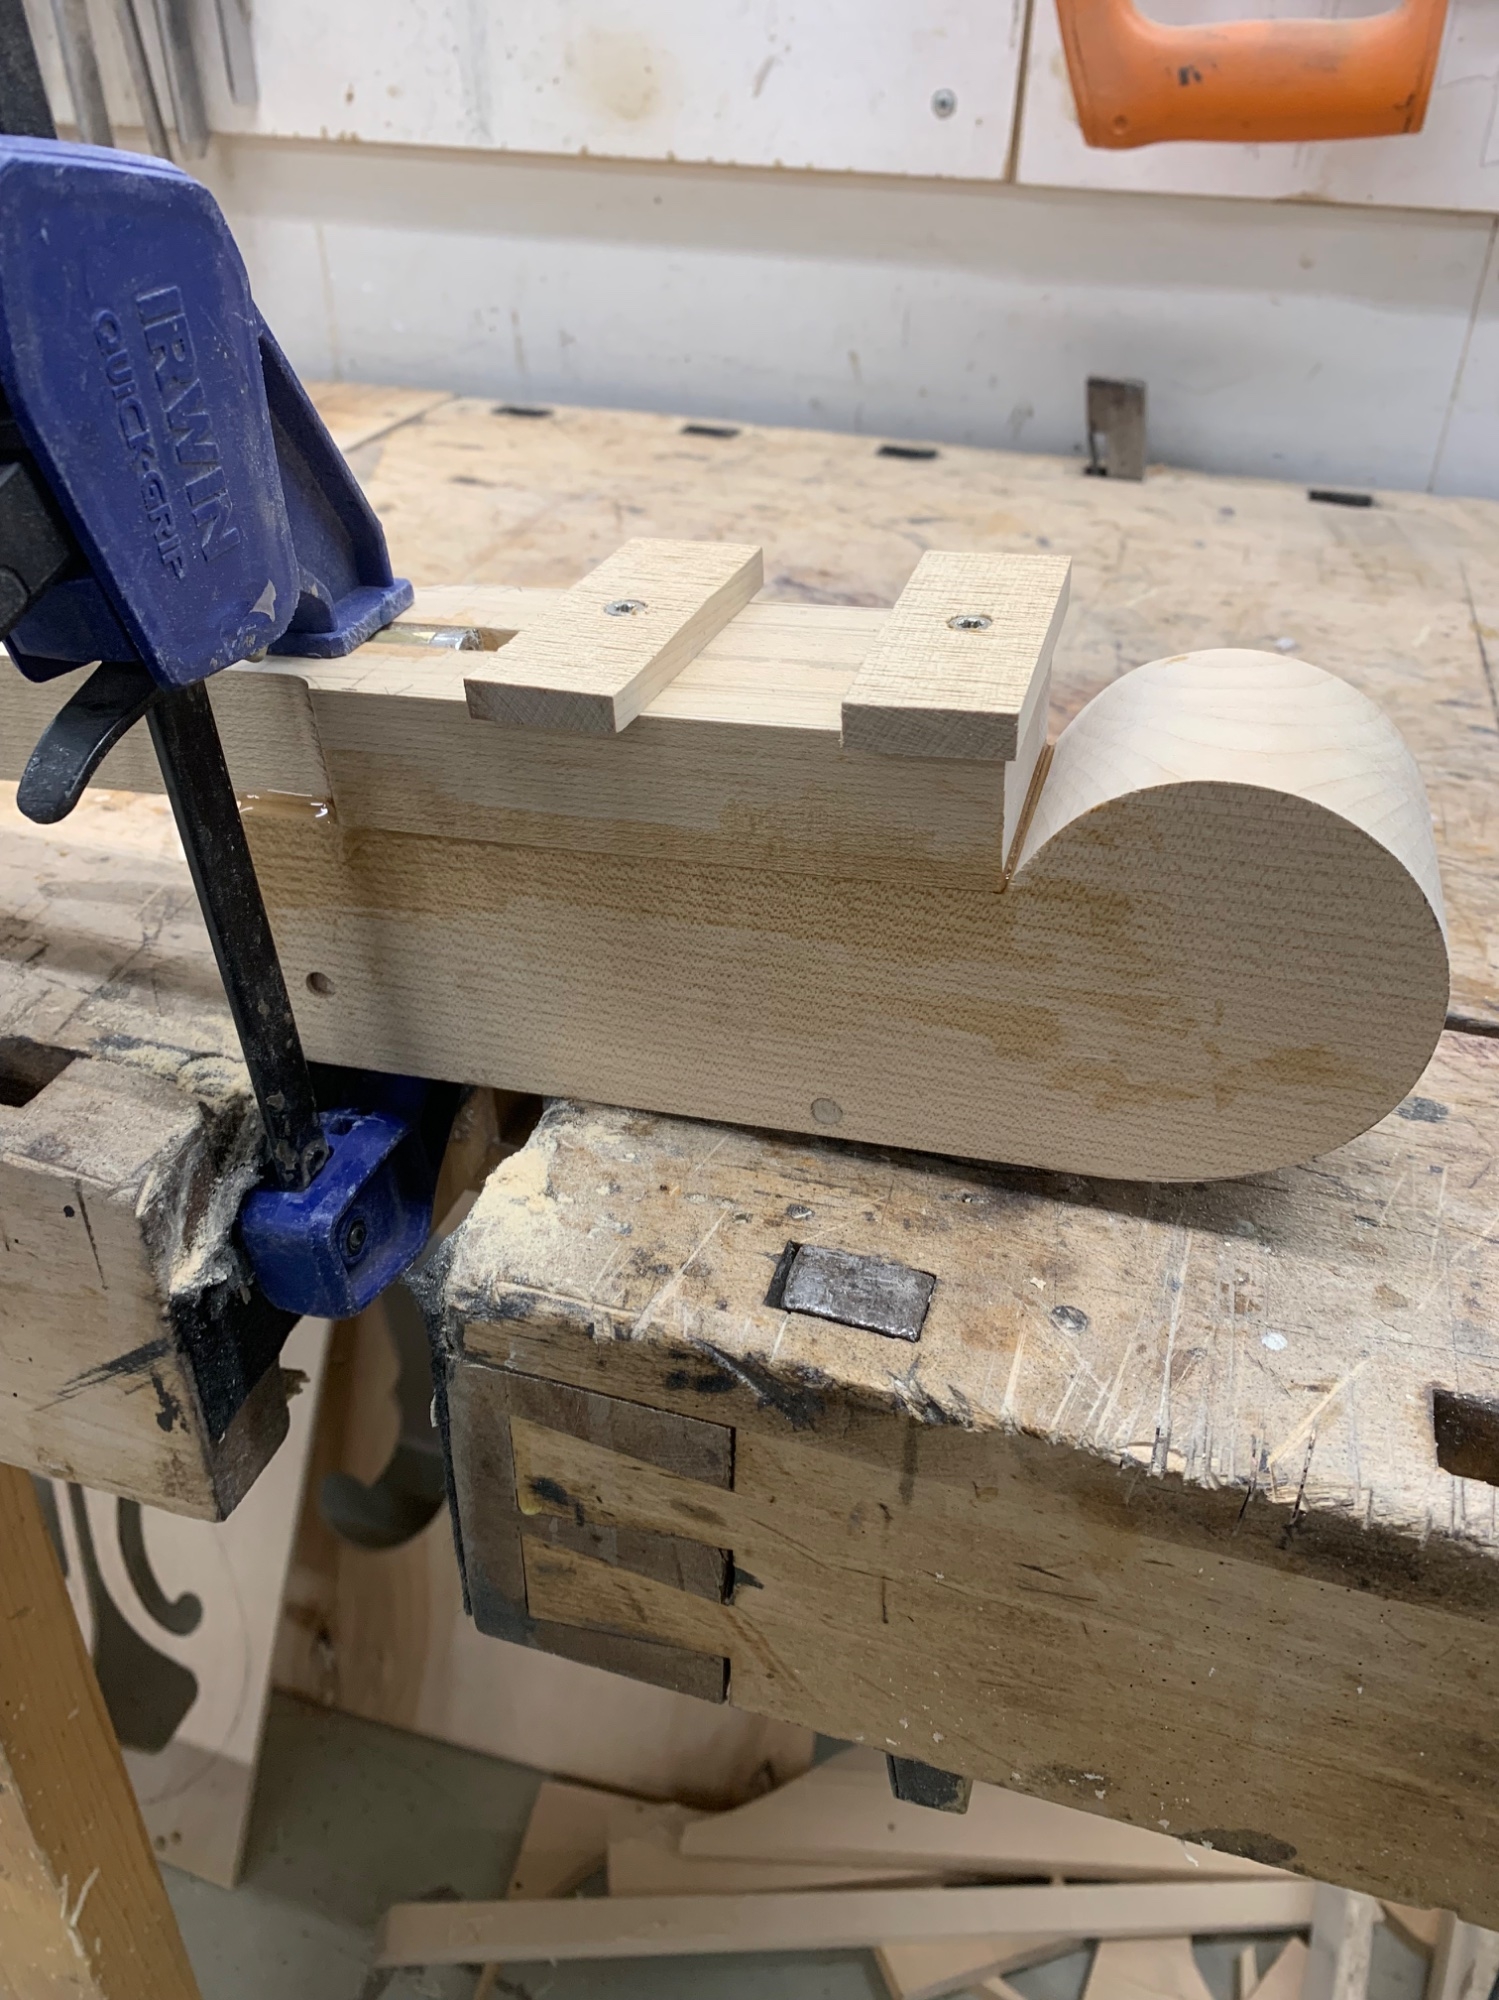
IMG_6337.jpeg


IMG_6338.jpeg
 
I sanded the headstock to correct width and drew the scroll shape and peg box cavity. I have to buy an 11 mm forstner bit tomorrow. I’m hoping to work with the headstock tomorrow.

IMG_6366.jpeg


IMG_6367.jpeg


Then I sanded the body to shape.

IMG_6368.jpeg


And last thing today was tapering the fretboard. I’m going to saw 0,5mm thick fretline marks to the side of the fretboard, that’s why I tapered the fretboard before gluing.

IMG_6369.jpeg
 
That's the secret Tone Chamber. It has to be just the right size to resonate at the right frequency. Marko's got it.
Now that I have the headstock end sorted I’m working with the heel end. How thick should the finished neck heel be and what depth should I route the neck pocket? My plans show 28.5mm thickness (neck and fingerboard) and 9.5mm pocket depth. That would leave the strings very high from the top of the body.
 
Now that I have the headstock end sorted I’m working with the heel end. How thick should the finished neck heel be and what depth should I route the neck pocket? My plans show 28.5mm thickness (neck and fingerboard) and 9.5mm pocket depth. That would leave the strings very high from the top of the body.

Yeah, that's another area where Ampeg refused to follow the Fender standards.....and your drawings got it wrong. An Ampeg neck is 30 mm thick from the heel surface to the fingerboard surface. The neck pocket in the body is 15 mm deep. The pickguard is 3.3 mm. I just measured them on actual Ampeg parts hanging here.

So, the fingerboard surface ends up at 11.7 mm above the pickguard surface. Fenders are typically 7.4 mm above the pickguard surface. So, if you are using the Ampeg dimensions and an aftermarket Fender-size bridge, you may need to space the bridge up on an aluminum plate.
 
Tonight I measured, marked and saw the fret position marks on the side of the fretboard. I used fret saw with depth stop at the side.

IMG_6377.jpeg


Then I glued the marks with CA. I used 0,5mm x 2mm binding plastic as marks.

IMG_6381.jpeg


While the CA was hardening I made a template for neck pocket, drilled the pocket with Forstner bit, routed the pocket to 15mm depth and marked and drilled the neck screw holes.

IMG_6382.jpeg


IMG_6383.jpeg


IMG_6384.jpeg


IMG_6385.jpeg


Then I sanded the fret position marks and glued the fretboard.

IMG_6386.jpeg
 
Last edited:
Tonight I measured, marked and saw the fret position marks on the side of the fretboard. I used fret saw with depth stop at the side.

View attachment 7492927

Then I glued the marks with CA. I used 0,5mm x 2mm binding plastic as marks.

View attachment 7492929

While the CA was hardening I made a template for neck pocket, drilled the pocket with Forstner bit, routed the pocket to 15mm depth and marked and drilled the neck screw holes.

View attachment 7492930

View attachment 7492938

View attachment 7492932

View attachment 7492933

Then I sanded the fret position marks and glued the fretboard.

View attachment 7492934

All looking good!

I like your method of making up the temporary neck pocket routing template by sticking together wood scraps with hot melt glue. Simple and efficient. And you could do the same thing on top of a piece of MDF, to make a permanent routing template.
 
Today I thicknessed the heel and neck at work with bandsaw and drum sander. At home I shaped the neck using spokeshave, rasp, sanding blocks and strips of sandpaper.

IMG_6391.jpeg


Then I radiused the fingerboard with handplane and long sanding block. Tomorrow I’m going to final sand the fingerboard and drill and glue the side dots. Headstock needs some fine shaping too.

IMG_6392.jpeg
 
Last edited:
After final sanding the fretboard to 320 grit (will sand to 800 later) I used a scraper and sanding block to final shape the neck thickness.

IMG_6394.jpeg


Then I used a ball end bit on Proxxon mini router to shape the headstock. After some sanding it looks good.

IMG_6395.jpeg


IMG_6396.jpeg


Then I facet filed the body edges, sanded the facets off with a strip of 80 grit Abranet and sanded the edges with 150 grit paper on a stiff urethane foam sanding block.

IMG_6397.jpeg


IMG_6398.jpeg


IMG_6399.jpeg


IMG_6404.jpeg


Then I routed the control cavity top off with a bearing bit.

IMG_6405.jpeg


Next it’s time for some metal work, I’m making the neck plate and control cavity plate from 5mm and 2mm aluminium.
 
Last edited: