• TalkBass has been independent since 1998. Add your voice.
    Create a free account to reply to discussions, view embedded media, and browse with fewer display ads.
    Join freeLog in
    Want zero display ads or expanded classifieds tools? Compare plans.

Refurbishing and upgrading my first bass!

Hello everyone. This is my first post in the luthier forum. I have been lurking for quite a while. My name is Tom and I usually build partial composite longboard skateboards. I have been a bassist for almost 14 years, and have been wanting to get into building, so I figured this would be a good project to break ground with.

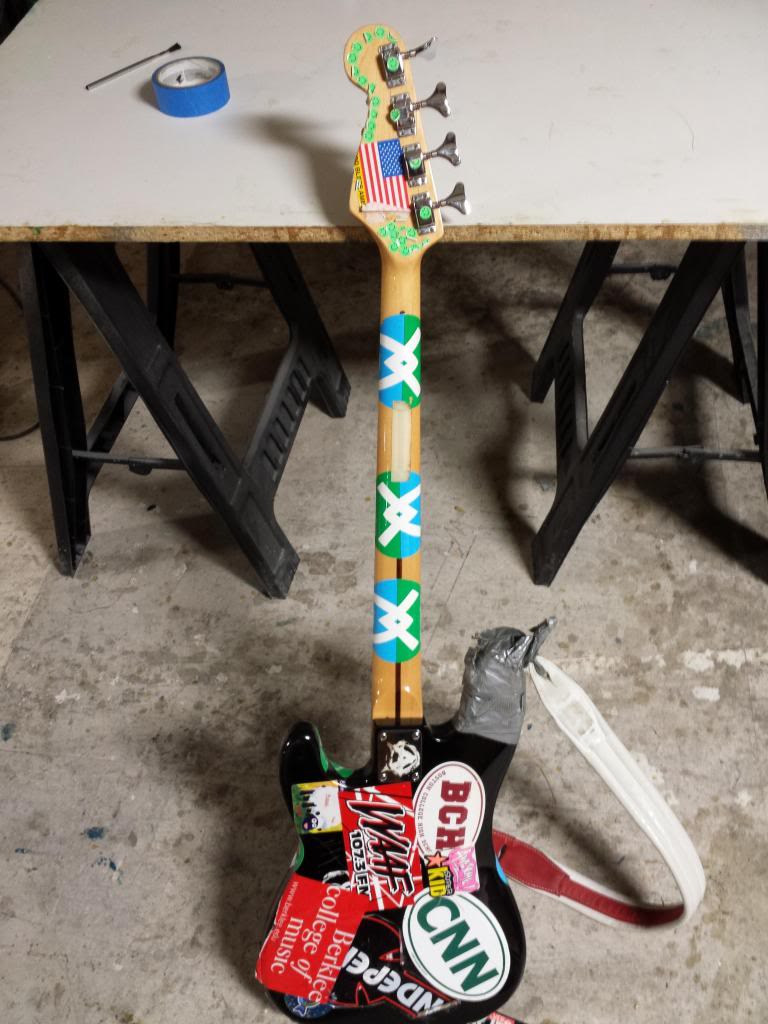
My first bass was a Squier II P bass, something that I thought was pretty crappy when I was 10. So when I got my Spector, I decided to decorate it (horribly). I wanted to do something like Flea's stickered up modulus. Not so shortly after I fell in love with Jaco's playing, and decided I really wanted to have a fretless. So I grabbed a set of pliers and ripped all the frets out of the bass (very surprisingly clean for such a barbaric method.). Well fast forward 13 or so years, I have a full workshop and spray booth for my skateboards, I figured I would fix this bass up again.

Since I have access to an abundance of carbon fiber I am thinking about wrapping the neck in carbon, or maybe just the fingerboard.

Before doing this, should I have the truss rod set up a certain way? Completely flat? or relieved to how I want it to be when I play it? Since I plan on doing only a single lamination, it shouldn't offer too much resistance to not be able to adjust it down the road I assume.

I have the hunch that the carbon fingerboard would give some interesting fretless tone, probably pretty punchy.

I also plan to sand everything down and paint her up nice again (maybe red micra to match my car?).

Anyways, nice to meet you all, I look forward to input and criticism.

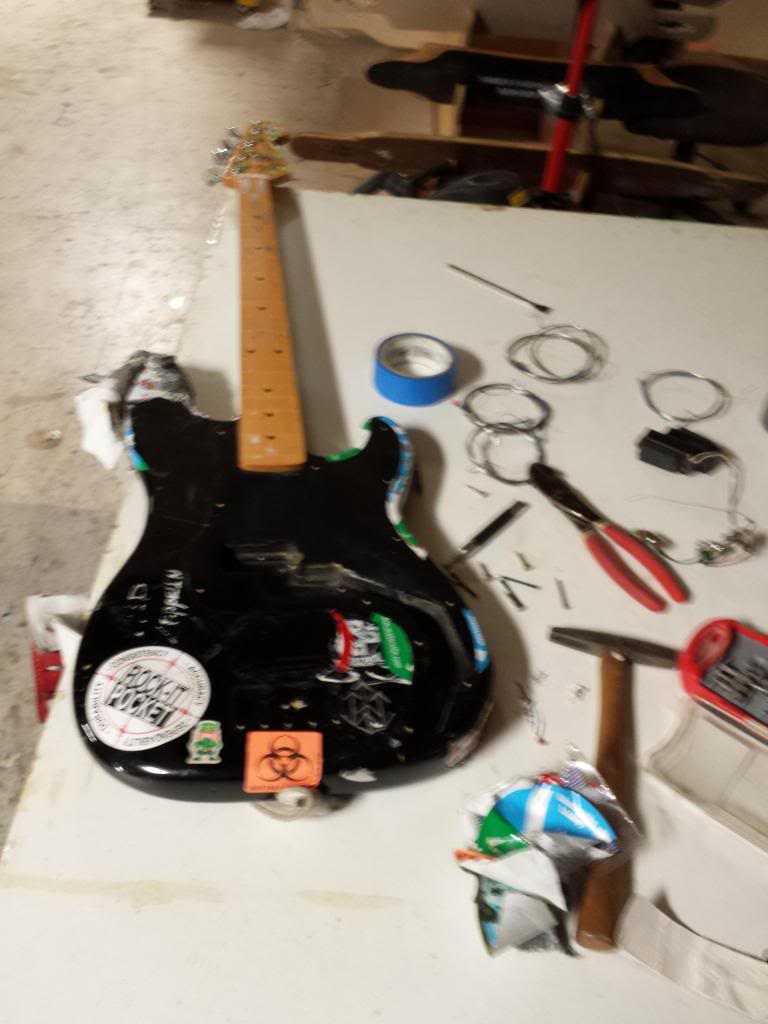
And now the starting pics:
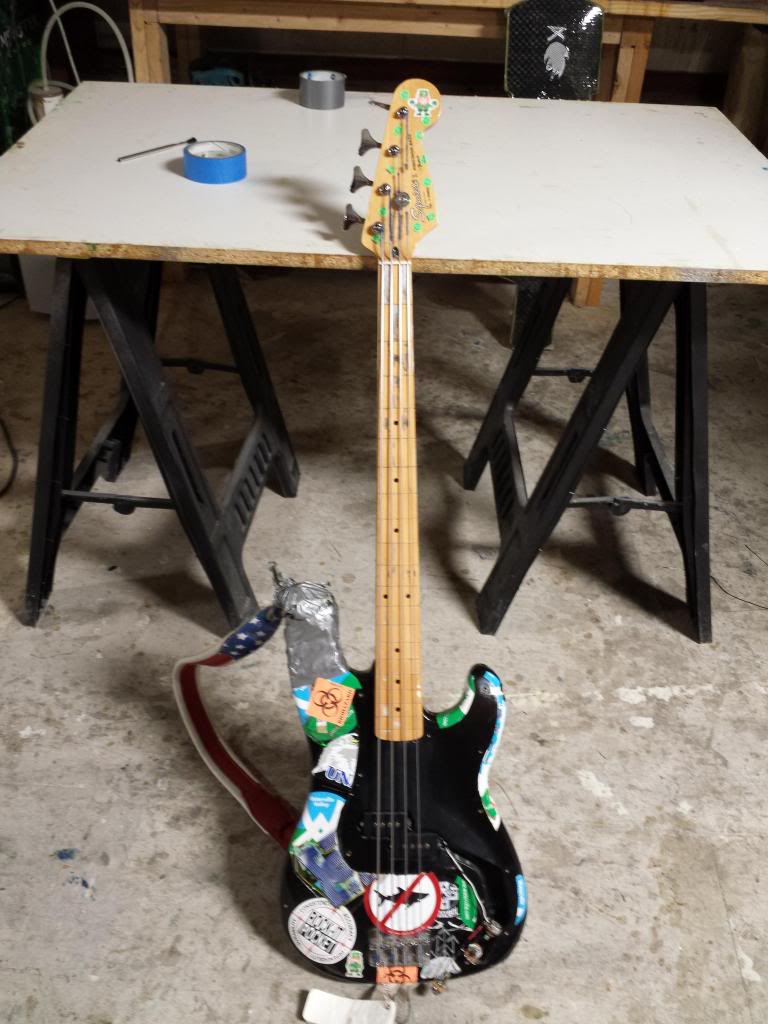
20131025_1713351.jpg


20131025_171348.jpg


20131025_173211.jpg


Beginning of sticker removal

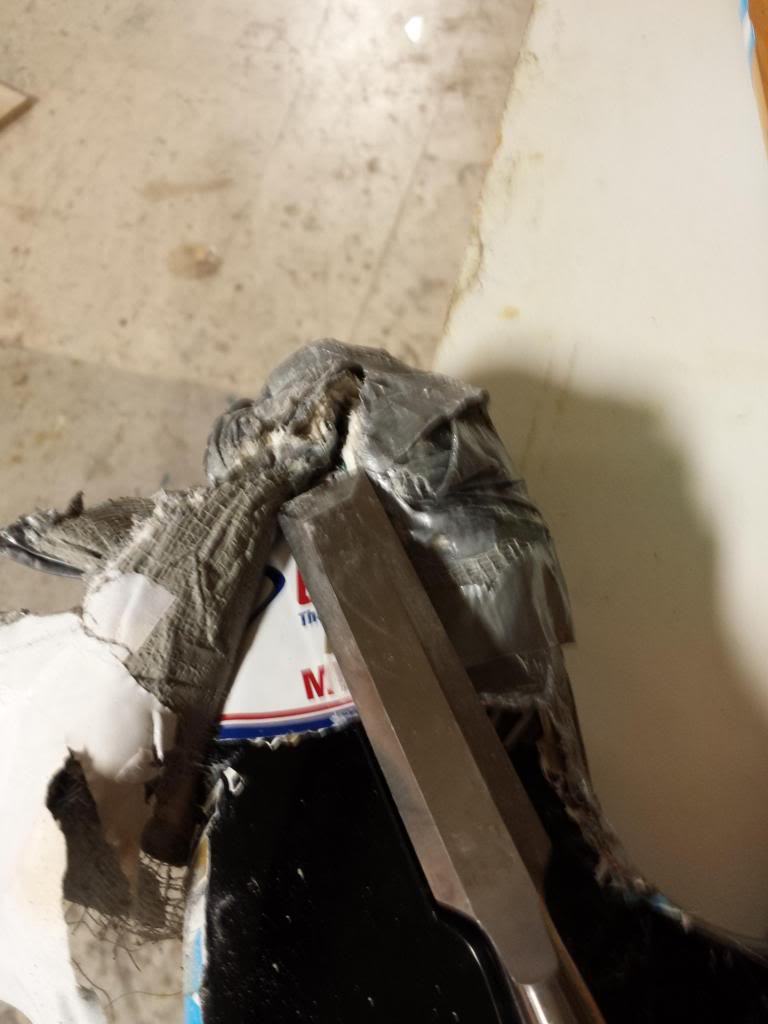
20131025_173225.jpg

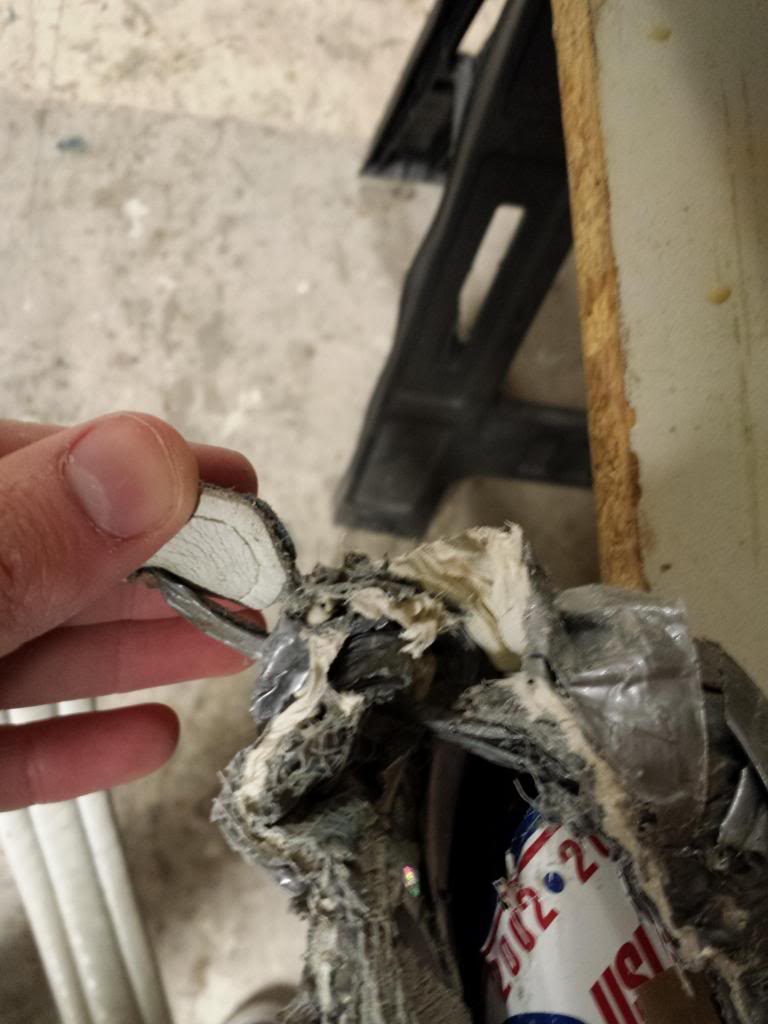
When my strap lock fell off, I did a quick fix with a poopon of duct tape, which, while heinous, proved to be effective.
20131025_173409.jpg


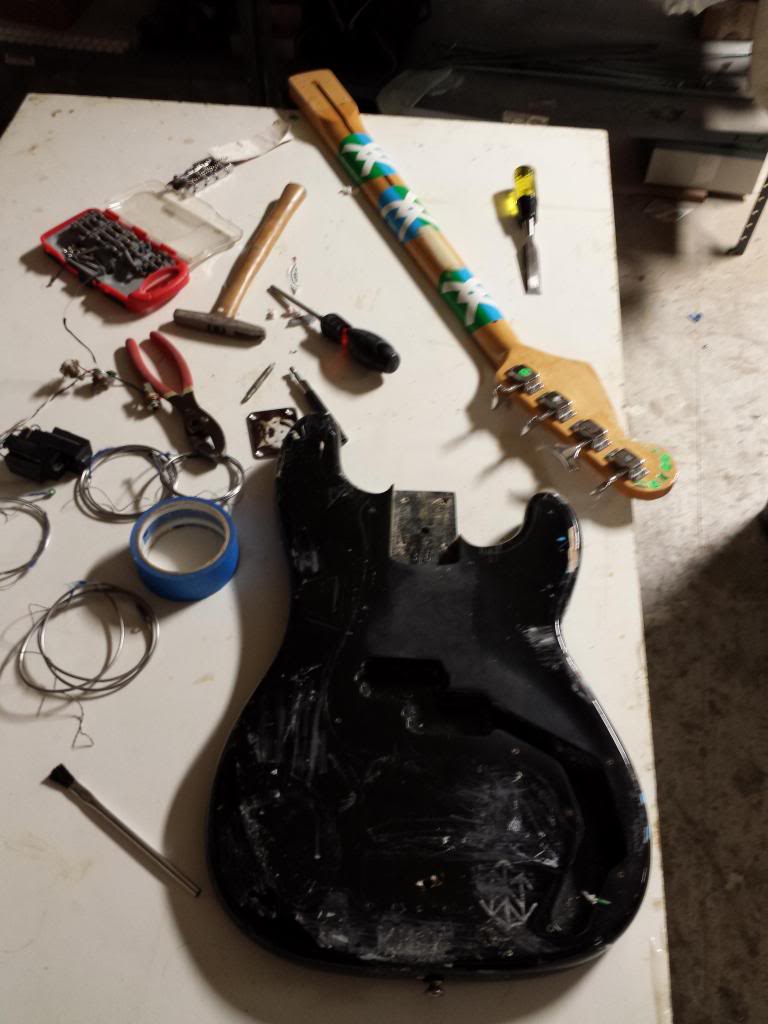
The full mat of tape removed.

20131025_180420.jpg


Looking a bit cleaner.

20131025_180432.jpg

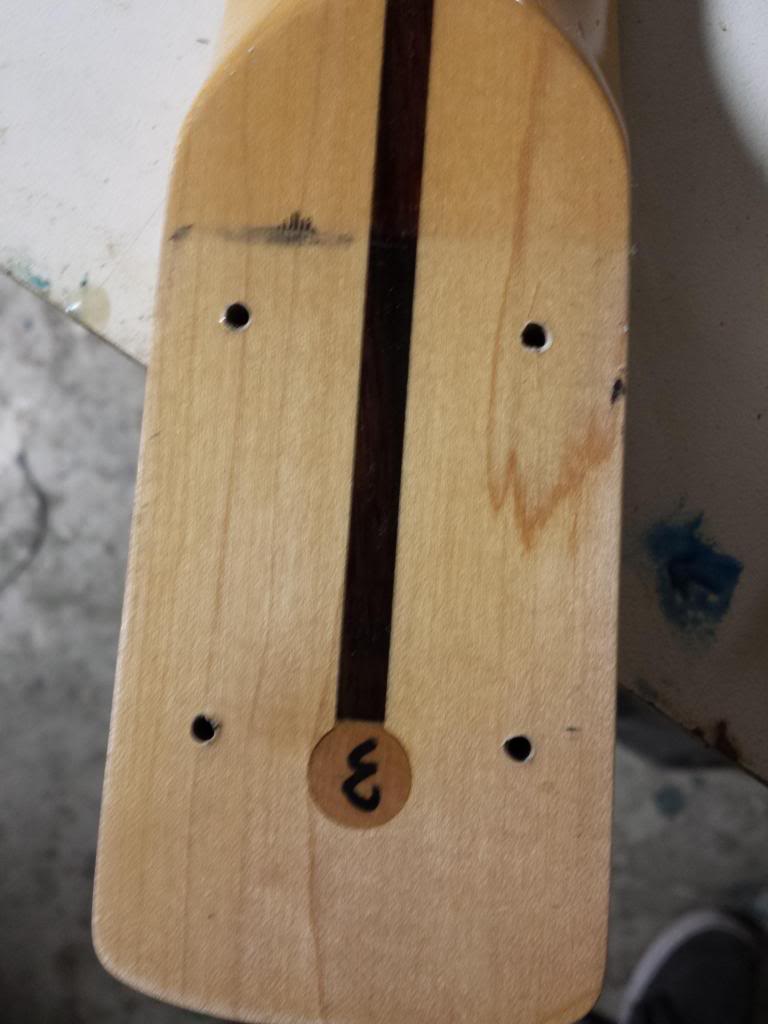
End of the neck with some sort of makers mark? No idea what it means. Anyone know?
20131025_180443.jpg


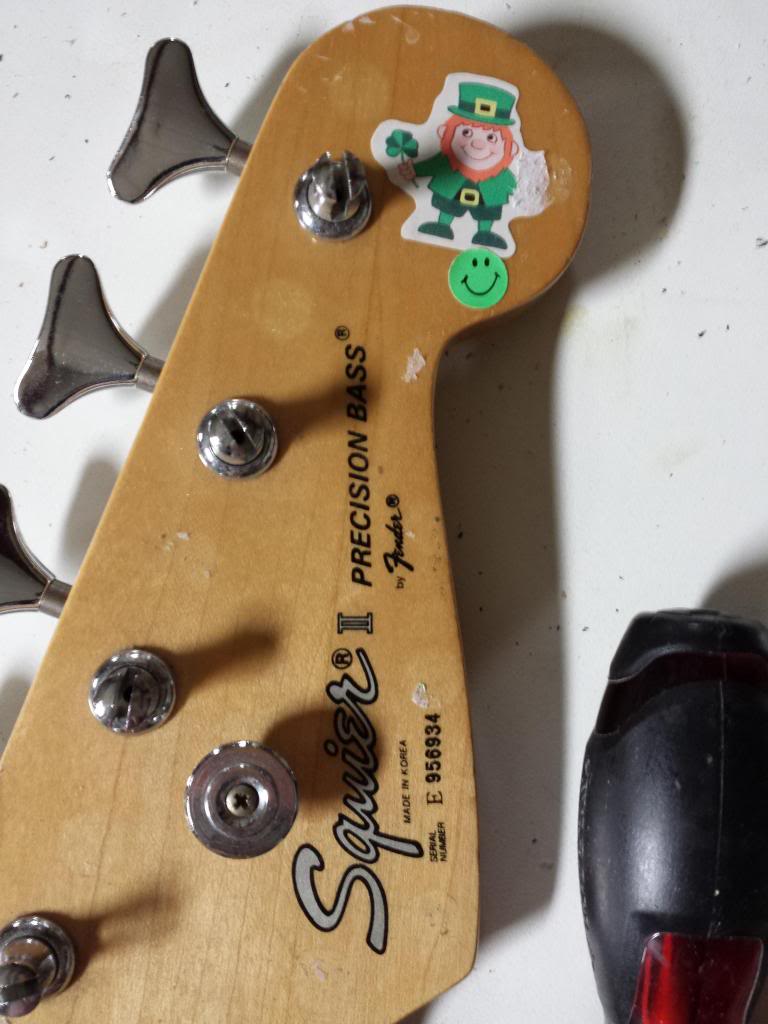
Headstock

I will post more progress pics as progress is made!
 
Good evening! Update time.

Tonight, I sanded down the body down to bare wood. This wood was as I had anticipated, pretty meh, and paper thin. You will notice that I burned through it in a couple places. I also Carved a silly groove to make my hand more comfortable, seemed like a good idea, but who knows, it will probably do nothing.

The iffy wood situation has lead me to a new dilemma, one which I would absolutely love suggestions on. What to do with the body?

I have a spray booth so I could paint it, or I could wrap the body in carbon fiber. Or finally, I could laminate a pretty veneer on top of it. Although I am slightly leaning towards the latter, I am unsure as to how it would look with the carbon neck, especially if I did a crazy burl of sorts. I am also thinking about hitting the neck with an extra fine scotch bright pad to make it matte, this should keep it extra fast!


On to the composite menu!!

Here is what I currently have to work with:

0,90 Plain weave carbon. Small checkerboard style, pretty run of the mill, but can look pretty sharp.

20131028_192259.jpg


Twill weave carbon, a bit slicker looking. The stuff I usually use on the bottom of my race skateboards. You will find this type of carbon brilliantly displayed on hypercars such as the Pagani Zonda F.

20131028_192339.jpg


Texallium. This is essentially aluminum (Aluminium) dusted fiberglass. This stuff is brilliantly shiny and silver. Unfinished, it is very hard to capture a good picture of:

20131028_192438.jpg


And finally, a gem that I have been clinging on to. A custom multicolor kevlar/carbon fiber hybrid twill. This fabric was a sample woven for me by my good friends at TEAM INC. This is a special fabric that is not in production, and they were kind enough to give me some to play around with. It is SO SO cool.

20131028_192648.jpg


So what do you guys think? I am thinking about doing a composite fingerboard, pickguard and back of the neck (the two laminations on the neck would be done sepparately, so they could be different fabrics.

Lastly. On to the actual progress pictures!!!!
20131028_140508.jpg


The primer took FOREVER to get through.

20131028_140514.jpg


Wood isn't that pretty.

20131028_140525.jpg


Same goes for the back, note the burn through in the dead f%&$ing center becuase I started by trying to sand out a chip.

20131028_172712.jpg

More burn through

20131028_190003.jpg


She's looking nice and clean!! After about 2 hrs of sanding

20131028_190024.jpg


Close up of the stupid "carve-away" I tried to make. I doubt it will make it much more comfortable...

20131028_190037.jpg


20131028_190057.jpg


The back is nice and clean now. So many burn throughs. I also made the tummy cut a bit deeper and more sculpted instead of straight with lots of edges.

20131028_190425.jpg


I sanded the neck nice and smooth for filling.

20131028_190433.jpg


Jaco allegedly used a butter knife...I used pliers when I was 10. Surprisingly clean pulls in most places.

20131028_190818.jpg


I used marine epoxy and west system 407 fairing compound to fill the fret slots and chips (something I should have done 10 yrs ago). (Shameless self plug) I used TotalBoat Epoxy, which is the epoxy the company I work for developed last year. It works great, in my experience, out performs west system and system three and is much more affordable.

20131028_192026.jpg


20131028_192050.jpg


Slots filled, and I spread it all out over the fret board. I plan to sand everything down smooth and nice before I put fabric over it. This will give me a nice, smooth surface that will let me do a nice hot coat of epoxy over to have a glassy, growly fingerboard.

Thats it for tonight folks. I would love to hear input on my methods, and opinions of how I should use these fabrics! I cant make up my mind!
 
Quite honestly I like the way the grain looks. I just stripped and refinished my first bass, a squier P, a few weeks ago now. First time I did something like this, it was a blast! You'll notice my grain looks totally different than yours:
null_zpsc4569fd0.jpg
 
Wow yours came out great! Very true, totally different veneers. Interesting that yours is seemingly solid body too instead of laminated. I guess I underestimate how much the pickguard covers too.. Also I love that sticker on yours.
 
Wow yours came out great! Very true, totally different veneers. Interesting that yours is seemingly solid body too instead of laminated. I guess I underestimate how much the pickguard covers too.. Also I love that sticker on yours.


Thank you, I'm very happy with it too. Someone days it's probably two or three piece body with a veneer on top and bottom. And yes, I kept forgetting how much the pg would cover as well. It looked awesome when I smashed it on. The flat black really set the natural tone off. The sticker can be ordered through darkglass. They're really nice stickers too, thick top quality. I believe you can get three for $5.
 
Update time!

Tonight I made a bunch of progress. Lots of trial and error.

First I had to figure out what I wanted to use and the location to put it.
20131029_174458.jpg


20131029_180059.jpg


Made the jump for the Harlequin kevlar fingerboard. And I will be doing a twill carbon pickguard and matching headstock!

20131029_171303.jpg


20131029_181426.jpg


Since I want to do a carbon pickguard, I decided to try and make one out of wood, that would look better, as well as laminate properly, since epoxy usually does not bond well to plastic. I decided to make one out of a broken ply for my longboards, 1/16" so it wasn't too far off from orig pickguards thickness.

20131029_184112.jpg

20131029_184119.jpg

20131029_184525.jpg


And well.. it ended up being very hard to work with. I know I should have laminated the piece of wood with the carbon before trying to cut it out, but I wanted to be able to shape it easier without the worry of scuffing up the carbon.

20131029_192621.jpg

20131029_195345.jpg


Got everything nice and sanded. I used foam earplugs to fill the tuning holes as well as fill the truss rod bit since they expand and will come out easily.

Time for composites!
20131029_201730.jpg

20131029_201809.jpg
20131029_201745.jpg

20131029_201822.jpg

20131029_201838.jpg

I scuffed up my pickguard and did a test epoxy spot to see if it would adhere, since that would make things much much easier.

20131029_213452.jpg


And finally I decided to try out a black burst on the body. Which I think came out pretty good. Except for those F&%^ing splotches where I filled holes with epoxy. I wish I had decided to stain before I filled last night. Oh well. If everything looks crappy when it all comes together, I will probably just paint it.

20131029_213542.jpg


20131029_213529.jpg


Cut out looks pretty good with the laminates.

Next step: sanding! Lots and lots of sanding before the neck gets clear coated. I'm still deciding if I want to Awl grip it, which will be a super hard, perfectly clear finish, or just plan nitro lacquer. Then, depending on how the pickguard test goes, I will figure out how to get the pickguard made. Lastly I am thinking about carbon or texallium faces for the pickups!
 
Thanks guys! I wont be doing too much today, but I hope to get the pickguard situation figured out on my lunch break today (The perks of having a workshop in the spare warehouse at my work!). Then I can also trim down the fabric and see how it all looks.
 
Success! The headstock and neck look pretty awesome. Although the kevlar is a total b!tch to cut. Im getting frayed ends, I am hoping I can either sand them off (unlikely) Or try and pull them down into the clear coat.

20131030_140505.jpg


20131030_140449.jpg


20131030_140430.jpg


20131030_140517.jpg

Gotta clean this up a bit.. the kevlar pulled away from the nut while I was spreading. I tried to cover up the naked spot with some carbon strands but it looks like crap. I will have to figure up another cover up method. Also very rough cut out for the truss rod, plenty of cleaning up to do.

Also the epoxy test was a success!! I will be able to put epoxy over the current pickguard and carbon it! Super pumped about this.