• TalkBass has been independent since 1998. Add your voice.
    Create a free account to reply to discussions, view embedded media, and browse with fewer display ads.
    Join freeLog in
    Want zero display ads or expanded classifieds tools? Compare plans.

Ruined my first build attempt trying to finish it.

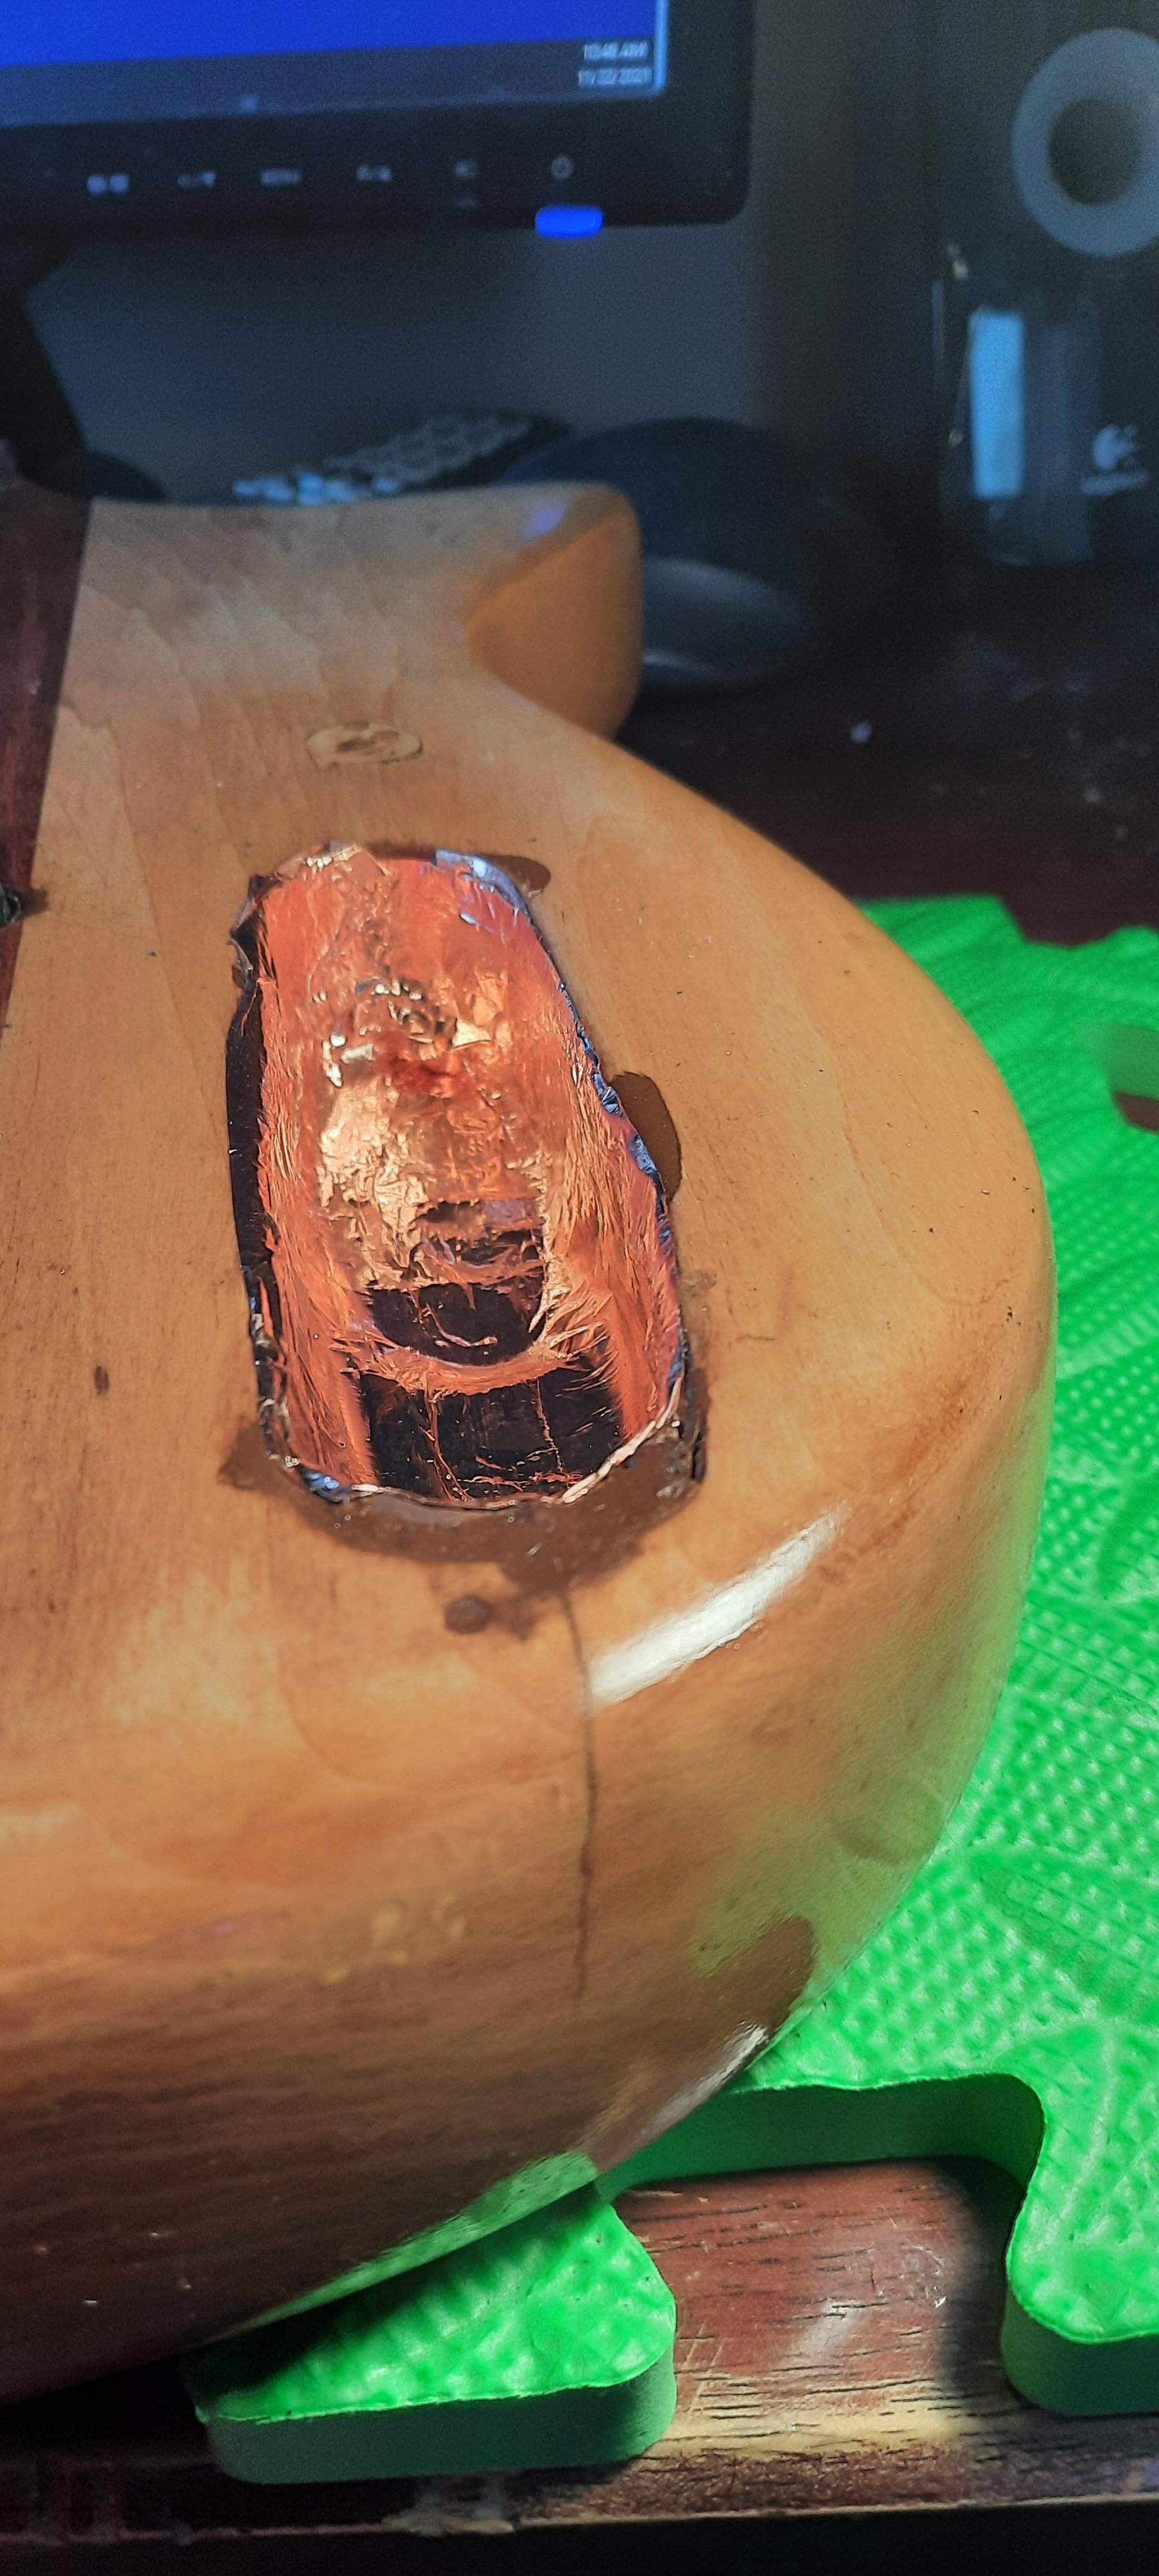
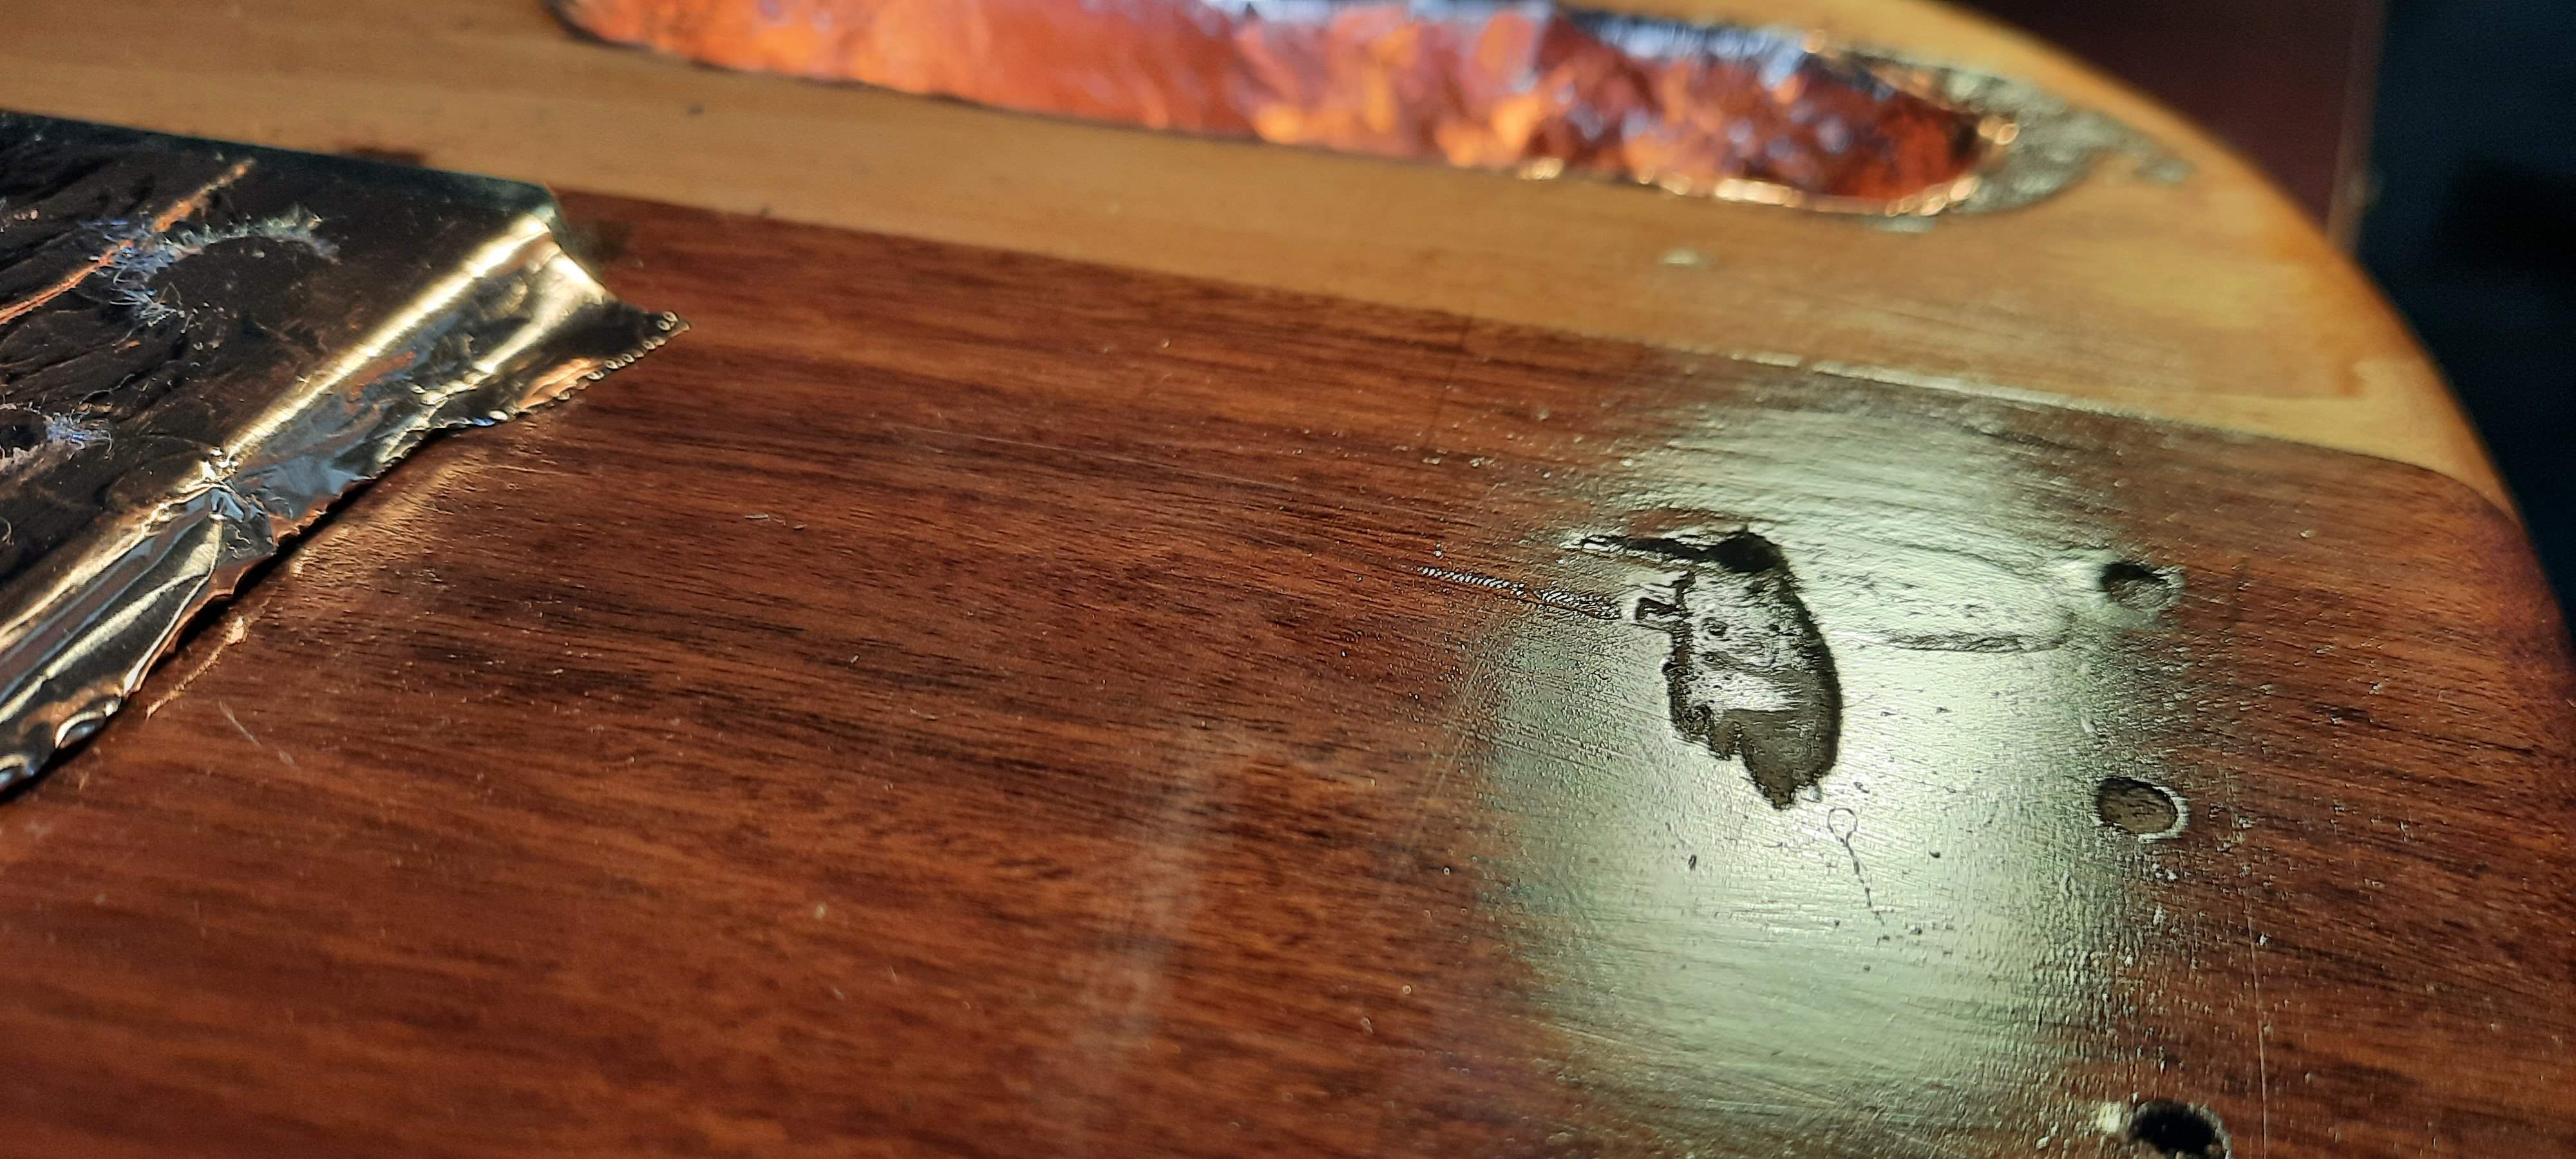
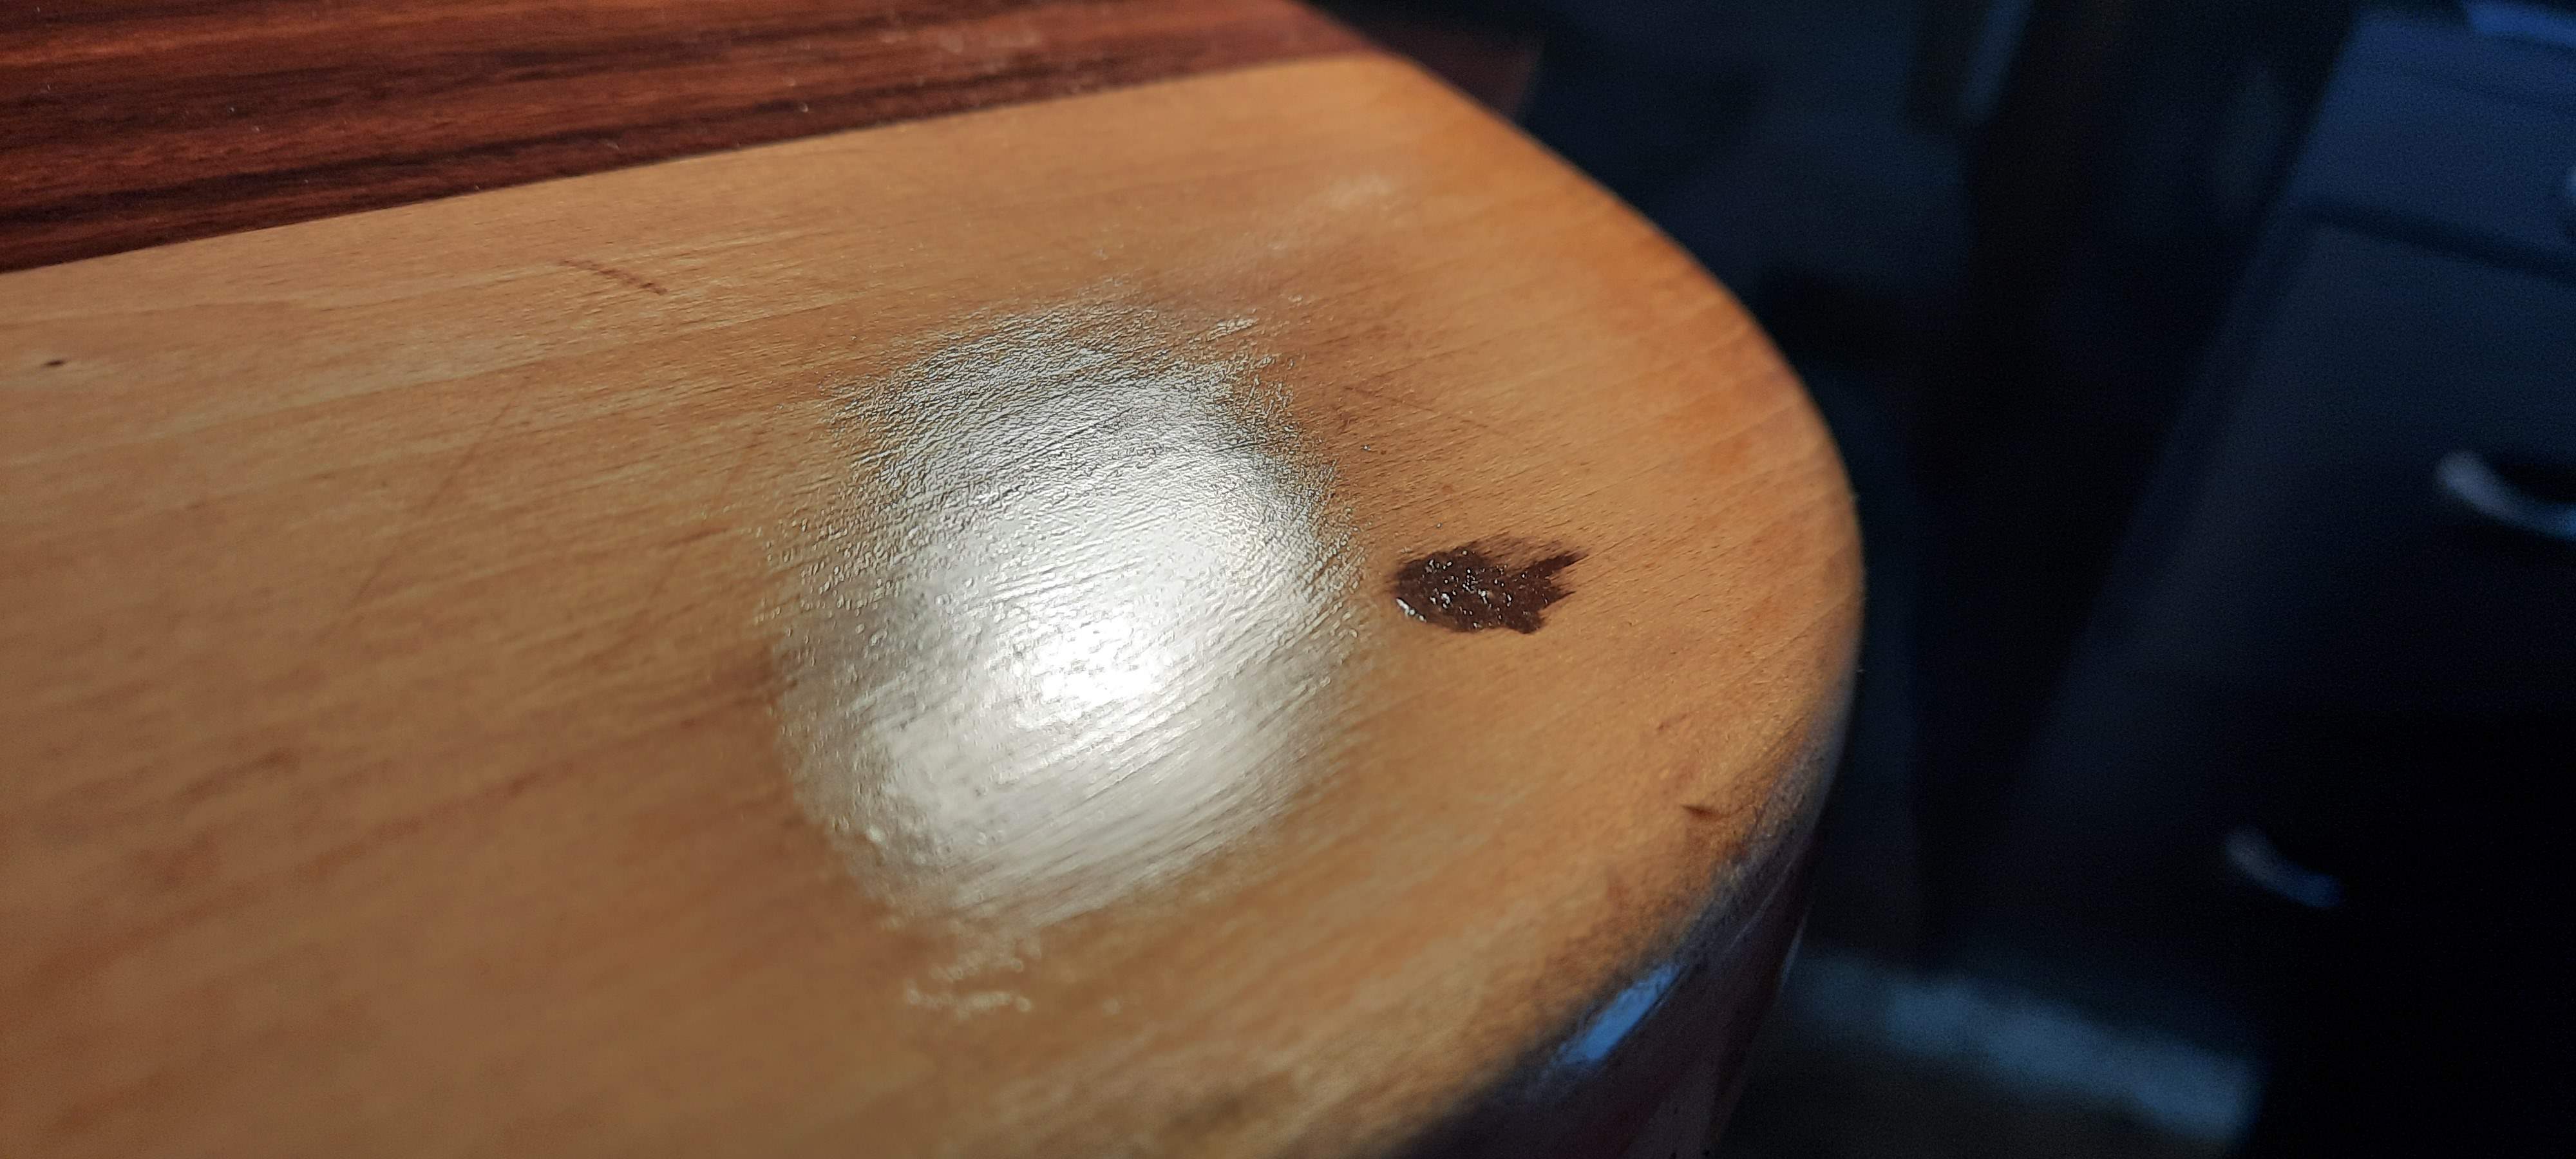
Mistakes galore trying to finish my first build on Sunday. I pretty much think it is ruined. Mistake 1: wrong angle on ground wire hole and busted out the back. Mistake 2: Too shallow angle on re-drill and cracked surface. Mistake 3: While screwing in the control plate the wood split from the control cavity down the face/side. Part of me just wants to throw it out because it looks like utter rubbish right now. On the other hand, I have been working on this since June. But I don't know how to fix/cover these. I filled the hole in the back, but it looks like poopie. No clue what to do about the crack on the side. The crack on the face will mostly be covered by the bridge. I backfilled the cavity with wood putty where it cracked and then applied a slurry of wood glue/sawdust/and tru oil into the crack. I suppose I could fashion a full pickguard/plate to cover some of the ugliness. But I am just at a loss right now and very deflated. So much time and energy wasted.
20211122_104715.jpg
20211122_104734.jpg
20211122_104701.jpg
 
Lessons learned...

I wouldn't stop though. I don't think any of those are so bad to make it look like rubbish. The cracks don't look bad... vintage even. Time to brush up on those woodworking skills. We fixed a Jaguar that had been dropped (from a rooftop by the looks of it) by giving it the vintage-worn look. Nothing is irredeemable.

Did you drill pilot holes for the screws? If you did, and the wood cracked anyway, it was bound to happen eventually.
 
Lessons learned...

I wouldn't stop though. I don't think any of those are so bad to make it look like rubbish. The cracks don't look bad... vintage even. Time to brush up on those woodworking skills. We fixed a Jaguar that had been dropped (from a rooftop by the looks of it) by giving it the vintage-worn look. Nothing is irredeemable.

Did you drill pilot holes for the screws? If you did, and the wood cracked anyway, it was bound to happen eventually.

Yes, I used pilot holes. Thats why that crack upsets me the most...I don't know what I did wrong. The other ones were just me being inexperienced with a crazy long drill bit and can be covered more or less. Don't know how to hide the crack though....other than some faux binding tape.
 
Yes, I used pilot holes. Thats why that crack upsets me the most...I don't know what I did wrong. The other ones were just me being inexperienced with a crazy long drill bit and can be covered more or less. Don't know how to hide the crack though....other than some faux binding tape.

That's a bummer. Sounds like the tree conspired against you. However, the structural integrity still looks sound. It is unfortunate, but you should finish it. It could sound amazing. Worst case is you hate the flaws, and cover it with a solid color.
 
This is why God invented bondo and paint! My first full build had tons of mistakes, all buried under a layer of primer and finish paint. I used "Minwax High Performance Wood Filler" (bondo with sawsdust mixed in) and so far it doesn't seem to shrink back or telegraph through paint. The blow-out can be filled, the crack glued, and all will be right in the universe. If you really can't stand looking at it, you know by now that making a body isn't all that difficult, set that one aside for a beater project when the self-loathing and horror abates. I had one sit on a shelf for a couple years before I went back to it, same deal, Paint Cures All. Remember, Luthiery is: The Art of Fixing Mistakes. Pros just make fewer and fix them quicker.
 
That's too bad. As I said in another thread, no one on here was perfect the first time and most of us just improve at repairing what Bob Ross would call "happy accidents."

You might be able to wick some thin CA glue into the crack on the end of the body and then clamp across that lower bout to get it to hold.

FWIW on the bridge ground wire hole I usually drill in straight with a Forstner, usually 1/2" unless a different one is within reach, maybe 1/4" or so and use the edge of that hole to drill over to the control cavity. I have some blocks cut at a 10 and 15 degree angle that I can run the aircraft bit on too if I'm really concerned about what I'm drilling. I can take some pictures when I get home from work if that would help.

Just persevere man. If needed, step away from the project for a couple of days and come back fresh. I've done that many times. However, I've also had a few points where it was definitely time to cut the body in half on the bandsaw and start again. I can't say where you're at as that point is different for everyone and each project.
 
Epoxy mixed with wood dust makes an OK crack filler. CA can tend to darken lighter woods if wicked into cracks.

Every one of us here has messed things up. Some of us have forgotten more mistakes than we remember. I got my first bass to a similar state as yours and then set it aside for nearly 20 years before finally finishing it. No big deal - put it aside, fix it, leave it as is, and move on to bigger and better things!
 
I'd also recommend keep on keeping on. :thumbsup: Four basses from now, you'll disassemble this one, sand it all back and spray it in a wicked flake finish. :D


Actually, @Beej isn't that far off. If you look at my recent post in the water based finishes thread all 3 of those bodies are on their second finish and the RD style bass body is the 4th or 5th finish. These might be keepers, we'll see.
 
  • Like
Reactions: Beej
Yes, I used pilot holes. Thats why that crack upsets me the most...I don't know what I did wrong.an be covered more or less. Don't know how to hide the crack though....other than some faux binding tape.
Did you lube the screw with wax or soap first? Also these little screws should never be tight, just screwed in until they make full contact.

That's two ways I've made cracks :)
 
Mistakes galore trying to finish my first build on Sunday. I pretty much think it is ruined. Mistake 1: wrong angle on ground wire hole and busted out the back. Mistake 2: Too shallow angle on re-drill and cracked surface. Mistake 3: While screwing in the control plate the wood split from the control cavity down the face/side. Part of me just wants to throw it out because it looks like utter rubbish right now. On the other hand, I have been working on this since June. But I don't know how to fix/cover these. I filled the hole in the back, but it looks like poopie. No clue what to do about the crack on the side. The crack on the face will mostly be covered by the bridge. I backfilled the cavity with wood putty where it cracked and then applied a slurry of wood glue/sawdust/and tru oil into the crack. I suppose I could fashion a full pickguard/plate to cover some of the ugliness. But I am just at a loss right now and very deflated. So much time and energy wasted. View attachment 4480717 View attachment 4480718 View attachment 4480719
Yeah bro!!!

That's awesome dude!

There is nothing that bondo won't fix.

You'll just have to paint it now instead.
 
  • Like
Reactions: Spidey2112