• TalkBass has been independent since 1998. Add your voice.
    Create a free account to reply to discussions, view embedded media, and browse with fewer display ads.
    Join freeLog in
    Want zero display ads or expanded classifieds tools? Compare plans.

Second build - fretless neckthru pinotea bass

Ok, I have started my second build a couple months ago. Basically it's the same specs as my first bass, with some changes. This will be a 4 string fretless neckthru. scale is around 32". and the neck is at an angle from the body.

the neck is of one piece, this is halfway through planing:
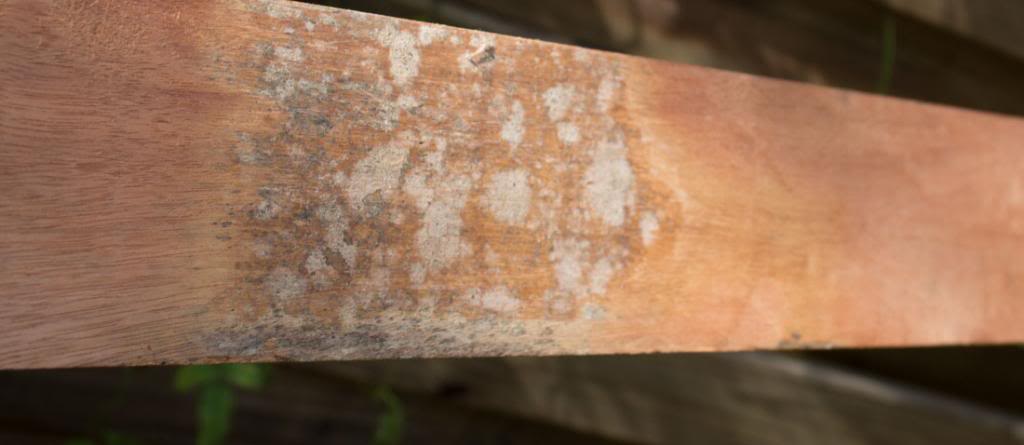
maderamango_zpsdd32a5be.jpg


this wood used to be a fence, I have no idea what it is, but it should be stable.
body wings come out of this board:
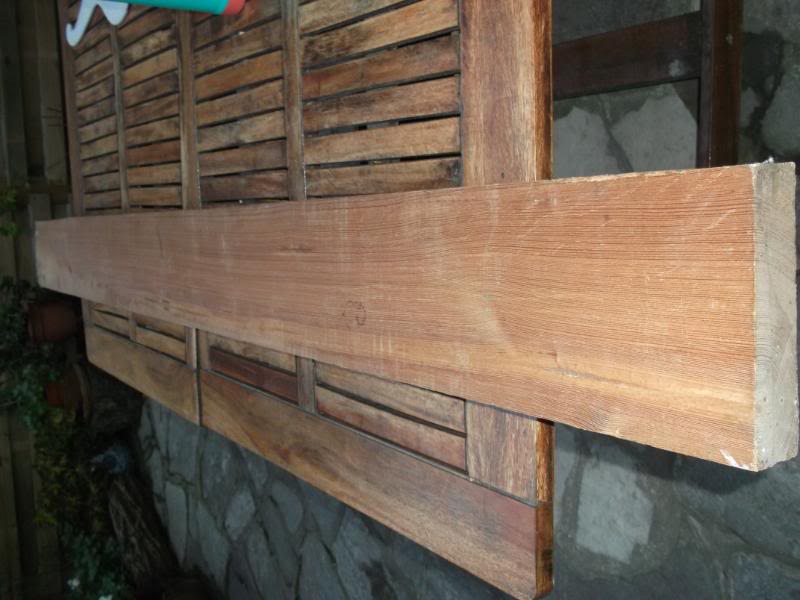
DSCF0073.jpg


this here is called pinotea and it seems to me it might be douglas fir or something similar. Here's a thread about it by the way: pinotea

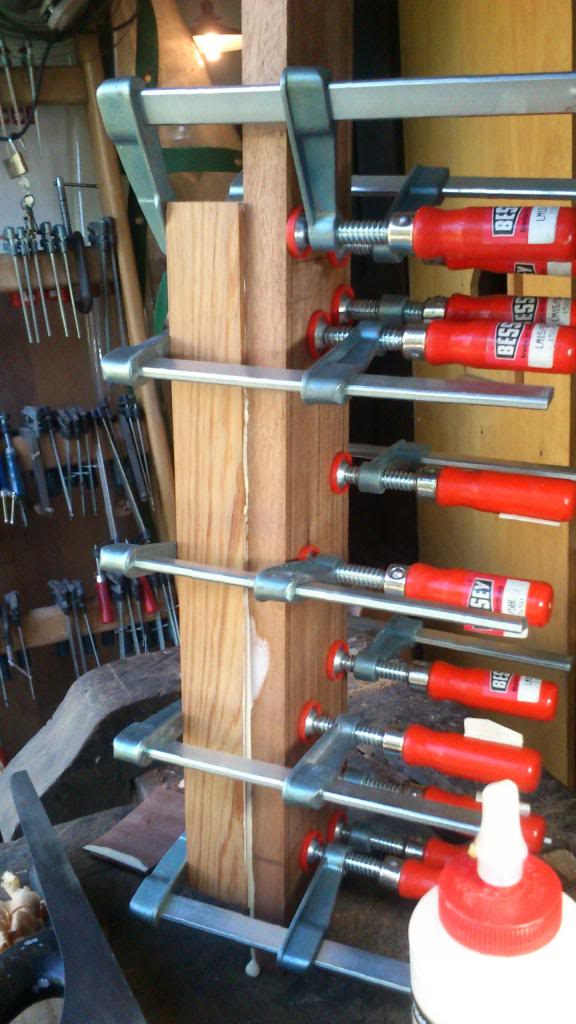
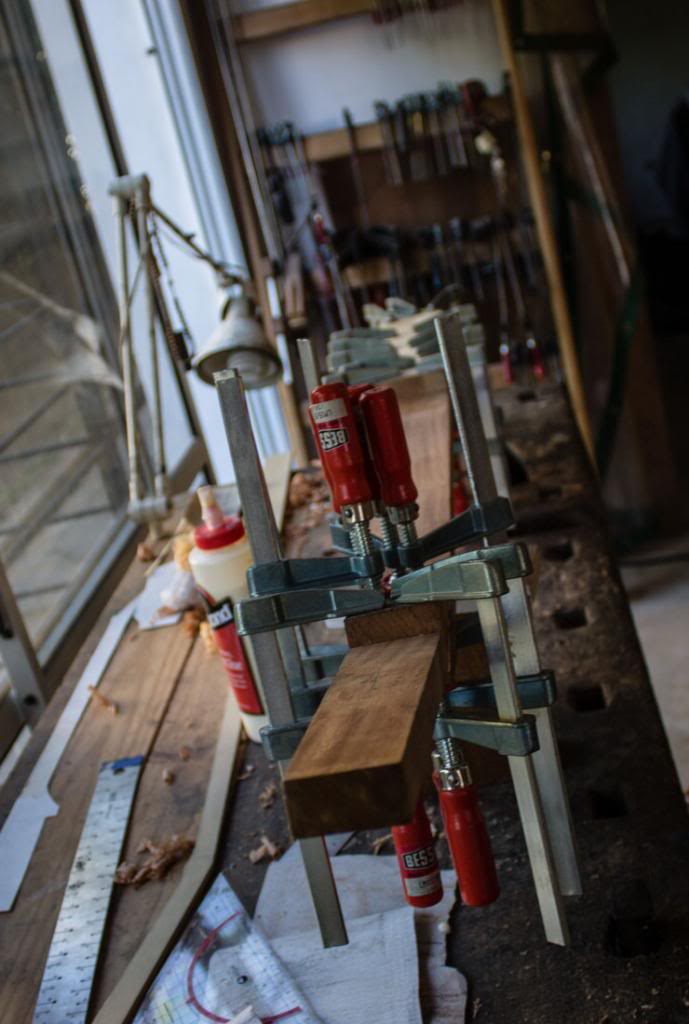
so I first got that neck planed and squared, and then got a piece of pinotea and glued it under the body section of the neckthru:
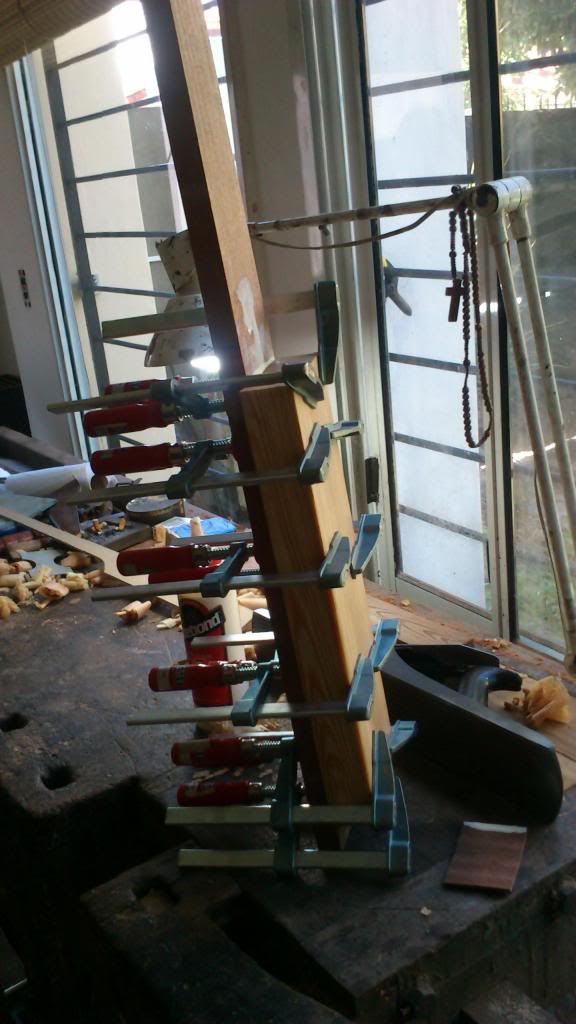
DSC_0414_zpsd0c3324a.jpg


DSC_0417_zps05a38374.jpg


When that was dry, I started planing the front of the neck in the body area, to give it the angle. Squeared the sides, and cut out a piece of pinotea to cover the neckthru on the front.
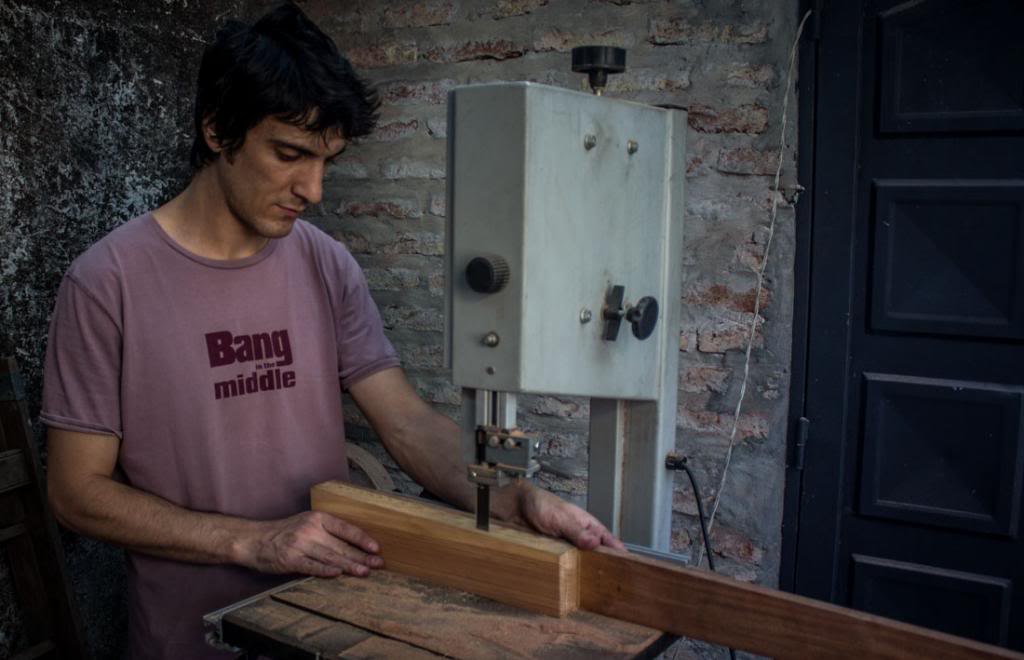
clase-18_zpsac212409.jpg


planed that piece of wood and glued it to the front:
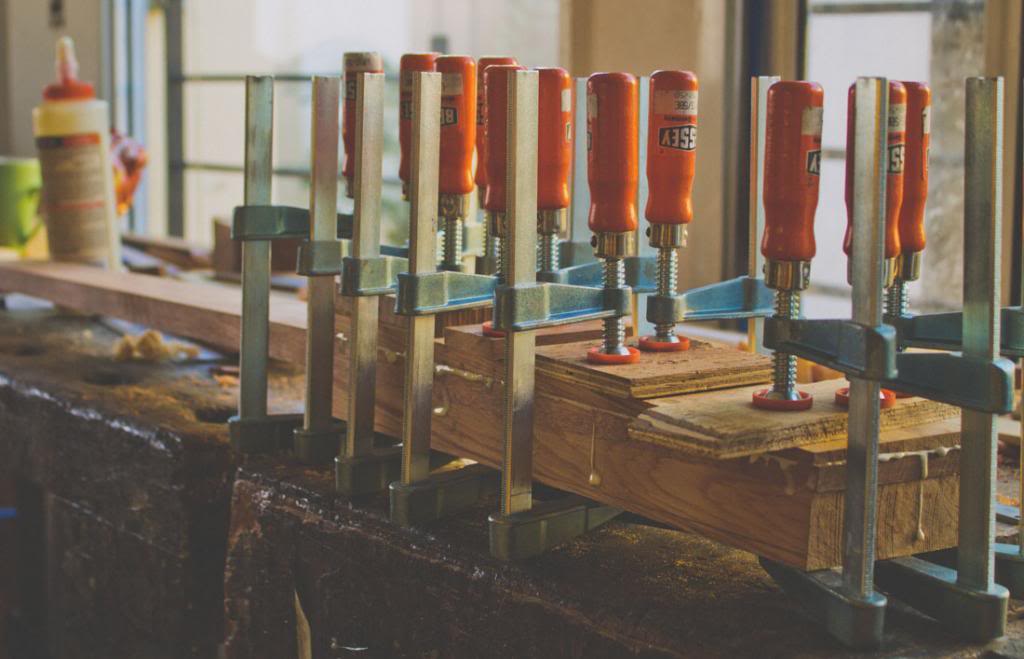
clase-22_zps1af550d9.jpg


before this I had cut for the scarf joint.
Try to make sure I know where the center is...
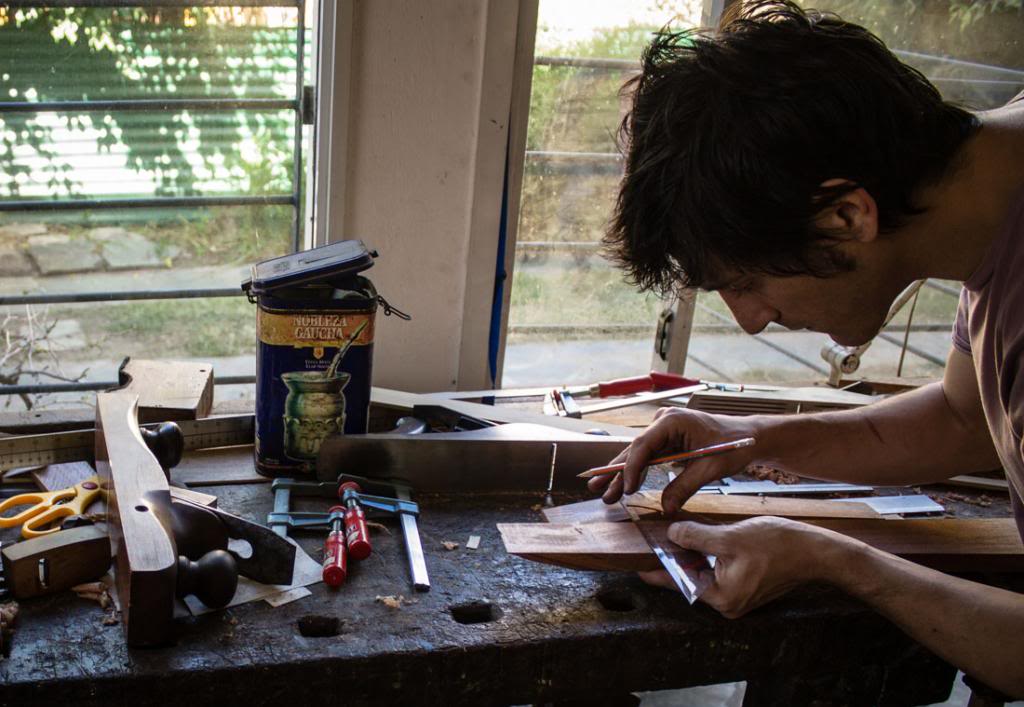
clase-3_zps0a5c74e6.jpg


planed the scarf joint, and measured again...

clase-8_zps7711b554.jpg


and glued the scarf joint

clase-28_zpsb87fc6c0.jpg


more to come... thanks for looking!
 
I'm having some steady progress, and not so many pictures to show it...
so, I cut and planed the "wings" for the headstock out of leftovers from the neck.
first checked if they were correctly planed with no glue on:

pala3_zpsa1b945a6.jpg


and after gluing and clamps off:

cepillos_zps3de197a4.jpg


you can sort of see the pencil line with the headstock shape, neck width and center line.

next, routed for the truss rod. This jig clamps the neck in place, there's a plastic thingy that needs to be aligned with the center line through the lenght of the neck, and a mark that sets the deeper part of the route, and then it's good to go. I'm doing several passes with the router, adjusting the height. After each pass I measure the deepness at the deepest spot, until I reach the desired deepness.

canaltensor_zps55ca7ca4.jpg


I think next I'll be doing the truss rod... hope to have more updates next week!
 
I'm now done with the truss rod.
This is sort of "upgraded" from the one in my first bass... this one is stainless steel and is supposed to be stronger.
So what I did was get the rod, and thread the ends of it for the adjustment screws:

enroscandovarilla3_zps00524748.jpg


There's one of these metal pieces on each side of the truss rod for stoping the screws on each side of the truss rod:

trabatensor_zpsc4308011.jpg

(this is filing it down to fit)

so there's a regular screw on one side,which is fixed to the rod and fits on this side:

detallecanaltensor_zps23d4cfd7.jpg


on the body side there's a route for the adjustment screw.

Basically the rod is curved inside a curved channell, and as you adjust the screw, the rod starts to straighten, and this makes the neck to bend backwards to counter for the string's tension.
On top of the truss rod there's a piece of wood planed with the channel's curve to fill up the space between the truss rod and the fingerboard that will be glued on top.
Here's that wood being glued:

varillatensorencolada_zps658e4dad.jpg


"Artsy" shot:

mangoyprensas_zpsa506f79b.jpg


Next I'll have to plane that down to glue the fingerboard.

thanks for watching!
 
Beautiful 1st build,
will be watching this...
as a side tip-
stainless steel likes to 'gaul',
-similar grades of s/s, nickel, aluminum, and lead do this-
so be sure to use a different grade of s/s
for the nut (diff than the shaft),
or use a steel or brass nut instead
or they may 'weld' themselves together under tension.
 
Beautiful 1st build,
will be watching this...
as a side tip-
stainless steel likes to 'gaul',
-similar grades of s/s, nickel, aluminum, and lead do this-
so be sure to use a different grade of s/s
for the nut (diff than the shaft),
or use a steel or brass nut instead
or they may 'weld' themselves together under tension.

Thank you!! and thanks for the tip!
Yes, I'll be using a brass nut to adjust the truss rod, but actually for a different reason than the one you state. Now I have all the more reasons to use it!
I was told to use a brass nut in case there was some problem with the rod not turning or whatever, as steel is harder than brass, the nut would break before the rod would and it'd be easier to change a nut than the whole rod... does it make sense?
 
Stainless does indeed gall against stainless. But it requires a rather high local contact pressure, so it potentially may happen if you crank the ever-lovin' %&$*@&$%^%& out of it (to the point of threatening the wood), but I would expect it to be fine under normal use.
 
I glued the wings to the body:

cuerpoencolado_zpsde314833.jpg


I made a channel for the wing for the pickup cable and the ground cable, have no picture of those.

I'm really happy with the glue lines so far, they are quite hard to see:

cuerpo2_zps4fdd4704.jpg


I believe the lighter coloured wood will darken with age, I don't know how much darkening will occur under the finish, but I guess that with time the joints will be harder to see as the wood becomes darker.

I think the wood will make some nice patterns when the body is rounded:

cuerpodecote_zpsafc69fe7.jpg