

Enjoy the benefits of a premium membership!
Upgrade Account
-
TalkBass has been independent since 1998. Add your voice.
Create a free account to reply to discussions, view embedded media, and browse with fewer display ads.
Join free Log in
Want zero display ads or expanded classifieds tools? Compare plans.
You are using an out of date browser. It may not display this or other websites correctly.
You should upgrade or use an alternative browser.
You should upgrade or use an alternative browser.
Second Build - TT68's Diva inspired Fretless
- Thread starter TerribleTim68
- Start date
More options
Who Replied?
Okay, yeah....no. The leather paint experiment is a fail. You can thin it with water, but it won't penetrate the wood like a mineral based stain would (I'm guessing since I've never done that either). It just kind of stays on top of the wood and gets wiped off more than it stays put. Oh well, I'm only in that paint set something like $24 and a couple scrap pieces of wood. Guess I'll look for some actual dye and try doing it the right way. 
#LiveAndLearn
#LiveAndLearn



Did you download this template into CAD, or "freehand" it in CAD?
I imported an image into AutoCAD, scaled it to something I could trust to be "close enough" and then drew my own over the top of that. Lots of splines.Did you download this template into CAD, or "freehand" it in CAD?

Okay, so for those who didn't get to read about how my weekend started out, I'll just point you to here...
What's On Your Workbench?

I'm Too Sexy For My Body:
So I had planned to glue up the body wings this weekend and then route the truss rod slot and glue on the fretboard. We're going fretless here, so maybe even start shaping the fretboard radius. Somehow in my "are we going? are we not going?" mess I forgot the neck blank. so scratch all of the truss rod, fretboard stuff.
Let's focus on gluing up those body wings, shall we? I clamped up one side, ran out of clamps (because most of them were being used for a Christmas gift project the wife wanted to work on) so I decided to just go with one at a time -
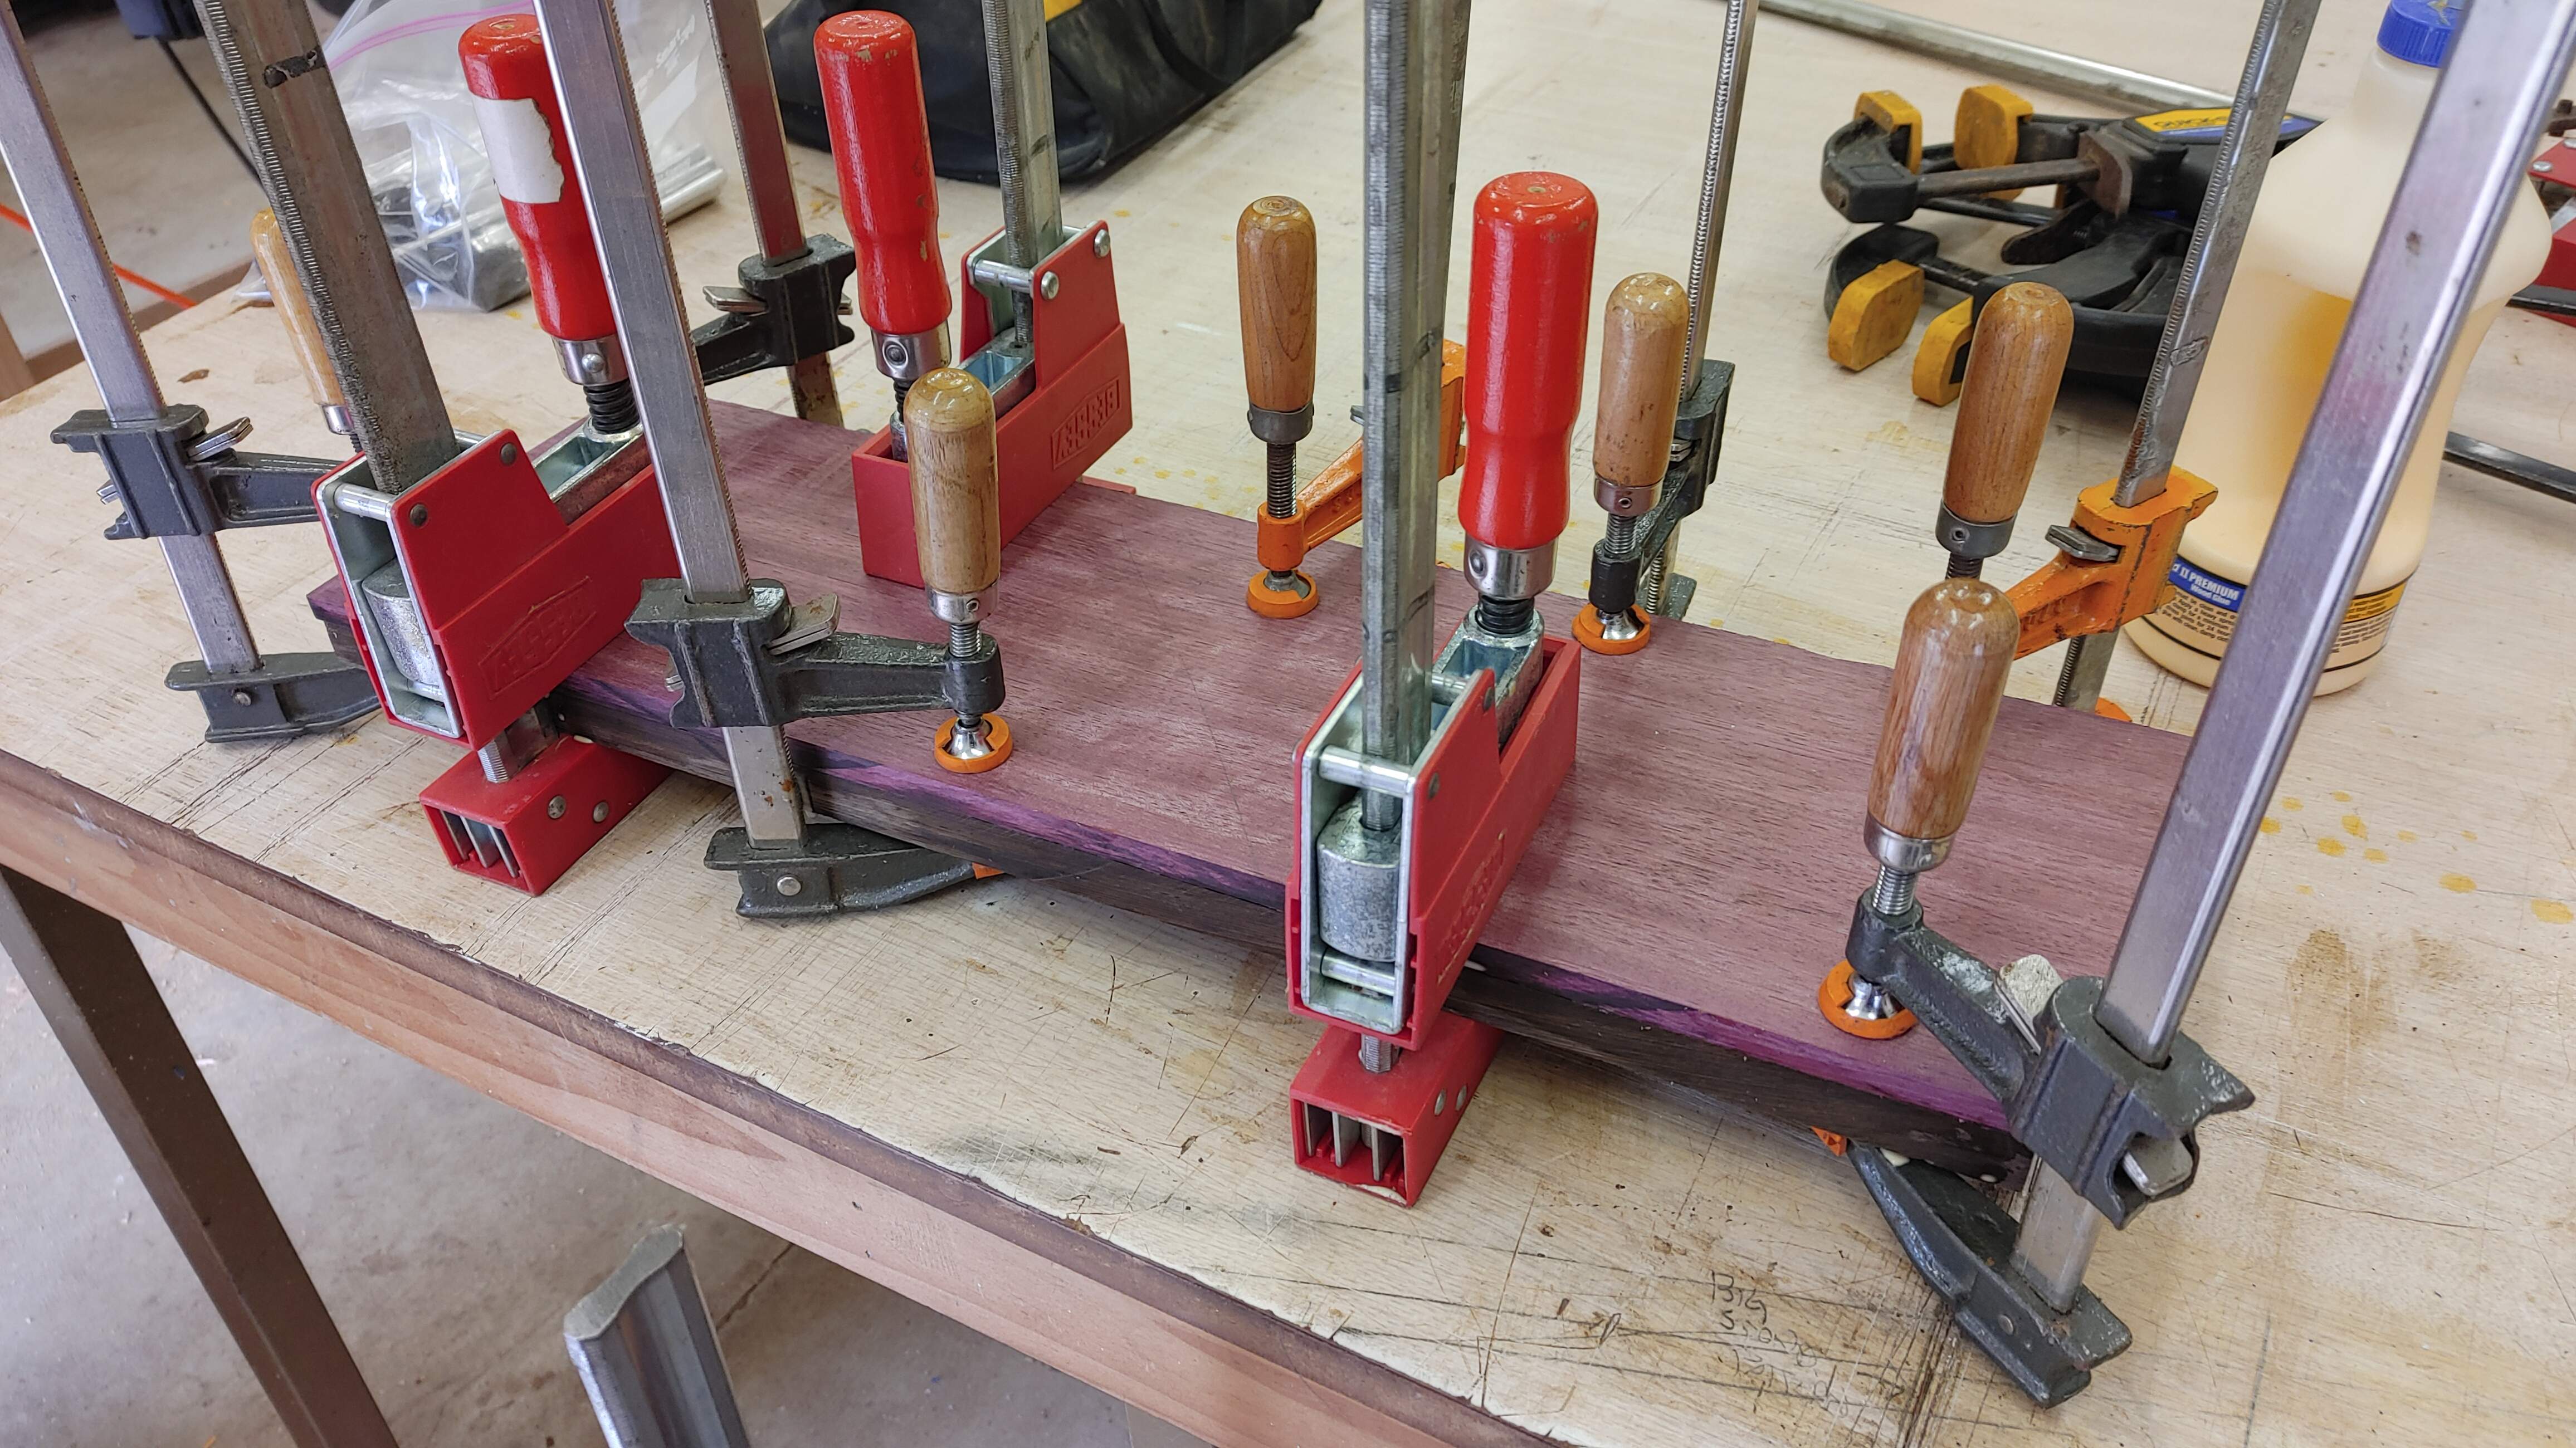
I'm glad I went with just one, because the glue up was horrible! It looked okay when I clamped it up, but after about an hour the glue had dried enough that as it "pulled back" I could see that the edges were opened up way too much! The boards were just warped way more than I had thought and the clamps did not pull it shut. So, luckily, I was able to yank it apart and clean the glue off of the panels. Yeah, we're gonna need to flatten those better.
Leveling For Dummies:
As mentioned in previous posts in my other build thread, there's a Performax "Supermax 25x2" drum sander laying over in the corner of the woodshop that hasn't been used in a couple decades now. The feed belt is ripped at the seem, but still laying there. I figured I could try something to see if this thing would even work at all. I used some masking tape to tape the belt seem back together. It seemed to work, but I knew it was gonna pull itself apart if I took too much slack out of it. But, too much slack also means it won't feed either, so there's a fine dance here. Let's give it a shot anyways! -
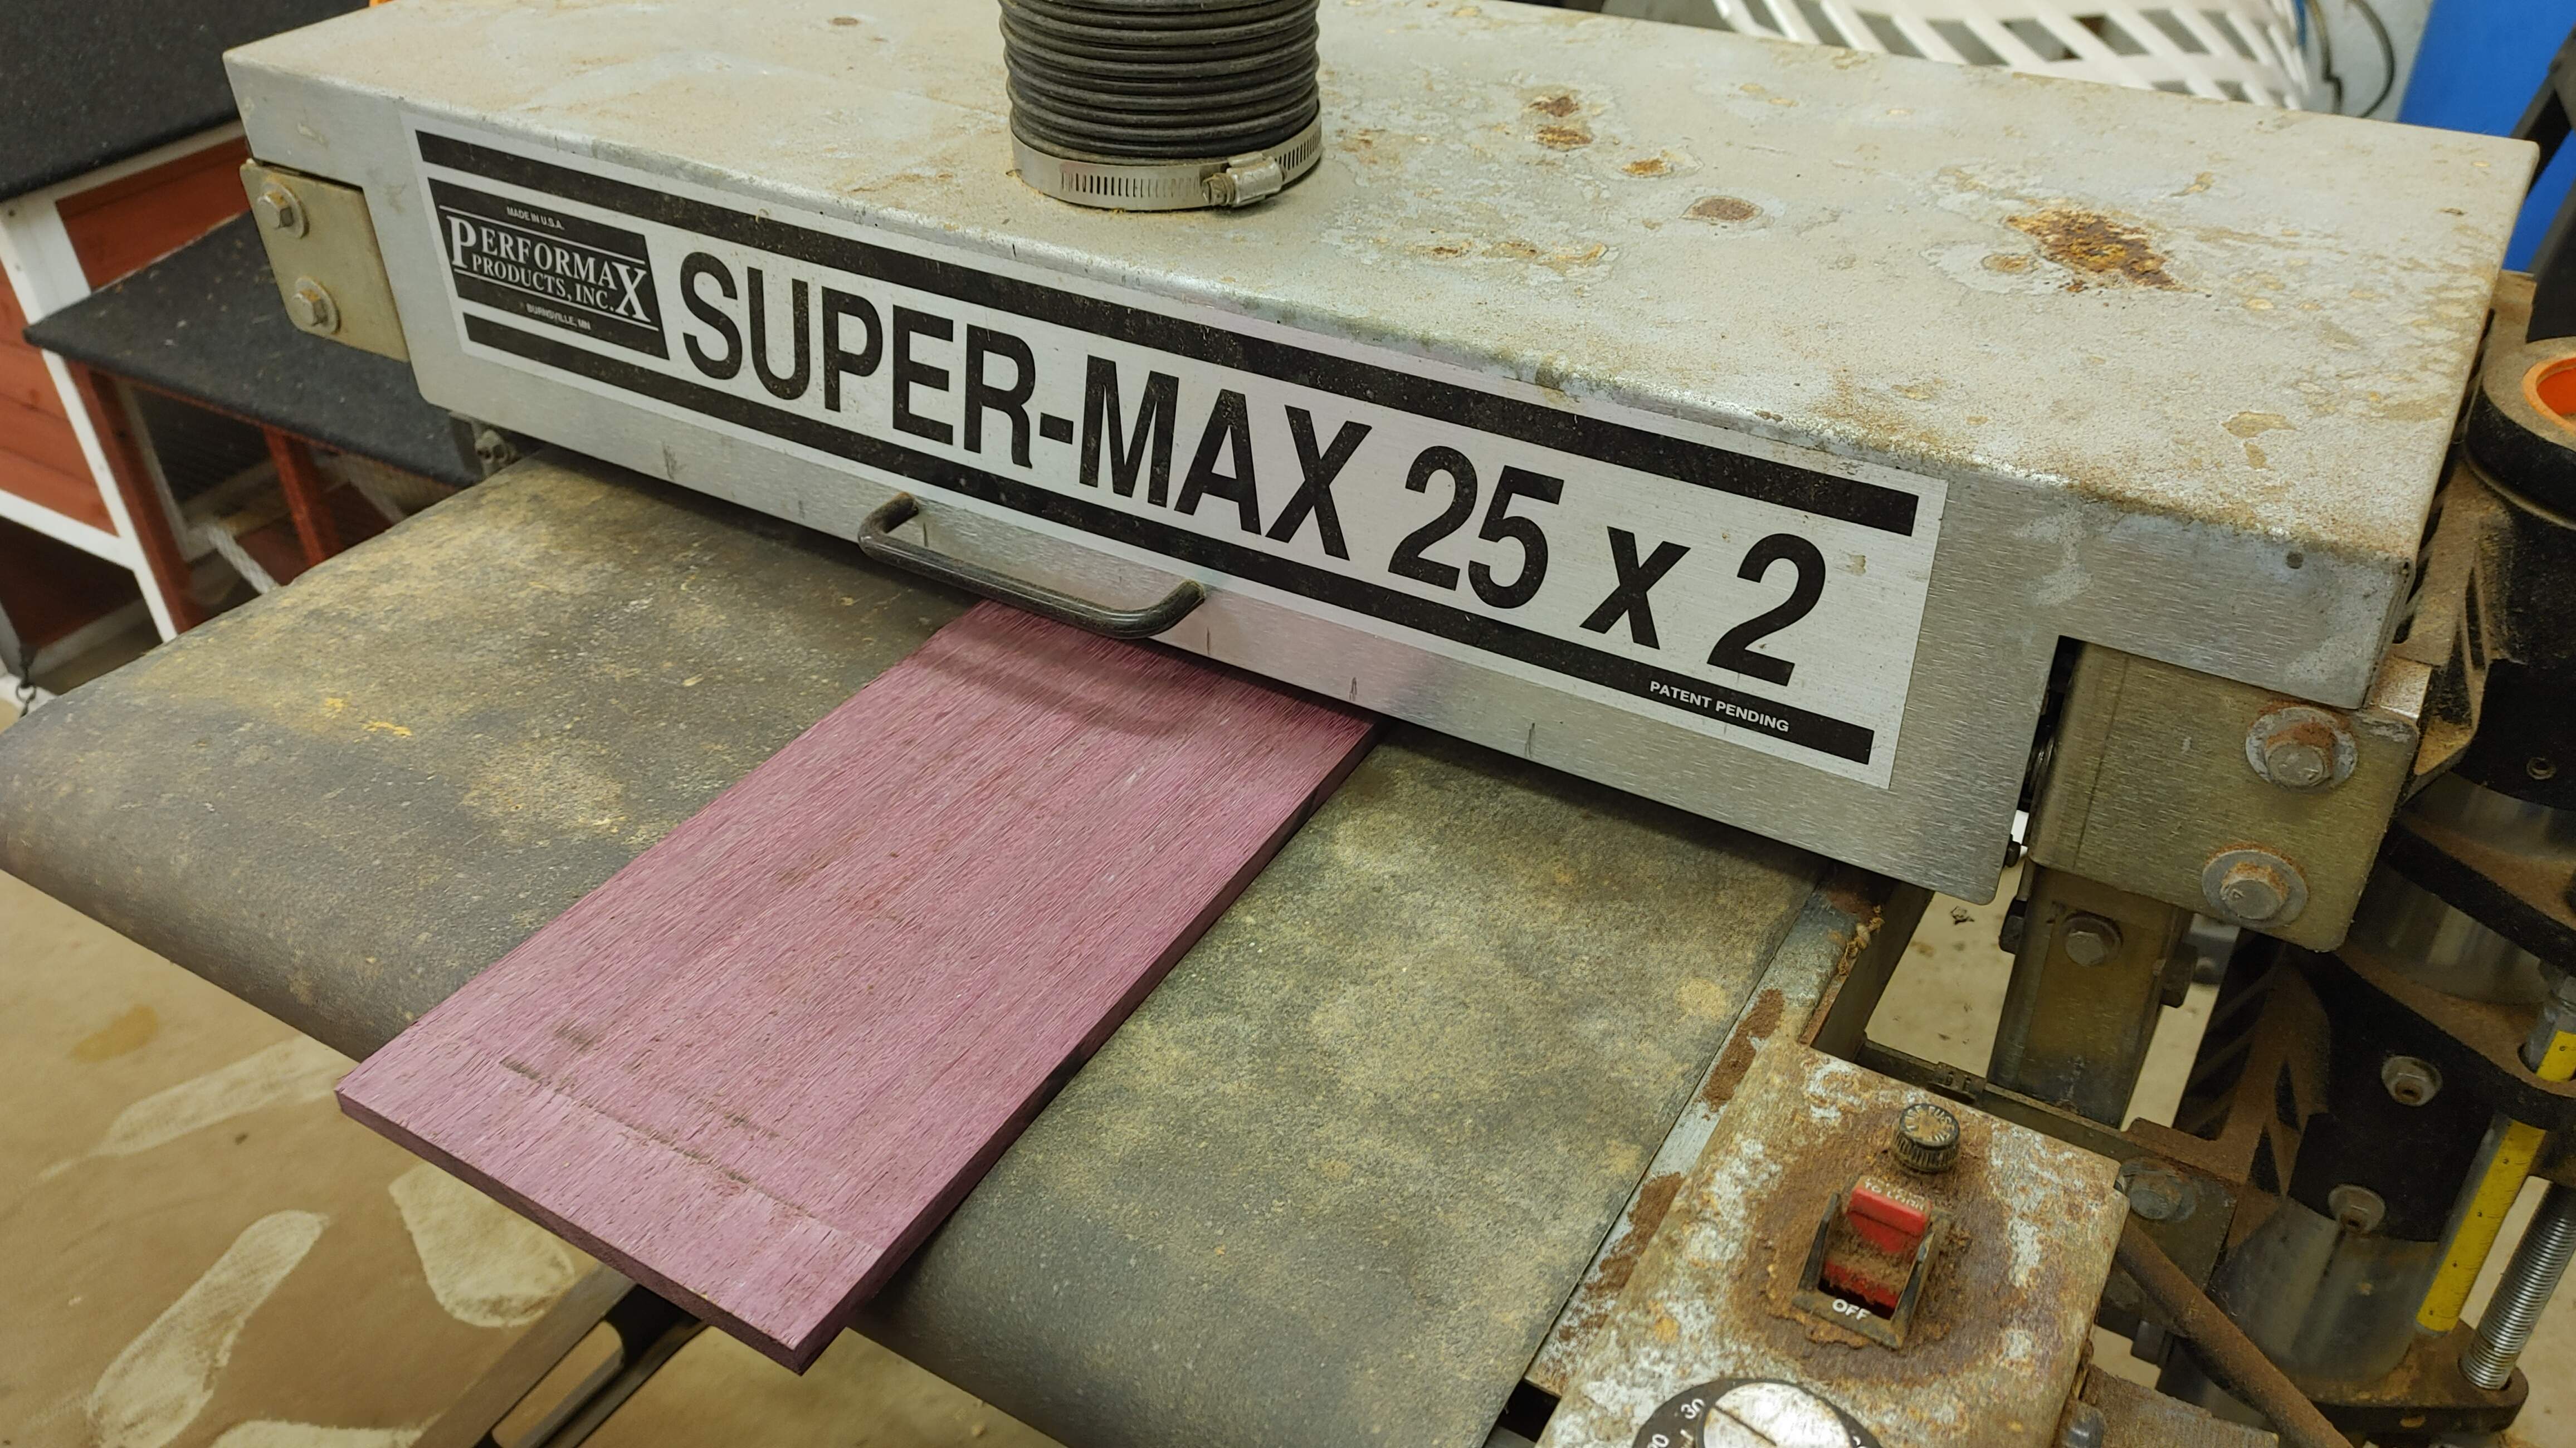
Hey, it worked! For a while anyways. I got the other two boards for the second body wing flattened using the drum sander. This thing is amazeballs! I've never used a drum sander before, and that small bit that it worked told me that I need to resurrect this thing! Holy cow what a great piece of equipment!
And then the taped seem pulled itself apart. Yeah, I knew that was coming. Oh well, I clamped up that body wing and set it aside. I'll need to figure out how to flatten that other one and reglue it later. It was fun while it lasted.
If anyone has a source for new feed belts for this thing, lemme know!
So yeah, not much going on, because I'm an idiot and forgot something for everything.
What's On Your Workbench?
I'm Too Sexy For My Body:
So I had planned to glue up the body wings this weekend and then route the truss rod slot and glue on the fretboard. We're going fretless here, so maybe even start shaping the fretboard radius. Somehow in my "are we going? are we not going?" mess I forgot the neck blank. so scratch all of the truss rod, fretboard stuff.
Let's focus on gluing up those body wings, shall we? I clamped up one side, ran out of clamps (because most of them were being used for a Christmas gift project the wife wanted to work on) so I decided to just go with one at a time -
I'm glad I went with just one, because the glue up was horrible! It looked okay when I clamped it up, but after about an hour the glue had dried enough that as it "pulled back" I could see that the edges were opened up way too much! The boards were just warped way more than I had thought and the clamps did not pull it shut. So, luckily, I was able to yank it apart and clean the glue off of the panels. Yeah, we're gonna need to flatten those better.
Leveling For Dummies:
As mentioned in previous posts in my other build thread, there's a Performax "Supermax 25x2" drum sander laying over in the corner of the woodshop that hasn't been used in a couple decades now. The feed belt is ripped at the seem, but still laying there. I figured I could try something to see if this thing would even work at all. I used some masking tape to tape the belt seem back together. It seemed to work, but I knew it was gonna pull itself apart if I took too much slack out of it. But, too much slack also means it won't feed either, so there's a fine dance here. Let's give it a shot anyways! -
Hey, it worked! For a while anyways. I got the other two boards for the second body wing flattened using the drum sander. This thing is amazeballs! I've never used a drum sander before, and that small bit that it worked told me that I need to resurrect this thing! Holy cow what a great piece of equipment!
And then the taped seem pulled itself apart. Yeah, I knew that was coming. Oh well, I clamped up that body wing and set it aside. I'll need to figure out how to flatten that other one and reglue it later. It was fun while it lasted.
If anyone has a source for new feed belts for this thing, lemme know!
So yeah, not much going on, because I'm an idiot and forgot something for everything.

Rôckhewer
Commercial User
- Feb 28, 2015
- 2,922
- 9,028
- Disclosures
- Owner/Builder- RockHewer Custom Guitars LLC
Is this it?If anyone has a source for new feed belts for this thing, lemme know!
Invalid Link Removed
I'm pretty sure it has the 2" rollers. I did find this one, which is also cheaper!Is this it?
Invalid Link Removed
[Invalid or Expired Link Removed]
So I didn't get much done on Lucifer this weekend, but I did get some stuff done on this build.
First Things First:
I had recently purchased a brand new feed belt for the big Supermax drum sander. So we needed to resurrect it. First task is to remove the feed table assembly from the unit, then slip the new feed belt on and then remount the feed table. Not a massively difficult project if you're the least bit mechanically inclined. I detailed that over on the "What's On Your Workbench" thread, so I won't go into it here. But the main reason for resurrecting this machine was that I needed a way to surface some laminate layers for glue-up and I needed them to be level and flat. My resawing skills are sub-par so there were some issues to deal with. I could have hand planed it all, but who wants to do that?
Shiny new feed belt on the Supermax be looking like -
![20211002_112336[1].jpg](https://www.talkbass.com/attachments/20211002_112336-1-jpg.4426592/ "20211002_112336[1].jpg")
Okay, Let's Get To Work:
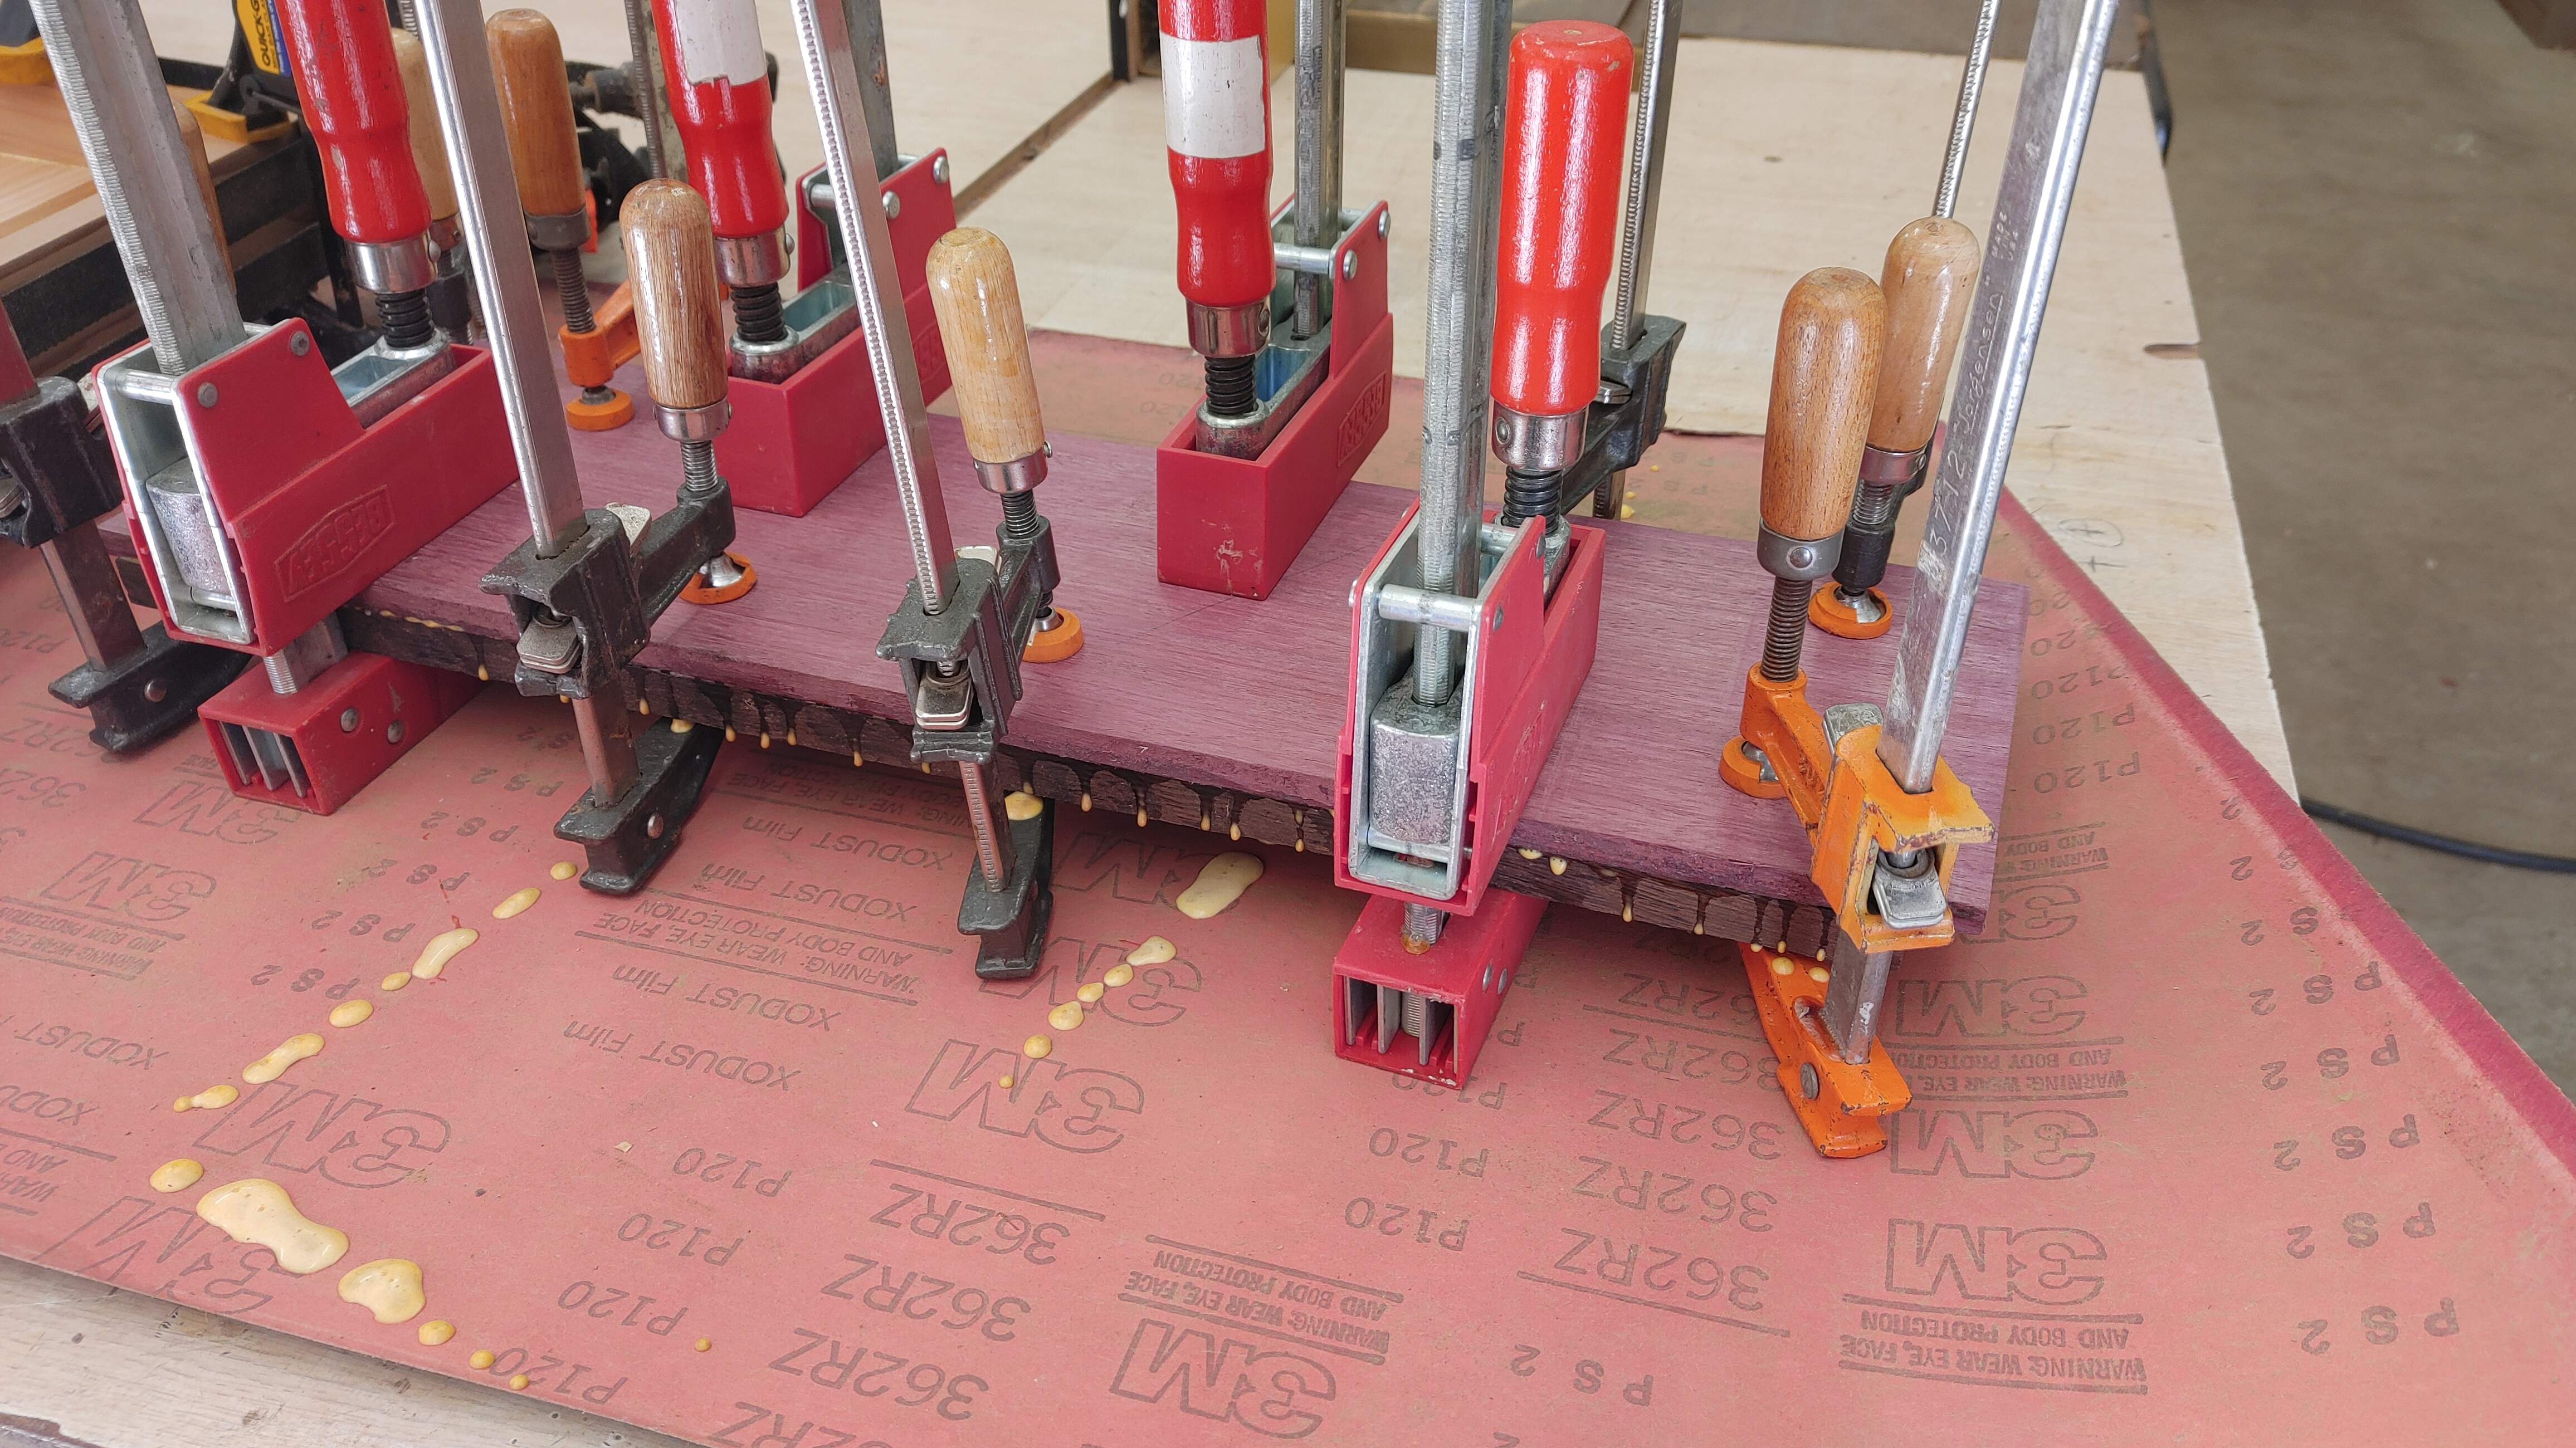
I started sending layers through to get them thickness'd (is that a word? ) and flat. Once I had that done I could glue them up. Gratuitous clamp shot -
There were several different "parts" to thickness and flatten. I'm still trying to lay out all these sammich layers, but we're heading somewhere like this -
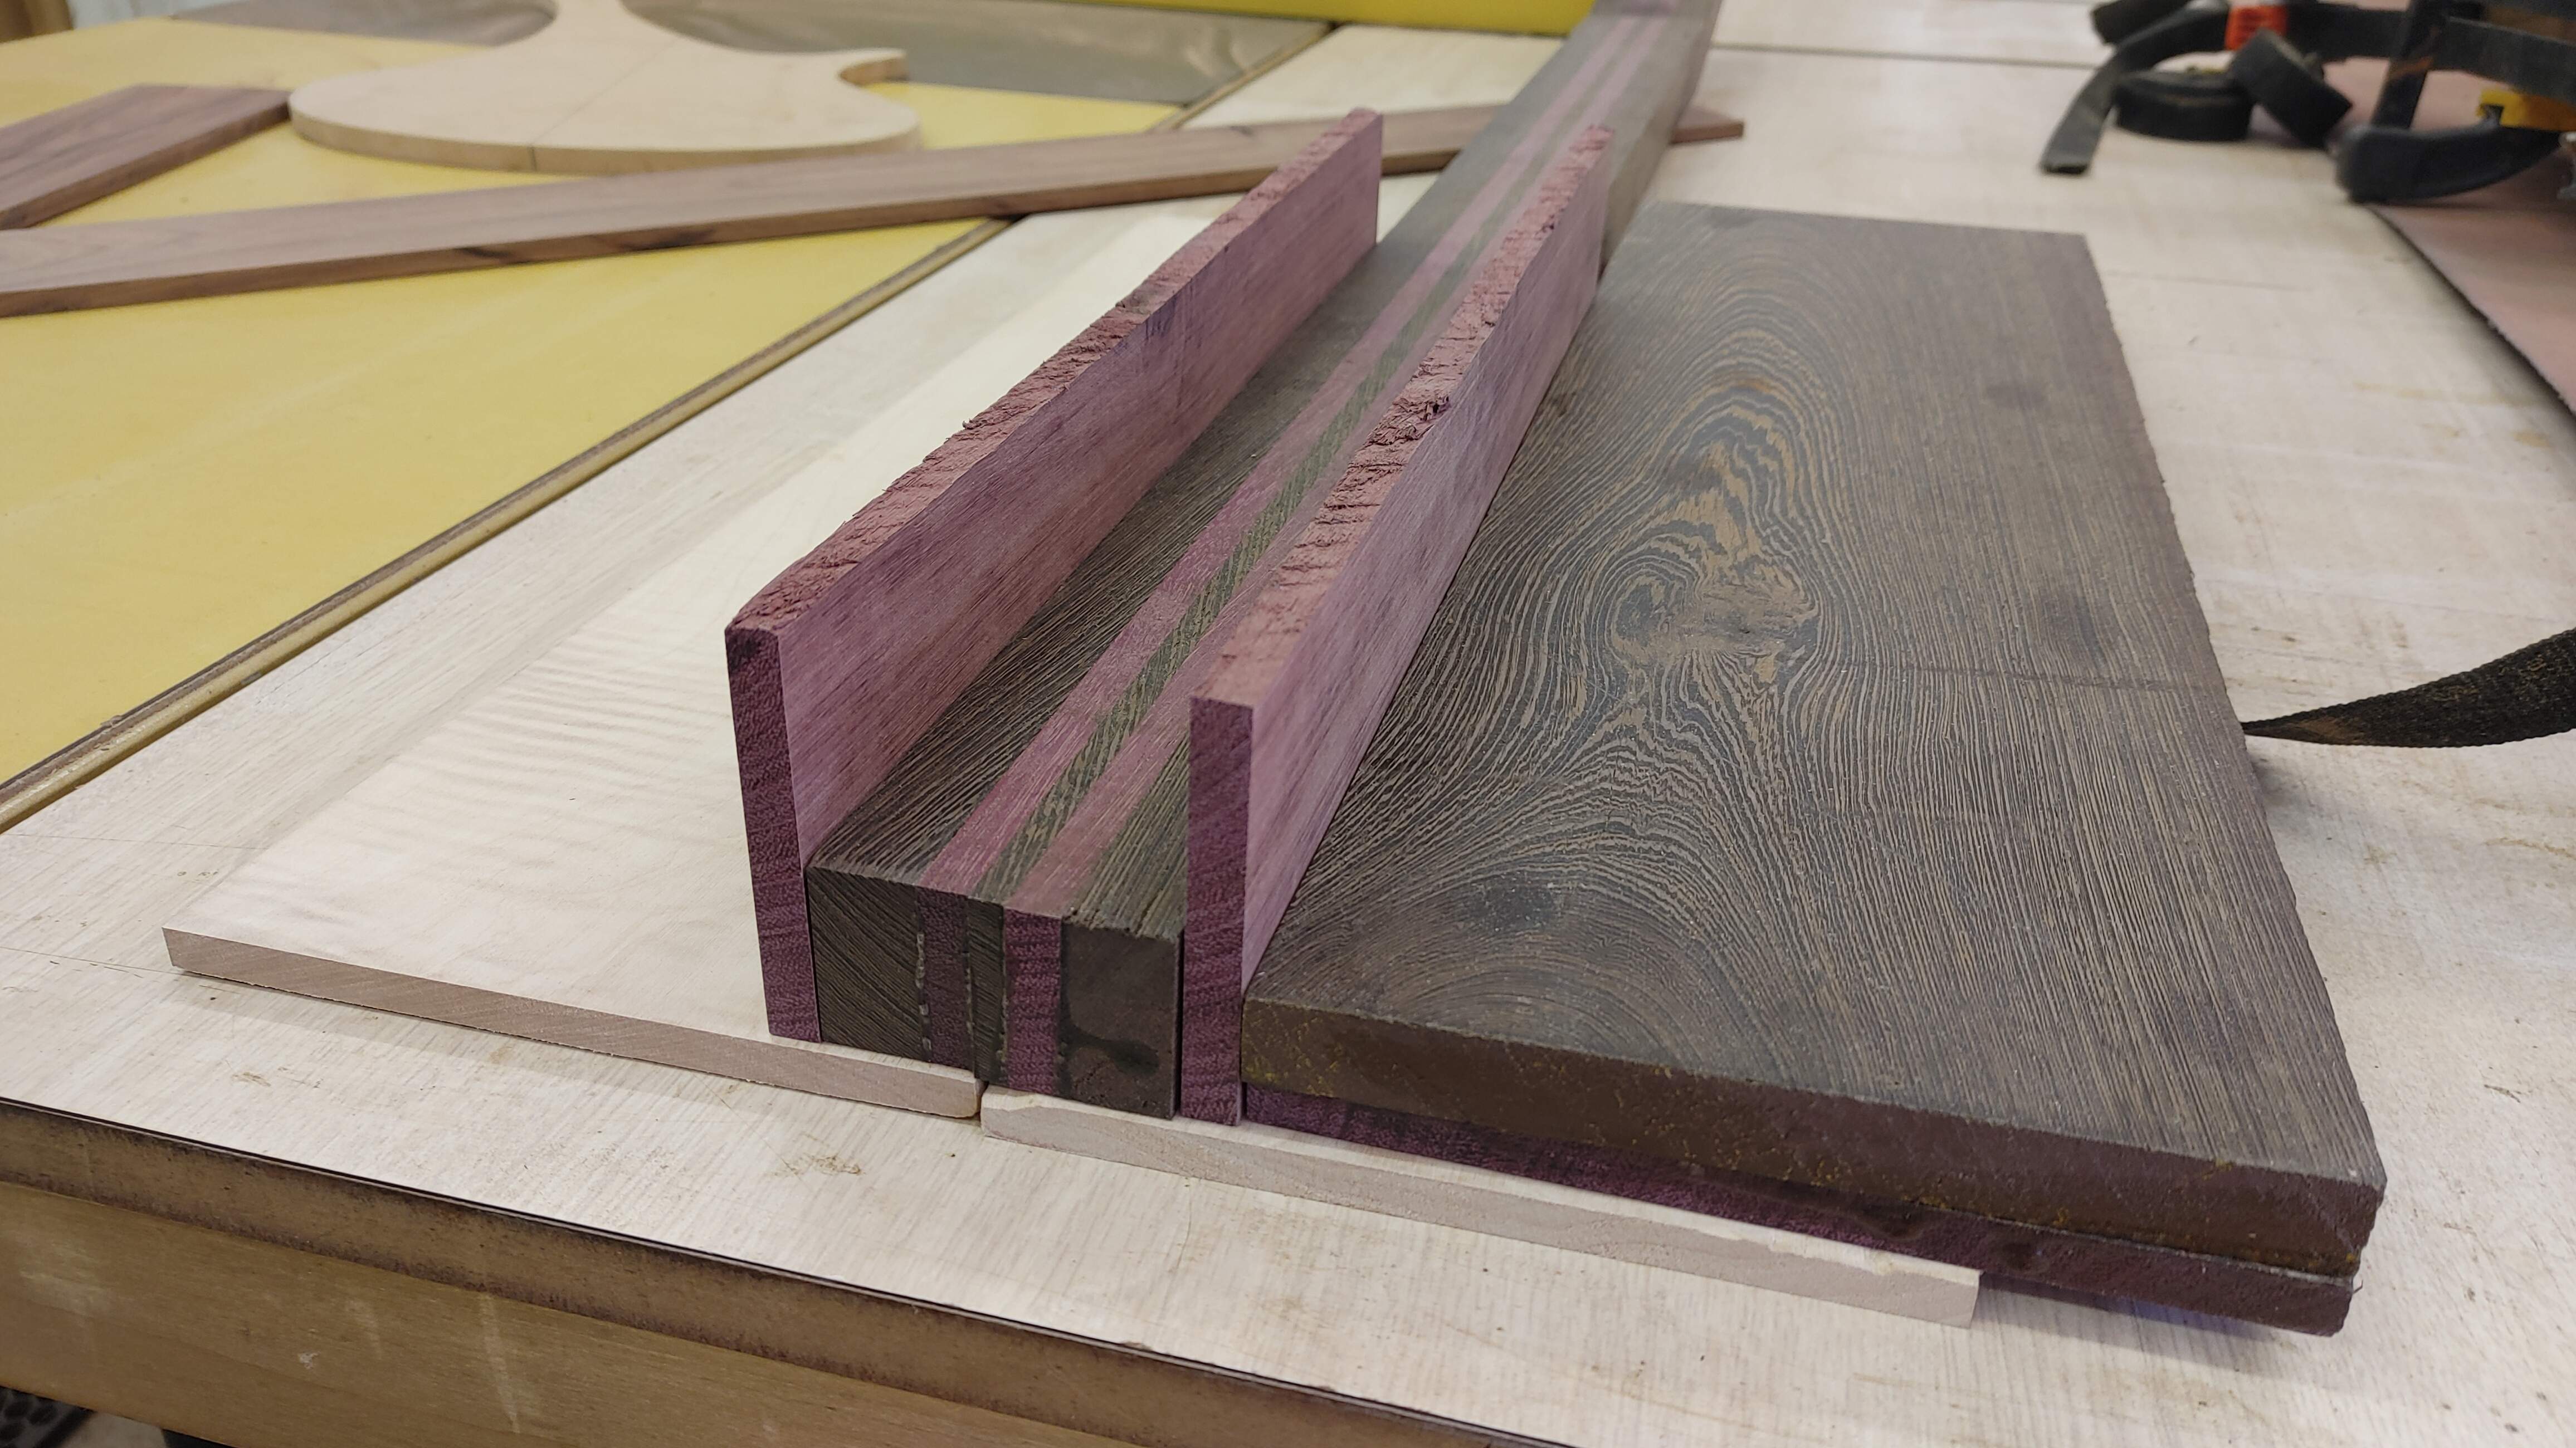
The one big issue I noticed is that after I thickness sanded all of them to get the horrible resawing marks and wavy spots out, the overall thickness of the sammich is too thin. We're already down to about 1-1/4", so I'd like to regain at least a 1/4", maybe a bit more. Not a terribly big issue, but I've already glued the purpleheart and wenge layers together, so adding a layer between them isn't an option any more. I want the wenge to be the "back", so I'm not adding a layer there. That only leaves the layer between the purpleheart and the maple top. The wife suggested finding some more wenge and adding a wenge layer under the maple top, so we would be wenge-purpleheart-wenge-maple. That's probably the route I'll take, but it means another trip to the local hardwood lumber yard at some point, and then another trip to the woodshop to resaw it and thickness sand it. Sigh. 
What's that luthier saying? "It's not a mistake, it's a design modification."
So Where Did We End Up:
Well, basically I've got a lot of lumber cut, that's about it. We've kind of started assembling the body sammich. As you can see from the pic above, I don't really need those purpleheart strips along each side of the neck blank, but I do kind of like them. I originally thought I'd need them for width, but now it's just a look. I think I'm leaving them, and I'll most likely use some of the offcuts to do the same thing at the headstock. Why not, right?
Here's some shots of all the wood pile laid out -


I started trying to look at the body outline and see where I liked the grain the best. This will take some time I'm sure, I'm not 100% settled just yet, but I'm kind of liking this spot. Here's a shot of the maple top, it has some flame to it, but I wouldn't call it "stunning" like some of you work with. Remember, this was a "reject" from a local guitar shop here in town, so either Warmoth or Sound Guitar Works, I don't know exactly. But they kicked it to the curb because it wasn't good enough. My wife bought it for me because she thought it wasn't trash -

And again, still playing with placement of the body outline there too. The flame is hard to see, so I need to really look at this one for a while, compare each side, swap edges, all of that. I plan on staining this a transparent tint of some sort, so I do have the opportunity to hit it with black, then sand back to try and get the flame to pop a bit more. You'll also notice from the pic, I ran the wenge and purpleheart pieces through the drum sander first. Horrible idea kids, don't do it! The purpleheart dust stained my maple a bit. I'll need to figure out how to recover from that. I'm sure it'll buff out if I hit it with the ROS, we'll see. I may hit it with some black stain and sand back ahead of time as well, just to see what I'm working with. And then, here's a shot of the fretboard by itself, and then laid over the whole pile -


Remember, we're imitating a fretless Diva here, so fretboard will run from nut to bridge. I plan on placing the pickup right at the seam from resawing it, so it'll kind of be bookmatched at the pickup, if that makes sense.
So yeah, we did a few things, but nothing major. It's progress, I guess.
First Things First:
I had recently purchased a brand new feed belt for the big Supermax drum sander. So we needed to resurrect it. First task is to remove the feed table assembly from the unit, then slip the new feed belt on and then remount the feed table. Not a massively difficult project if you're the least bit mechanically inclined. I detailed that over on the "What's On Your Workbench" thread, so I won't go into it here. But the main reason for resurrecting this machine was that I needed a way to surface some laminate layers for glue-up and I needed them to be level and flat. My resawing skills are sub-par so there were some issues to deal with. I could have hand planed it all, but who wants to do that?
Shiny new feed belt on the Supermax be looking like -
Okay, Let's Get To Work:
I started sending layers through to get them thickness'd (is that a word? ) and flat. Once I had that done I could glue them up. Gratuitous clamp shot -
There were several different "parts" to thickness and flatten. I'm still trying to lay out all these sammich layers, but we're heading somewhere like this -
The one big issue I noticed is that after I thickness sanded all of them to get the horrible resawing marks and wavy spots out, the overall thickness of the sammich is too thin.
We're already down to about 1-1/4", so I'd like to regain at least a 1/4", maybe a bit more. Not a terribly big issue, but I've already glued the purpleheart and wenge layers together, so adding a layer between them isn't an option any more. I want the wenge to be the "back", so I'm not adding a layer there. That only leaves the layer between the purpleheart and the maple top. The wife suggested finding some more wenge and adding a wenge layer under the maple top, so we would be wenge-purpleheart-wenge-maple. That's probably the route I'll take, but it means another trip to the local hardwood lumber yard at some point, and then another trip to the woodshop to resaw it and thickness sand it. Sigh. What's that luthier saying? "It's not a mistake, it's a design modification."
So Where Did We End Up:
Well, basically I've got a lot of lumber cut, that's about it. We've kind of started assembling the body sammich. As you can see from the pic above, I don't really need those purpleheart strips along each side of the neck blank, but I do kind of like them. I originally thought I'd need them for width, but now it's just a look. I think I'm leaving them, and I'll most likely use some of the offcuts to do the same thing at the headstock. Why not, right?
Here's some shots of all the wood pile laid out -
I started trying to look at the body outline and see where I liked the grain the best. This will take some time I'm sure, I'm not 100% settled just yet, but I'm kind of liking this spot. Here's a shot of the maple top, it has some flame to it, but I wouldn't call it "stunning" like some of you work with. Remember, this was a "reject" from a local guitar shop here in town, so either Warmoth or Sound Guitar Works, I don't know exactly. But they kicked it to the curb because it wasn't good enough. My wife bought it for me because she thought it wasn't trash -
And again, still playing with placement of the body outline there too. The flame is hard to see, so I need to really look at this one for a while, compare each side, swap edges, all of that. I plan on staining this a transparent tint of some sort, so I do have the opportunity to hit it with black, then sand back to try and get the flame to pop a bit more. You'll also notice from the pic, I ran the wenge and purpleheart pieces through the drum sander first. Horrible idea kids, don't do it! The purpleheart dust stained my maple a bit. I'll need to figure out how to recover from that. I'm sure it'll buff out if I hit it with the ROS, we'll see. I may hit it with some black stain and sand back ahead of time as well, just to see what I'm working with. And then, here's a shot of the fretboard by itself, and then laid over the whole pile -
Remember, we're imitating a fretless Diva here, so fretboard will run from nut to bridge. I plan on placing the pickup right at the seam from resawing it, so it'll kind of be bookmatched at the pickup, if that makes sense.
So yeah, we did a few things, but nothing major. It's progress, I guess.
I need to get a hunk of wenge with some figure in it. The straight grain piece I have is great for finger boards, but the figured stuff looks so much nicer for big body wings.
I'm a little spoiled in that I have a very nice indoor hardwood lumber yard about 20 minutes from my house. They tend to have these types of boards in stock at all times. I'm sure I'm paying a bit for them, but they also have all the prices "per board foot" on a white board on the wall and most of the "off-cuts" tend to be marked with a price for that board, no cutting it -I need to get a hunk of wenge with some figure in it. The straight grain piece I have is great for finger boards, but the figured stuff looks so much nicer for big body wings.


Maybe, I dunno. I suspect it'll weigh a right bit with all the wenge. I'm in the middle of my first build (well, closer to done, but still) and that one has a decent amount of wenge too so I'm kind of waiting to see how it comes out and then I'll decide. I'm not gigging and really have no plans to, and this is for me, so weight isn't really a big deal. If it feels heavy for the 15-20 minutes a month I might play it, so be it. I know weight is a big topic on here, but it's not that big a deal in my mind.Are you planning any weight relief in the body?
That being said, maybe. I plan on routing a channel for wiring at the very least, I may do some reliefs then, we'll see.
I have a couple fears when you start talking about weight reliefs -
- If you get too crazy then you can introduce neck dive, and I feel like neck dive is a WAY bigger thing on here than weight.
- I'm concerned about how it'll change the sound of the instrument. Solid body vs hollow body vs semi-hollow and all that. At what point are you no longer doing weight relief and are now making a hollow body?
I remember your "Lucifer" build is using the same woods, that one is gonna be a chonker!
I'm not terribly worried about weight either. This bass...

...tends to be my go-to, but it is about 11 pounds and it is semi-hollow! I almost never play standing up (back issues) but if I did, I'm not sure I could sling this around.
I love how it plays and sounds, though!
edit: seriously, not judging your wood choice, more curious how you would work the weight-relief into the design.
I'm not terribly worried about weight either. This bass...
...tends to be my go-to, but it is about 11 pounds and it is semi-hollow! I almost never play standing up (back issues) but if I did, I'm not sure I could sling this around.
I love how it plays and sounds, though!
edit: seriously, not judging your wood choice, more curious how you would work the weight-relief into the design.
Yeah, I feel like Lucifer is far enough along that I could prolly weigh him right now. I have it mocked up at the moment with all the hardware on. The only thing I haven't done is route the battery box cavity and mounted the box, but I assume plastic will be lighter than that wood removed to make a hole for it.I remember your "Lucifer" build is using the same woods, that one is gonna be a chonker!
I'm not terribly worried about weight either. This bass...
View attachment 4427069
...tends to be my go-to, but it is about 11 pounds and it is semi-hollow! I almost never play standing up (back issues) but if I did, I'm not sure I could sling this around.
I love how it plays and sounds, though!

- Apr 18, 2008
- 16,015
- 1
- 31,728
- Disclosures
- I'm highly opinionated and extremely self-assured
I have a couple fears when you start talking about weight reliefs -
Just random thoughts that keep me up at night.
- If you get too crazy then you can introduce neck dive, and I feel like neck dive is a WAY bigger thing on here than weight.
- I'm concerned about how it'll change the sound of the instrument. Solid body vs hollow body vs semi-hollow and all that. At what point are you no longer doing weight relief and are now making a hollow body?
Bro, you got no reason to think about neck dive with this build. Between the heavy body woods and the long upper horn, I advise you to chamber as much as possible.


