
Enjoy the benefits of a premium membership!
Upgrade Account
-
TalkBass has been independent since 1998. Add your voice.
Create a free account to reply to discussions, view embedded media, and browse with fewer display ads.
Join free Log in
Want zero display ads or expanded classifieds tools? Compare plans.
You are using an out of date browser. It may not display this or other websites correctly.
You should upgrade or use an alternative browser.
You should upgrade or use an alternative browser.
Second build!!
- Thread starter BenHanby
- Start date
More options
Who Replied?

Do not use Gorilla glue. Titebond is the best glue for wood.I'm going to cut up my ash plank ( so i can laminate the pieces), i was just wandering what kind of glue people would recommend, i was thinking maybe Titebond or gorilla glue. Any responses will be appreciated. Cheers!


Lots of potential here. I like the lines. A nice design subtlety that I'm seeing is the S-curve on the end of the fretboard.
I have read the other posts in this thread and saw that you are not going to paint it now. I think this is a good design for a rocking paint job, and I was kind of looking forward to a deep navy for this guy, like what we saw in your first post.
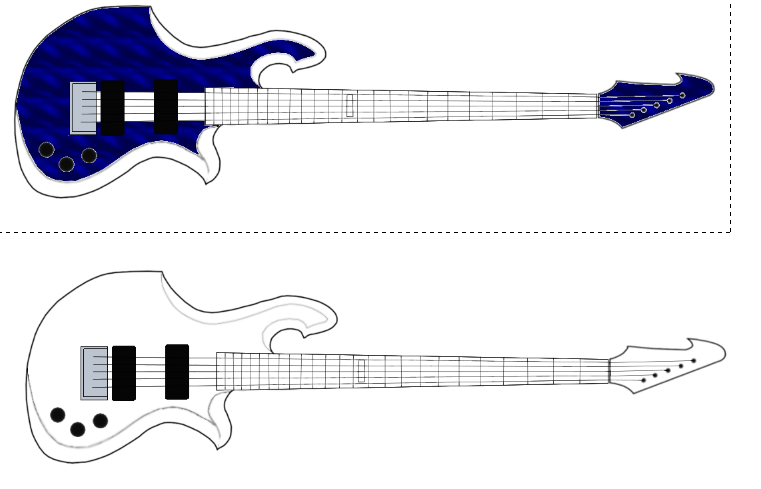
I have read the other posts in this thread and saw that you are not going to paint it now. I think this is a good design for a rocking paint job, and I was kind of looking forward to a deep navy for this guy, like what we saw in your first post.

- Jan 5, 2007
- 32
- 31
- Disclosures
- Endorsing artist: Yamaha basses, Barefaced cabinets, Two-Notes Engineering preamps and cabinet simulators, Ultimate Ears IEM, Slickbag gigbags

Sorry it took so long for my reply! I am hoping to put a more subtle curve on this section of the guitar something like in the image below, sorry this wasn't made obvious in the sketches. I am also going to put some cut ins in the back of the bass one to aid acess to the higher frets and one so its more comfortable on the body.

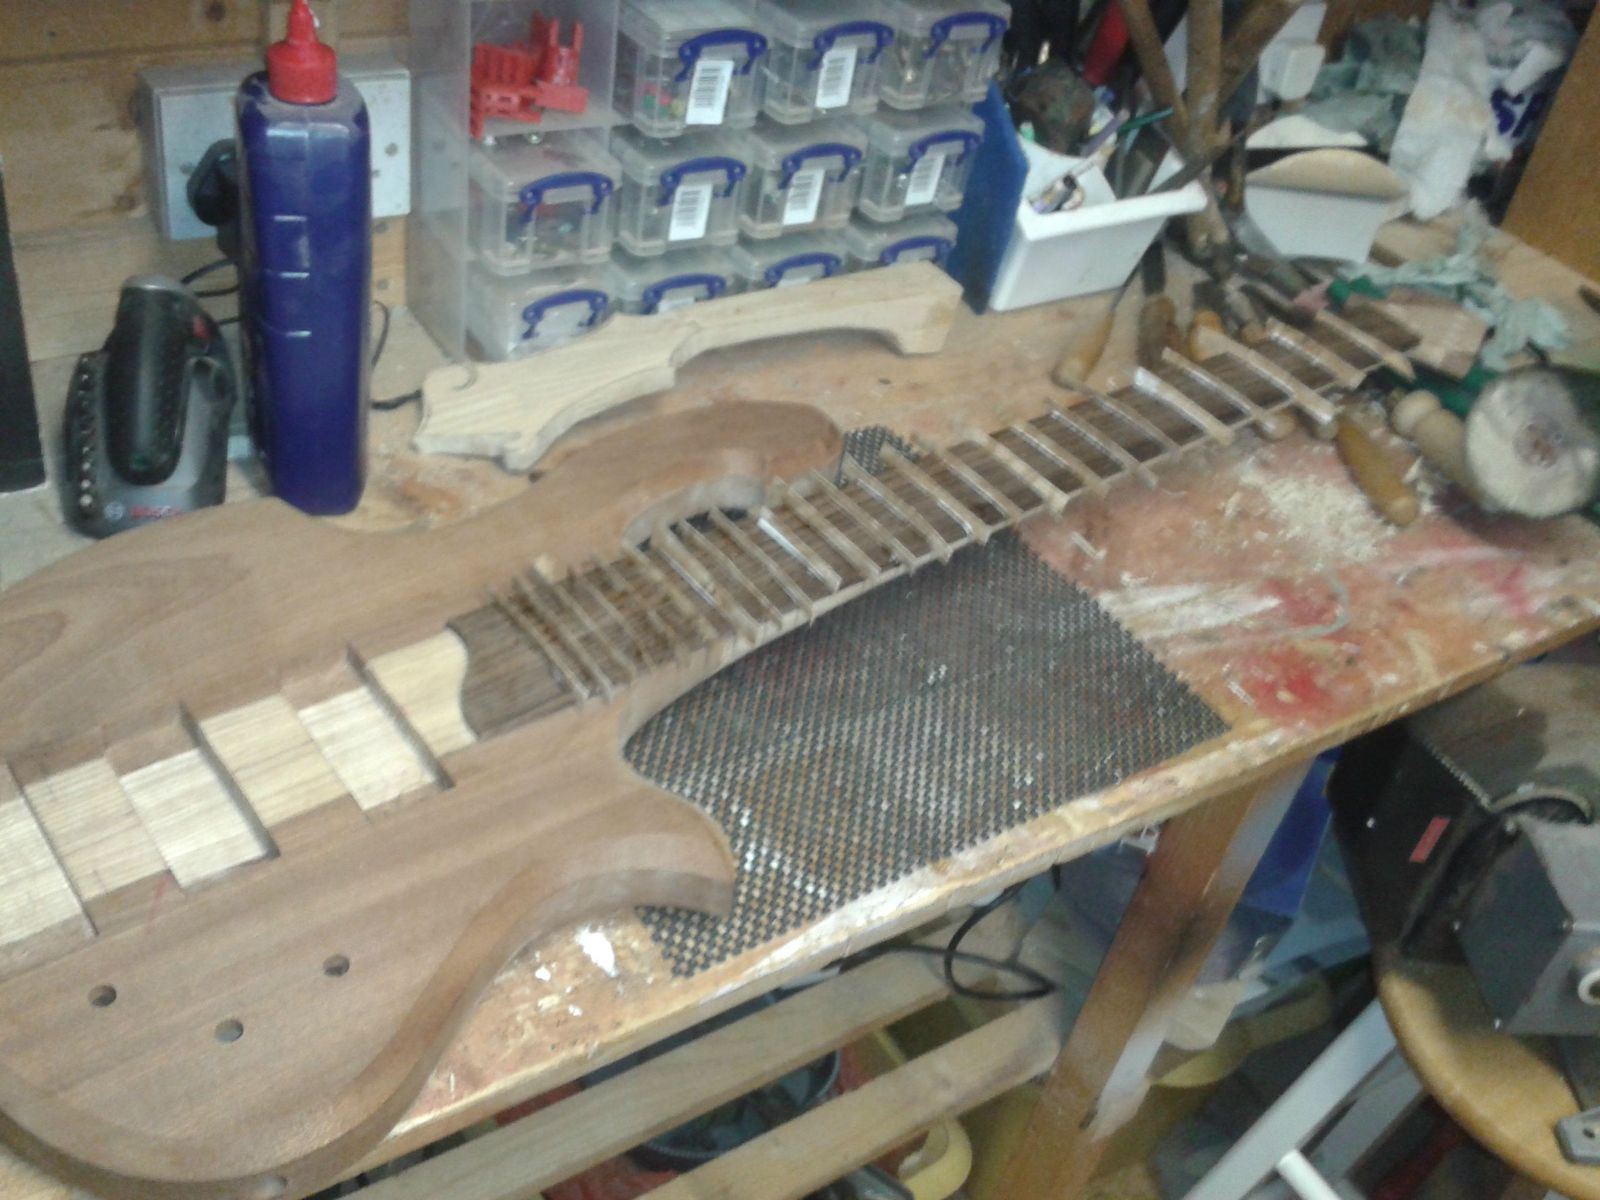
It's been a while..... Some major progress with the bass has been made though! (Quite picture heavy) I have glued it all together routed cavities (and made a cover for the back cavity) and radiused the fretboard. I have started shaping the neck into the body and other body parts, This will take me a long time as will finnishing the bass.
Fretboard Radiusing
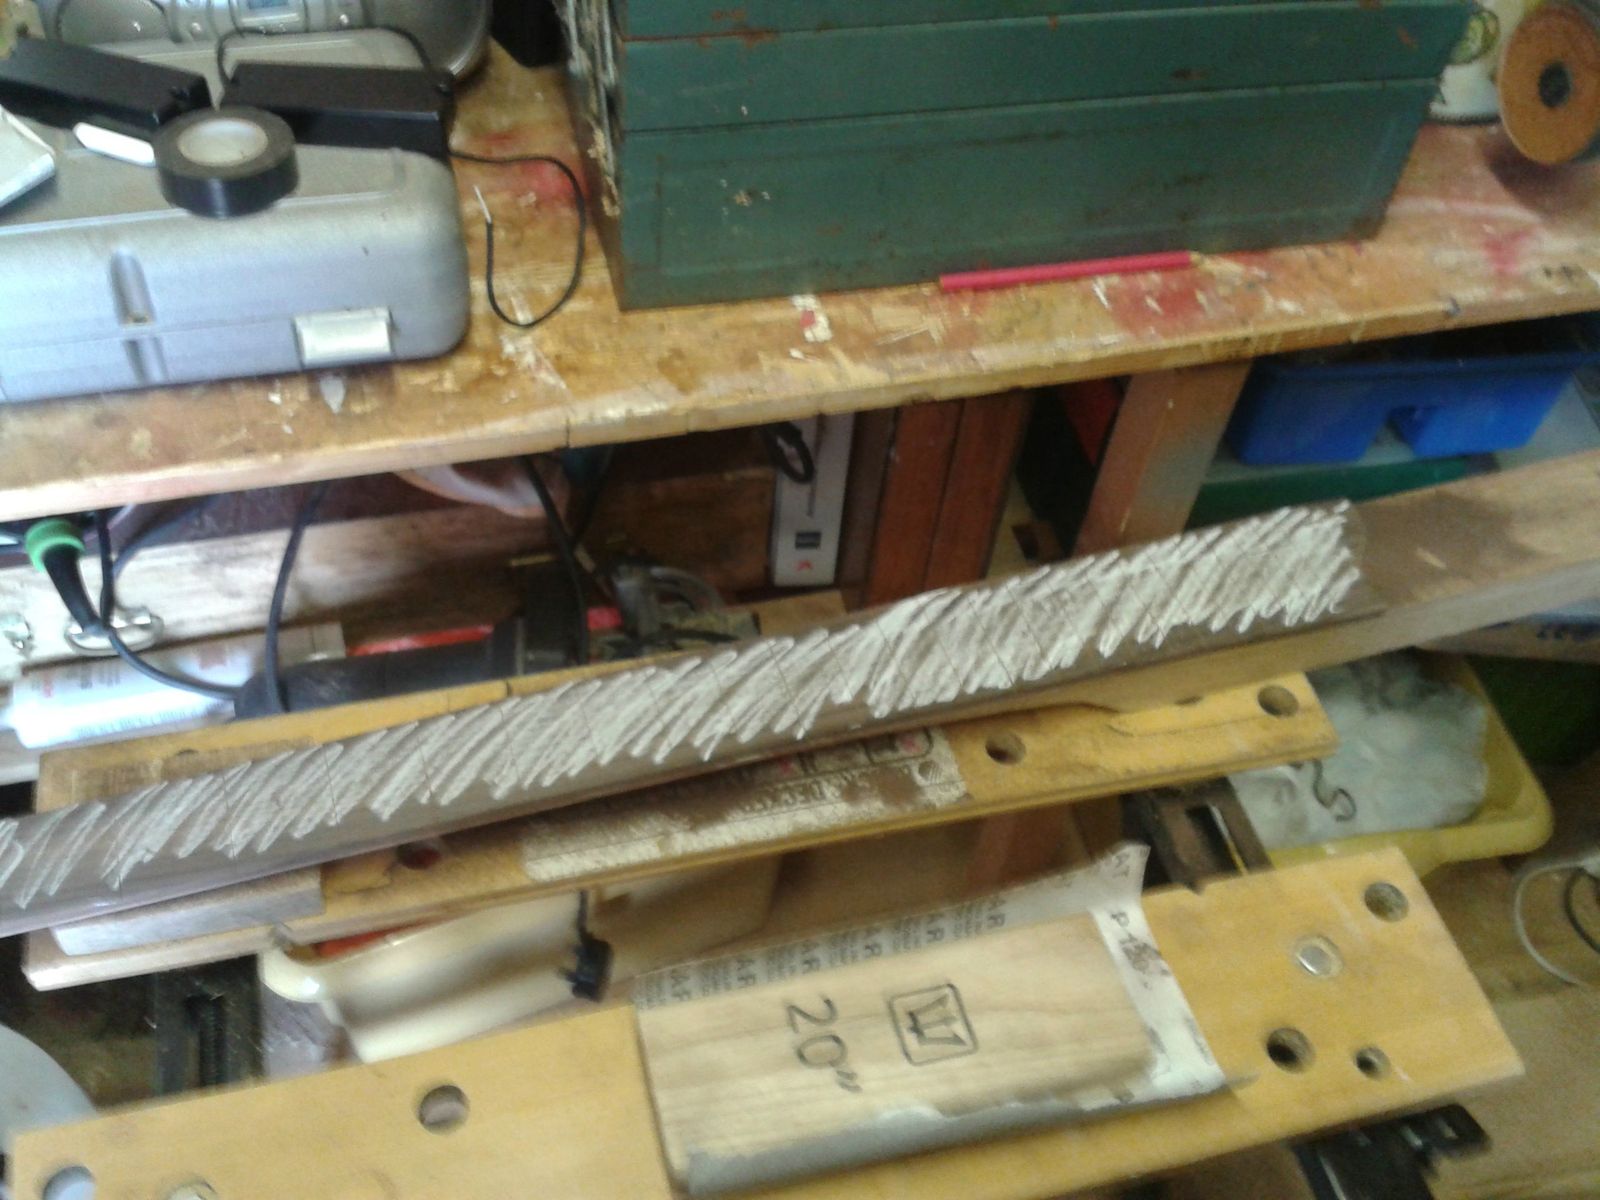
Internal wire cavity
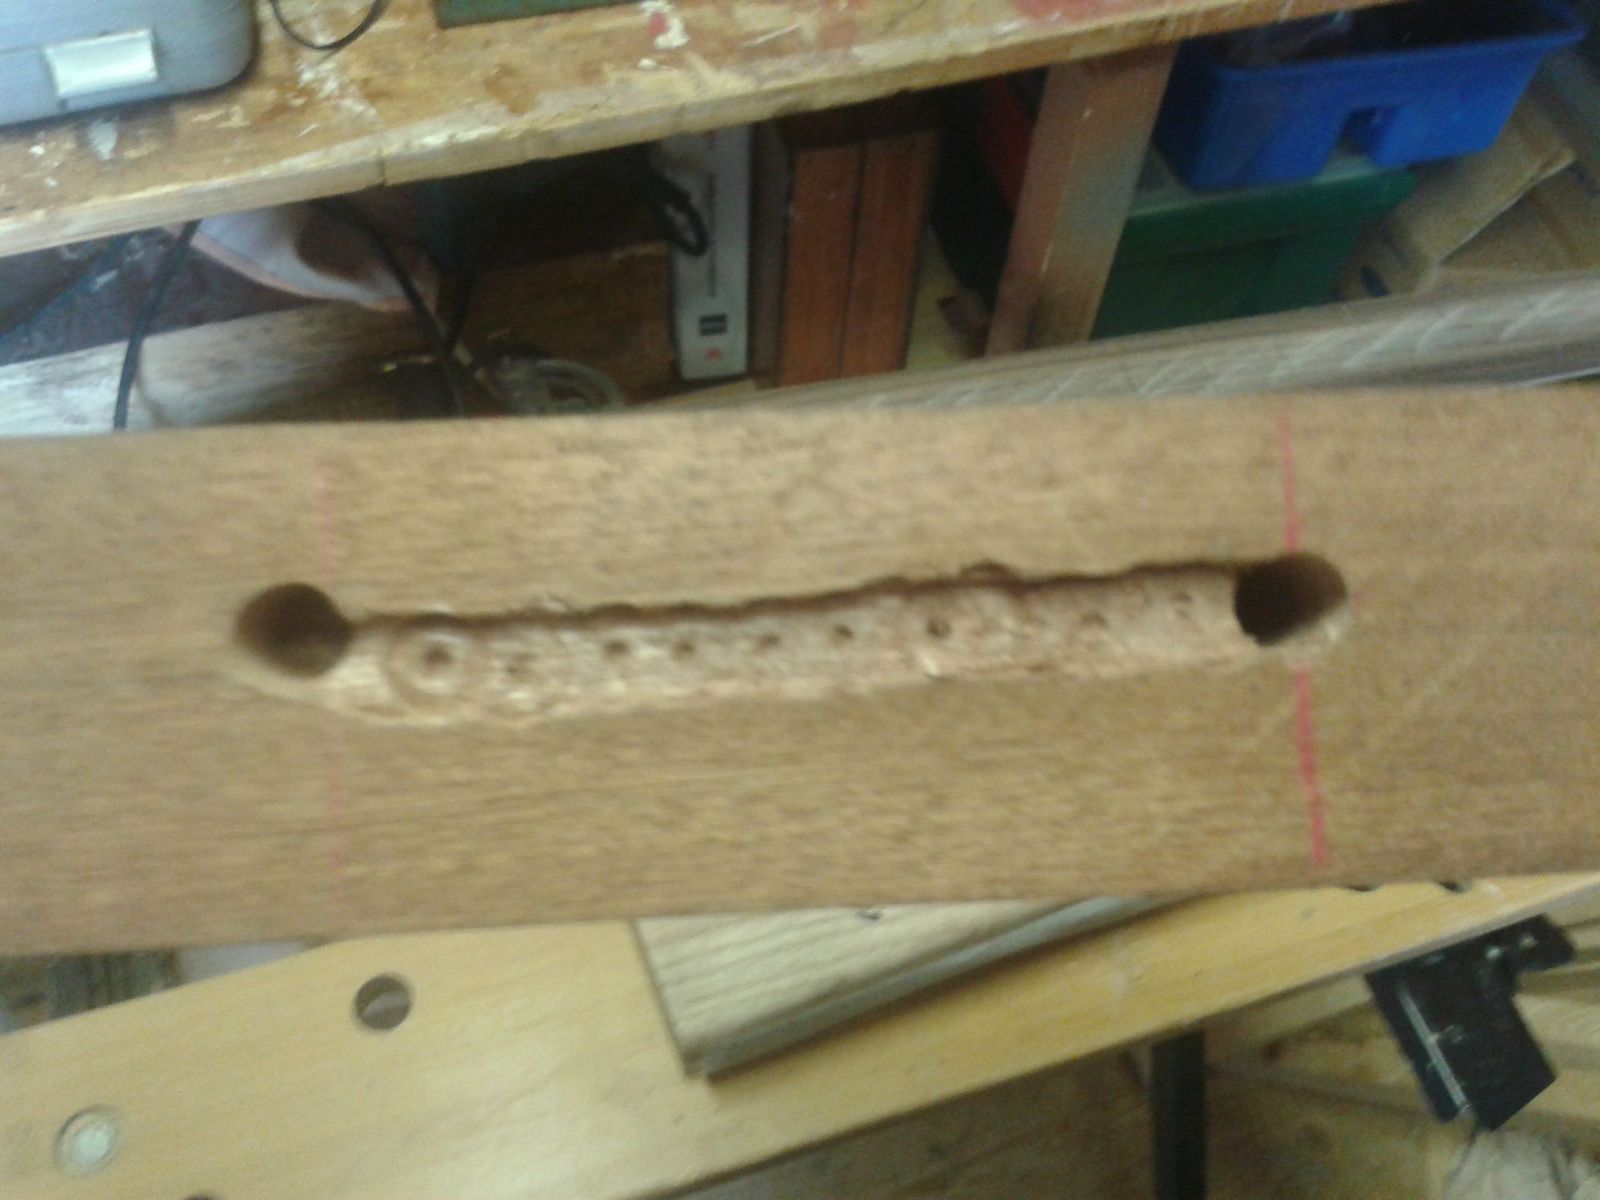
Shaping of the rear
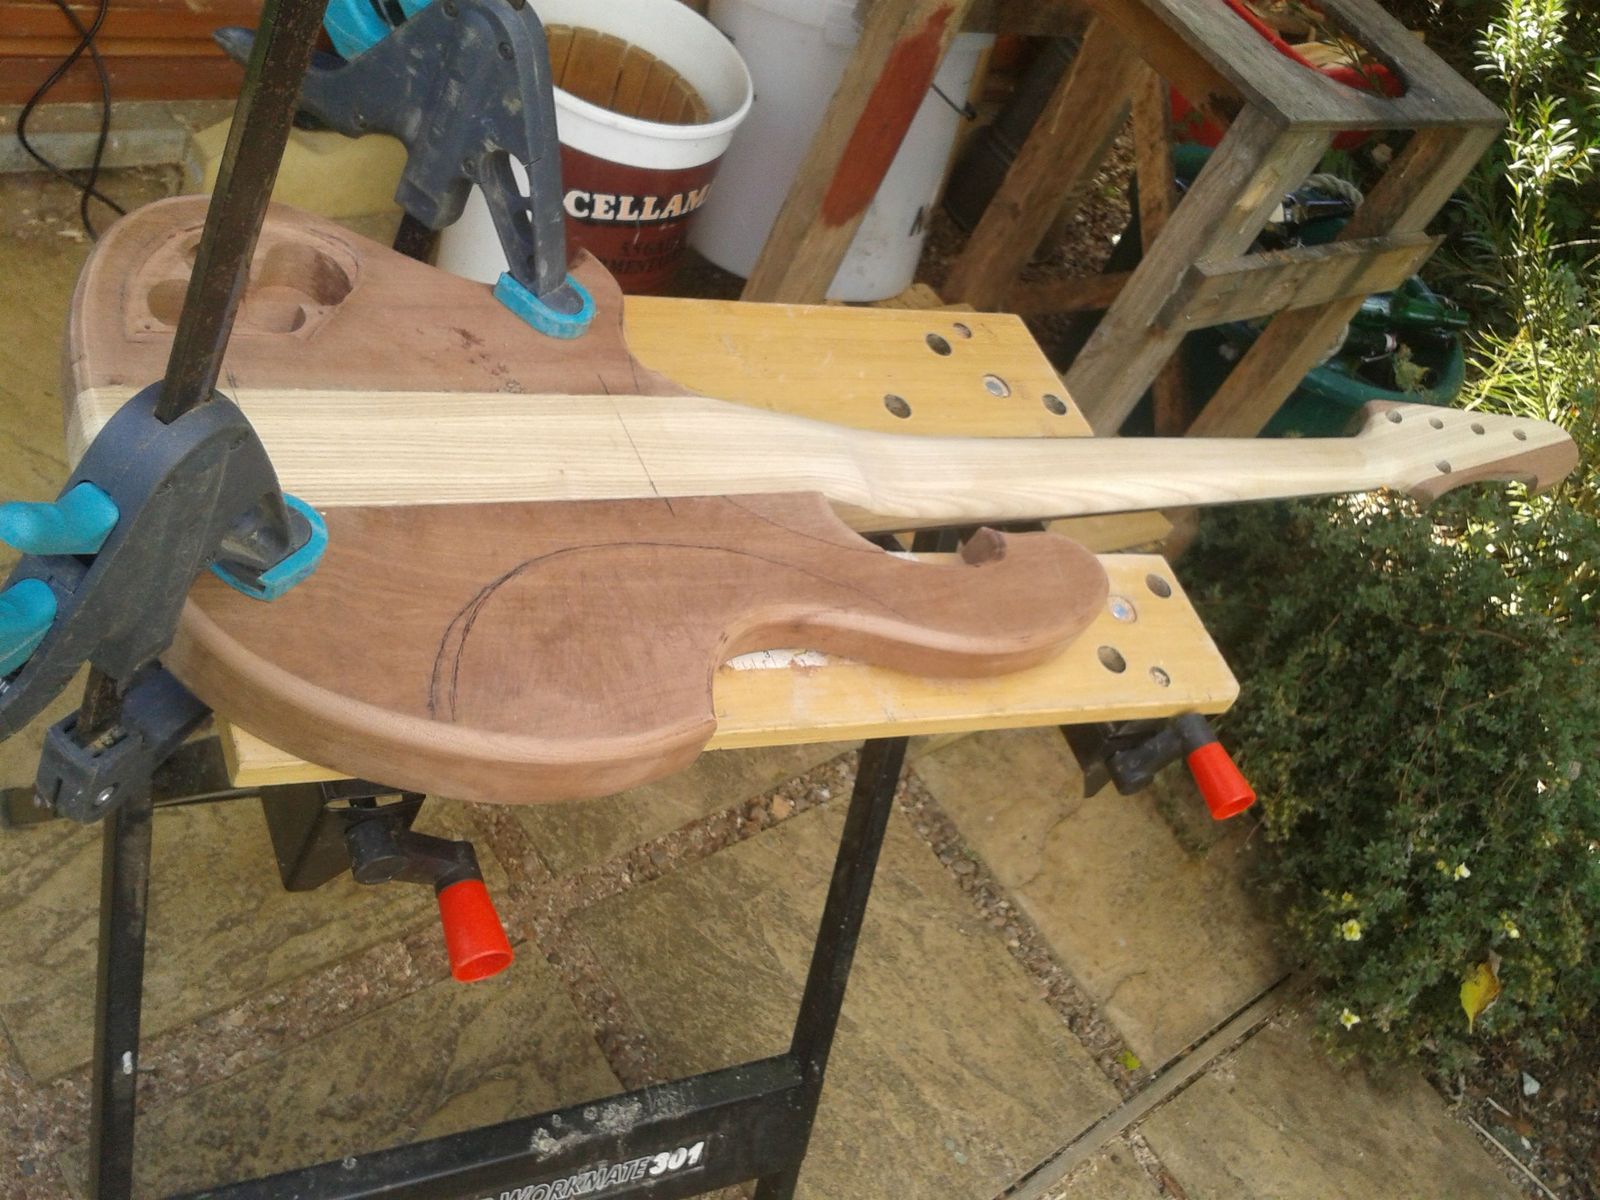
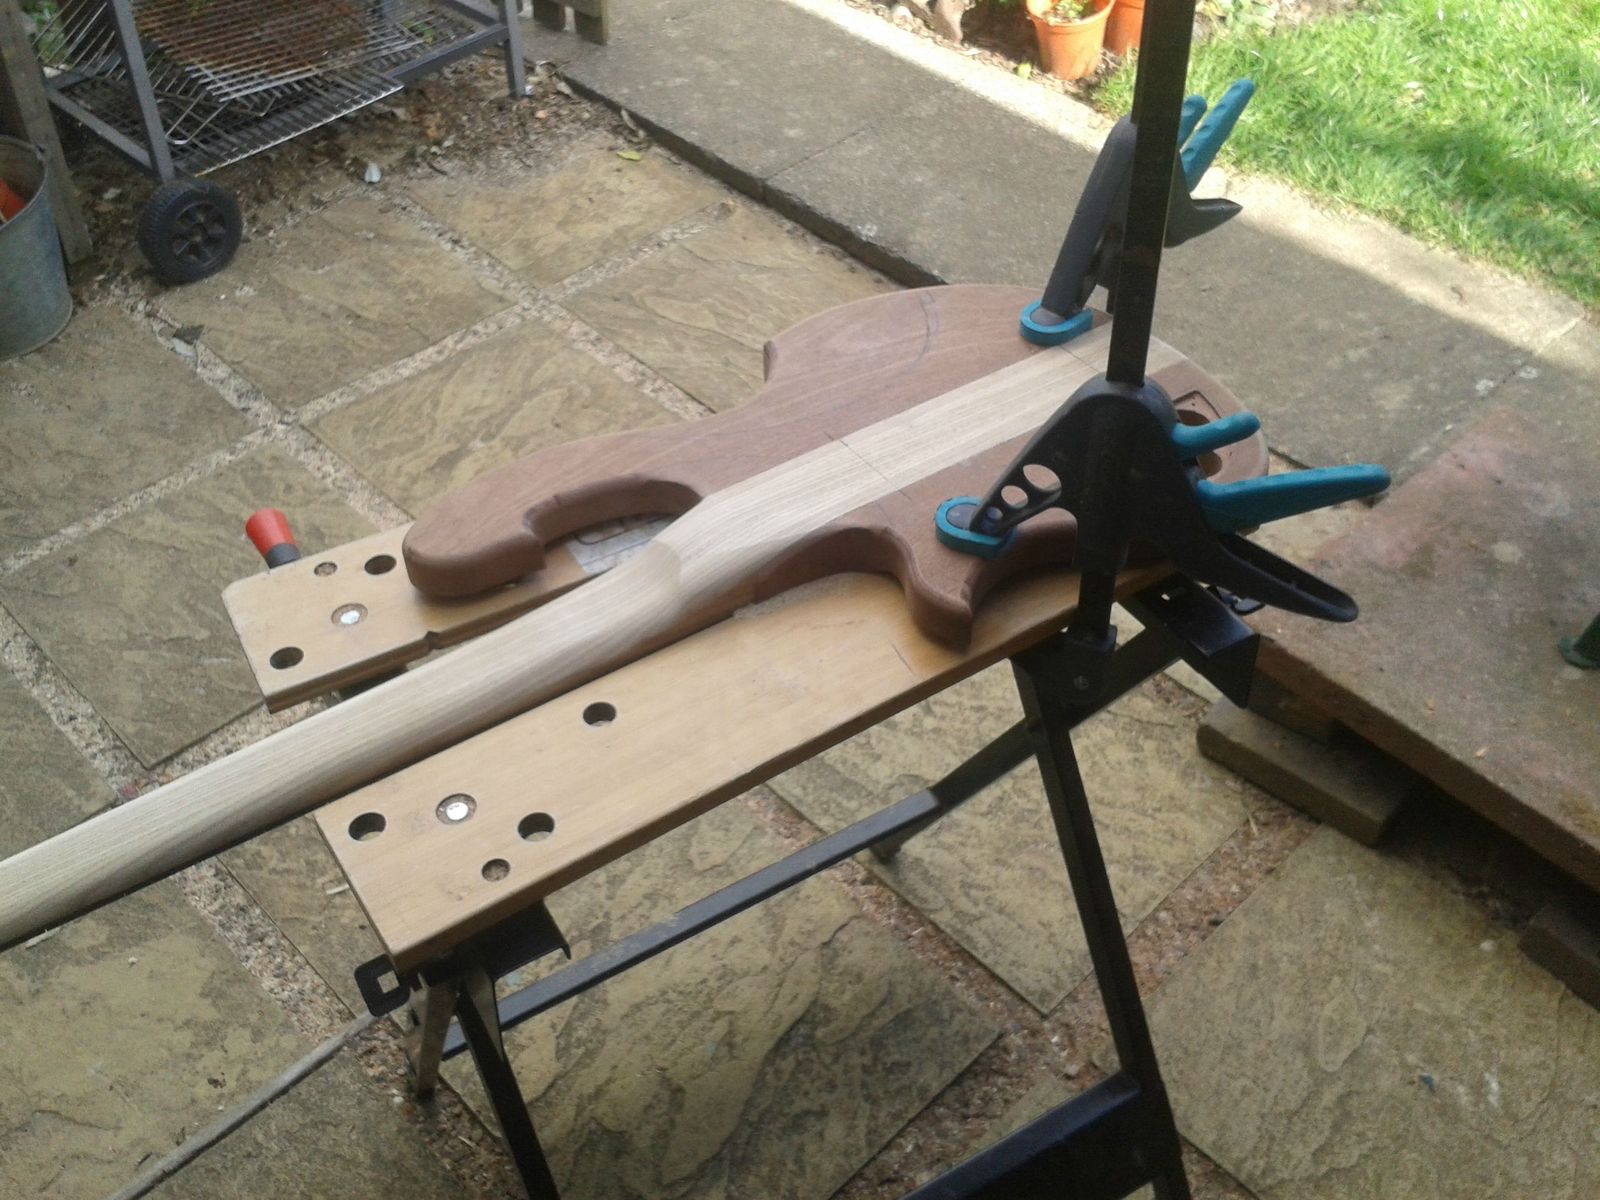
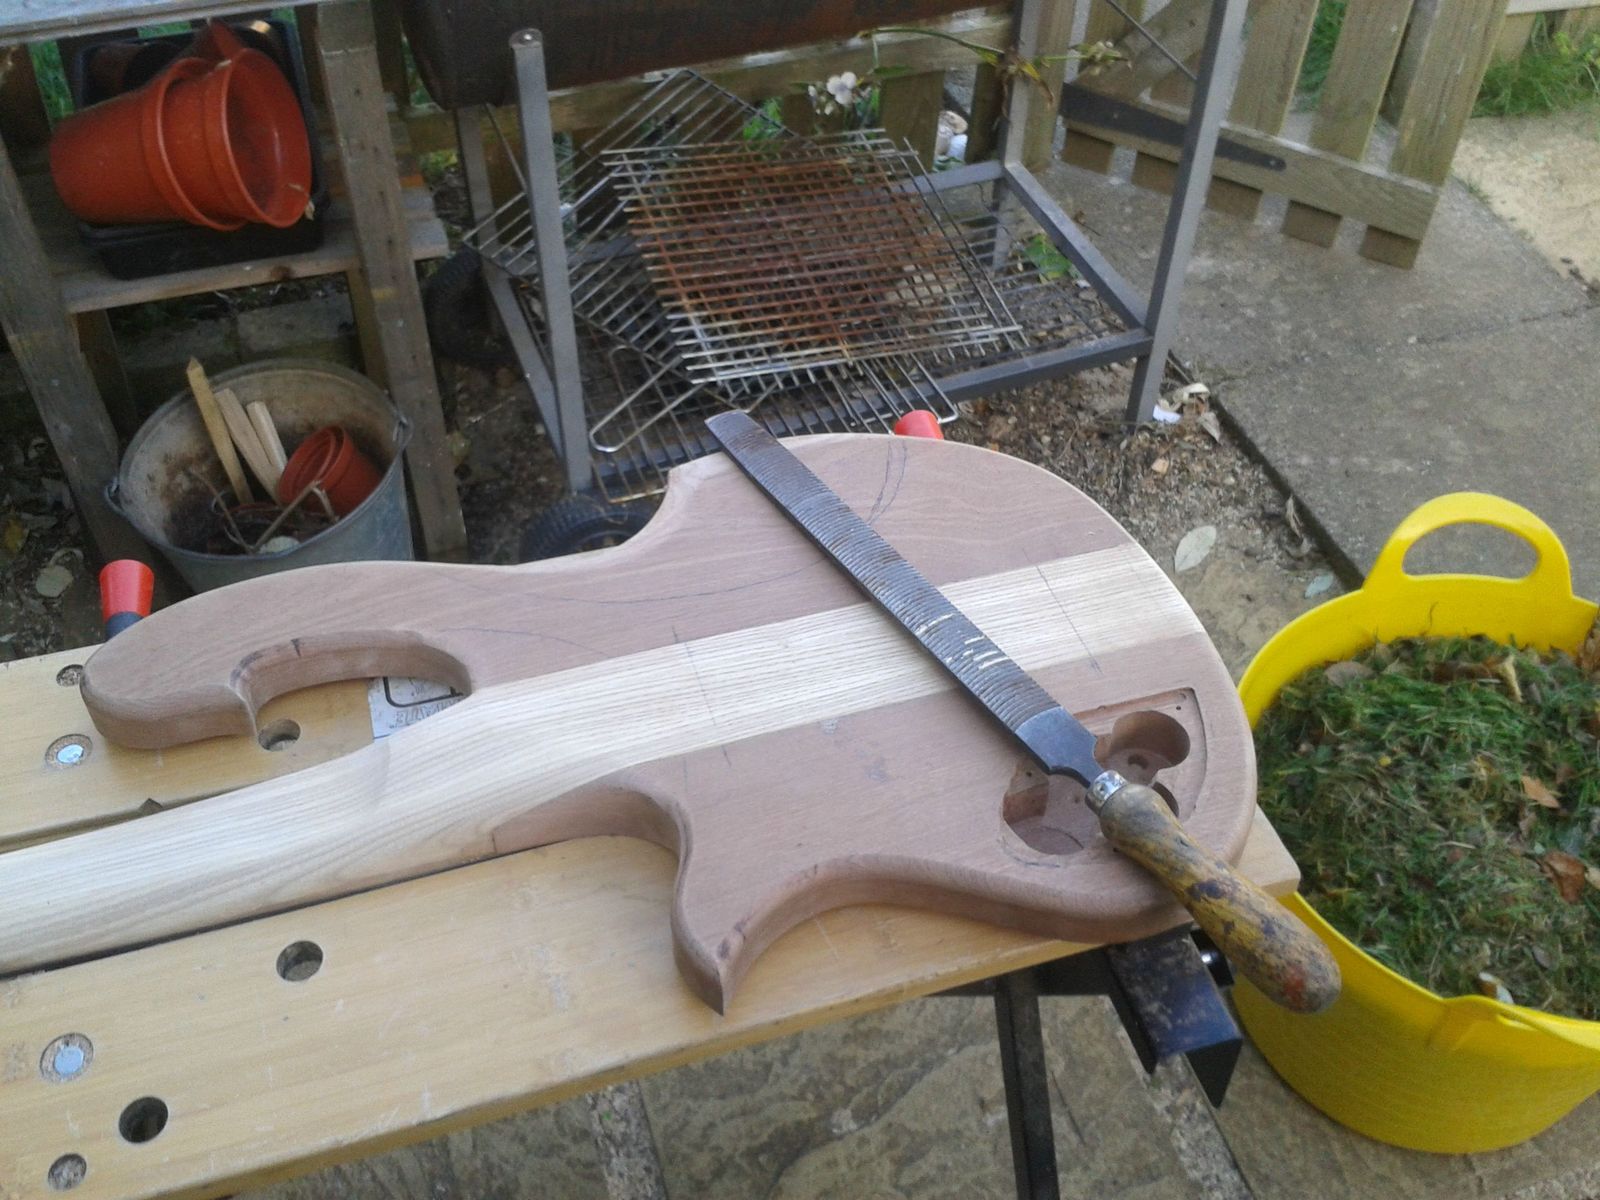
With a couple of strings as a dry run
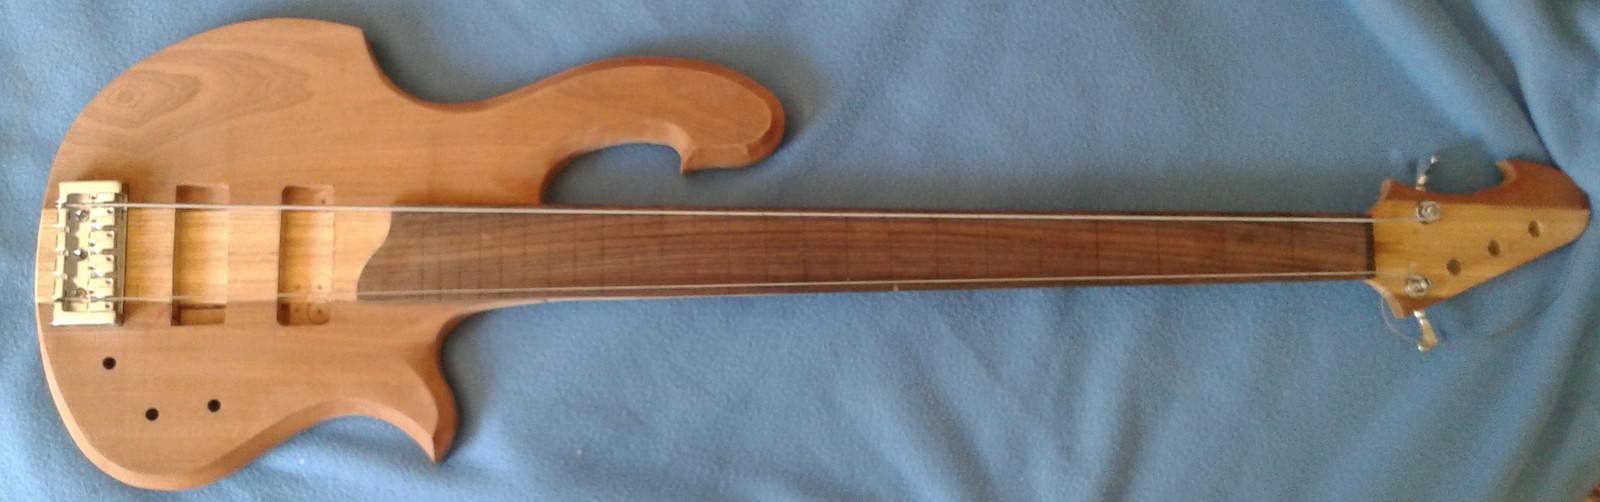
Cheers for reading, as always any comments/ tips are always welcome.
Fretboard Radiusing
Internal wire cavity
Shaping of the rear
With a couple of strings as a dry run
Cheers for reading, as always any comments/ tips are always welcome.
Progress has been fairly slow, just finnished my final year. I have managed to put some fret markers in with ash vaneer and standard wood glue. I am coming to the point where i need to finnish the fretboard and am looking for any suggestions on peoples favouirite epoxy. I did consider leaving it however the fretboard became visibly worn with a small amount of playing.

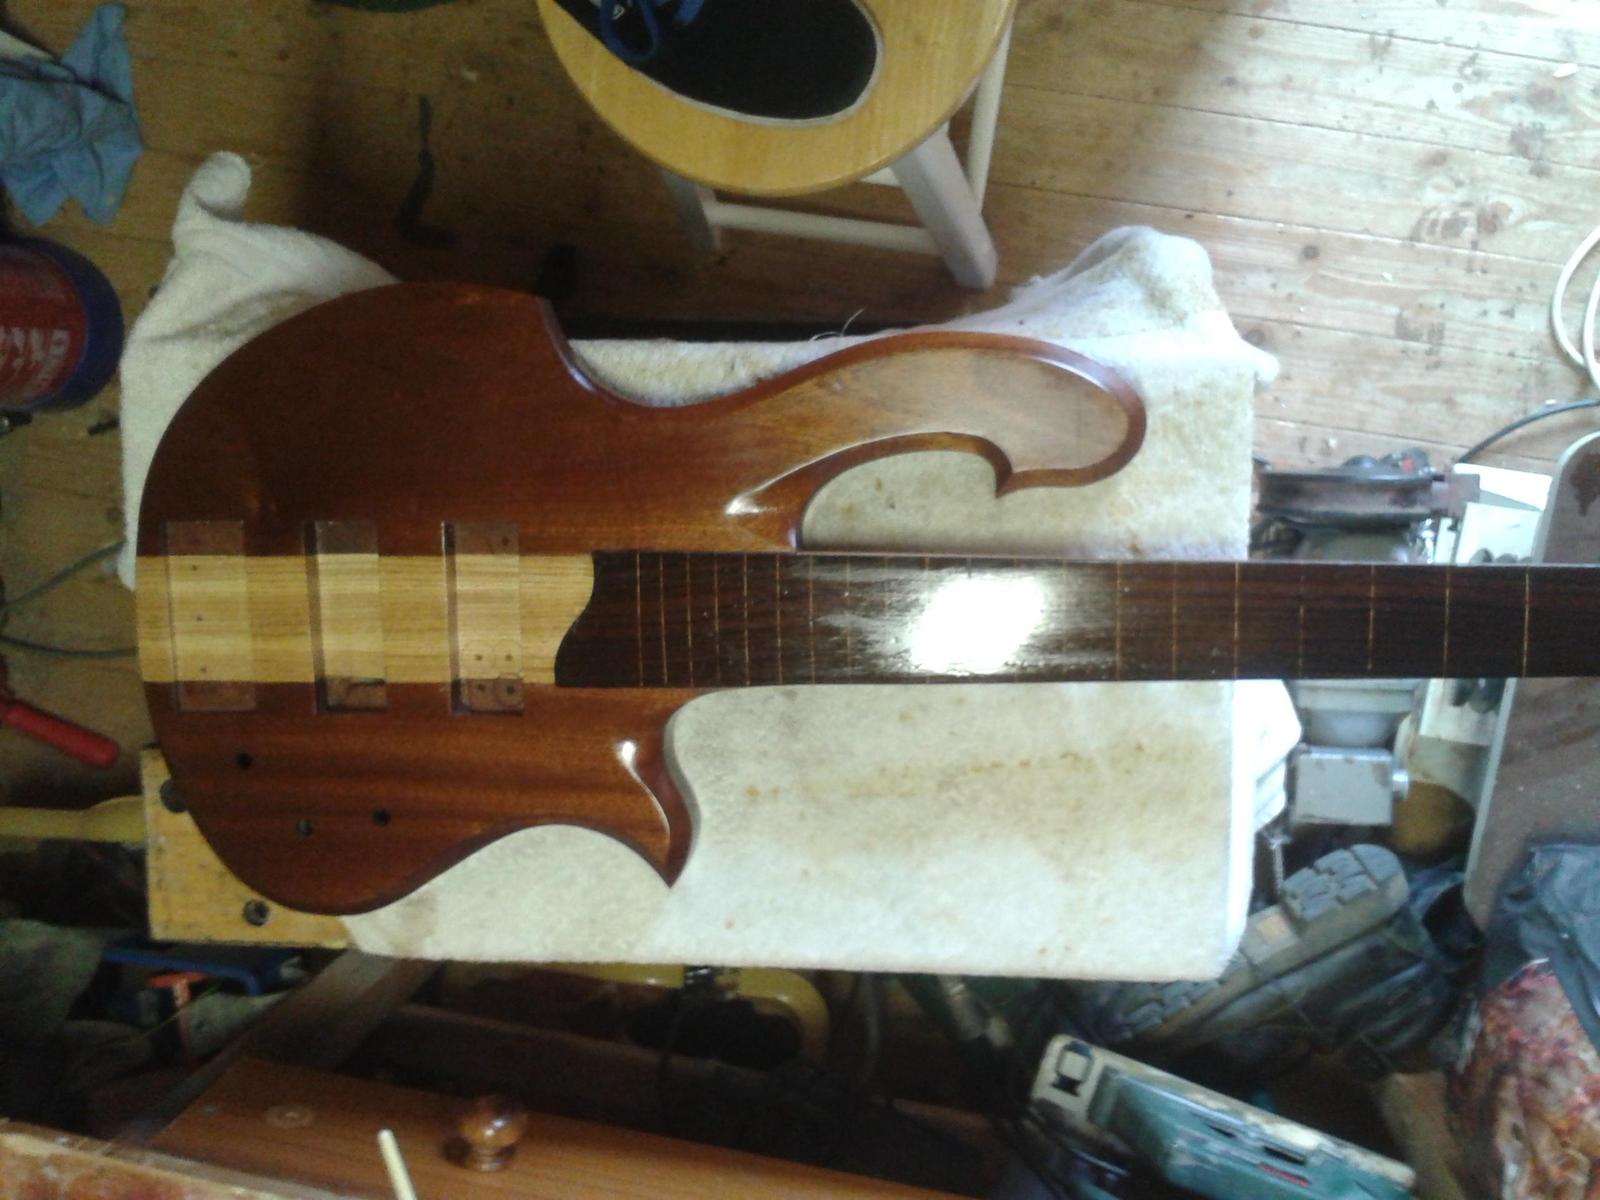
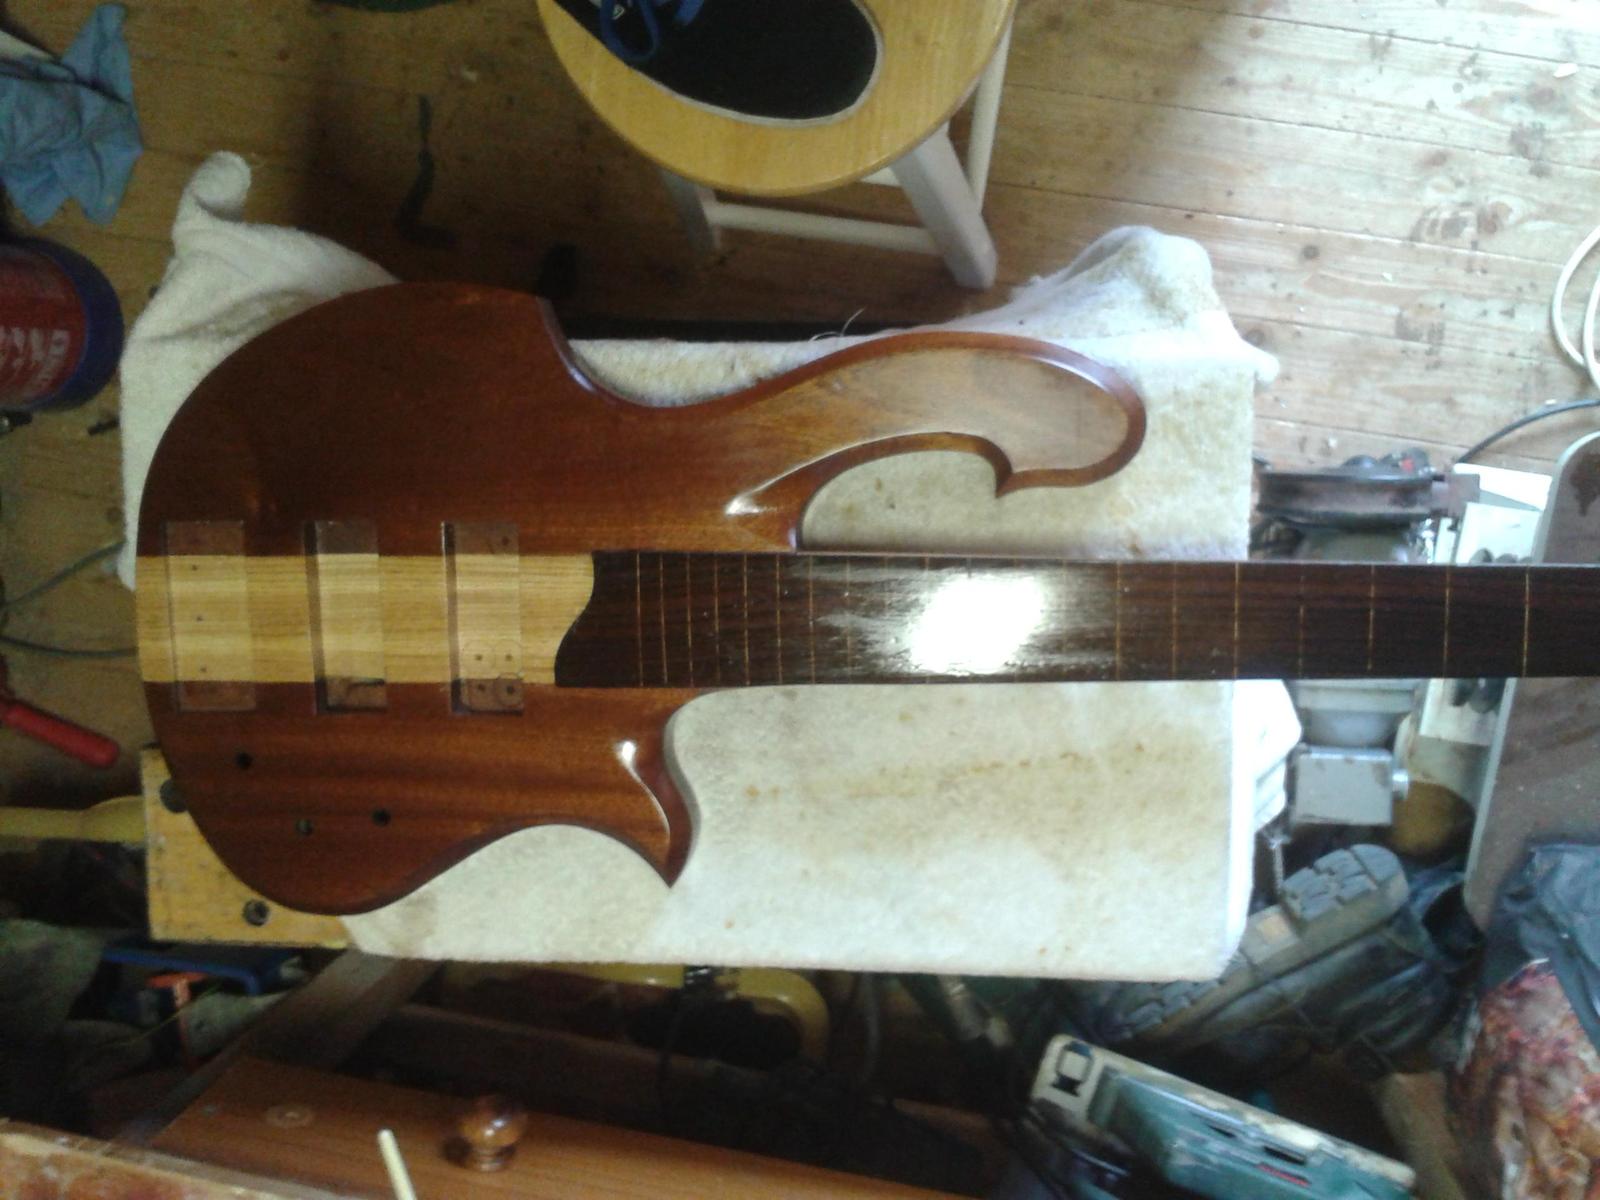
I used a nice couple of coats of yacht varnish on the fret-board and have been oiling the rest of the bass with danish oil, its looking quite nice. However just as I am preparing to begin setup/ installation I have come across the issue of grounding to the bridge. I have read around and seen that it is mainly done for noise reduction but could lead to potential safety hazards. I was just wondering weather anyone could dispel a few myths for me before I instll everything without drilling into the control cavity.

On the bridge ground, its used in just about every electric bass or guitar, if it was a real safety hazard I think people would of come up with something to fix it by now. Whether you use it or not I think drilling for a bridge ground and running the wire into the control cavity is a good Idea, to save your self work in the future. Plus buzz is annoying, I usually try to do everything I can to eliminate it.I used a nice couple of coats of yacht varnish on the fret-board and have been oiling the rest of the bass with danish oil, its looking quite nice. However just as I am preparing to begin setup/ installation I have come across the issue of grounding to the bridge. I have read around and seen that it is mainly done for noise reduction but could lead to potential safety hazards. I was just wondering weather anyone could dispel a few myths for me before I instll everything without drilling into the control cavity.
You will probably find that your bass is pretty noisy if you are using standard electromagnetic pickups (until you touch the strings) without a bridge ground. Piezo is fine without, can't vouch for any others but I suspect lightwave is ok without.Makes sense, cheers for the rationale! I will drill the hole into the cavity.

Not sure what pickups you are going for, but I recently used some EMG P6 (p style pickups for six string). It stated in the instructions that it didn't need grounding (actually stated not to ground them), and they sound great. Didn't do any sheilding on the pickup route or the cavity either and no hum.
Also, it only required 2 solders to attach the battery/controls. Very good product at a great price (around £70). Plenty on ebay buy it now too. Details: Invalid Link Removed
Also, it only required 2 solders to attach the battery/controls. Very good product at a great price (around £70). Plenty on ebay buy it now too. Details: Invalid Link Removed
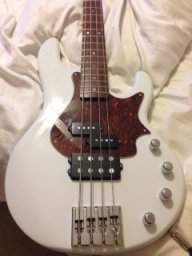
Why not just drill a hole from the bridge section to the rear pickup cavity. It will take 2 minutes and then you will have it if need be. You recessed the bridge it looks like, so that will give you the room to get the drill bit in a nice flat angle to do this. Then just route the wire through the hole and then through the bridge pickup wire hole as well.
Finally finished, well mainly (I may make a few changes as I become more comfortable with it) but here are a few pics 
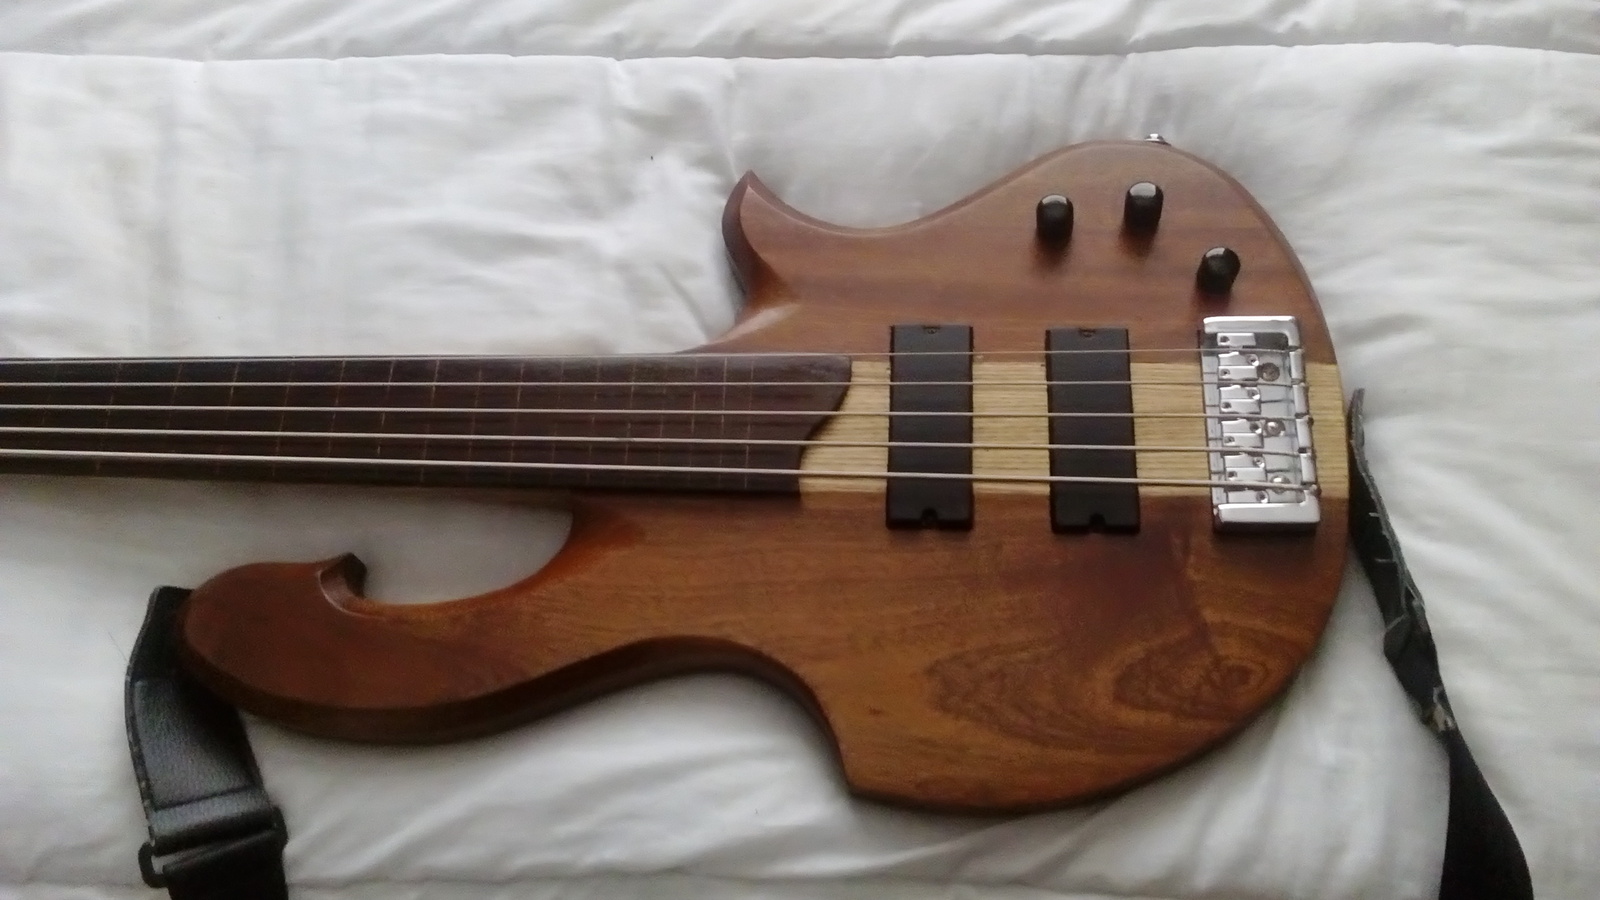
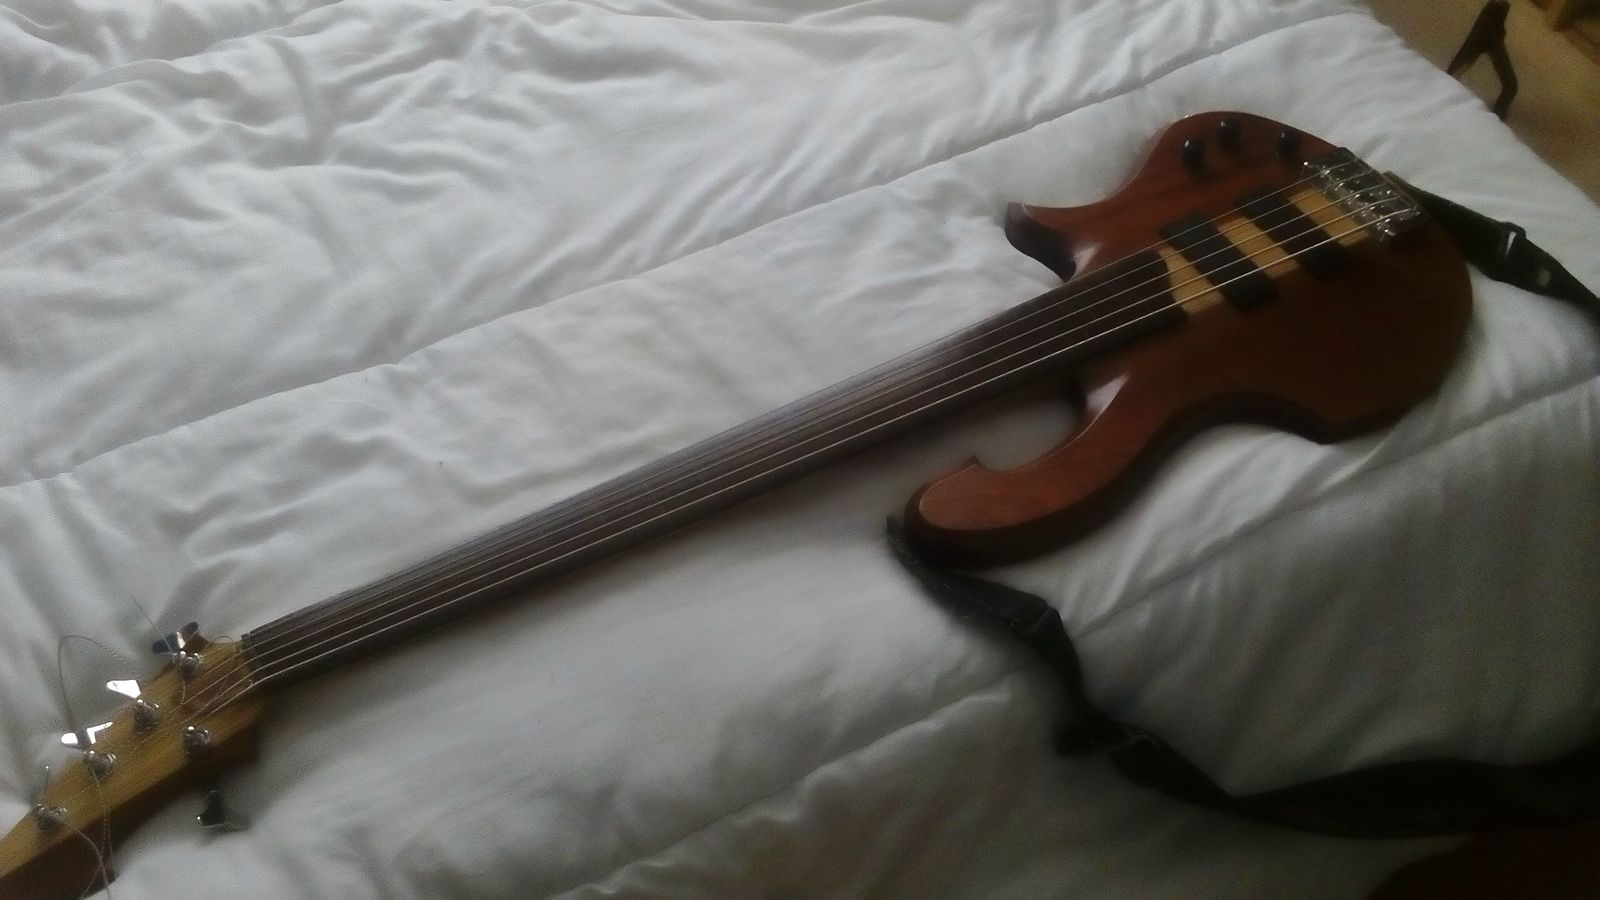
I'm pretty happy with the way this has come out, making it has taught me allot and my next one will b better! I would also like to thanks everyone for the suggestions and tips along the way
I'm pretty happy with the way this has come out, making it has taught me allot and my next one will b better! I would also like to thanks everyone for the suggestions and tips along the way
Latest posts
-

-
 Adding J pup to P bass, should I go 60’s or 70’s spacing?
- Latest: Gianni "Orlandez" Orlati
-
-

-
