
• TalkBass has been independent since 1998. Add your voice.
    Create a free account to reply to discussions, view embedded media, and browse with fewer display ads.
    Join freeLog in
    Want zero display ads or expanded classifieds tools? Compare plans.

Winter Build-Off 2023 - Music Person StingRay

This build is not that nerdy, but I will try to throw in some sufficiently nerdy details where possible. It will be a Music Man StingRay homage, because I've wanted a StingRay but I don't currently feel like I can justify the cost.

I will be using templates that I purchased, because I want this to be relatively accurate and it will save me a bunch of time to not have to make the templates myself.

20221231_140813.jpg

Last year, I was given a few big chunks of cherry, so I got it into my head to try making a StingRay with a cherry body, but after milling down the big chunks I found too many soft spots and checks, so that was not going to work.
Still stuck on cherry, I went to my local lumber yard and found they were having a sale on 8/4 cherry! Something like $4/bf!
They also had some 4/4 S2S walnut on sale so grabbed some of that, for the neck. Also in the picture, a maple board that I may use to put contrasting pin stripes in the walnut neck. Have not decided yet.
20221231_141628.jpg
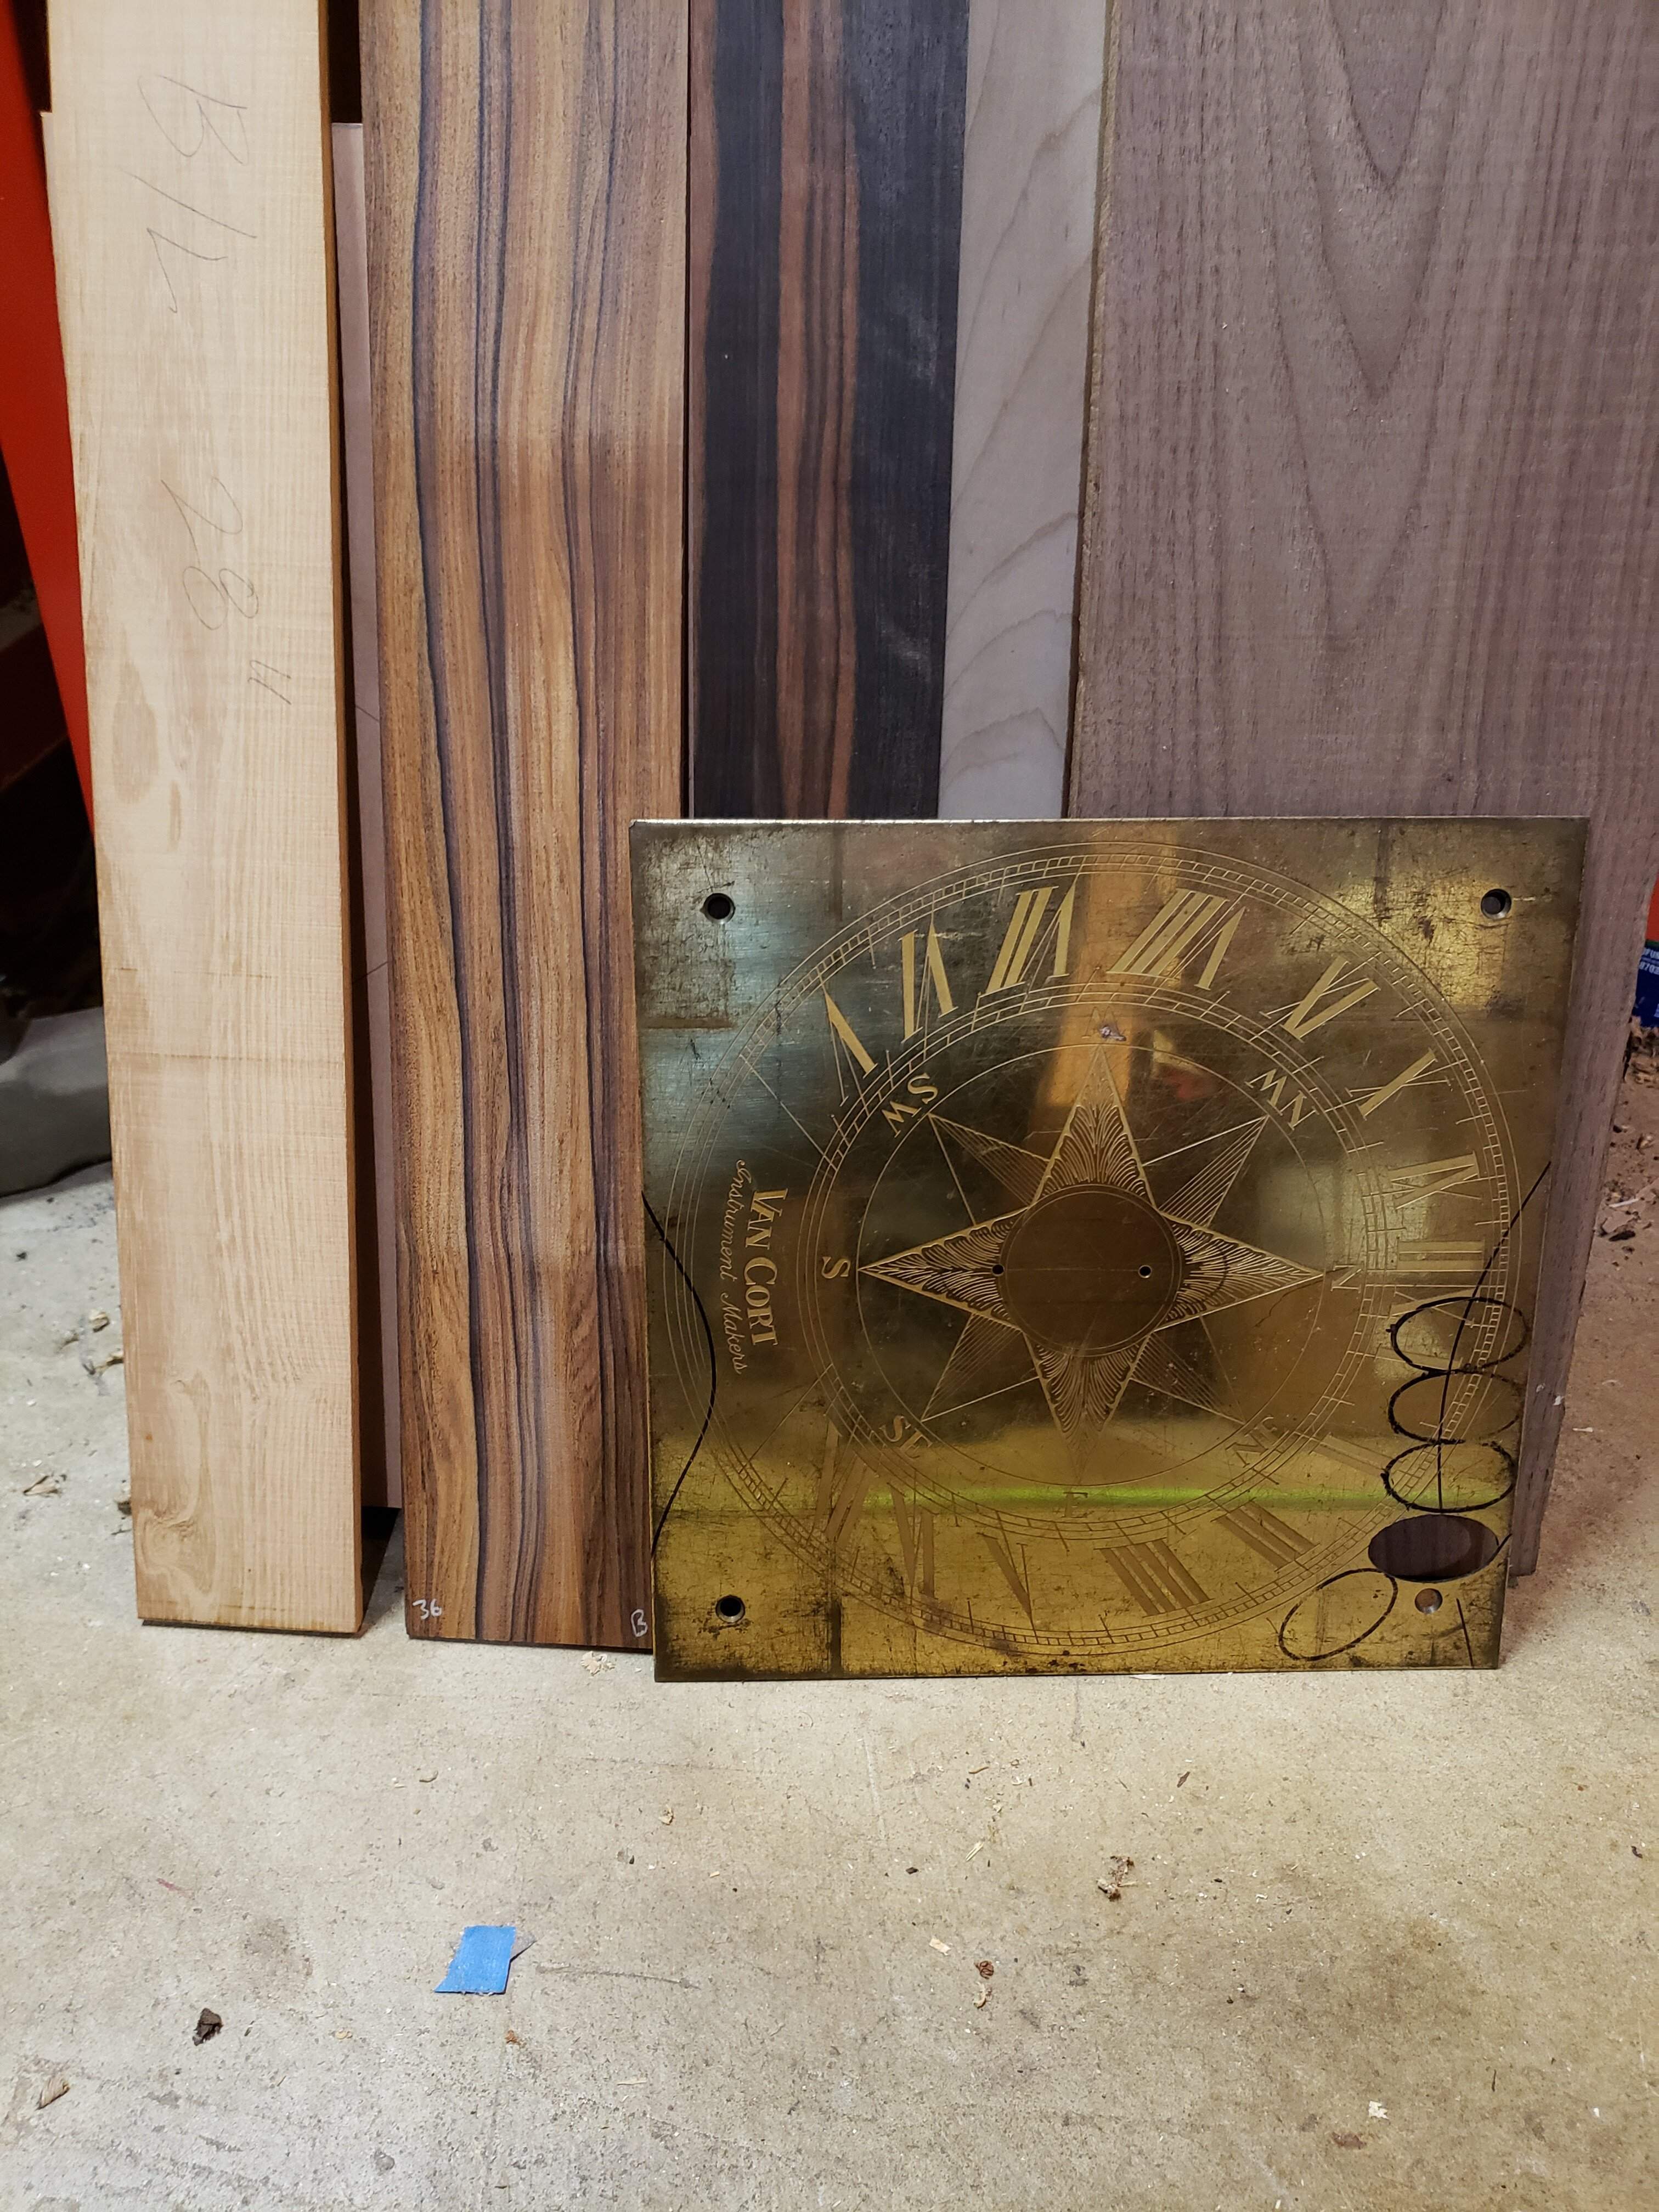
One of the things I am a little nerdy about is recycling/up-cycling. I have this brass plate which was the face for a sun-dial clock; I will use that to make the pick guard and control plate.
Yes, there will be a pick guard!
I have a couple options for the fretboard; shown above are a black locust, pao ferro and ebony fretboard blanks. I am leaning towards the pao ferro, but am open to suggestions.

Still waiting on the hardware and pick-ups.

Here we go!
 
Cherry body pieces have been flattened, squared, jointed and joined...
20221231_172441.jpg
...I left the blank about 3/32" proud so I have room to true and flatten the blank after glue up.

For the neck blank, I decided to skip the maple stringers and use cherry instead...
20230101_141213.jpg
...I think the colors will work well together.

Side note; I used 4/4 walnut the make this blank. Next time, I'll get 6/4 so I can make a 3-piece neck, which was my original plan.

Side note #2; for people gluing up 2 piece blanks, do you match the endgrain with the curves up (like a "W") or curves down (like an "M")? And why?

Happy New Year!
 
No updates, just an anecdote and a question...

I've had a cut on my right forearm since the weekend and I have no idea how I got it. The cut was looking a little dark, so I tried to clean it a up a bit and pulled out a rather sizable wenge splinter! Mystery solved, but I'm not even working with wenge at the moment! The trouble with wenge...


Question for the collective; I am considering adding color to the finish of the body but I have never used color on cherry before. What colors, other than red, will cherry take well? And what type of application? I will be trying some test pieces soon.
 
I don't have any experience working with Cherry, but the word online is that it's tough to avoid uneven staining and blotches. Maybe a tinted finish like poly-shade or a gel stain that leaves color on top are better options than a dye or penetrating stain?
 
  • Like
Reactions: BishopJP
I don't have any experience working with Cherry, but the word online is that it's tough to avoid uneven staining and blotches. Maybe a tinted finish like poly-shade or a gel stain that leaves color on top are better options than a dye or penetrating stain?

Hmmm, I was not aware of that...

I have been experimenting recently with spraying water-based clears; might need to try tinting the clear with stain.
 
  • Like
Reactions: Reedt2000
No updates, just an anecdote and a question...

I've had a cut on my right forearm since the weekend and I have no idea how I got it. The cut was looking a little dark, so I tried to clean it a up a bit and pulled out a rather sizable wenge splinter! Mystery solved, but I'm not even working with wenge at the moment! The trouble with wenge...


Question for the collective; I am considering adding color to the finish of the body but I have never used color on cherry before. What colors, other than red, will cherry take well? And what type of application? I will be trying some test pieces soon.

Yeah, wenge is evil like that. :D As for color on cherry... it may depend upon how you apply it. Are you going to dye the wood directly, or add a tinted toner sprayed over the top?
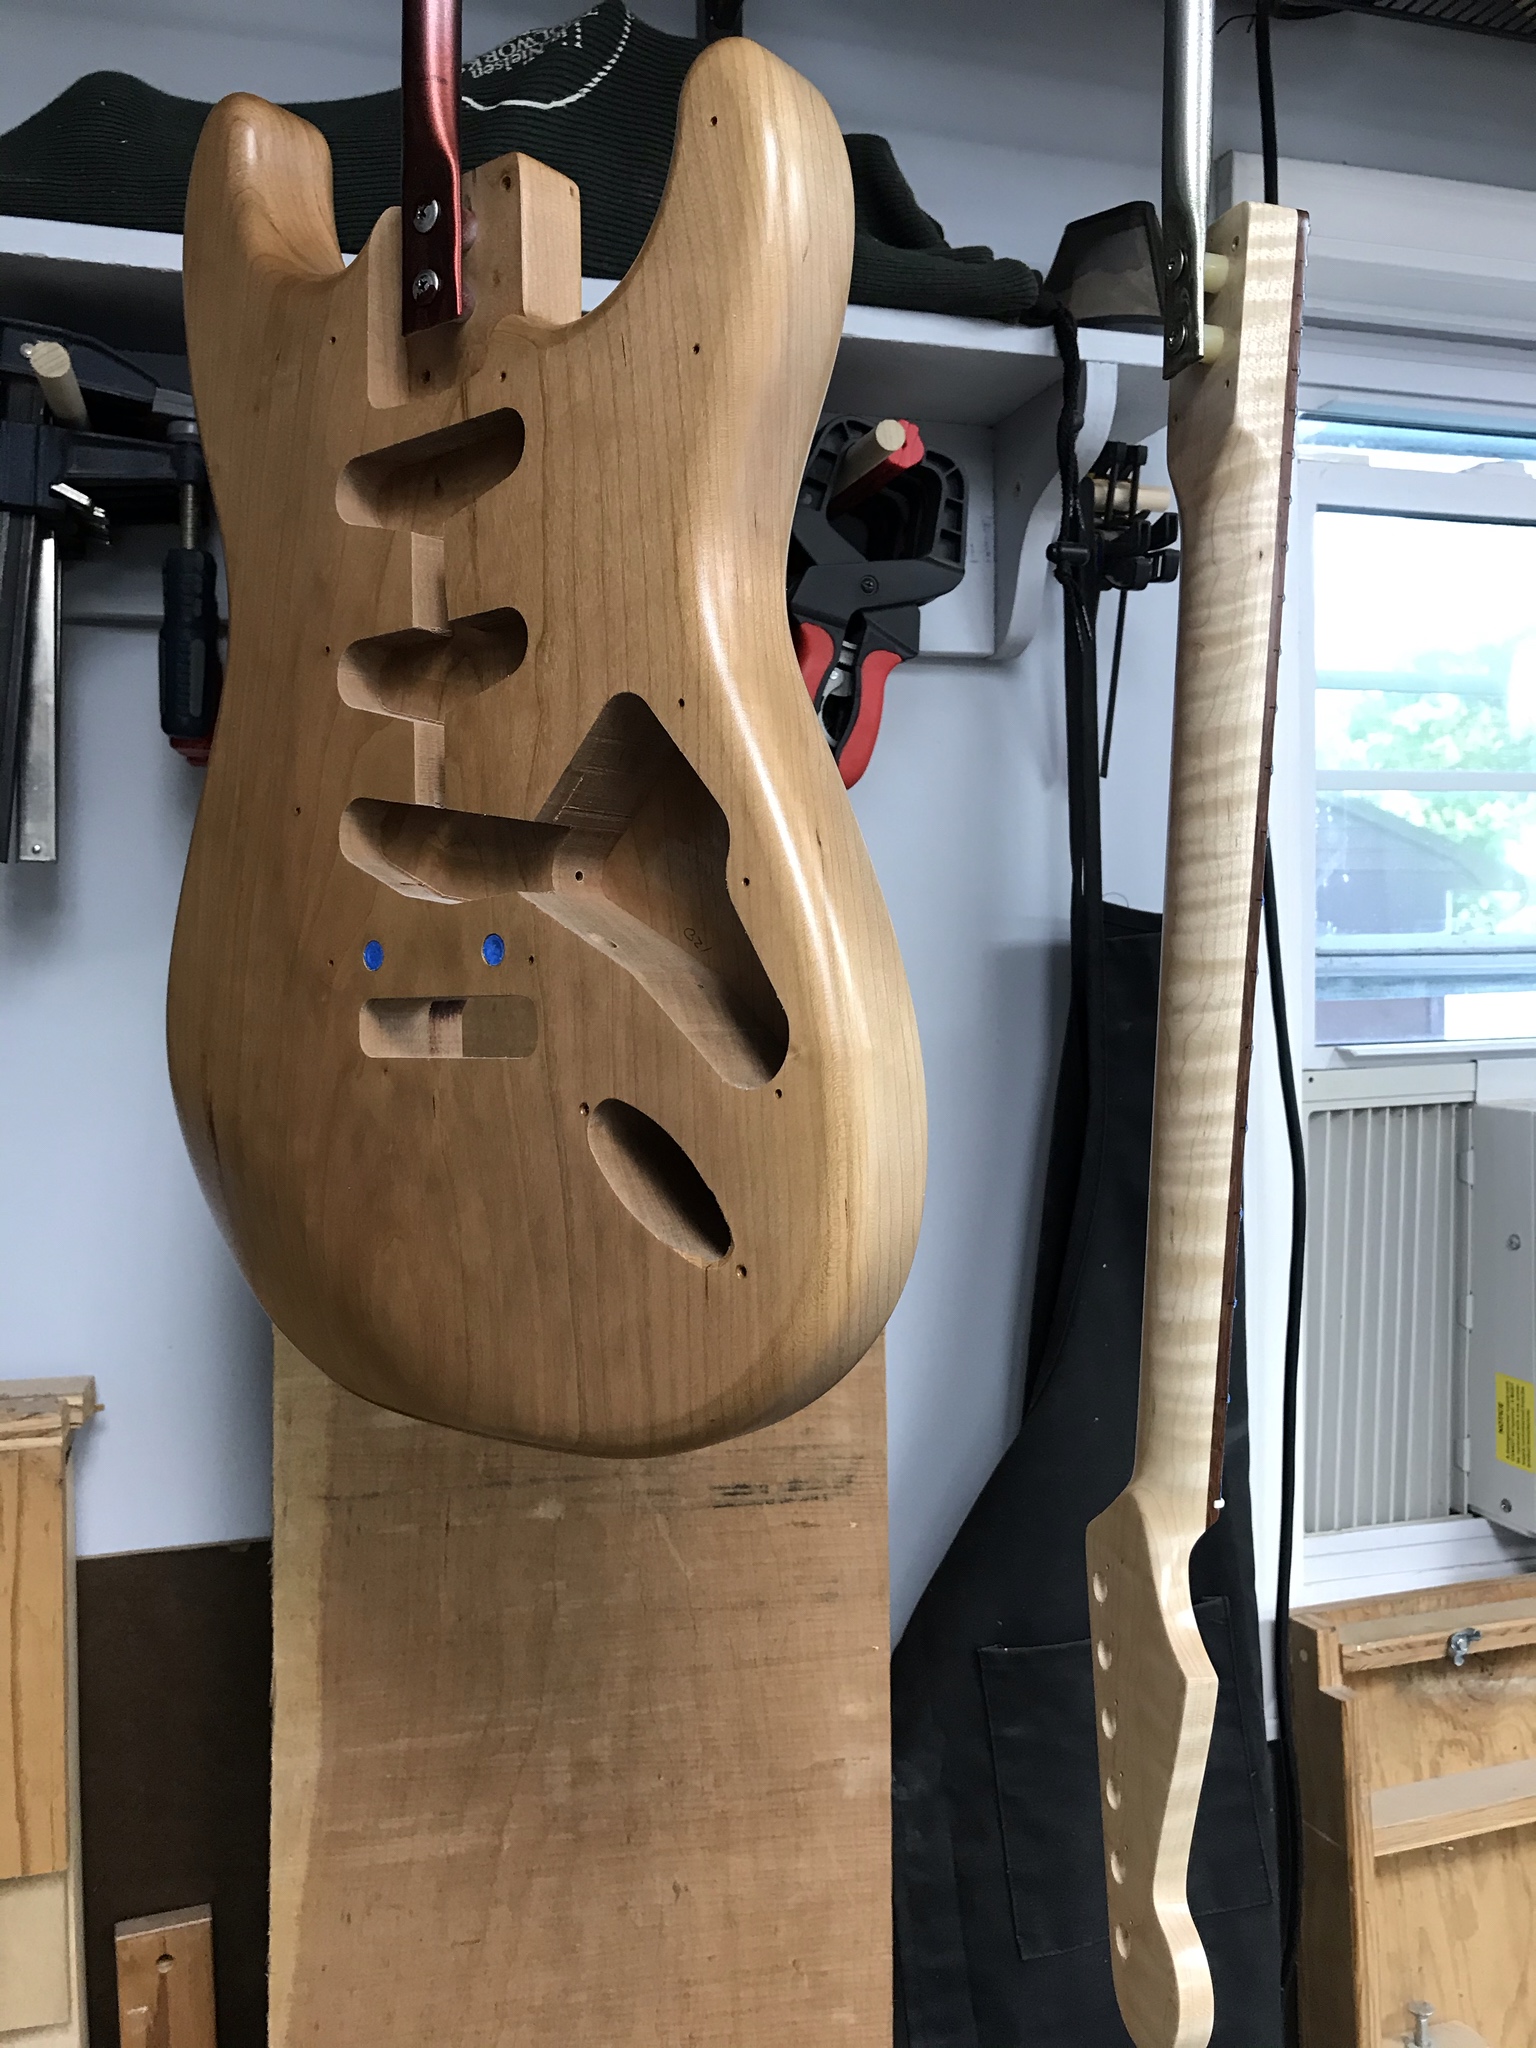
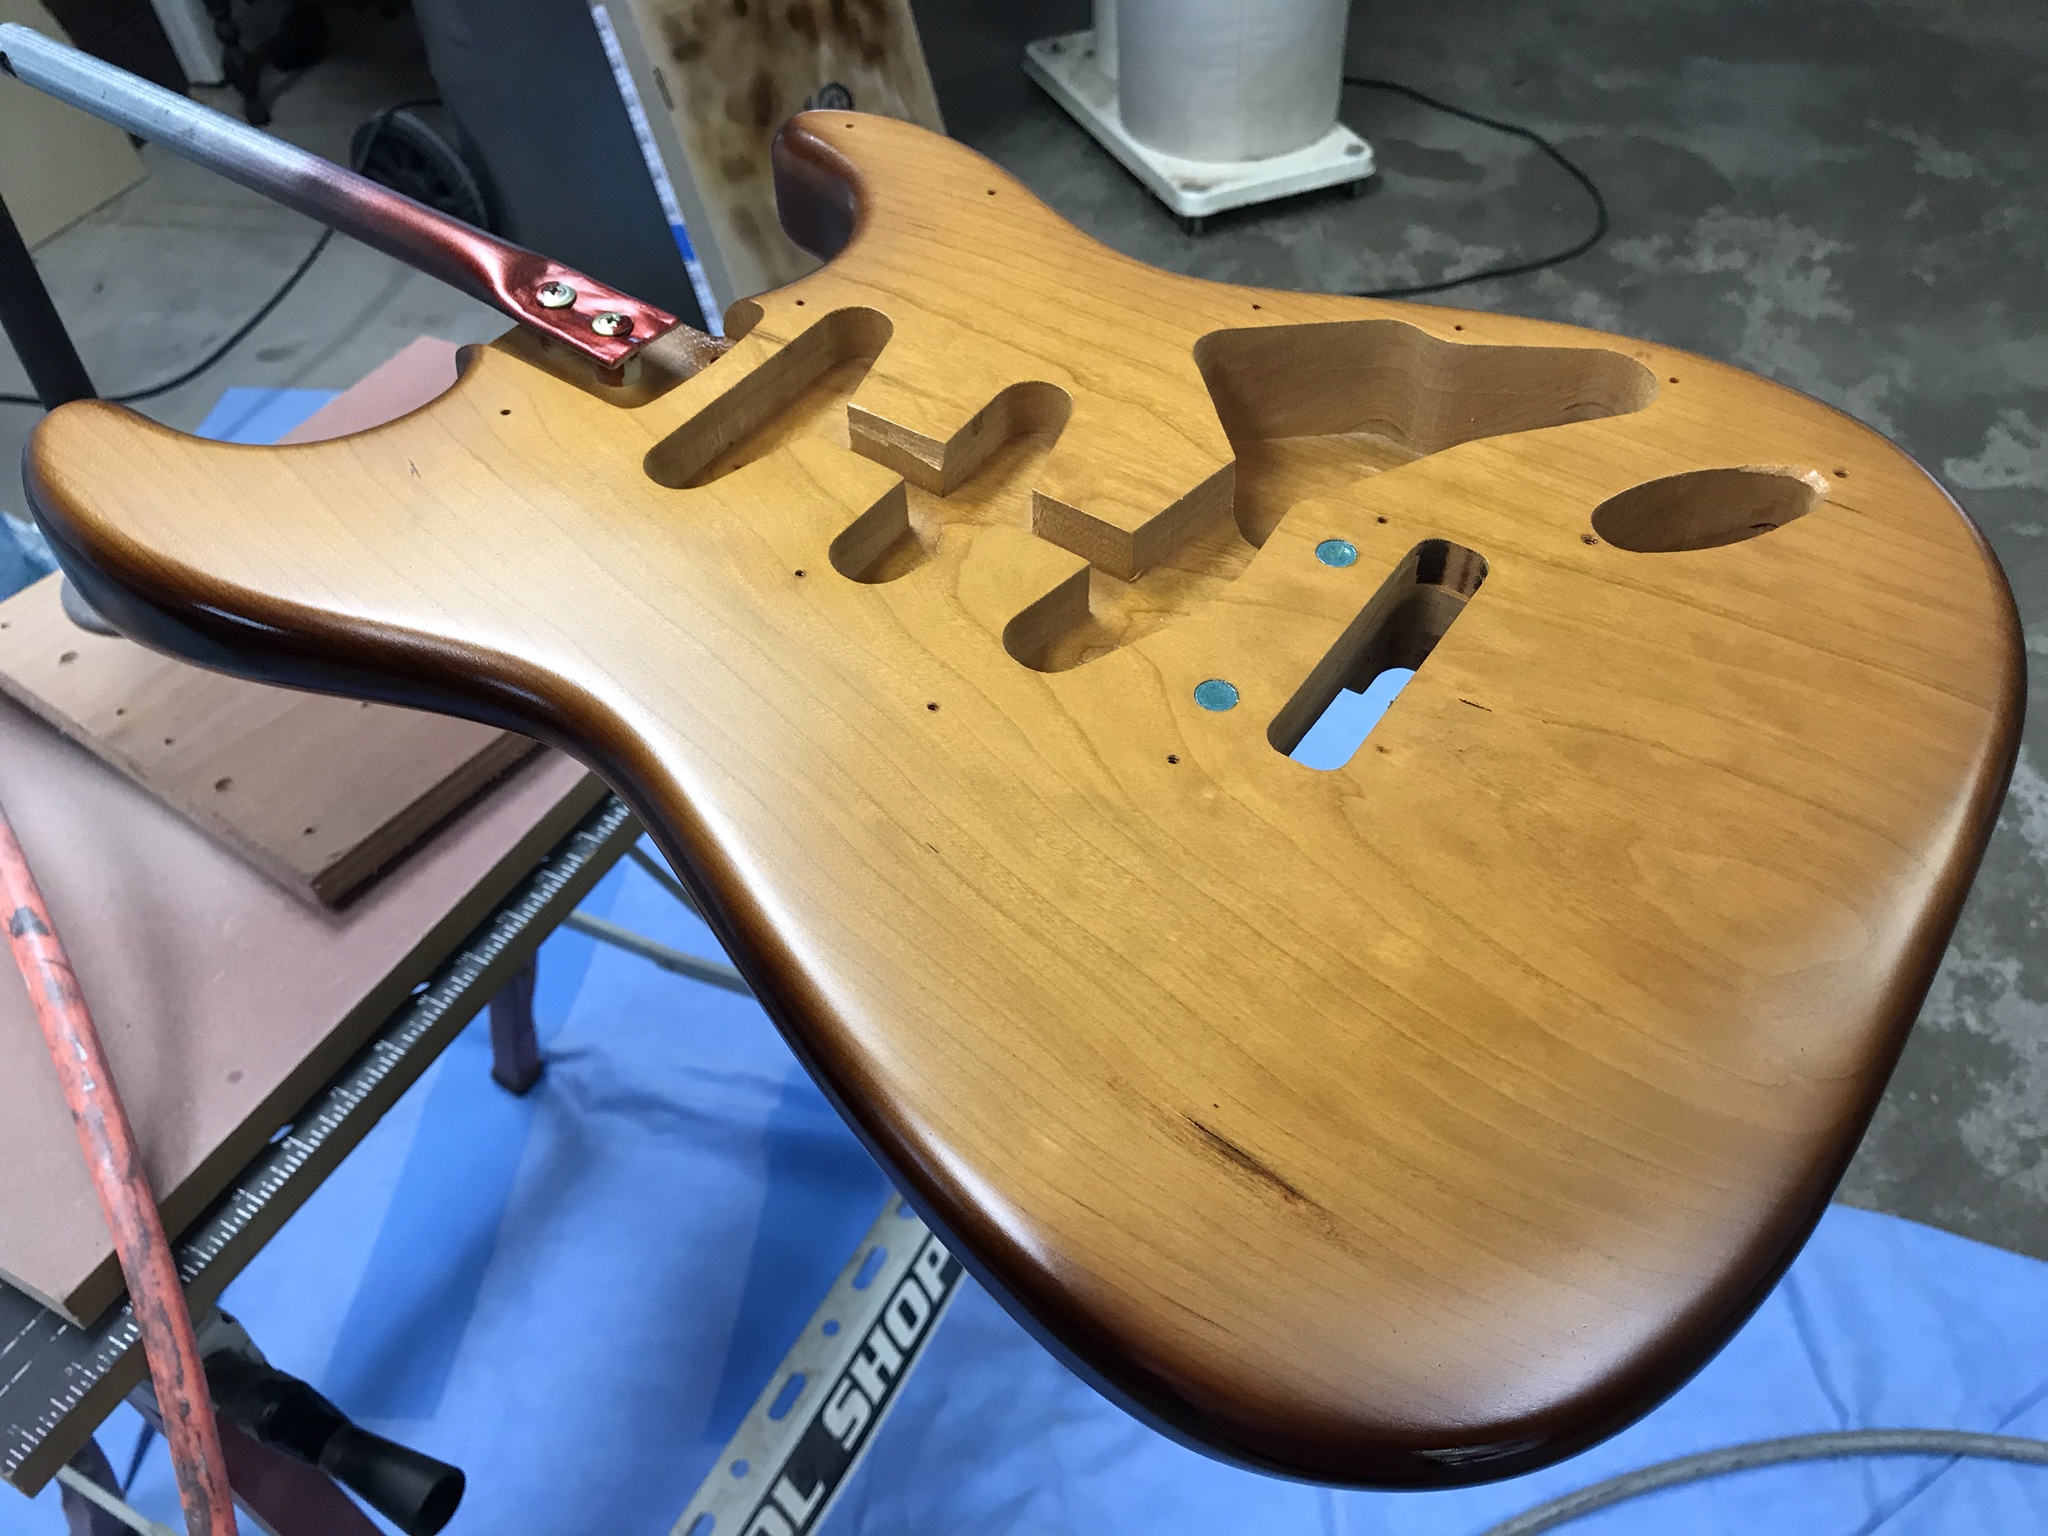
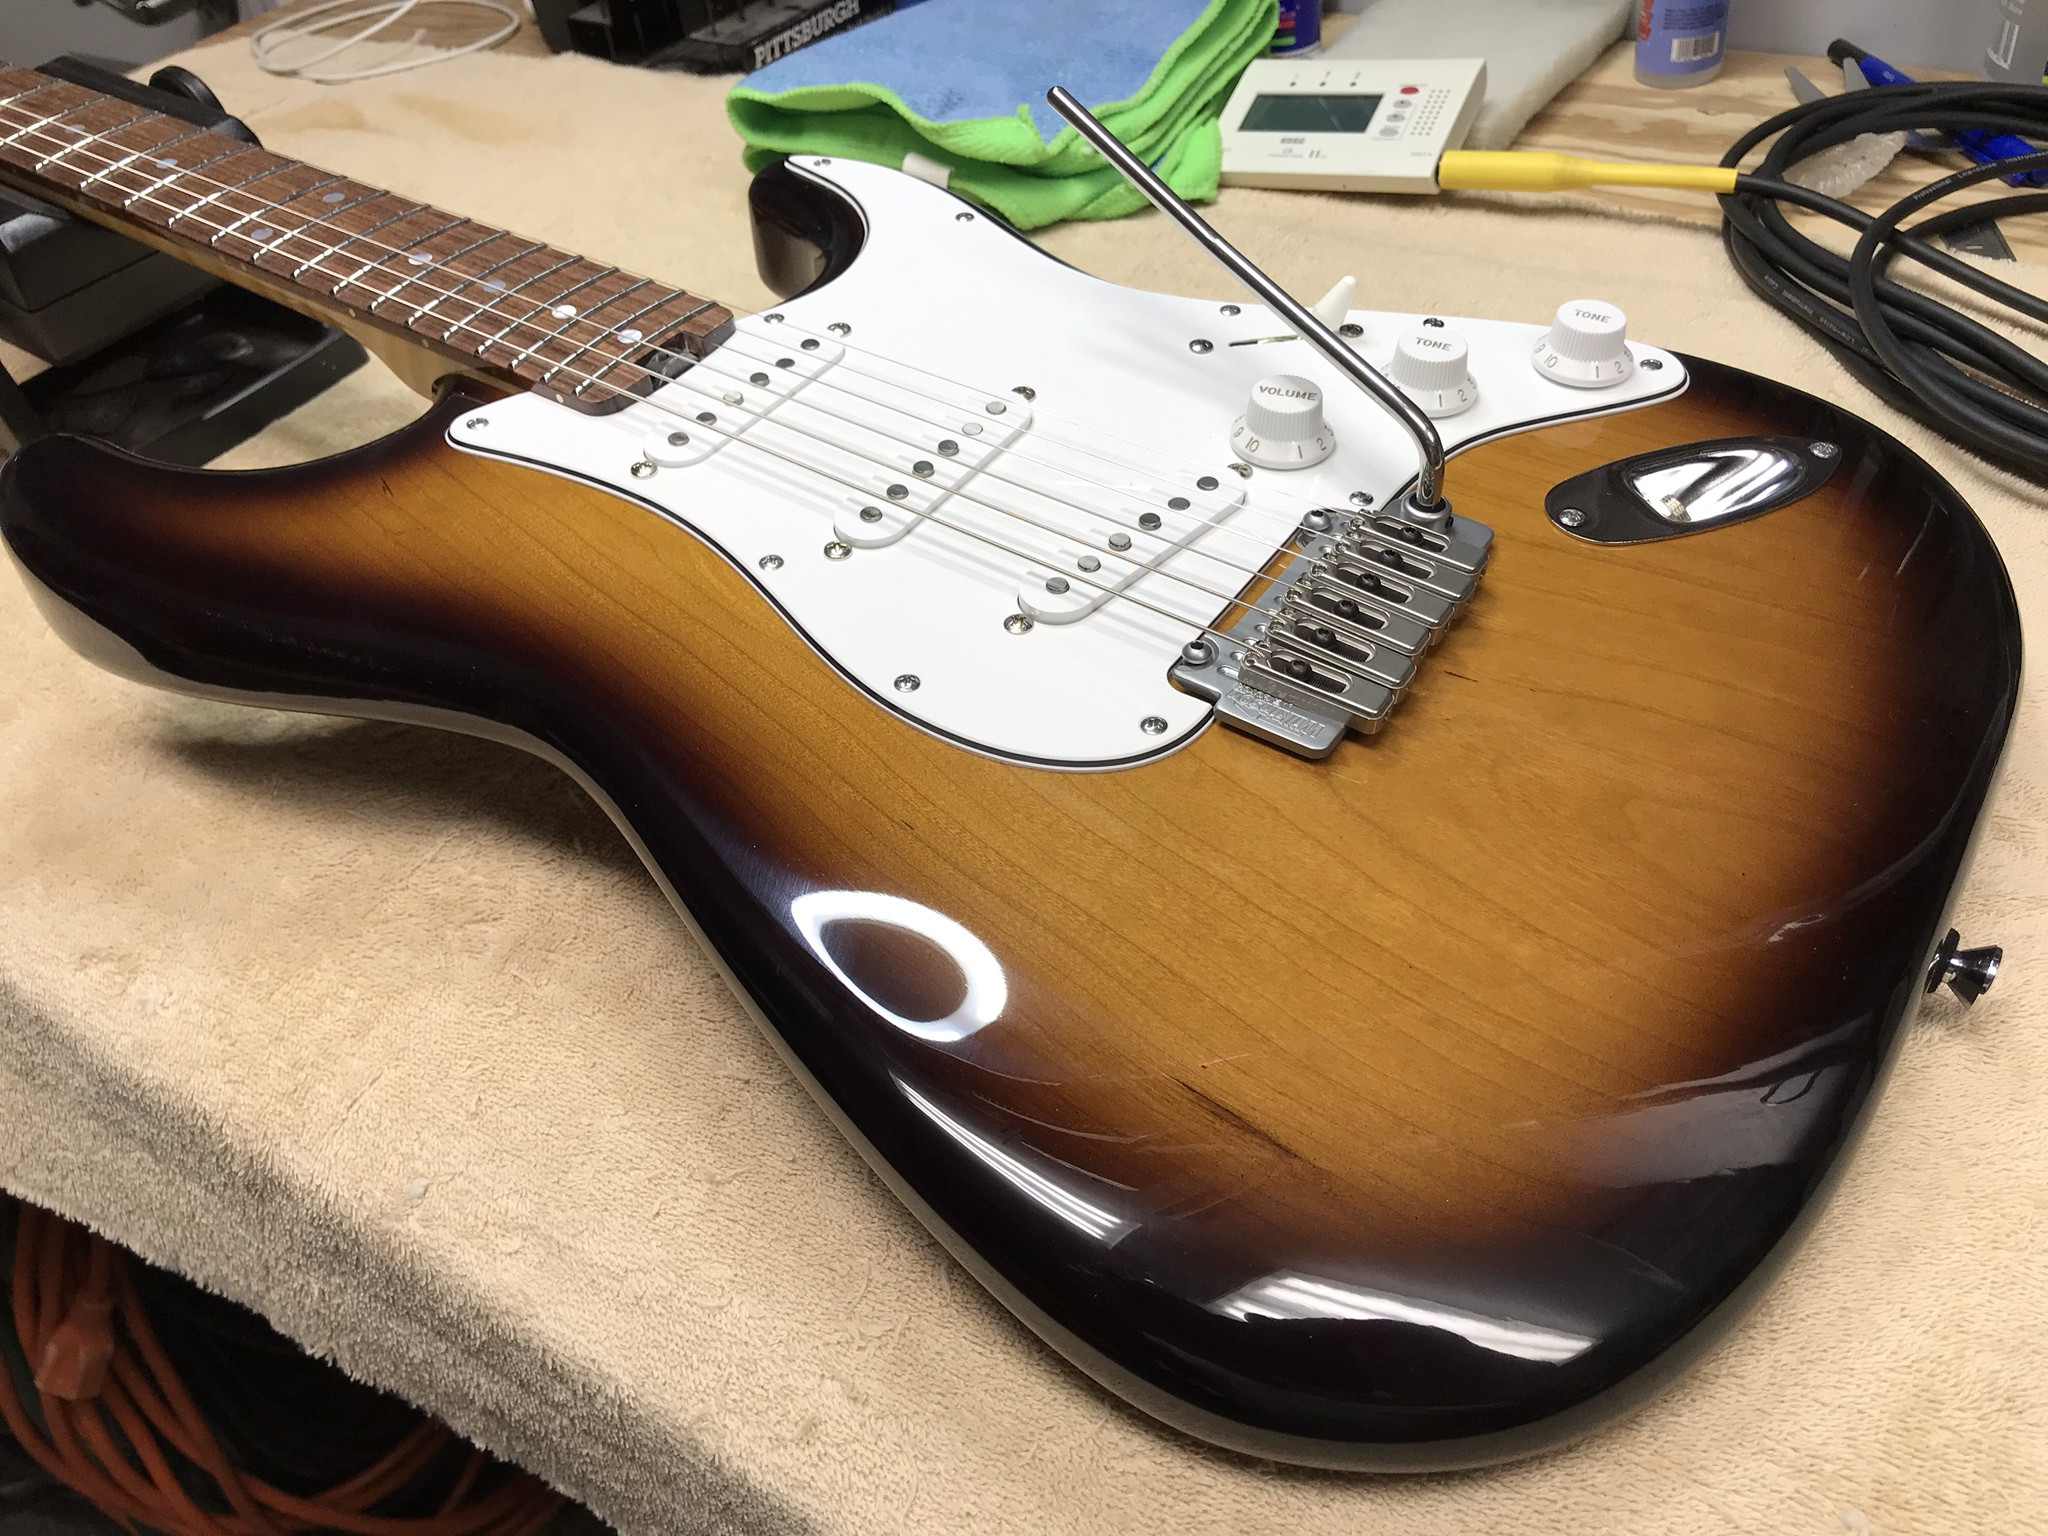
I shot the cherry Strat that I made with a two color sunburst in the 1950s Fender vein and it came it pretty decent. I shot pale yellow over the whole thing, followed by very dark brown for the burst. The yellow portion in particular looks a little funky. Not sure what will happen if and when the cherry turns darker. :laugh:

The body with just a sealer coat.
nyxuCOb.jpg


This is with the yellow over all and just starting to lay in the burst.
XwGOkPp.jpg


And the finished product.
5rocTC1.jpg


If I recall correctly, I used Transtint dye and some of the old ColorTone pigment in thinned down lacquer as the toners. If you apply color directly to the wood, I'd stick with something earthy... pretty sure that blue over the top would not turn out well, lol.
 
Yeah, wenge is evil like that. :D As for color on cherry... it may depend upon how you apply it. Are you going to dye the wood directly, or add a tinted toner sprayed over the top?
I shot the cherry Strat that I made with a two color sunburst in the 1950s Fender vein and it came it pretty decent. I shot pale yellow over the whole thing, followed by very dark brown for the burst. The yellow portion in particular looks a little funky. Not sure what will happen if and when the cherry turns darker. :laugh:

The body with just a sealer coat.
nyxuCOb.jpg


This is with the yellow over all and just starting to lay in the burst.
XwGOkPp.jpg


And the finished product.
5rocTC1.jpg


If I recall correctly, I used Transtint dye and some of the old ColorTone pigment in thinned down lacquer as the toners. If you apply color directly to the wood, I'd stick with something earthy... pretty sure that blue over the top would not turn out well, lol.

The strat looks great!

Not really sure yet, what I'm going to do. I agree, if I stained the wood, it would have to be earth tones or red.

At the risk of upsetting... everybody? I'd love to do a green burst! But I think I for greens and blues would have to have a maple top. Certainly for translucent colors, anyway.
 
My best luck with cherry was a few coats of clear (blonde or super blonde) shellac followed by the same with a little button lac and garnet in the mix. mum very precise in my day job, hobbies I rebel and do a pinch of this and some of that so I don't have an exact recipe. I'm doing a similar treatment on a piece of spruce right now. Here it is ready for some blending.
I like a similar treatment on walnut too. It gives some depth and color without obscuring the grain.
Remember that I'm a shellac nerd though
 

Attachments

  • 7253F7AC-E215-46D6-8BFB-FF17371D147A.jpeg
    7253F7AC-E215-46D6-8BFB-FF17371D147A.jpeg
    1.2 MB · Views: 90
  • 34F15BC2-4AC5-4A81-8D00-8DBD2E08266E.jpeg
    34F15BC2-4AC5-4A81-8D00-8DBD2E08266E.jpeg
    1.4 MB · Views: 85
The strat looks great!

Not really sure yet, what I'm going to do. I agree, if I stained the wood, it would have to be earth tones or red.

At the risk of upsetting... everybody? I'd love to do a green burst! But I think I for greens and blues would have to have a maple top. Certainly for translucent colors, anyway.
I wouldn't be upset
If I ever buy instead of build a bass, the one I have picked out is a green burst.
Maybe a retirement present for myself or…
 
My best luck with cherry was a few coats of clear (blonde or super blonde) shellac followed by the same with a little button lac and garnet in the mix. mum very precise in my day job, hobbies I rebel and do a pinch of this and some of that so I don't have an exact recipe. I'm doing a similar treatment on a piece of spruce right now. Here it is ready for some blending.
I like a similar treatment on walnut too. It gives some depth and color without obscuring the grain.
Remember that I'm a shellac nerd though

Have not yet tried shellac, though I am curious...

Those violins look great!
 
Curious where you found the stingray templates? Looking forward to your build - definitely a bass on my eventual build list (Though going 4 string, flame maple neck/maple board, ash body, no guard, custom control plate; need 5 holes for a noll 4 band preamp).

I got the templates from Potvin Guitars...

StingRay Style Bass Template Set

...not the most affordable, but the are good quality and made from 1/2" mdf, instead of 1/4" mdf like a lot of other readily available templates.
 
I got the templates from Potvin Guitars...

StingRay Style Bass Template Set

...not the most affordable, but the are good quality and made from 1/2" mdf, instead of 1/4" mdf like a lot of other readily available templates.

Much appreciated thank you! & i was just gonna draw out one of my pbasses & reshape it until it matched a stingray xD
 
  • Like
Reactions: BishopJP
Neck blank and body blank are out of the clamps and the pick-up and hardware arrived!

HipShot vintage style bridge and S.D. MM '70s pick-up.
20230106_223638.jpg
Left the body blank a little thick so I could flatten it after glue-up. Need to remove approx 3/32" to get down to the intended 1-5/8".

HipShot Ultralite tuners. I bought a 4-in-a-row set, but it took all of 3 minutes to swap one around.
20230106_223824.jpg
Neck blank is flattened and trued, also a little thick; I will thin it down a bit after gluing in the CF back-strap. Unless I change my mind (possible) I will be using this Pao Ferro fretboard.
 
This weekend I mostly worked on the neck blank, but I have a new jig/template that I am prototyping.

A buddy of mine is a machinist by trade and I asked him to help me with an idea I've been stewing on about for a quite a while, now.

I had him turn these aluminum plugs for me...
20230108_151008.jpg
...one end is 1/4", the other end approx 13/16" and the exact diameter of the router guide bushing.

The way it is used, you drill two 1/4" along the center-line, at either end of your intended slot...
20230108_151034.jpg
...and pop in the plugs.

Then, use the plugs to align your slotting template...
20230108_151115.jpg
...and clamp the template in place.

Remove the plugs and rout your slot!
20230108_165044.jpg


With this method/jig, I don't have to try to align a routing template with a pencil line on the work piece This might seem overly complicated, but it should allow for a minor increase in accuracy, but should be much quicker and easier to set up. That's a win, in my book!

I'm working on a template with sliding stops, too.



