• TalkBass has been independent since 1998. Add your voice.
    Create a free account to reply to discussions, view embedded media, and browse with fewer display ads.
    Join freeLog in
    Want zero display ads or expanded classifieds tools? Compare plans.

fEarful™ 12/6 Cutkit Assembly

Supertanker

Watch the dog! He is trained to bite!
Jun 23, 2005
3,352
107
CinCinNati
fEarful™ 12/6 Cutkit Assembly Thread

I started this thread so those of us with 12/6 cutkits (thanks Swift!) could work together on the assembly of our cutkits.

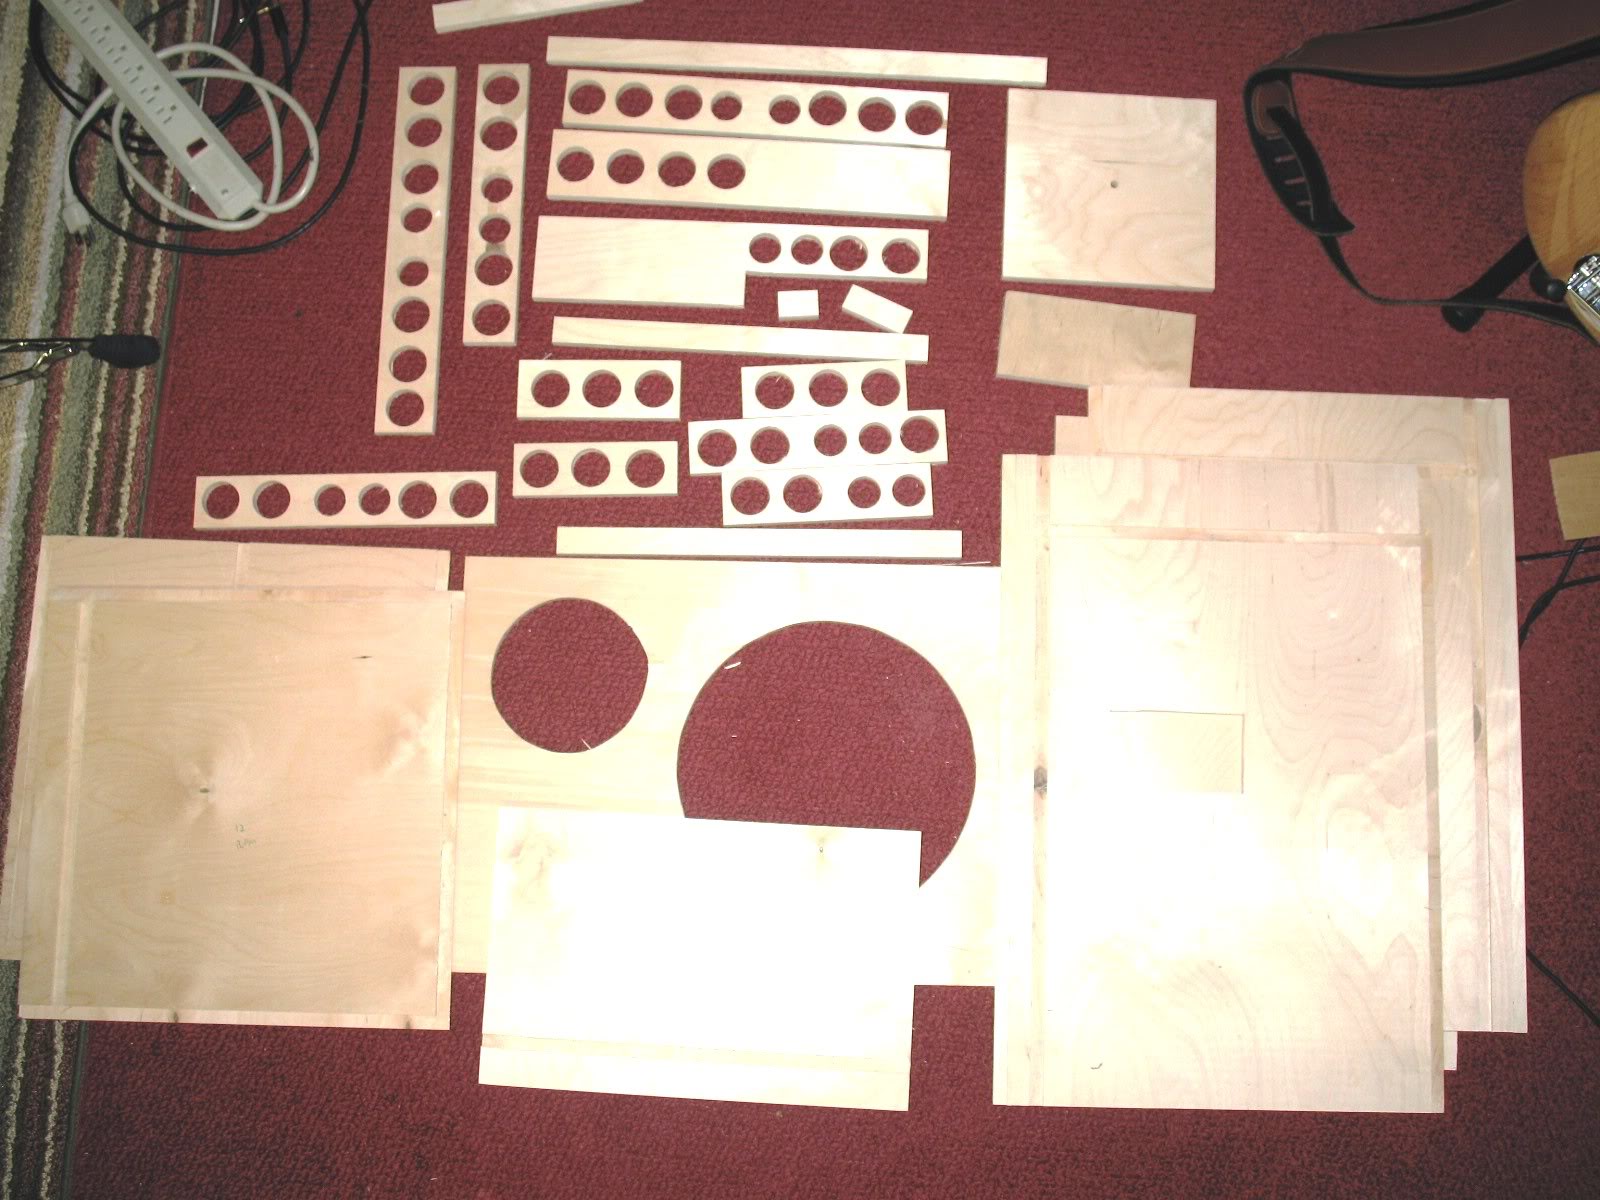
Here's mine:

IMG_2659.jpg
 
What about making grills from [Invalid or Expired Link Removed] or [Invalid or Expired Link Removed]. They come in pairs. Could probably shear out four out of a pair. Something like 15" x 20.375".

Works out to about $12 plus shipping for each grill.
 
I'm just giving you a hard time, I think anyone ordering these cutkits should probably be acutely aware of the driver choices and differences. The fEarful thread(s) have had lots of discussion and gone into great detail on the pros & cons of these drivers.
 
Hey there gents, I've pmed you all about one or two of my errors with the kits. khedspeth was kind enough to alert me to. As for the elves, they told me they were going to hitch-hike and or hop freight trains so they could see the country on their way to your respective locals. Besides, you wouldn't want to find a squashed elf in your kit would you?
I've subscribed to this thread so don't be shy about chewing me out when you find more mistakes. ;)
Matt
 
I tend to reccomend ReliableHardware for most of the parts, because that gets you grilles cut to your spec, with a greater choice in grilles. I prefer the most open space, a figure which they kindly supply, though I think I spotted a typo'd figure last time I was there.

A tip on cutting, especially the diamond extruded type: don't use a grinder type cutting wheel for a table saw. The extra thickness makes for potential problems. Instead, use a hand grinder with a fresh cutting wheel on it. Clamp the material down with a long straight chunk of 1x4 or similar as a guide, right over and edged to the line you want to cut (you can even forgo tape marking), with that all overhanging your table slightly.

Then you can simply run the cutting wheel's open side right up against the guide board surface to cut straight and true. It may polish up the guide wood but unless you screw the pooch that's all it does. Don't rush or use a lot of pressure and you get really consistent clean cuts.

EDIT: Don't foget eye and hand protection. I often use the blue latex/cotton landscaping gloves because of their tight fit and sure grip for these type of jobs - and when dealing with PL Premium ; }
 
I put the back panel of the cabinet on last. The bracing I glued each side's assembly together like a cross and then installed as a unit. This way you can use fewer clamps. With the red label Tight Bond you can just stick things together with glue and they stay. Or you can put some kind of weights on it.
 
Your timing is excellent Swift!

When I got home from work yesterday my 15/6 kit was waiting for me. Yesterday was my birthday.

I haven't opened it up yet since yesterday was an evening of steaks, enchiladas, cervesas and family. ;)
 
How have/are people planning on clamping the bracing while the glue dries? Am I fine without clamping? I really don't want to use screws if possible.

Kevin

This thread has been kinda quiet....everybody busy I guess.

Well tomorrow weather permitting, I am gonna give it a go.
I'll probably put the box together first thanks to the nice dado work Swift did for us. Then with the back off I'll add the bracing.

I am gonna use a nail gun with 18 gauge brads so I can move clamps where I need them.