• TalkBass has been independent since 1998. Add your voice.
    Create a free account to reply to discussions, view embedded media, and browse with fewer display ads.
    Join freeLog in
    Want zero display ads or expanded classifieds tools? Compare plans.

First Build - Cigar Box Bass

ffutterman

Talentless Bass Enthusiast
May 7, 2010
1,006
130
Philadelphia
I now present my Cigar Box Bass. It's made from Ashbory and ukulele parts, and I've been cobbling it together for several months (maybe even a year...I don't remember).

The thread is mostly for entertainment purposes. I've got NO idea what I'm doing, and don't really expect this to be a quality instrument when it's done. I mean, I did some Googling and YouTubing for it, but saying I'm inexperienced would be an understatement. The holes I had to drill for this are literally the first I've ever drilled.

In any case, here are the pictures:

01-Parts.jpg

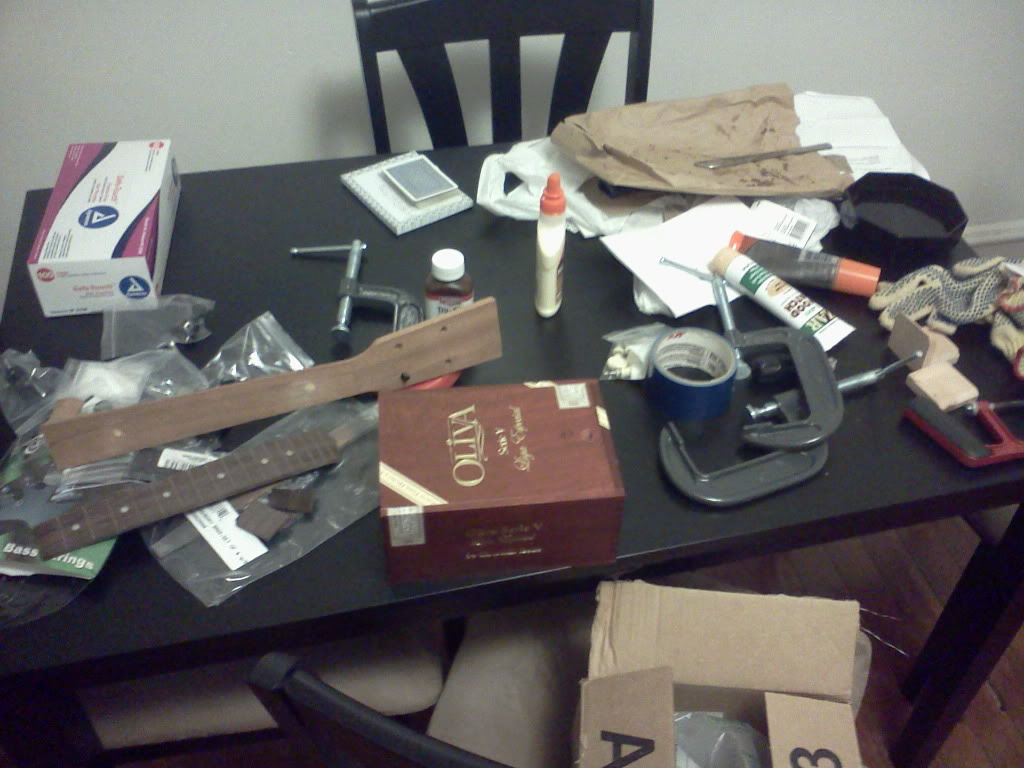
Initial set of parts

02-Workspace.jpg

Additional parts and supplies as I did more research on what I would need.
03-Box.jpg

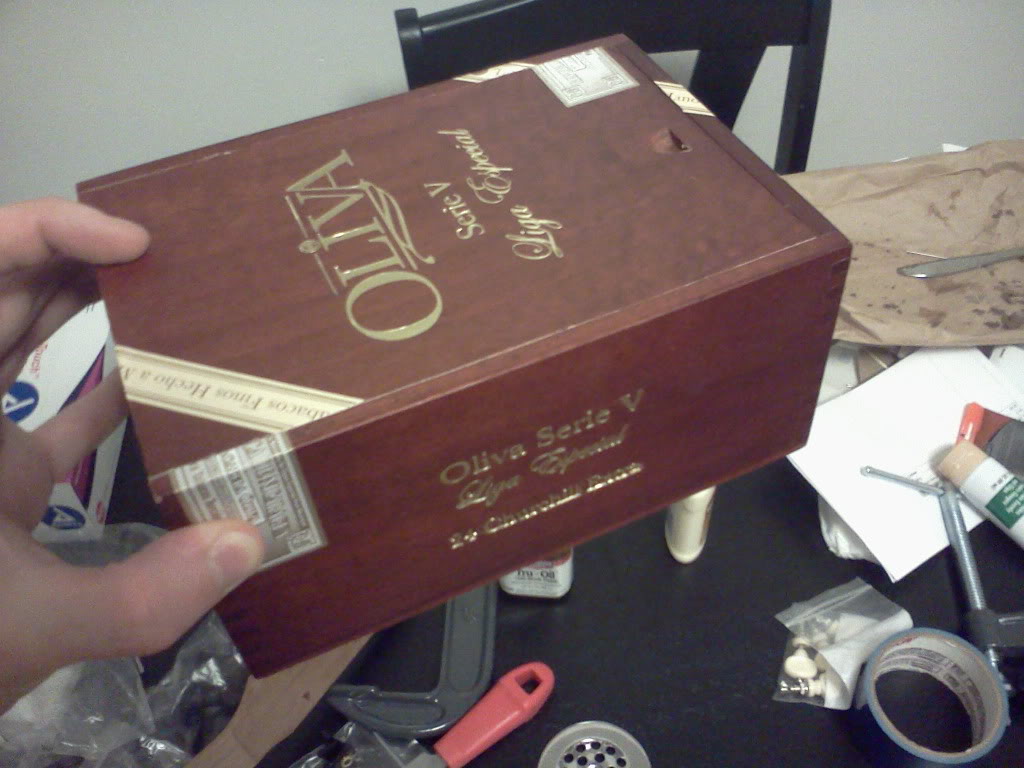
The box I bought at a local cigar shop.
 
04-Sandedandfilledneck.jpg

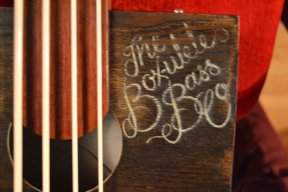
Initially, I was going to just forgo a fretboard and use the neck itself. I filled in the guide holes with filler and sanded it down.


05-Tunercloseup.jpg

The Ashbory tuning pegs were a little too long for the headstock, so I needed some spacers...


06-Sawedfrets.jpg

...so I knocked off the first few frets of the fretboard and decided to use those as spacers. I work from the MacGuyver school of thought, and I always try to use what I have first before I go out and get something new. Just look at that masterful handsaw work!
 
07-FretboardFilled.jpg

I ended up choosing to actually use the fretboard. I want to go with fretless so that I won't have to worry as much about tuning issues. On a fretless, after all, you can just correct things manually. I defretted the board and filled it in, but will flip it over when I glue it on. That way, the lines and dots won't be confusing.

08-SawedNeckBlock.jpg

Needed some wooden parts for screwing in the bridge and the neck, so I took the neck block from the uke neck kit and sawed it up.

09-Mockup.jpg

Here's a mockup of the final product.
 
10-NeckGluing.jpg

Gluing the fingerboard on. The white board is a piece of countertop that's been sitting in a closet at the office for a few years. They didn't mind me taking it.

11-GluedNeck.jpg

Fingerboard glued on. Don't worry; the camera adds 10 pounds of crooked.

12-TrussRodHolesSpacerGluing.jpg

After a long wait, I finally got my hands on a power tool and was able to drill holes for the neck and the support rod (a hanger bolt).
 
13-SpacersGluedAndDrilled.jpg

The spacer pieces glued on and drilled. There are only 3, and I'll get to that in a moment.

14-SpacerInAction.jpg

Looking much better than it did before.

15-NeckFittedToBody.jpg

Much to my surprise, the neck actually slid right onto the body! How cool is that!
 
16-FinishingNeck.jpg

Finishing the neck. It's hanging from a light in my hallway on a paperclip hooked onto a wallet chain. Nothing but the best for my little bass. You may also notice the Sabotage poster in the background. It's hard to see, but that's my brother and me running the Warrior Dash dressed as 70's cops and jumping over fire. He put together the poster as a gift.

19-TwoBridges.jpg

When I first ordered the bridge, I got one that didn't have the pickup. Long story short, I had to wait until the version with a pickup was back in stock and order that one as well. The original still came in handy, though, when it came time to drill holes for the bridge and the pickup wire.

20-DrilledBridgeHoles.jpg

I'm holding the bridge to the body on the other side. Another swell drilling job!
 
21-GluingBridgeBase.jpg

Gluing the other support block.

22-AttachingNeck.jpg

Well, it's looking good so far. Here the neck's getting glued on with the bolt inside the body securing it into place.

23-StringHolesNutGluing.jpg

I had to grind out some slots behind the bridge to give the strings some more room. In the background, the nut's getting glued on. I also drilled some holes for the strings so that they can be tied inside the body. The holes aren't perfect, but they don't really need to be.
 
24-TunersAttachedRegluingNut.jpg

The nut popped off, so I had to reglue it using a clamp.

25-JackInstalled.jpg

Drilled a hole for the jack and installed it. I went with a barrel jack to make life simpler. Also showing the wires from the pickup. Some of you may recognize the picture from a thread asking about which wire was hot and which was the ground. Again, I've got to reiterate that I really have no idea what I'm doing.

26-StringedUp.jpg

All strung up. You may notice that I gave up on the nut entirely and went with a large bolt. Also, the process of putting on the tuners was...disappointing.

Some of the screws broke in half while getting drilled, and there's too much pressure and friction on the tuners for them to actually turn. I ended up just leaving them as-is and "tuning" it by adjusting the knots on the strings. It's one of those things where adjusting the tension on one knot puts the other strings out of tune, which makes it a tedious process. After a while, I finally got it to an approximate B-E-A tuning.
 
27-InternalFinal.jpg

A final shot of the interior of the body. You can see the strings tied inside and going out the holes I drilled earlier. There's also the support blocks for both the neck and the bridge. The bar is something I put together to counteract the tension of the strings. It's a long bolt with a nut and a coupler. I have the coupler attached to the end of the hanger bolt that's in the neck, and unscrewed the large bolt until it was putting some good pressure on the bridge support block. I then secured it with a nut to ensure it doesn't slip or screw/unscrew itself.

28-FinishingTouch.jpg

The finishing touch. I'll try to have a video up in the next few days.
 
Do you find the Olivia cedar box to be better for metal than the paper wrapped Partagas box?
<jk>
I like it!

Lol

The story of the box is kind of funny. I walk by this cigar shop on the way home from work everyday, and they always have a display of boxes out front. When I got the bug to make the bass, I walked by and saw the box. It was one of those things where it stood out from the rest and I immediately thought "Yep, that's the one!". Went in and they only wanted a buck for it. I thought that was a sweet deal, but what was even sweeter was finding a buck on the sidewalk about 10 feet from the entrance of the shop. Fate gave me a free box!
 
As promised here's a video: https://www.youtube.com/watch?v=OLaWRjXgj8Y&feature=player_embedded

This was my second time actually playing the thing, so obviously I'm still not used to it and play it completely out of tune. But you can at least get a sense for the type of sound it has. The camera I'm borrowing has trouble charging, so I can only do a take or two with it before I have to charge it overnight again.

The one thing I found really surprising with this bass is how much sound the pickup can detect. You have to be pretty still with it, because it'll pickup any noise from sliding the box around or just about any other sound generated on the bass. That could be an interesting advantage, were I a better player.

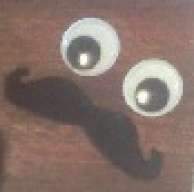
Anyways, I now officially nominate this bass as having the best googly eyes for metal.
 

Latest posts