
There appears to be a lot of hesitation about making this part for new builders. To quell your nerves I will show you how I do them and other builders (hopefully) will chime in with their variations.
First step for me is to find a piece of wood; I prefer mine from trees.
I am currently making four with 2 Ebony and 2 Tulipwood. I wish this thread allowed you to enjoy the aroma of Tulipwood.
From the rough I plane two clean surfaces, joint one side, and then rip to as wide as cleanly possible. Resaw the wood and you have this:
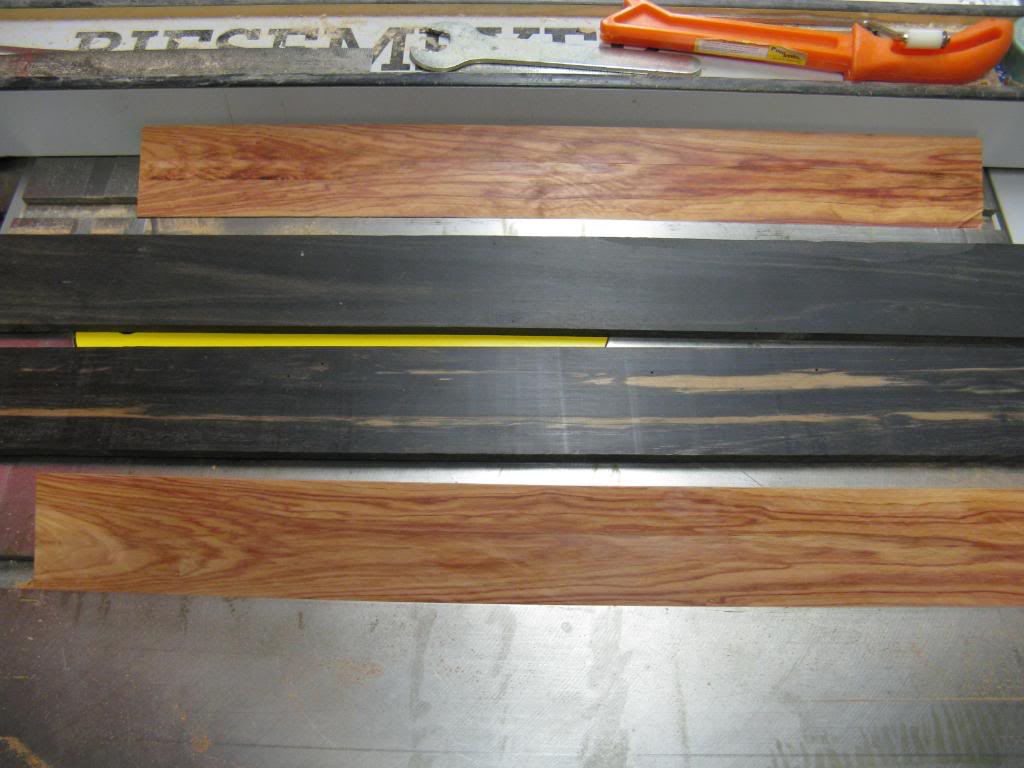
From there I like to find the grain that will look the best in the fingerboard and it is almost never parallel to an edge. To remedy that I have some rectangle templates that work perfectly:
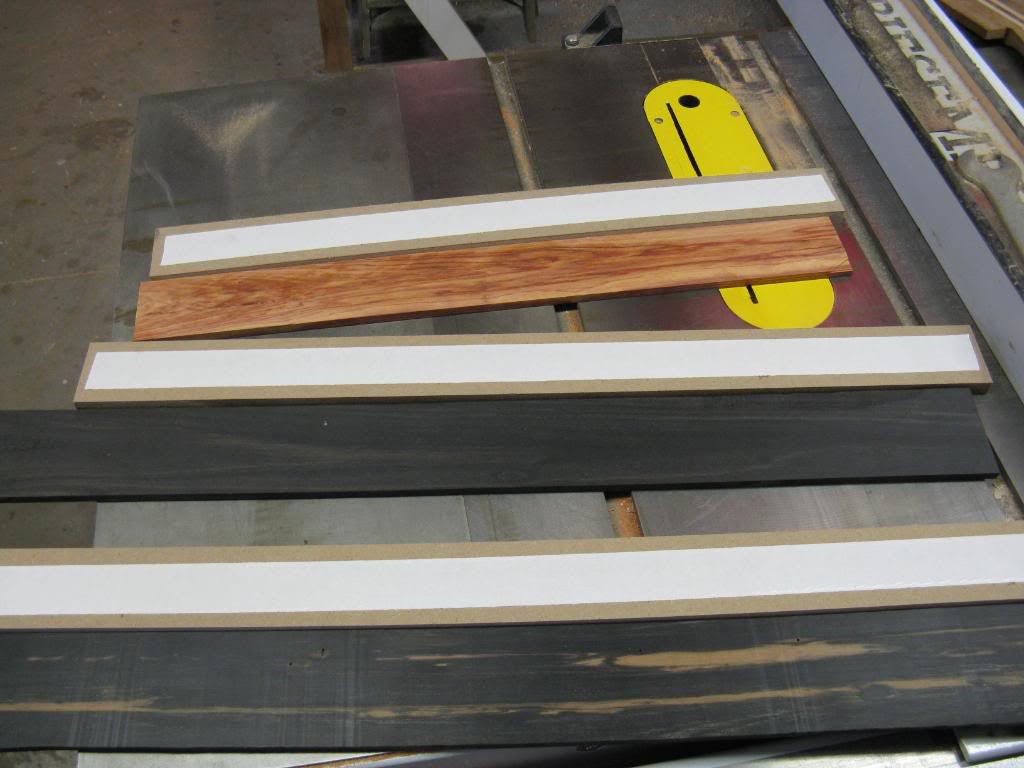
They are attached with Manco brand carpet tape and every shop should have a few rolls in stock.
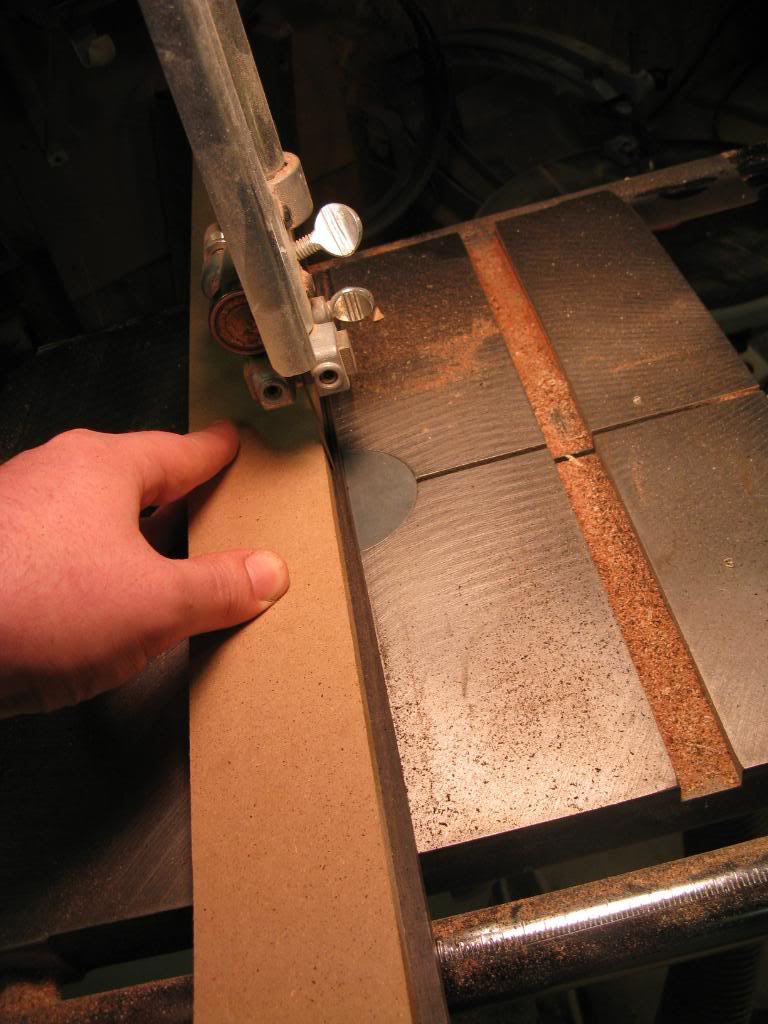
From there I rip the excess:
Then route with a flush trim:
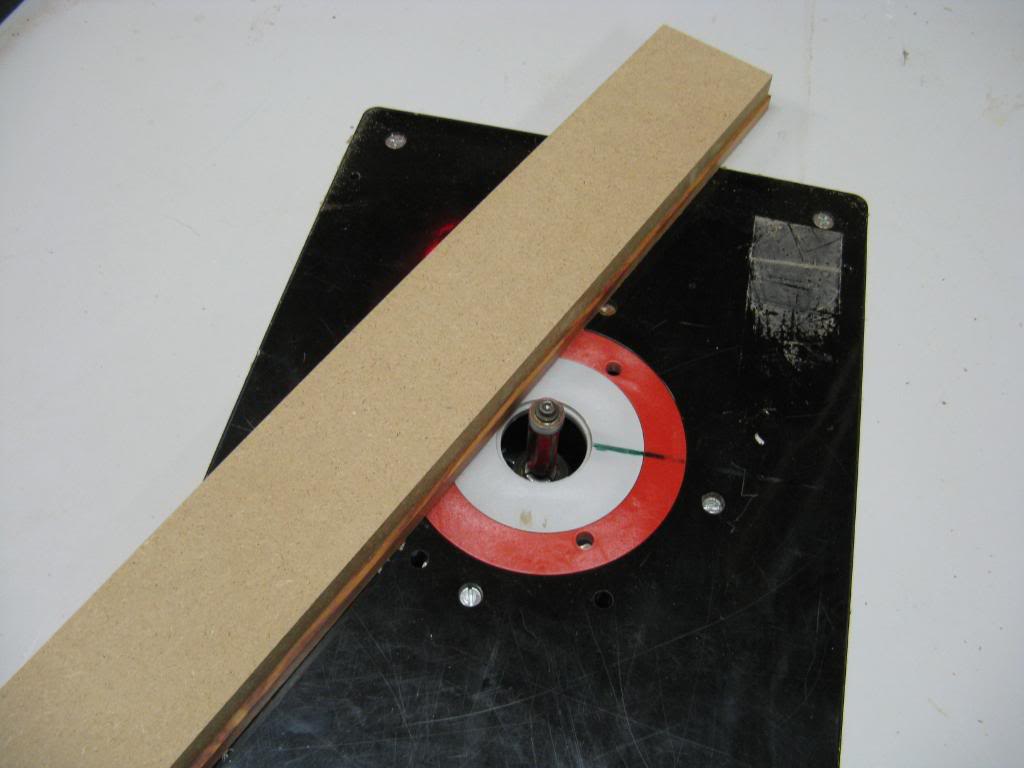
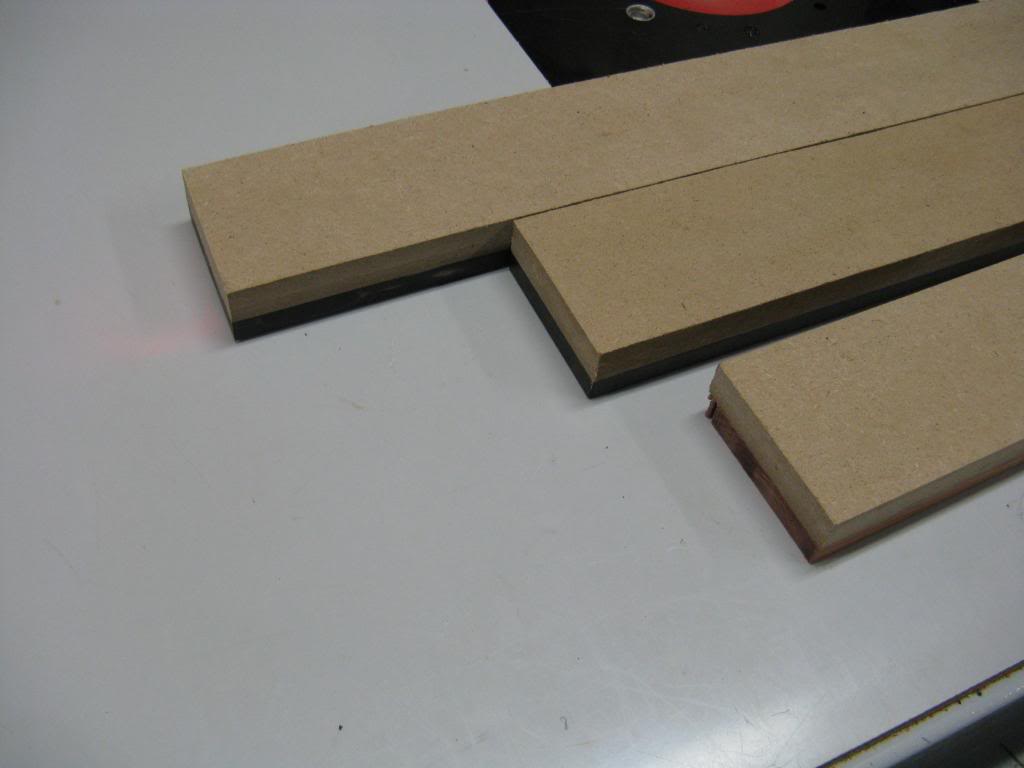
If everything goes well it will look like this:
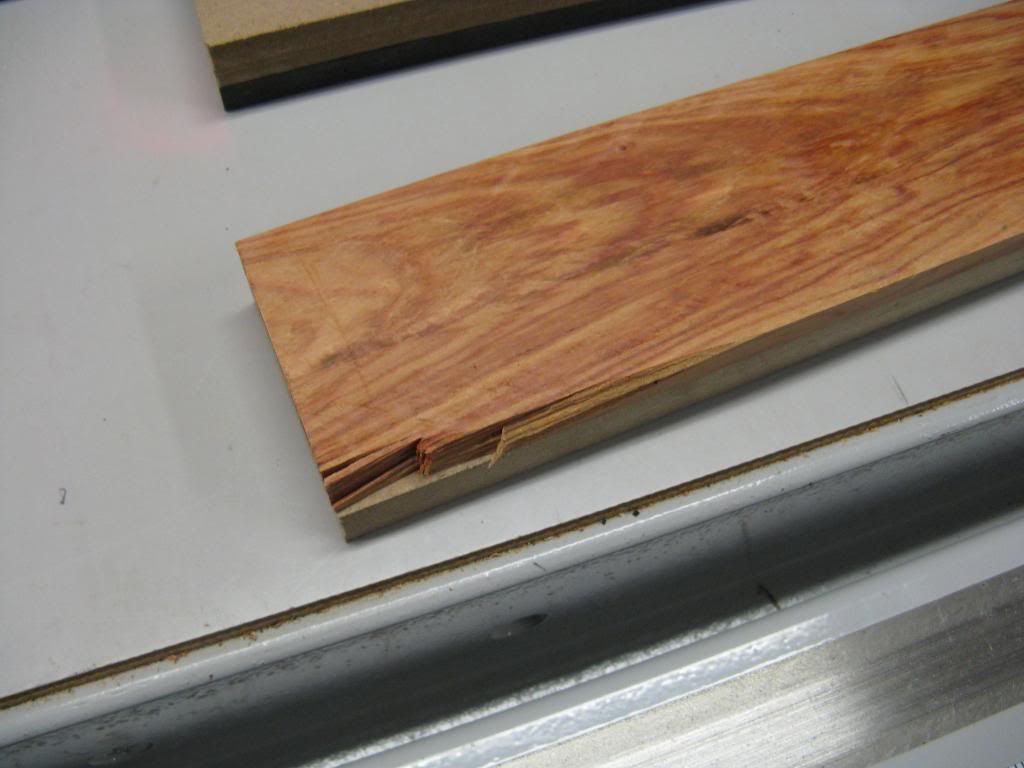
If it doesn't, it will look a little like this:
With the grain where I want it and with square edges I then get ready to cut the slots. I used to do this by hand and kudos to those of you that still do, but there are better ways out there.
StewMac has some nice templates but the price is a deterrent for me. I prefer the old fashion paper templates and glue:
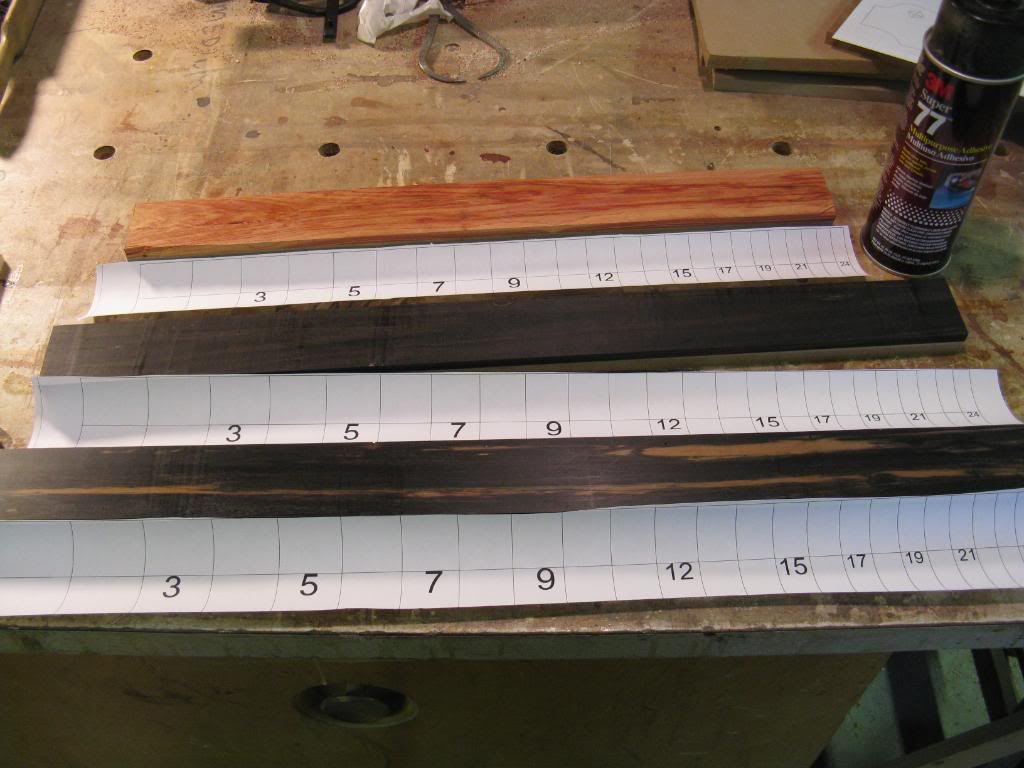
Spray, press, and get ready to cut.
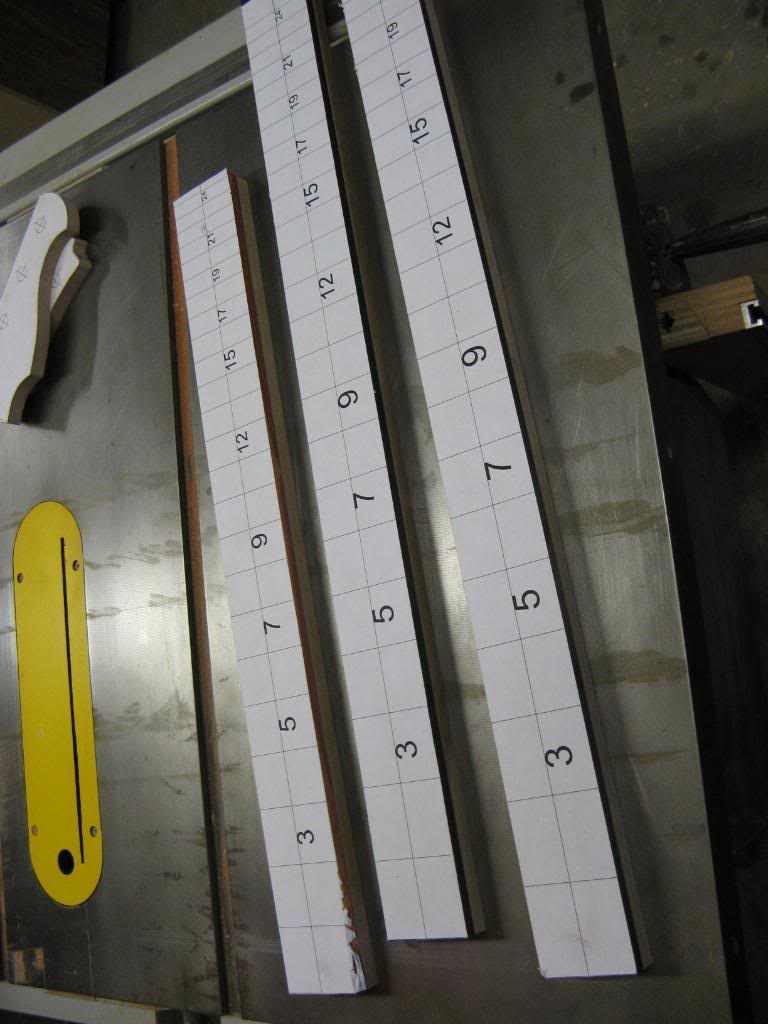
I am a huge fan of the StewMac 6" .023" kerf blade. It is not cheap (~$90 to my door) but the task that used to take an hour is now ten minutes.
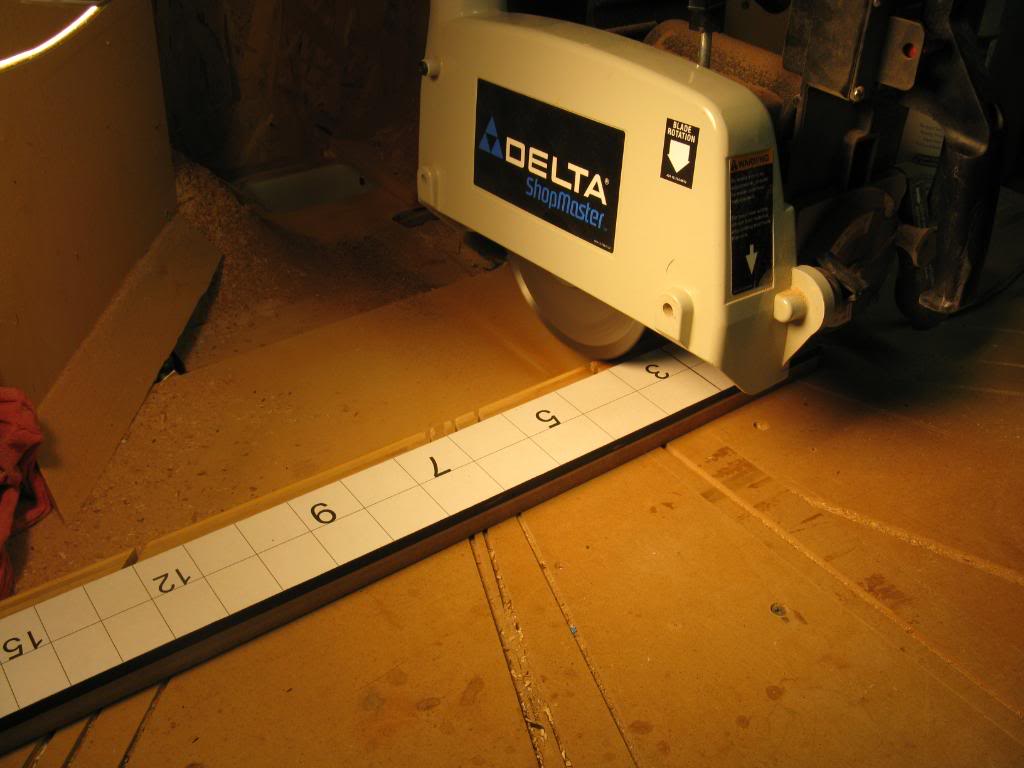
When you are done they should look a little like this:
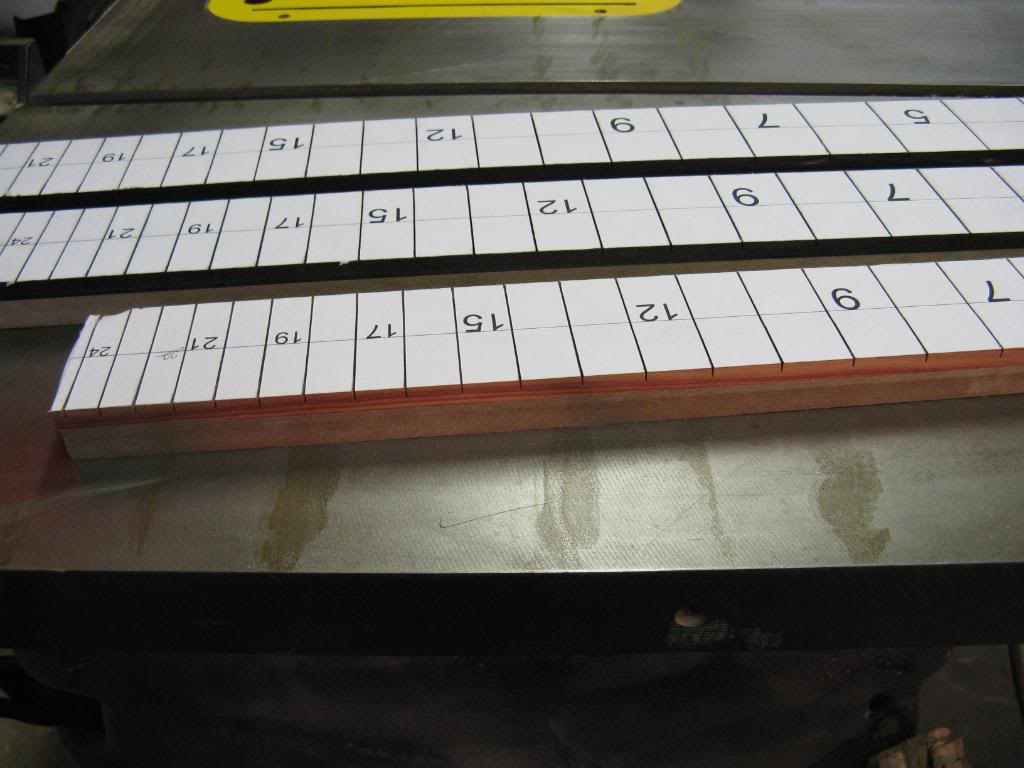
Tapering is simple also. With the center line marked I attach the boards to my taper templates:
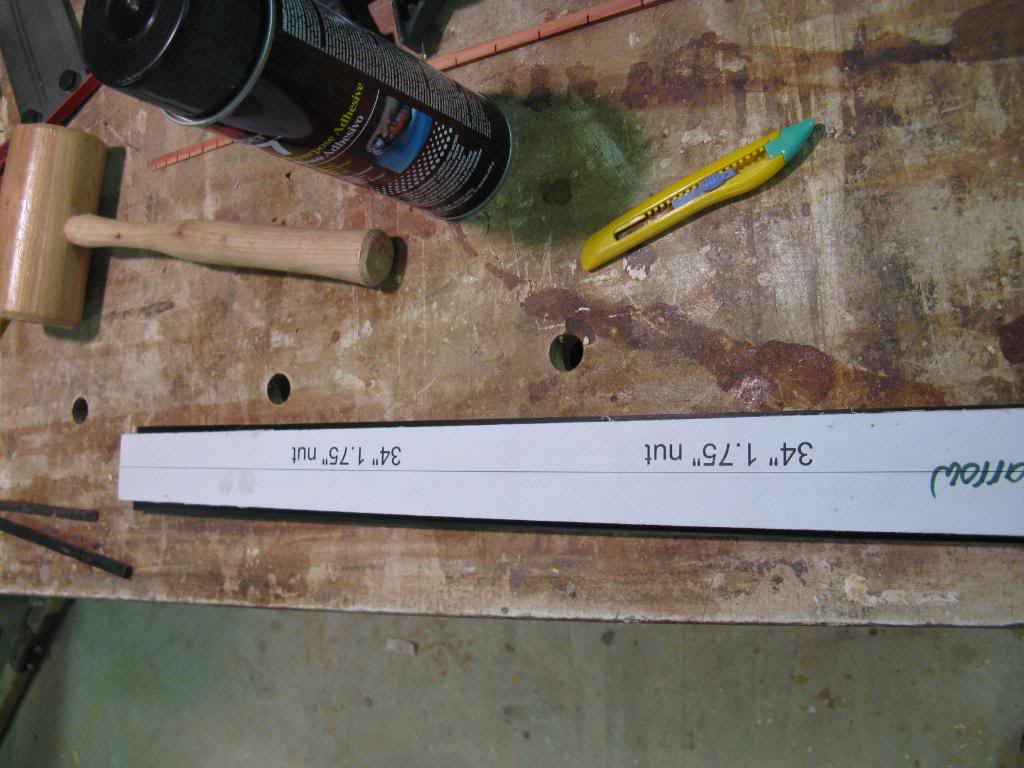
And back to the flush trim bit:
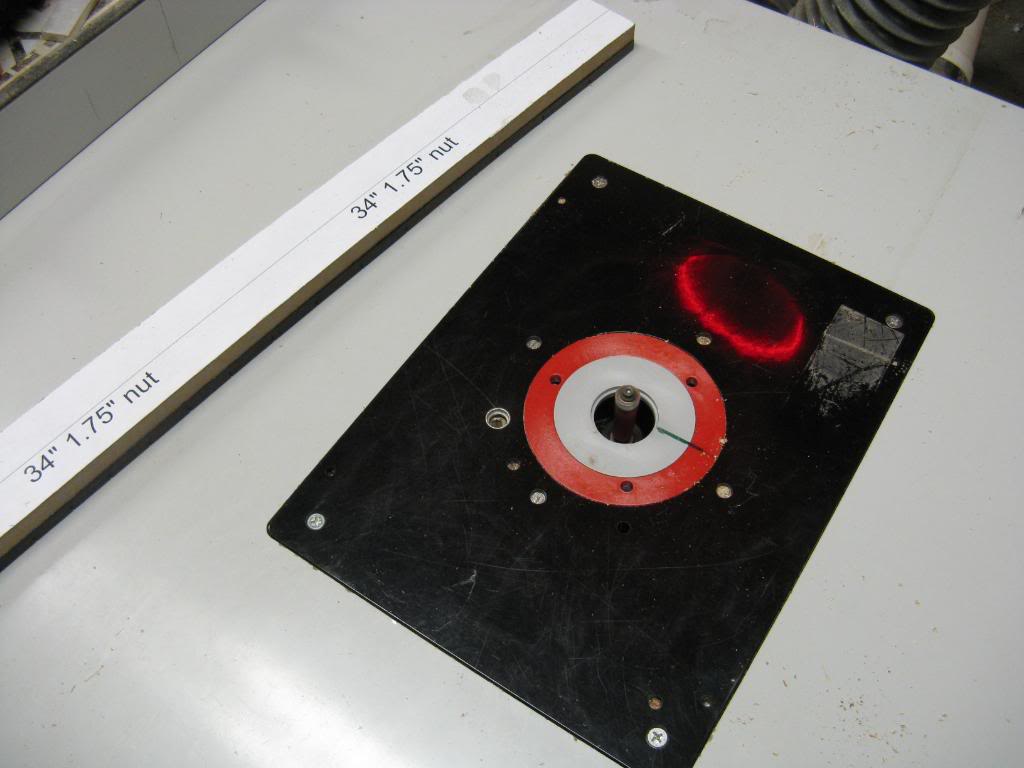
And voila:
Three good fingerboards. ...and one exploded piece of Tulipwood.
Attached is the pdf for 36, 35, 34, 33, 32, 31, and 30 inch scales. It is a 36x48 drawing of 1=1. $10 and a Kinkos gives you a full size printout.
First step for me is to find a piece of wood; I prefer mine from trees.
I am currently making four with 2 Ebony and 2 Tulipwood. I wish this thread allowed you to enjoy the aroma of Tulipwood.
From the rough I plane two clean surfaces, joint one side, and then rip to as wide as cleanly possible. Resaw the wood and you have this:
From there I like to find the grain that will look the best in the fingerboard and it is almost never parallel to an edge. To remedy that I have some rectangle templates that work perfectly:
They are attached with Manco brand carpet tape and every shop should have a few rolls in stock.
From there I rip the excess:
Then route with a flush trim:
If everything goes well it will look like this:
If it doesn't, it will look a little like this:
With the grain where I want it and with square edges I then get ready to cut the slots. I used to do this by hand and kudos to those of you that still do, but there are better ways out there.
StewMac has some nice templates but the price is a deterrent for me. I prefer the old fashion paper templates and glue:
Spray, press, and get ready to cut.
I am a huge fan of the StewMac 6" .023" kerf blade. It is not cheap (~$90 to my door) but the task that used to take an hour is now ten minutes.
When you are done they should look a little like this:
Tapering is simple also. With the center line marked I attach the boards to my taper templates:
And back to the flush trim bit:
And voila:
Three good fingerboards. ...and one exploded piece of Tulipwood.
Attached is the pdf for 36, 35, 34, 33, 32, 31, and 30 inch scales. It is a 36x48 drawing of 1=1. $10 and a Kinkos gives you a full size printout.







 )
)


