This is the first time I have attempted to work with epoxy on a fretless bass. I have done this once before a few years back with polyurethane and it did not give me the results I was looking for. Hopefully the System 3 epoxy method will be a success, so far it seems to be ok.
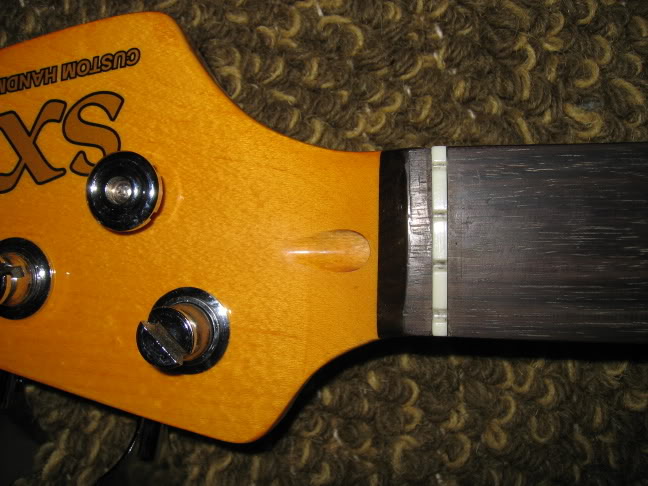
The first thing that I did to the bass was take out the nut. This turned out to be harder than expected, the nut was made out of soft plastic and chipped away as I tried to coax it out. I was left with a badly damaged nut that I had to use a Dremel disc style bit to remove the rest of the nut. After the dremmel, the nut came out cleanly, without chipping any of the surrounding wood.
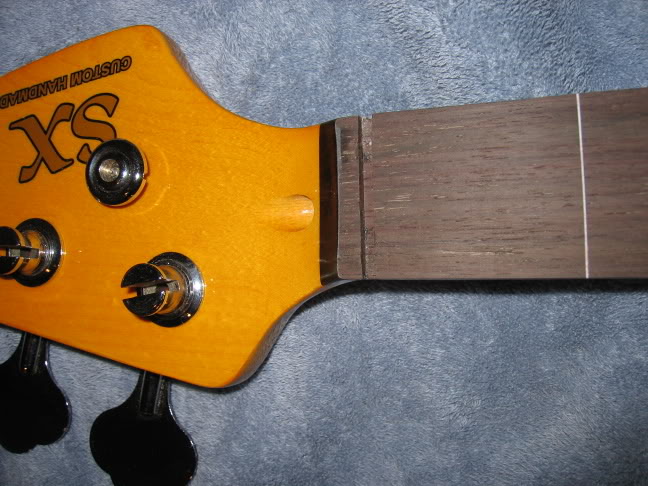
The next thing that I did, was take 80, 120, 160, and 220 sand paper to the fret board and lightly sanded smooth any imperfections. I did not go balls to the wall sanding, nothing extreme enough to change the radius or anything of the sort.

After that I took a piece of painters tape and taped off the nut slot. You definitely do not want to get epoxy into the slot unless you want problems farther down the road.
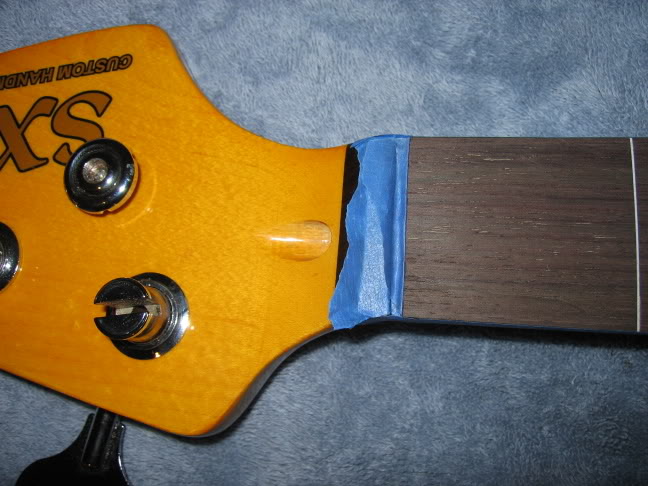
The next precaution I took was to tape up the whole back of the neck, except the headstock. I used packing tape, which I read works better than painter tape, because I guess with the painters tape, the epoxy can bleed through a bit. Just have the edge of the tape run along the edge of the fret board and work slowly to make sure it stays perpendicular.
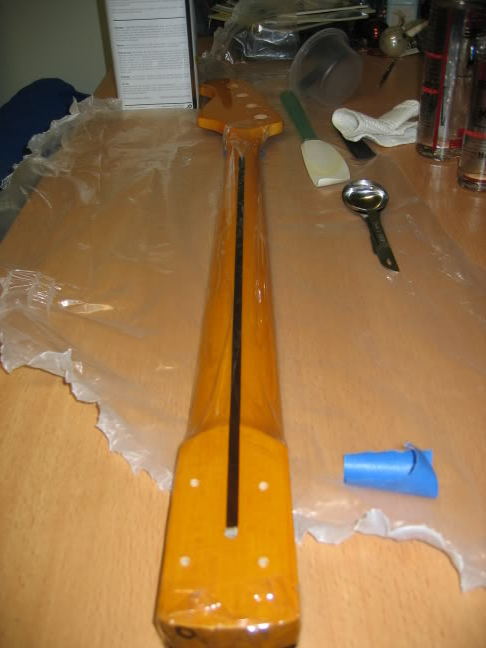
Next, I took regular mineral spirits that you can get at the hardware store, put it on a lint free rag, and cleaned the fret board of any oil and dust that might still be on there. Any oil in the wood will hinder the epoxy's bond to the wood.
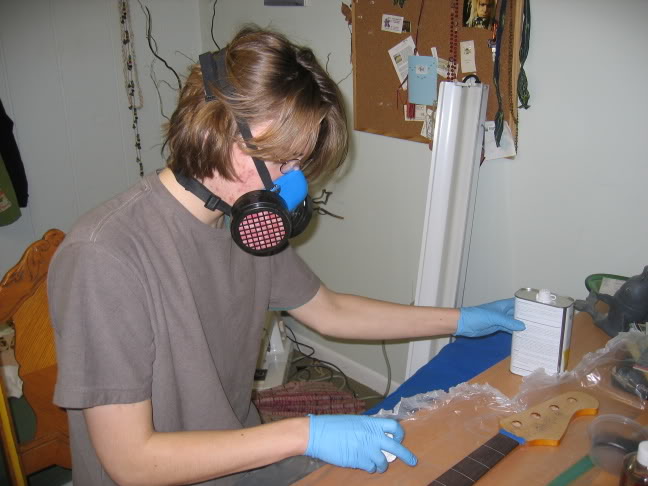
As you can see, there was some dust that needed removing.
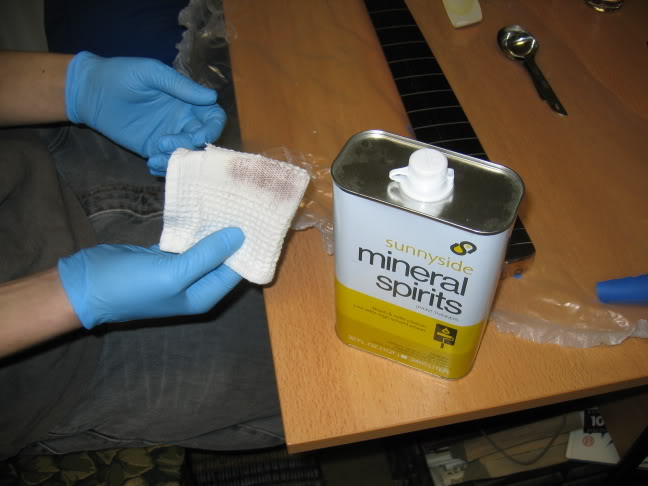
While the mineral spirits are evaporating out of the wood, you can start to measure out Part A of the epoxy.
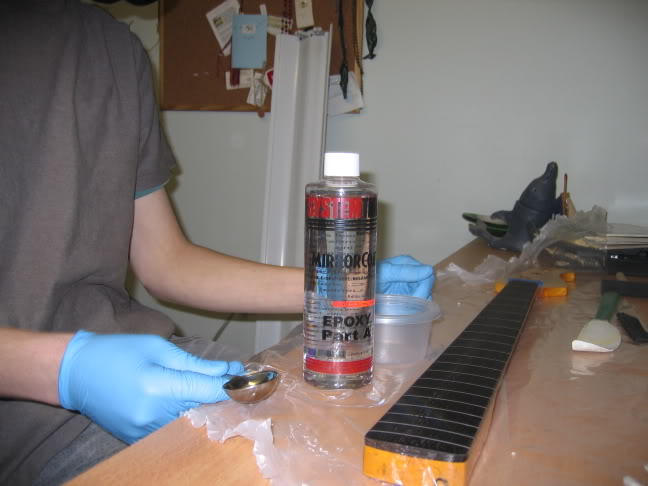
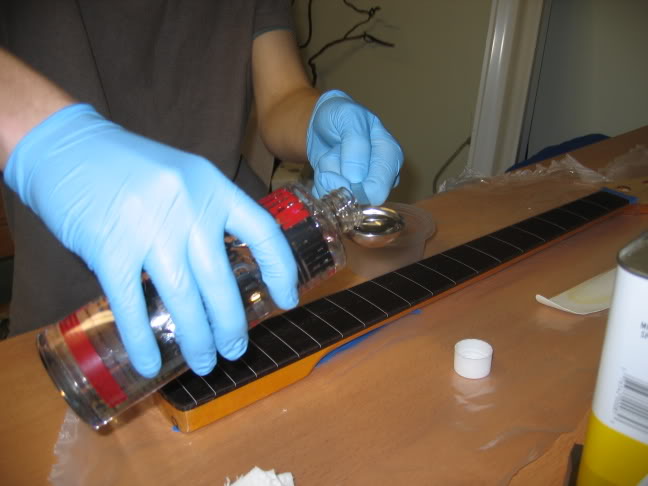
I used tablespoons, but any other precise measuring device should be fine, just make sure not to use your wife or moms best kitchen stuff. I put 6 tablespoons of Part A into a Tupperware container. After I had the 6 tablespoons of epoxy in the Tupperware I realized this is going to be a bit too much for the amount I will be working with. Next coat I will most likely use 2 tablespoons of Part A. After you have precisely measured out you part A, you are ready to add Part B, which is hardener. The System Three Mirror coat calls for a 2:1 ratio. So since I used an unnecessary 6 tablespoons of Part A, I will need to add 3 tablespoons of part B. I recommend using a different tablespoon than the one you for part A, or cleaning it off with mineral spirits and a clean rag.
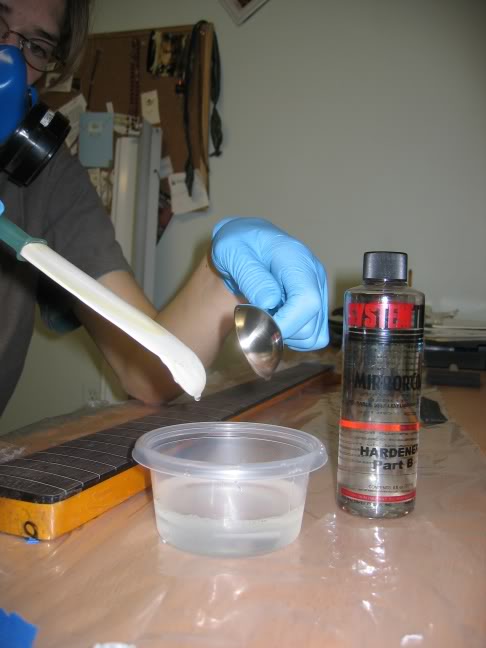
After your two parts of the epoxy are in the container, you will want to mix them together thoroughly, but avoiding getting air bubbles into the mix. I used a rubber spatula to mix.
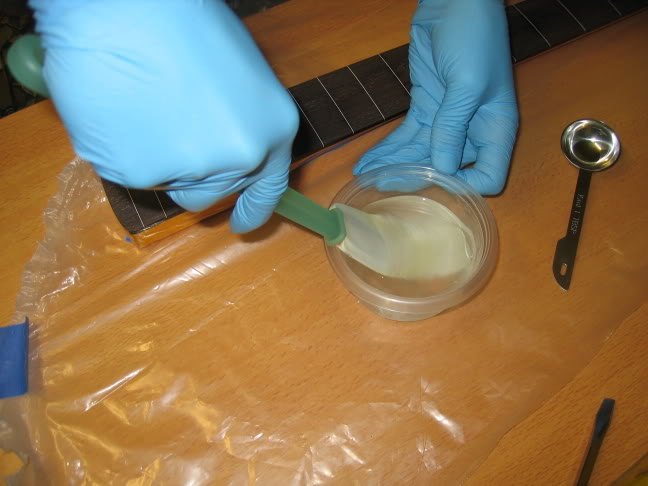
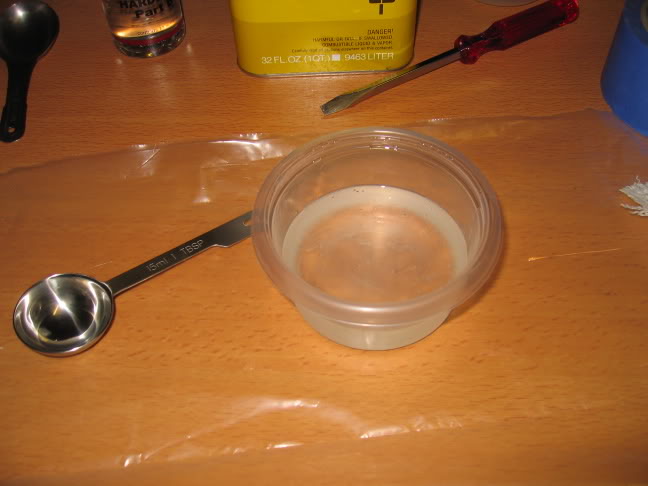
After a good mixing, it should look similar to this.
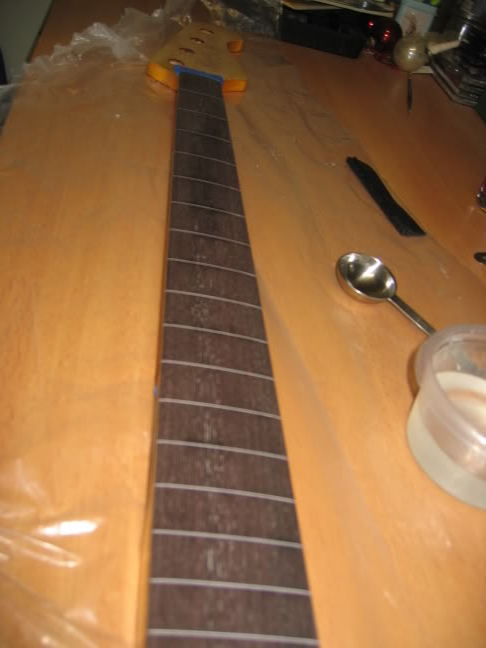
Now that the mineral spirits have evaporated and dust has been taken off your fret board will look like this and it is ready to have the mixed epoxy applied to it..
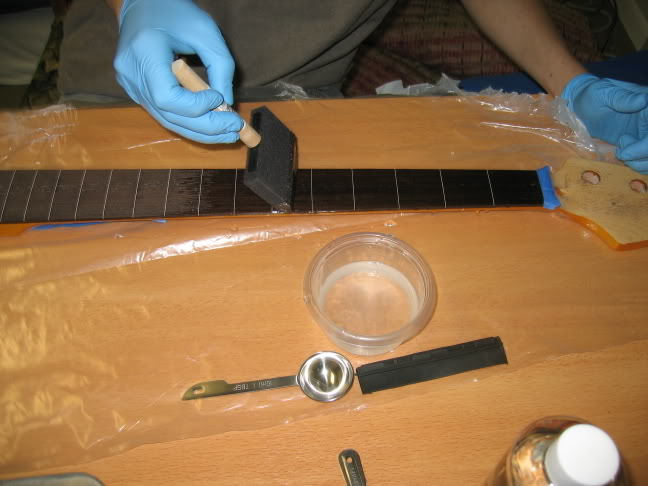
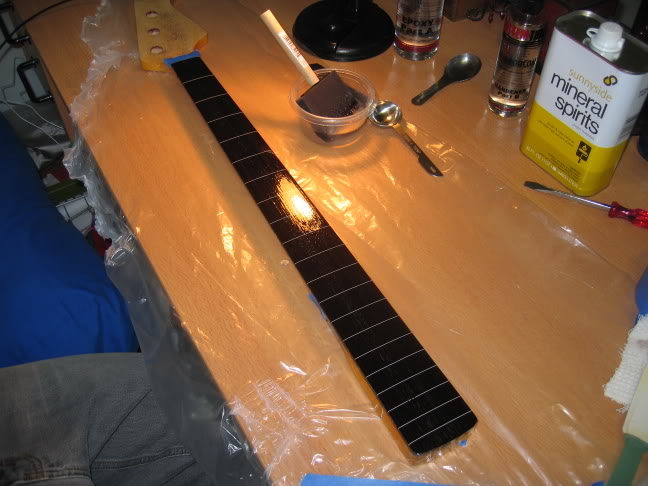
Now that everything is prepared, you are ready for coating the fret board. I used a foam brush. Just dip the tip of the brush into the epoxy and start coating the fret board. I started by the nut slot and moved down. If you look at the coating with light reflecting off it, you will notice craters where the epoxy did not bond to the wood. Take your brush and mash it into these spots to make sure it sticks. Try not to put too many strokes of epoxy on, the more times you brush over the more bubbles you will get.
After you have taken care of all your craters (some small ones will stay regardless of mashing in my experience) go over the fret board with the brush in one clean sweep at an even pressure along the entire length.
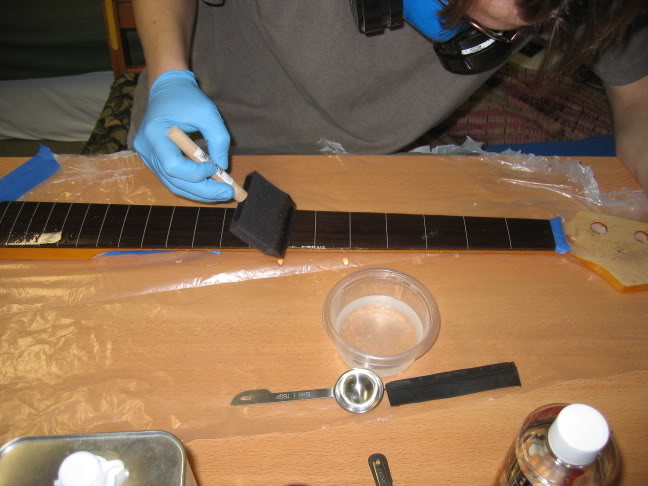
Your fret board should look like this now. Don't worry about epoxy dripping off the sides, if you have taped the neck correctly, you should have no problem. Also, having a plastic sheet under your work space should make clean up easier.
30 minutes after your final brush stroke, come back to your neck, which will still be wet, and squeegee off all of the excess epoxy. I tore my squeegee off of a winter window scraper. I'm sure many things can be used for this procedure, but this is just what I had laying around the house. I have heard of people using credit cards, but I just used a rubber squeegee because System Three says use a squeegee, not a credit card.
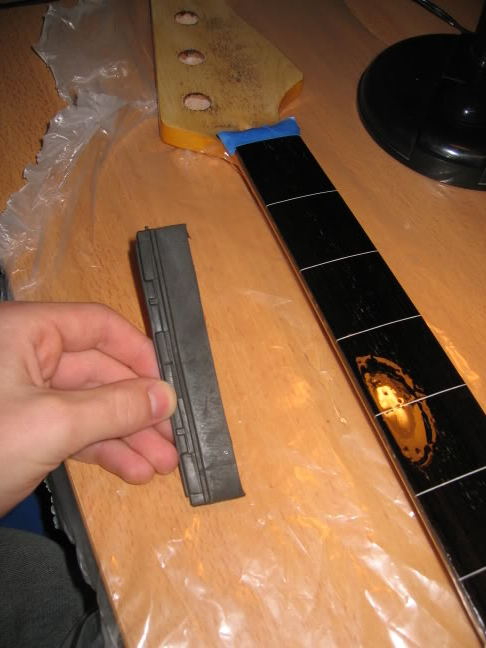
Again, I worked from the nut to the opposite end.
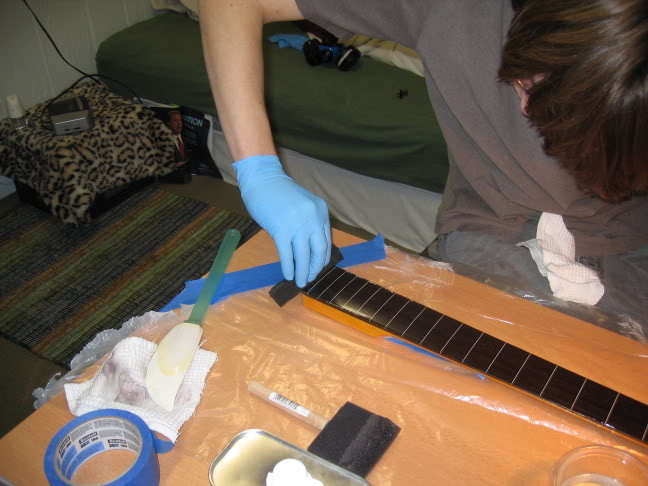
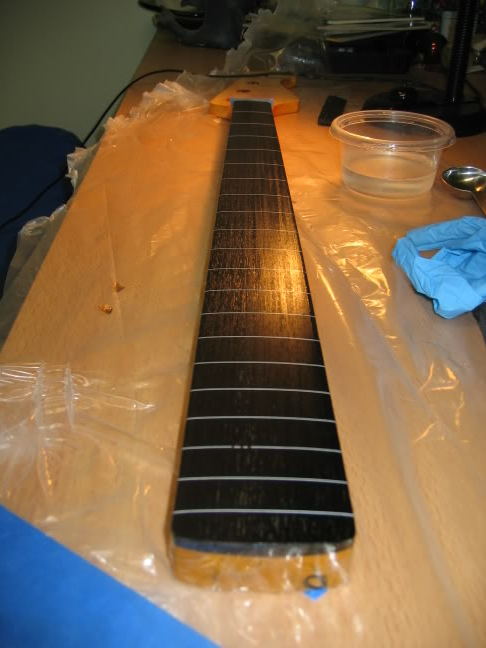
Now, your first coat of epoxy is ready to sit in a room where the vents and windows are closed and there will not be a lot of traffic. You want to keep dust to a minimum because any dust that settles on the epoxy is going to mean more sanding and more room for error later on.
The first thing that I did to the bass was take out the nut. This turned out to be harder than expected, the nut was made out of soft plastic and chipped away as I tried to coax it out. I was left with a badly damaged nut that I had to use a Dremel disc style bit to remove the rest of the nut. After the dremmel, the nut came out cleanly, without chipping any of the surrounding wood.
The next thing that I did, was take 80, 120, 160, and 220 sand paper to the fret board and lightly sanded smooth any imperfections. I did not go balls to the wall sanding, nothing extreme enough to change the radius or anything of the sort.
After that I took a piece of painters tape and taped off the nut slot. You definitely do not want to get epoxy into the slot unless you want problems farther down the road.
The next precaution I took was to tape up the whole back of the neck, except the headstock. I used packing tape, which I read works better than painter tape, because I guess with the painters tape, the epoxy can bleed through a bit. Just have the edge of the tape run along the edge of the fret board and work slowly to make sure it stays perpendicular.
Next, I took regular mineral spirits that you can get at the hardware store, put it on a lint free rag, and cleaned the fret board of any oil and dust that might still be on there. Any oil in the wood will hinder the epoxy's bond to the wood.
As you can see, there was some dust that needed removing.
While the mineral spirits are evaporating out of the wood, you can start to measure out Part A of the epoxy.
I used tablespoons, but any other precise measuring device should be fine, just make sure not to use your wife or moms best kitchen stuff. I put 6 tablespoons of Part A into a Tupperware container. After I had the 6 tablespoons of epoxy in the Tupperware I realized this is going to be a bit too much for the amount I will be working with. Next coat I will most likely use 2 tablespoons of Part A. After you have precisely measured out you part A, you are ready to add Part B, which is hardener. The System Three Mirror coat calls for a 2:1 ratio. So since I used an unnecessary 6 tablespoons of Part A, I will need to add 3 tablespoons of part B. I recommend using a different tablespoon than the one you for part A, or cleaning it off with mineral spirits and a clean rag.
After your two parts of the epoxy are in the container, you will want to mix them together thoroughly, but avoiding getting air bubbles into the mix. I used a rubber spatula to mix.
After a good mixing, it should look similar to this.
Now that the mineral spirits have evaporated and dust has been taken off your fret board will look like this and it is ready to have the mixed epoxy applied to it..
Now that everything is prepared, you are ready for coating the fret board. I used a foam brush. Just dip the tip of the brush into the epoxy and start coating the fret board. I started by the nut slot and moved down. If you look at the coating with light reflecting off it, you will notice craters where the epoxy did not bond to the wood. Take your brush and mash it into these spots to make sure it sticks. Try not to put too many strokes of epoxy on, the more times you brush over the more bubbles you will get.
After you have taken care of all your craters (some small ones will stay regardless of mashing in my experience) go over the fret board with the brush in one clean sweep at an even pressure along the entire length.
Your fret board should look like this now. Don't worry about epoxy dripping off the sides, if you have taped the neck correctly, you should have no problem. Also, having a plastic sheet under your work space should make clean up easier.
30 minutes after your final brush stroke, come back to your neck, which will still be wet, and squeegee off all of the excess epoxy. I tore my squeegee off of a winter window scraper. I'm sure many things can be used for this procedure, but this is just what I had laying around the house. I have heard of people using credit cards, but I just used a rubber squeegee because System Three says use a squeegee, not a credit card.
Again, I worked from the nut to the opposite end.
Now, your first coat of epoxy is ready to sit in a room where the vents and windows are closed and there will not be a lot of traffic. You want to keep dust to a minimum because any dust that settles on the epoxy is going to mean more sanding and more room for error later on.