
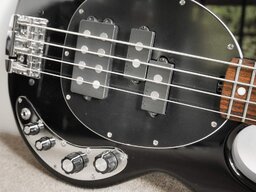
I've received lots of positive comments (and a PM from this thread) about the quality of the photos that I've posted and I wanted to share my "secrets"  with you all, since I read these same tips on TB a few years ago myself.
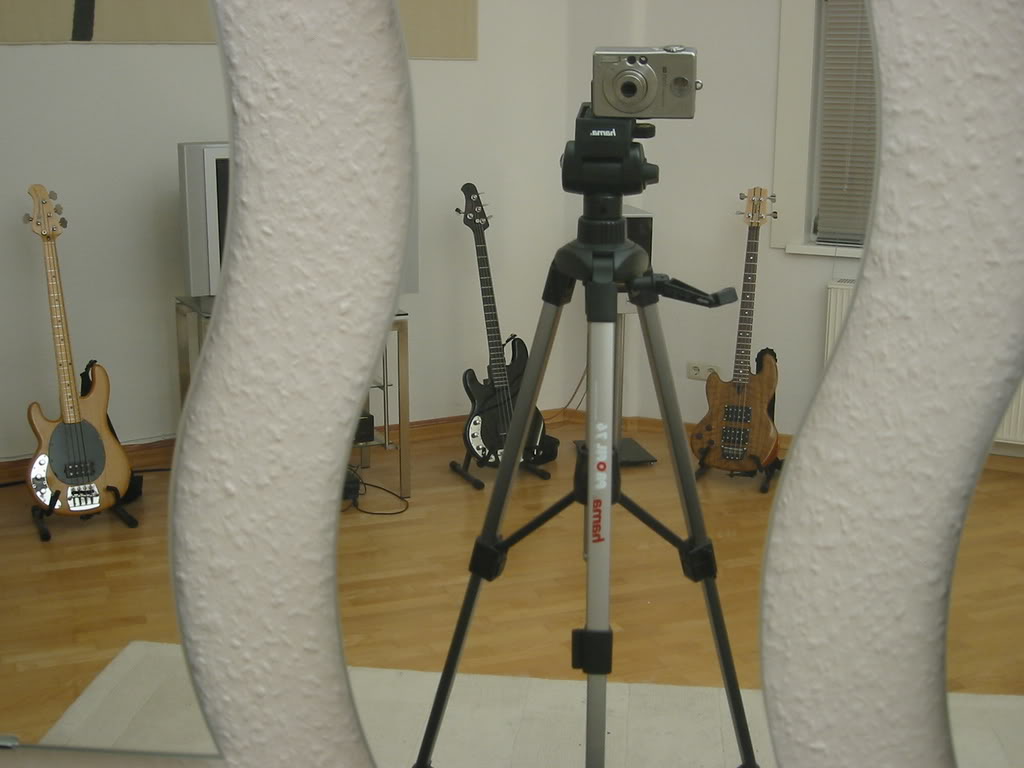
I have 3 Golden Rules, which apply to almost every bass/equipment picture that I take and the photograph below actually illustrates all 3 of these points in one shot (all will become clear later ):
):
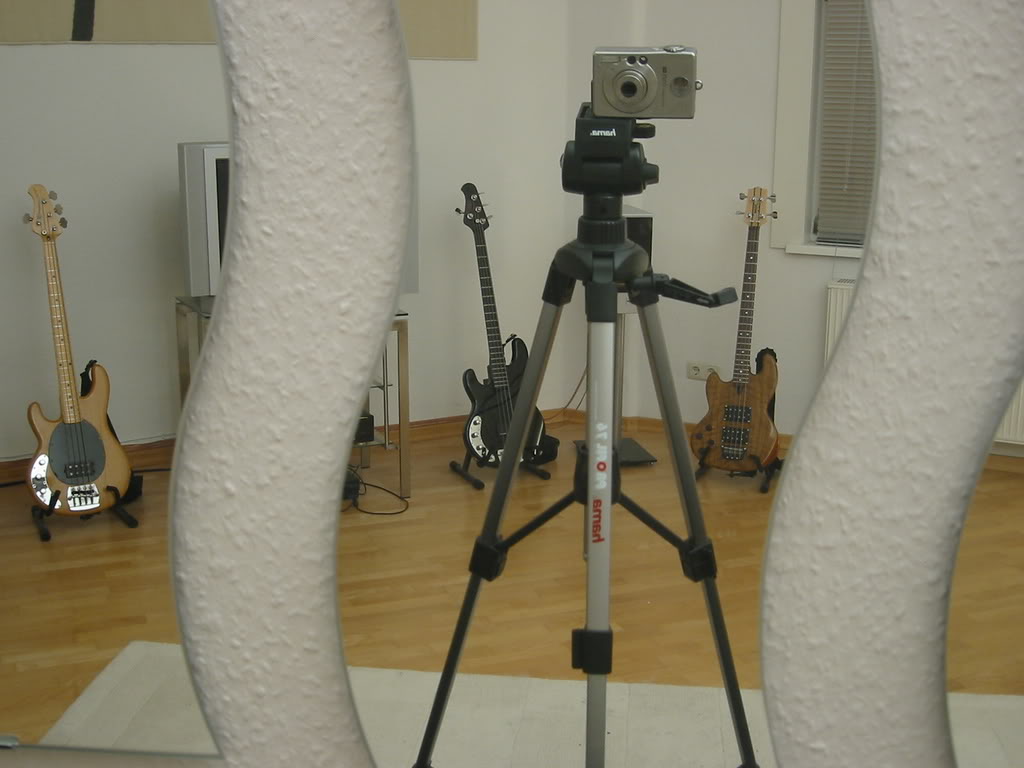
- Rule #1 : Always use a tripod.
It doesn't matter if it's a larger tripod, like the one above, or even a little ($10) pocket-sized one, but a tripod is essential to avoid camera shake - the single biggest problem with most "blurry" photos that you see.
- Rule #2 : Always use the timer function.
Every "point and shoot" pocket camera I've ever used has a timer function for the shutter (usually 2 or 10 seconds). Even with the camera on a tripod, it is still easy to cause the camera to shake a little when pushing down on and releasing the shutter button. If you just set the timer to 2 seconds and then press the button, the camera has time to steady itself before it takes the picture. The other useful side-effect of this technique is that it allows you to move yourself (i.e. your shadow/reflection) out of the shot. No "Sock Shots" for me, my friends !
!
- Rule #3 : Never use the flash :scowl:.
Well, I say "never", but a flash can sometimes be useful, if you really want to bring out the detail in a really darkened area, (like a control cavity, for instance), but I'd avoid for everything else.
The single most important thing to keep in mind here is that you don't need lots of lighting to take a picture without the flash. All you need to do to compensate (although your camera will probably do it for you anyway) is to set the exposure to a slightly longer time. It's easy to do on most point and shoot cameras, although you may just have a selector for general lighting conditions (like "sunny", "cloudy" etc.). You'll be amazed just how little light (natural or artificial) you actually need to get a good, bright, detailed photograph . Try it some time .
Other Tips:
As well as those three "musts", there are a couple of other things to watch out for, when trying to optimise your cameras performance.
Most important, IMO, is the "close up" mode. Nearly all auto-focus cameras still allow you to select modes for distance shots or close up work - remember to switch between the two when you move from a shot of the whole bass ("normal" mode) to a shot of just, say, the bridge ("close up" mode)...
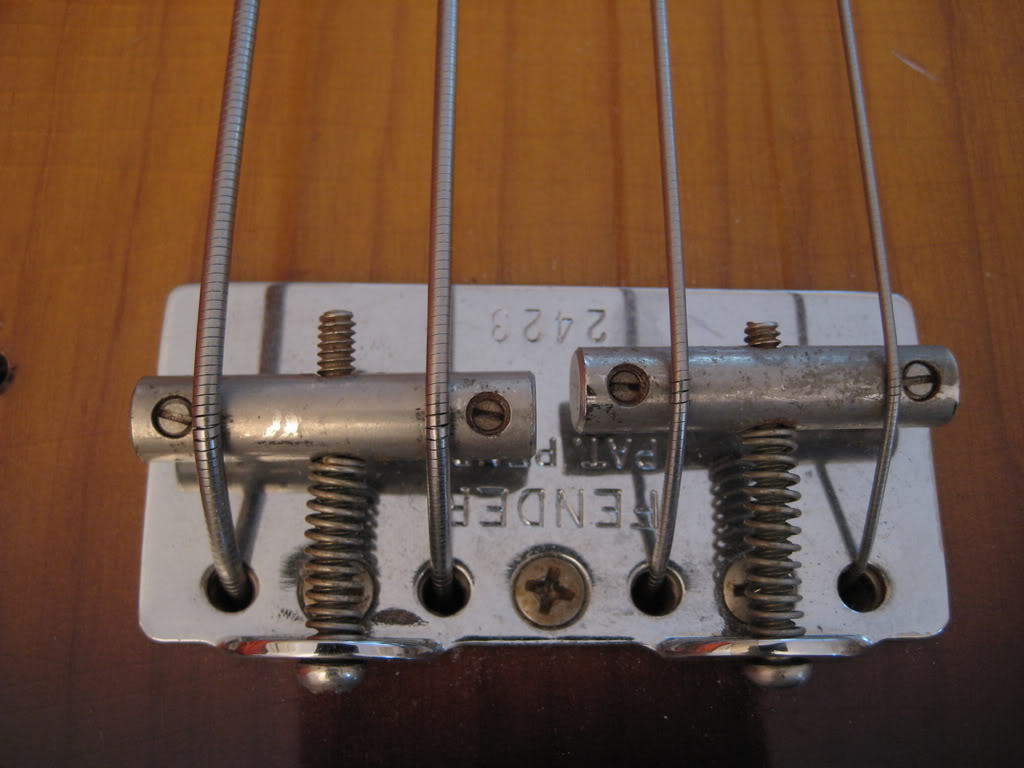
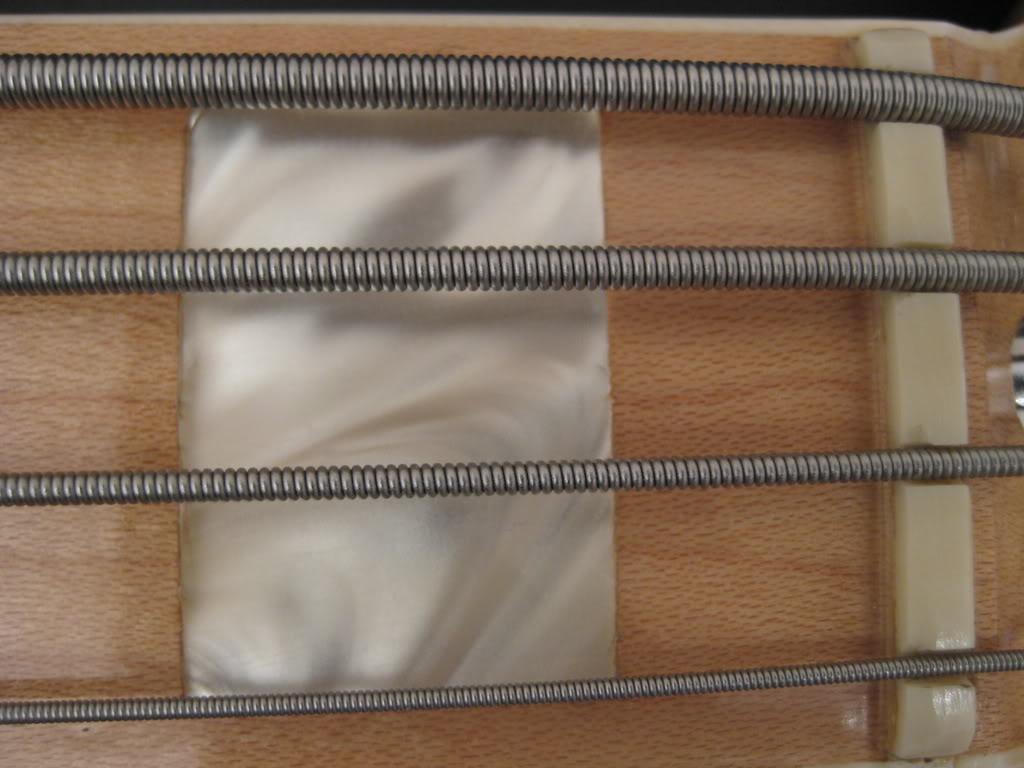
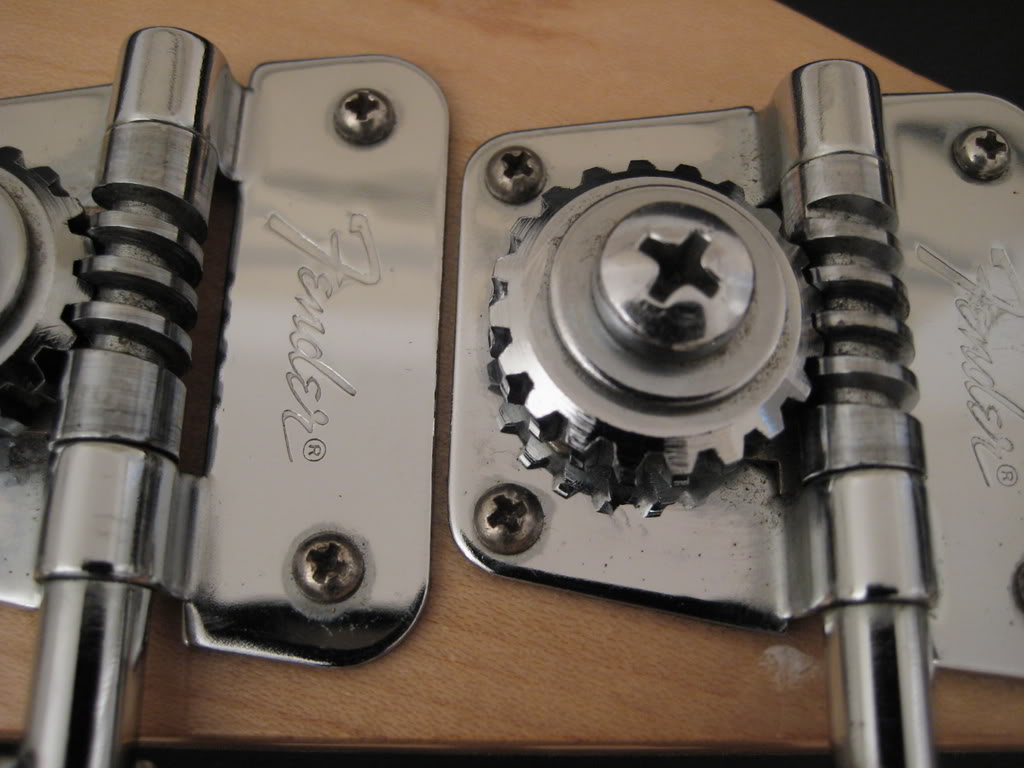
Additionally, many cameras have something called "macro mode", which allows you to focus in really close - if your camera has it, try using it, it's the only way to get shots like these without losing the focus ....
So, that's how I get my (fairly good) results - no expensive equipment, no artistic talent, just some basic tips, picked up right here on TB.
I hope that I didn't come across as patronising at all there and that these tips might help to improve the quality of some of the pics of all your sexy basses !
Just, remeber this pic - without following all 3 of the Golden Rules, this picture could not exist (think about it) ....
[/LECTURE]
with you all, since I read these same tips on TB a few years ago myself.I have 3 Golden Rules, which apply to almost every bass/equipment picture that I take and the photograph below actually illustrates all 3 of these points in one shot (all will become clear later
):- Rule #1 : Always use a tripod.
It doesn't matter if it's a larger tripod, like the one above, or even a little ($10) pocket-sized one, but a tripod is essential to avoid camera shake - the single biggest problem with most "blurry" photos that you see.
- Rule #2 : Always use the timer function.
Every "point and shoot" pocket camera I've ever used has a timer function for the shutter (usually 2 or 10 seconds). Even with the camera on a tripod, it is still easy to cause the camera to shake a little when pushing down on and releasing the shutter button. If you just set the timer to 2 seconds and then press the button, the camera has time to steady itself before it takes the picture. The other useful side-effect of this technique is that it allows you to move yourself (i.e. your shadow/reflection) out of the shot. No "Sock Shots" for me, my friends
!- Rule #3 : Never use the flash :scowl:.
Well, I say "never", but a flash can sometimes be useful, if you really want to bring out the detail in a really darkened area, (like a control cavity, for instance), but I'd avoid for everything else.
The single most important thing to keep in mind here is that you don't need lots of lighting to take a picture without the flash. All you need to do to compensate (although your camera will probably do it for you anyway) is to set the exposure to a slightly longer time. It's easy to do on most point and shoot cameras, although you may just have a selector for general lighting conditions (like "sunny", "cloudy" etc.). You'll be amazed just how little light (natural or artificial) you actually need to get a good, bright, detailed photograph
. Try it some time . Other Tips:
As well as those three "musts", there are a couple of other things to watch out for, when trying to optimise your cameras performance.
Most important, IMO, is the "close up" mode. Nearly all auto-focus cameras still allow you to select modes for distance shots or close up work - remember to switch between the two when you move from a shot of the whole bass ("normal" mode) to a shot of just, say, the bridge ("close up" mode)...
Additionally, many cameras have something called "macro mode", which allows you to focus in really close - if your camera has it, try using it, it's the only way to get shots like these without losing the focus ....
So, that's how I get my (fairly good) results - no expensive equipment, no artistic talent, just some basic tips, picked up right here on TB
.I hope that I didn't come across as patronising at all there
and that these tips might help to improve the quality of some of the pics of all your sexy basses !Just, remeber this pic
- without following all 3 of the Golden Rules, this picture could not exist (think about it) ....[/LECTURE]


 . How does that work, then!?

 ! This is frankly, an annoyance to other TBers and probably makes a lot of work for our Moderators, who may occassionally be asked to edit these posts.


