Well, this all started a little over a year ago with our resident Ampeg guru Jimmy's thread where he posted the two bass lines, one recorded on his SVT and one on his new VT Bass pedal and had us all vote on which was which. After he embarrassed us and showed how much the VT could emulate an actual Ampeg, I had to go out and get me one ot those new "pedals of the future."
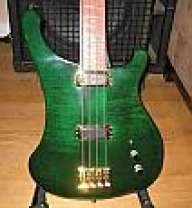
Since then, I've been running the tone controls on my amp totally flat and getting all of my tone from my pedal board, which, while not very fancy, gets me "my tone." My signal path looks like this: J-Bass with Chromes, Tuner, Opto Stomp Compressor, VT Bass, Sonic Stomp, then finally an EQ pedal which is only used as an in-song volume boost (because we mix our own sound most of the time).
After about a year of hearing how good my bass sounds through the PA, I finally decided to take the plunge and dump my amp and just go with a power amp and speakers, really relying on my pedal board for my tone.
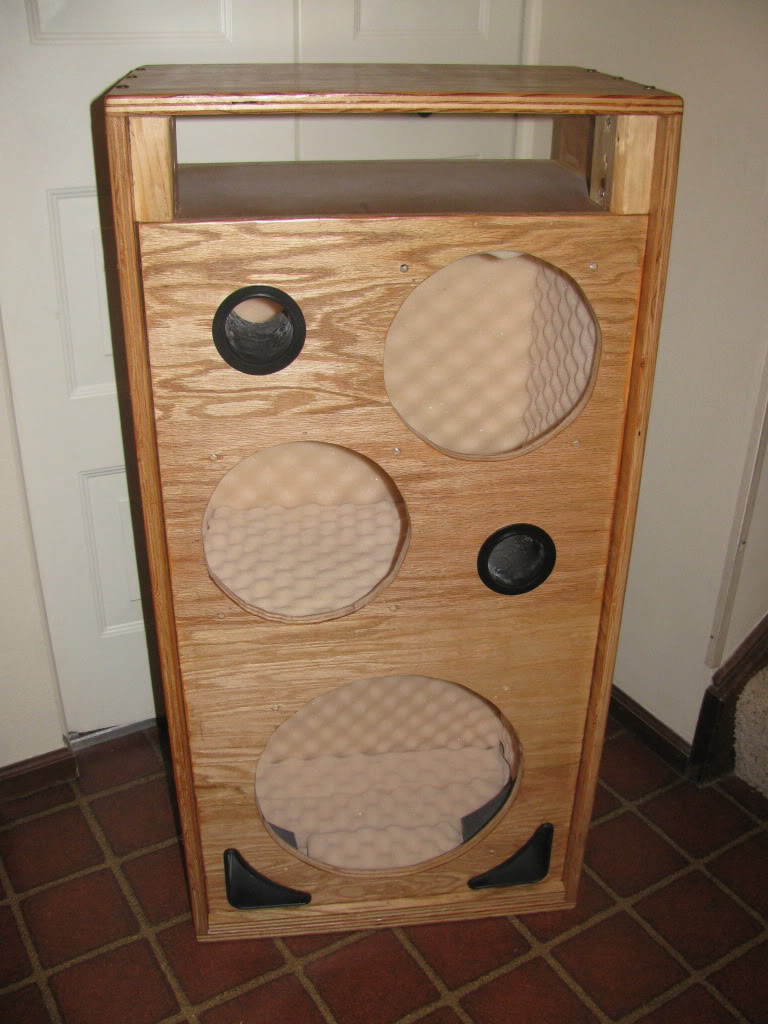
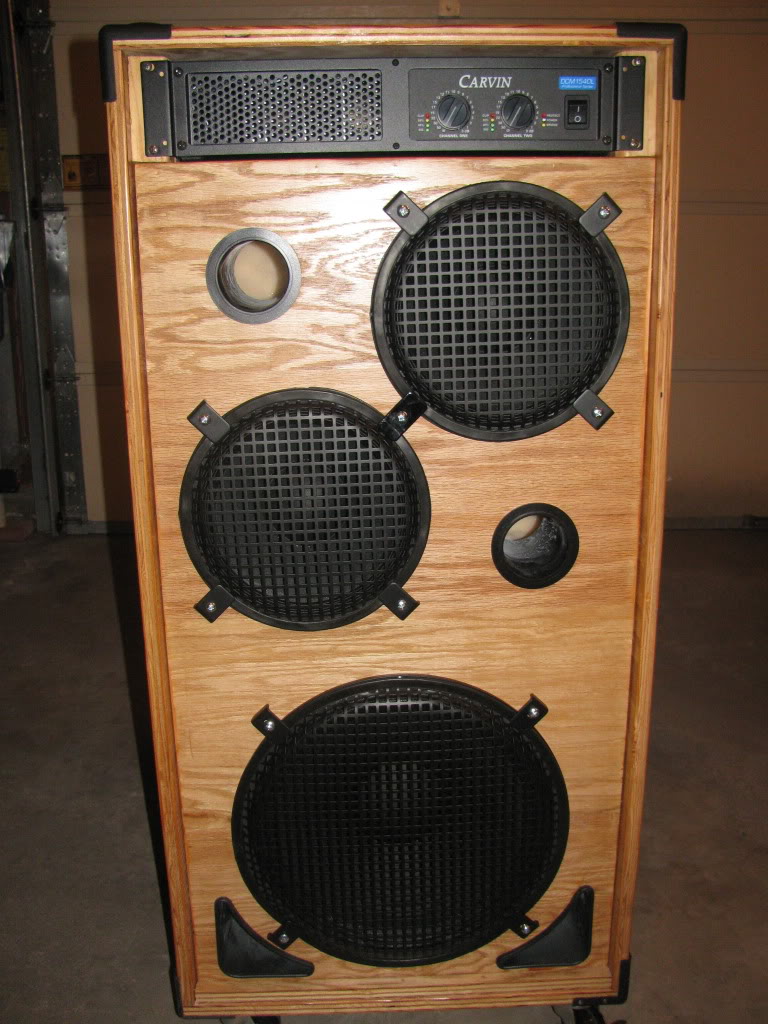
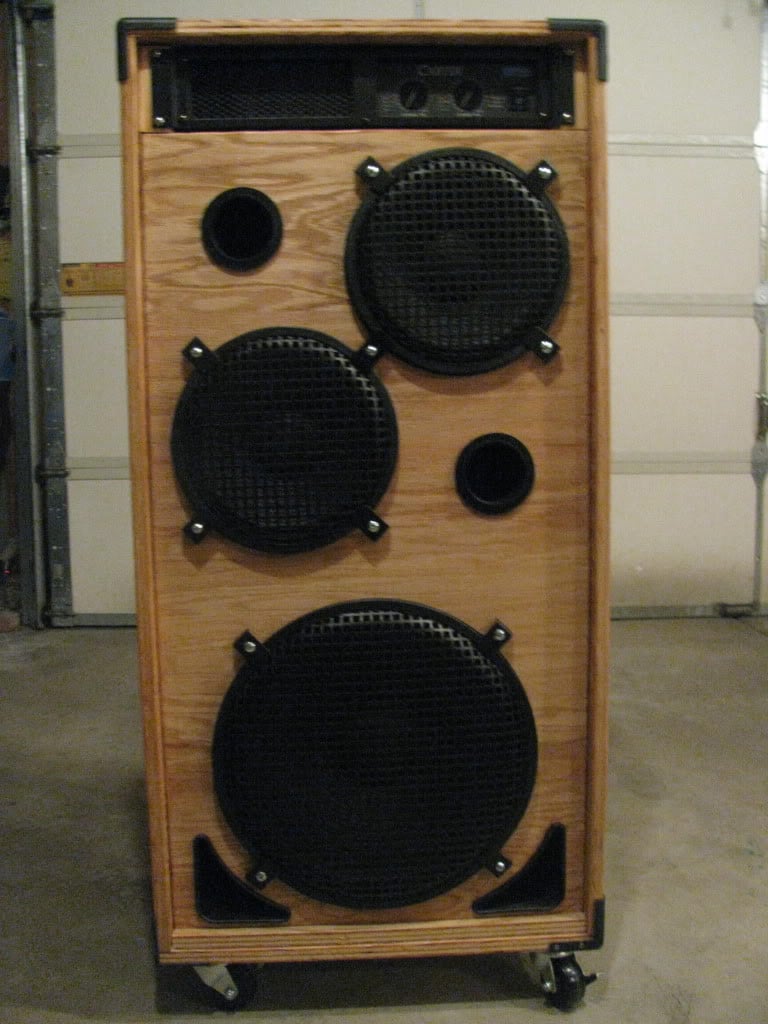
After a few weeks of an hour here and an hour there, it's finally done. Here's a pictorial history of the build. I'd love to hear what you guys think. I went with a new Carvin DCM 1540 power amp that give me 425 watts per side at an eight ohm load. I used Carvin speakers with neo mags. The tens are four ohm speakers wired in series and the fifteen is an eight ohm speaker.
Here is it...
I used oak ply, knowing it's heavier, but I wanted that natural oak finish when done.
First step, put the cut pieces together and install the bracing for the face, cabinet divider and amp shelf.
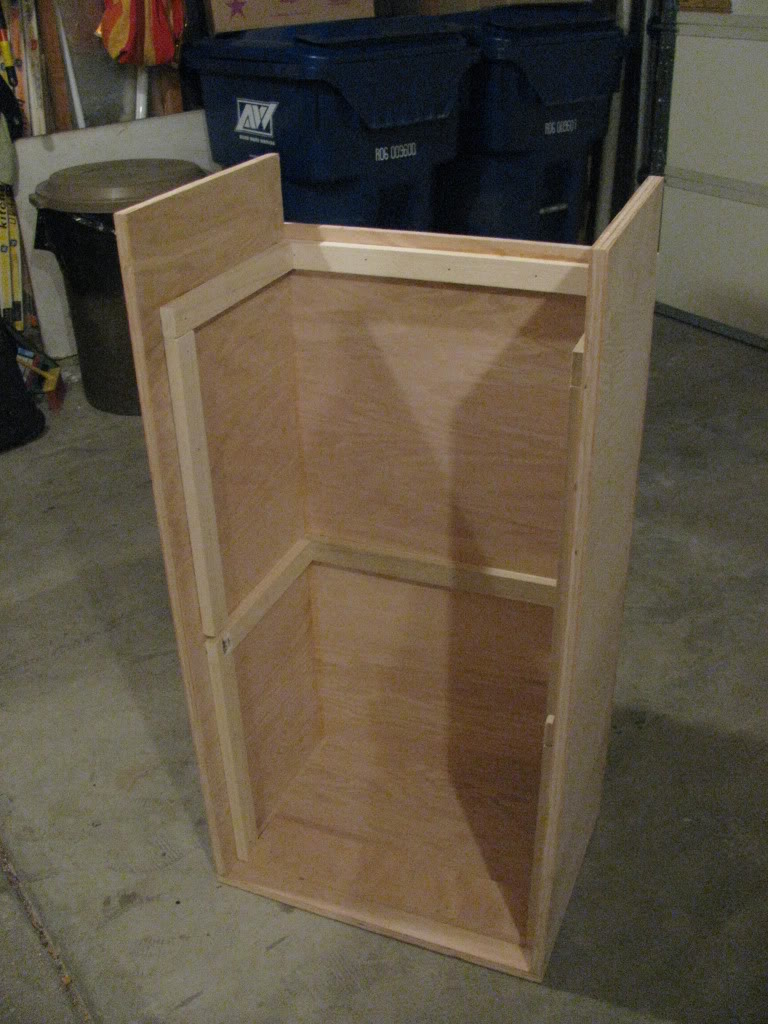
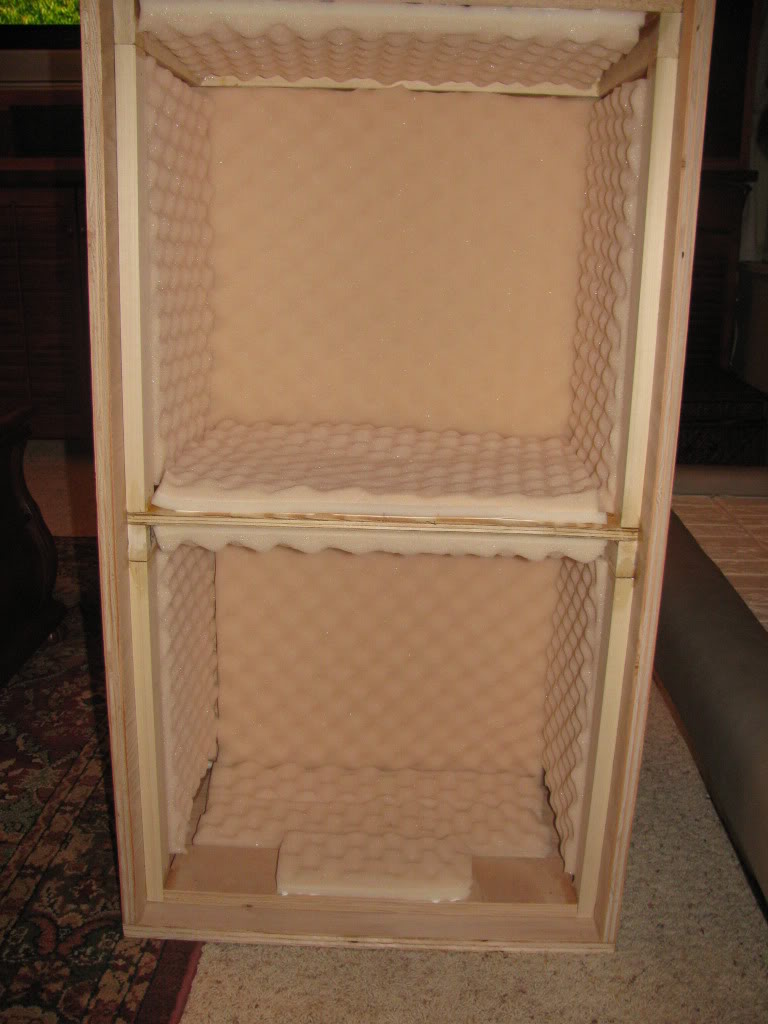
Next was to install the shelves and seal all of the seams with silicone to make them air-tight. Even though it looks like one cabinet from the outside, the tens and the fifteen are totally sealed off from each other, only sharing one wall and vented seperately.
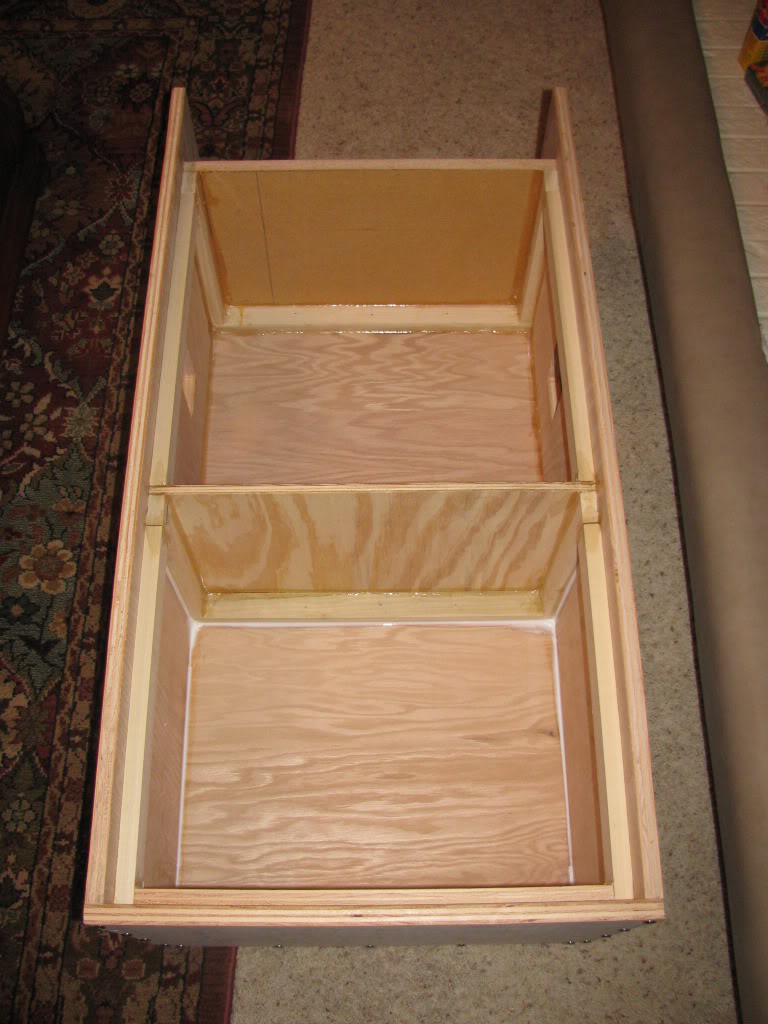
Next step, install the memory foam matress cover on all sides but the face as insulator, this was done with liquid nails.
Next step, cut the face plate and put a couple of coats of natural finish stain and six clear coats on it, as I decided to go with a natural finish and black hardware. After the clear dried I hit it with 0000 steel wool to smooth out the finish.
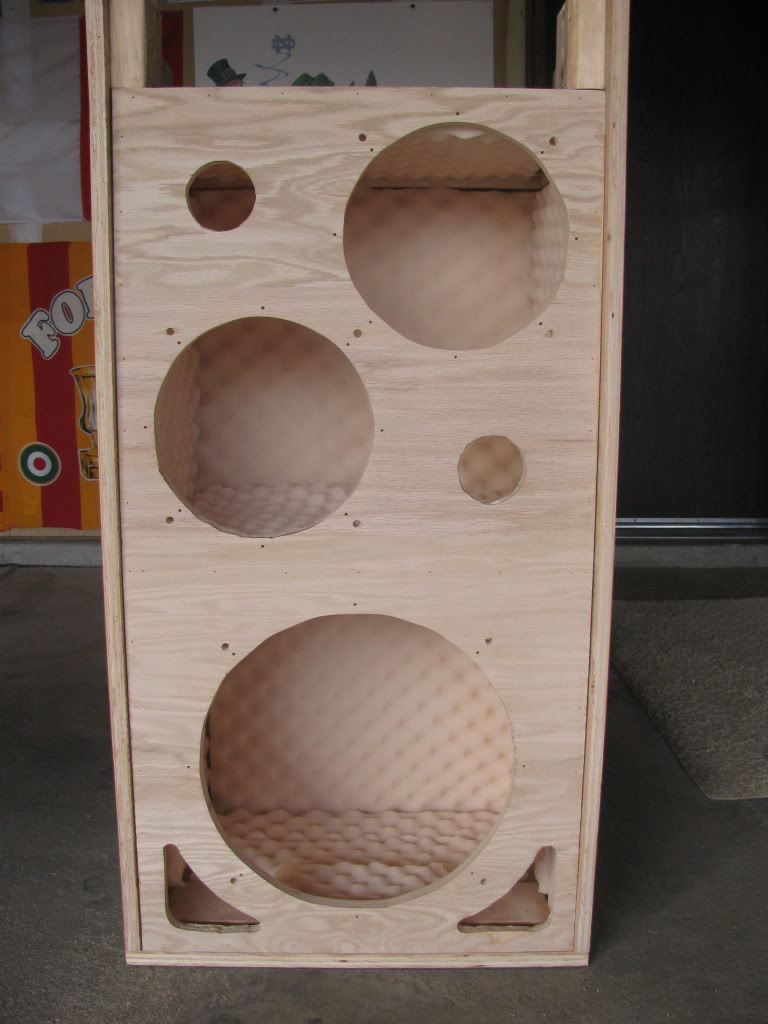
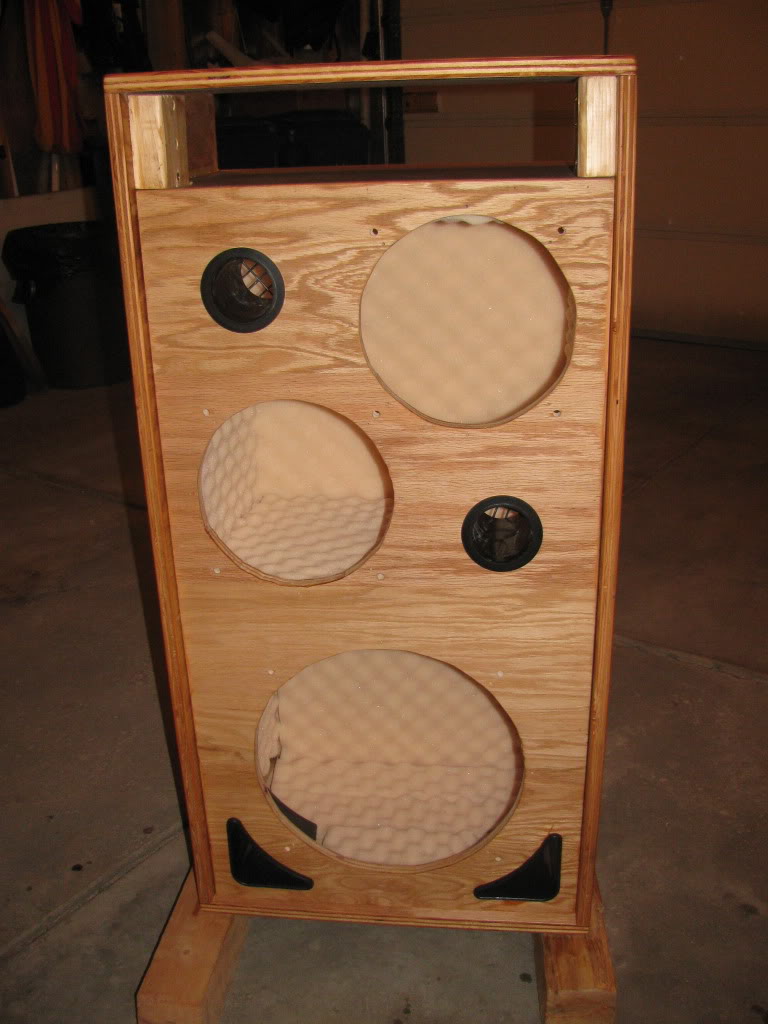
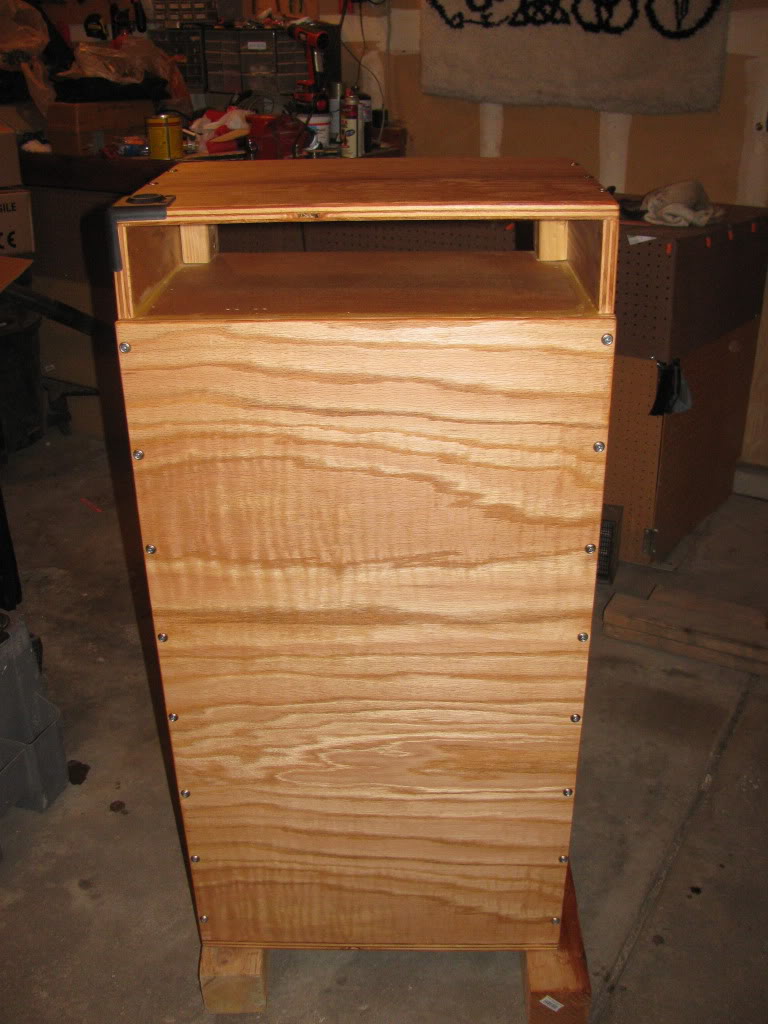
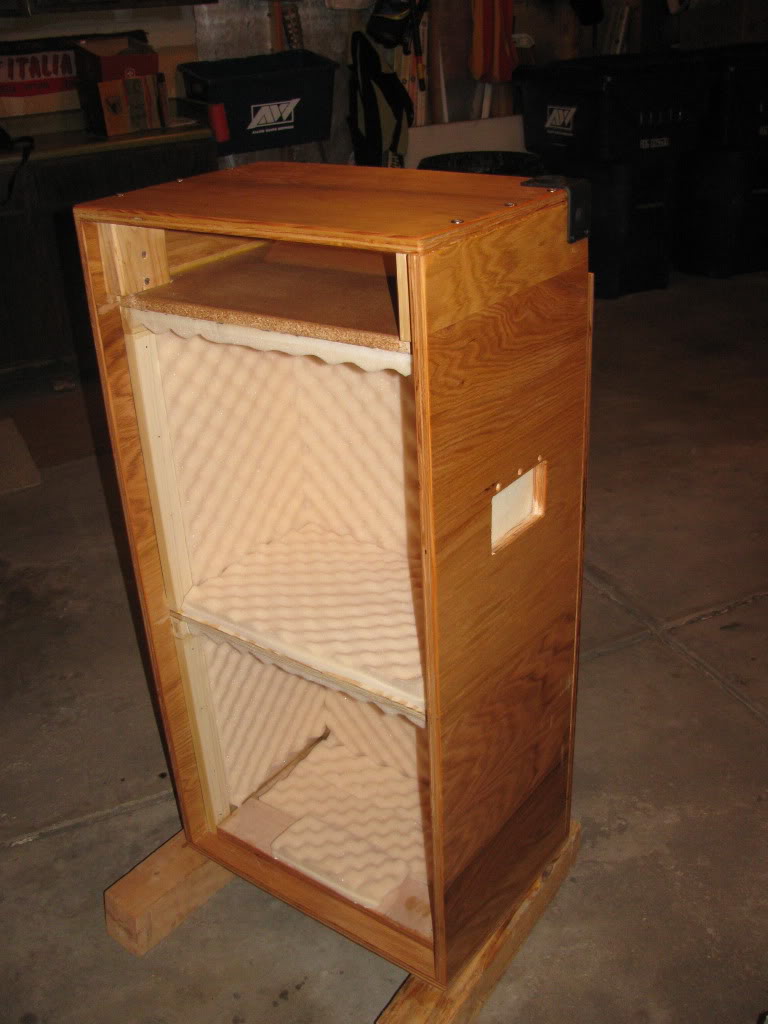
Last step, install the hardware and load it.
That's my 15 year-old son who helped me load it. He's quite the guitar player already...
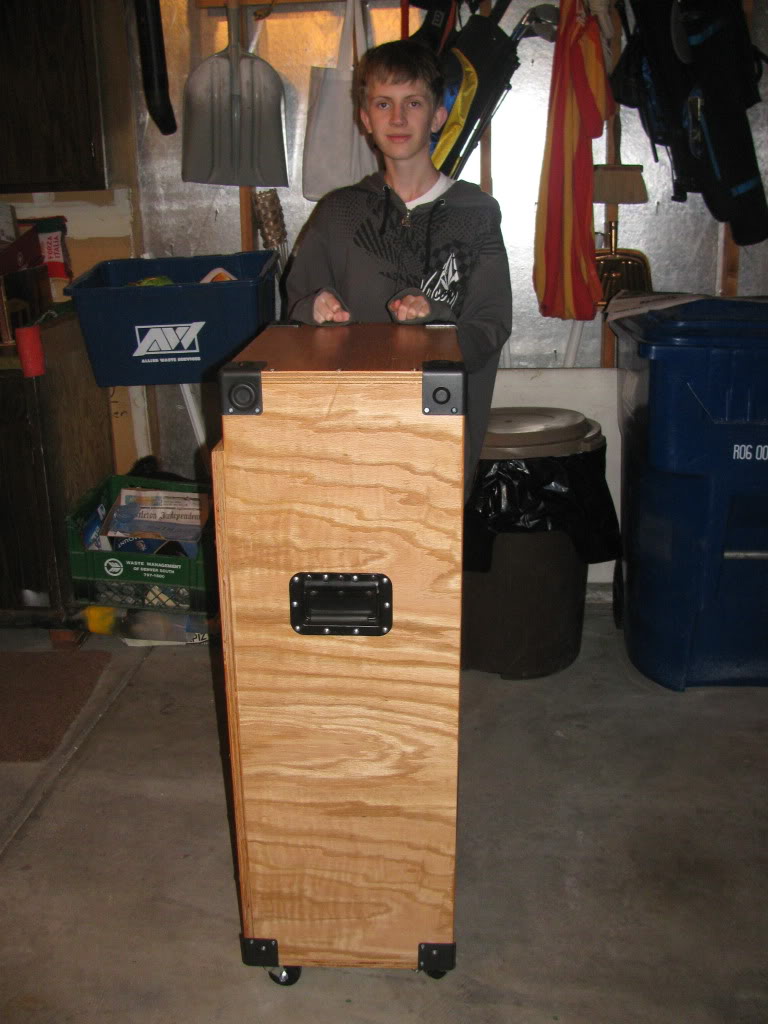
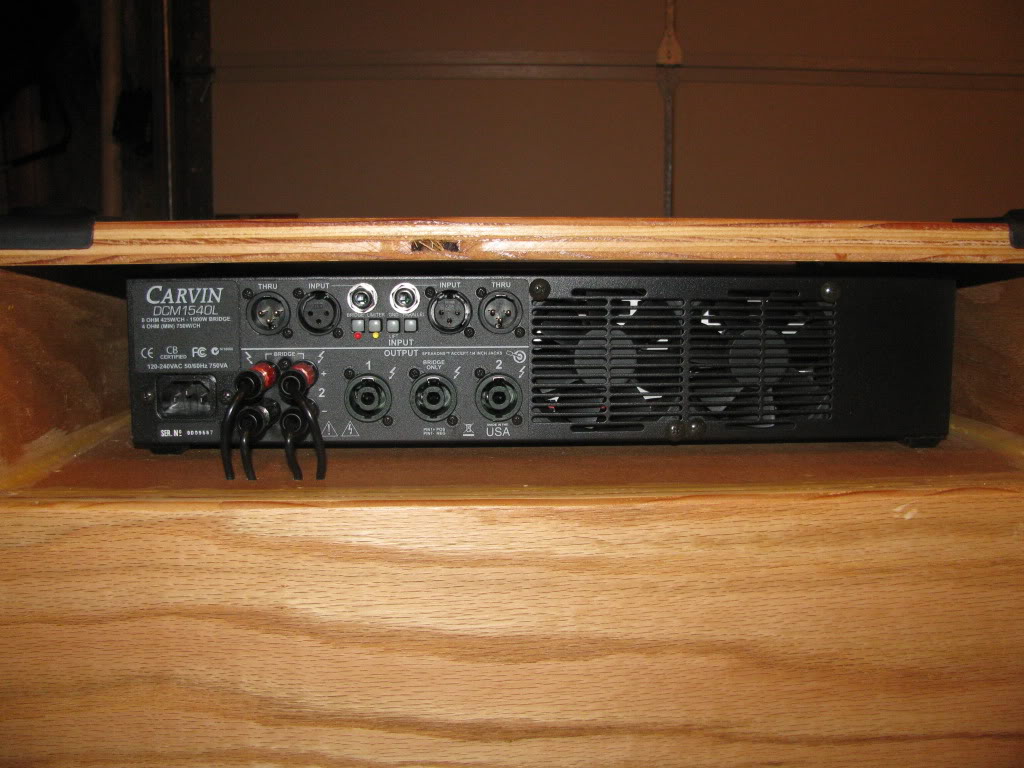
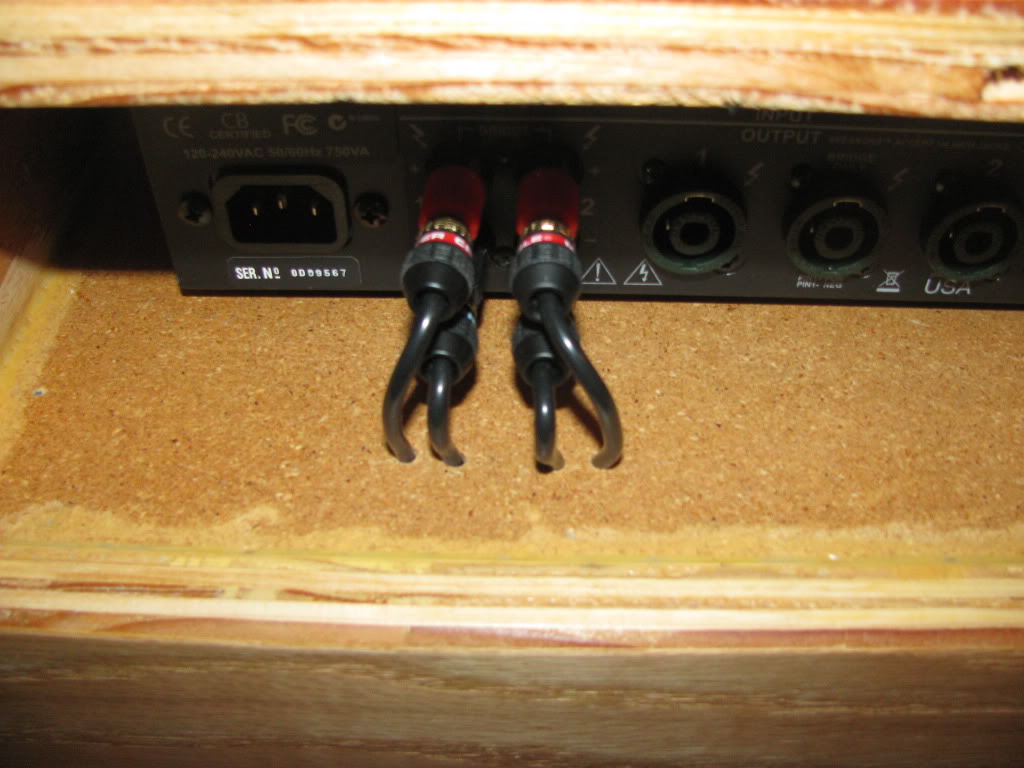
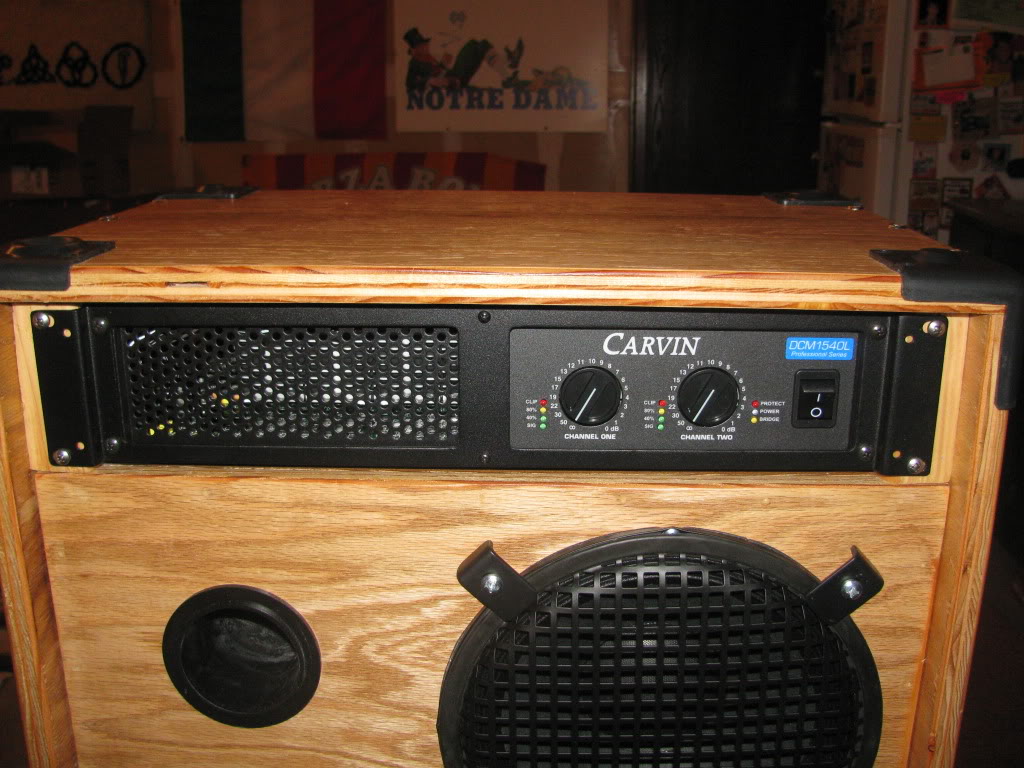
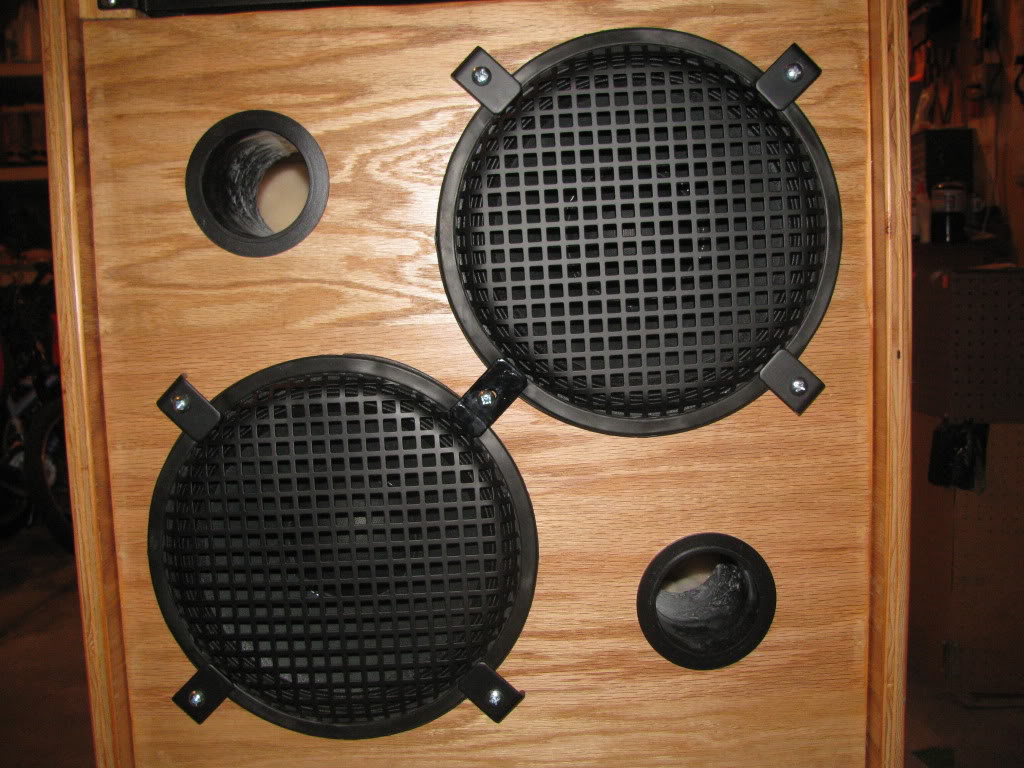
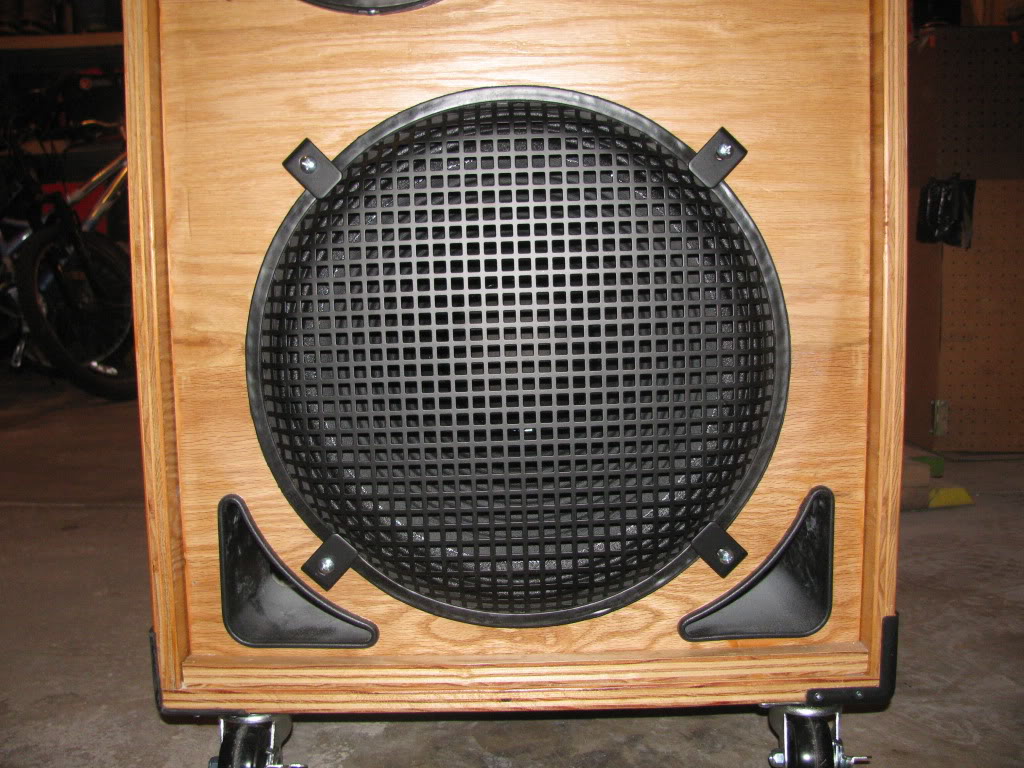
I plugged it in and lit it up last night and man is it clean and tight! I can't wait to hear it with the full band.
I'm looking forward to reading your reviews...
Since then, I've been running the tone controls on my amp totally flat and getting all of my tone from my pedal board, which, while not very fancy, gets me "my tone." My signal path looks like this: J-Bass with Chromes, Tuner, Opto Stomp Compressor, VT Bass, Sonic Stomp, then finally an EQ pedal which is only used as an in-song volume boost (because we mix our own sound most of the time).
After about a year of hearing how good my bass sounds through the PA, I finally decided to take the plunge and dump my amp and just go with a power amp and speakers, really relying on my pedal board for my tone.
After a few weeks of an hour here and an hour there, it's finally done. Here's a pictorial history of the build. I'd love to hear what you guys think. I went with a new Carvin DCM 1540 power amp that give me 425 watts per side at an eight ohm load. I used Carvin speakers with neo mags. The tens are four ohm speakers wired in series and the fifteen is an eight ohm speaker.
Here is it...
I used oak ply, knowing it's heavier, but I wanted that natural oak finish when done.
First step, put the cut pieces together and install the bracing for the face, cabinet divider and amp shelf.
Next was to install the shelves and seal all of the seams with silicone to make them air-tight. Even though it looks like one cabinet from the outside, the tens and the fifteen are totally sealed off from each other, only sharing one wall and vented seperately.
Next step, install the memory foam matress cover on all sides but the face as insulator, this was done with liquid nails.
Next step, cut the face plate and put a couple of coats of natural finish stain and six clear coats on it, as I decided to go with a natural finish and black hardware. After the clear dried I hit it with 0000 steel wool to smooth out the finish.
Last step, install the hardware and load it.
That's my 15 year-old son who helped me load it. He's quite the guitar player already...
I plugged it in and lit it up last night and man is it clean and tight! I can't wait to hear it with the full band.
I'm looking forward to reading your reviews...