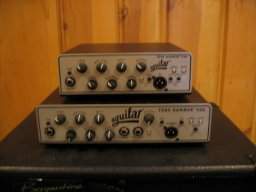
hi all! Some of you, (like me) have been wanting to find a cheep and easy way to mod your thumb bass(what i am modding today), or other basses so that it will have an 18 volt battery system. let me first start off that this mod is not going to hurt your bass, in this mod, you will not solder anything to the electronics board it's self, making this a perfect mod that ANYONE can do to their bass. many of you know how to do this mod, and have done this already, but this is a great place to start off if you dont know how to do this. WARNING! it is probably NOT going to happen, in fact, their is a .01 percent chance of anything happening, BUT I am not held credible if one of you damage or fry your bass... but dont worry, this is the most harmless way to get an 18 volt system. ALSO, before i start to ramble, you COULD get this done professionally, but it would probably cost $30- $50, and quite possibly be a permanent mod... PS. the picture is right under each step!!
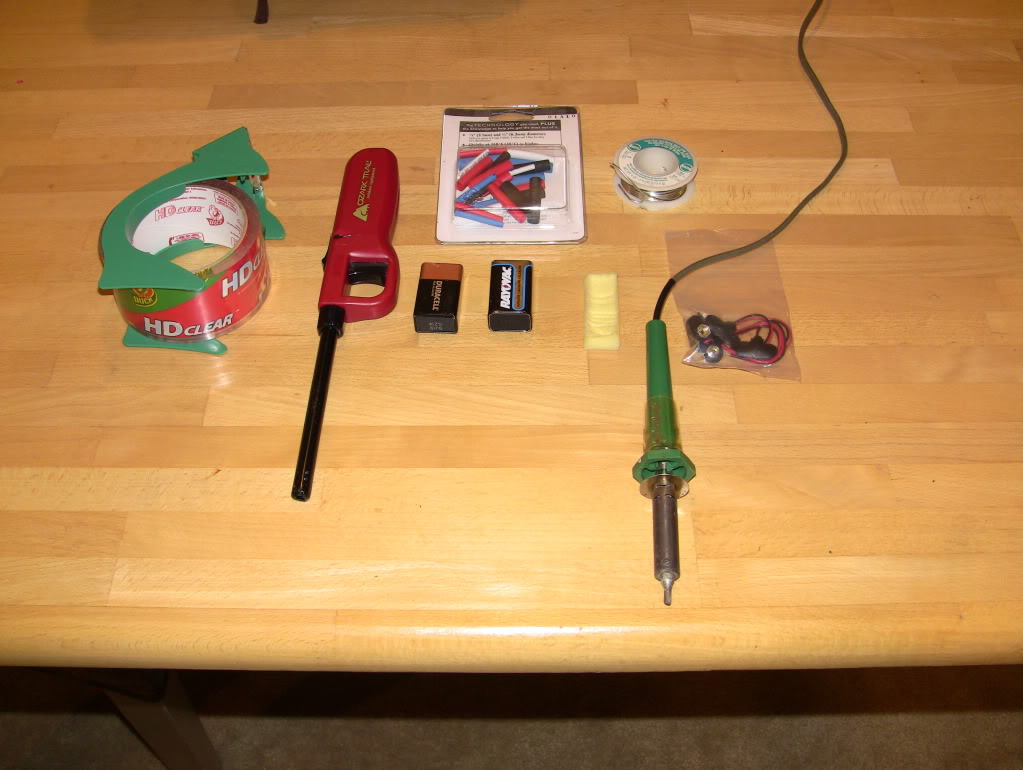
Step1: First, gather all the materials, these materials are: Tape, Soldering iron, two 9 volt batteries, foam, 3 9 volt batterie clips, wire strippers (a knife or wire cutters will work fine), solder, small shrink wrap tubing, and time! i had a soldering iron, tape, and solder, but i bought the 9 volt wire clips, batteries, and lots of SMALL shrink wrap tubing for a total of $12.
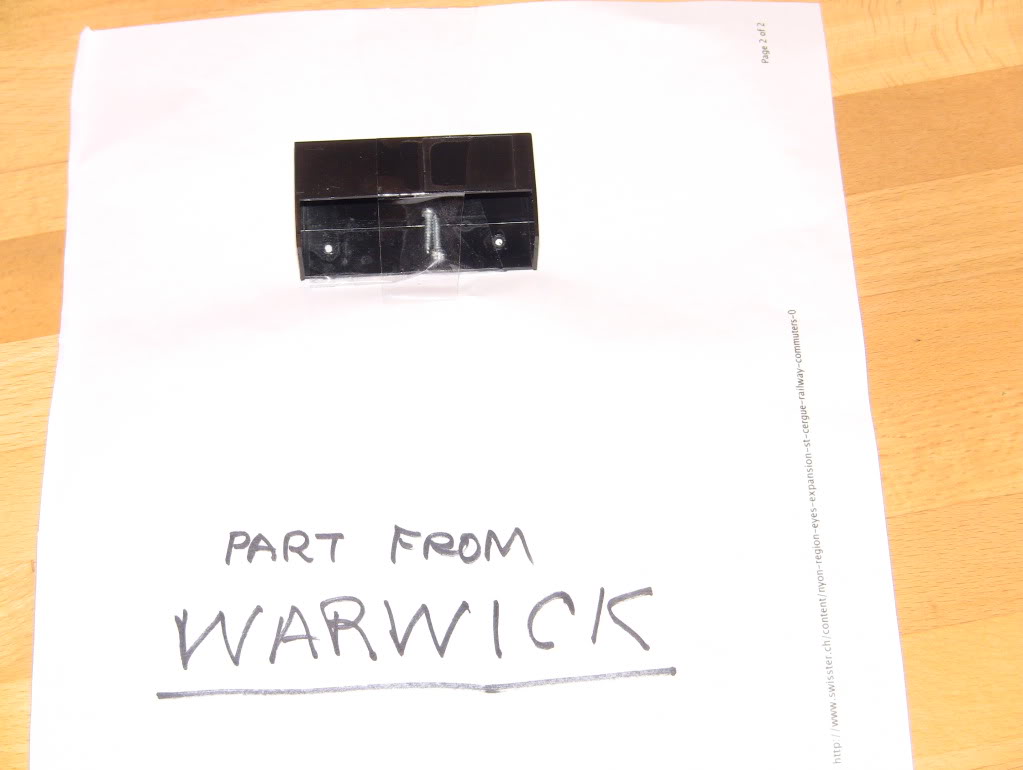
Step 2: gently remove the batterie box from the warwick, then figure out where to place the batteries, actually put them it to see where they go.
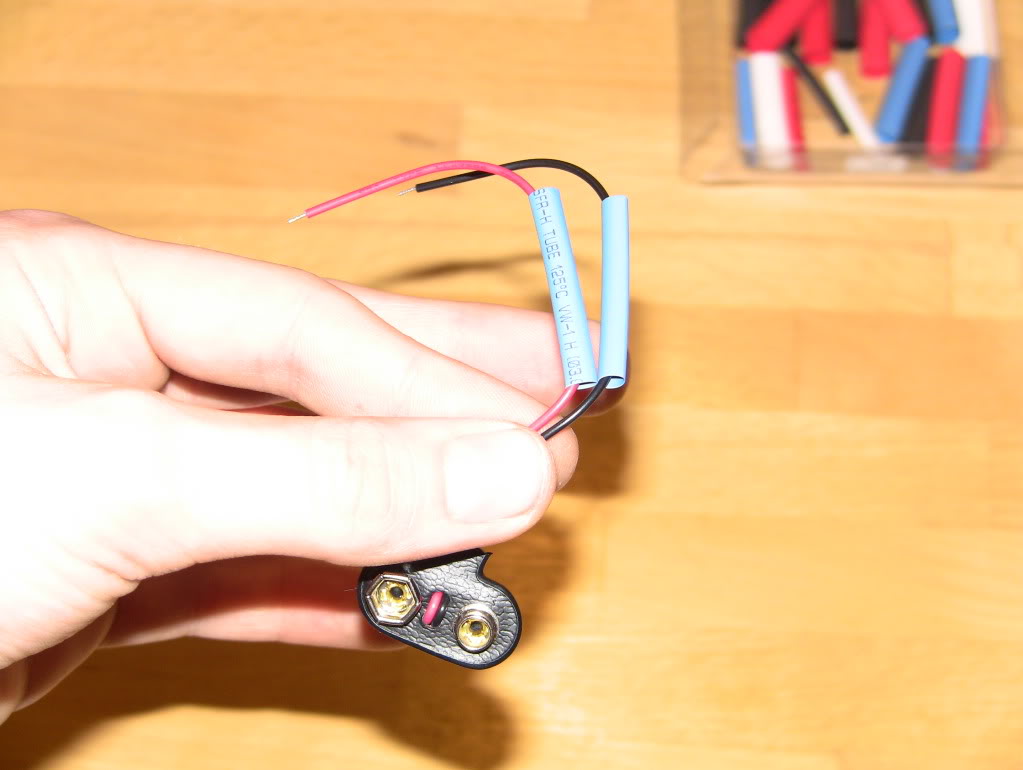
Step 3: place two strips of shrink wrap tubing around one of the three batterie clips. this one will be the center one that will plug into your existing batterie clip on the bass.
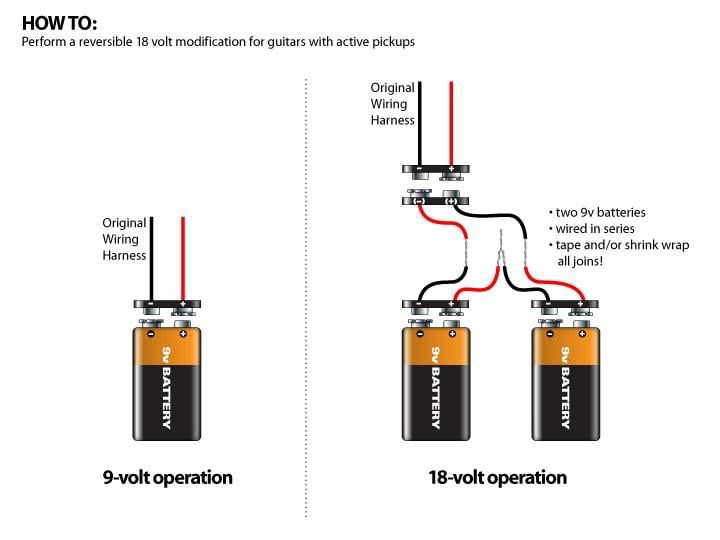
Step 4: look at this diagram of the circut: the red wire will always to to a black wire. this is what we are making, a serial curcut.
Step 5: take the center clip, and another clip, and solder ONE SIDE on to the circut. Remember, the red wire will go to the black wire... and read all of my post before making.
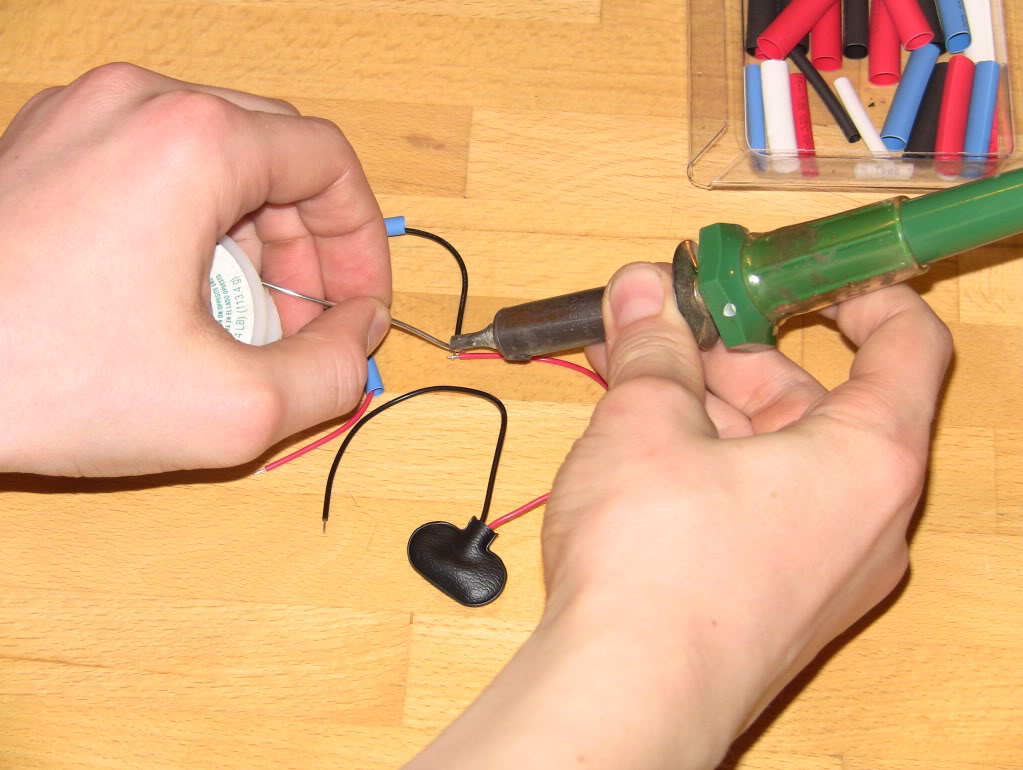
Step 6: use lighter to shrink the tubing on. make sure it is a tight fit, not loose, or part of the wire cutting through.
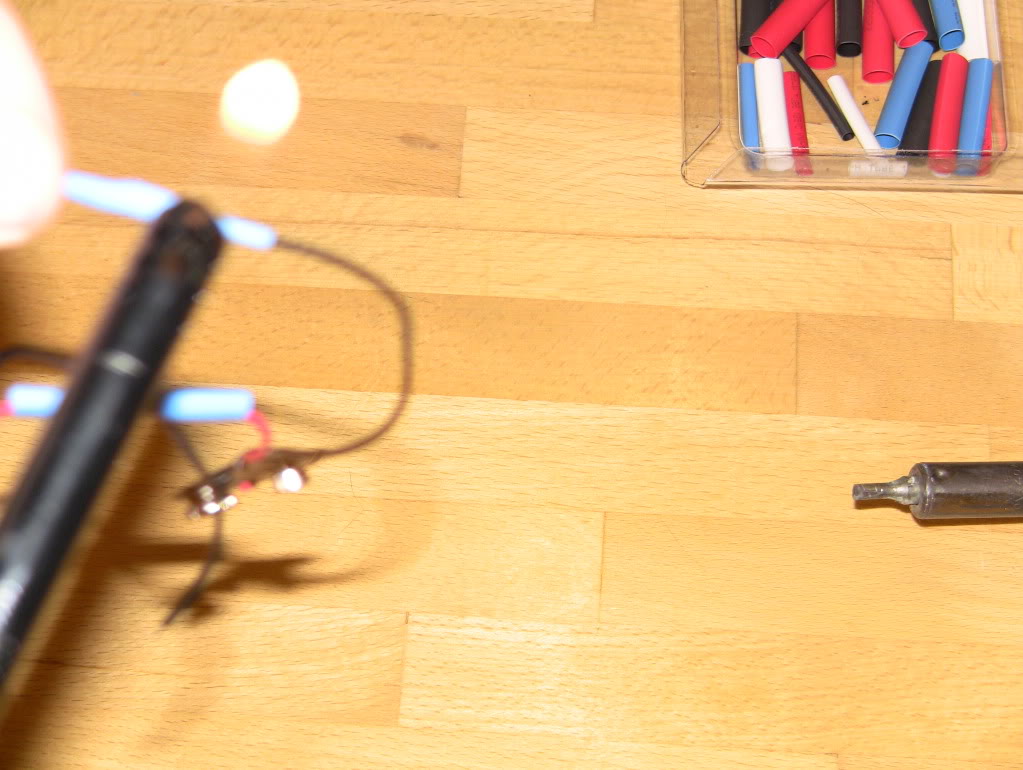
Step 7: your circut will now look something like this. make sure everything is connected.
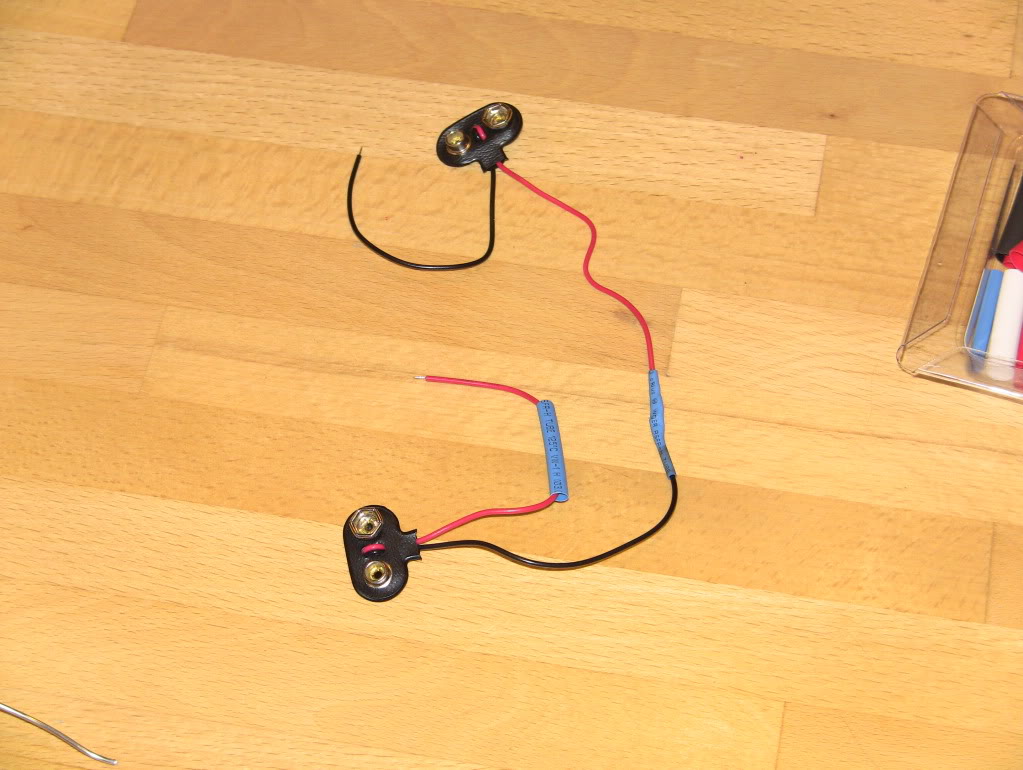
Step 8: solder on your other side, the black should be at the red. the center clip, the one with the heat shrink tube around the solder joint, slide it up over the other solder joint.
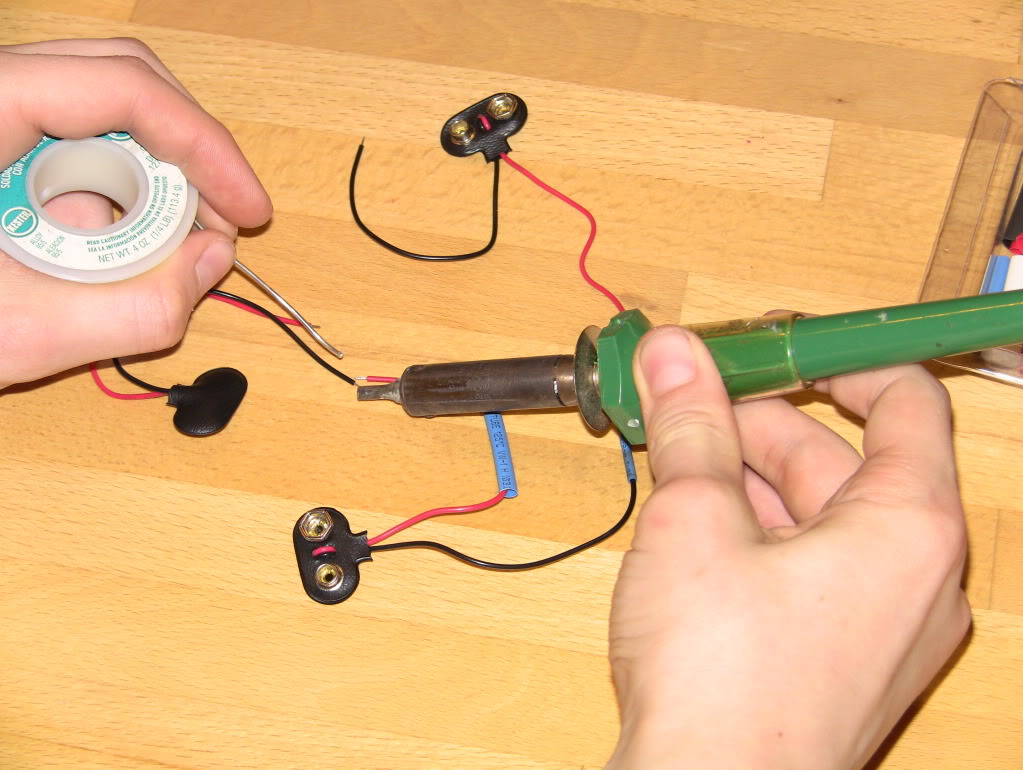
Step 9: after you shrink the tubing, it should look like this: the clip closest to the bottom of the picture is the center circut, the one that will clip on to your current basses clip.
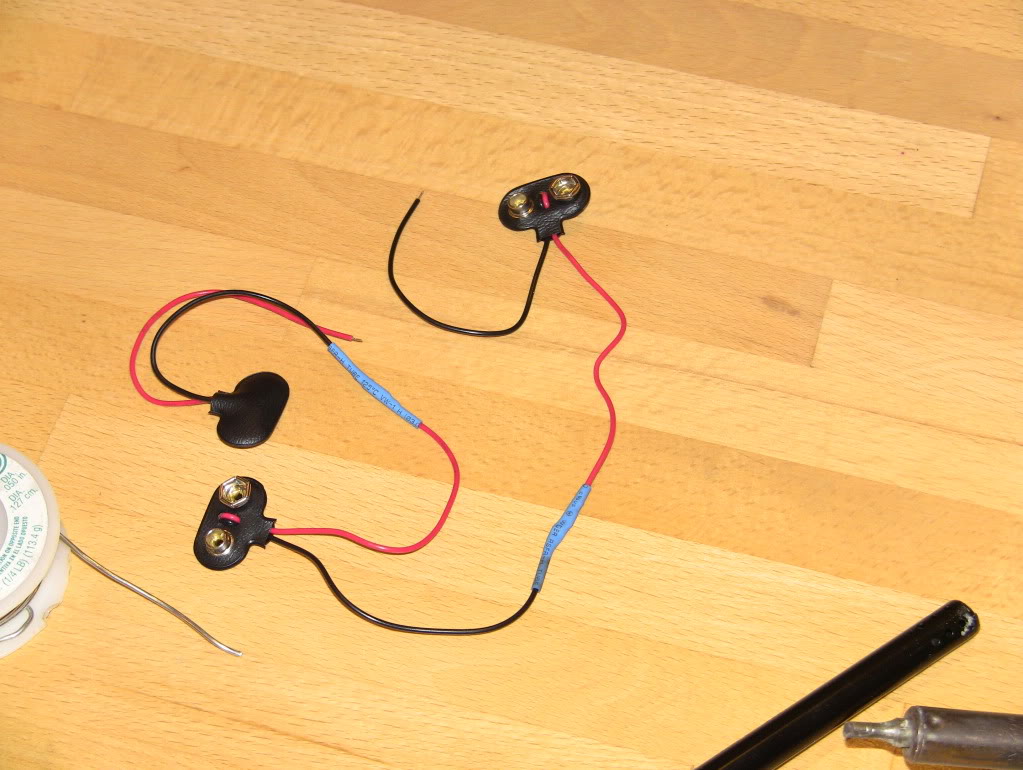
Step 10: now solder the remaining wire at an angle, they should be pointing out, at a paralel angle.
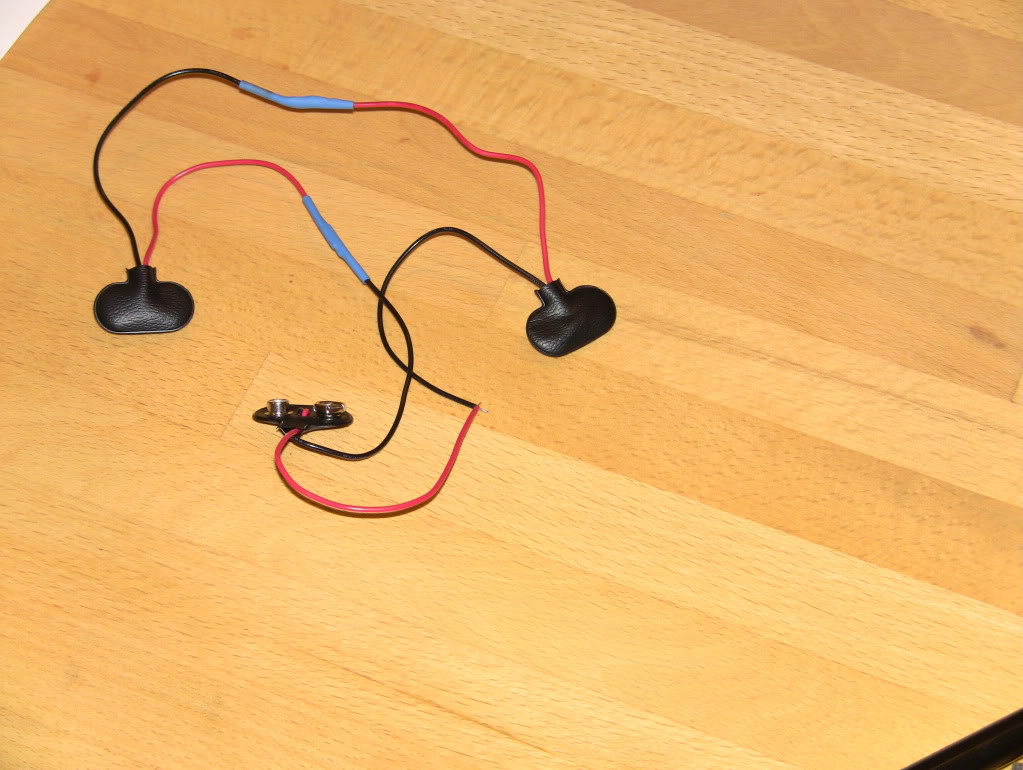
Step 11: Again, heat shrink the two tips.
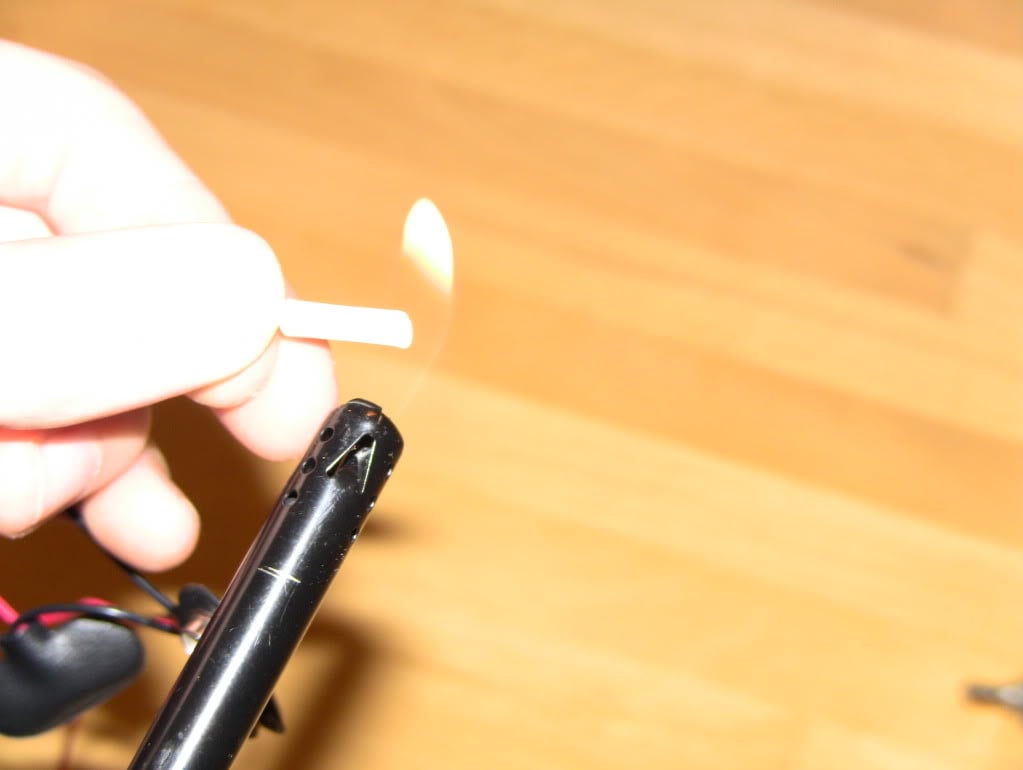
Step 12: your circut should look like this.
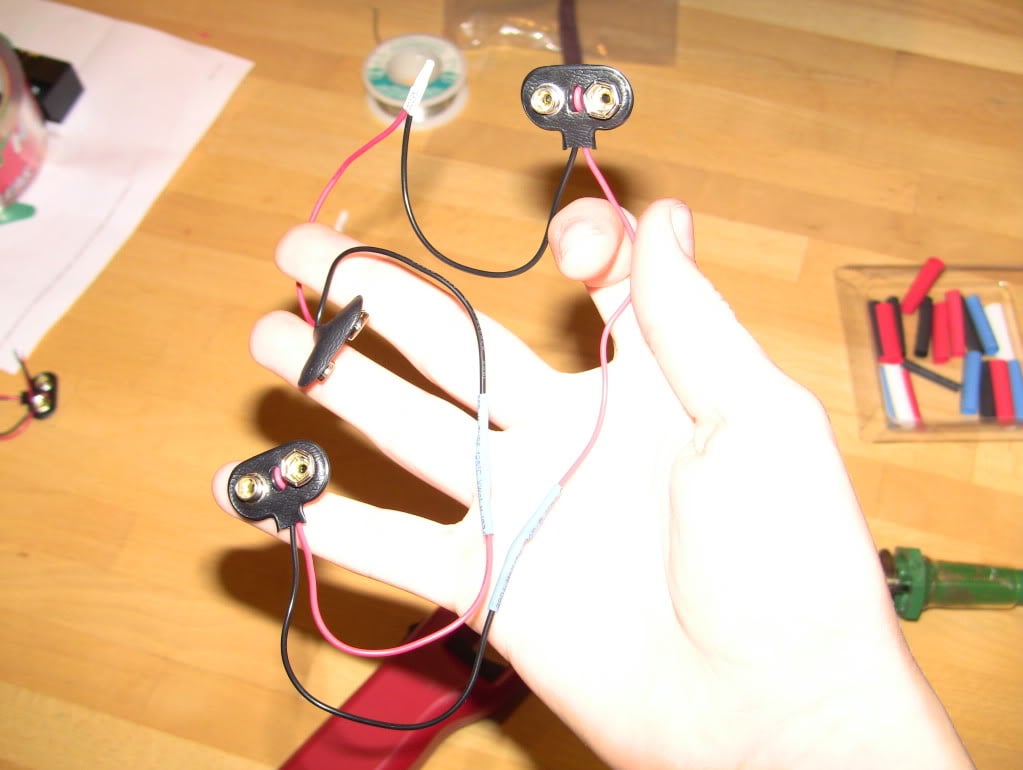
Step 13: Inspect all joints, and clip batteries on. it should look like this.
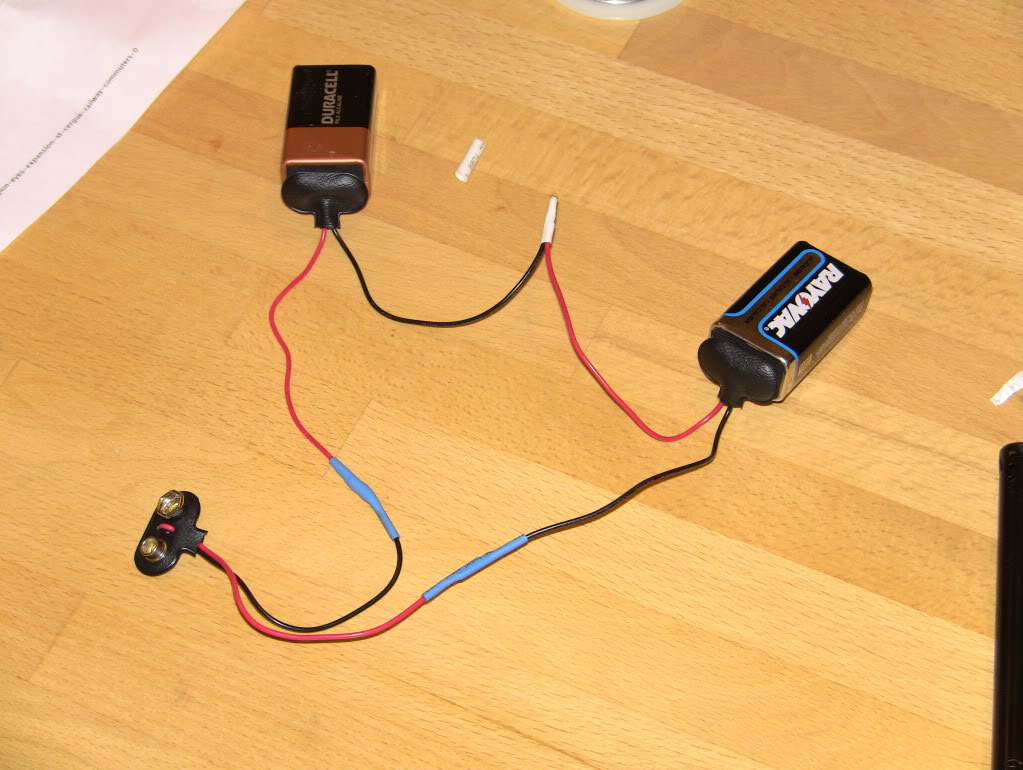
Step 14: This step is not necessary, but helpful. use volt meter, to test if the current works. if it is working, it should get a voltage of about 15- 20 volts. (the batteries i am using are totally dead. that is why i have 2 volts.)
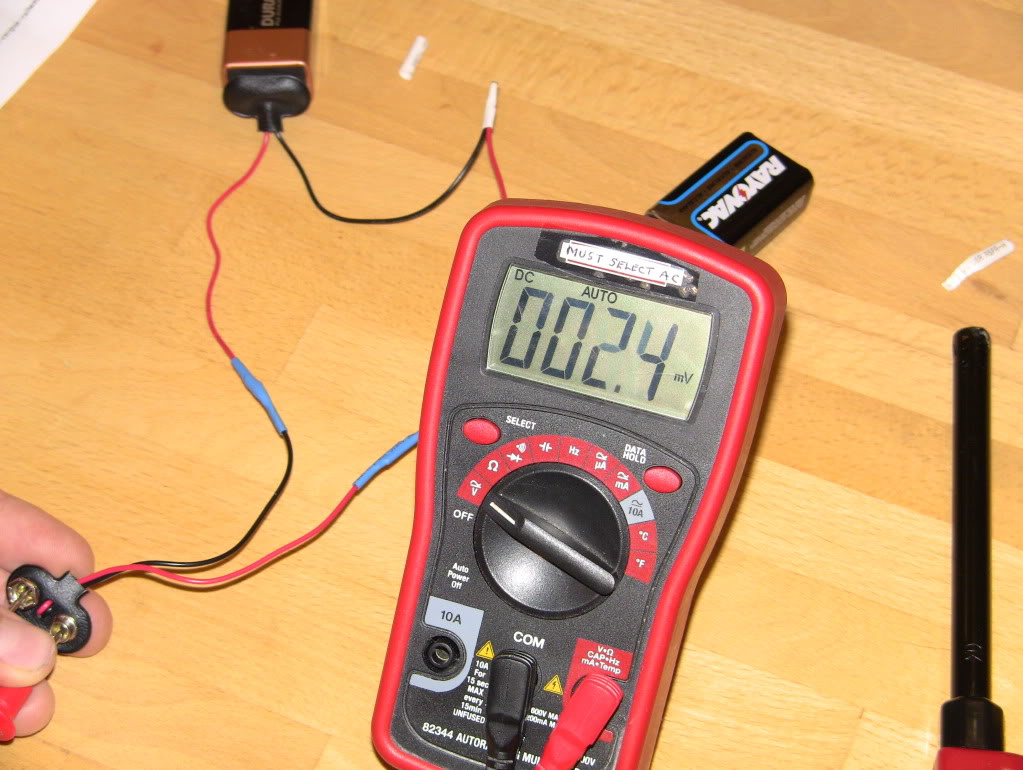
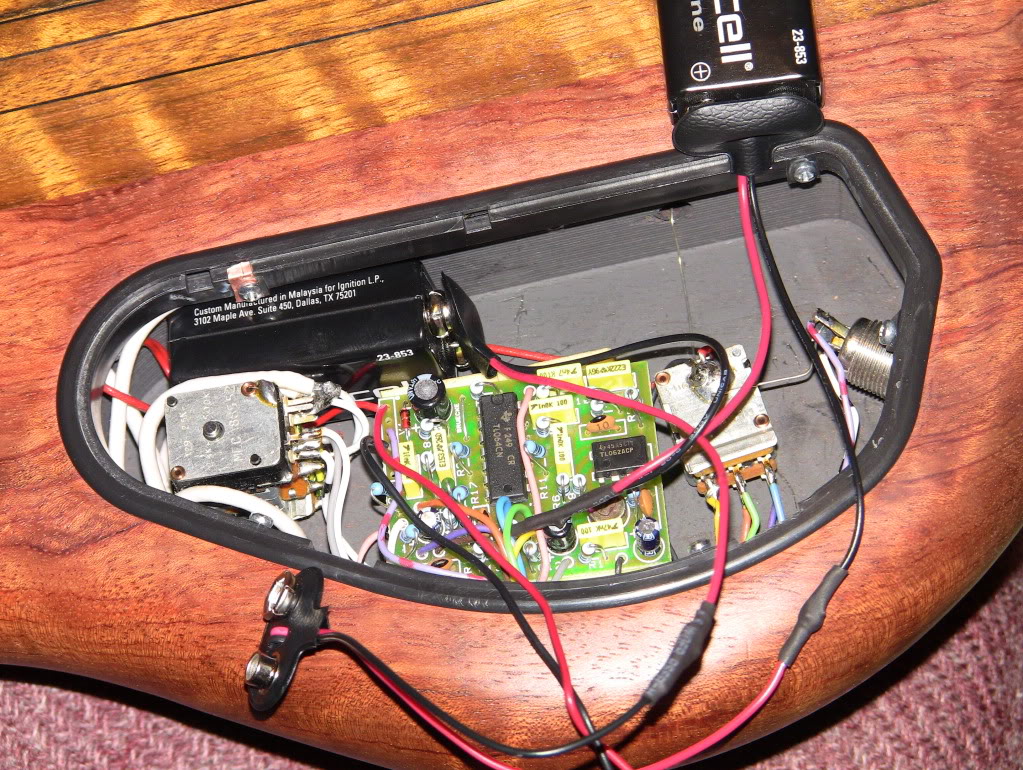
Step 15: now, go to your warwick thumb, or other bass. this is what it should look like with the case out.
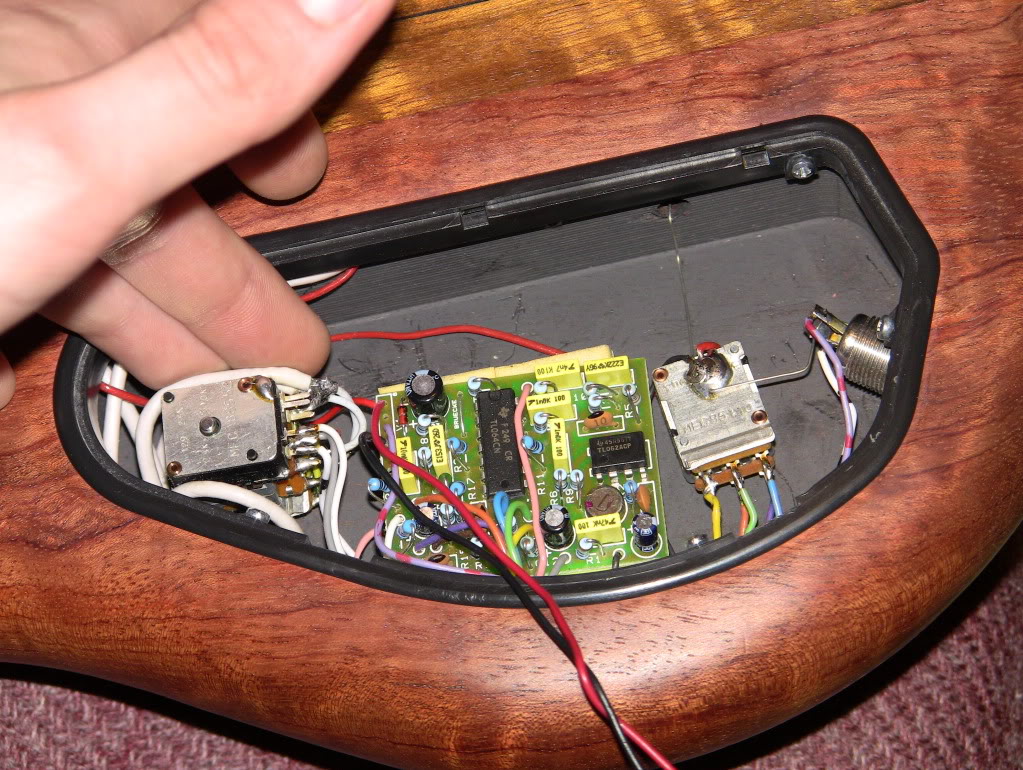
Step 16: carefully place the first batterie into the slot. be careful, do not force, if it does not fit, then keep shifting it's position, and move the wires.
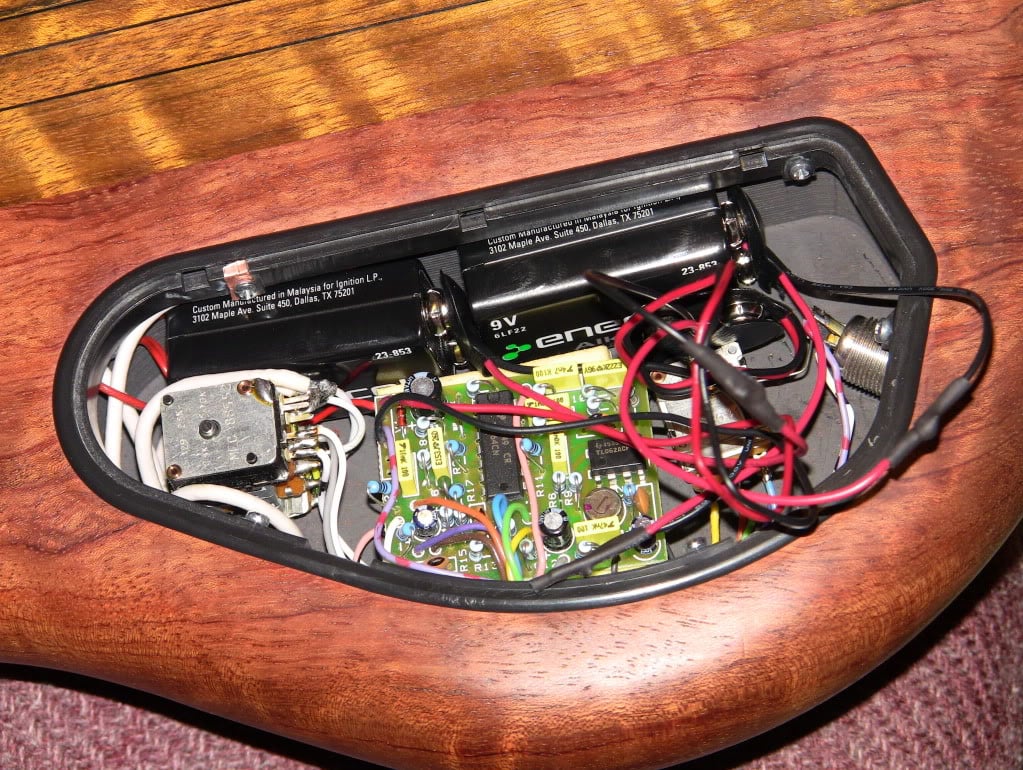
Step 17, fit the other batterie into it's spot. clip the clips together, connect the bass back up, and place the two clips in between the space of the batterie and the foam for for the electronics board. you can wrap the wires up, but the way i do it, is just make them fit in! :d
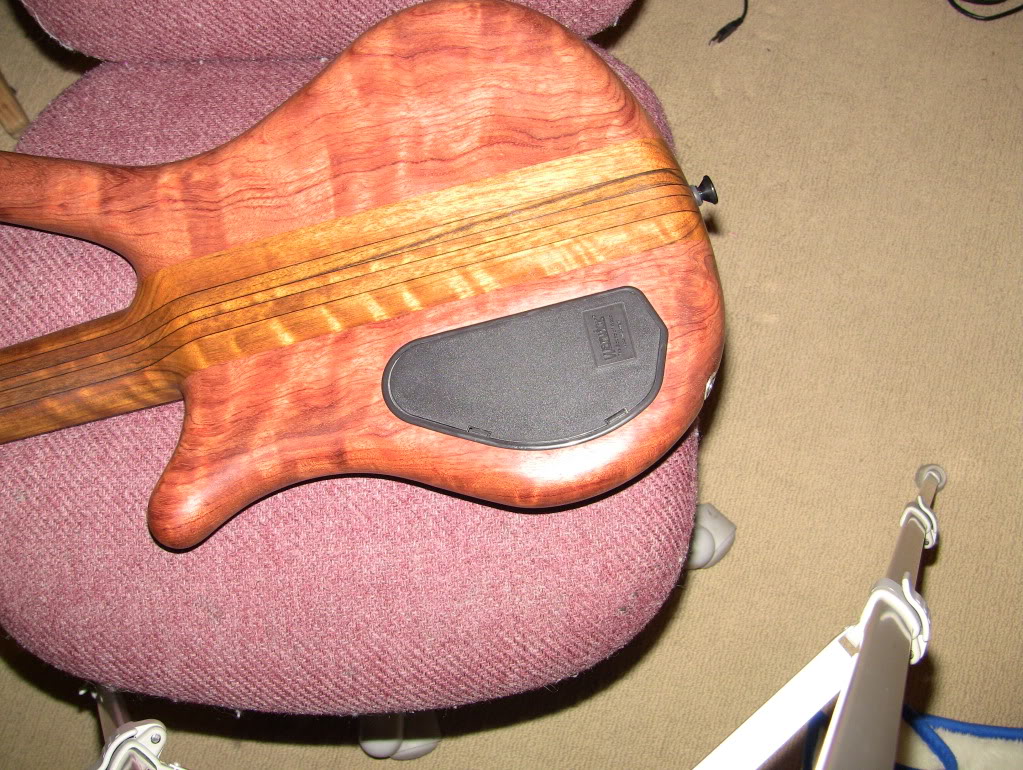
Final step: close back up and play! you will notice that your bass is alot louder than it used to be, it will be bosting the lows mids and highs, and giving the bass more head room, Now thats it! you are ready to have a great little 18 volt mod to use on any active bass, hope this helped!!! P.S. i put alot of steps in to give this a very detailed description on what to do, Thanks!
Step1: First, gather all the materials, these materials are: Tape, Soldering iron, two 9 volt batteries, foam, 3 9 volt batterie clips, wire strippers (a knife or wire cutters will work fine), solder, small shrink wrap tubing, and time! i had a soldering iron, tape, and solder, but i bought the 9 volt wire clips, batteries, and lots of SMALL shrink wrap tubing for a total of $12.
Step 2: gently remove the batterie box from the warwick, then figure out where to place the batteries, actually put them it to see where they go.
Step 3: place two strips of shrink wrap tubing around one of the three batterie clips. this one will be the center one that will plug into your existing batterie clip on the bass.
Step 4: look at this diagram of the circut: the red wire will always to to a black wire. this is what we are making, a serial curcut.
Step 5: take the center clip, and another clip, and solder ONE SIDE on to the circut. Remember, the red wire will go to the black wire... and read all of my post before making.
Step 6: use lighter to shrink the tubing on. make sure it is a tight fit, not loose, or part of the wire cutting through.
Step 7: your circut will now look something like this. make sure everything is connected.
Step 8: solder on your other side, the black should be at the red. the center clip, the one with the heat shrink tube around the solder joint, slide it up over the other solder joint.
Step 9: after you shrink the tubing, it should look like this: the clip closest to the bottom of the picture is the center circut, the one that will clip on to your current basses clip.
Step 10: now solder the remaining wire at an angle, they should be pointing out, at a paralel angle.
Step 11: Again, heat shrink the two tips.
Step 12: your circut should look like this.
Step 13: Inspect all joints, and clip batteries on. it should look like this.
Step 14: This step is not necessary, but helpful. use volt meter, to test if the current works. if it is working, it should get a voltage of about 15- 20 volts. (the batteries i am using are totally dead. that is why i have 2 volts.)
Step 15: now, go to your warwick thumb, or other bass. this is what it should look like with the case out.
Step 16: carefully place the first batterie into the slot. be careful, do not force, if it does not fit, then keep shifting it's position, and move the wires.
Step 17, fit the other batterie into it's spot. clip the clips together, connect the bass back up, and place the two clips in between the space of the batterie and the foam for for the electronics board. you can wrap the wires up, but the way i do it, is just make them fit in! :d
Final step: close back up and play! you will notice that your bass is alot louder than it used to be, it will be bosting the lows mids and highs, and giving the bass more head room, Now thats it! you are ready to have a great little 18 volt mod to use on any active bass, hope this helped!!! P.S. i put alot of steps in to give this a very detailed description on what to do, Thanks!