
Hey,
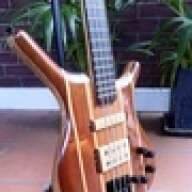
Here is my latest build, a neck through 4 string active bass.
My last 4 string didnt have the best action as I didnt put enough neck angle in, the action was to high, still learning. So I'm taking all the electronics out and putting them into this new one.
The shape will be similar to my latest guitar shape, just with softer edges for the bass.
Let me know what you think of the shape, pics below.
Ive had some zebrano and wenge sitting round waiting to be used for a body so this one will get it.
Here is the body bits, maple inbetween.


For the neck im using png rosewood, maple and tas oak with thin maple lams. The rosewood and tas oak are nicely figured
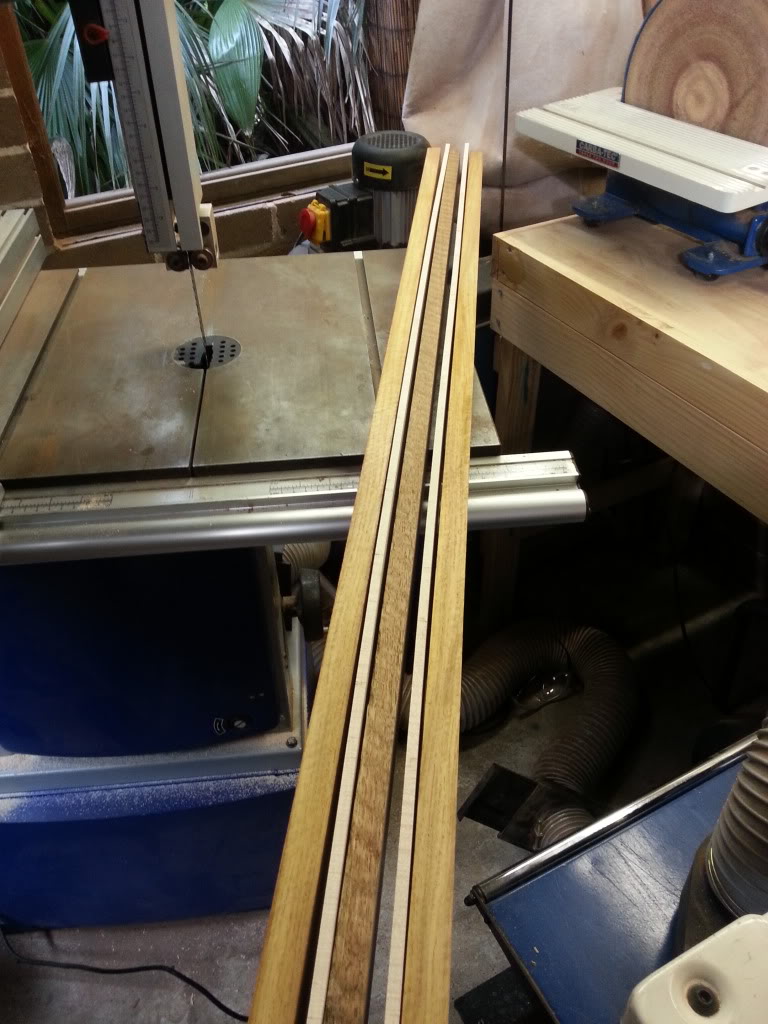
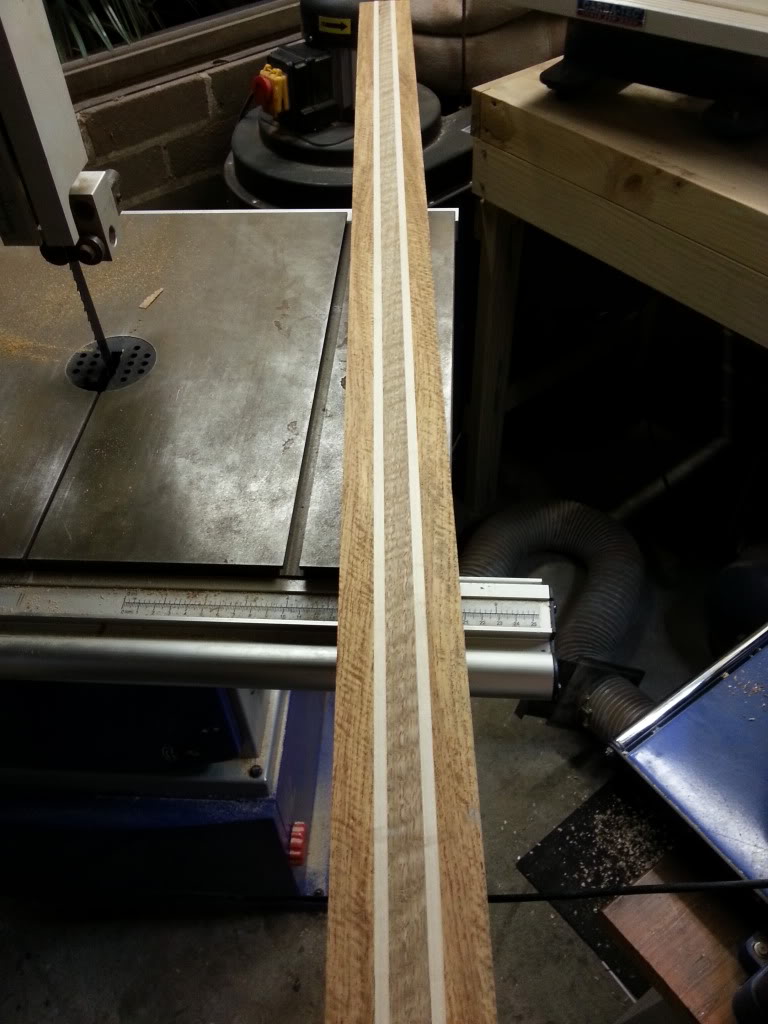
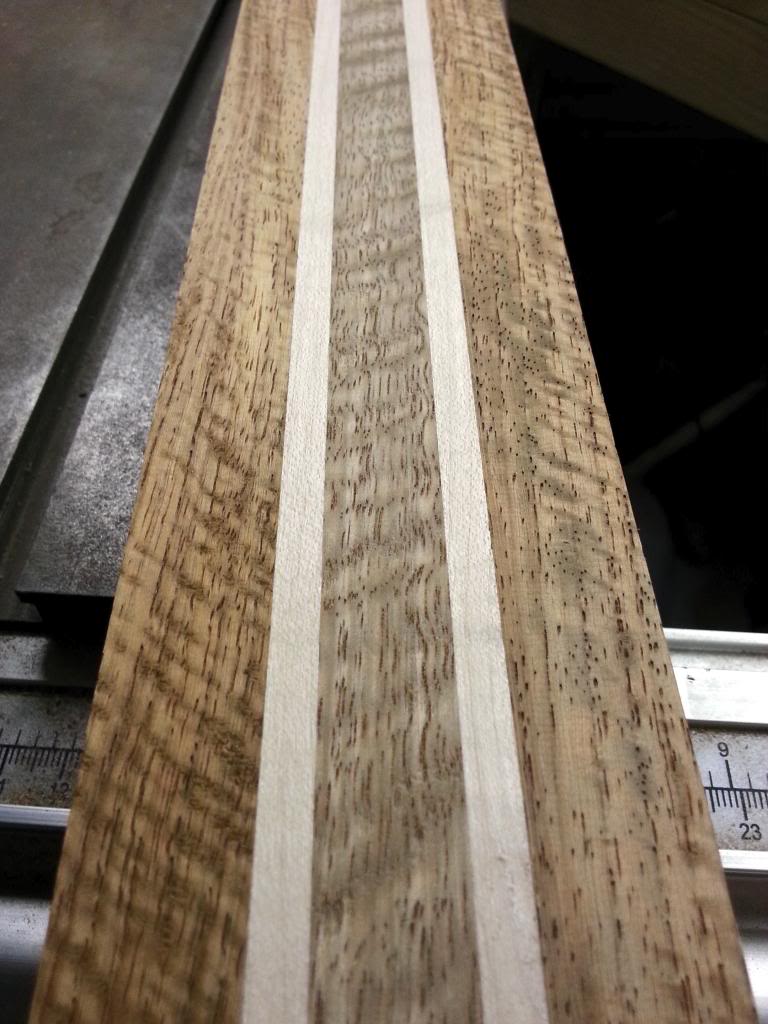
Shaped the headstock and neck width and depth.
Installed truss rods and only had some guitar sized carbon rods, used them anyway, not right but should help none the less.
Also I added another bit of rosewood to get the right thickness to match up with the body.


Body glued to neck, now with the correct amount of neck angle, thanks to an online calculator I found.

Body roughly cut out on the bandsaw.


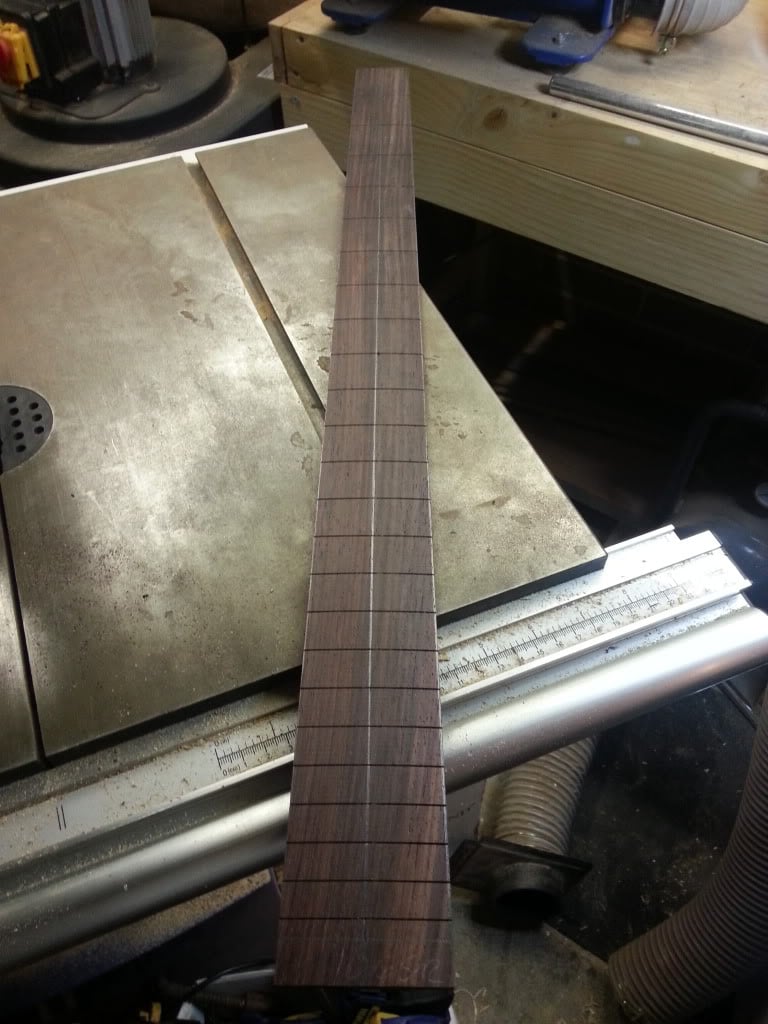
Onto the fingerboard, rosewood.
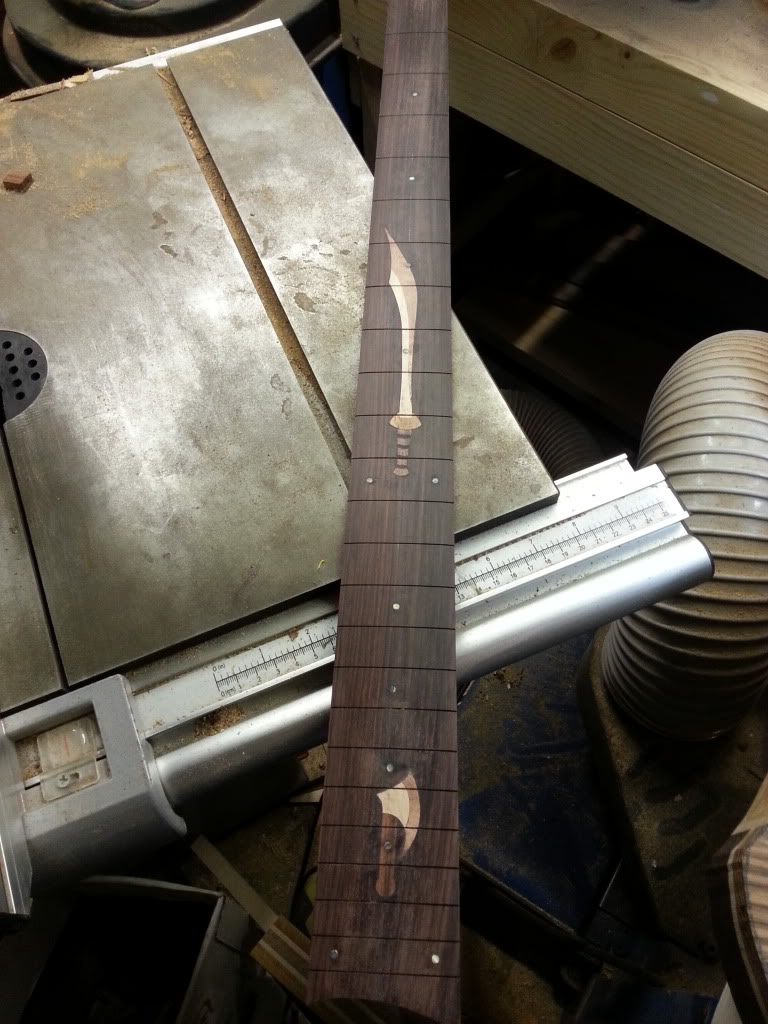
I went for a sword inlay and got carried away and put an axe in also. Not to sure about the axe after its done so I will be removing that.
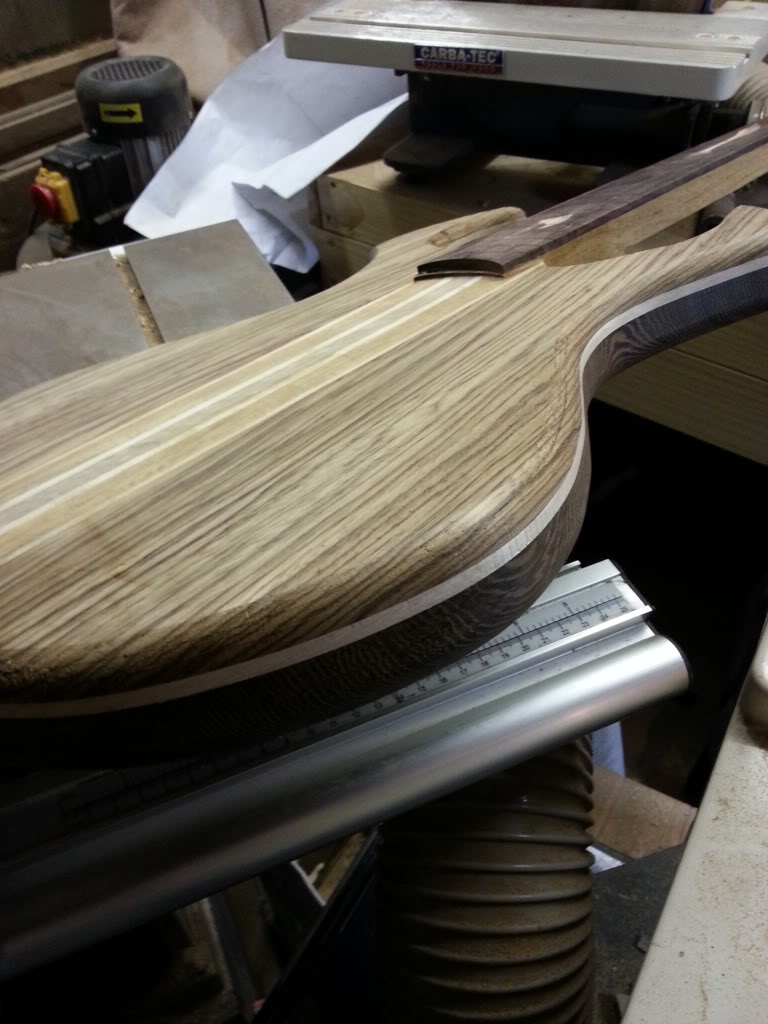
Round over done after cleaning up the edges. The contrast between the woods looks tasty enough to eat.
Pickup time. I'm using the nordstrand pickups from my previous build, however this time they will get a nice wooden cover.


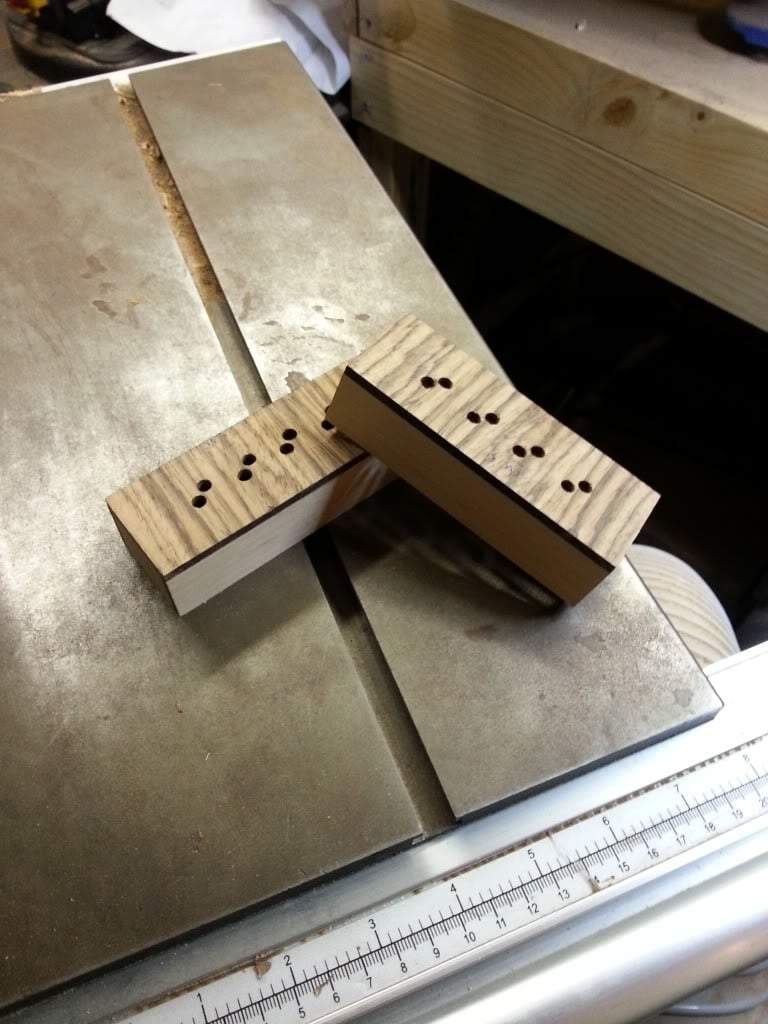
Routed out the body for the pickups. My amazing skills and ****** router made a few mistakes and jumped into the template. No biggie just means this is going to get some thin pickup rings.
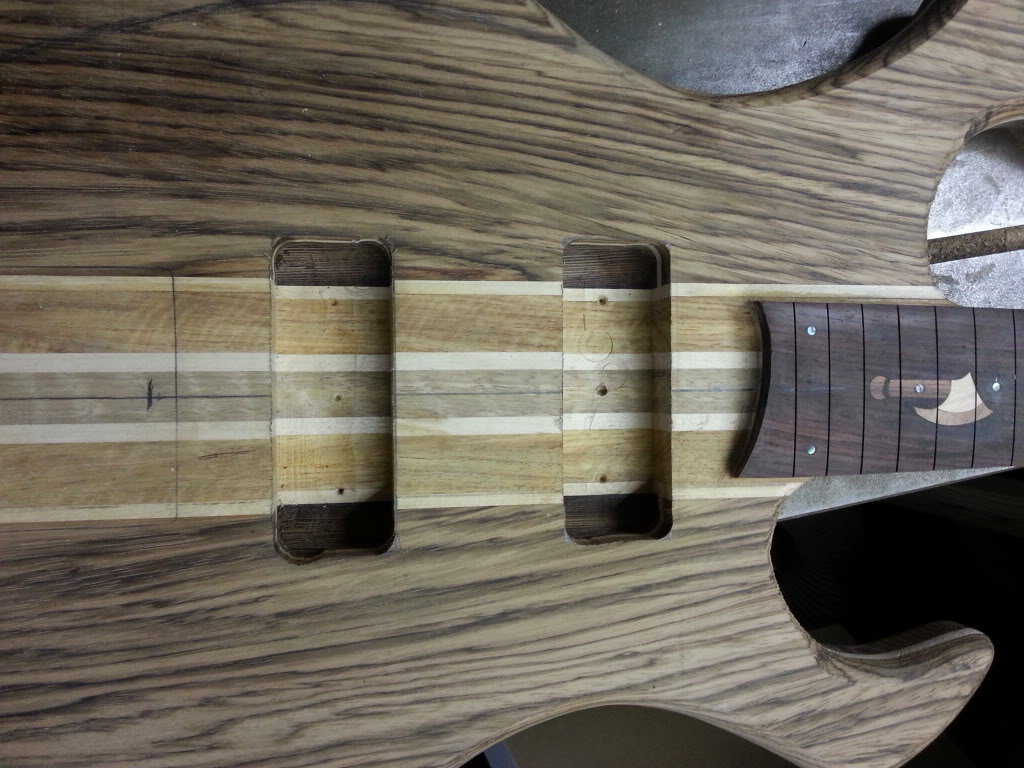

This is were im up to. Very excited about this build the woods are looking good together. I think I will use tung oil on this build for the first time, seen some nice finishes, drying though just takes time...... and then some more time.......
Here is my latest build, a neck through 4 string active bass.
My last 4 string didnt have the best action as I didnt put enough neck angle in, the action was to high, still learning. So I'm taking all the electronics out and putting them into this new one.
The shape will be similar to my latest guitar shape, just with softer edges for the bass.
Let me know what you think of the shape, pics below.
Ive had some zebrano and wenge sitting round waiting to be used for a body so this one will get it.
Here is the body bits, maple inbetween.
For the neck im using png rosewood, maple and tas oak with thin maple lams. The rosewood and tas oak are nicely figured
Shaped the headstock and neck width and depth.
Installed truss rods and only had some guitar sized carbon rods, used them anyway, not right but should help none the less.
Also I added another bit of rosewood to get the right thickness to match up with the body.
Body glued to neck, now with the correct amount of neck angle, thanks to an online calculator I found.
Body roughly cut out on the bandsaw.
Onto the fingerboard, rosewood.
I went for a sword inlay and got carried away and put an axe in also. Not to sure about the axe after its done so I will be removing that.
Round over done after cleaning up the edges. The contrast between the woods looks tasty enough to eat.
Pickup time. I'm using the nordstrand pickups from my previous build, however this time they will get a nice wooden cover.
Routed out the body for the pickups. My amazing skills and ****** router made a few mistakes and jumped into the template. No biggie just means this is going to get some thin pickup rings.
This is were im up to. Very excited about this build the woods are looking good together. I think I will use tung oil on this build for the first time, seen some nice finishes, drying though just takes time...... and then some more time.......




