

Enjoy the benefits of a premium membership!
Upgrade Account
-
TalkBass has been independent since 1998. Add your voice.
Create a free account to reply to discussions, view embedded media, and browse with fewer display ads.
Join free Log in
Want zero display ads or expanded classifieds tools? Compare plans.
You are using an out of date browser. It may not display this or other websites correctly.
You should upgrade or use an alternative browser.
You should upgrade or use an alternative browser.
5 string fretless comp.
- Thread starter Grant Bass
- Start date
More options
Who Replied?furlanetto gave it to me; after i won a bet to name the other burl he was selling me; thuya burl
i am toying with the idea of putting the small plastic/pearl side markers on the face right close to the edge for semi-tone markers, i dont wanna have the board to busy; but it seems very practical to me; any inputs?

adam.beauchene
Commercial User
i am toying with the idea of putting the small plastic/pearl side markers on the face right close to the edge for semi-tone markers, i dont wanna have the board to busy; but it seems very practical to me; any inputs?
I play quite a bit of fretless, and side markers on 3,5,7,9, 12, etc. are enough for me. I'd be hesitant to 'busy up' the face of that lovely fb with too much stuff. I'd say the side is the place for the markers. - Kev

- Dec 21, 2007
- 15,222
- 45,025
- Disclosures
- Lark in the Morning Instructional Videos; Audix Microphones
i am toying with the idea of putting the small plastic/pearl side markers on the face right close to the edge for semi-tone markers, i dont wanna have the board to busy; but it seems very practical to me; any inputs?
I've played Zon's "half lined" - not at all "half", more like a small line (about 1/4" marker where the fret would start) and find it very nice.

I play quite a bit of fretless, and side markers on 3,5,7,9, 12, etc. are enough for me. I'd be hesitant to 'busy up' the face of that lovely fb with too much stuff. I'd say the side is the place for the markers. - Kev
Agreed. That board is to pretty to distract from.
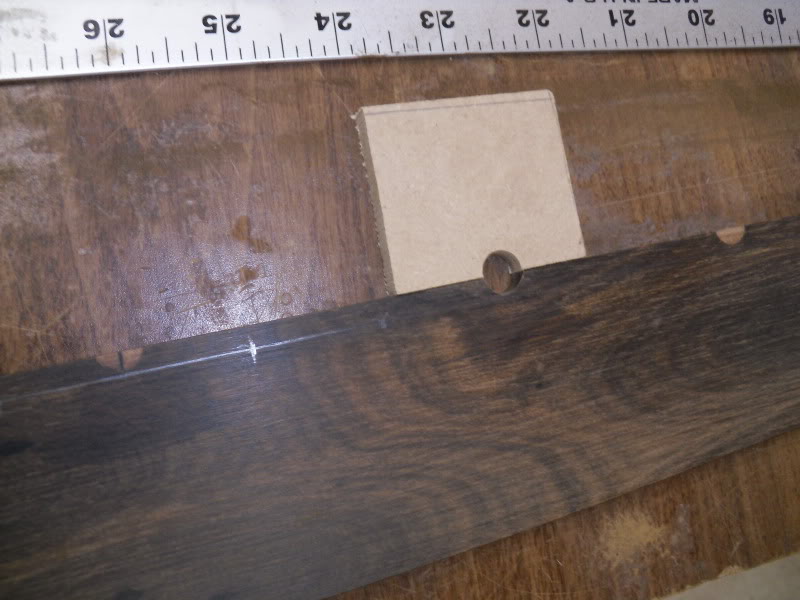
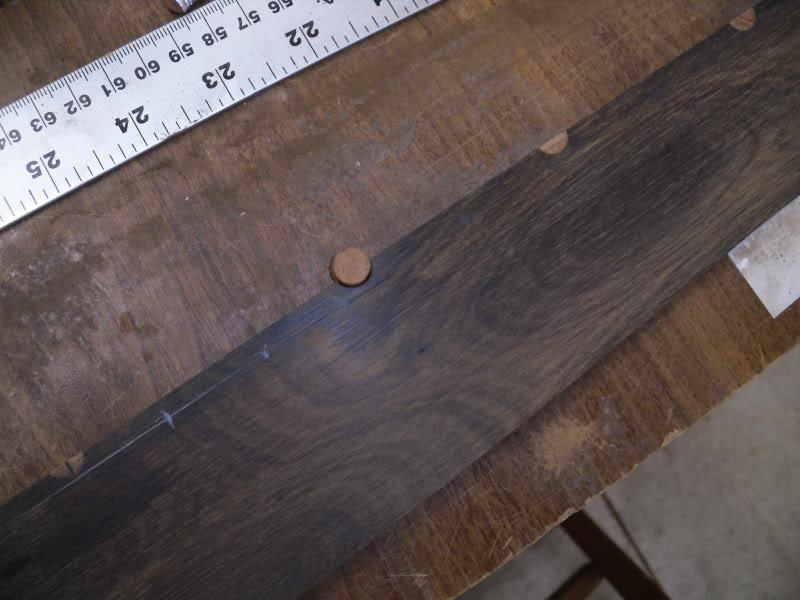
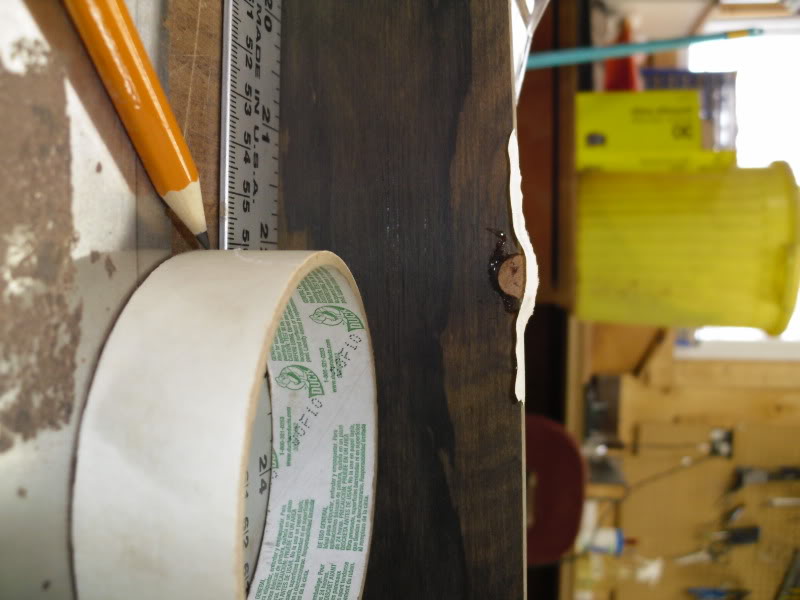
so first the small repair; i drilled out the old marker (thank god the right one!) to replug it; i clamped an equal height piece of scrap next to it, so i had something for the forstner bit to bite into; refit in a piece of dowel and sanded the one edge so it was flat, i was gonna put a clamp, but tape would be suffice for this application
quick mockup
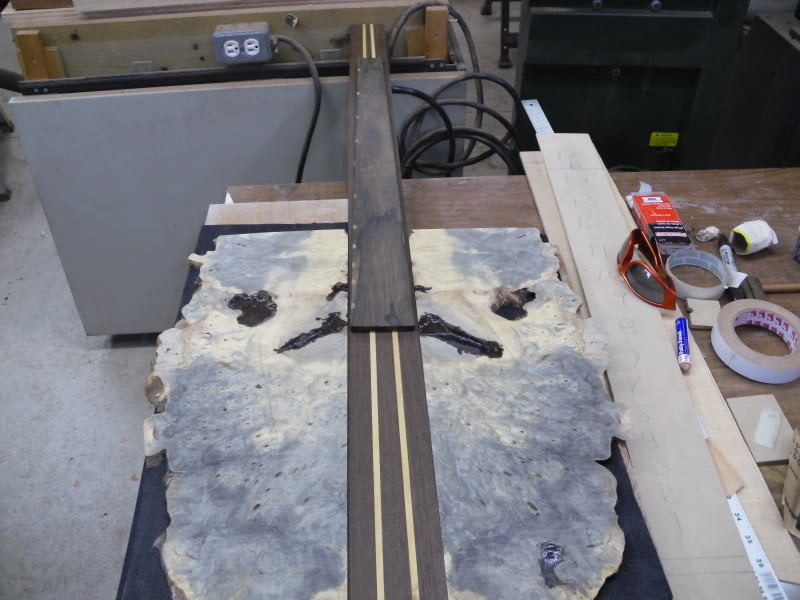
quick mockup
this is my full length decoritive neck shim; im using mahogany bc A) it matches and B) im hoping something under the finger like this could express different mids; im not a tone scientist; and am mostly doing it for 'A' but you never know!
CF bars they follow the taper as opose to the rod; which i thought i had pics of but apparently not?; they got a little off the lams at the nut end; whatcha gonna do?
a post off all teaser shots
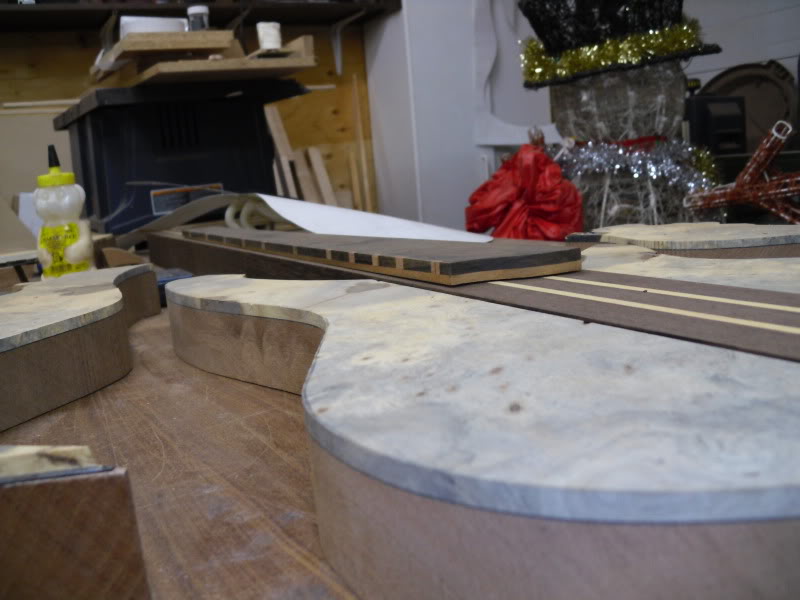
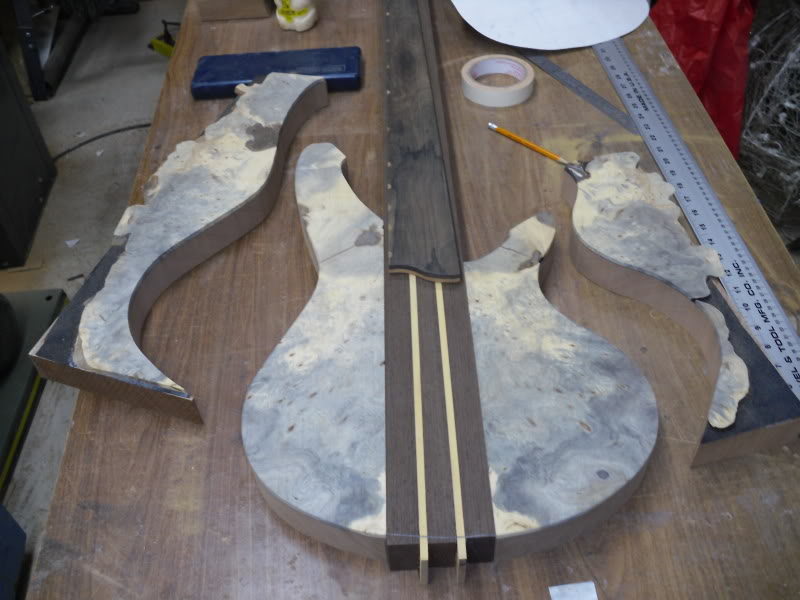
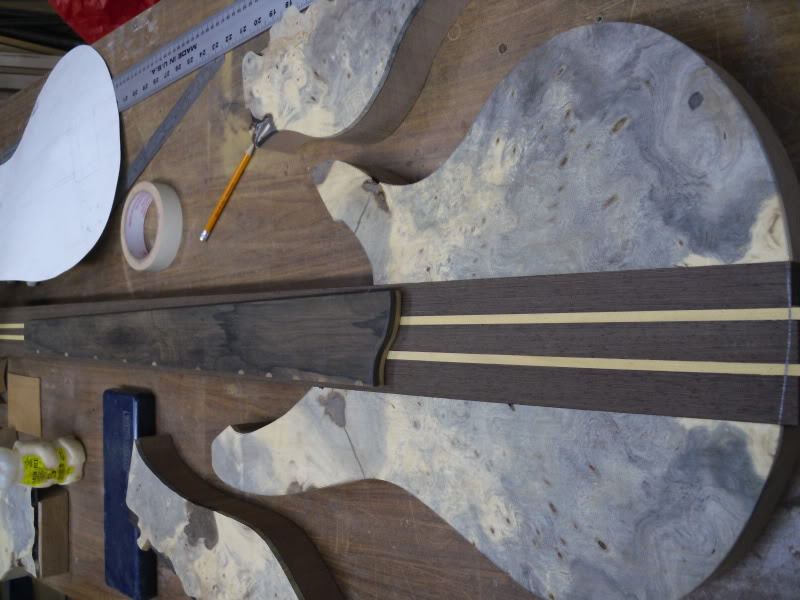
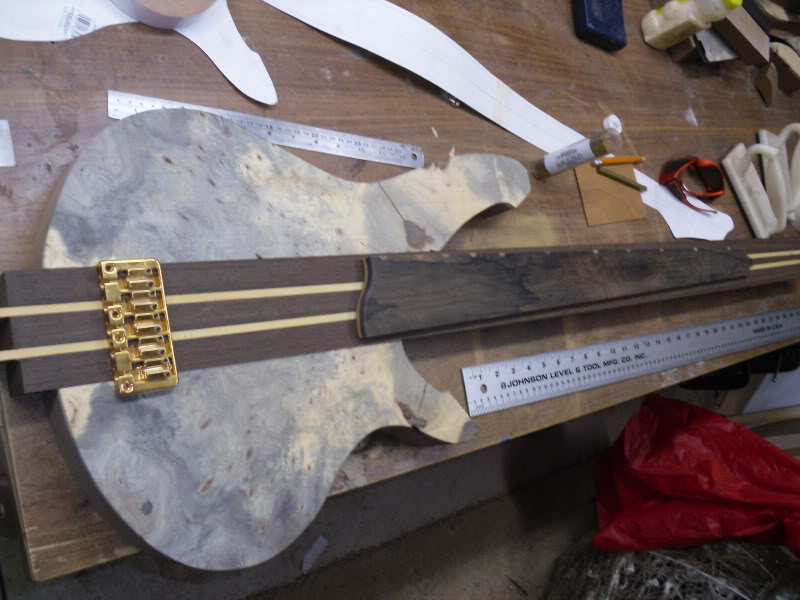
its comin along, slowly but surely
i received a yamaha rbx setup for the electronics, that im basically just dropping in; and veneering the pickups
its comin along, slowly but surely
i received a yamaha rbx setup for the electronics, that im basically just dropping in; and veneering the pickups

so here we have the fingerboard being glued on; my method is simple centre lines; i clamp a small bock at the nut end; another small block at the bridge end; and adjust as needed then tighten; then i add a long heavy block over the bulk of the board. Istart at the nut end, when i get about 3 clamps on the main block, i remove the bridge block and continue putting on clamps in that direction; i always worry about bunching going back and forth; even tho its technically impossible 
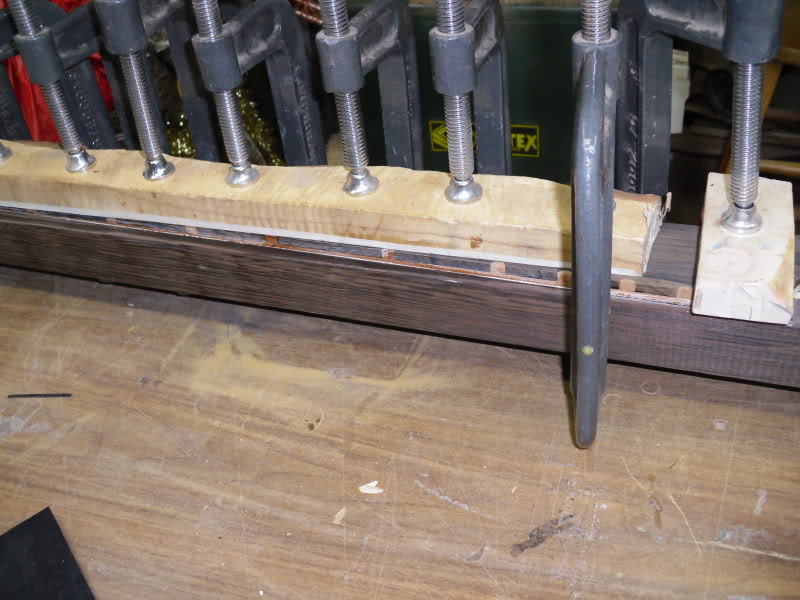
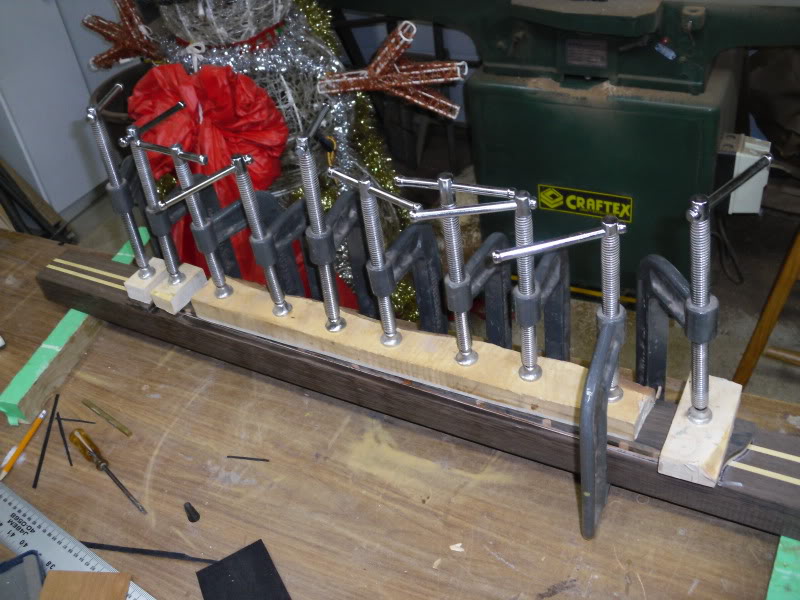
after i glued that up, i got curious to what the woods 'wood' look like wetted, so i threw some spirits on them, while in glue up.
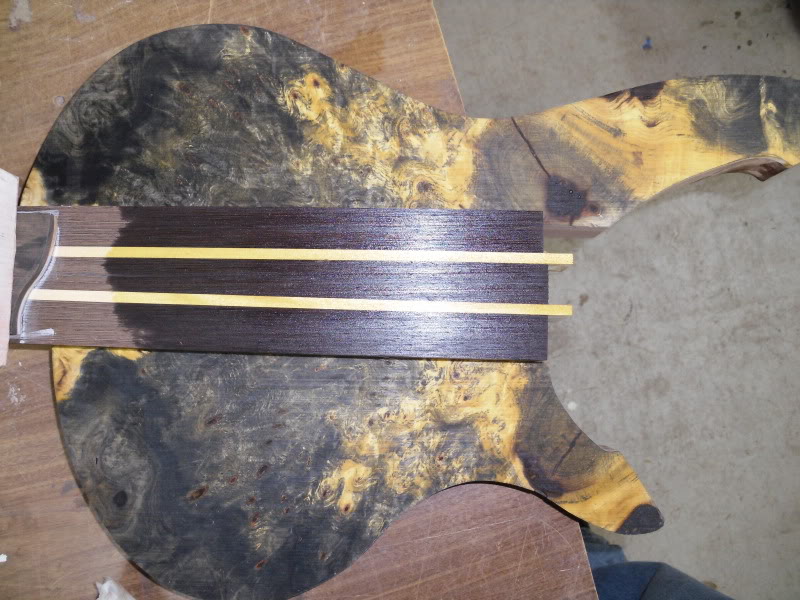
after i glued that up, i got curious to what the woods 'wood' look like wetted, so i threw some spirits on them, while in glue up.
next was cutting out the profile, neck, headstock, trimming around the fingerboard
then working the transition piece; i call it "the nut hugger"
what we have here is my neck jig; it was a very modest prototype of what i wanted to make, but when something works flawlessly you seem to keep it in the mix,
so im in no rush to build another, but one thats somewhat collapsable, and with a lexan (or something strong and clear) base for the router. i kinda have to stick my face in there to see whats happenin
Super! what can I say... a Buckeye Burl to me is a the king of burl.....This comp is becoming more and more challenging for the jury.... Hope I won't have to vote 
back view; the wings have been planed down to just heavy of 1.5"
and the wings were given a roundover.
glued on ears
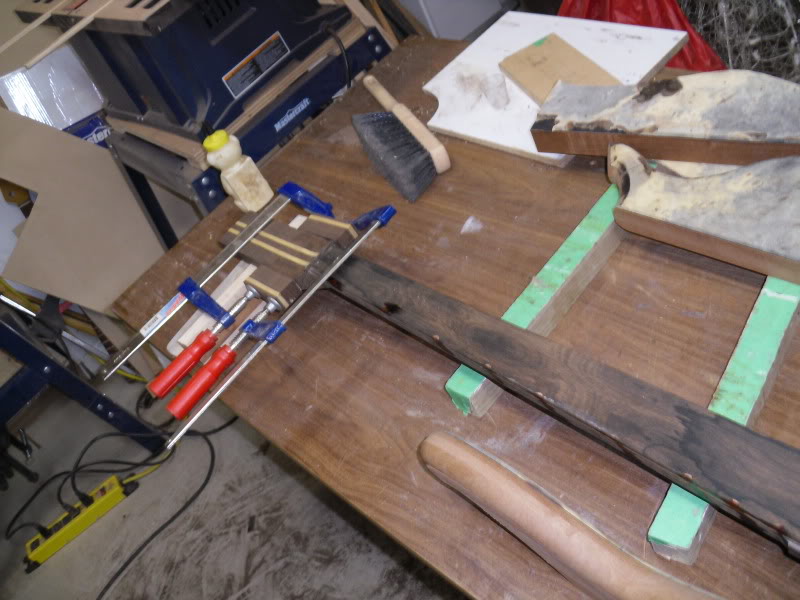
contoured the belly cut
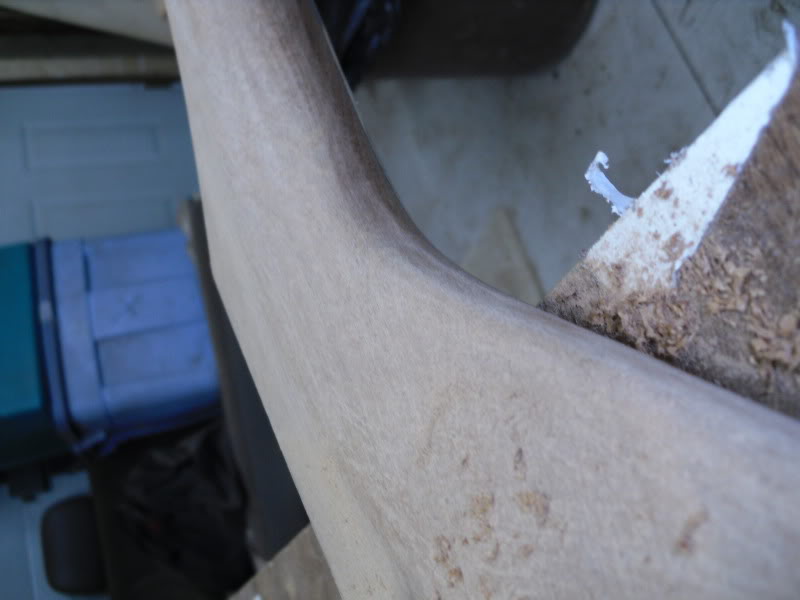
began shaping the volute
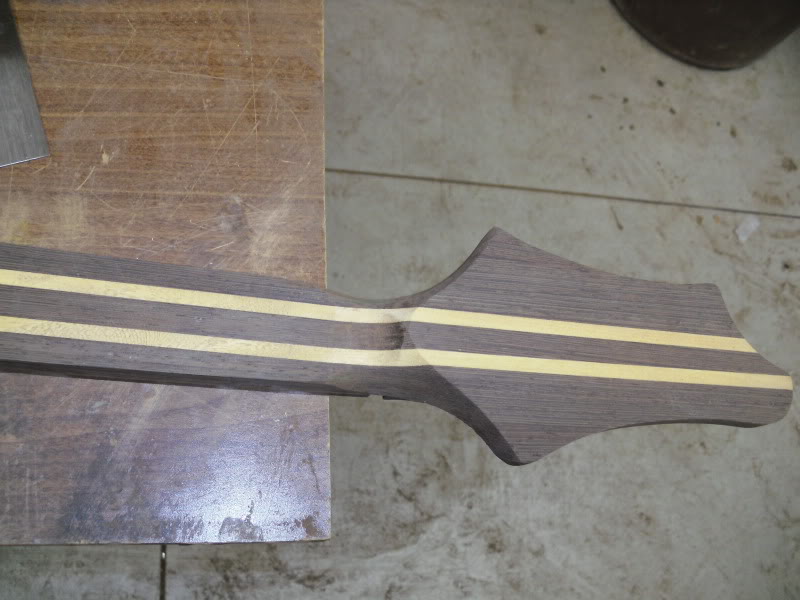
carving my neck. with my all purpose rasp
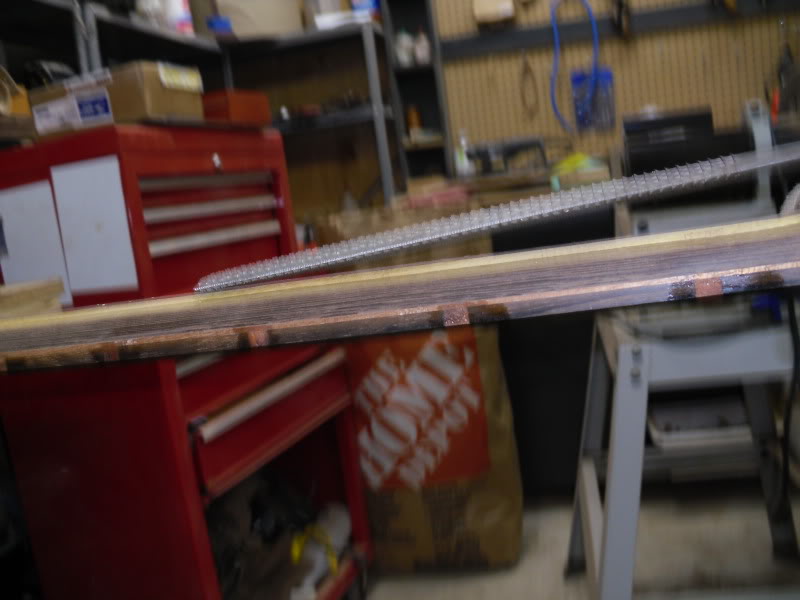
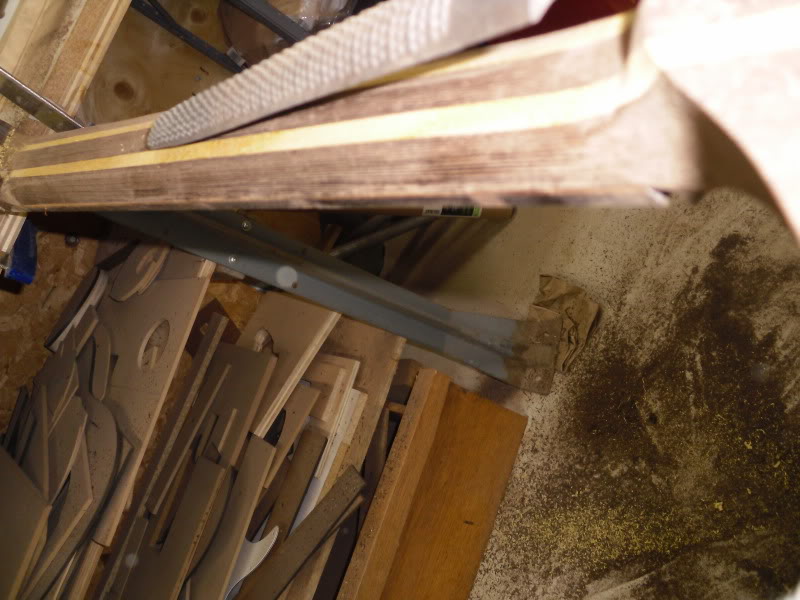
a quick coarse sanding
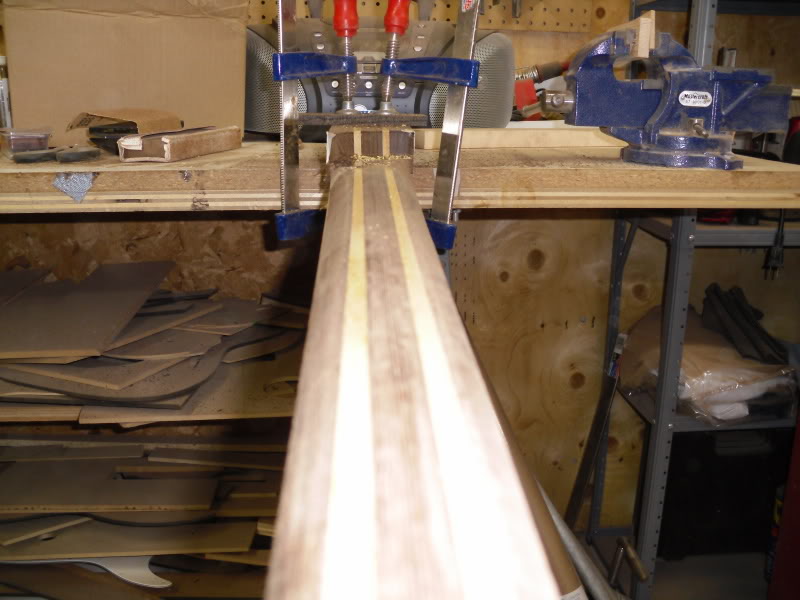
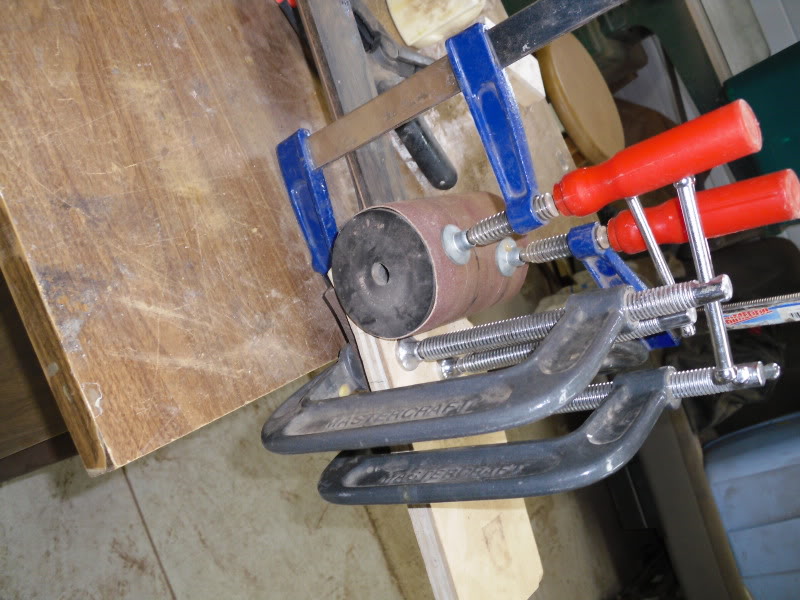
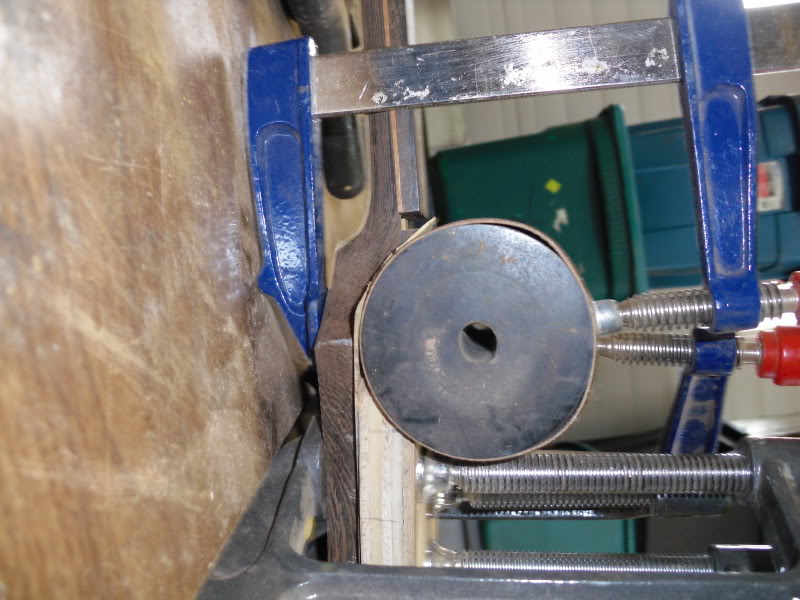
a quick word about safety; never set your clamps up like i have here;
i was going in to attack this neck, its a lil fuzzy, exactly what i did, but at full speed i cracked my elbow on the silver rectangular part, and ripped my elbow open; blood yes; but it also hit me on the funny bone, so i was paralyzed for the this first little while when i should have been controlling the blood gettin on the floor; i'll spare you any pics, i took none at the time, but it was a blunt hit so it took the flap of skin and filleted it back; alls good now, just a little tender
contoured the belly cut
began shaping the volute
carving my neck. with my all purpose rasp
a quick coarse sanding
a quick word about safety; never set your clamps up like i have here;
i was going in to attack this neck, its a lil fuzzy, exactly what i did, but at full speed i cracked my elbow on the silver rectangular part, and ripped my elbow open; blood yes; but it also hit me on the funny bone, so i was paralyzed for the this first little while when i should have been controlling the blood gettin on the floor; i'll spare you any pics, i took none at the time, but it was a blunt hit so it took the flap of skin and filleted it back; alls good now, just a little tender
transition
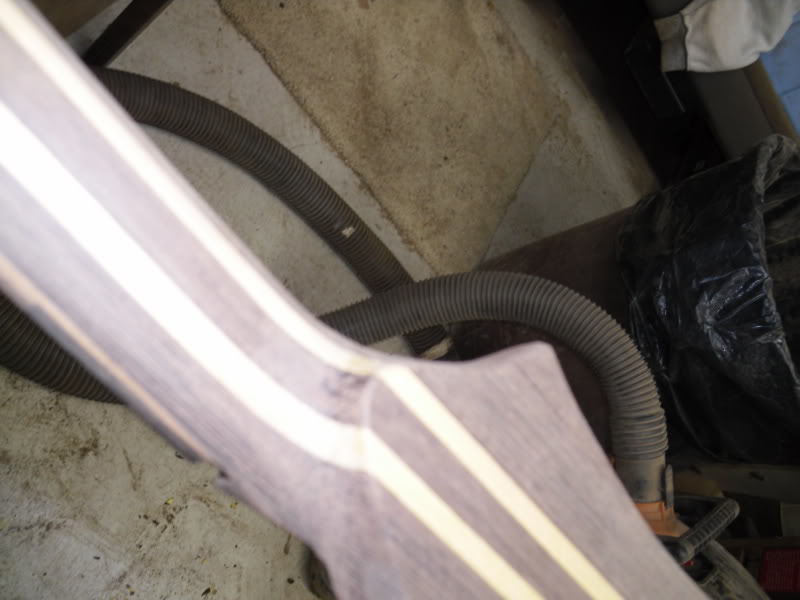
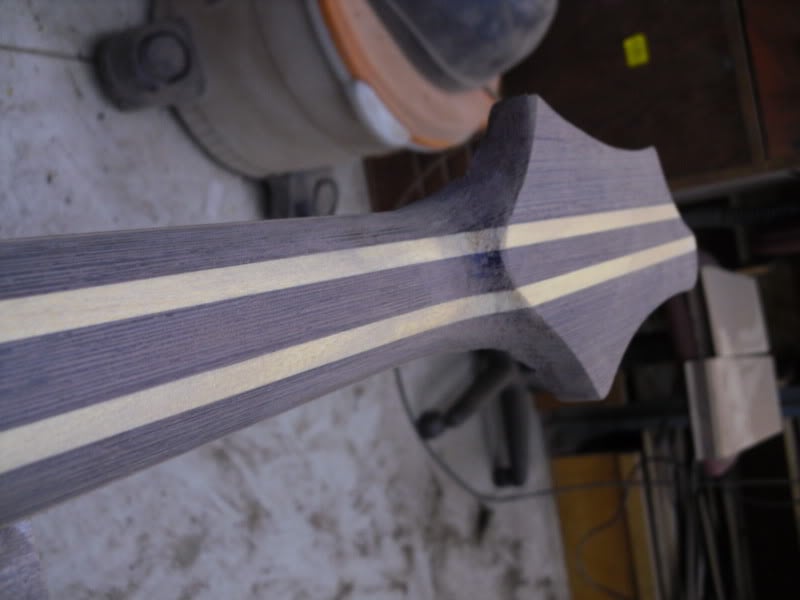
starting heel transition; this will need to be changed
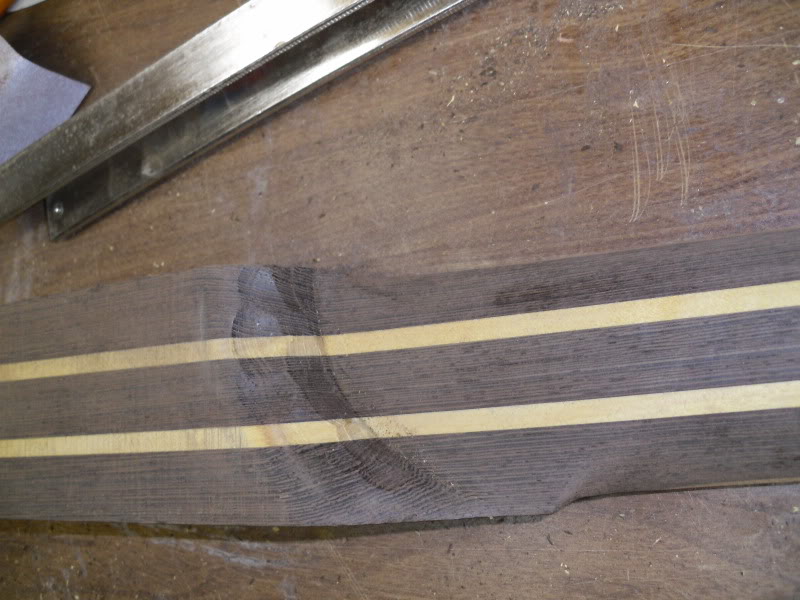
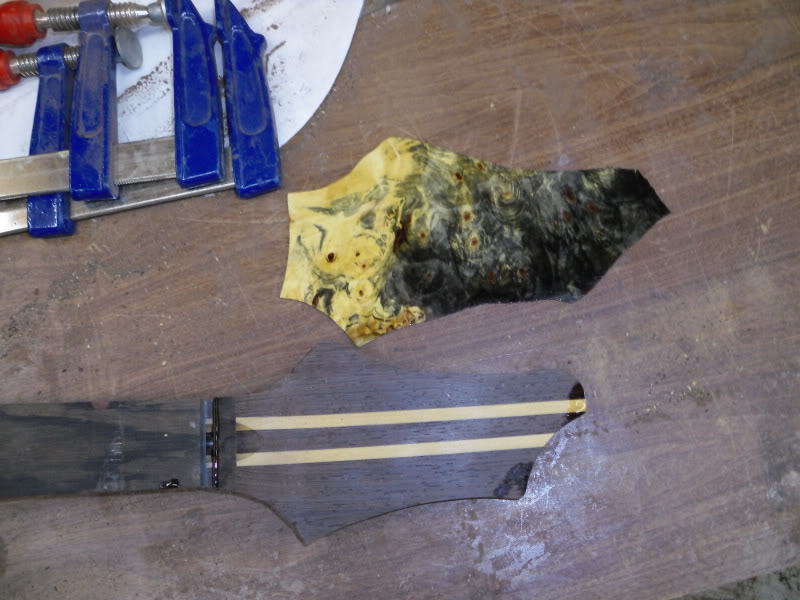
was not going to bend the burl, but figured; what the heck;
headstock cover
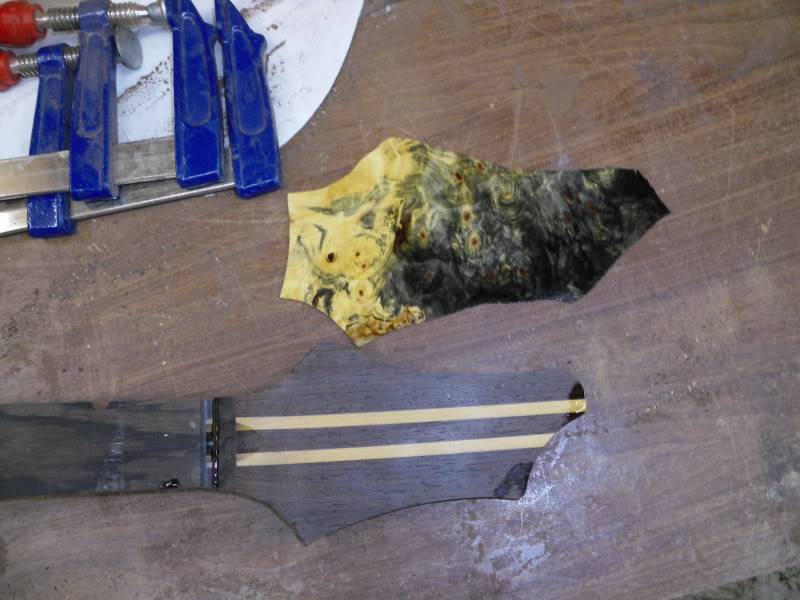
pre-bend
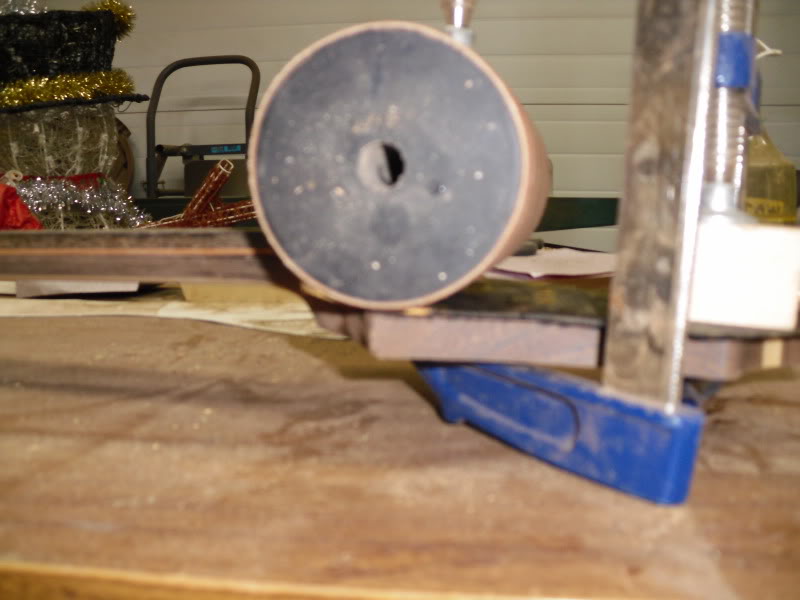
decided to glue the wings on; earlier than planned; but i got sick of clamping them together to get my marks for contours etc.
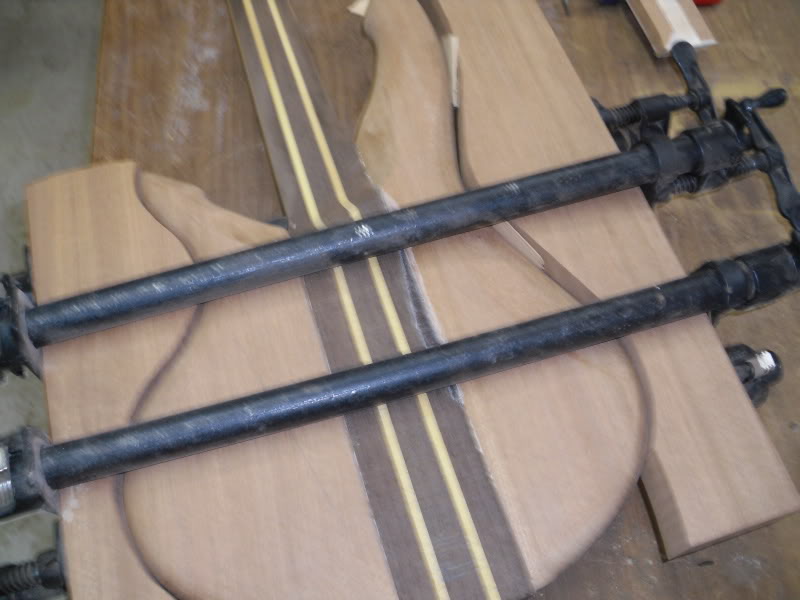
a better shot of the heel; not much thot went into this, just tryin out things,
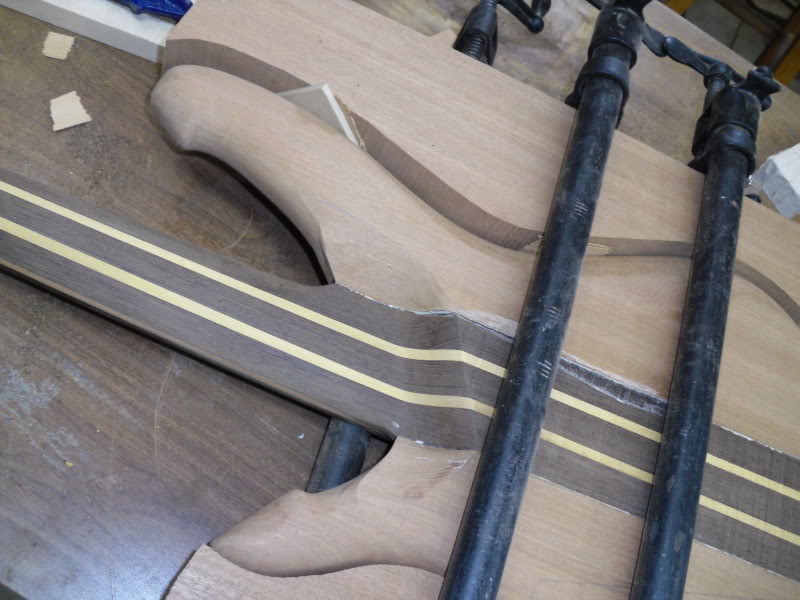
glue on headplate at same time
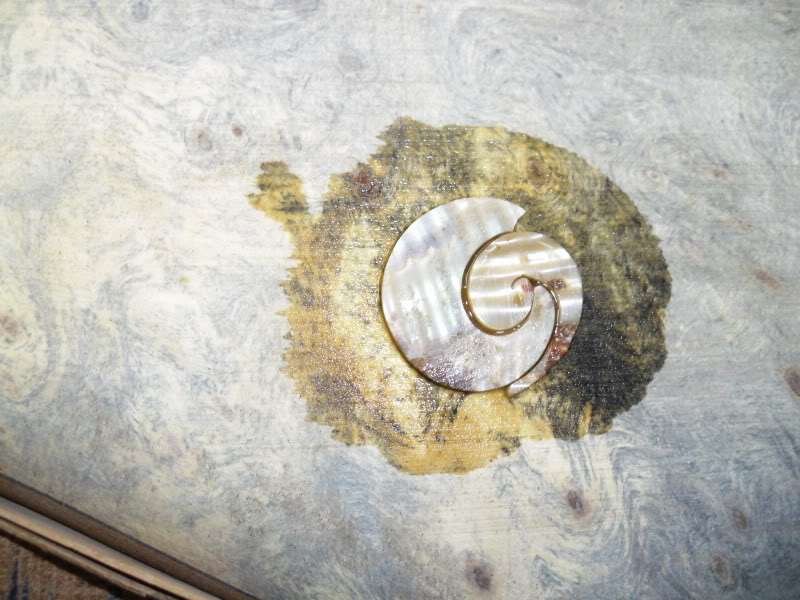
rippled abalone for the inlay; just a quick look at what it will look like
starting heel transition; this will need to be changed
was not going to bend the burl, but figured; what the heck;
headstock cover
pre-bend
decided to glue the wings on; earlier than planned; but i got sick of clamping them together to get my marks for contours etc.
a better shot of the heel; not much thot went into this, just tryin out things,
glue on headplate at same time
rippled abalone for the inlay; just a quick look at what it will look like

headstock cover
Very cool build. Does anyone else see the little yellow duck from Tom and Jerry in that headstock cover?


