• TalkBass has been independent since 1998. Add your voice.
    Create a free account to reply to discussions, view embedded media, and browse with fewer display ads.
    Join freeLog in
    Want zero display ads or expanded classifieds tools? Compare plans.

acoustic conversion

I'm trying the acoustic guitar to bass with the BEAD strings to EADG tuning. The guitar was free , so it's worth an experiment. What is the best way to remove the nut and bridge?

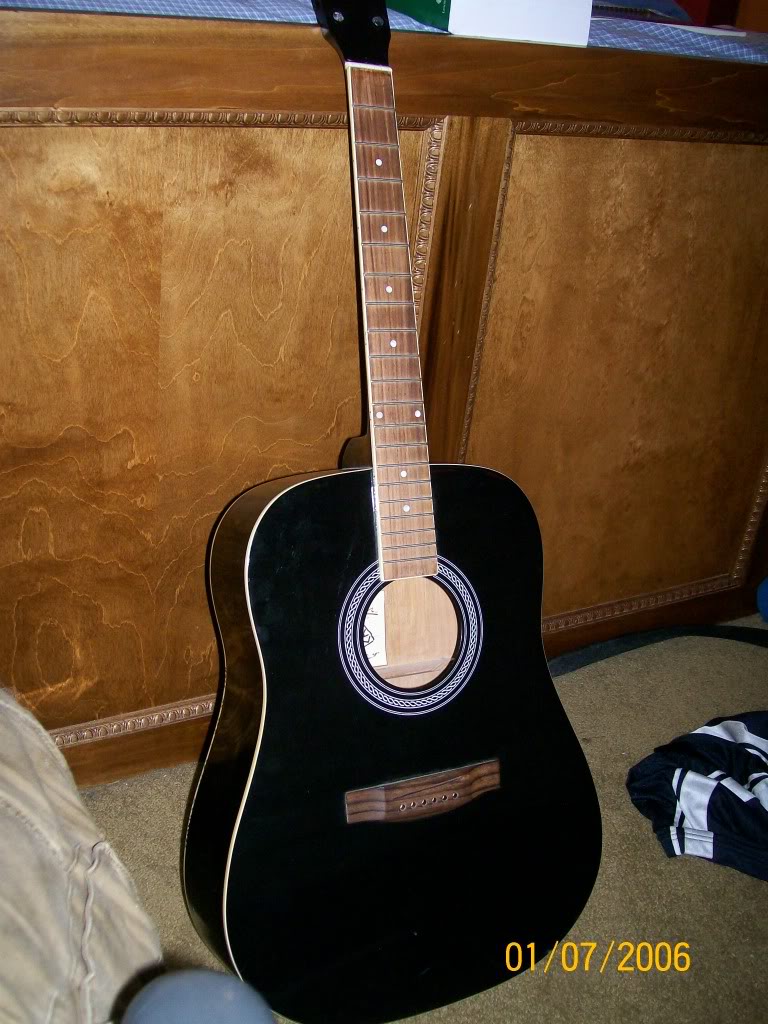
this is the instrument going under the knife:

guitar001.jpg


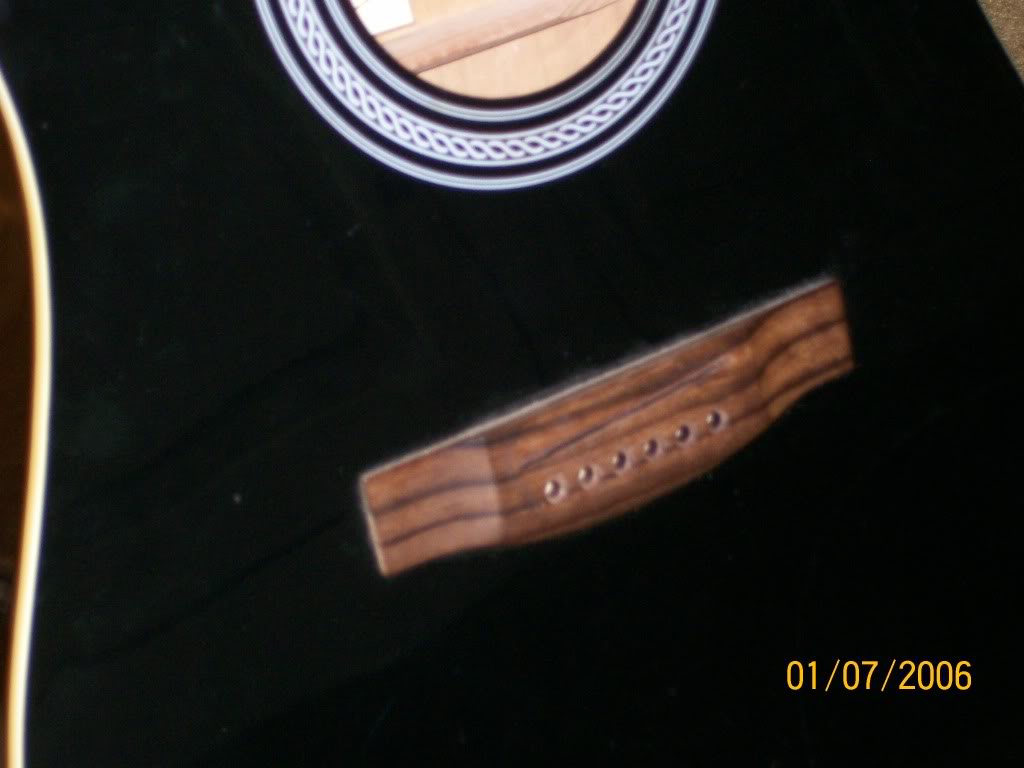
guitar002.jpg

I really like this bridge for some reason

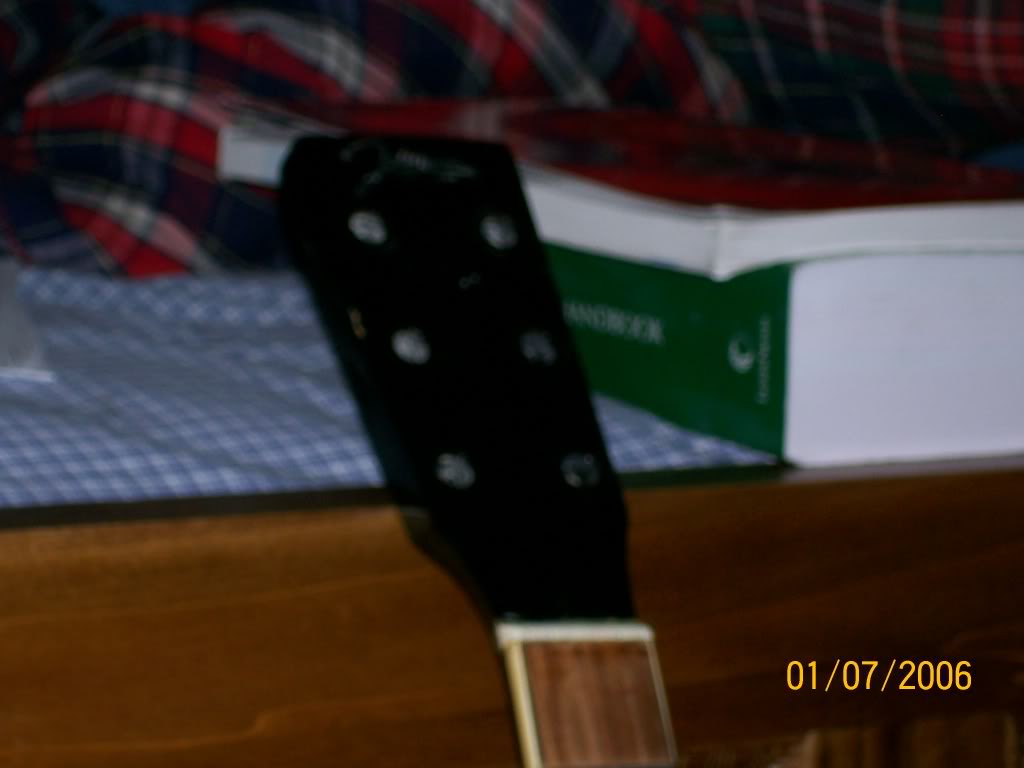
guitar003.jpg
 
How about bolting on a standard bass guitar bridge that allow string thru. Would probably need to put something inside and underneath to reinforce the bridge. Not sure what type of stress this would be on the body. There is also bass bridges with piezo built in on ebay for around $50
 
I'd plug the six holes with custom carved tapered dowels, making sure they don't pass through the lower part of the bridge and stick out through the bottom.

Then I'd trim the dowels flush on top and redrill four holes to accommodate the bass strings. I'd then probably paint over the bridge with black paint to hide the fix.

The reason you don't want anything sticking out below is that the ball ends will not sit nicely in place with the new pegs if there are bits of dowel sticking out below.

In my opinion though, the best way to do this is just to remove the old bridge, and make a new, bass specific one...
 
Google 'removing acoustic guitar bridge' or things like that and you'll come across lots of tutorials, advice, etc.

I like to carefully and slowly score the edge where the bridge meets the guitar all the way around several times, being careful to only touch the glue and not the wood. After scoring, I then cut a piece of cardstock to fit around the bridge very closely (this will protect the finish below the card somewhat).

Next, I put a hot iron on the bridge itself. You can buy these, but I just use a household iron with a medium heat setting and no water in the tank (you don't want any steam in this process). As long as I keep the heat around 250 degrees max, I find the wood below won't burn.

After about 10 minutes of heat and careful monitoring, I slowly work my way under the edges of the bridge with a very thin putty knife. Again you can buy these, but I have an art putty knife whose edge I've razored - works well. Slow, careful repetition and the bridge usually pops off after a few minutes. I occasionally reapply heat if its a tough job.

This is finicky stuff though, and lots can go wrong, so I'm always prepared for the possibility that I'll be refinishing the entire top if something goes haywire. I have to say though, that after repairing many bridges this way, I've only crapped the bed once and had to redo a guy's entire top. I don't ever want to do that again! :D

Once the bridge is off, if there is any damage to the finish around the edges of where the bridge was, it can often be covered by making the new bridge a couple of mm larger than the old one. When replaced, the new bridge will hide the old marks...
 
I got the bridge and nut off much more easily than I thought. next I plan to:
-make plugs for the tuner holes
- get some scrap corian from a shop in town to file a nut

acoustic002.jpg


acoustic003.jpg


here's where I have choices with the bridge. trying to decide b/w filling the holes in the bridge and on the top (it looks easier now that it's off) and redrill for bass strings

OR

Fabricate an entirely new bridge

I have the same problem with either option

How do I accurately drill the holes for the right spacing?
 
Make a jig for the drilling. Here's how I would do it...

1. Take a thick piece of hard wood or steel and drill a hole through it in the same diameter of the holes you plan to drill in the bridge.

2. Mark your bridge carefully to ensure you have the exact right spot marked.

3. Line your jig up perfectly over the mark to ensure its exactly centred.

4. Clamp your jig to the bridge very tightly minding any damage the clamp could do to your bridge. Double check the lining up of the holes many times after clamping to ensure perfection.

5. Drill through the jig into the bridge in the perfect location.

6. Repeat for the remaining holes.

7. Post pics of your amazing craftsmanship on talkbass...

:D
 
Make a jig for the drilling.
:D

I planned to make a jig, but I don't know the spacing b/w the holes.

anyone?

upon further review of your idea, are you suggesting make a jig of one hole and move it over each drill location, or make a jig with four holes put it in the right spot and drill all four at once?

I planned the latter
 
To get the measurement for the placement of the holes, run a straightedge down the fretboard to the bridge about 1/8" from the edge of the fretboard. Mark this on the bridge. Then do the other side. This will be the location of the outer strings and consequently the outer holes. Centre the other two evenly between them.

The jig I referred to has only one hole and you move it to centre over each of the locations for the new holes. This way, I have complete control over each hole drilled and can ensure their perfection. In my view, its more accurate with less difficulty than trying to make a perfect 4-hole jig. Someone else probably has some brilliant method that I've never thought of though...
 
i don't think an electric bass bridge (particularily a 'high mass design') would work well on an acoustic for a few reasons. but anyways, have you considered using a magnetic pickup? that, wired to a tone/volume pot would probably end up being cheaper than any sort of pre-fabricated piezo system. you could probably even make the type of pickup that spans across the soundhole with an old bass guitar pickup.