- Aug 24, 2010
- 440
- 1,082
- Disclosures
- Builder/Owner:Drake Custom Bass Guitars
I was recently asked if I could do a customer designed bass to be similar to a MTD bass but in 33 inch scale and with a Pope Flexcore preamp instead of Bartolini.
First a moment on my soapbox. I have moved away from having a line of models and have focused on one off bespoke "customer designed/ requested" builds. I know that many luthiers run the other direction from "customer designed" builds as the builds never come out exactly the way the customer has envisioned it in their heads. The customer then wants the builder to do a lot of re-work to make the instrument feel like they have imagined. The customer often thinks that the builder should eat the cost of the time and materials to do so. The builder loses money and time on such builds thus making the profit margin shrink to point of not being worth the trouble. I have been finding that if you can give the customer a good dose of reality up front then the process does not need to be as painful. Just a tip when approaching any of the builders on the LC to build your own personal design. The builder is the person who handles the material and has the knowledge of what works well and what does not. The builder should have some say in the design. Good communication! Listen to the advice of the builder about your design and keep an open mind to any criticism the builder may have over your design. A good builder, like any engineer, will try to point out weak points in your plan and then help design a way around the flaw. Also realize that you have months and months during the build that you will dream about the instrument to the point that when you close your eyes you can feel it in your hands. The finished bass will most likely not feel exactly like what you have imagined. A good way to alleviate this is to find a local luthier to do the work so that you can get the bass in your hands a few times during the build so that you can address anything that needs to be changed before the bass goes into the finish stage. This saves a lot of frustration.
In this case my customer is pretty knowledgeable about how instruments are built and I have worked with him enough to know that there is little chance of a drama.
The customer specified a Wenge on wenge neck with 22 frets, plus a zero fret, 33 inch scale, and a 2X2 tuner configuration. The customer also designated the shape of the headstock. I drew up some drawings and he approved them. Same with the body. I drew up a shape inspired by MTD basses. Although this bass is inspired by the work of Michael Tobias, there will be no doubt that my bass is not an MTD. I do not do exact replicas. If someone wants an exact Gibson Thunderbird bass then I would encourage them to buy a Gibson Thunderbird bass.
For the body, the customer has specified an Ash body with a Burled Redwood top. We are going to have an accent line of Walnut between the top and back. we want this bass to be lighter in weight so I will chamber the back wood a little before the top goes on. There will be a large electronics cavity as well as a dual battery compartment so there is a lot of wood to be removed in those areas. With a deep belly cut I will only need to chamber a small area under the forearm contour.
The customer has specified magnet covers over the battery compartment and electronics cavity. The reason for the battery is pretty obvious but the need for the electronics cavity to be quick on and off is to allow the customer access to two mid control switches that will be inside. The customer plays a variety of music styles and wants to be able to set up his EQ curve for the style he needs without too much fuss. I will cover more specs as we get to them.

This is how the bass looks at this time. I will cover the steps that I have made to get her this far.
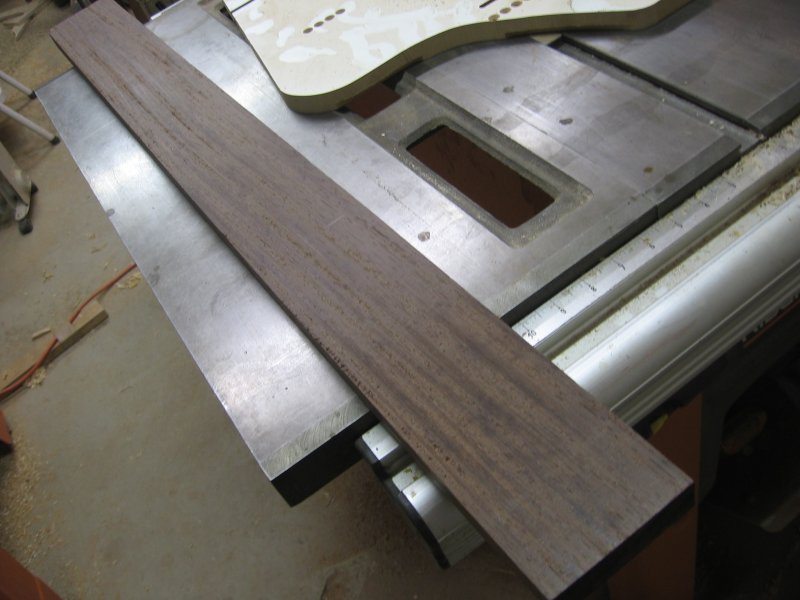
This is the neck blank that I have purchased from Exotic Woods in NJ. They always send me good Wenge neck blanks.
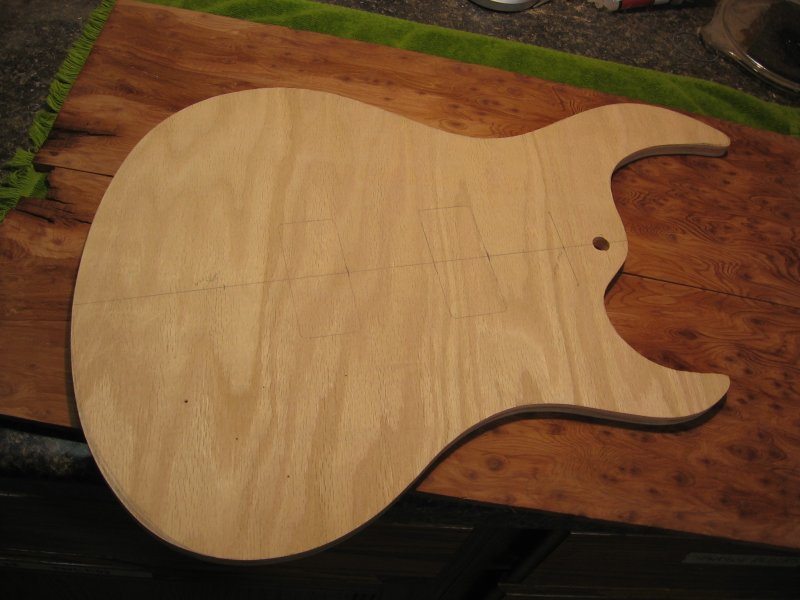
Here is a picture of the body template I made up to show the shape of the body. The body will be made of Swamp Ash.
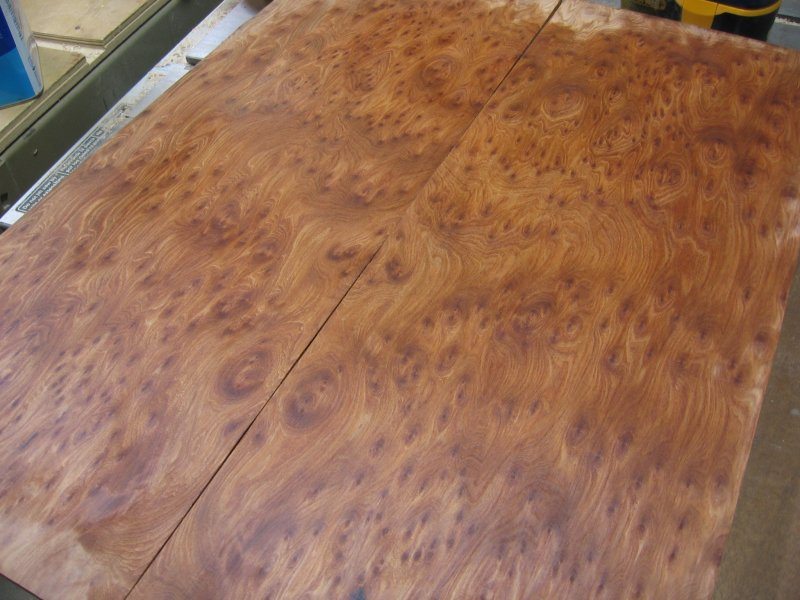
The customer and I selected this nice piece of Redwood to use as a top and to cut a peg head veneer from.
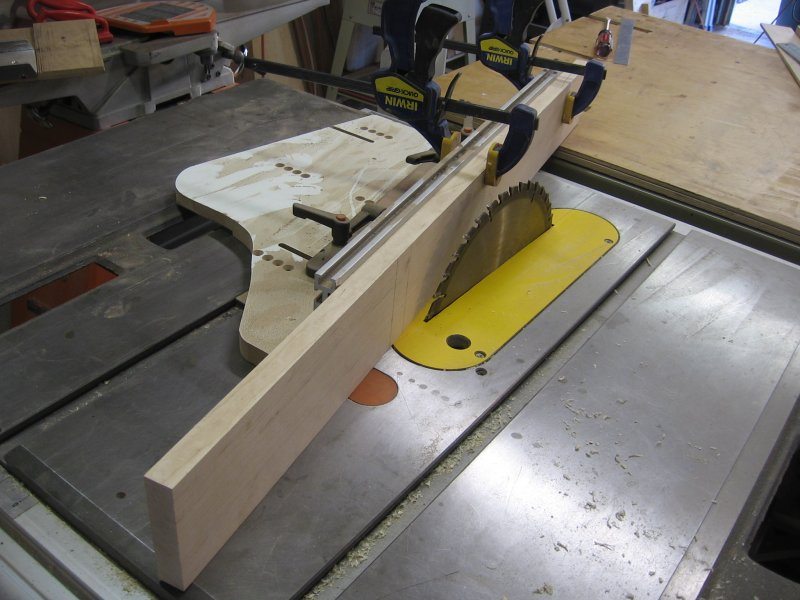
I did not get a shot of the scarf joint jig this time so I used this picture from another build.
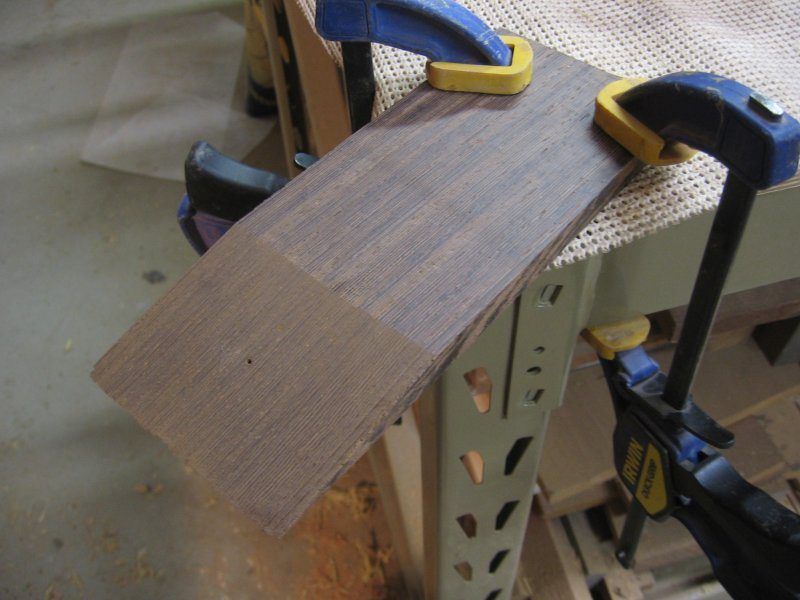
I usually slice the head stock scarf joint angle at about 12 inches from the end of the neck blank. For this style of bass, the neck will run deep into the body. I am slicing off the peg head but will re-attach it with what I call a toe scarf. My regular way is to have the fret board overlay the scarf joint, but this type puts the scarf joint midway along the peg head and gives me a little more length to use. A good thing if you have a neck blank that is a little too short for a bass or need a super long headstock. Also, I will be gluing ears to the sides of the peg head so this is a real nice way of doing a angle peg head style without glue lines showing from the side. This will give me a few inches more on the blank that I can fashion a long tongue to reach into the body.
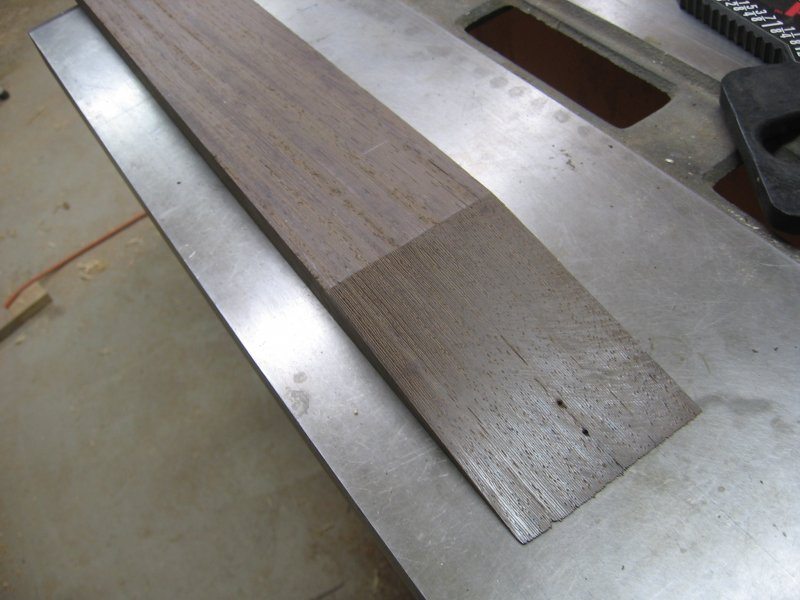
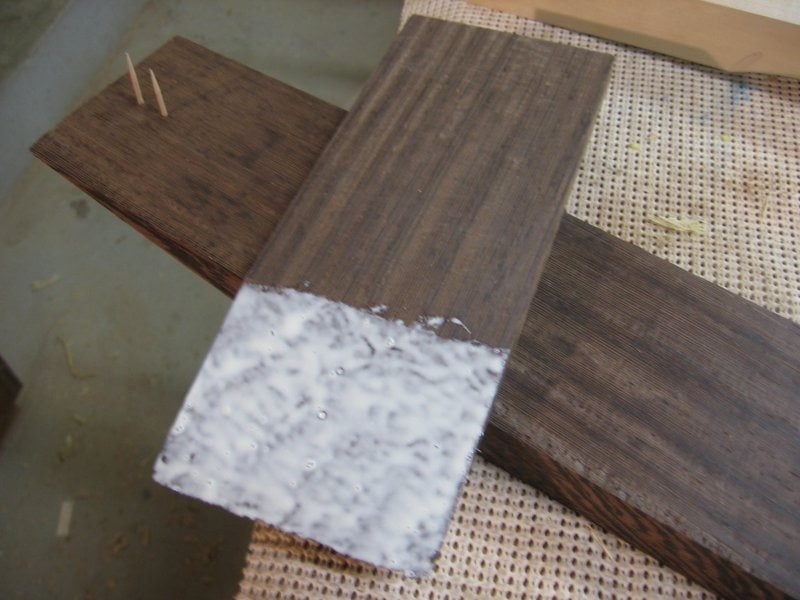
The neck is upside down with my toothpicks to align the peg head tip during the glue up. Many of you see me use toothpicks as guide pins on my builds. It does not matter where I place them as they are going to be under veneers front and back. If I was not going to do a rear veneer then I would recommend placing them outside the foot print of the peg head so they will not show.
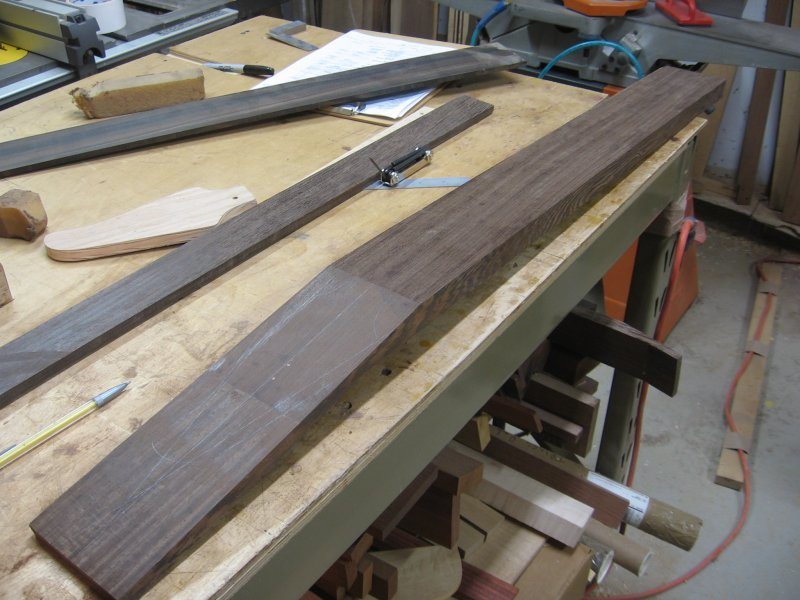
Here is decent shot of how the blank looks after the tip is glued onto the peg head.
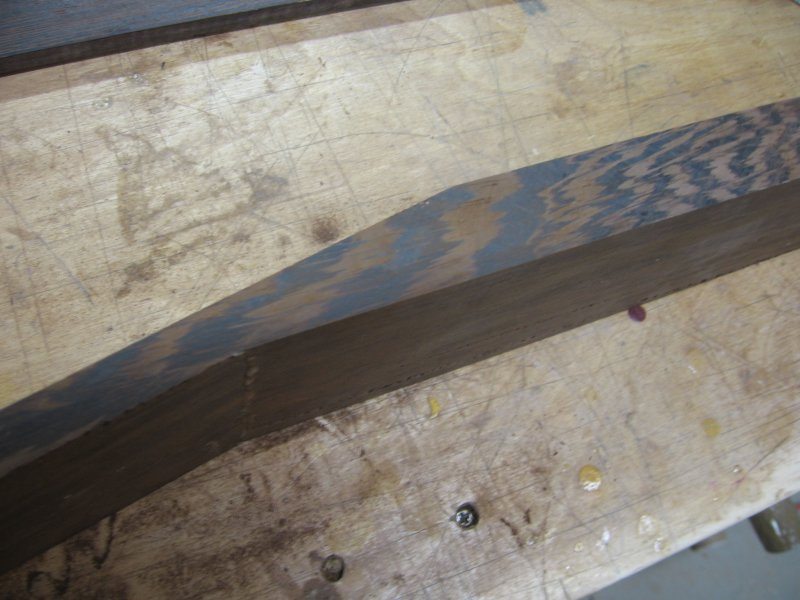
You can see where the nut will be and where the joint is.
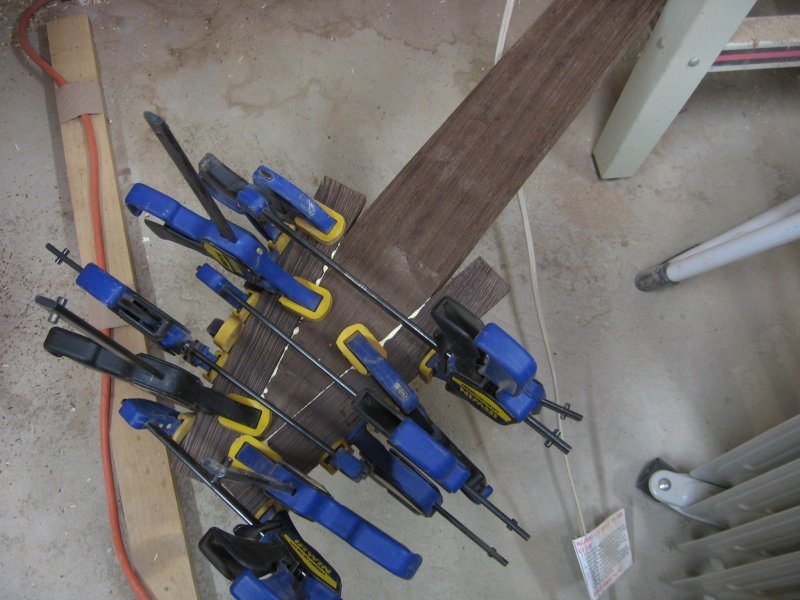
I have cut the sides of the peg head off so that I can glue on some ears. The shape we have drawn up for the headstock exceeds the width of the blank so I needed to add ears. I hate glue lines and places where the grain does not match up, so I cut the sides off and laminated the ears on. From the side view of the peg head, you will not see any joints as the peg head shape follow within the lines of the ears. The tip of the headstock is all that shows any difference in wood grain.
This is what I have for today. Thanks for looking and please check back.
First a moment on my soapbox. I have moved away from having a line of models and have focused on one off bespoke "customer designed/ requested" builds. I know that many luthiers run the other direction from "customer designed" builds as the builds never come out exactly the way the customer has envisioned it in their heads. The customer then wants the builder to do a lot of re-work to make the instrument feel like they have imagined. The customer often thinks that the builder should eat the cost of the time and materials to do so. The builder loses money and time on such builds thus making the profit margin shrink to point of not being worth the trouble. I have been finding that if you can give the customer a good dose of reality up front then the process does not need to be as painful. Just a tip when approaching any of the builders on the LC to build your own personal design. The builder is the person who handles the material and has the knowledge of what works well and what does not. The builder should have some say in the design. Good communication! Listen to the advice of the builder about your design and keep an open mind to any criticism the builder may have over your design. A good builder, like any engineer, will try to point out weak points in your plan and then help design a way around the flaw. Also realize that you have months and months during the build that you will dream about the instrument to the point that when you close your eyes you can feel it in your hands. The finished bass will most likely not feel exactly like what you have imagined. A good way to alleviate this is to find a local luthier to do the work so that you can get the bass in your hands a few times during the build so that you can address anything that needs to be changed before the bass goes into the finish stage. This saves a lot of frustration.
In this case my customer is pretty knowledgeable about how instruments are built and I have worked with him enough to know that there is little chance of a drama.
The customer specified a Wenge on wenge neck with 22 frets, plus a zero fret, 33 inch scale, and a 2X2 tuner configuration. The customer also designated the shape of the headstock. I drew up some drawings and he approved them. Same with the body. I drew up a shape inspired by MTD basses. Although this bass is inspired by the work of Michael Tobias, there will be no doubt that my bass is not an MTD. I do not do exact replicas. If someone wants an exact Gibson Thunderbird bass then I would encourage them to buy a Gibson Thunderbird bass.
For the body, the customer has specified an Ash body with a Burled Redwood top. We are going to have an accent line of Walnut between the top and back. we want this bass to be lighter in weight so I will chamber the back wood a little before the top goes on. There will be a large electronics cavity as well as a dual battery compartment so there is a lot of wood to be removed in those areas. With a deep belly cut I will only need to chamber a small area under the forearm contour.
The customer has specified magnet covers over the battery compartment and electronics cavity. The reason for the battery is pretty obvious but the need for the electronics cavity to be quick on and off is to allow the customer access to two mid control switches that will be inside. The customer plays a variety of music styles and wants to be able to set up his EQ curve for the style he needs without too much fuss. I will cover more specs as we get to them.
This is how the bass looks at this time. I will cover the steps that I have made to get her this far.
This is the neck blank that I have purchased from Exotic Woods in NJ. They always send me good Wenge neck blanks.
Here is a picture of the body template I made up to show the shape of the body. The body will be made of Swamp Ash.
The customer and I selected this nice piece of Redwood to use as a top and to cut a peg head veneer from.
I did not get a shot of the scarf joint jig this time so I used this picture from another build.
I usually slice the head stock scarf joint angle at about 12 inches from the end of the neck blank. For this style of bass, the neck will run deep into the body. I am slicing off the peg head but will re-attach it with what I call a toe scarf. My regular way is to have the fret board overlay the scarf joint, but this type puts the scarf joint midway along the peg head and gives me a little more length to use. A good thing if you have a neck blank that is a little too short for a bass or need a super long headstock. Also, I will be gluing ears to the sides of the peg head so this is a real nice way of doing a angle peg head style without glue lines showing from the side. This will give me a few inches more on the blank that I can fashion a long tongue to reach into the body.
The neck is upside down with my toothpicks to align the peg head tip during the glue up. Many of you see me use toothpicks as guide pins on my builds. It does not matter where I place them as they are going to be under veneers front and back. If I was not going to do a rear veneer then I would recommend placing them outside the foot print of the peg head so they will not show.
Here is decent shot of how the blank looks after the tip is glued onto the peg head.
You can see where the nut will be and where the joint is.
I have cut the sides of the peg head off so that I can glue on some ears. The shape we have drawn up for the headstock exceeds the width of the blank so I needed to add ears. I hate glue lines and places where the grain does not match up, so I cut the sides off and laminated the ears on. From the side view of the peg head, you will not see any joints as the peg head shape follow within the lines of the ears. The tip of the headstock is all that shows any difference in wood grain.
This is what I have for today. Thanks for looking and please check back.