• TalkBass has been independent since 1998. Add your voice.
    Create a free account to reply to discussions, view embedded media, and browse with fewer display ads.
    Join freeLog in
    Want zero display ads or expanded classifieds tools? Compare plans.

Another current build…

Jul 31, 2008
11,869
21,971
Austin, TX
Since I want to make the most of my “good days”, and yall know that building basses is a process of “hurry up and wait”, I decided to start a second project to go with the P5 I’m building for my friend Mike.

I forgot to take pics of the very first stages of prepping the wood and such, so I’ll just catch you up here…

The Goal: build a bass that blends Fender and Rickenbacker basses - basically a Fender-like feel with a Rick-like sound

The specs:
*Neck through body (maple/Purple Heart)
*rosewood fretboard (16 degree radius, 20 frets (6230)
*Maple body wings
*32” scale
*Black Hardware
*Nordstrand J Blade Jazz pickups (in Rick positions)
* V-T and 3 way switch
1 3/8” body width

That’s the basics of it.

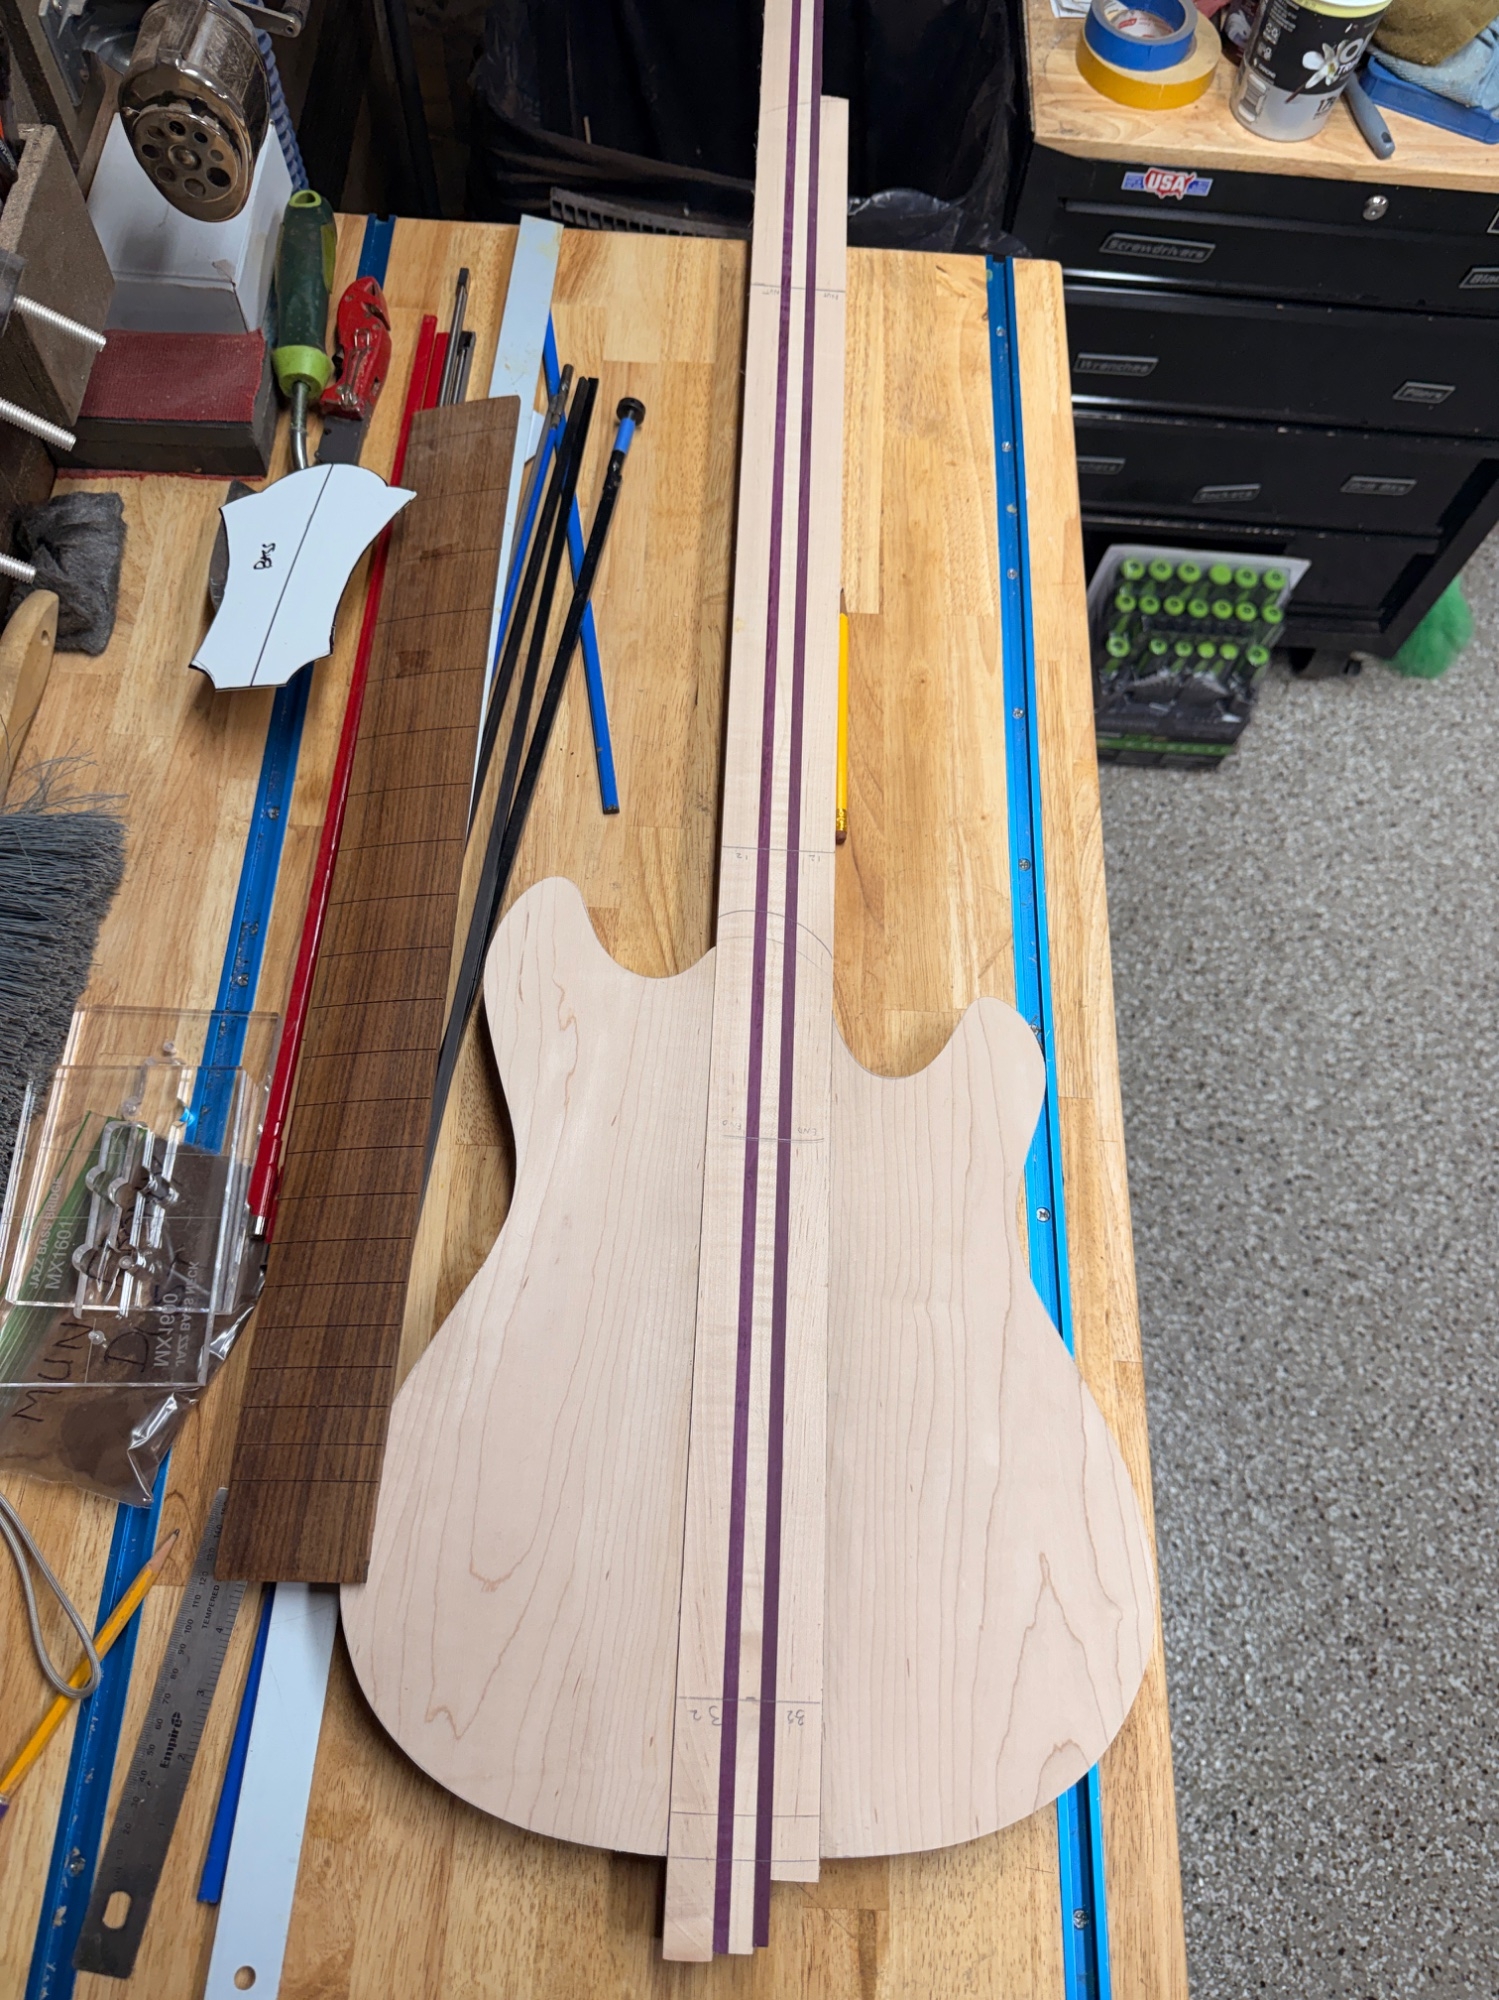
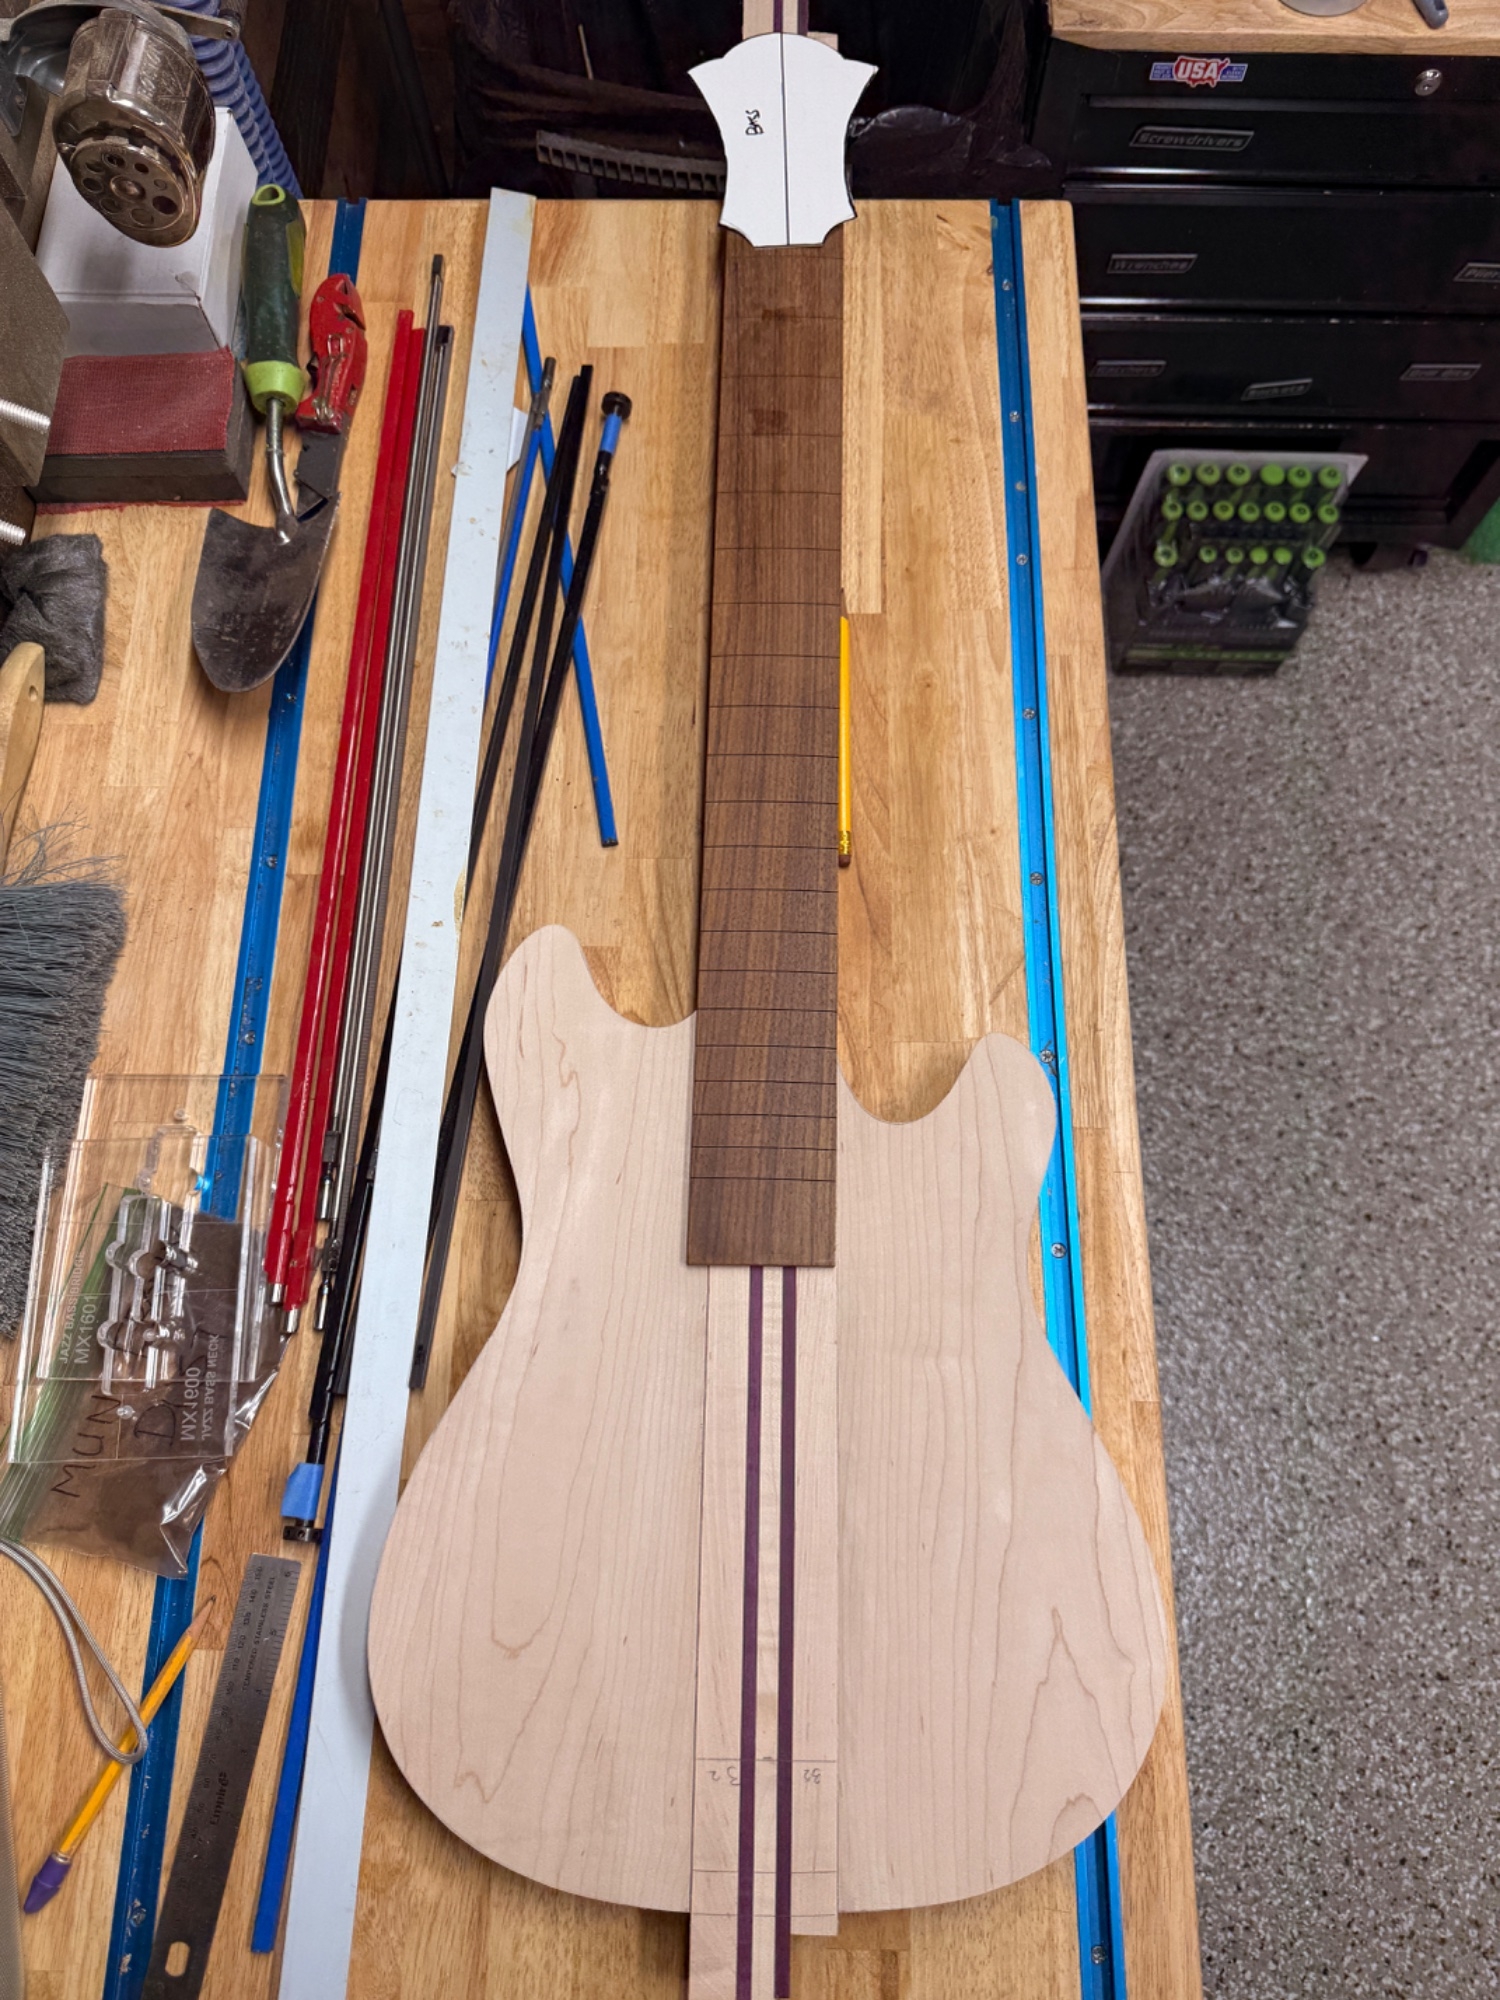
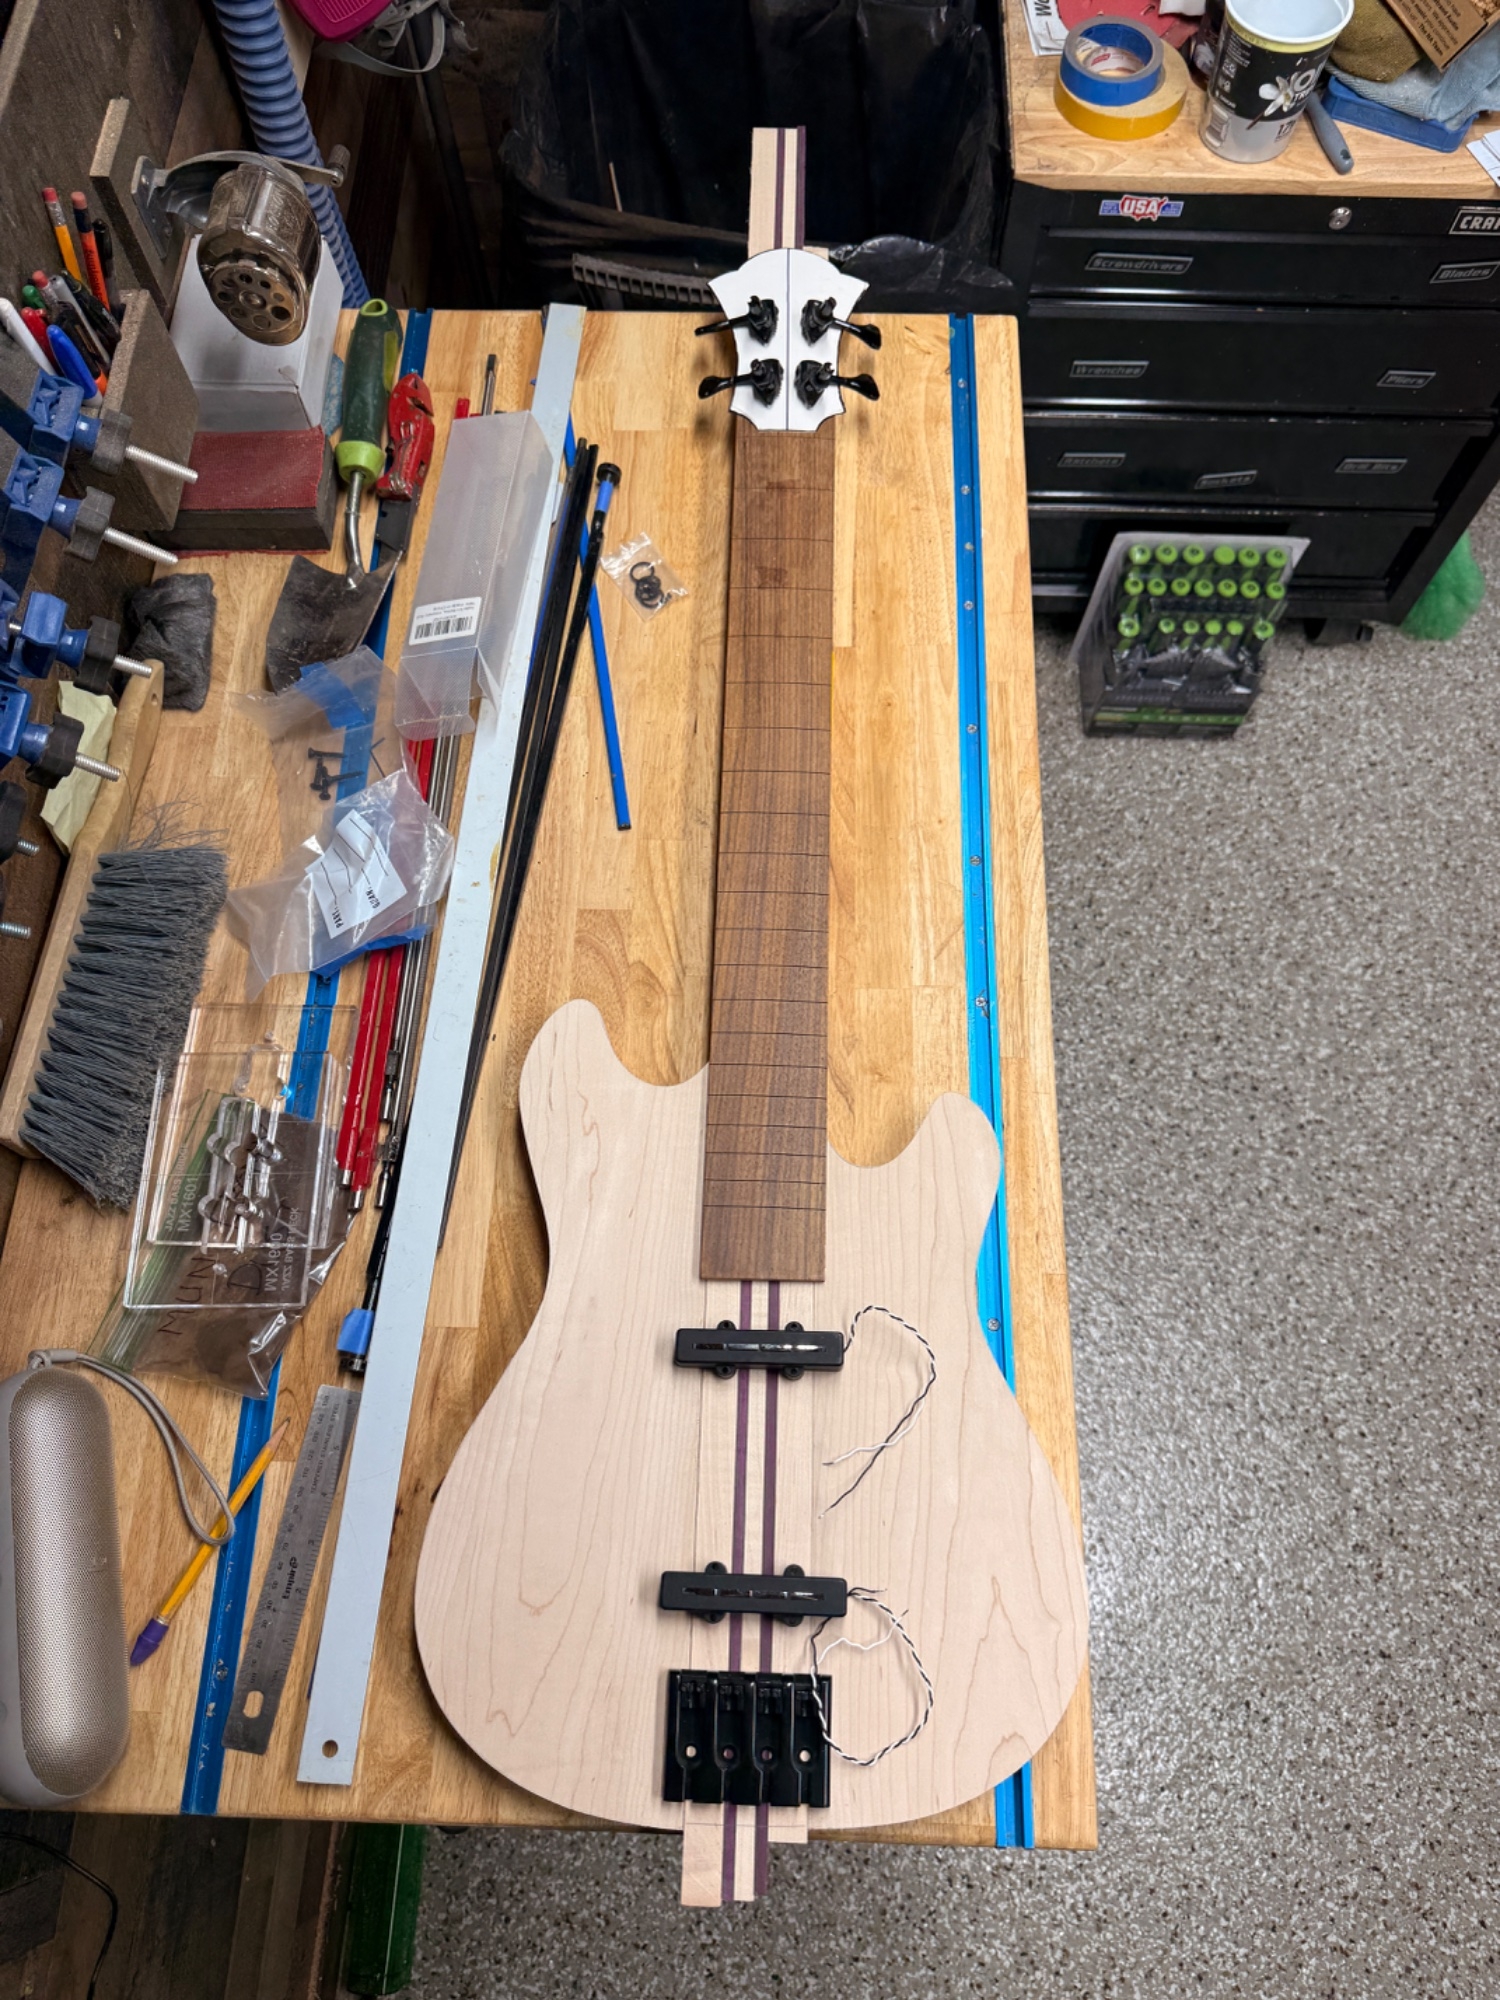
Here are some pics on progress so far and a basic mock up …
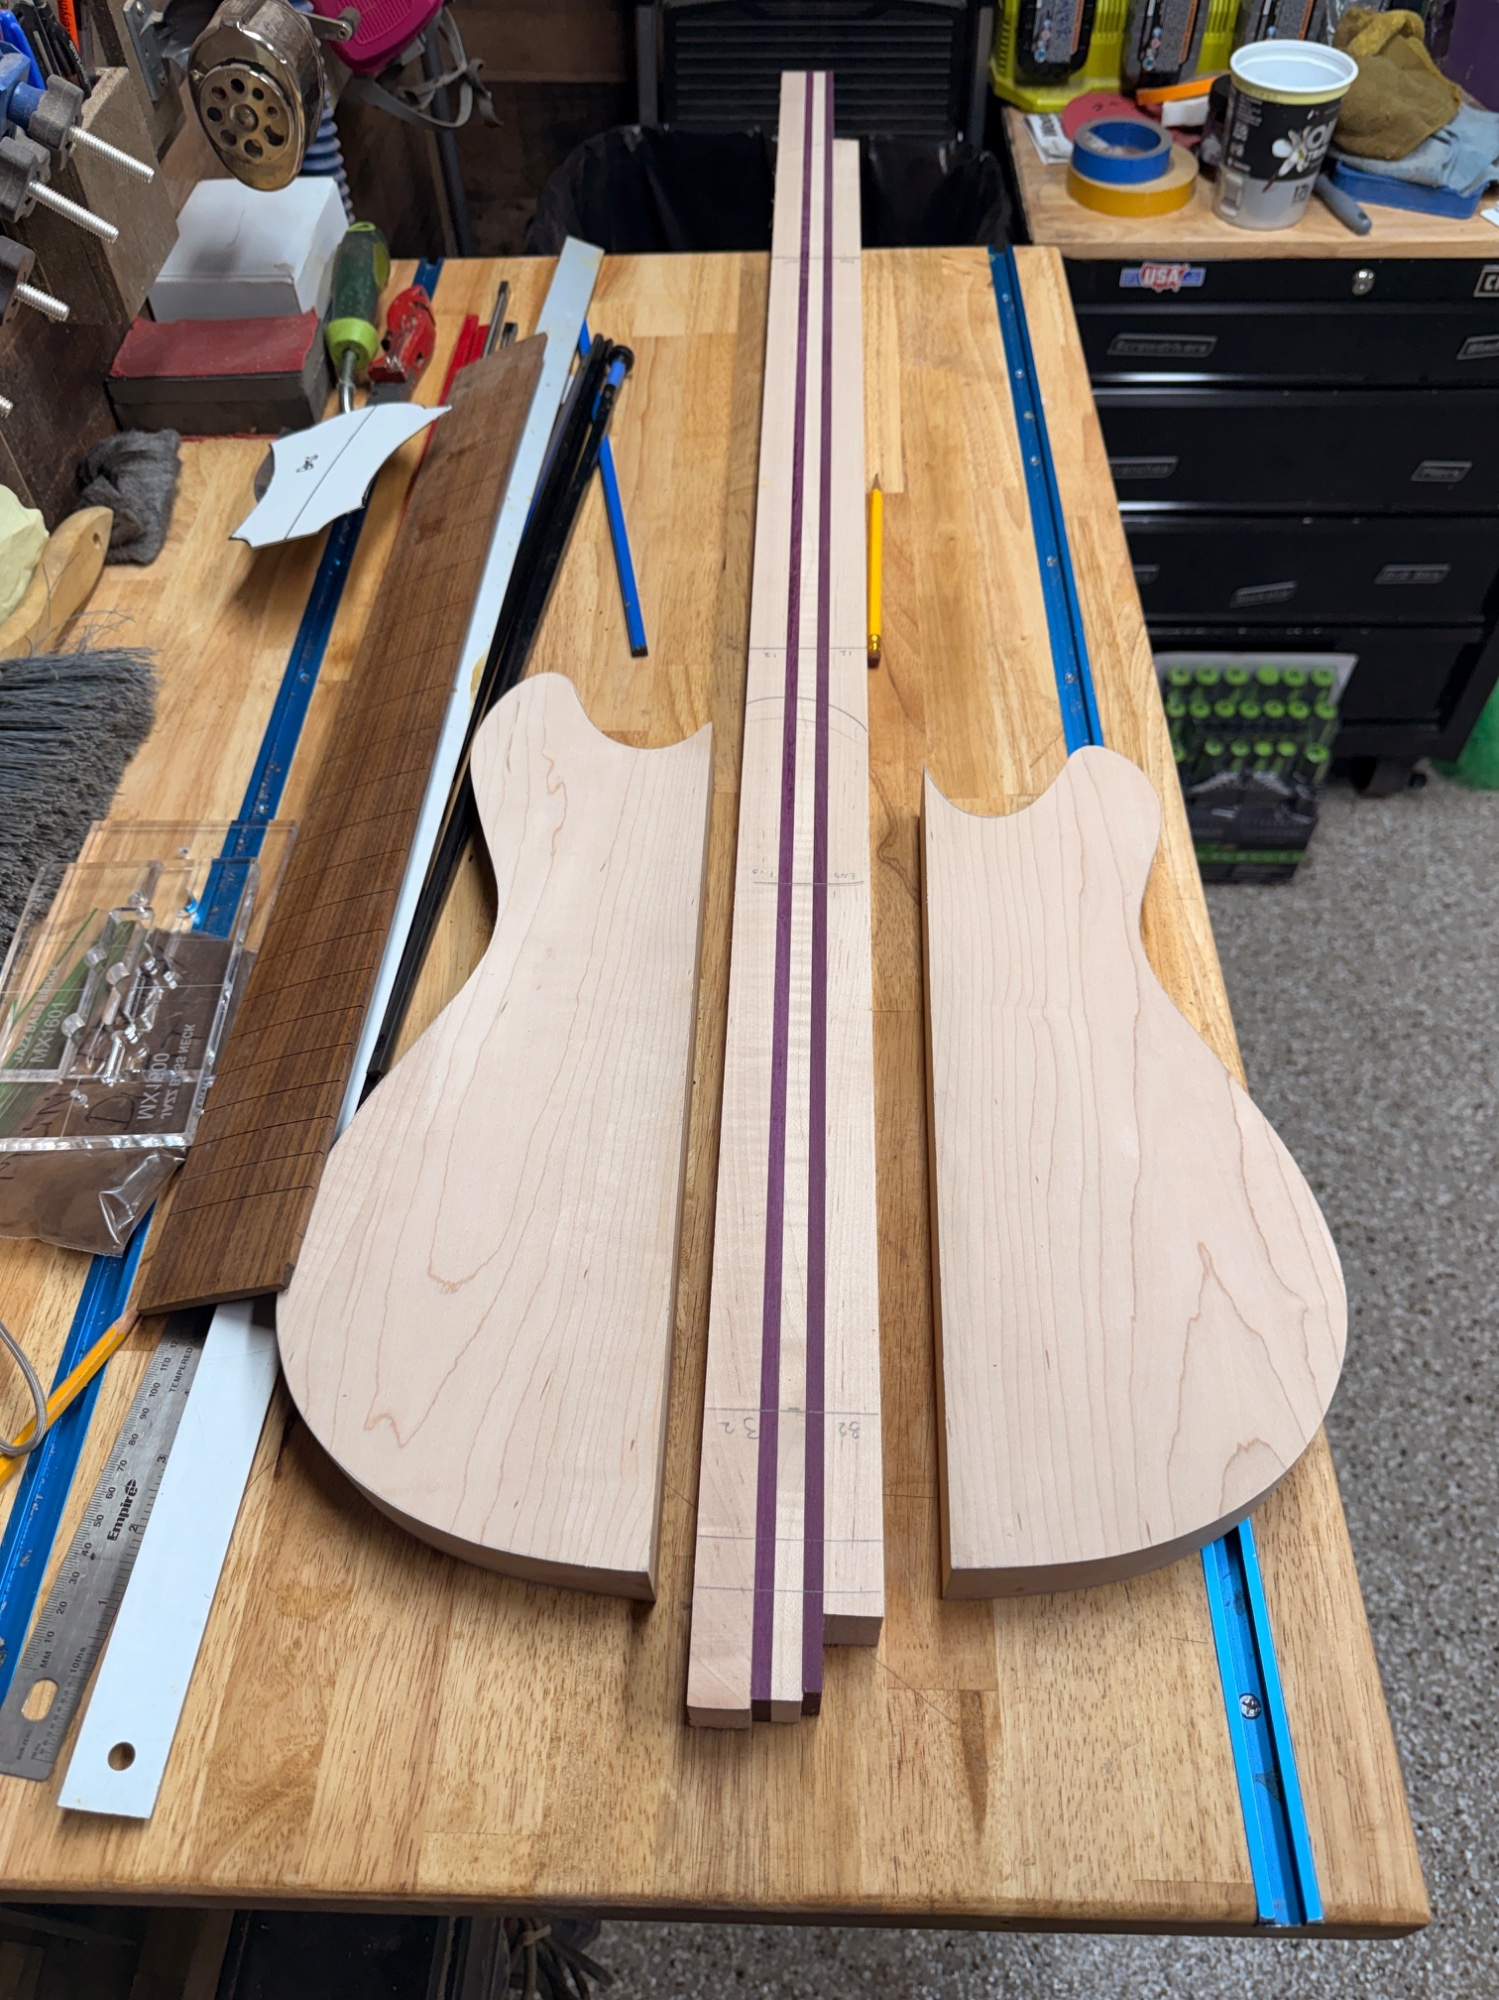
IMG_2390.jpeg
IMG_2389.jpeg
IMG_2388.jpeg
IMG_2391.jpeg
 
looks great so far!

quick question - shouldnt the bridge pup be further up since the ric bridge pup lines up with the 36th fret, which afaik is between a typical jazz bridge and precision pickup placment?


This is just a super quick mockup, I didn’t measure the pickup placement for the photo.


Here are the actual calculated distances, given the scale length of 32.094”


IMG_2643.jpeg
 
  • Like
Reactions: Mickey666
As a complete aside… not feeling great, so laying down instead of being in the shop…,

BUT… while I’m laying here I’m watching guitar building videos. I came across this video of a fella making a Tele Deluxe neck, and it’s well worth the watch. No talking, just the sounds of the tools and work in the shop, which I quite like. The builder has some wonderful jigs and some unique methods.

If y’all have a bit of time on your hands, I highly suggest giving this a watch. Even super knowledgeable and highly experienced fellas like @Bruce Johnson I think will enjoy this, especially some of the jigs (and the lack of a soundtrack, and flashy edits).


I entered the shop today with the full intention of working on this build. I feel like I’m making decent progress, and want to continue that trend while I’m feeling reasonably functional.

But then I decided I needed to do some organizing and shop cleaning…. So I’m doing that instead.

I NEVER used to be this way, but in my old age ( I call it “wisdom”) and failing health (I call it “experience”), I’ve learned that I get far more done when my shop is clean and organized. I find everything quicker, don’t have to shove things out of the way just to have a work surface, etc. I also (shockingly) started trying to get in the habit of cleaning up as I go along, instead of waiting till the end of the day. I actually started doing this while I’m cooking, so I don’t have to clean up after dinner…and I’ve been trying to apply this habit to woodworking. It definitely helps. I’m less tired when I call it quits, and I don’t have to spend a bunch of extra time at the end of the day straightening up.

Anyway…. Busy busy busy !

Who knew that a guy that every doctor said would be dead 25 months ago would be out building guitars and doing his best to enjoy each day as much as he can ? 😊😊😊 God gives me extra days, I’m gonna make good use of them !!!
 
Ok, back to this one. Juggling a few builds , and limited working time… so updating as I can.

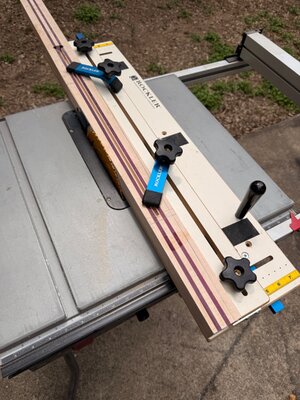
Set up the tapering jig on my table say and cut the neck taper. I prefer Doing it this way over using the bandsaw. I think I leaves less sanding to be done, and it cuts a nice, straight line.

IMG_3822.jpeg


And ….. after the cuts are made… a nice, straight taper. I cut the taper to the point that the body wings will join the neck beam, and then the neck beam is straight from that point. For me, it just works well. In the future I want to experiment with doing fully tapered neck beams….cutting the taper into the center stripe on the beam before glue up, and then when it’s all glued, it’ll be a nice smooth taper. Should save time, effort, and I think will visually look a bit better… not that this looks bad. But the “stripes” tapering toward the center (getting smaller as you move toward the headstock) will keep the lines nice and give that “sexytimes” look ! 😂🤦‍♂️

IMG_3823.jpegIMG_3824.jpeg


And now it’s time to cut down some maple to glue up for the headstock wings.

I only needed to take a bit off the maple for the wings . Now I’ll run it through the drum sander and glue it up !!!

This is how you know your table saw is “dialed in”… when you can cut a nice, perfectly even veneer of maple like this, your table saw is set up properly. 😉😁

IMG_3826.jpeg
 
Dude, what!?!? You were supposed to be dead 25 months ago?

Aside from that, nice thread. I recognize that tablesaw- sawstop? I miss mine.


I’m like Keith Richards and cockroaches … I apparently can’t be killed ! 😂😂😂

Table saw is a skill worm drive saw. Couldn’t afford the saw stop, this is the next best thing. I really like it. Small footprint, really solid on adjustments, and the worm drive gives it lots of torque/power.
 
PS - I’ve been deep diving and watching build videos of all sorts (not just music related) on YouTube since probably 70% of my days are spent in bed. I watched this one video and had to take a screenshot of this…

Absolutely the slickest wiring harness I’ve ever seen. Pcb connections, insane wire management, just absolutely beautiful. Can you imagine buying this bass, opening up the control cavity for whatever reason, and then seeing this inside? Serious attention to detail….

IMG_4447.jpeg
 

Latest posts