• TalkBass has been independent since 1998. Add your voice.
    Create a free account to reply to discussions, view embedded media, and browse with fewer display ads.
    Join freeLog in
    Want zero display ads or expanded classifieds tools? Compare plans.

Better the Devil you know

mapleglo

Warp Engineer
Supporting Member
Sep 7, 2013
13,346
47,609
phoenix, az
So as I indicated in my Speak of the Devil thread, I'm in the process of building another devil bass. I really like the design and feel of the bass, and feel it will only be improved as a neck through. The specs so far:

Neck Through
5 piece laminated maple/walnut neck blank
maple body wings (though I've been thinking about walnut, we'll see)
home grown pickup(s)
5 string
Hipshot tuners, black
All parts bridge, black
Recessed control/jack plate
Single truss rod, dual aluminum stiffening bars

Here's the overview:
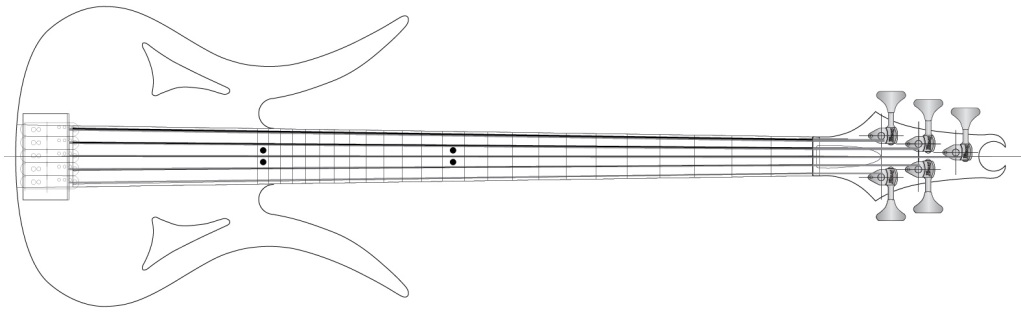
290y9l1.jpg


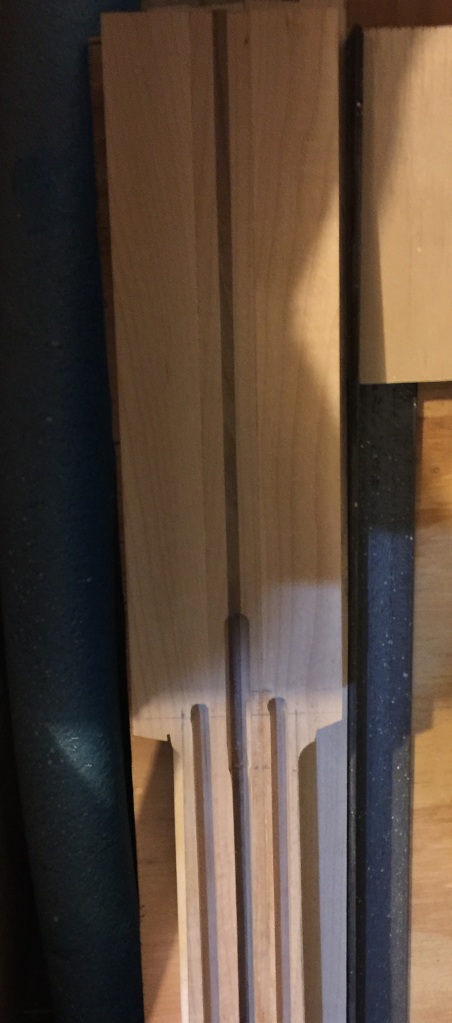
I had started the neck blank during the bolt on build, but recently realized I had made a couple of critical errors.
1zo9hl3.jpg


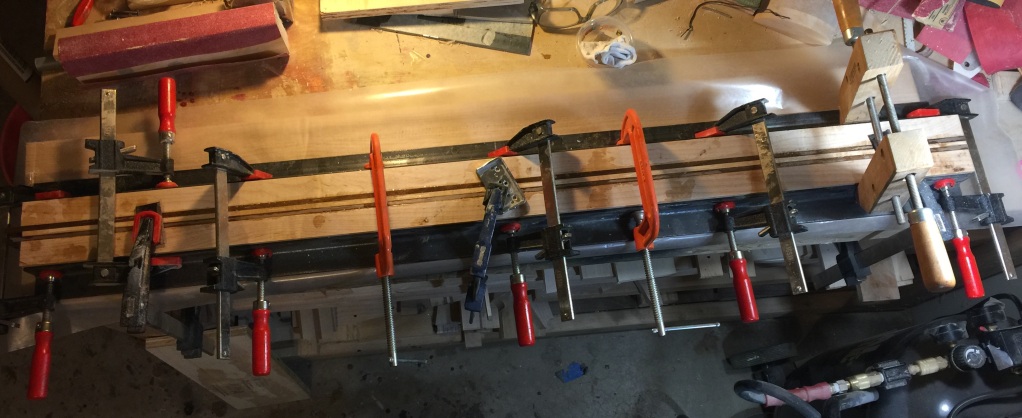
I put the channels for the aluminum stiffening bars too close to the neck's edge. I usually place dual truss rods 3/4" apart, as measured from their centers. These rods were quite a bit further apart than that, and I'm not sure what I was thinking. Their position would not allow my standard "D" shaped neck profile - it would cut into the channels. Opps. Further, I went out of my normal build sequence, and cut the angle of the headstock after I routed the truss rod and stiffening bar channels. When I finished up the headstock angle with the router, I went too far, pushing the nut position too far south. Another opps. So I glued up another neck blank.
wuqmhi.jpg


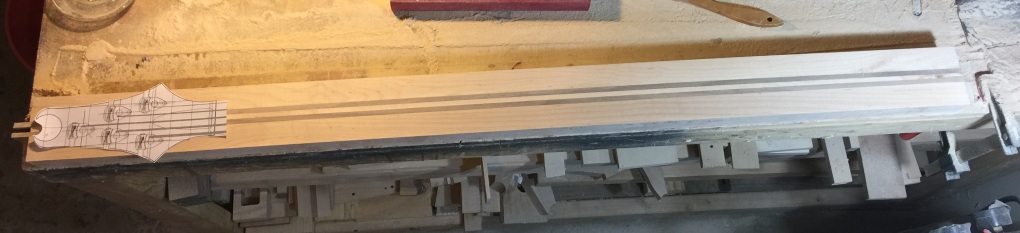
After 36 hours of curing time, I removed it from the clamps and sanded it smooth.
2yl0mr7.jpg


And that's where I am now.

I have most of the parts ready.
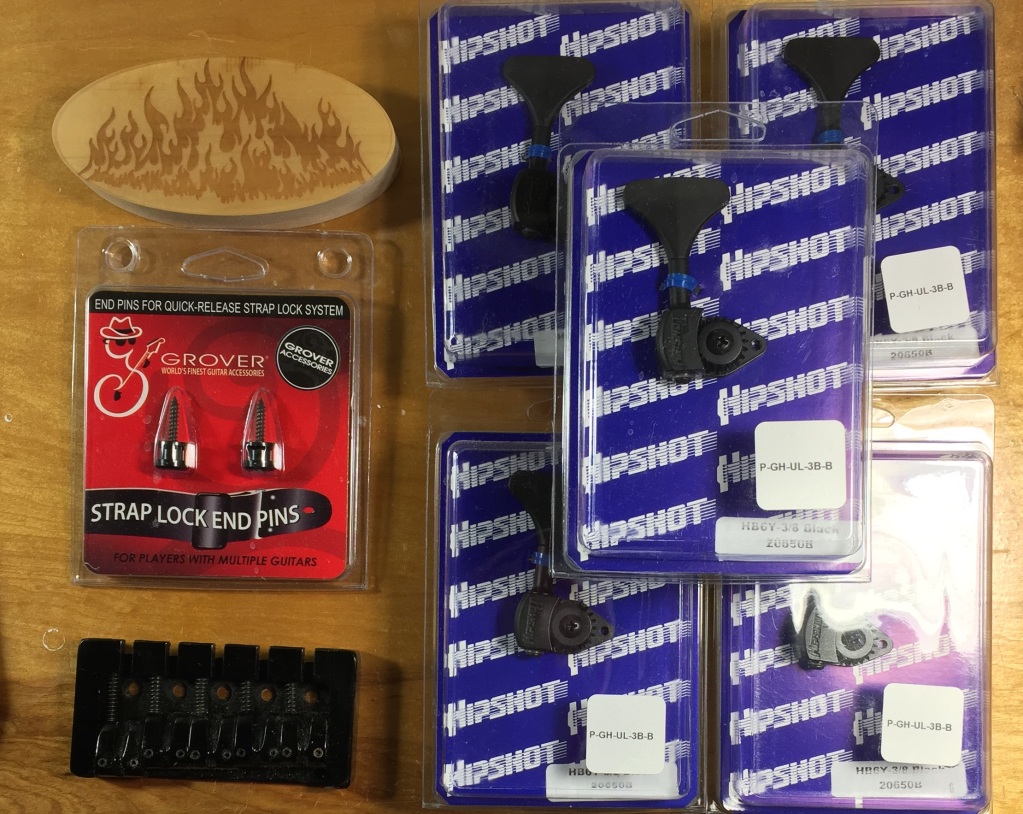
156x36s.jpg


I'm thinking about using stainless steel fret wire, still to be ordered.

I have the body wings mostly shaped.
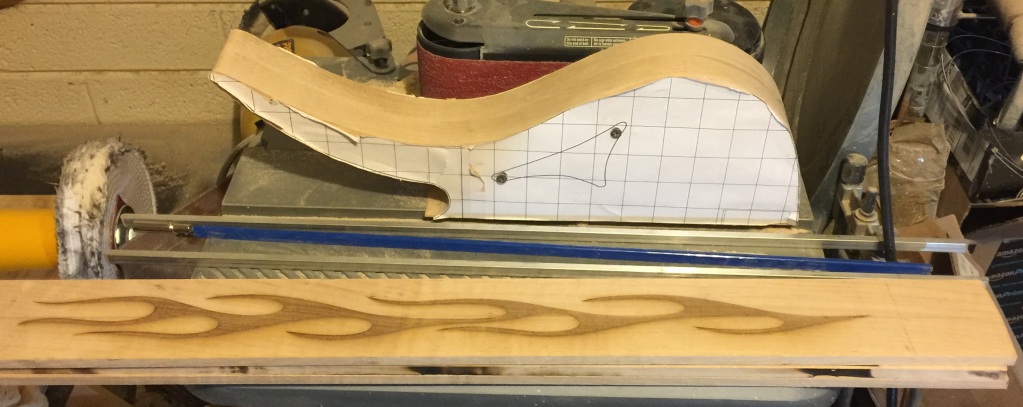
bg4je0.jpg


Along with the fretboard, already laser etched with the flame inlay. Though rethinking it, I may or may not use it.

I haven't yet decided on the paint. I may leave it natural (mapleglo, as the case may be), especially if I go with walnut wings. Or, maybe a trans white, bursting to black. The bass will let me know when it's time.

In other news, I joined the Guild of American Luthiers.
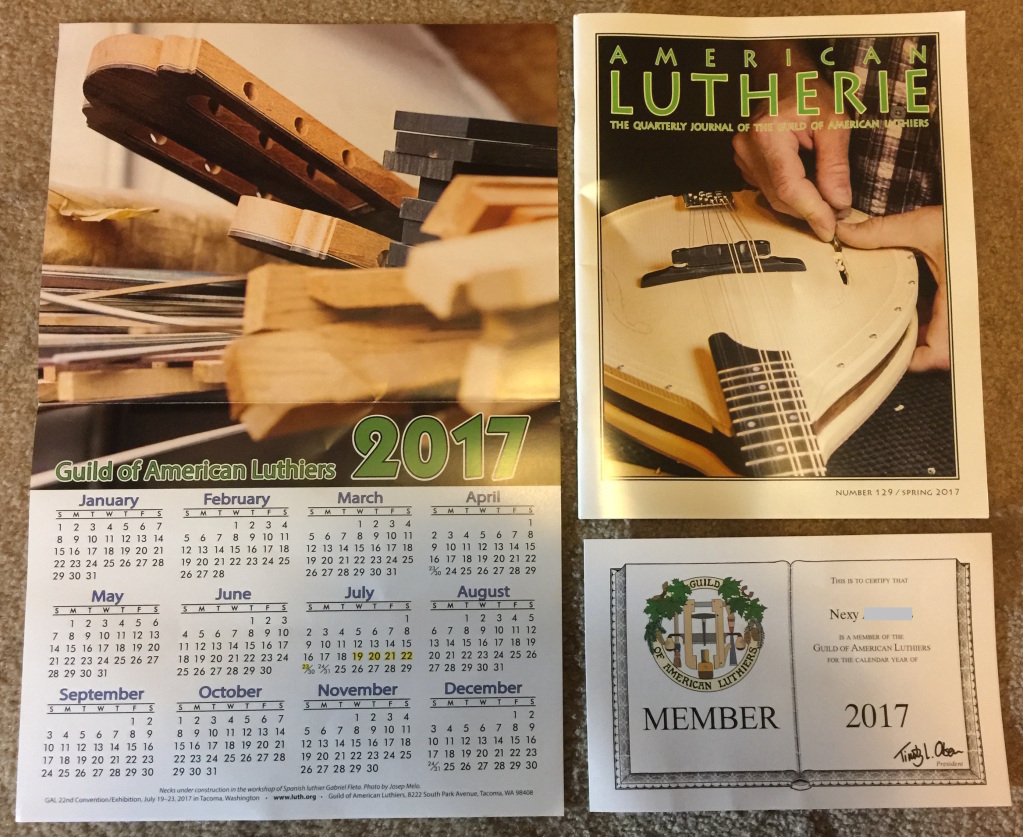
rhsf88.jpg


One may think that a member would have to have some kind of qualifications. Turns out, all one needs is $60.00.
 
Will you make any changes due to using traditional tuners on the head stock? I am thinking in terms of weight balance.

Yes, instead of dual truss rods, I'm going with one truss rod and dual aluminum stiffening bars. That should lighten up the neck enough to balance the bass well. I also went with Hipshot ultralites.
 
Maple,
Where are you getting your trussrods? I used a BBG rod, works fine, but the 4mm hex socket is pretty sloppy. I'm worried about stripping it long term. Not the place to skimp on price! Lesson learned, Stewmac or LMI next time.

I think this one is from StewMac. I've bought them from BBG, Amazon, and eBay. Frankly, other than the length, I don't notice too much of a difference between them. I think they all use that same 4mm allen wrench.

In other news, I'm almost done with the elusive buffer. I affectionately call it the "monstrosity".

Link Removed

It's actually running a little too slow. I may have to get a smaller pulley on that middle axel. It's at about 550 RPM. I may want it closer to 800.
 
Nexy, you are showing serious symptoms of Acute Machineryosis. No real cure, you just have to learn to live with it and keep it under reasonable control.

A couple of quick suggestions:
I don't think you really need the dual belt reduction, or the second shaft. To get to 800 rpm, you need 4.3:1 reduction. It looks like you almost have that in your primary drive alone. You could eliminate the second shaft. Or, put a smaller reduction ratio on the secondary drive (a larger pulley on the center shaft), and then put buffing wheels on both ends of the second shaft. Maybe that's what you have in mind?

If you keep the second shaft, move that secondary drive pulley set over against the pillow blocks on either side. Putting the belt drive out in the middle of the shafts like that is asking for some bad vibrations.

In general, to maximize traction and torque through a belt drive, you want to avoid using little pulleys. They don't have the surface area on the belt, so they can't produce the torque that the belt can handle. They will be the point that slips. If you are going to use two belt drive sets, it's better to split the reduction between them using larger pulleys. For example, if you want 4.3:1 total reduction, make the primary drive 2:1 (2" pulley on the motor, 4" on the mid shaft), and then make the secondary drive about 2.2:1 (1 7/8" pulley on the mid shaft, 4" pulley on the front shaft). That will double or triple the torque capacity over what you have now.
 
Thanks for the suggestions, Bruce. Right now, there's a 2" pulley on the motor, and a 6" pulley on the first shaft. The motor does 3450 RPM, so I figure the first shaft is at 1150. I thought that may be a tad high. The second reduction is a 2" to 4" pulley, so half that speed. Likely a tad slow. I figure if I change the 6" pulley to 4", I'll be at about 860, which should be good. And I'll move that pulley over :)
 
  • Like
Reactions: BassHappy
No forward progress on this for past few days. I'll try to do some work tonight. In the mean time, I spent a million dollars on some StewMac fret files, and some fret wire.

9hjtpv.jpg


They were Invalid Link Removed

That's ok.....


You might win the million dollar Stew mac prize to offset your million dollar expendature
 
  • Like
Reactions: mapleglo
That's ok.....


You might win the million dollar Stew mac prize to offset your million dollar expendature

There's always hope :)

I routed the two aluminum stiffening bar channels.

espwsk.jpg


Next up, I'm going to have to start on the fretboard. It's already laser engraved with the flame pattern. I'm kind of wishing I had done a different pattern for this one. Perhaps next time.
 
  • Like
Reactions: BassHappy
If you haven't poured the fingerboard flames yet, maybe go a little wilder on the tints. I'm thinking red at the tips, yellow-orange in the middle, and black at the back roots.

On the overall finish, have a little more patience on the sunburst edges on this one. Maybe more of a reddish-brown to black? The other one is the nicer Devil Goddess. This one should be the nastier sister.
 
  • Like
Reactions: mapleglo
Thanks for the tips Bruce! Unfortunately, the flames are not coming out as well as planned. The previous board, I used the fast curing epoxy hardener, which worked fairly well. The fast cure hardener is all gone, so I used the slow stuff. It seems that allowed enough time for the epoxy to work it's way down the flame, perhaps due to capillary action as the epoxy took more time to set.

14x0x15.jpg


Well, I'll continue playing with it.

I'll be sure to remember to use a light touch with the diamond fret files.
 
Hmm...If the the recess isn't completely filled yet, you can try filling it in stages. That is, you don't have to pour all of it at once. And, you can get a little help from gravity. Raise up the back end a bit while pouring the red, and let it find its way down into the points.
 
I had the board tilted - you might be able to see that in the pic. It still creeped its way up (or down, in this case) the recess. The 2nd stage was not much better. The epoxy just flows where it will.

ehge2w.jpg


I had this tilted as well, and then placed it flat again, as it started flowing out of the bottom. I think for this type of work, the fast cure hardener is the better choice.
 
  • Like
Reactions: BassHappy


