- Jan 3, 2010
- 428
- 59
- Disclosures
- Blood Brothers Guitars - Luthier, Porter Guitars - Contractor
Hi TB friends! With the New Year approaching I'm looking forward to a bit more time in the shop. With one build winding down, I've been looking for a new project. I hope to challenge myself and continue to learn new techniques. This project will be simultaneous builds of a Single Cutaway design. They differ slightly and as the builds continue I hope to try different things on each of them.
One will be a 5 string, one a 6. They will both have Swamp Ash for the body substrate, and black accent veneer of differing thickness. One top is Flamed Maple, the other Buckeye Burl. The neck materials are Birdseye Maple with a Ziricote fingerboard and a Wenge Neck and Wenge or Birdseye Maple Fingerboard. Hardware will be Hipshot, pickups and preamps and are yet to be determined. I haven't decided the scale as of now but am leaning towards 34 inches, and will probably use medium gold evo Fretwire. Finishes are also undecided. I'm open to suggestions so please fire away if you care to share an idea. As always, thanks for watching!
I've had a few moments over the last couple weeks to get started on the bodies. Here is the progress so far.
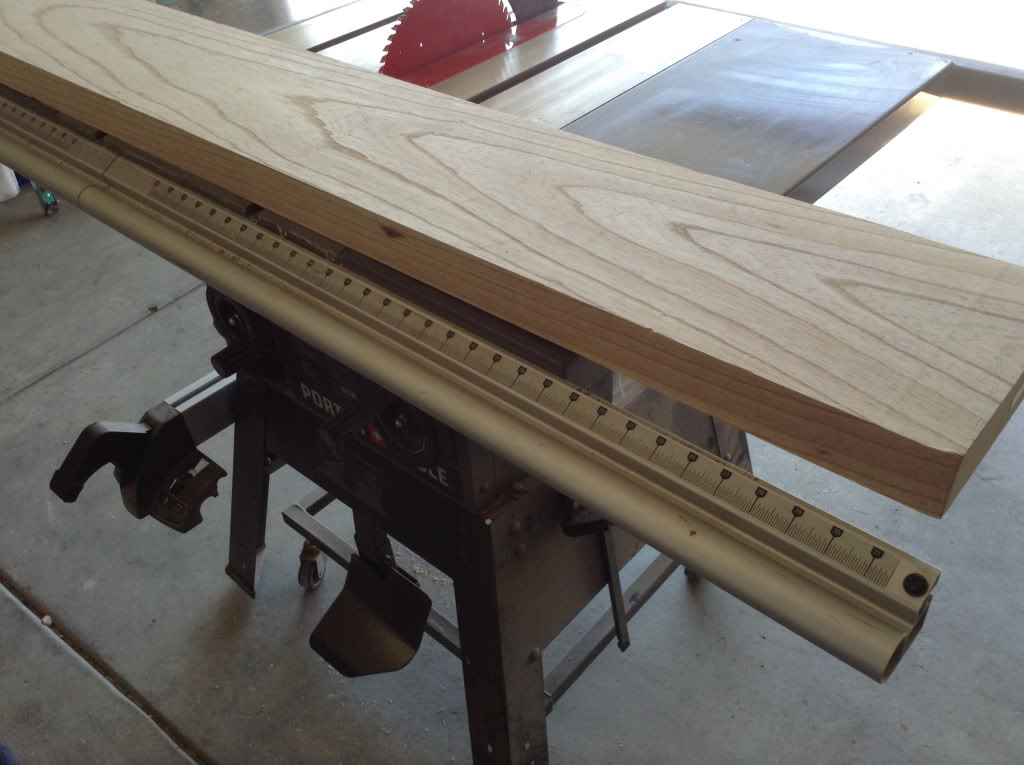
Boards for the bodies getting squared up and planed to thickness. (I just changed the blade on my table saw in case you're wondering why it's so high)
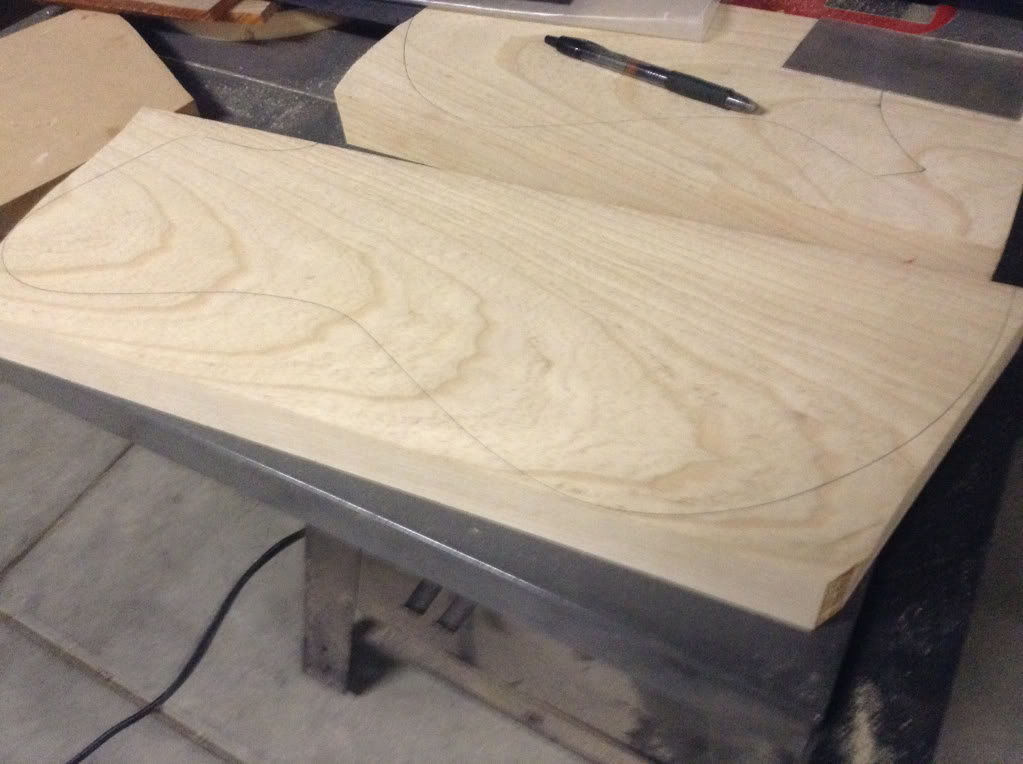
A template for the bodies.

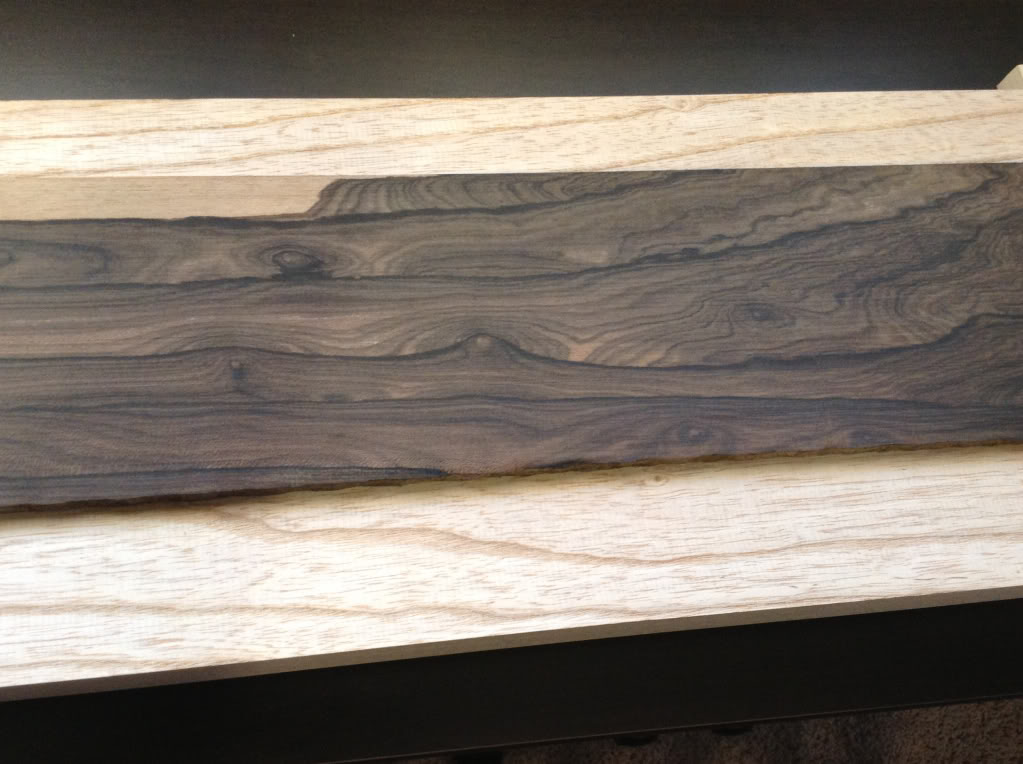
One body, and the Ziricote FB
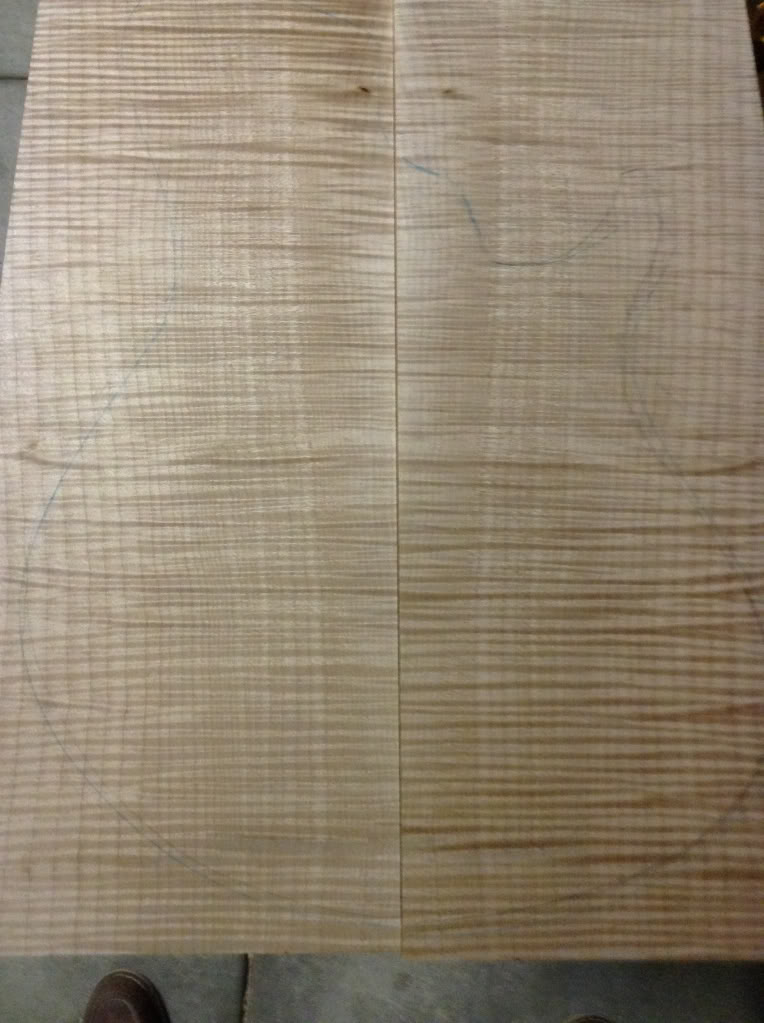
The Maple top is from North Ridge Hardwoods
The Buckeye I picked up from ebay. I've had it for a while. It has plenty of big voids and bark pockets. Those will be filled in the usual fashion.
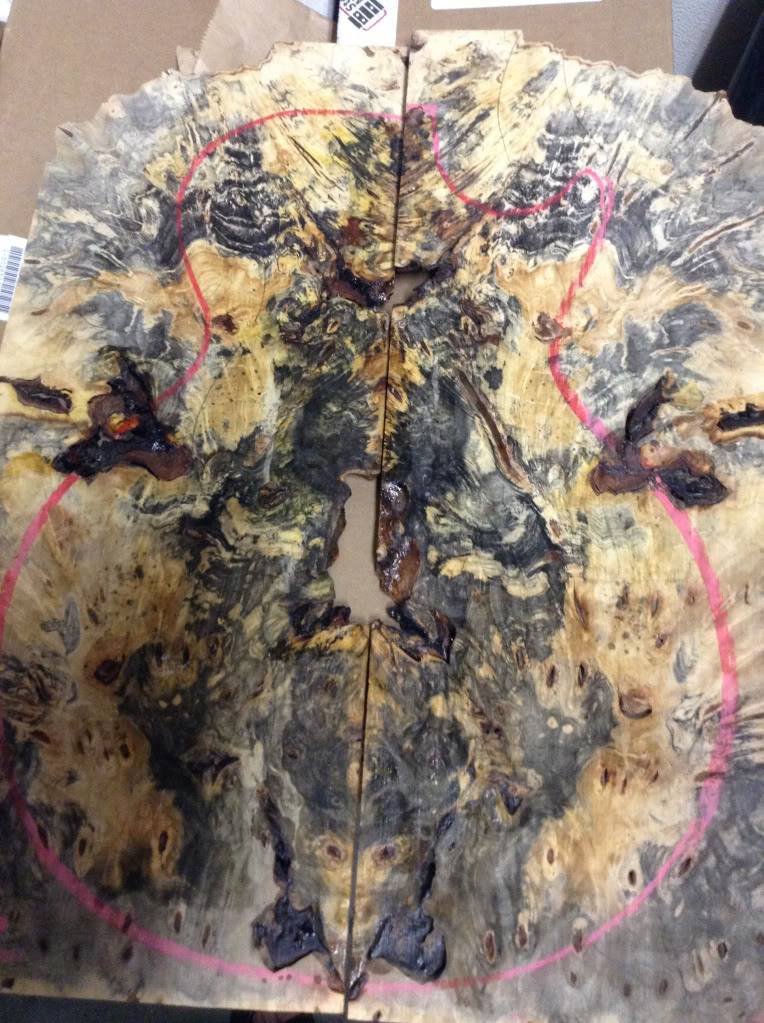
The veneers were first on the glue schedule. The buckeye top received the thicker veneer (2mm fiber veneer from LMII). This choice was made because I believe I will be contouring the BEB top a bit more than the flamed maple.
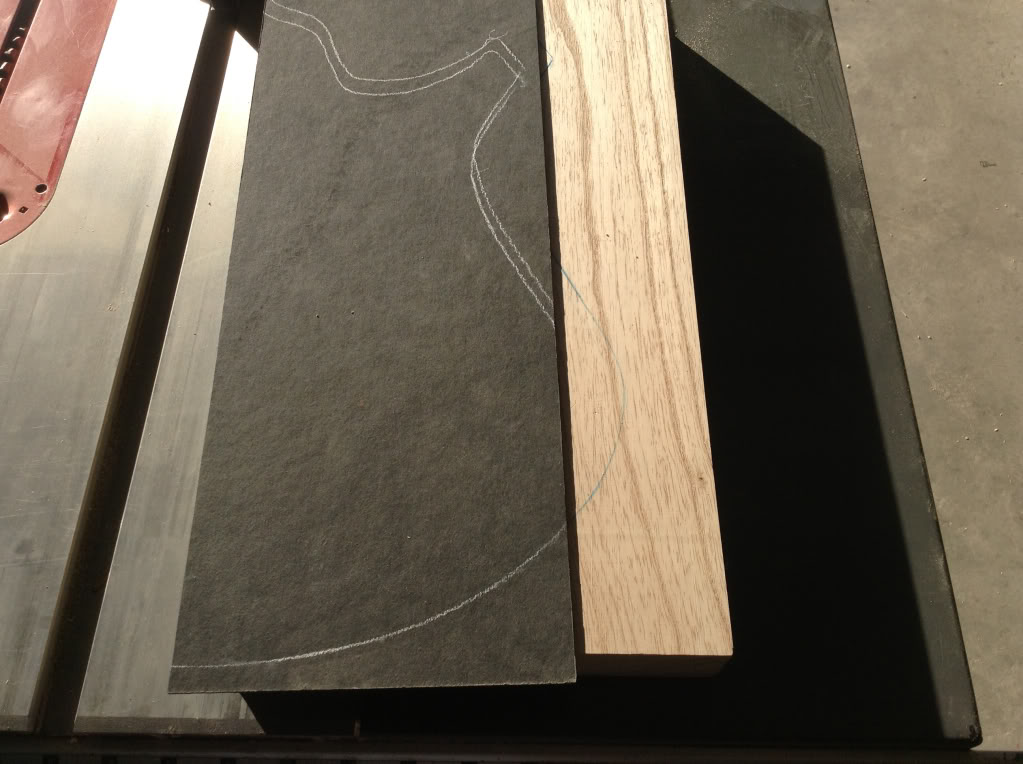
The Flamed Maple bass received a much thinner black maple veneer.

The veneers were glued on to the ash first using a large piece of MDF as a caul. I did this before running each side over the jointer. The Buckeye was then glued down (with epoxy) to each side. Then passed them over the jointer again a few times. Also I wanted to reduce the size of some of the larger voids. Much of the center seam will be removed (by the neck pocket and pickup cavities) or hidden under hardware and possibly a ramp between the pickups. I'm also considering pickup covers on one or both of them...decisions, decisions.

Then the two sides were joined.
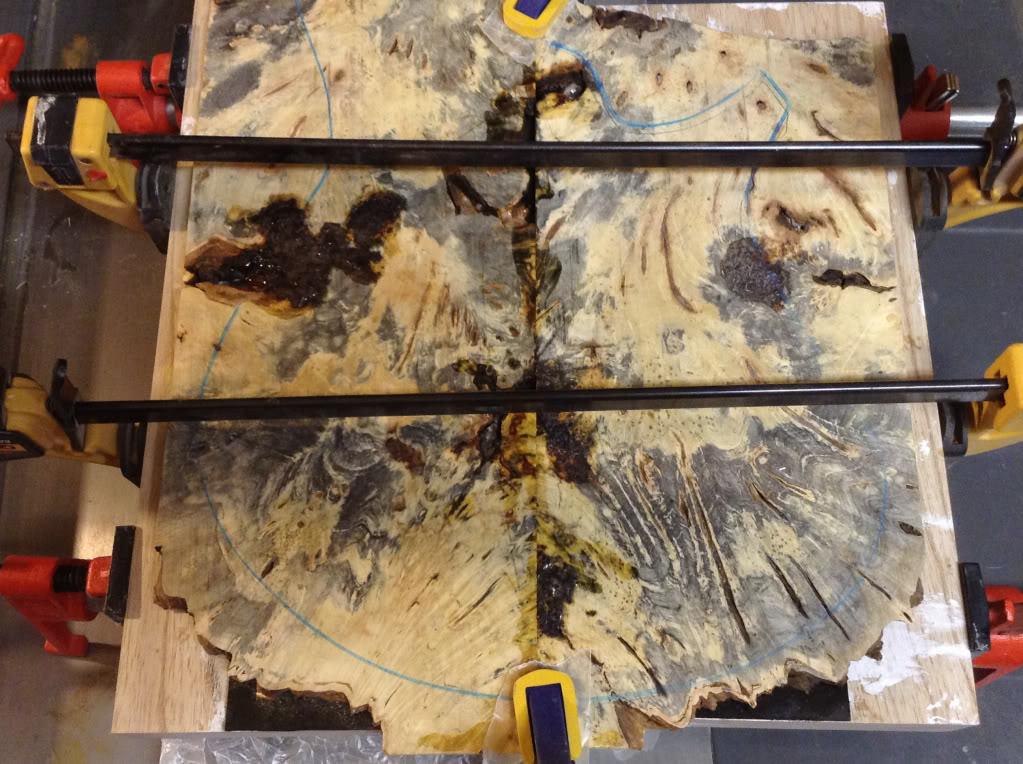
The Maple top was jointed and joined before gluing to the body. I cut the top down a bit closer to shape in order to see the center line so I could match them up.
A couple clamps later...
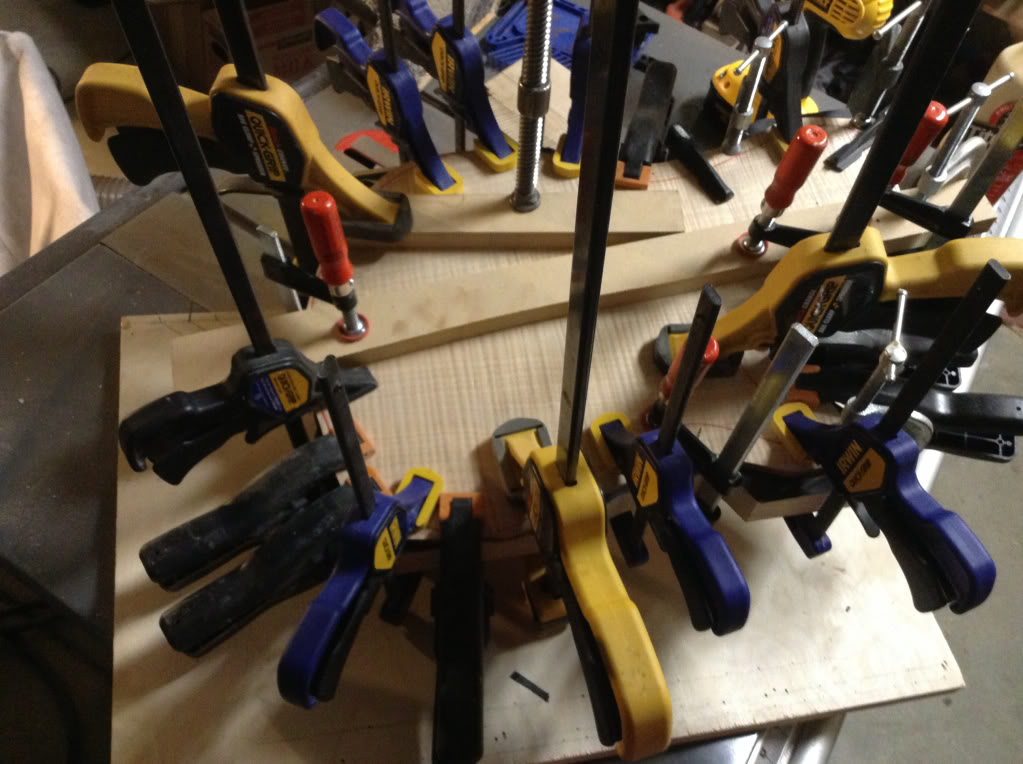
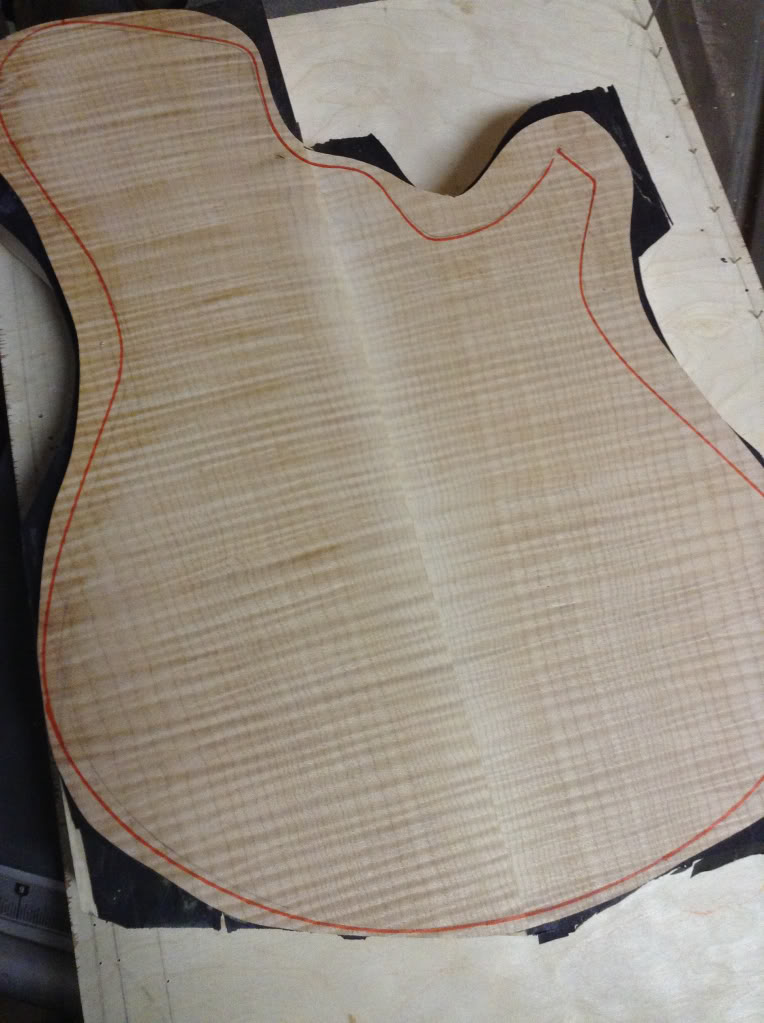
...and voila!


After routing away the excess with the body template and pattern bit.
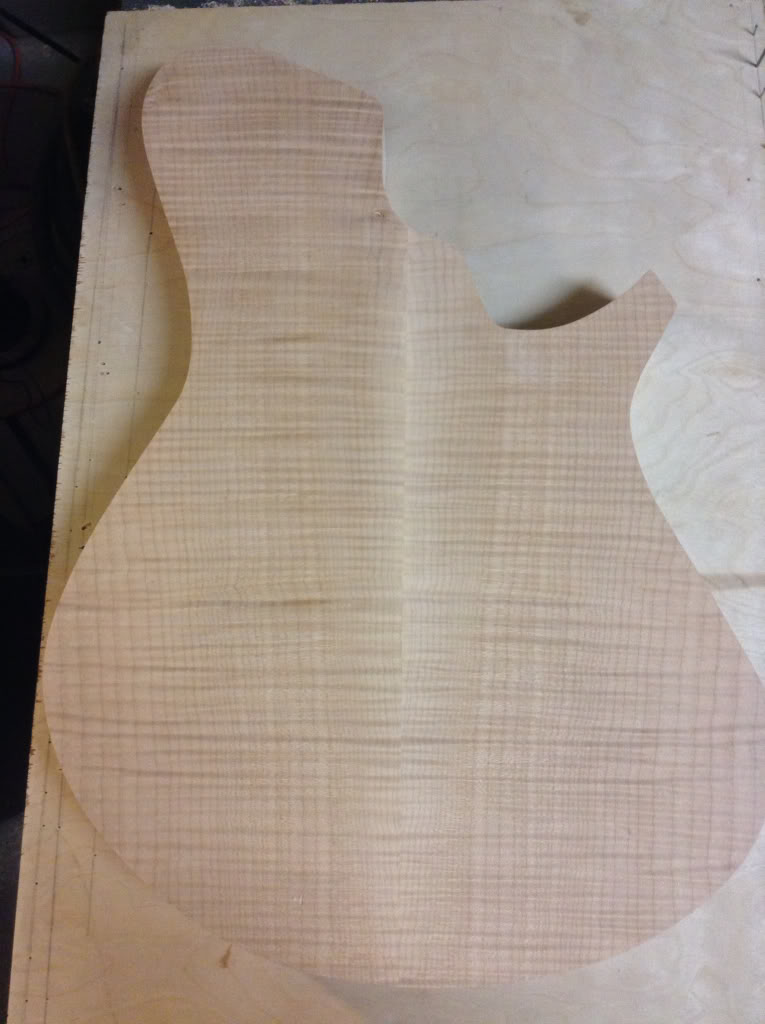
As of now I'm thinking of doing the Maple bass with a smaller round over. I still used a 1/2 inch RO bit but didn't cut as deeply so its a little more subtle with the thinner veneer.
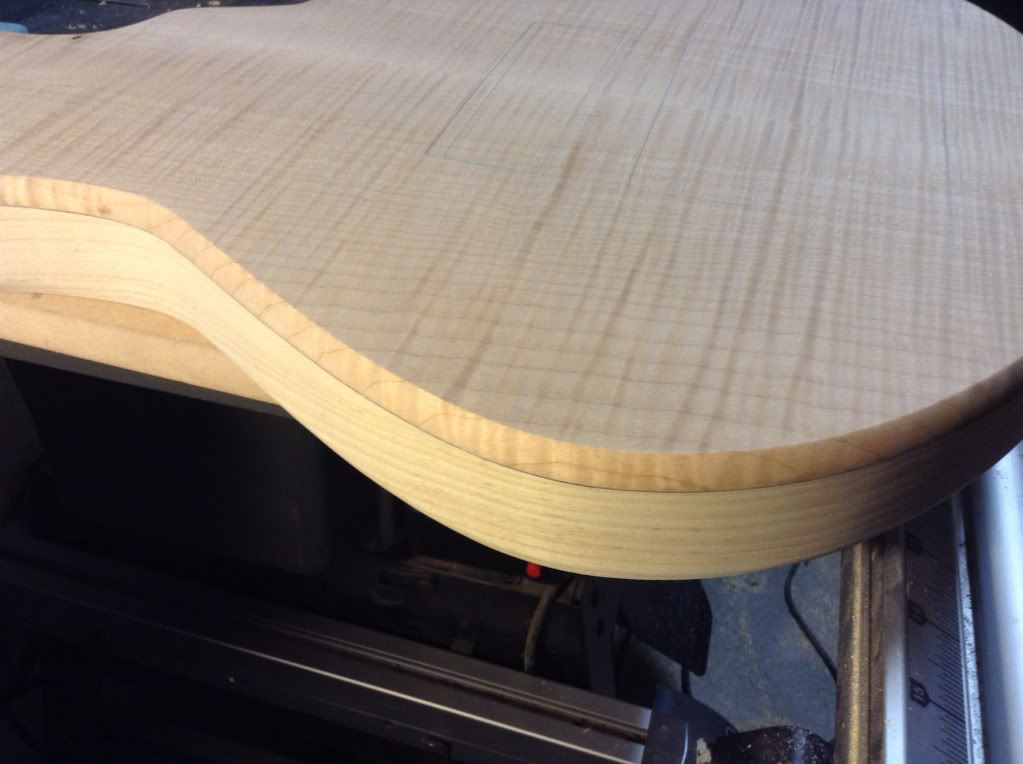
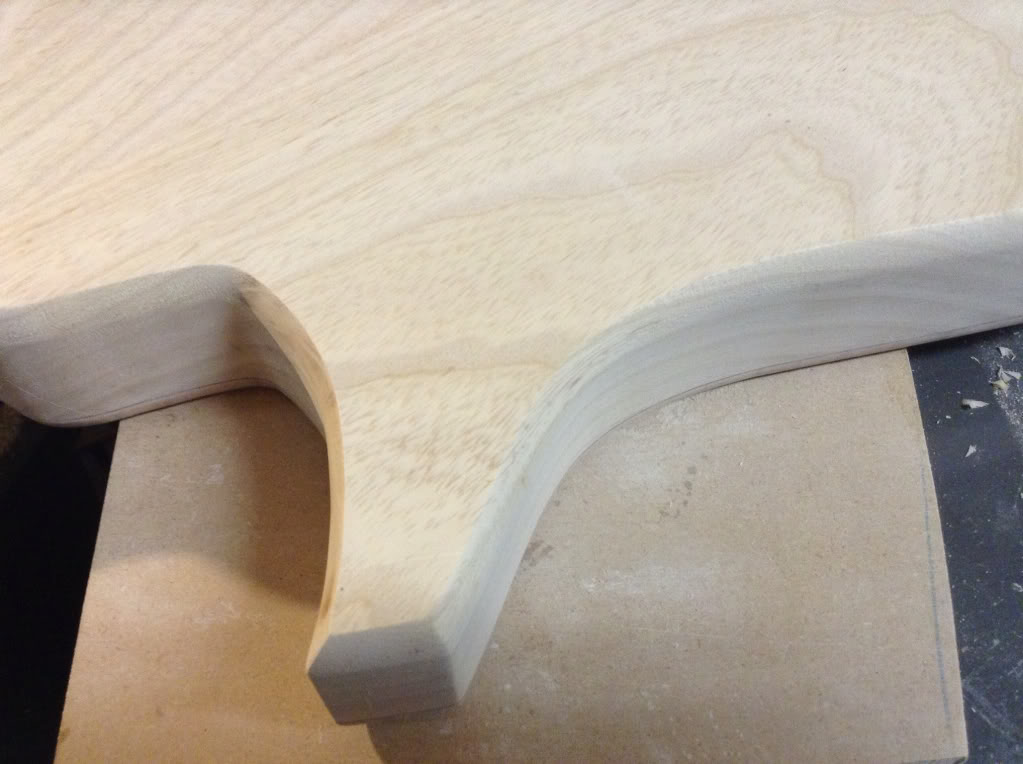
My apologies for the length of this first post. This is the progress up to now and wanted to get it documented for you before I got too much deeper into these builds. Please feel free to chime in with criticisms, and suggestions. I'm looking to push myself further with these two. Thanks again for watching!
One will be a 5 string, one a 6. They will both have Swamp Ash for the body substrate, and black accent veneer of differing thickness. One top is Flamed Maple, the other Buckeye Burl. The neck materials are Birdseye Maple with a Ziricote fingerboard and a Wenge Neck and Wenge or Birdseye Maple Fingerboard. Hardware will be Hipshot, pickups and preamps and are yet to be determined. I haven't decided the scale as of now but am leaning towards 34 inches, and will probably use medium gold evo Fretwire. Finishes are also undecided. I'm open to suggestions so please fire away if you care to share an idea. As always, thanks for watching!
I've had a few moments over the last couple weeks to get started on the bodies. Here is the progress so far.
Boards for the bodies getting squared up and planed to thickness. (I just changed the blade on my table saw in case you're wondering why it's so high)
A template for the bodies.
One body, and the Ziricote FB
The Maple top is from North Ridge Hardwoods
The Buckeye I picked up from ebay. I've had it for a while. It has plenty of big voids and bark pockets. Those will be filled in the usual fashion.
The veneers were first on the glue schedule. The buckeye top received the thicker veneer (2mm fiber veneer from LMII). This choice was made because I believe I will be contouring the BEB top a bit more than the flamed maple.
The Flamed Maple bass received a much thinner black maple veneer.
The veneers were glued on to the ash first using a large piece of MDF as a caul. I did this before running each side over the jointer. The Buckeye was then glued down (with epoxy) to each side. Then passed them over the jointer again a few times. Also I wanted to reduce the size of some of the larger voids. Much of the center seam will be removed (by the neck pocket and pickup cavities) or hidden under hardware and possibly a ramp between the pickups. I'm also considering pickup covers on one or both of them...decisions, decisions.
Then the two sides were joined.
The Maple top was jointed and joined before gluing to the body. I cut the top down a bit closer to shape in order to see the center line so I could match them up.
A couple clamps later...
...and voila!
After routing away the excess with the body template and pattern bit.
As of now I'm thinking of doing the Maple bass with a smaller round over. I still used a 1/2 inch RO bit but didn't cut as deeply so its a little more subtle with the thinner veneer.
My apologies for the length of this first post. This is the progress up to now and wanted to get it documented for you before I got too much deeper into these builds. Please feel free to chime in with criticisms, and suggestions. I'm looking to push myself further with these two. Thanks again for watching!



 . I'm lucky my kids are pretty well behaved and the baby only eats and sleeps...for now.