

Enjoy the benefits of a premium membership!
Upgrade Account
-
TalkBass has been independent since 1998. Add your voice.
Create a free account to reply to discussions, view embedded media, and browse with fewer display ads.
Join free Log in
Want zero display ads or expanded classifieds tools? Compare plans.
You are using an out of date browser. It may not display this or other websites correctly.
You should upgrade or use an alternative browser.
You should upgrade or use an alternative browser.
Building a workbench
- Thread starter Rickett Customs
- Start date
More options
Who Replied?
Time to top this puppy.
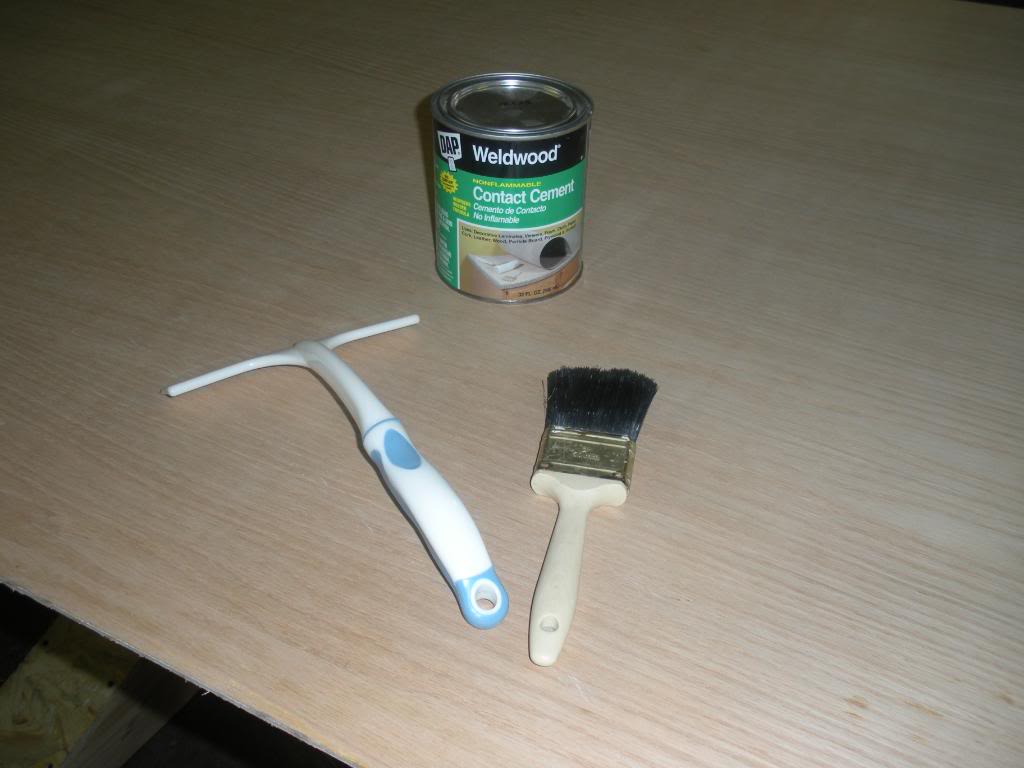
First, need the necessary things,
Contact cement, paint brush and squeegee.
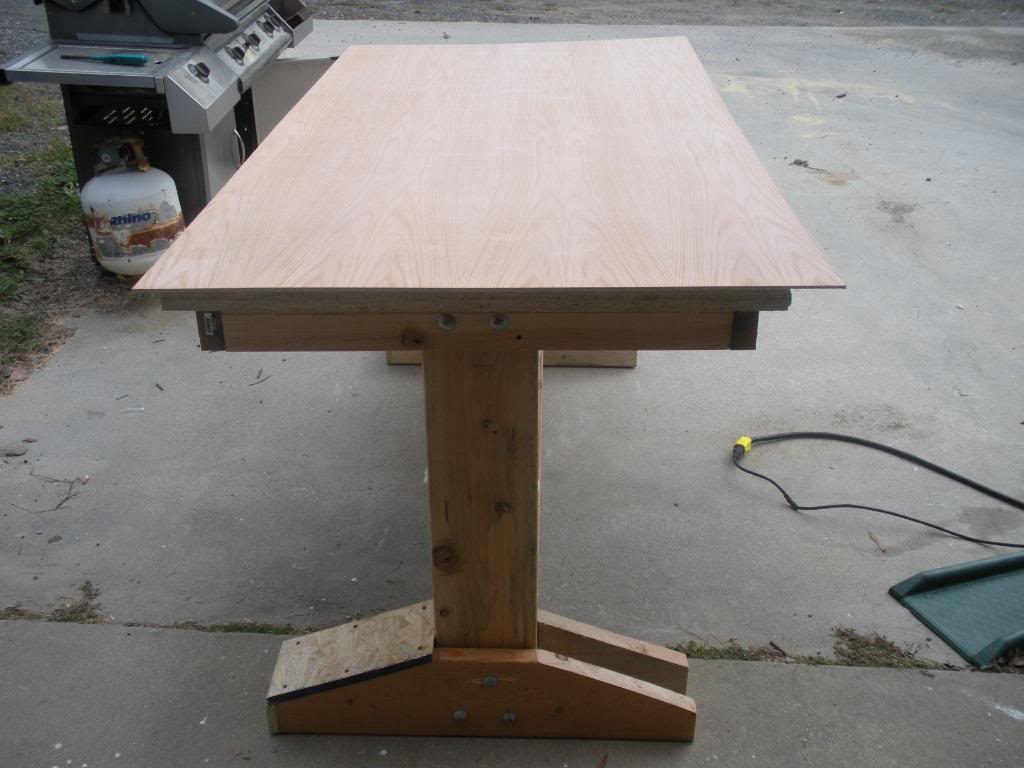
Need to cut the sheet down to size, I cut it 2" larger on each side (4" bigger).
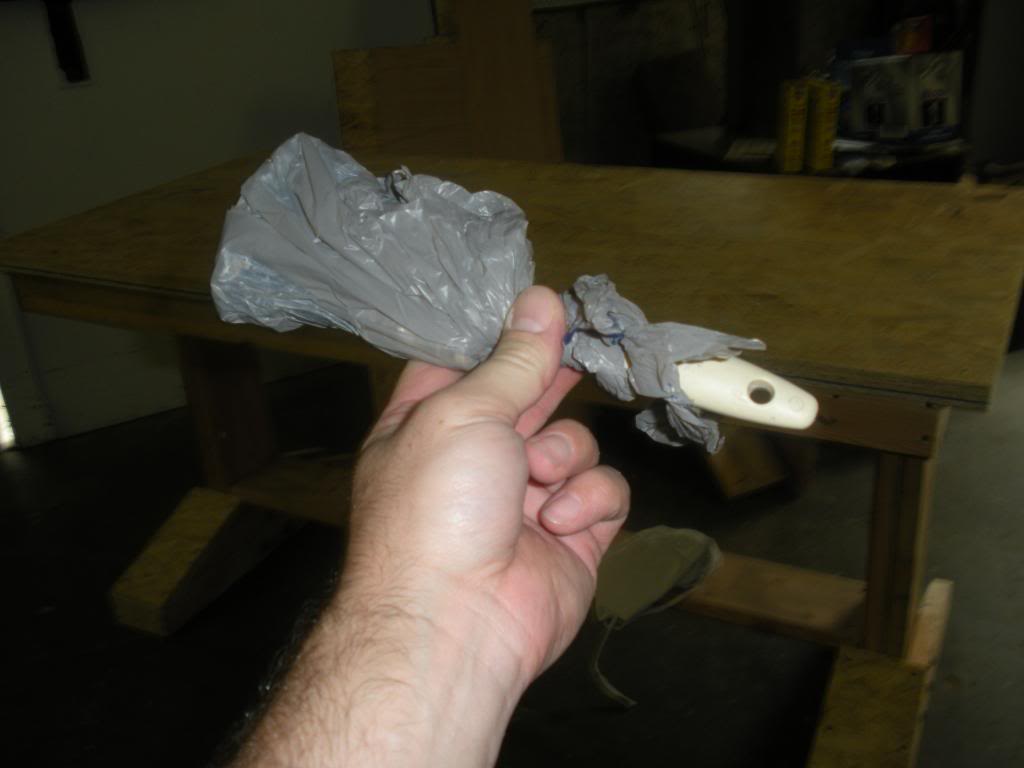
Didn't show much about applying it, but, I put 2 coats of contact cement... First one with a brush, the second with a squeegee. If you ever need to save the brush to do a second coat, just in case, wrap it in a plastic bag and put it in the freezer, it'll save you from using 2 brushes while the adhesive sets up between coats.
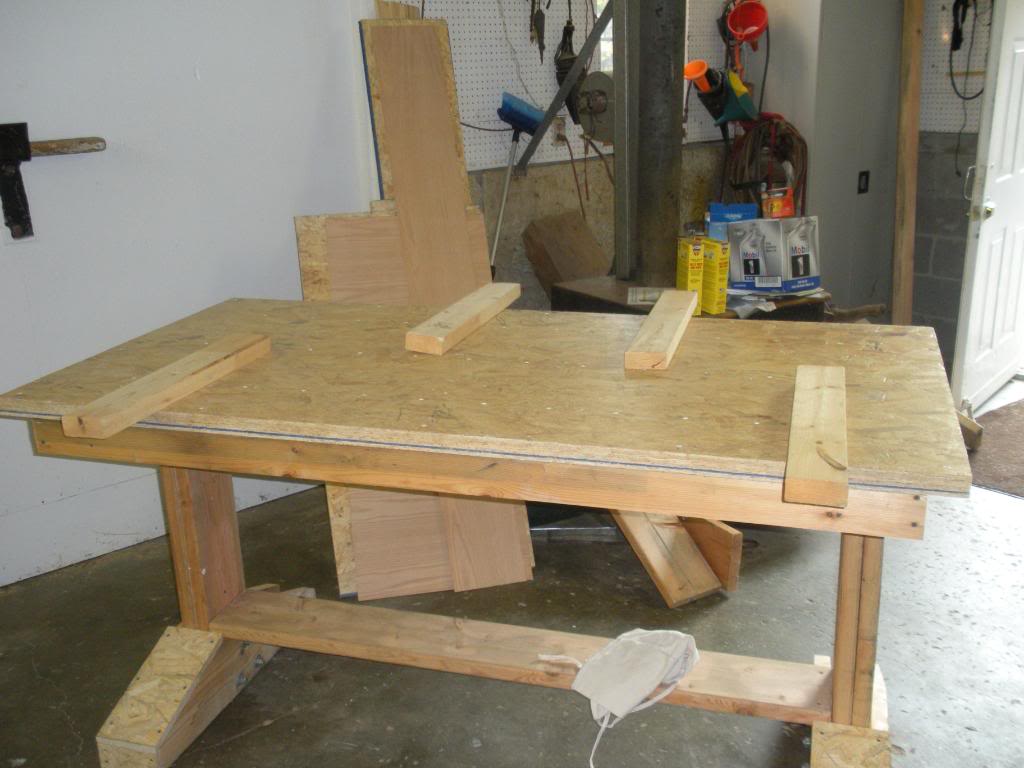
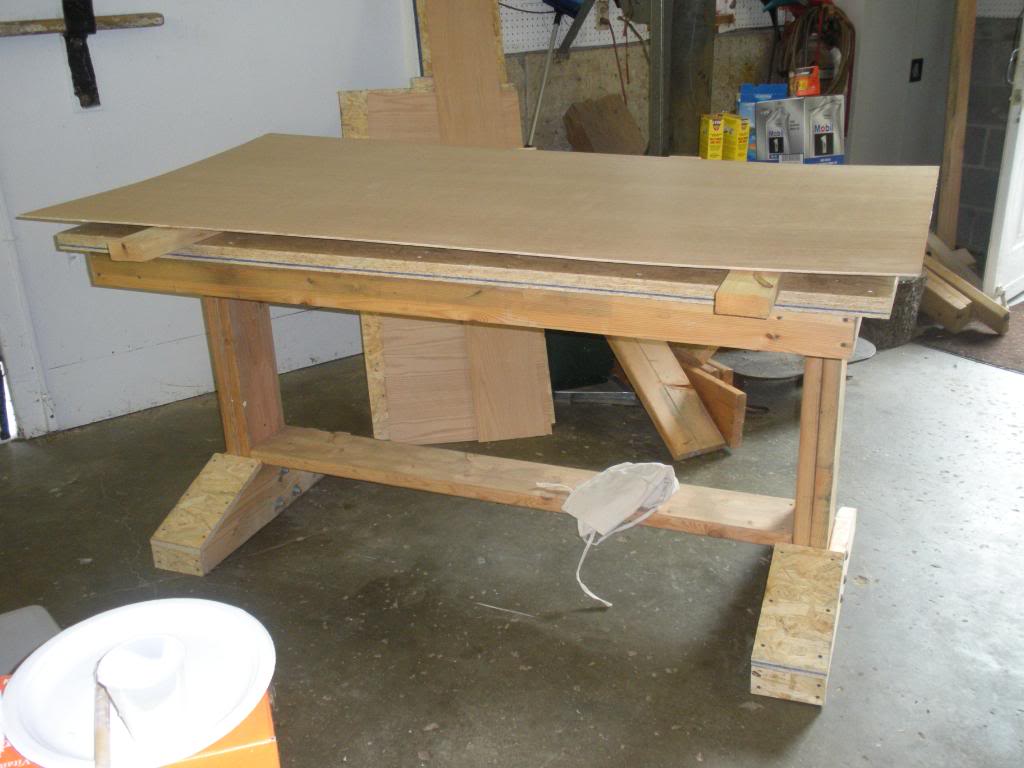
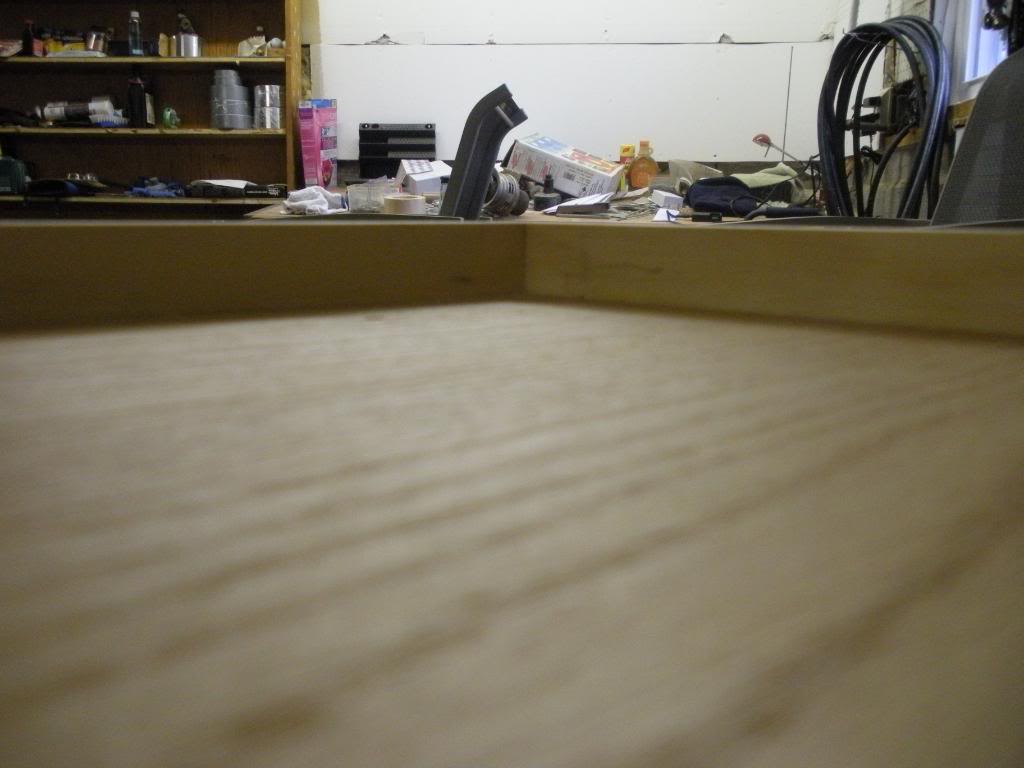
Ok, 25-30min after the second coat, time to lay it down. Helpful hint, Lay down some wood lengths, like the picture, this way, you'll be able to lay it without getting air pockets underneath, especially working alone.Just pull them out, one by one, so that you can apply weight and clamps from one side to the other.Notice the surface has a "sheen" to it, that means there's a good enough coat on it.
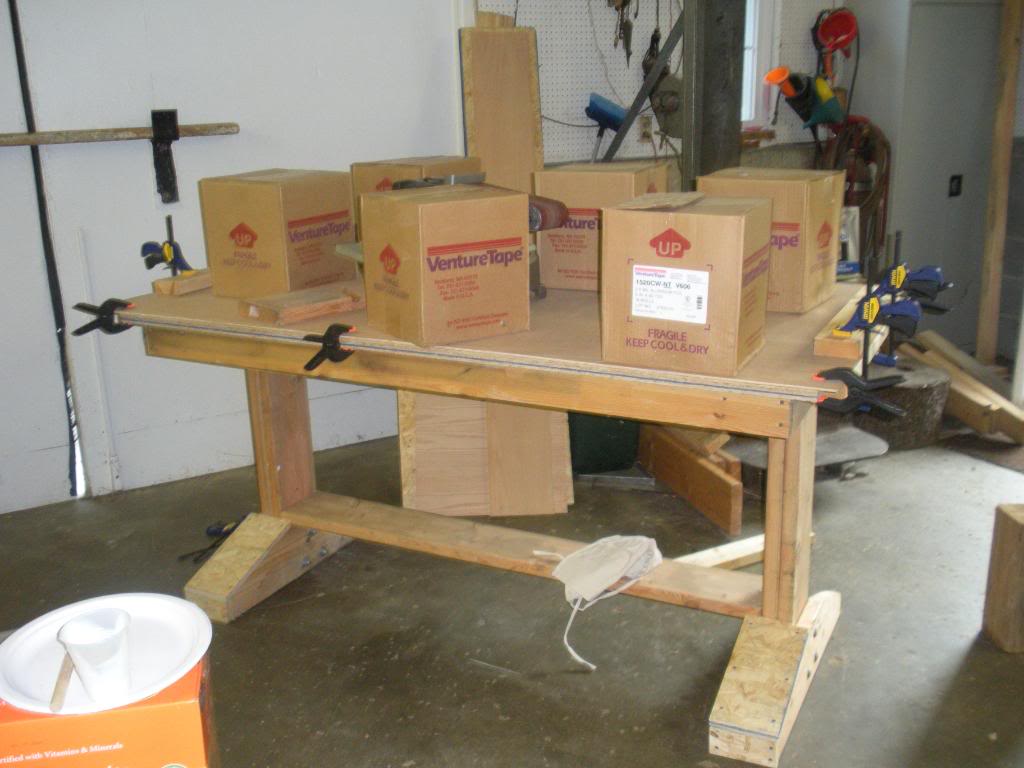
Now the waiting game (or weighting game, for that matter), clamps and weights.Making sure that the edges are laying flat on the surface.
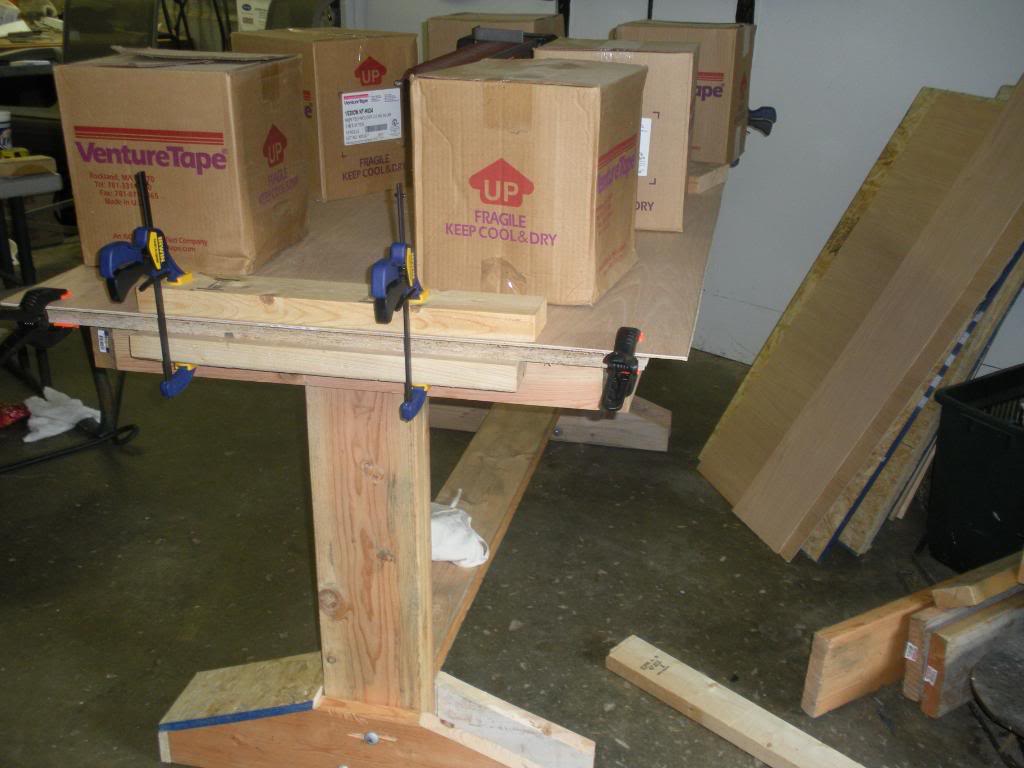
Still gotta do the edges, thinking about laminating the feet caps too. Gonna use a router to cut the overhang off
First, need the necessary things,
Contact cement, paint brush and squeegee.
Need to cut the sheet down to size, I cut it 2" larger on each side (4" bigger).
Didn't show much about applying it, but, I put 2 coats of contact cement... First one with a brush, the second with a squeegee. If you ever need to save the brush to do a second coat, just in case, wrap it in a plastic bag and put it in the freezer, it'll save you from using 2 brushes while the adhesive sets up between coats.
Ok, 25-30min after the second coat, time to lay it down. Helpful hint, Lay down some wood lengths, like the picture, this way, you'll be able to lay it without getting air pockets underneath, especially working alone.Just pull them out, one by one, so that you can apply weight and clamps from one side to the other.Notice the surface has a "sheen" to it, that means there's a good enough coat on it.
Now the waiting game (or weighting game, for that matter), clamps and weights.Making sure that the edges are laying flat on the surface.
Still gotta do the edges, thinking about laminating the feet caps too. Gonna use a router to cut the overhang off

dont understand why you are using particle board, if you are just gonna laminate the top, you oughta have used a solid core door instead, would have been stronger. I am afraid with just some regular use that sucker is gonna fall apart. I like the design for the legs and the support, you definitely started off right !! Good luck !!
dont understand why you are using particle board, if you are just gonna laminate the top, you oughta have used a solid core door instead, would have been stronger. I am afraid with just some regular use that sucker is gonna fall apart. I like the design for the legs and the support, you definitely started off right !! Good luck !!
Only one reason for the OSB, didn't pay for it
 (Free wood is better wood).
If I had bought it, sure, I would have probably used (Ply)Birch.
The best thing about this table, I'll learn from my mistakes, if it falls apart.

That is shaping up to be one classy bench.
Mine is an old walnut dining room table slapped on top of 4x4 legs. It sits in the middle of my shop and has 4 "stations". Spindle sander, belt sander, rigged up router table/gluing area and my jointer. Looks like hell but it's tall enough and sturdy. Soon, I'll put my ancient dust collector under it and have the hose running through the middle so I can more easily move it to where I need it.
Mine is an old walnut dining room table slapped on top of 4x4 legs. It sits in the middle of my shop and has 4 "stations". Spindle sander, belt sander, rigged up router table/gluing area and my jointer. Looks like hell but it's tall enough and sturdy. Soon, I'll put my ancient dust collector under it and have the hose running through the middle so I can more easily move it to where I need it.

Well, I closed my cabinet shop to pursue a new career path after 5 generations of cabinet makers, and I sold most all of my cabinet making tools. But......I could not let one of my work benches go.
I glued and stacked 2 pieces of 1 1/8" x 60" x 120" particle board, then put a 5 x 10 piece of plastic laminate on top. The top hangs over 12" all the way around. The sides are 3/4 birch with two center supports and 4 x 4 redcedar posts inside on all the corners and through-out the middle. I also have 2 1/2" x 3/4" solid white ash nosing glued and nailed around the top to protect the particle board from normal wear. My goal was to have a large perfectly flat solid surface that would not bow or move............it takes 4 people just to push it around the shop.
I glued and stacked 2 pieces of 1 1/8" x 60" x 120" particle board, then put a 5 x 10 piece of plastic laminate on top. The top hangs over 12" all the way around. The sides are 3/4 birch with two center supports and 4 x 4 redcedar posts inside on all the corners and through-out the middle. I also have 2 1/2" x 3/4" solid white ash nosing glued and nailed around the top to protect the particle board from normal wear. My goal was to have a large perfectly flat solid surface that would not bow or move............it takes 4 people just to push it around the shop.

Sounds like a cool little setup.Mine is an old walnut dining room table slapped on top of 4x4 legs. It sits in the middle of my shop and has 4 "stations". Spindle sander, belt sander, rigged up router table/gluing area and my jointer. Looks like hell but it's tall enough and sturdy. Soon, I'll put my ancient dust collector under it and have the hose running through the middle so I can more easily move it to where I need it.
Only one reason for the OSB, didn't pay for it
If I had bought it, sure, I would have probably used (Ply)Birch.
The best thing about this table, I'll learn from my mistakes, if it falls apart.
That top should be sturdy enough. You seem to have 2 layers of OSB over some solid frames.
The one I have now is one layer of OSB covered with a sheet of 3/4" maple faced plywood. I gave the plywood top a couple coats of wipe on poly to make clean up easier. The framework underneath is strong. I can pound nails on top of it as hard as I want. My legs are 1x4 hardwood salvaged from a shipping pallet. I stiffened up the back and 2 sides with 1/2"plywood panels. It's pretty solid and has a shelf under the top for a toolbox and a few tools. The weight keeps it anchored to the floor. I have a vise mounted to a piece of 3/4" plywood that i attach to the top with 3/8" bolts into T-nuts under the top. I can hang the vise on its board on the side of the bench when not in use.
The nice thing is the whole thing is made out of material I had left over from previous projects except for the bolts and T-nuts.
Sure, it'd be nice to have one of those fancy German made maple workbenches, but this one is cheap, was built to fit an existing space and works fine.
Yours is turning out pretty nice.
I gave the plywood top a couple coats of wipe on poly to make clean up easier.
I did this same very thing today...........

You didn't use 3m did you?
I did about 10 coats and cut the edge lip pieces to size. I'll probably glue and screw those on.
Camera didn't have a good charge on it and I have to find the charger, no pics today.
I did this same very thing today...........
You didn't use 3m did you?
I did about 10 coats and cut the edge lip pieces to size. I'll probably glue and screw those on.
Camera didn't have a good charge on it and I have to find the charger, no pics today.
No, I used Minwax Wipe On Polyurethane but it's basically the same thing. If you sand lightly with 400 grit between coats you get a very smooth surface. Takes about 3 weeks to harden fully. Mine's stood up well for a couple years now. It's a bit slick if I want to clamp something to it, but a pice of sandpaper under what I'm clamping solves that.
Actually I used about 6 thin coats, not a couple. I was trying to finish off a can of the stuff I had left over from another project before it hardened.

I inherited a workbench from my late uncle, and the best feature of it is that he ran conduit and galvanized tubing around the perimeter underneath, with fittings and junctions every foot or so. When I got it, I added a length of power chord and a plug (he had had it hard-wired to his garage's electrical). Having outlets all around the edge has been a nice treat, and if I ever get an air compressor, it'll be nice to have access to it's power too.
A gadget I grabbed that I really like is a long magnet that you bolt to the edge of the work bench (or anywhere, really) -- and then you can slap tools there when you need to set them aside temporarily -- with the handle sticking up within reach, it's a small convenience.
A gadget I grabbed that I really like is a long magnet that you bolt to the edge of the work bench (or anywhere, really) -- and then you can slap tools there when you need to set them aside temporarily -- with the handle sticking up within reach, it's a small convenience.
That magnet thing sounds like a good idea.
Here are some pics of it finished, gave the oak top 10 coats of wipe on poly and the edges, about 4 coats:
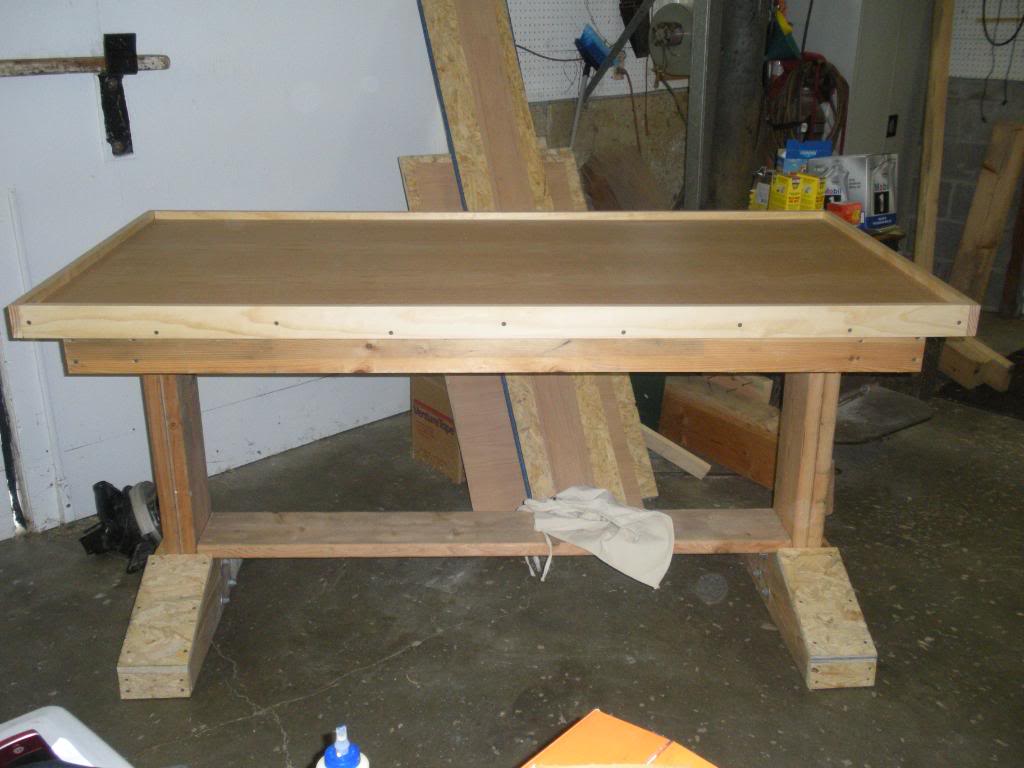
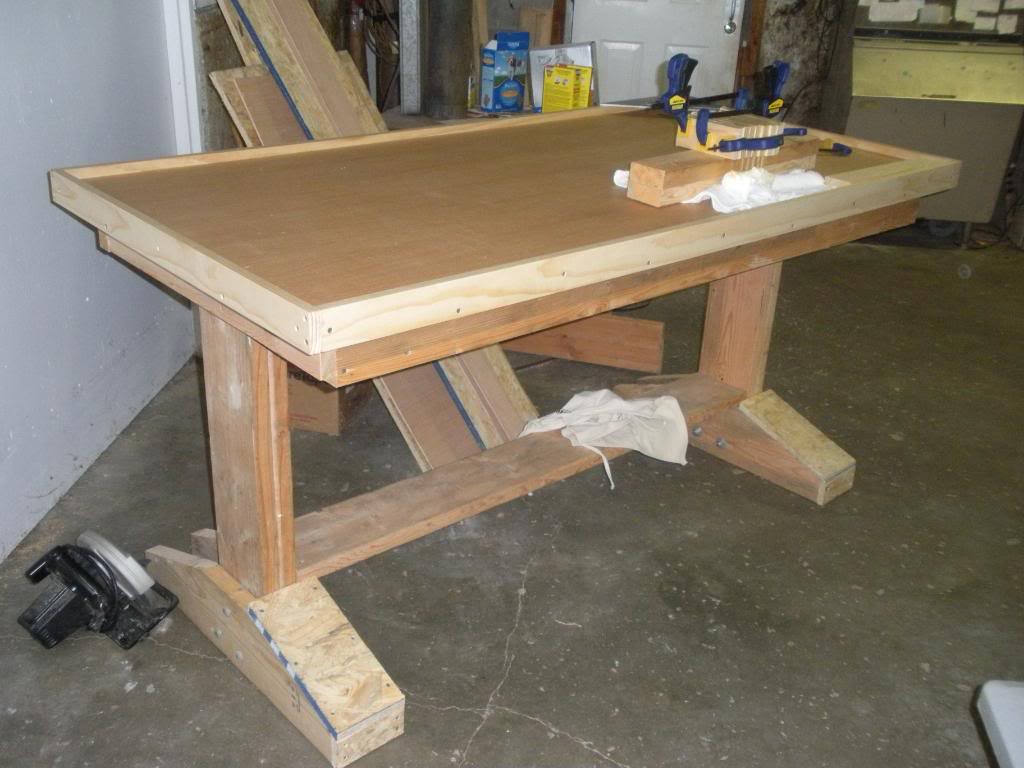
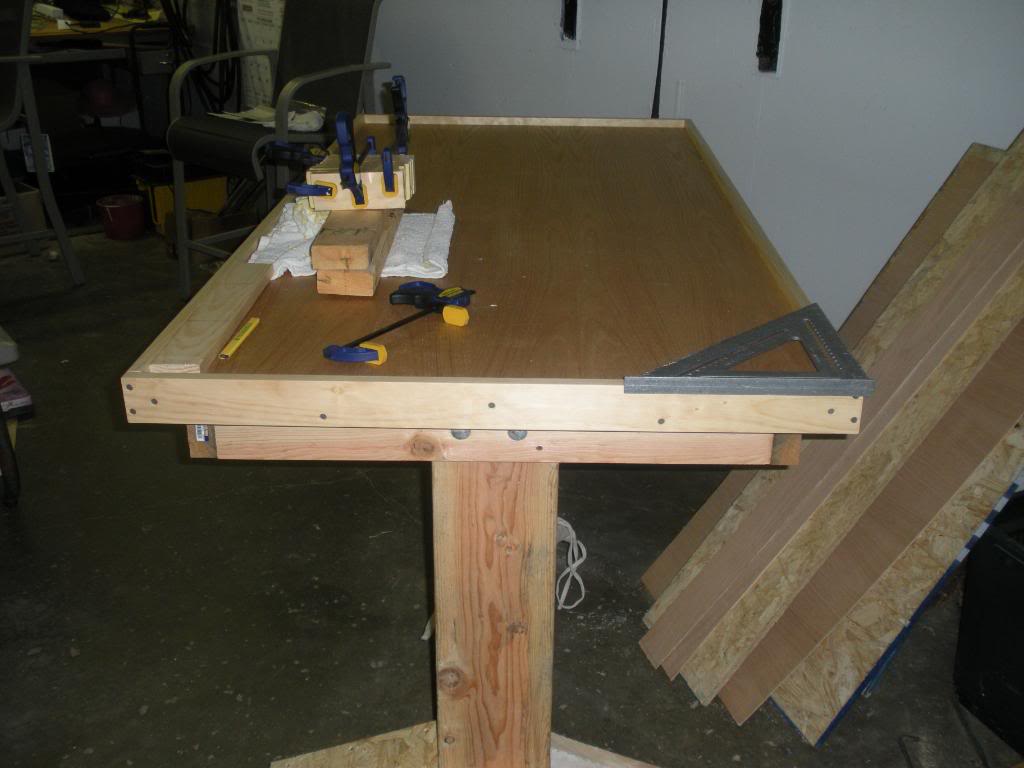
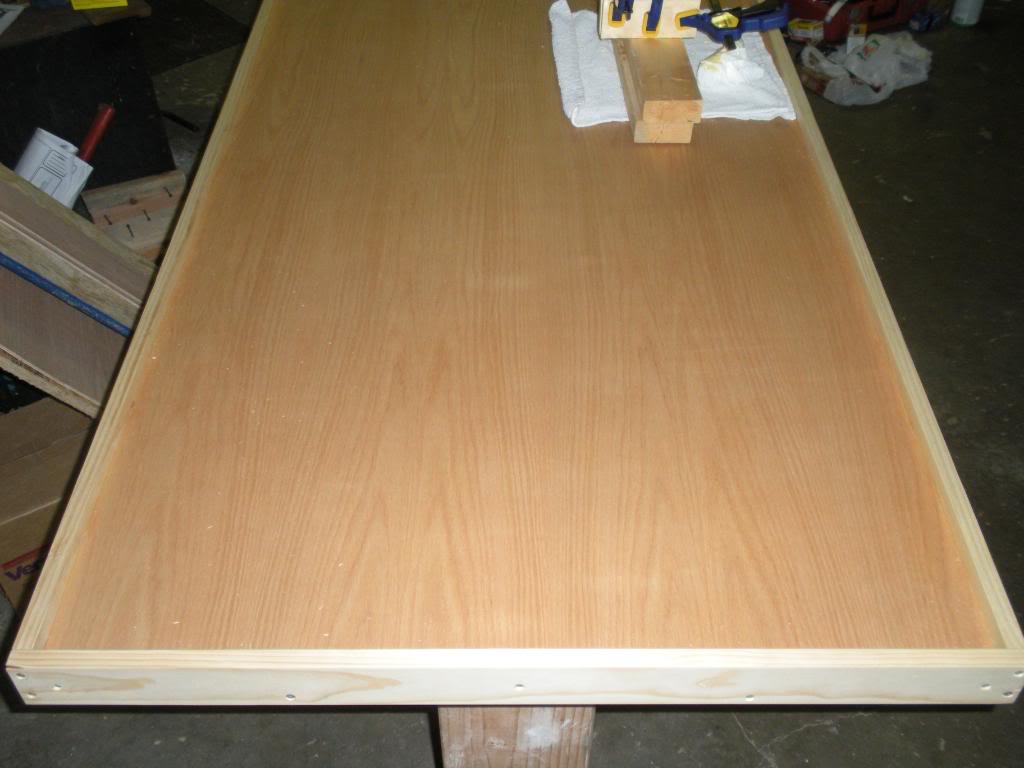
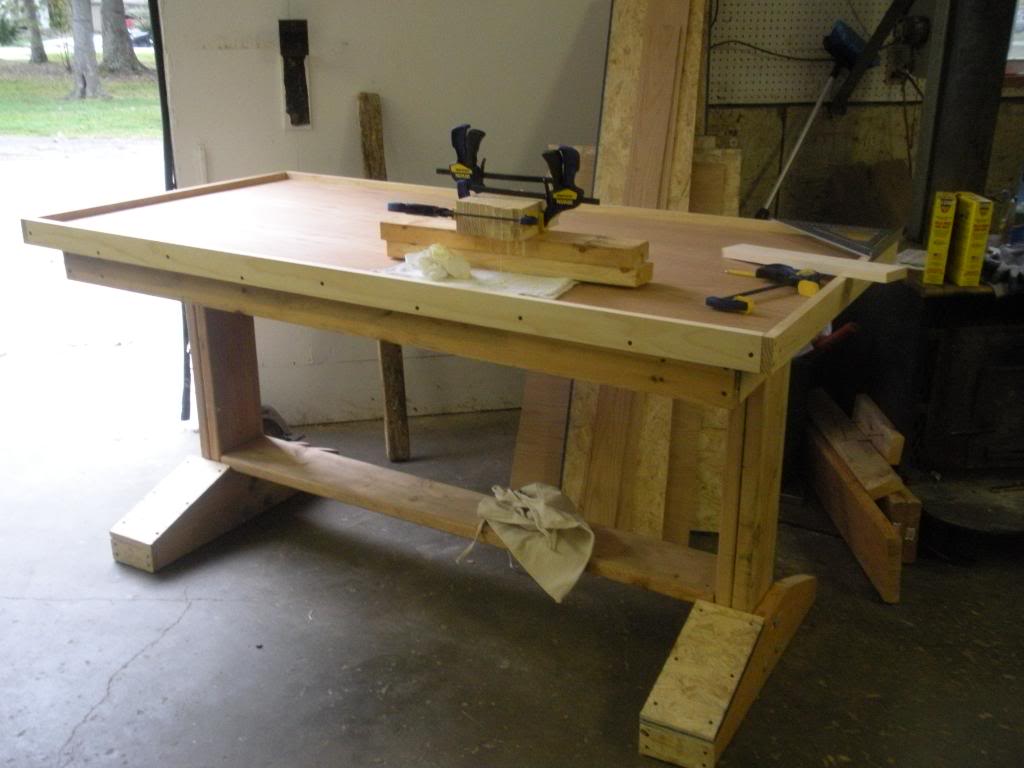
And the lip above the top is currently 3/4", I want to do some work first, before i do any modifications.
All in all, I think I'll get some good use out of it. I'm making a palm sander, that's what you see in a couple pics, I'll make an attempt to make a few tools while i'm at it.
Here are some pics of it finished, gave the oak top 10 coats of wipe on poly and the edges, about 4 coats:
And the lip above the top is currently 3/4", I want to do some work first, before i do any modifications.
All in all, I think I'll get some good use out of it. I'm making a palm sander, that's what you see in a couple pics, I'll make an attempt to make a few tools while i'm at it.
Very nice job.
Thanks, now I've gotta make some space for it, big space, just a little cluttered, especially with a '76 stingray "smack dab" in the middle of the place


You've got plenty of Venture tape don't you? The table looks VERY nice, I would not want to use it with the outer lip over the top surface I find that I need a flat edge to work off of often but that's just me. GREAT JOB!!
You've got plenty of Venture tape don't you? The table looks VERY nice, I would not want to use it with the outer lip over the top surface I find that I need a flat edge to work off of often but that's just me. GREAT JOB!!
Thanks,
Yeah seeing as how my father has an HVAC company, I'm flooded with silver tape. If the outer lip becomes an obstacle, I swear....off it goes.

You've got plenty of Venture tape don't you? The table looks VERY nice, I would not want to use it with the outer lip over the top surface I find that I need a flat edge to work off of often but that's just me. GREAT JOB!!
Yeah, I don't understand about the lip. I would probably take it off the front and left end. Those are the edges I need hangover on.
But that's a great job you've done, and nice design and tutorial too.
Now i actually made something on it now. The 3/4" lip didn't get in the way yet (came into good use for the horizontal vising), but then again it's small stuff.
Made a palm sander yesterday from some of the leftover material, i'll try making a rubber/plastic tipped mallet today probably. I'm gonna try to make some more hand tools or at least as many as I can, those are the only 2 so far that I thought of, which leads me to another question............. What other tools have you guys made, rather than the "store bought" tools?
Made a palm sander yesterday from some of the leftover material, i'll try making a rubber/plastic tipped mallet today probably. I'm gonna try to make some more hand tools or at least as many as I can, those are the only 2 so far that I thought of, which leads me to another question............. What other tools have you guys made, rather than the "store bought" tools?
hey nice work!
I made myself a portable workbox for road shows.
I got an empty case off of ebay and built it into a guitar workbox, then added 4 drawers to my old boogie rack for a storage.
Here it is in action this summer!
keep up the great work bro, really appreciate the photos.
and I like your screen name too!
I made myself a portable workbox for road shows.
I got an empty case off of ebay and built it into a guitar workbox, then added 4 drawers to my old boogie rack for a storage.
Here it is in action this summer!
keep up the great work bro, really appreciate the photos.
and I like your screen name too!
My garage (two car) is a total mess. I took 900 pounds to the scrap metal yard a couple of months ago and am about to make another trip before I sell my utility trailer. I can't ever invision getting a car all the way in it. But you guys are inspiring me to work on it and make it better. Craigslist is going to be my friend
One of the problems I always have is keeping the dirty greasy oily rusty metal stuff away from the wood stuff. Any ideas on that?
One of the problems I always have is keeping the dirty greasy oily rusty metal stuff away from the wood stuff. Any ideas on that?


