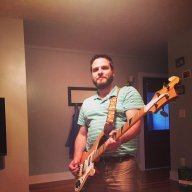
Here is something fun i built for silent practice. Super easy to build and works really well, even for a supremely unhandy person like me.
I love the visceral feel of a huge bass cab but needed a way to practice at home without waking up my baby. Headphones get tiring and a small practice amp is no fun. I read through tons of threads here on TB about how to practice silently, that involve lots of complicated soundproofing or apologizing to neighbors. This is much cheaper and easier.
The Tecamp Enersquare/pleasureboard seemed awesome but too expensive. I saw that Stefan Lessard from Dave Matthews Band had a cool custom version at an angle, so I decided to copy it on the cheap. http://www.noisemademedoit.com/wp-content/uploads/2012/08/Dave_Matthews_Wedge.jpg
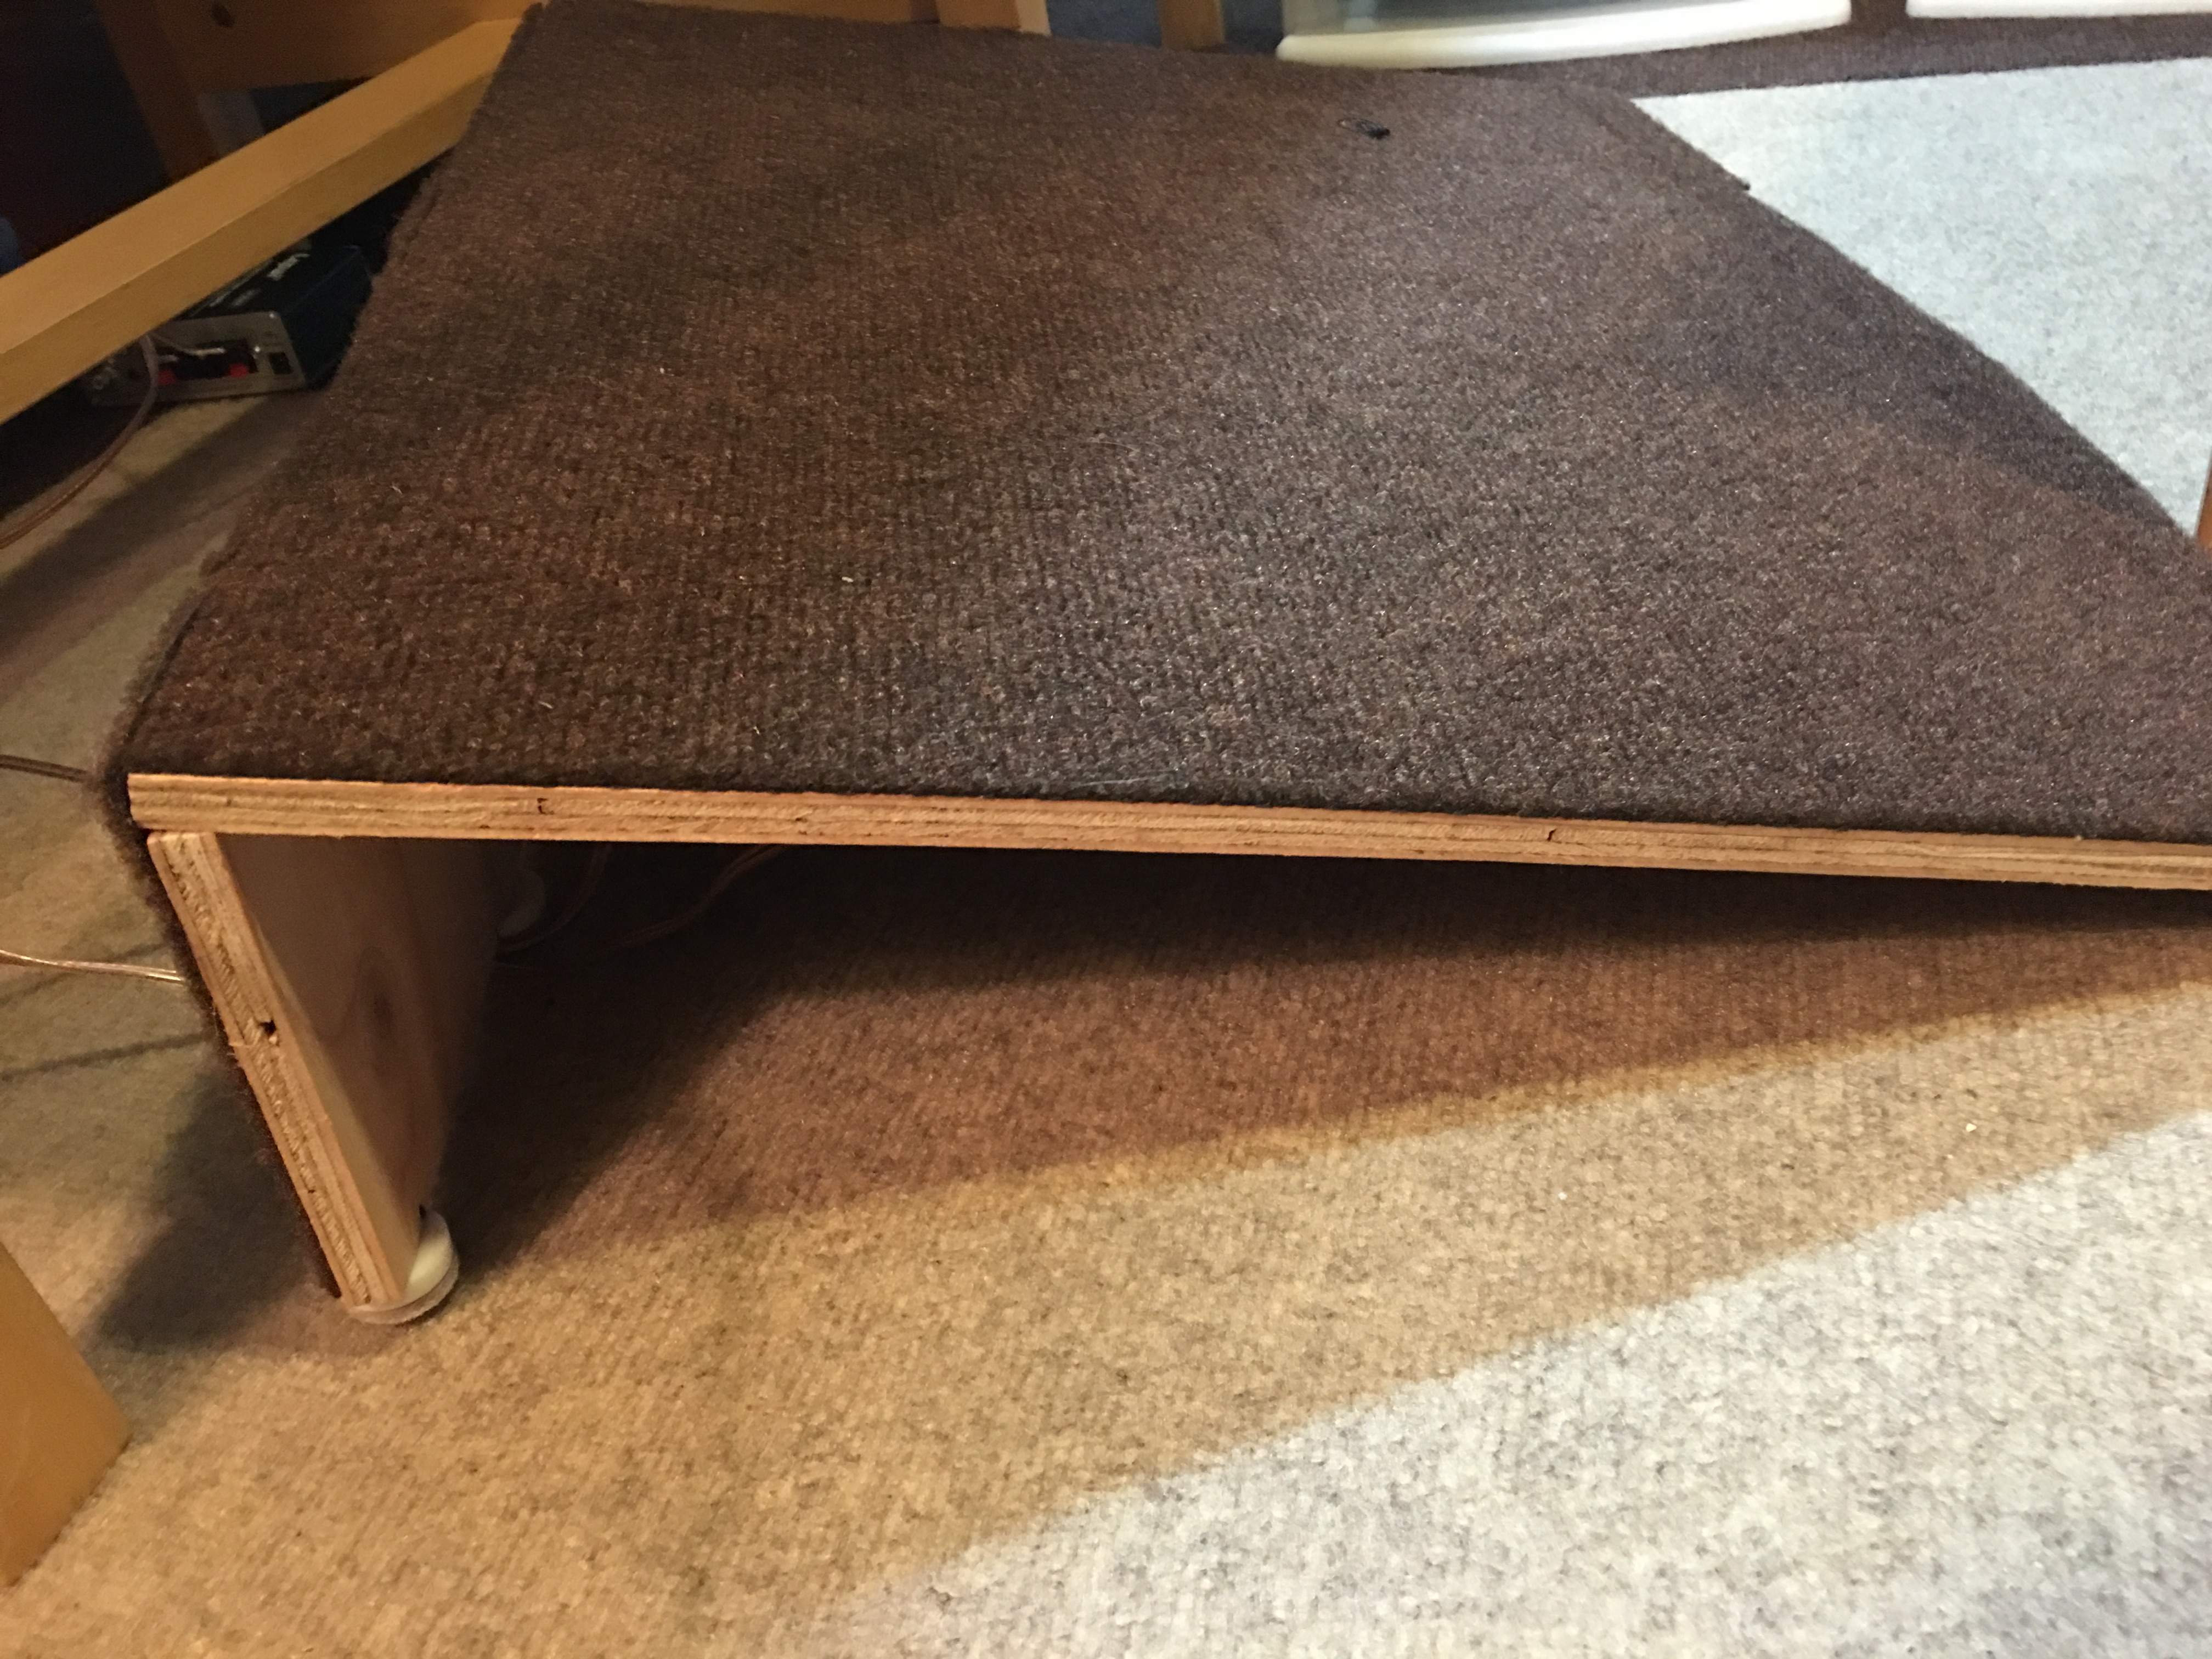
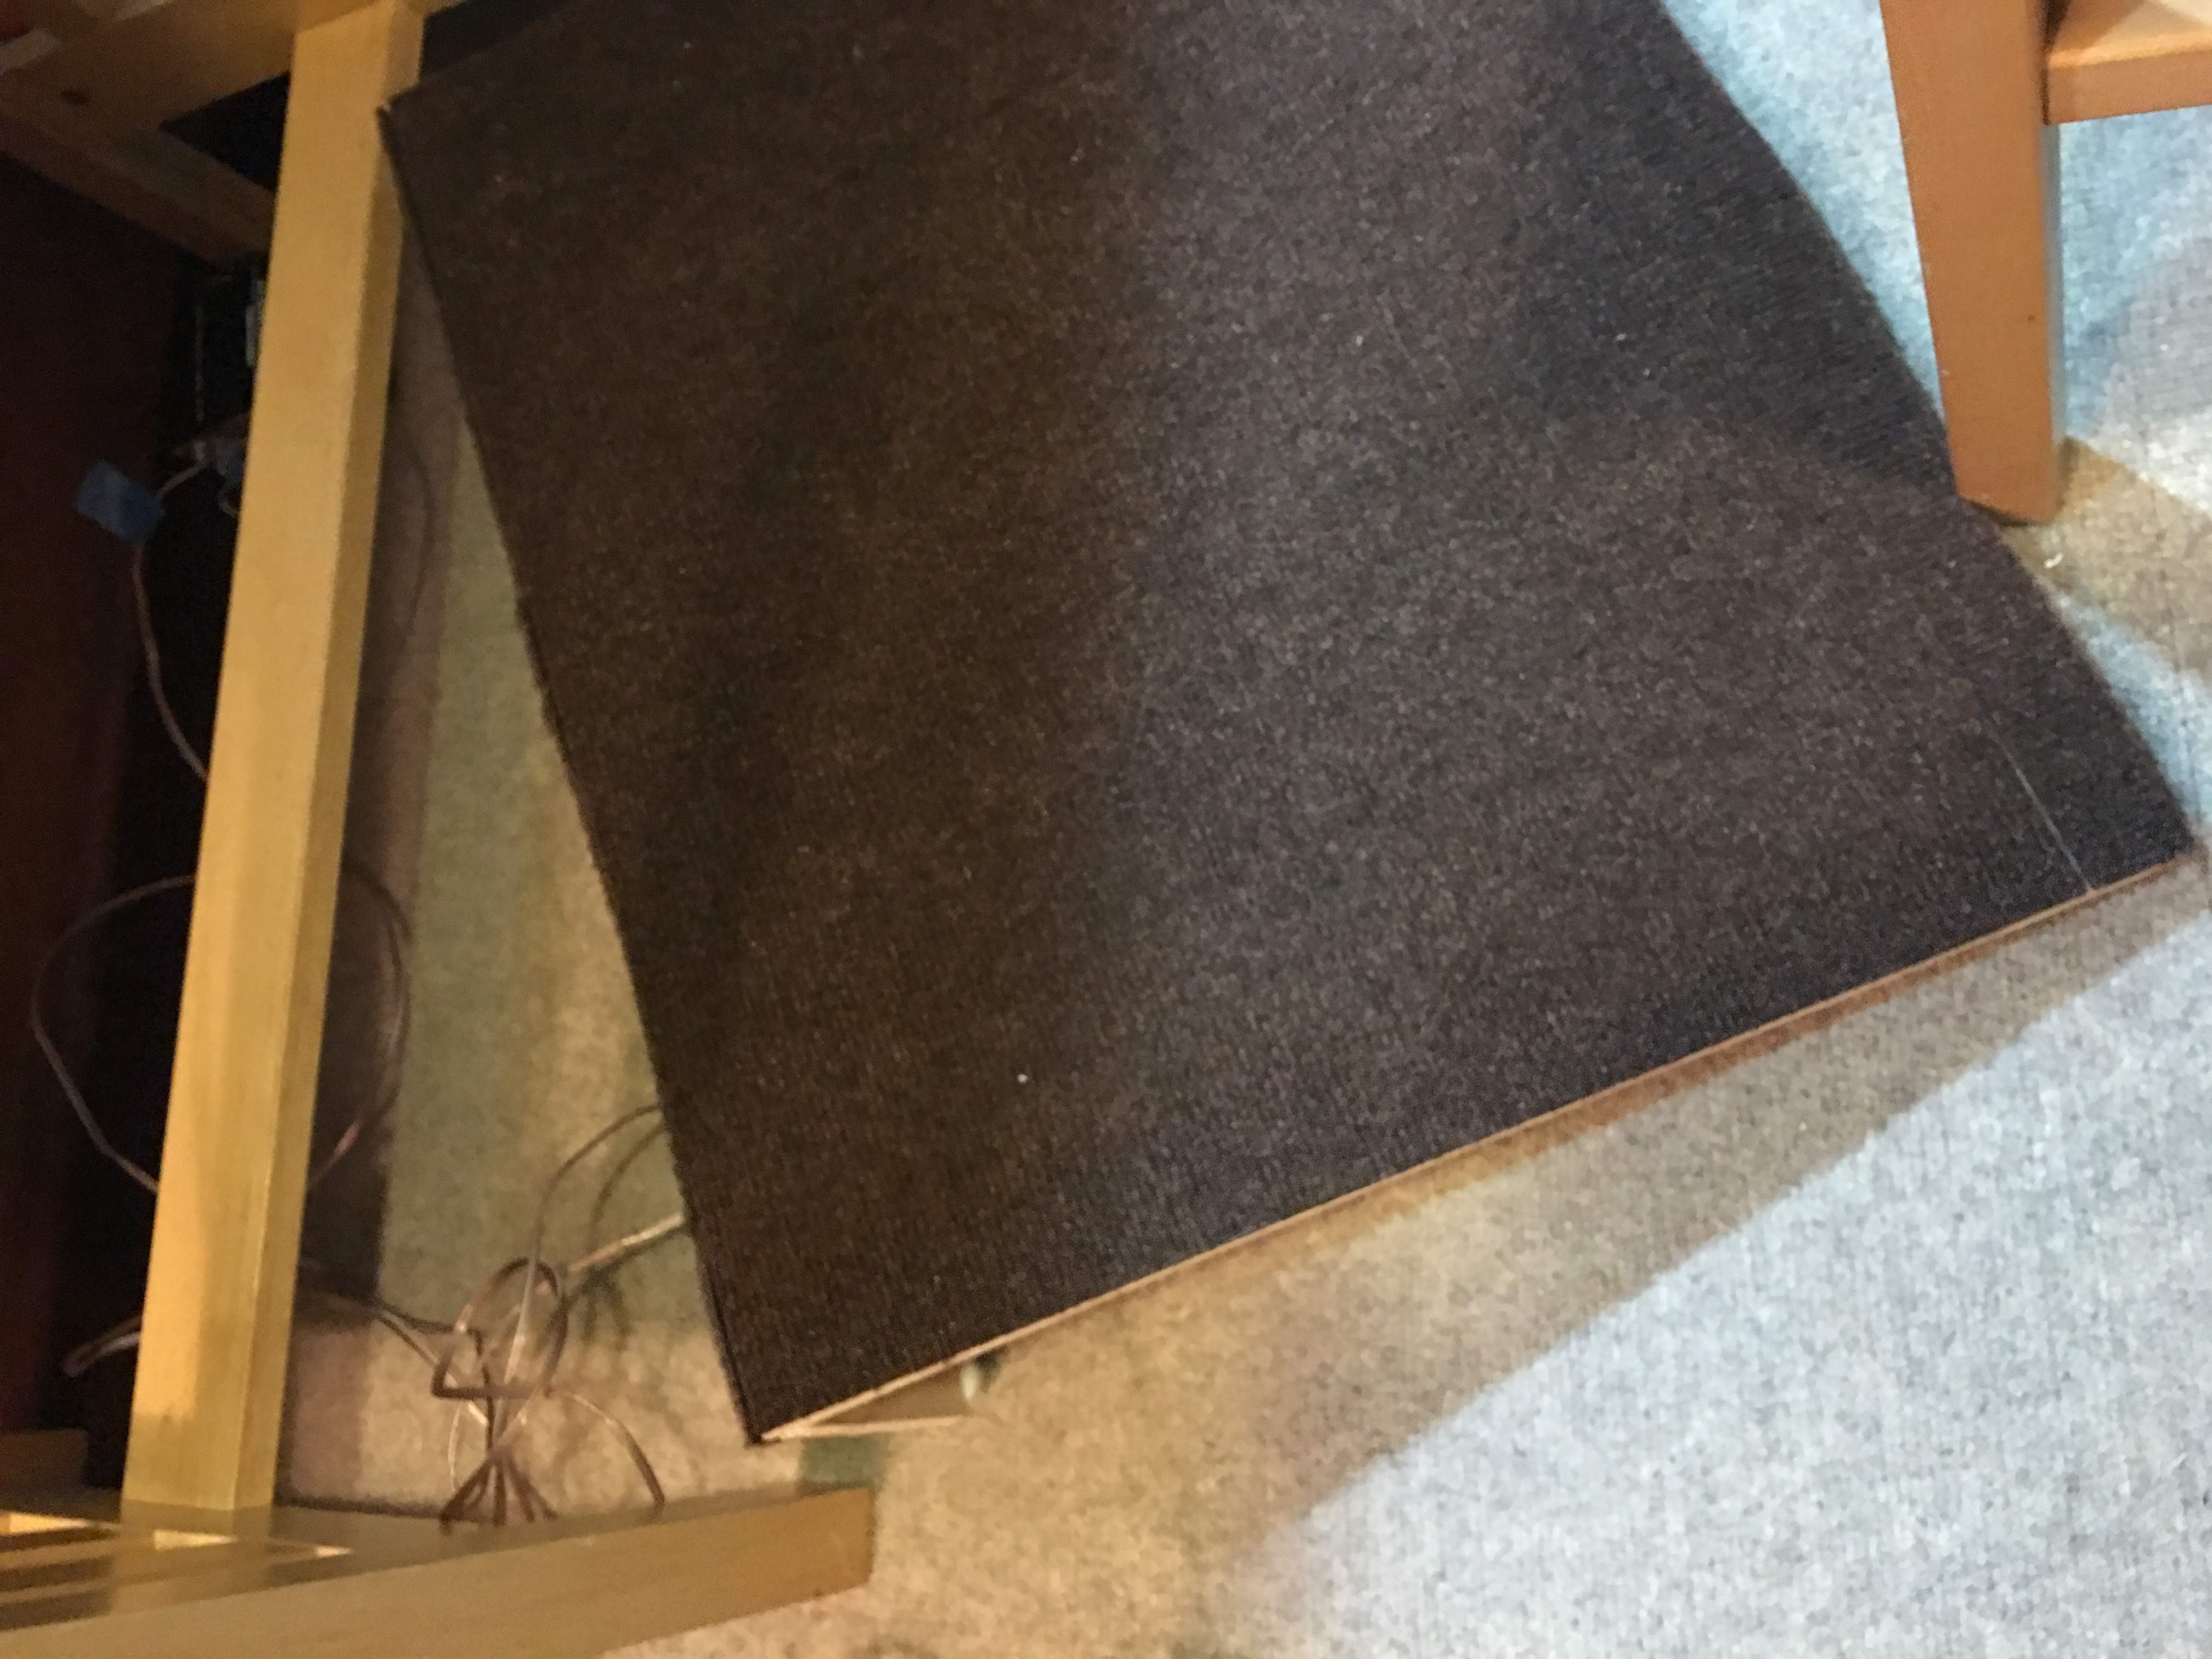
Here is the finished version sitting under my desk.
Here are videos of it in action. In the videos, I've got the high-pass filter turned off so you can hear the music. Its sitting on the edge of a workbench, so lots of vibration. Its normally not buzzing like you hear in the video, I have it cranked with some MP3s so you can tell how crazy it can get.
Its been awesome to have for quiet practice. I can play through headphones, small speakers or even a tiny 1x3" practice amp and have huge earth-shaking lows that nobody else can hear. I can even play unamplified with just the bass shakers and no other speakers. The shakers fill in the low end and it feels great. I'm always astonished when I take my feet off the board and everything feels so whimpy.
Here is a little tutorial based on the stuff i learned while building this:
Parts List - I didn't have any extra amps or crossovers, so i had to buy everything new. Here is what I used:
The little amp i bought has tone controls but no crossover. The shakers really need a cross-over or Low-pass filter to remove any high end so you are only getting vibrations.
The crossover i bought off eBay is meant for cars and has DC power. I bought it cause it was the cheapest I could buy, and seemed to have some fun and totally unnecessary features. I had to buy a cheap power supply and an adaptor to run it off AC wall power. You need to bridge the middle part of the adaptor (little silver wire) to make it work.
Plugging everything in for the first time and having the shakers buzz the hell out of my knee was great. I couldn't wait to build it! With everything working, it was time to mount it all to the board.
I followed the Part-Express shaker whitepaper for my board calculations. All the math below came from them. You can follow their ratios with any size board: Invalid Link Removed
I started by cutting the board down. the width of the board should be less than 4/5ths of the height. 4/5 of 60.325CM is 48.26cm or 19 in.
That meant I had one 19x23.75in board and the thin strip that I cut off. I saved that part for the angled piece of the footrest.
Then I attached the bass shaker rings. They go in "upside down". The new panel width is 19in or 48.26cm. The exciter should be mounted 2/5 of the panel width from one side of the panel and 3/5 from the other side of the panel. The same relationship is used for exciter placement with respect to the panel height to reduce standing waves
In my case, that meant:
2/5 of 48.26 = 19.304cm
3/5 of 48.26 = 28.956cm
Here are the shaker rings screwed into the board. They aren't exact to the calculations above, but close enough.
Then I mounted the shakers. the screws recommended by Parts-Express have a rounded head - they should have been Pan Head. This meant that the shakers wouldn't fit in the mounting rings. Luckily, the Dayton Audio shakers come with extra long machine screws. Replace the existing screws with the long machine screws. There are no instructions with any of these parts, but it all seemed to come together!
Here you can see the shakers mounted
Side view Close up showing the swapped out machine screw in the center of the shaker.
With the shakers in place, I added the leftover strip of wood to make the angle of the footrest. I just screwed it in with a few screws. Soft plywood is easy to work with. I had some carpet feet lying around so i added those too. Not required.
The shakers have short leads on them. I soldered on some longer wires with heat shrink tubing. Regular old speaker wire works fine. If you don't know how to solder, you could just wrap the wires together and tape them.
starting to come together
Finally, I added some old leftover carpet tiles I had lying around. Not beautiful, but very functional and a nice way to play barefoot.
All of the electronics plug into a mini extension cord with an on/off switch. The jumble of wires and stuff hides in a corner. I thought about attaching them to the footrest, but i don't want extra stuff on there that could limit the vibrations. The amp I am using is only 20Ws, but has more than enough power to shake the board like crazy. The crossover has a cool little remote bass knob that I have wired to the underside of my desk. I can easily control the amount of bass in the footrest from the desk without having to mess with anything on the floor.
I run my bass, phone and computer into a small mixer that outputs into desktop speakers and the shaker. The speakers get the main output and the shaker is on an aux output so it has an independent volume control. That makes it easy to decide how much of each source goes into the footrest
Here is a final shot of the footrest under my desk. Silent and boneshaking practice!
I love the visceral feel of a huge bass cab but needed a way to practice at home without waking up my baby. Headphones get tiring and a small practice amp is no fun. I read through tons of threads here on TB about how to practice silently, that involve lots of complicated soundproofing or apologizing to neighbors. This is much cheaper and easier.
The Tecamp Enersquare/pleasureboard seemed awesome but too expensive. I saw that Stefan Lessard from Dave Matthews Band had a cool custom version at an angle, so I decided to copy it on the cheap. http://www.noisemademedoit.com/wp-content/uploads/2012/08/Dave_Matthews_Wedge.jpg
Here is the finished version sitting under my desk.
Here are videos of it in action. In the videos, I've got the high-pass filter turned off so you can hear the music. Its sitting on the edge of a workbench, so lots of vibration. Its normally not buzzing like you hear in the video, I have it cranked with some MP3s so you can tell how crazy it can get.
Its been awesome to have for quiet practice. I can play through headphones, small speakers or even a tiny 1x3" practice amp and have huge earth-shaking lows that nobody else can hear. I can even play unamplified with just the bass shakers and no other speakers. The shakers fill in the low end and it feels great. I'm always astonished when I take my feet off the board and everything feels so whimpy.
Here is a little tutorial based on the stuff i learned while building this:
Parts List - I didn't have any extra amps or crossovers, so i had to buy everything new. Here is what I used:
- 1 small sheet of plywood - I bought a .451in x 23.75in x 23.75in board from Home Depot
- 2 Bass Shakers - Dayton Audio TT25-8 PUCK Tactile Transducer Mini Bass Shaker 8 Ohm Part # 300-386
- 2 Bass Shaker mounting rings - Dayton Audio SMRK Surface Mounting Ring Kit for TT25 PUCK Mini Bass Shaker Part # 300-3880
- 1 Amp - Lepai LP-2020A 2x20W Hi-Fi Audio Stereo Power Amplifier with 3A Power Supply Part # 310-294
- 1 crossover - i used SSL SX310 2/3way PreAmp Electronic Crossover with Remote Subwoofer Control, New | eBay
- screws, wire, carpet scraps
- Total = about $75
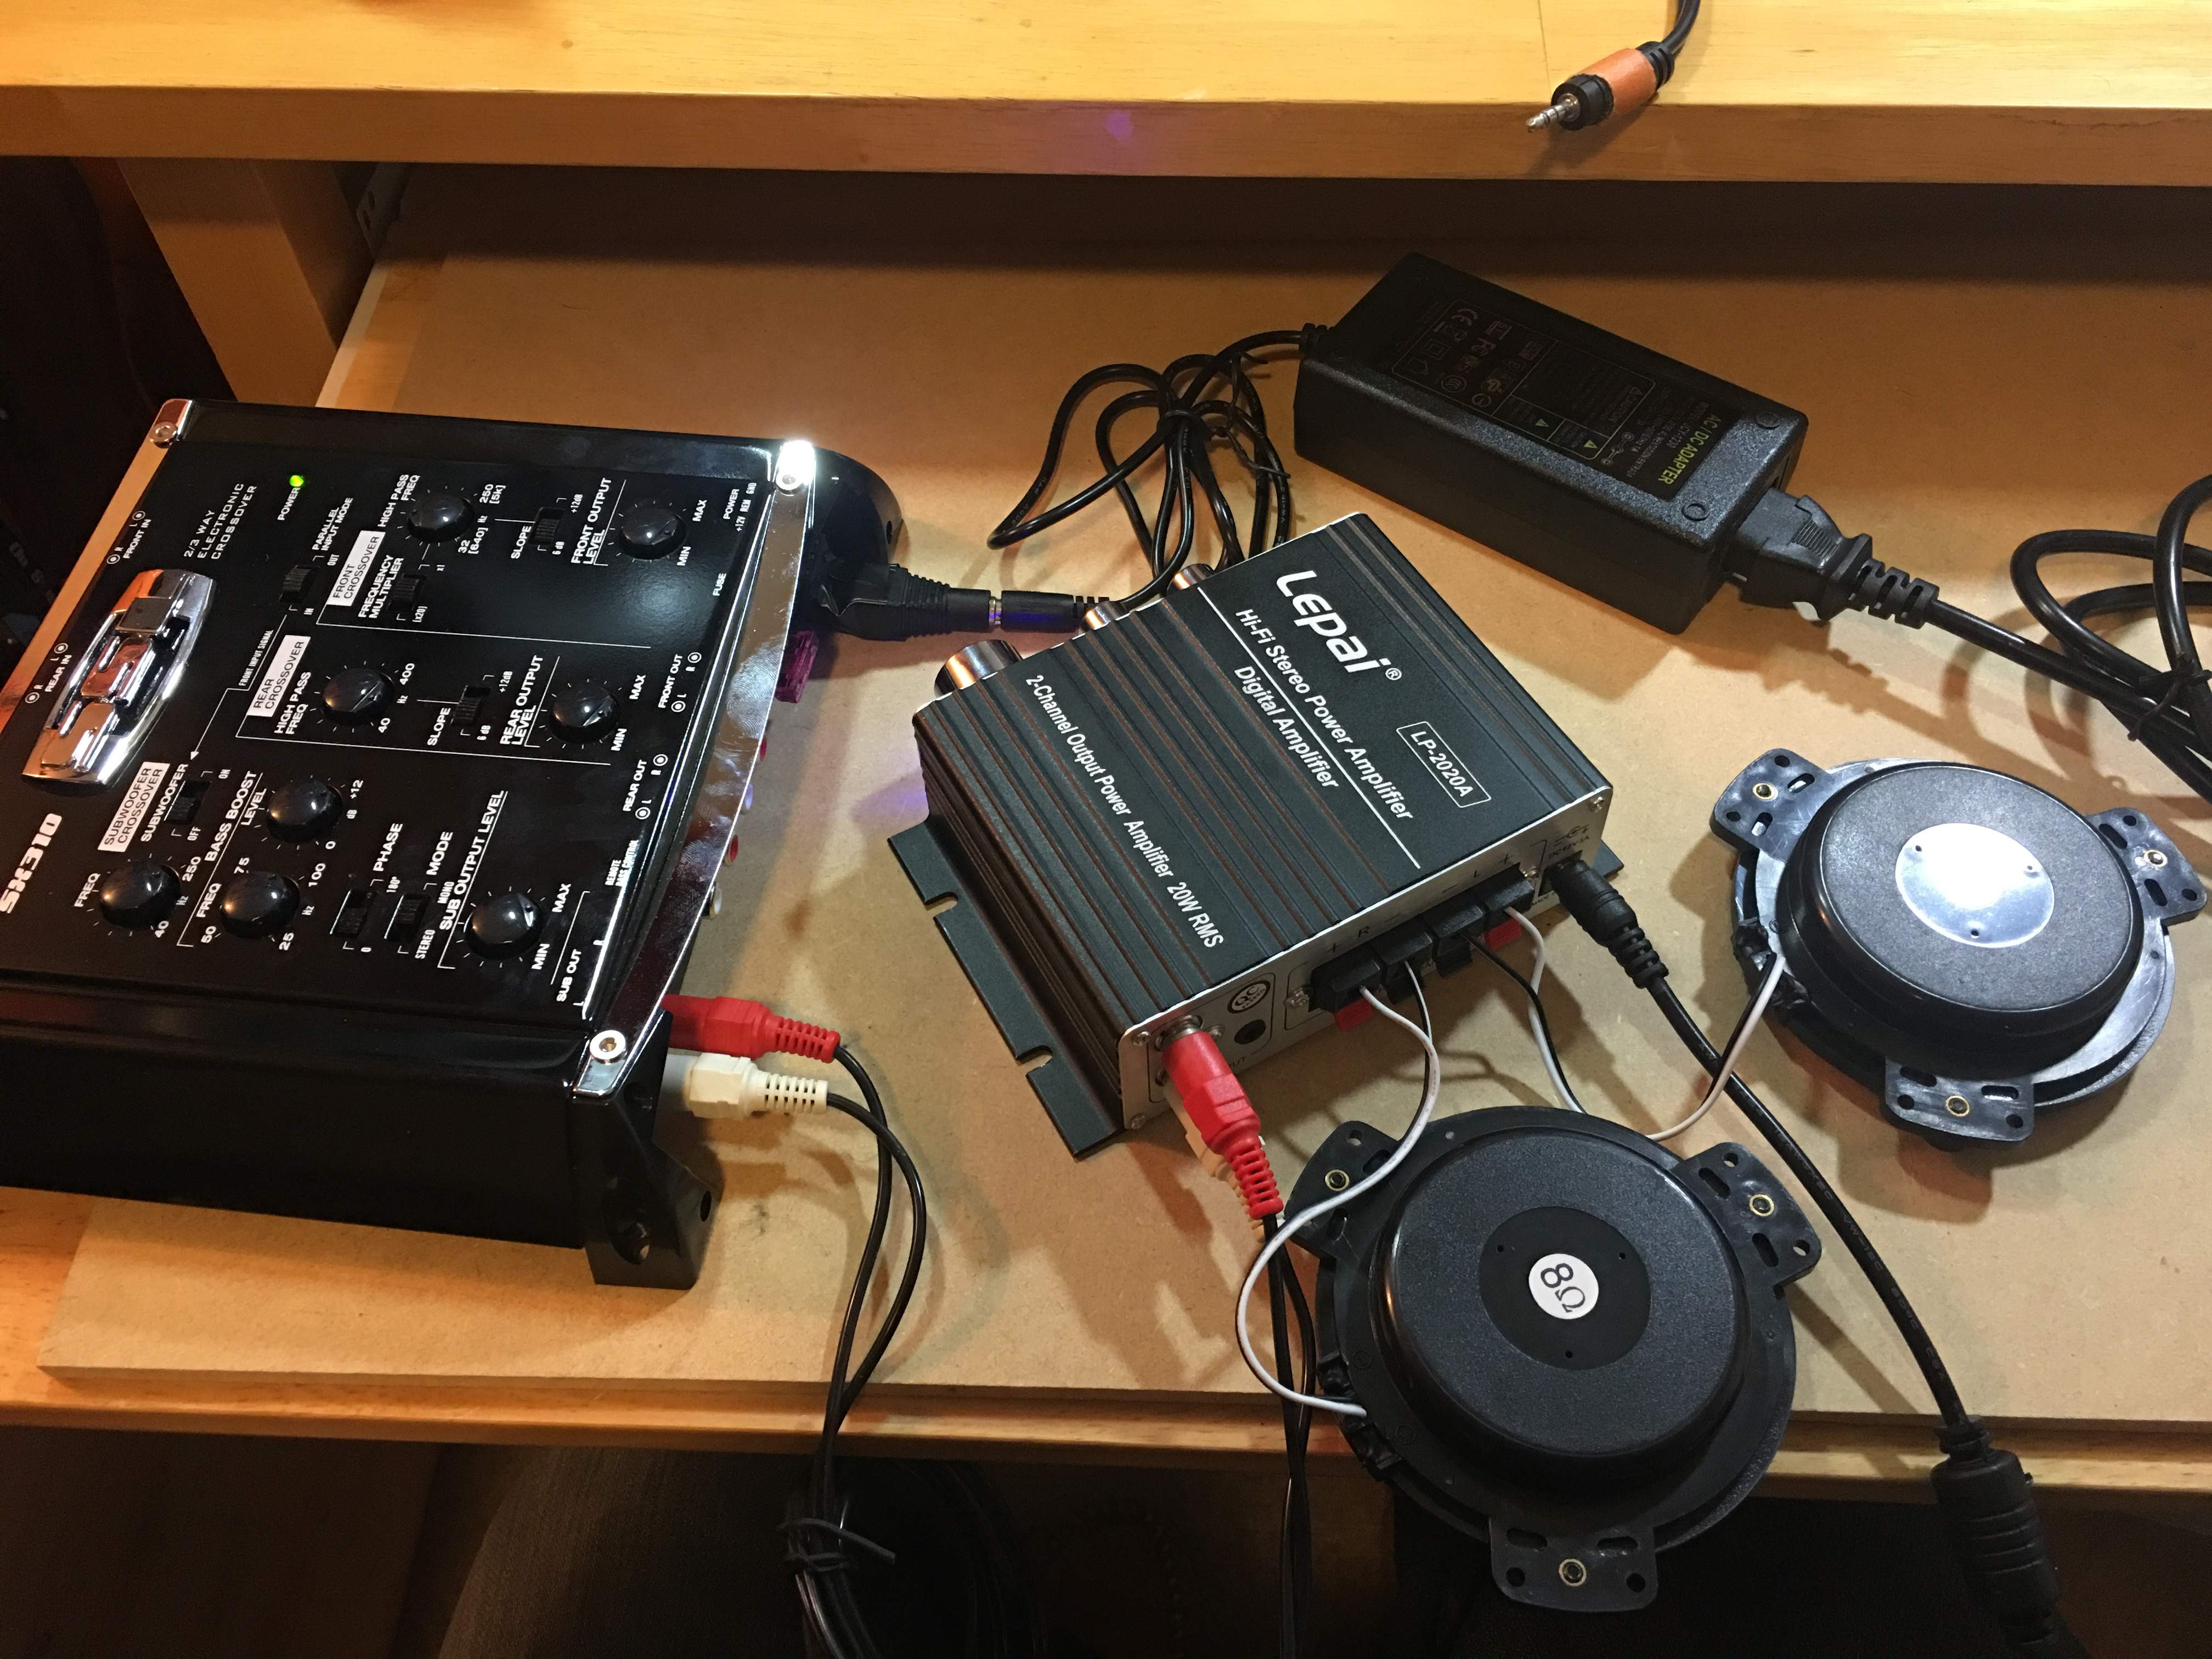
The little amp i bought has tone controls but no crossover. The shakers really need a cross-over or Low-pass filter to remove any high end so you are only getting vibrations.
The crossover i bought off eBay is meant for cars and has DC power. I bought it cause it was the cheapest I could buy, and seemed to have some fun and totally unnecessary features. I had to buy a cheap power supply and an adaptor to run it off AC wall power. You need to bridge the middle part of the adaptor (little silver wire) to make it work.

Plugging everything in for the first time and having the shakers buzz the hell out of my knee was great. I couldn't wait to build it! With everything working, it was time to mount it all to the board.
I followed the Part-Express shaker whitepaper for my board calculations. All the math below came from them. You can follow their ratios with any size board: Invalid Link Removed
I started by cutting the board down. the width of the board should be less than 4/5ths of the height. 4/5 of 60.325CM is 48.26cm or 19 in.
That meant I had one 19x23.75in board and the thin strip that I cut off. I saved that part for the angled piece of the footrest.
Then I attached the bass shaker rings. They go in "upside down". The new panel width is 19in or 48.26cm. The exciter should be mounted 2/5 of the panel width from one side of the panel and 3/5 from the other side of the panel. The same relationship is used for exciter placement with respect to the panel height to reduce standing waves
In my case, that meant:
2/5 of 48.26 = 19.304cm
3/5 of 48.26 = 28.956cm
Here are the shaker rings screwed into the board. They aren't exact to the calculations above, but close enough.

Then I mounted the shakers. the screws recommended by Parts-Express have a rounded head - they should have been Pan Head. This meant that the shakers wouldn't fit in the mounting rings. Luckily, the Dayton Audio shakers come with extra long machine screws. Replace the existing screws with the long machine screws. There are no instructions with any of these parts, but it all seemed to come together!
Here you can see the shakers mounted

Side view Close up showing the swapped out machine screw in the center of the shaker.


With the shakers in place, I added the leftover strip of wood to make the angle of the footrest. I just screwed it in with a few screws. Soft plywood is easy to work with. I had some carpet feet lying around so i added those too. Not required.

The shakers have short leads on them. I soldered on some longer wires with heat shrink tubing. Regular old speaker wire works fine. If you don't know how to solder, you could just wrap the wires together and tape them.
starting to come together


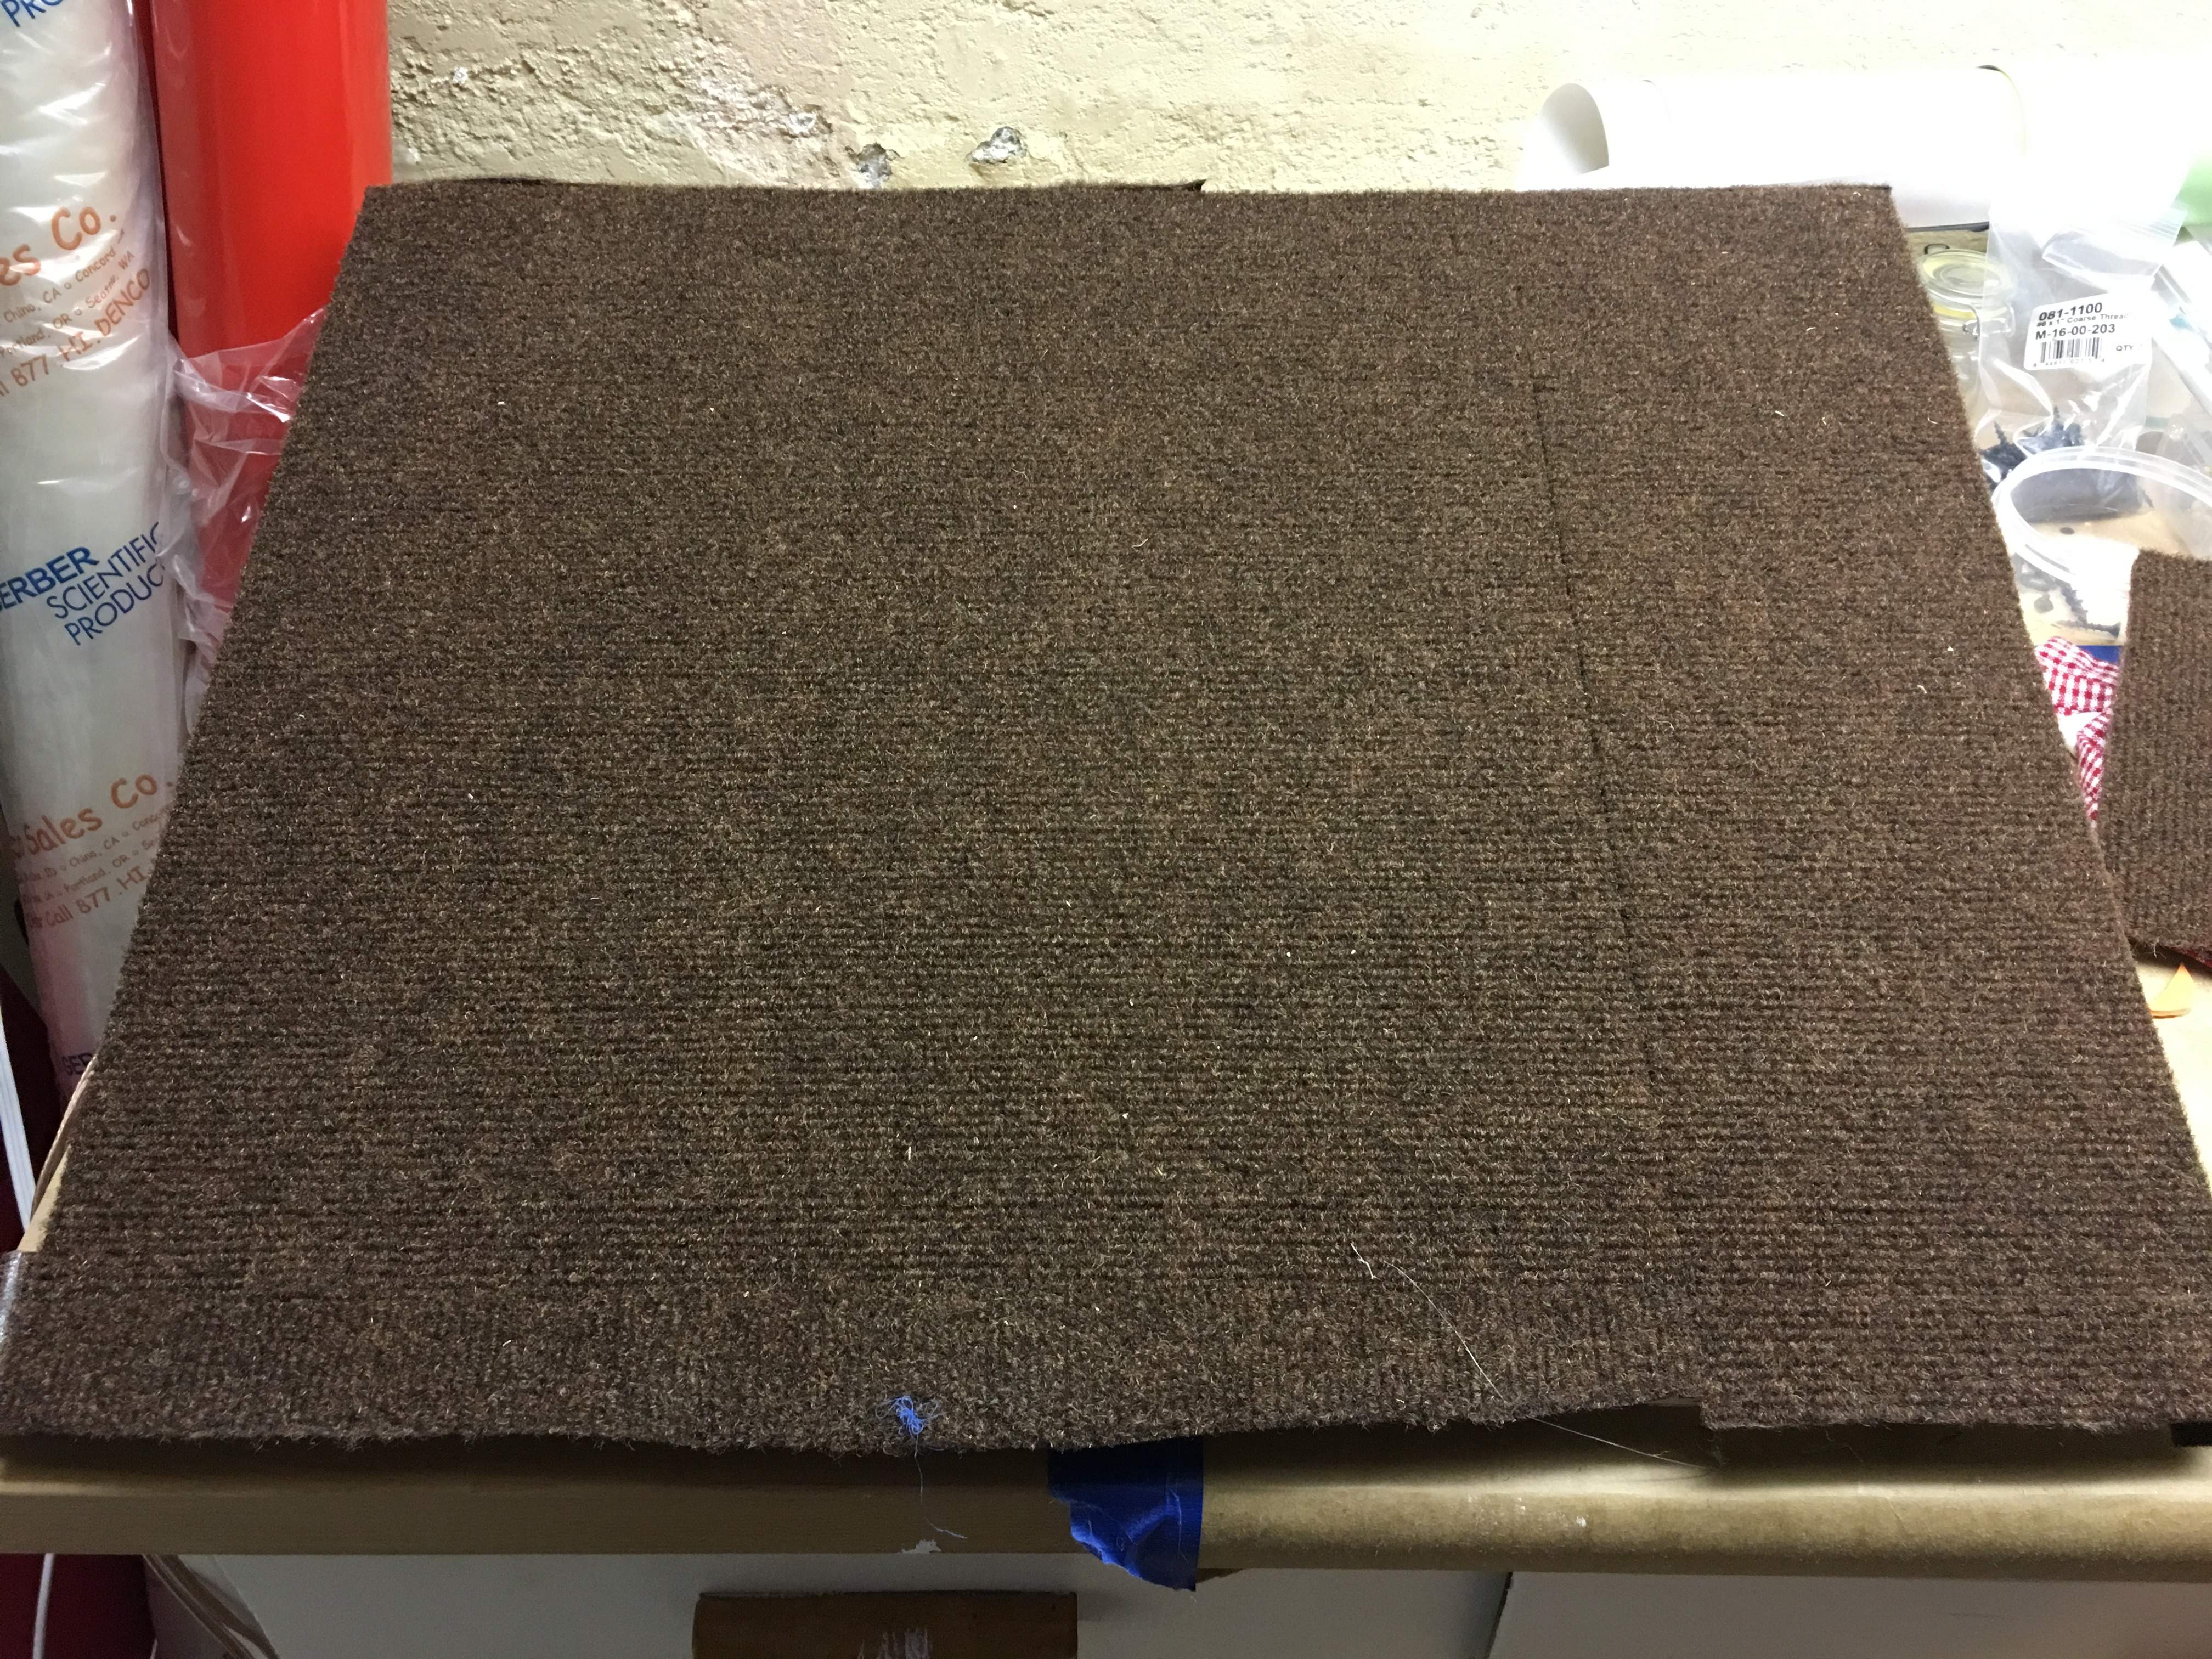
Finally, I added some old leftover carpet tiles I had lying around. Not beautiful, but very functional and a nice way to play barefoot.
All of the electronics plug into a mini extension cord with an on/off switch. The jumble of wires and stuff hides in a corner. I thought about attaching them to the footrest, but i don't want extra stuff on there that could limit the vibrations. The amp I am using is only 20Ws, but has more than enough power to shake the board like crazy. The crossover has a cool little remote bass knob that I have wired to the underside of my desk. I can easily control the amount of bass in the footrest from the desk without having to mess with anything on the floor.
I run my bass, phone and computer into a small mixer that outputs into desktop speakers and the shaker. The speakers get the main output and the shaker is on an aux output so it has an independent volume control. That makes it easy to decide how much of each source goes into the footrest
Here is a final shot of the footrest under my desk. Silent and boneshaking practice!
As an eBay Associate, TalkBass may earn a commission from qualifying purchases.