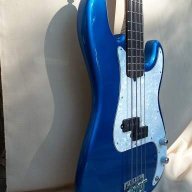
Hi there! Thought I'd post another build thread. I have this build posted on the TDPRI, so I am essentially transferring it over here. I hope it will be of interest to some here, even though it is a guitar build, and not a bass build.
Also, this build may take a while, since I'm starting kind of late in the year. If I don't reach finish stage before colder weather sets in, it could end up being late spring 2012 before I'm done.
Before I get started, I need to tell you a little about the reasons for this build.
I am strictly an electric guitar player. For physical reasons, the electric is much more comfortable for me. i have acoustics, but seldom play them anymore. This would not be a problem if I didn't love the sound of an acoustic guitar so much. Or if it didn't lend itself so well to one of the main types of music(Gospel) that i play regularly. So this build is basically an attempt at a crossover between the two. This is nothing new, as it has been done before by a few manufacturers, like Taylor. But this is my version. I really have no concept of how other types have been built. This is my attempt to achieve what I'm looking for. Basically, an electric sized guitar that gives me a good acoustic tone through the PA.
So, on with the build!
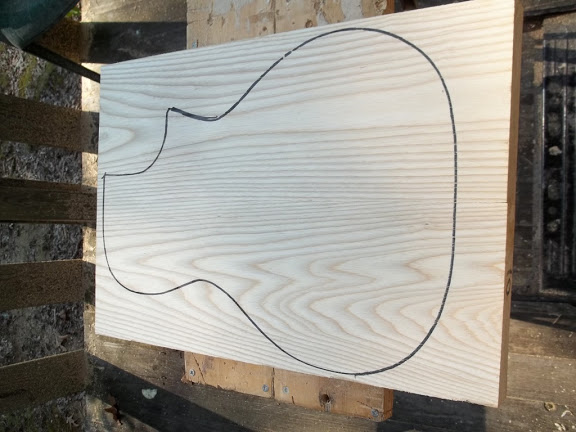
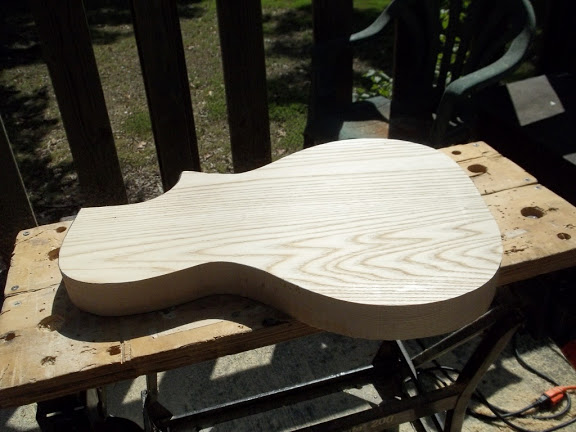
I have some lovely white ash laying around just begging me to build with it. So, what i basically did was take an old parlor guitar I had laying around, reduced it's size to 12.5" across the lower bout, and about 17.5" long(electric guitar size, roughly), and added a cutaway. Then I built templates for this shape. Here it is drawn on the body blank.
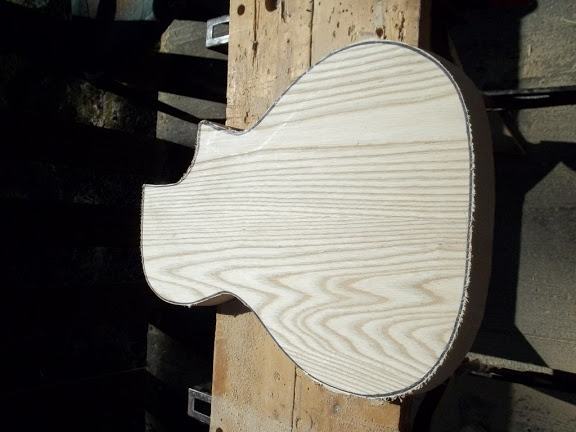
After cutting with the jigsaw.
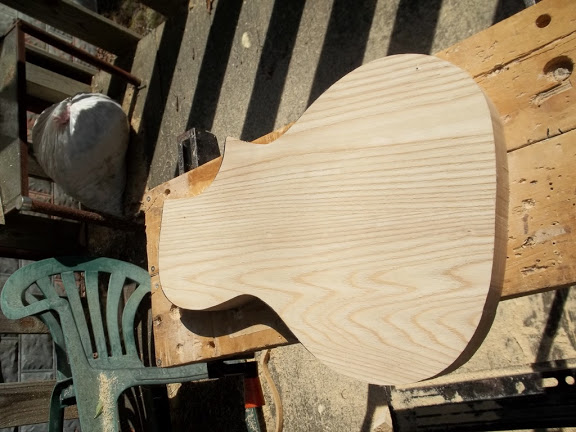
And routed to the template.
Also, this build may take a while, since I'm starting kind of late in the year. If I don't reach finish stage before colder weather sets in, it could end up being late spring 2012 before I'm done.
Before I get started, I need to tell you a little about the reasons for this build.
I am strictly an electric guitar player. For physical reasons, the electric is much more comfortable for me. i have acoustics, but seldom play them anymore. This would not be a problem if I didn't love the sound of an acoustic guitar so much. Or if it didn't lend itself so well to one of the main types of music(Gospel) that i play regularly. So this build is basically an attempt at a crossover between the two. This is nothing new, as it has been done before by a few manufacturers, like Taylor. But this is my version. I really have no concept of how other types have been built. This is my attempt to achieve what I'm looking for. Basically, an electric sized guitar that gives me a good acoustic tone through the PA.
So, on with the build!
I have some lovely white ash laying around just begging me to build with it. So, what i basically did was take an old parlor guitar I had laying around, reduced it's size to 12.5" across the lower bout, and about 17.5" long(electric guitar size, roughly), and added a cutaway. Then I built templates for this shape. Here it is drawn on the body blank.
After cutting with the jigsaw.
And routed to the template.