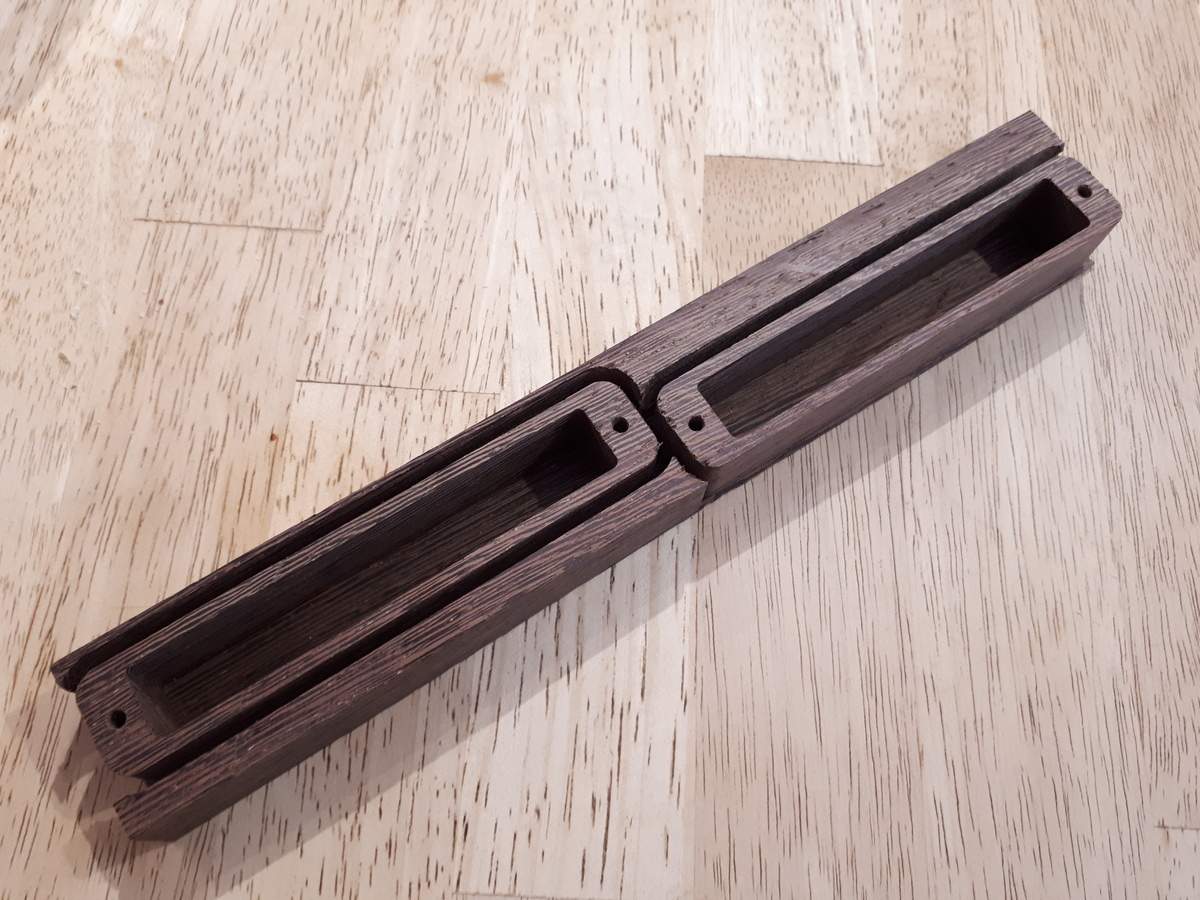
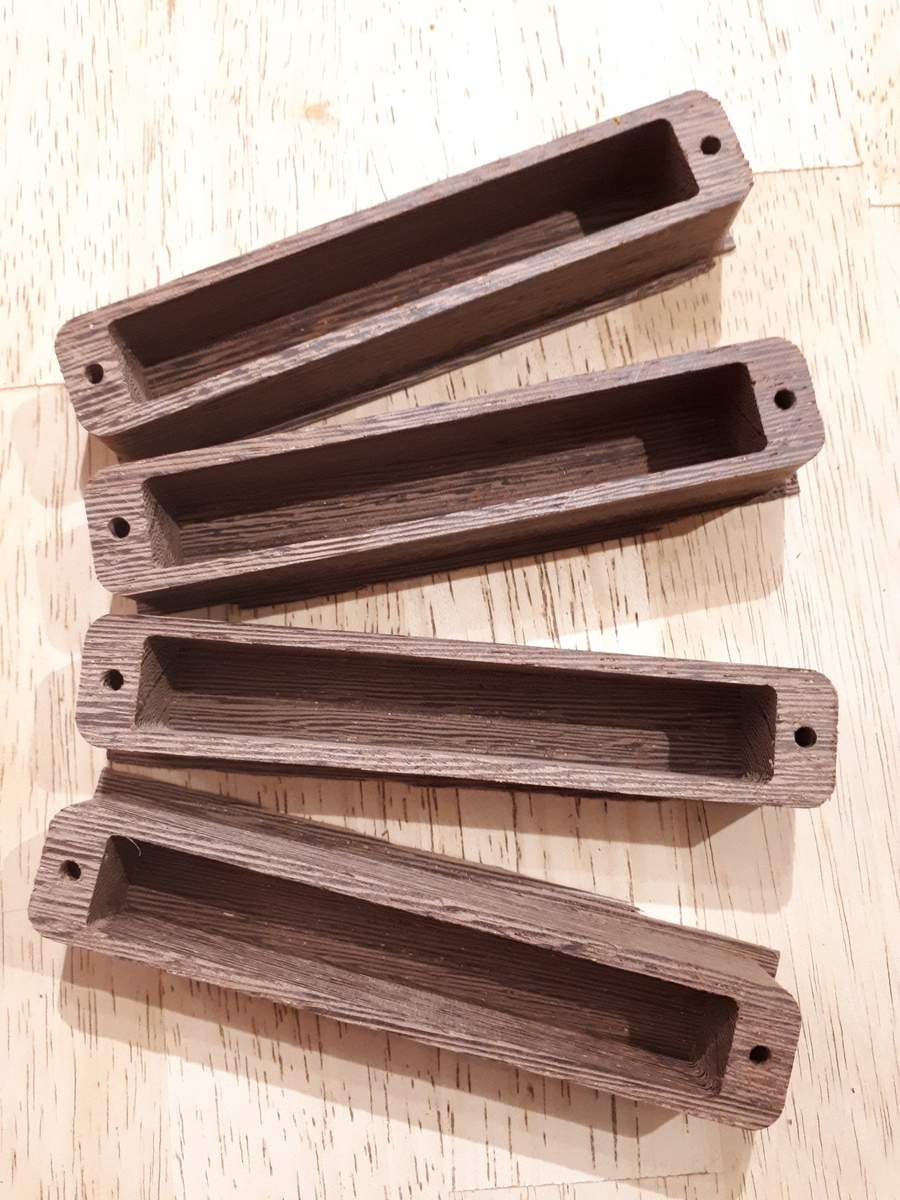
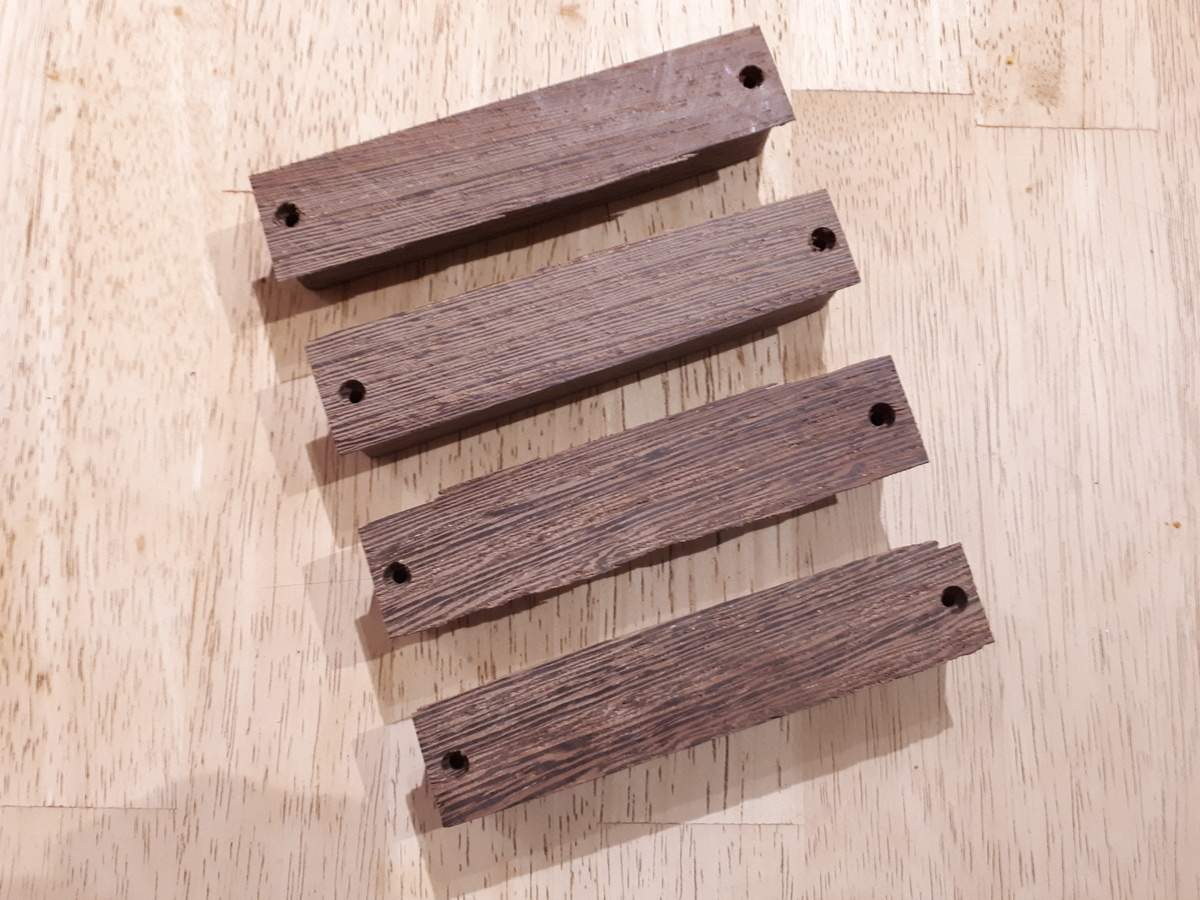
This is going to be a substantial update as I had several days off this week to work on this build mixed in with work on the
pickup mule and the
three piece build. Yay!

Despite working more than a dozen hours on each build there is a disappointingly small amount of progress to report. Especially with this build, everything seems to be a custom and non-standard process.
First step was to get all faces flat and level meaning a full wet sand:
The easiest way to clean the remaining sanding residue off was with the garden hose:
Do I win a prize for being the first person to willingly hose off their bass neck?

Of course this all needed to be done on a 33 C (91 F) day so the next step was a swim:
After that I could put the CNC to work which, was much less tiring than that sanding!
The next big job was to get the truss rod slot cut and laminated with more CF. This started with re-measuring the centerline since all the previous measurements have been sanded off as part of the epoxy coating process. Next was determining the thickness of the top and core of the neck at the thinnest point so the CNC could be set to cut the correct depth. Because the neck is so thin, the truss rod cannot be set at full depth at the nut end so a tapered slot needs to be done. Of course this will require a corresponding tapered slot in the fretboard. Yeah, lots of custom stuff.
To figure out the depth of the thin end of the taper a bore hole was required to measure the maximum depth before hitting the CF on the back of the neck. Rotary cutting CF is best done with a diamond burr mill rather than a traditional drill bit, so that is what I used here. They do tend to wander so the hole is a bit wonky, but it will be filled later later so no big deal:
A bit nerve wracking, but after about 8 mm the mill hit the bottom layer of CF with no harm done.
In addition, because the slot needed to be lined with several layers of CF, it needed to be both wider and deeper than a normal slot, so a standard size router bit wouldn't work.
Next step was to try to clamp the neck in the CNC in a way that allowed the truss rod to be cut while keeping the angled headstock from messing with the flatness of the neck. A suitable size scrap piece of 1/2" oak with #10 screws into the table, tightened as much as I dared, held the body pretty tight:
On the other end an angled clamp and a caul under the headstock held in place with some hot melt glue kept that end from moving.
Some custom G-code later, a wide and tapered slot was loaded in the CNC and the real scary work could begin once the CNC origin was aligned with the centerline of the neck at the zero fret:
Unfortunately, that diamond burr mill is a large and aggressive thing and my modest CNC wasn't happy about cutting it without significant vibration. This resulted in various problems, including the bit dropping down in the collet during the cut, despite it being clamped in there very tightly, and also the main part of the body moving slightly. The good news is that I noticed the mill movement it before it had cut the bottom layer of CF, and the body shift was slight enough it didn't make any difference in the final result. Epoxy would fill those gaps during the lamination of the slot. Whew!
Slot finished:
The adjuster requires a wider slot with a round bottom so that end required a box core bit:
Those cuts were done with manually entered moves. Again, nerve wracking, but luckily I didn't typo anything! Finished slot end:
The rod will be sit into the fretboard about this much:
With the slot done the CF lamination could start. A small piece of presentation layer was held in place with spray adhesive. There are no forces around the adjuster so it doesn't need multiple layers:
The rest of the slot got 3 layers total. Each layer was saturated with thin laminating epoxy before the next layer was pressed in with a 1/4" thick piece of plywood:
Everything was clamped into place while the epoxy cured:
The top layer is a peel ply so the plywood press could be removed once the epoxy was cured. It took some force but it did come out:
Then the excess CF needed to be trimmed so back outside with the oscillating tool:
A bunch more sanding got the new CF and epoxy leveled:
This was done dry since I wasn't sure that everything was waterproof yet. Sanding fresh epoxy dry tends to gum up the paper pretty bad, but I found that this Pro-Stik stuff cleans up the paper pretty well:
A bit of work with a pneumatic rotary tool with a grinder around the adjuster access got it nice and smooth too:
And the rod fits too!
That's it for this week, and probably the near future.

A bit more work needs to be done on the bottom of the fretboard to cut the inverse tapered truss rod slot, plus to carve some wiring channels. On the top the LED marker slots still need to be done. The script to cut the slots is done, but the hole where the LED mounts still needs to be added.
Also, more coats of epoxy are required on the CF, and then the rest of the body cuts need to be done: pickups cavities, battery holder cavity and preamp cavity.
Once that is all done I can start on the wings. So much work to go!