

Full Disclosure - NOT my first assemble, but first assemble from scratch. Scratch being doing some sanding for a custom headstock decal, body sanding and finishing, then assembling/lining up/setting up, etc...
It all started when my wife bought me this body for Christmas:
(the body was advertised different than what she received from the guy, but who was I to send it back and risk getting ripped off by a P-O'd dude accused of ripping is off )
)
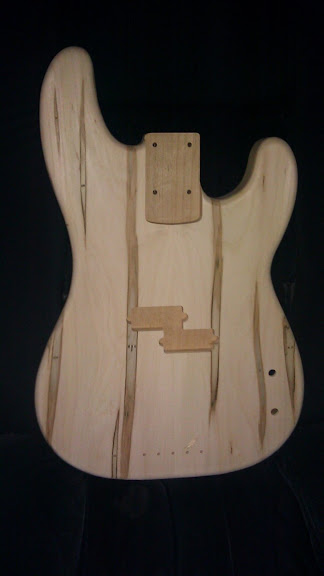
...so I decided to buy all the parts and assemble me a P-Bass:
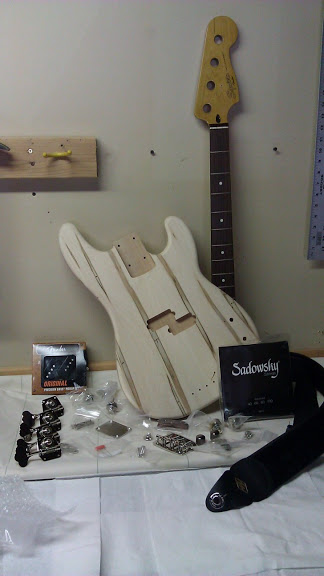

Body: purchased P-Bass (pre-routed)
Neck: Squier Classic Vibe Precision
Pickups: Fender Original P-Bass (alnico 5)
Tuners: Gotoh Vintage Satin Nickel, reverse wound
Bridge: Gotoh 203 Satin Nickel
Potentiometers: CTS, 250k
InputJack: generic
Capacitor: generic orange .473
Jack Plate: Gotoh football Satin Nickel
Neck Plate: Gotoh Satin Nickel
Knobs: generic Black Chrome
String Tree: Gotoh Satin nickel
Thumbrest: Rosewood
Straplocks: Marvel Nickel Finish
Screws: Satin Nickel
Strings: Sadowsky Flats 40-100's (for now)
Finish Products: Maloof Poly/Oil and Maloof Oil/Wax
Note* careful on the Sad-Flats, 100's tend to break near the post, if your post to bridge distance is less than 37"
First Step:
Sand the headstock, apply vintage finish, apply my own decal, coat in Gloss Poly.
It all started when my wife bought me this body for Christmas:
(the body was advertised different than what she received from the guy, but who was I to send it back and risk getting ripped off by a P-O'd dude accused of ripping is off
)...so I decided to buy all the parts and assemble me a P-Bass:
Body: purchased P-Bass (pre-routed)
Neck: Squier Classic Vibe Precision
Pickups: Fender Original P-Bass (alnico 5)
Tuners: Gotoh Vintage Satin Nickel, reverse wound
Bridge: Gotoh 203 Satin Nickel
Potentiometers: CTS, 250k
InputJack: generic
Capacitor: generic orange .473
Jack Plate: Gotoh football Satin Nickel
Neck Plate: Gotoh Satin Nickel
Knobs: generic Black Chrome
String Tree: Gotoh Satin nickel
Thumbrest: Rosewood
Straplocks: Marvel Nickel Finish
Screws: Satin Nickel
Strings: Sadowsky Flats 40-100's (for now)
Finish Products: Maloof Poly/Oil and Maloof Oil/Wax
Note* careful on the Sad-Flats, 100's tend to break near the post, if your post to bridge distance is less than 37"
First Step:
Sand the headstock, apply vintage finish, apply my own decal, coat in Gloss Poly.


