The Saga Continues.....
Another 3 day weekend arrived, and the wife and I headed to the woodshed again -
Back To Work.....
Or, as Matt from Texas Toast likes to say -
"Enough with the bulls$#t talk, let's get to work!"

So the first thing to focus on was getting that fretboard ready for frets! That means sanding......and sanding......and a bit more sanding! I brought it up to 400 grit, wiped some water over it to raise the grain, and boy did it! I tried to sand the grain back with the 400 grit, but it just wasn't having it and I decided to step back to the 150 and bring it back up again. I'm not sure if the 400 just wasn't cutting like I thought it would, or maybe the grain
really stood up, or what. But at some point I just asked myself "Do you want this to be right, or 'good enough'?" and then I decided that there's no shame in stepping back a couple steps before moving forward. Rushing this thing will just destroy all your effort, so do it right.
Finishing Time.....
After a
lot of sanding, I was finally ready to put some of that sweet, sweet StewMac fretboard finishing oil on this thing....
OMG! I'm in love with that grain!
 Don't Fret Over It.....
I'm not sure why hammering in frets was something I was so concerned with, but for some reason this step had me all twisted up. So at some point I just said "You know what? Let's just do this!" and started tapping them in. I watched a lot of videos on this, from Crimson, Texas Toast, various other peeps I watch, and pretty much everyone said "tap in one end, tap in the other end, then bring the middle down" so that's how I did it. And what do you know, it worked! -
Yeah man, frets! All hanging out the sides and everything! Just like a real luthier would do!

So then I set about trimming ends and doing a little rough file work so this thing could be handled without poking 48 holes in your hand, and I ended up with something kinda like this -
I have not beveled the ends, I have not crowned them, I have not even leveled the frets. I just got them in and rough filed the ends down. That's it. But man, I'm kind of impressed with me right now.
 Body Wings.....
I decided at this point I could put the body wings on. I was kind of running out of things I could accomplish and wanted to see some more progress, so yeah, why not? Into the clamps it goes! -
Yup, I saved those off-cuts from the wings just for this reason! Clamping cauls!!!
I may have stepped out of order a bit, because looking back at it now I see I'm gonna have some issues with putting side markers on it up past that body wing, but I'll deal with that when I get there.
So Where Are We Now.....
A day later, and I think I officially have my very first BSO! -
The pencil lines across it were to help me line things up in the clamps. But yeah man, it looks like a thing now! Sadly, I forgot my body template at home so I could not run it through the router to finalize the body shape.


But it does look bass-like on a stand! -
I need to purchase a plunge router anyways, so maybe I'll work on the body shape one I acquire one of those. For now, I've got some final sanding to do on the headstock and maybe sand the face of the body and get the neck-through portion totally level with it on the front and back, those things can happen regardless of the outside edge of the body.
On Another Note.....
So I had been asking around here on TB about jointers and thinking of purchasing one. During this trip I decided to take a peek at the machine under the cover that my boss had referred to as the "finger slicer". See, he lost his pointer finger at the first knuckle and apparently this has been sitting there, covered up, ever since -
So yeah, that's apparently a Craftsman jointer sitting under the blood stained cover. I guess he had the guard propped open to do something, wasn't looking directly at it and got his pointer finger a bit too close. She doesn't look great, but I plugged it in and it fired right up, spun the blades and everything. I put a square edge to the fence and it is spot on 90 degrees. I think with a little cleaning, and of course operating it with the guard in place, I may have solved my jointer situation.
And Then.....
I figured I'd get brave and really start digging into this. The boss said they used to have a full on built-in vac system, with custom plumbing to every machine and all that. But the rats turned it into a really bitchin' habitrail system, so they ripped it all out. But the vac is still sitting around. So I drug it out, plugged it in and hit the on switch. She fired right up! Clearly it was "sucking" because it inflated the top bag and everything. Now, again, she doesn't look pretty, but I think I can salvage this thing -
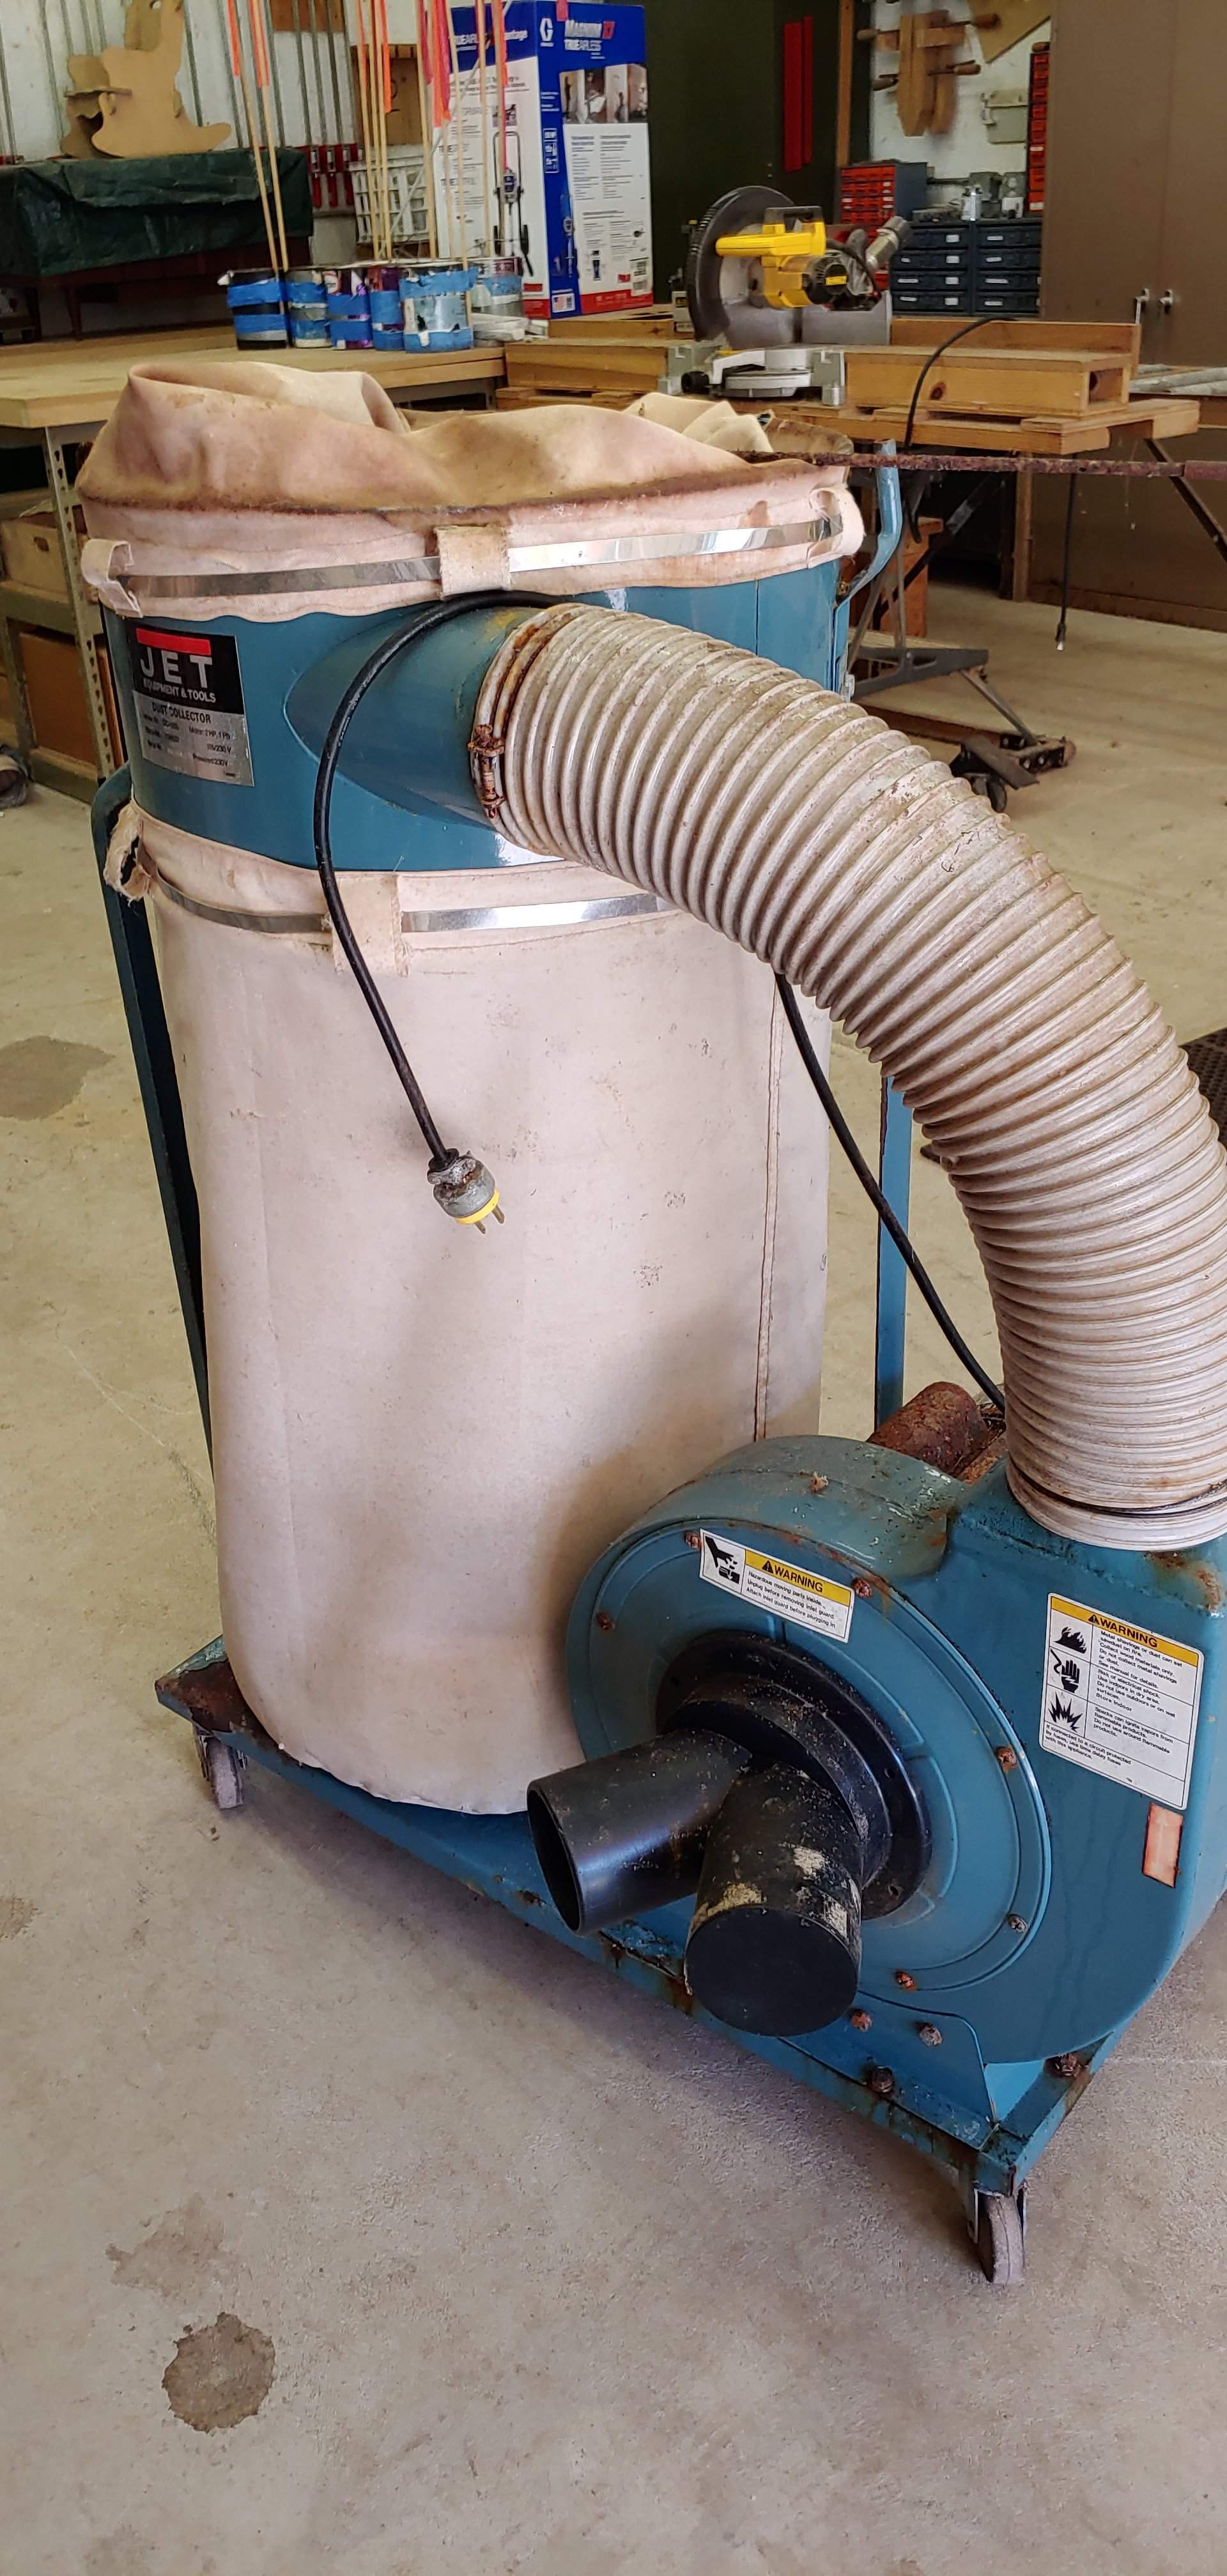
By my estimations, it just needs new bags (they have a couple small rips in them), a good cleaning and then I can just run some flex-tube from it to whatever tool I'm running rather than trying to rebuild a big crazy overhead system. At least, I think that will work, yeah? I'm thinking, just get like 12'-14' of flex-tube and hook it straight to whatever I need at the time. The table saw, the planer, the drum sander, the miter saw and the band saw all have the adapters still on them to hook it to. I'm not sure about the belt sander or the oscillating spindle sander, but those are really the only other items in there that I see myself using, aside from the router table. But the router table is just a big giant Porter-Cable mounted to the bottom of a table, I'm not sure how you'd attach a vac to it anyways.
The Shopping List.....
So now I'm in the market for a replacement table belt for the drum sander, bags and a flex-hose for the vac and a 1/2" blade for the band saw. Then I should have a pretty awesome shop setup here. Yeah, I know, none of it is "mine", it belongs to my boss. So as long as I don't get fired, I'm good!