• TalkBass has been independent since 1998. Add your voice.
    Create a free account to reply to discussions, view embedded media, and browse with fewer display ads.
    Join freeLog in
    Want zero display ads or expanded classifieds tools? Compare plans.

First build - The flying P-bass

Apr 29, 2018
1,781
5,814
I started this build back in the summer of 2018. I've always loved the flying V shape so thought I would have a crack at making one - in hindsight I could've picked something a bit easier for the first go but it generally went ok. I got to the finishing stage and after a disastrous couple of attempts (I won't go into the gory details) and subsequent sanding it all back off again I ended up shelving it for a while to have a rethink.
Then life got in the way as it does, a house renovation followed by a workshop move and then my twin girls were born in 2019 which obviously meant the concept of free time no longer existed!
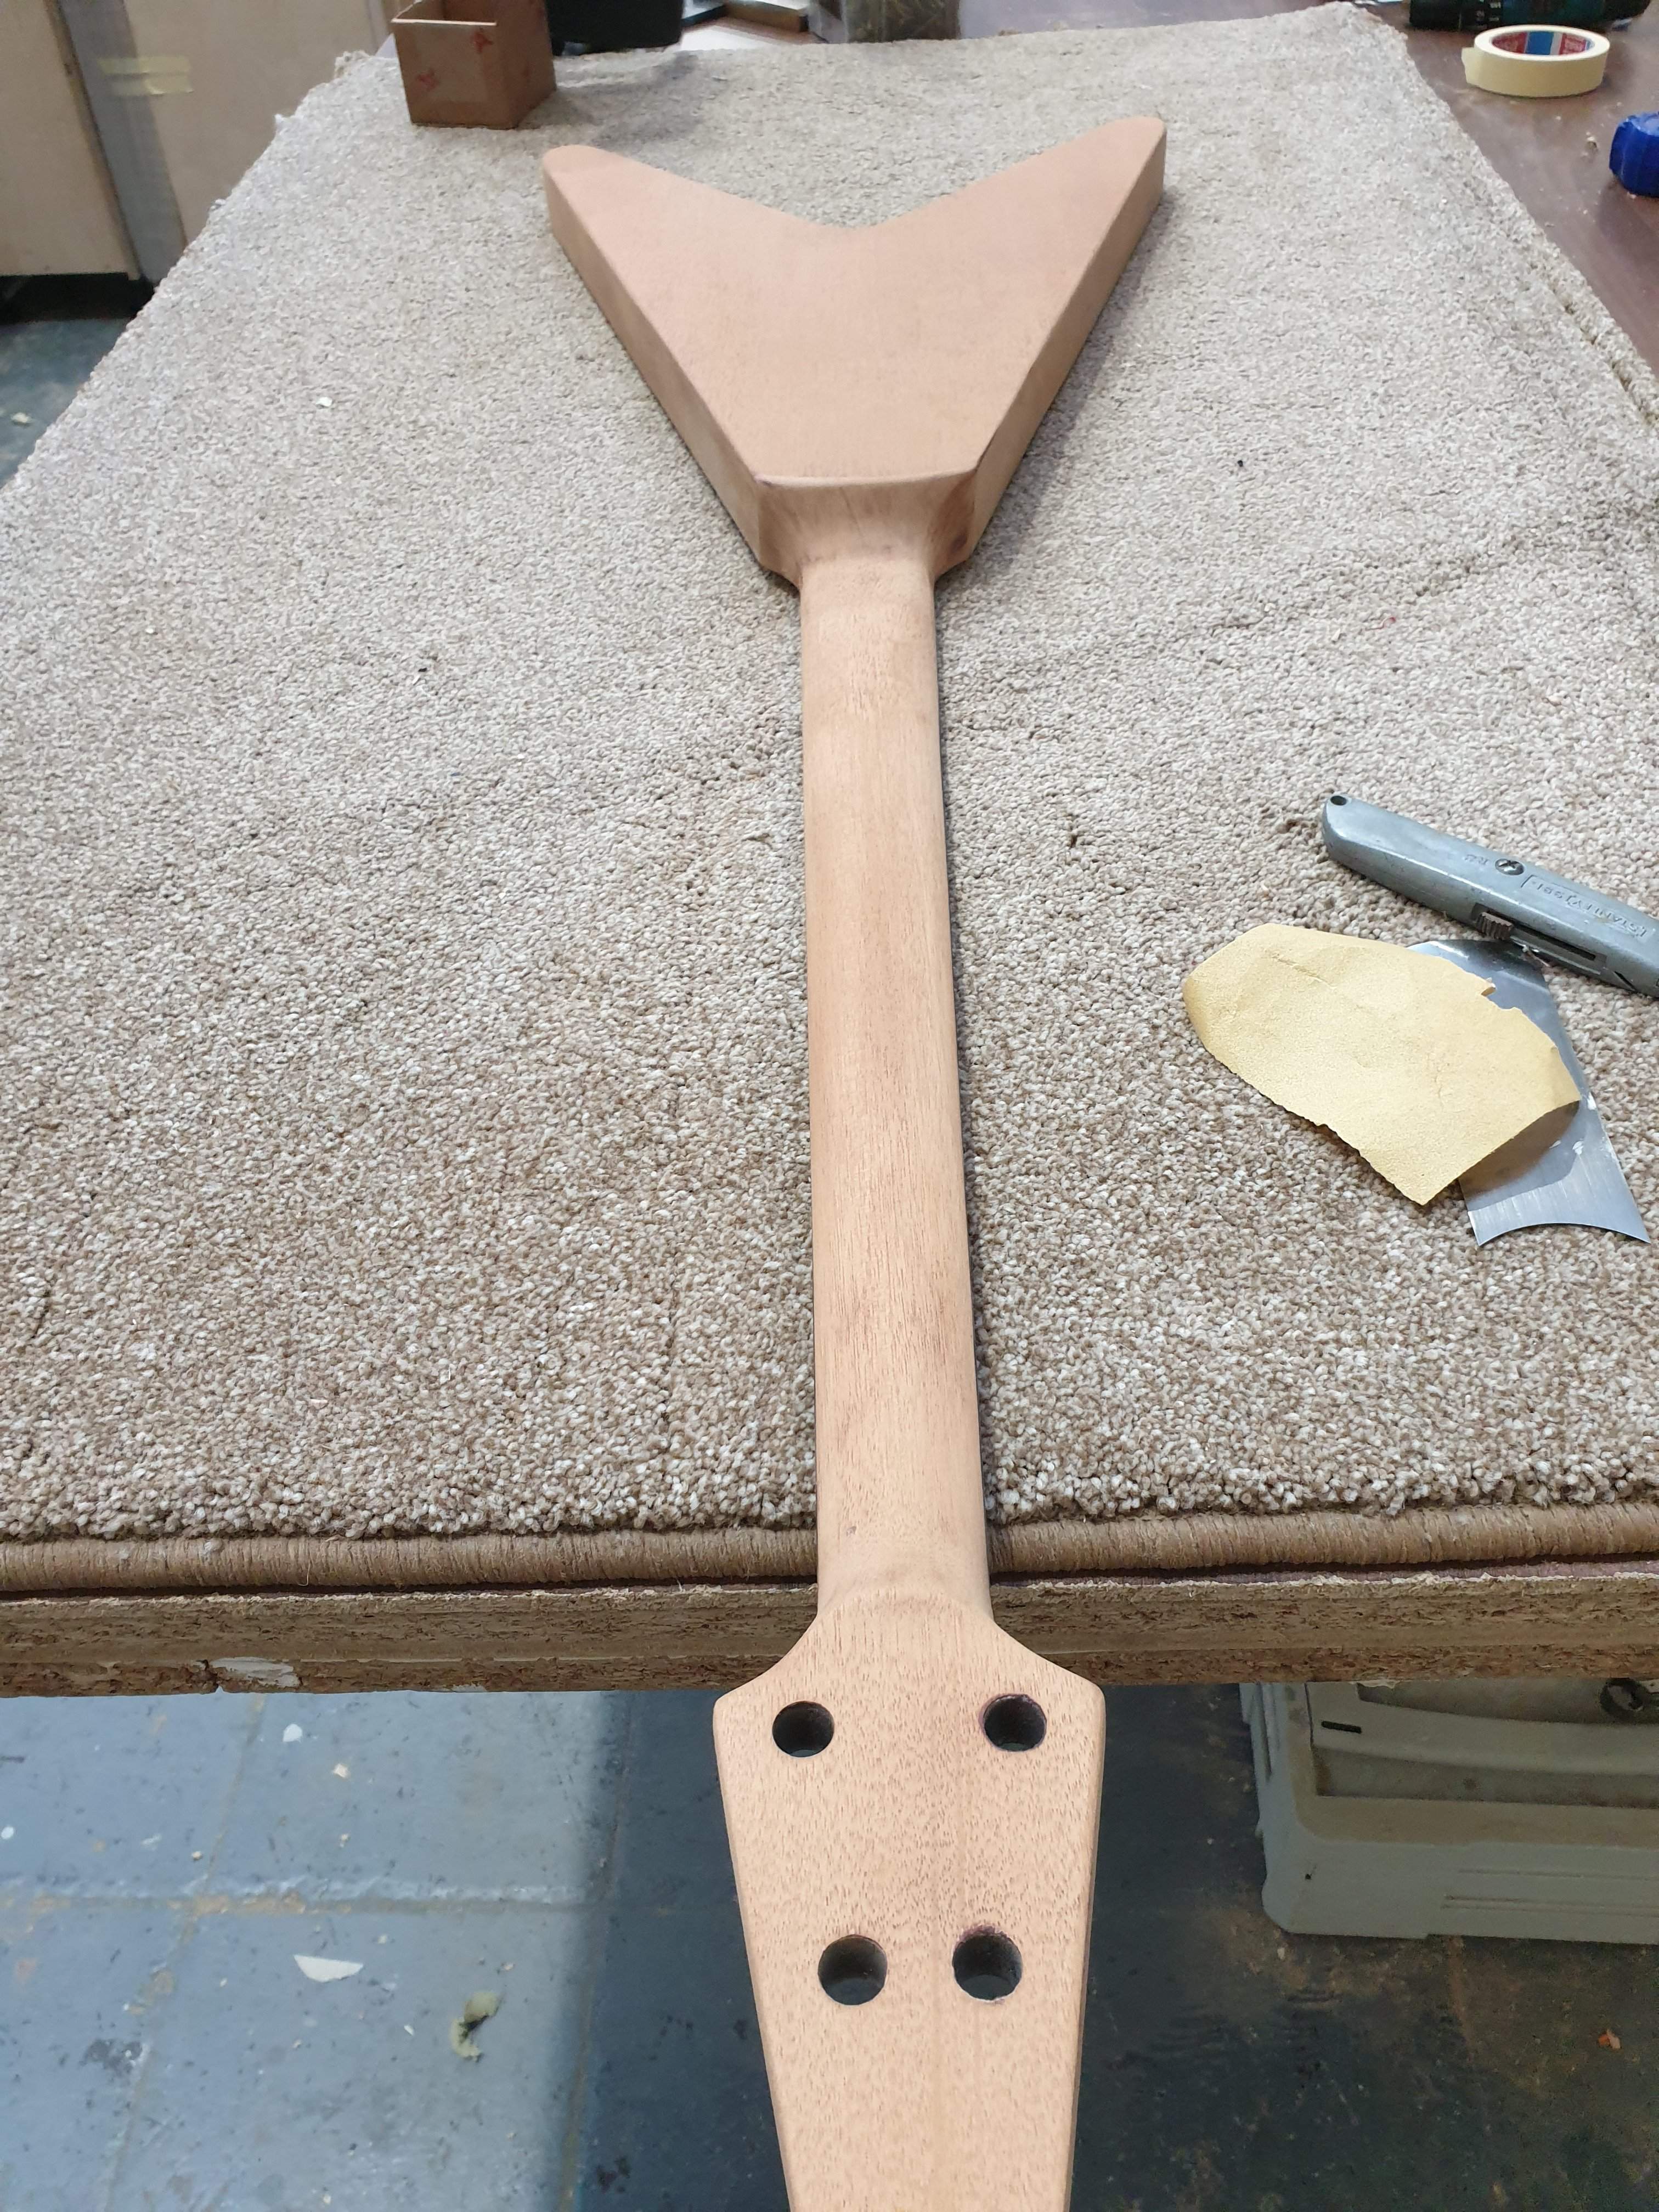
Anyway I have a little more leeway now so will be trying to finish this as I really want to start the next one. Here's how it looked when I pulled it out the cupboard, there's still a bit of the old finish to remove in the more awkward areas before I can spray it again:
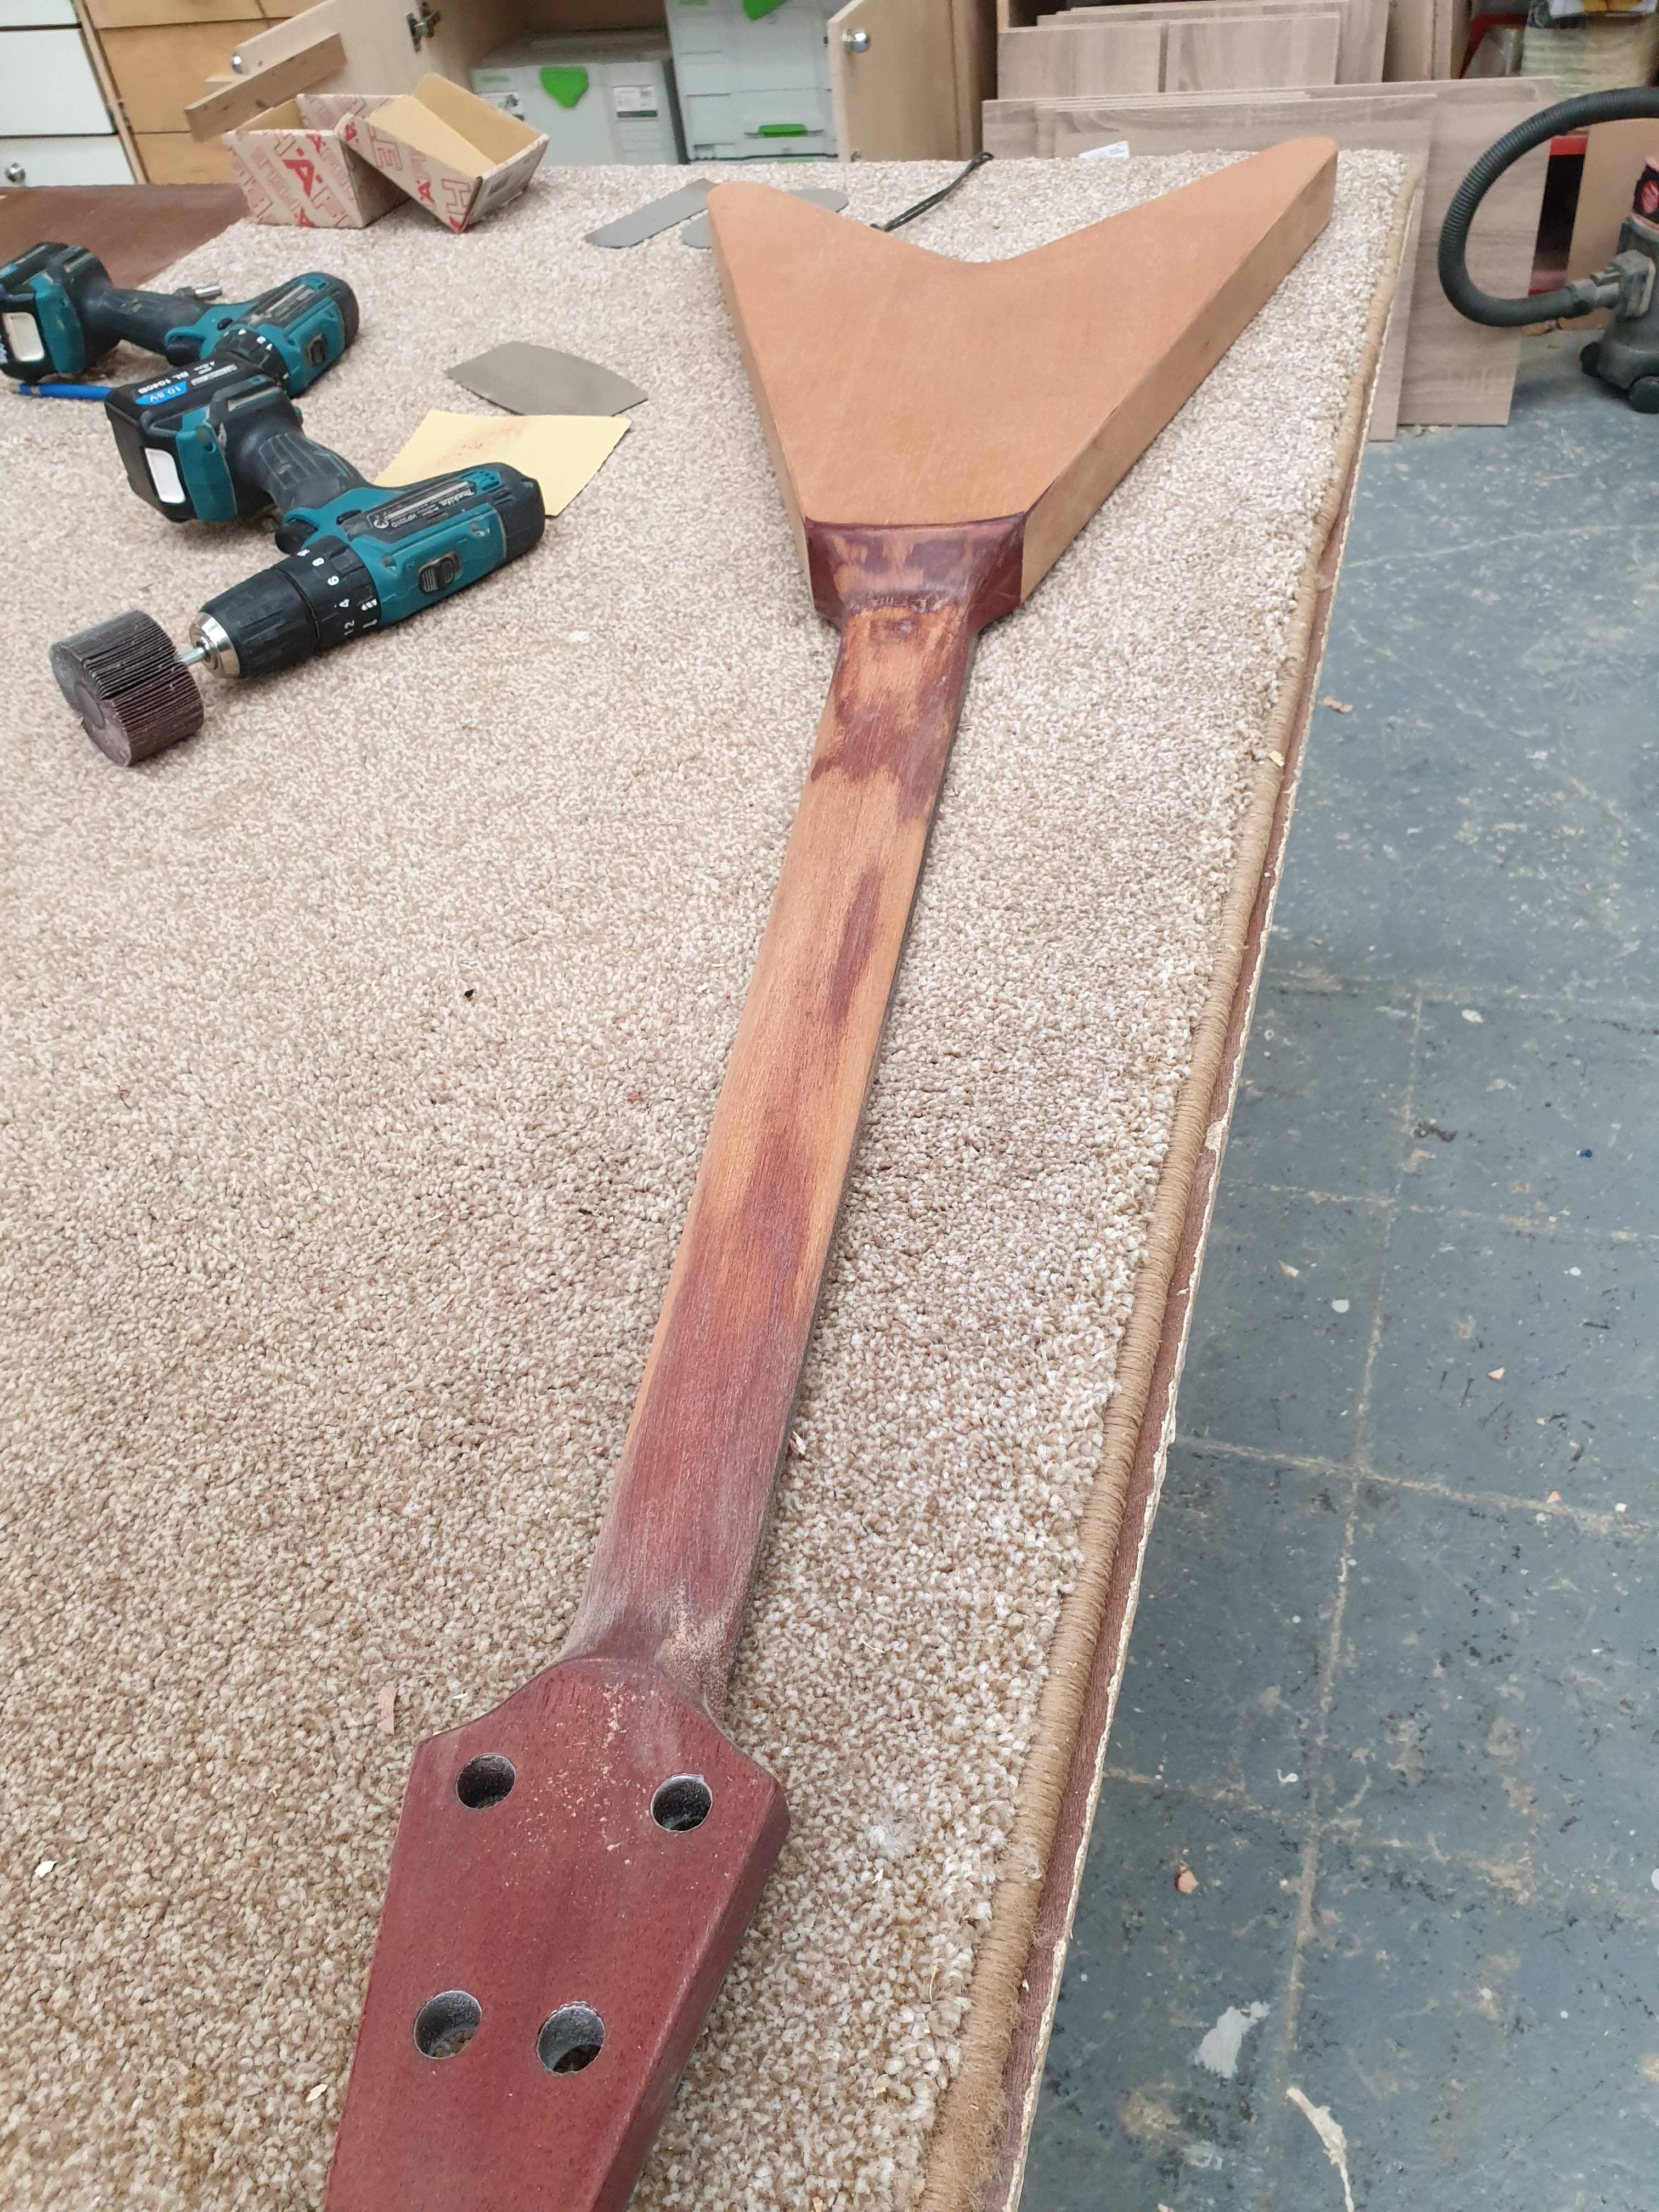
20201012_100916.jpg


After an hour or so today I got most of that off, I just need to get some finer sandpaper to get all the scratches off.
I'm hoping that by starting this thread I'll be forced into finishing this!
Here's where it's at now:
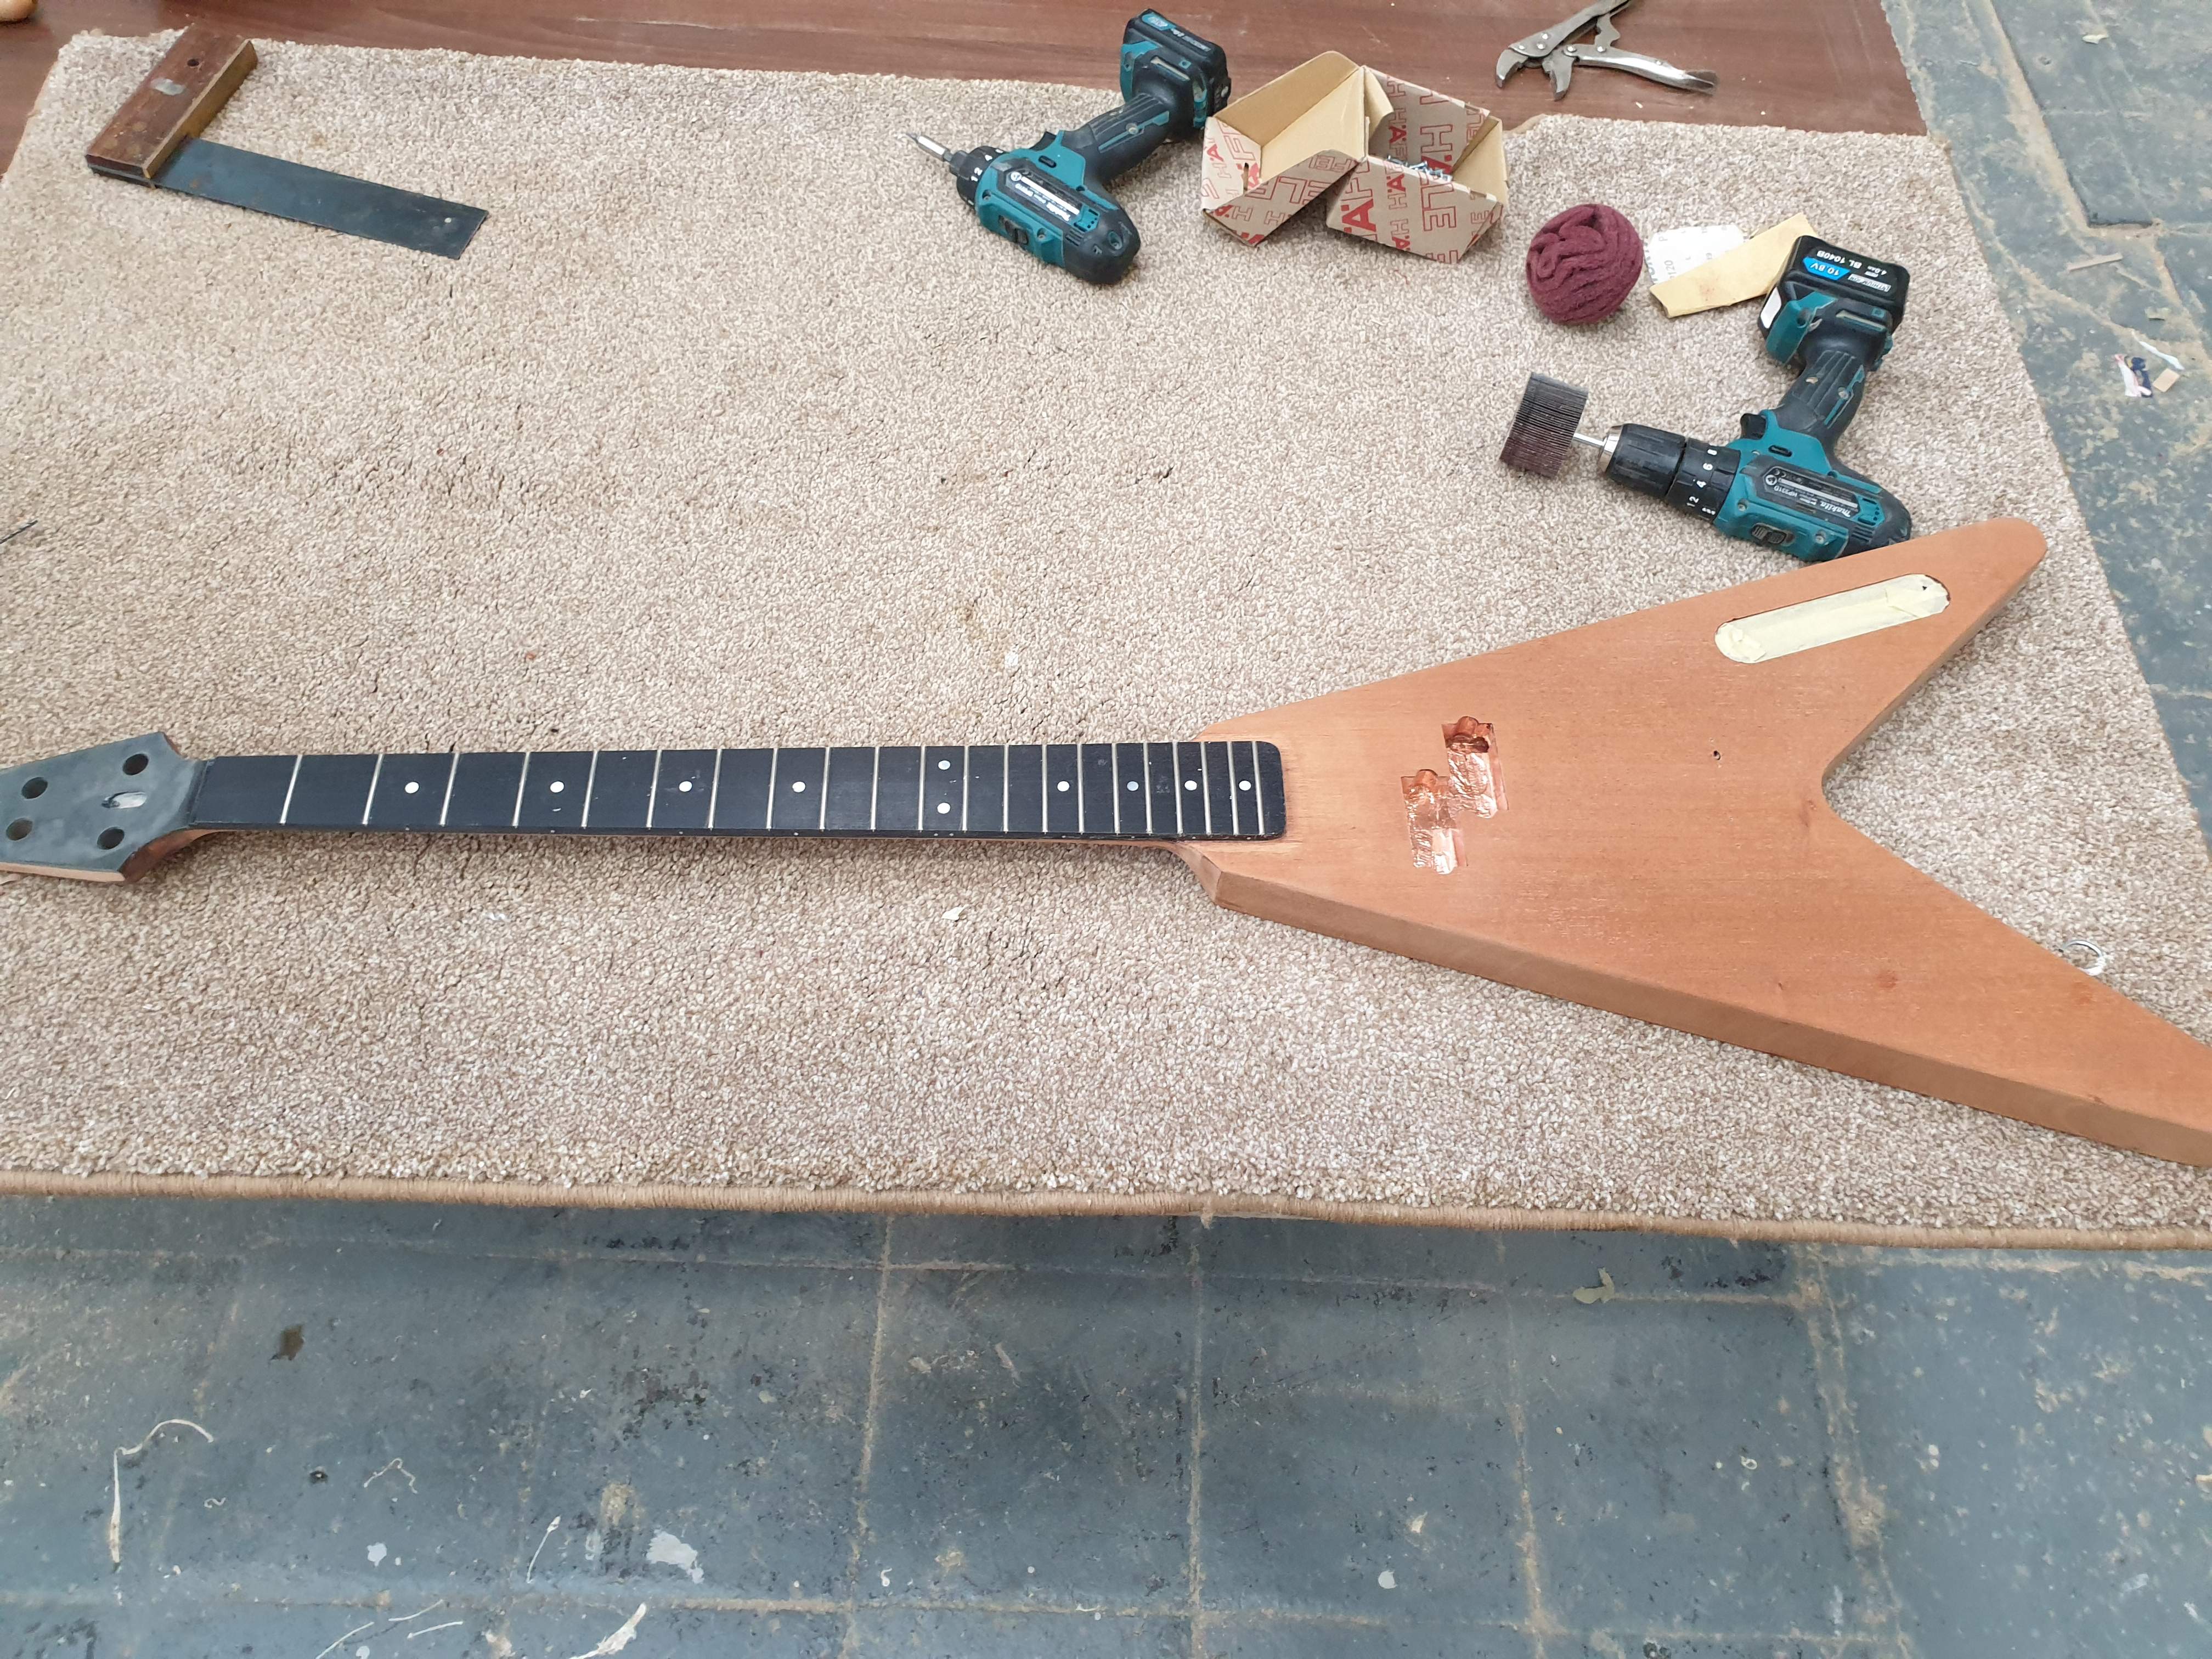
20201012_132500.jpg

20201012_170911.jpg


It's Honduran mahogany by the way, neck through, 32" scale.
 
Had an hour on this before work this morning and annoyingly I noticed that most of the frets were not seated properly at the ends, you can feel the sharp edge when running your fingers along the edge of the fret board, so I ended up pulling most of them out. I think the problem is I didn't bend them enough, and some of the slots were a bit loose (they came out very easily even though I had used ca glue) so I'll need to get some more fret wire and redo them. Very hard not to just give up on this one and start the next one!
 
Managed to get in the shop for a couple of hours this afternoon and refretted the neck. Pleased I did it as they are now all sitting flush as they should be, although there is a couple of bits of damage to the fret board where i pulled the old ones out, hopefully I will be able to hide this later. Got as far as making a flattening beam from some birch plywood scraps and got them flat before i had to pack up.
20201024_145212.jpg
 
Almost got this back to where I started. Mrs. B has an operation in two weeks which means for the next two weeks we have to isolate as they won't risk operating if she has covid. So I've set up a temporary work station in the spare room, it will give me something to do while the kids are asleep.
Nearly finished polishing the frets, a little more dressing to do on the ends and I will start making the nut.
20201030_144120.jpg


There's a bit of damage on a couple of the frets where i pulled the old ones out, any ideas what i can put in to hide it? Don't really want to use the sawdust/ superglue trick as it will be difficult to tidy up with the frets in the way. Need something i can wipe in, level off while it's wet and then hopefully minimal sanding after.
20201030_141837.jpg


That photo makes it look worse i think, I don't think it will be that noticeable once the strings are on. (And yes I'm wearing pajamas during the day don't judge me I'm in lockdown!)
 
Small window of opportunity this lunchtime so thought i would have a crack at the nut, so to speak.
I have a tusq blank, I'm trying for the life of me to remember why I didn't just buy a pre cut p bass nut when I started this build two years ago but I can't so anyway here we are. I marked a line on the nut level with the top of the frets plus 0.25 mm following the radius of the fret board.
20201101_142816.jpg

Then I rigged up a nut vise and using my fret saw cut almost to the line as a guide for the file.
20201101_143715.jpg

I have this rather expensive set of double edged files, one of the only proper luthery tools I've bought -
20201101_150152.jpg

The first file I picked up was 0.075 which corresponded to the second thickest string in the set, unfortunately with the packet of strings in front of me it was the third number so of course I cut the slot in the wrong place. :banghead:

20201101_144750.jpg


So just flip the nut around I hear you say? Nope, I copied the position of the cuts from my p bass and they are not evenly spaced to allow more room for the thicker strings so can't turn it around. I will file the rest and maybe try and fill that slot with some sanding dust and glue. What a plonker.
 
The small drama with the nut resolved itself as i was actually nowhere near as deep as I needed to be. Still needs a bit of tweaking but finally got to play it after 2 years. Sounds and plays great, although all I've got here is a headphone amp. I noticed during the setup that it really rings out unplugged.
Not sure when I'll be able to spray it, it will be going trans red from a rattle can.
20201102_162655.jpg