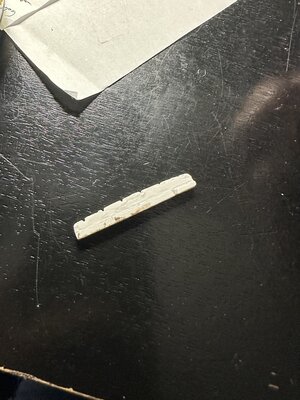
Been playing guitar for a long time, and I'm a tinkerer. I'm always looking to change a pickup, different nut material, different wiring... Building a guitar seemed like a given. Granted, it seemed really daunting, but my wife got me a cheap-o kit off eBay ($65) for Christmas this year, and it's forced my hand. Time to put up or shut up.
I'm a very casual DIYer. I've learned to do a good bit of things in home repair from YouTube and forums like these. I'm definitely not well-experienced in any sense of the word.
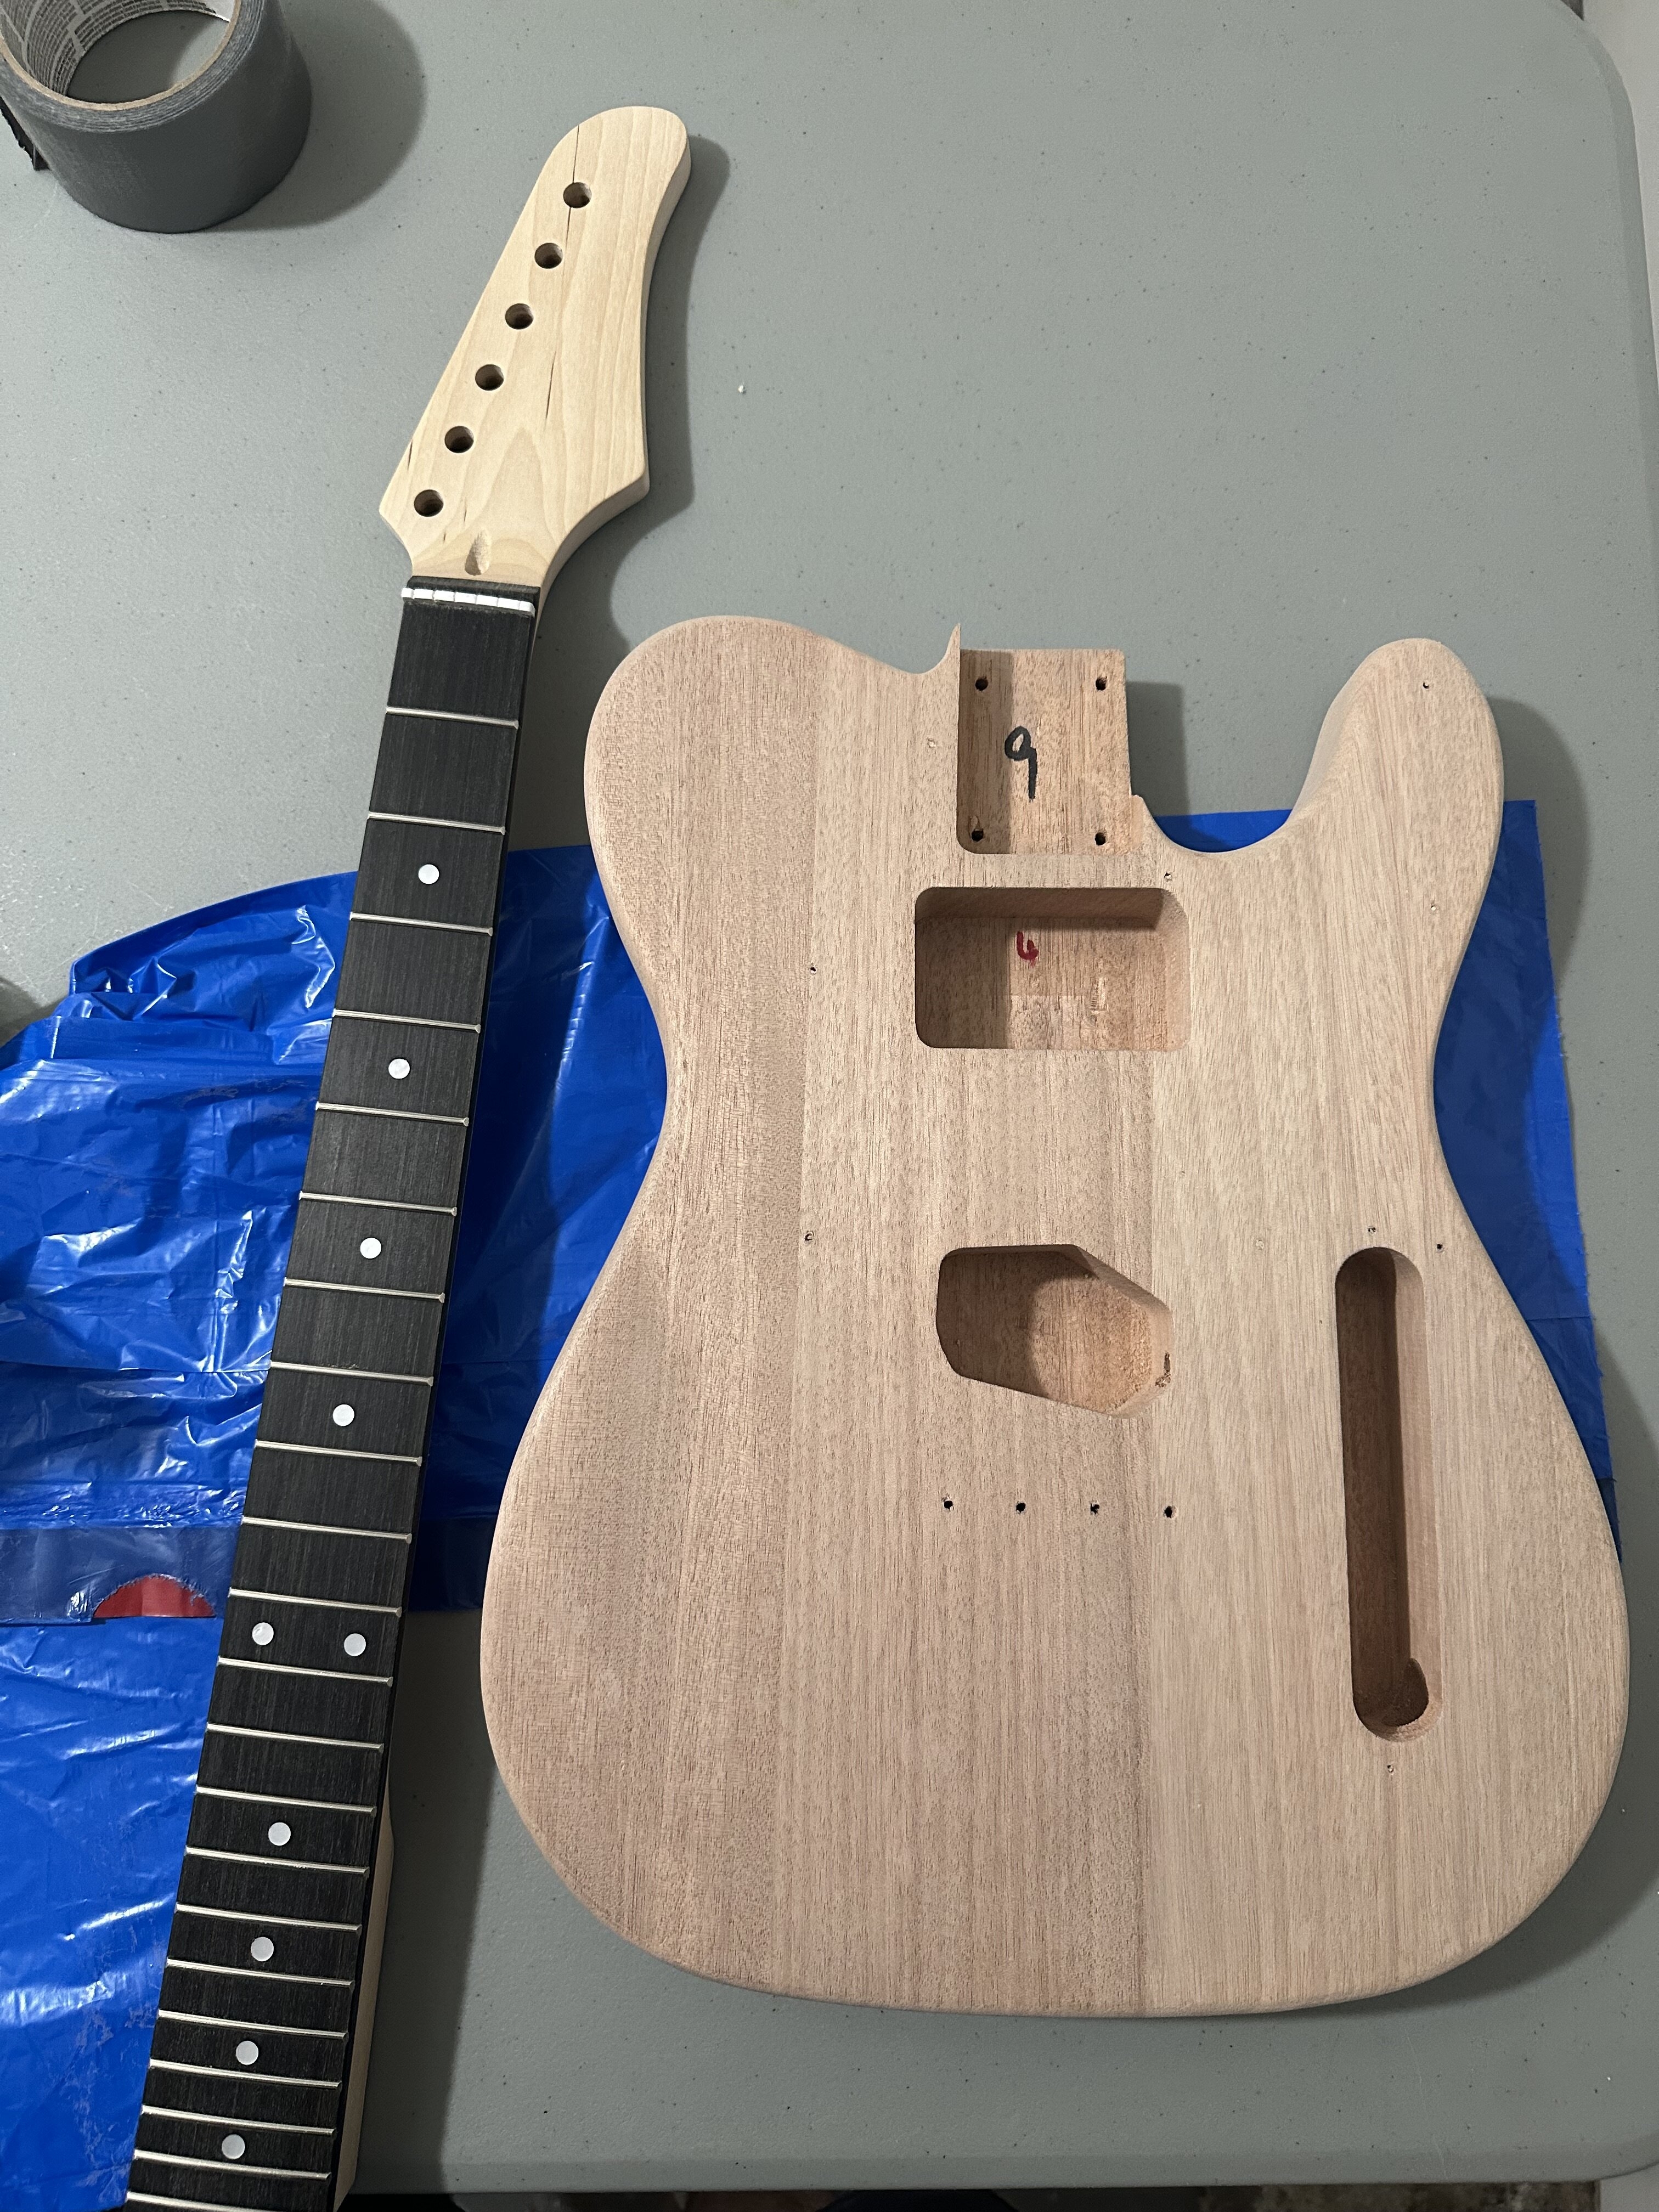
First thing I noticed is that the wood on the kit had a real fuzzy feel from whatever rough sanding they did at the factory. I'm going to guess it was sanded to about 180. 3-piece body they said is mahogany burlywood, and I can see some areas on the side of the body that do look a bit like knots sanded down.
So first thing was first...to Home Depot for sandpaper, a respirator, and some butcher block mineral oil. I first tried the Dunlop 65 Lemon Oil on the fretboard, since it looked very pale and dry. The 65 cleaned it up a bit, but the shine didn't last, so the butcher block mineral oil will eventually get on there. The pic above is post-Dunlop 65 on the fret board.
I also first tried using a regular old N95 for sanding, but that wasn't cutting it. Respirator time.
I don't have a dedicated workbench or space. It's a cold, rainy winter here in New York, so outside work isn't a possibility. What I do have is a room with a window, a dehumidifier, a shop vac, and a plastic table (which I covered in garbage bags ripped along the seam. I like the blue bags because I can see how much material is coming off a lot easier than I can on clear. Plus I could just wrap up the plastic at the end of the day and no worries about sawdust or anything getting anywhere else.
So we got to sanding....180, 220, some wood filler, 320, a little mist to just help keep the dust down and raise the grain. It felt very smooth at this point, and I even thought about leaving the neck to just the bare maple, but this is about trying some different things. I thought I did okay here, but as I got to the later steps, I realize my wood grain filler technique was off. There was still some open grain--and this didn't matter too much for this particular build, but it's a good lesson for moving forward. I tried to really work the wood grain filler in by hand since my putty knife wasn't forcing it in to the pores, but I need to have more patience next go around to force it in the best I can, let it sit and dry, then sand.
I'm a very casual DIYer. I've learned to do a good bit of things in home repair from YouTube and forums like these. I'm definitely not well-experienced in any sense of the word.
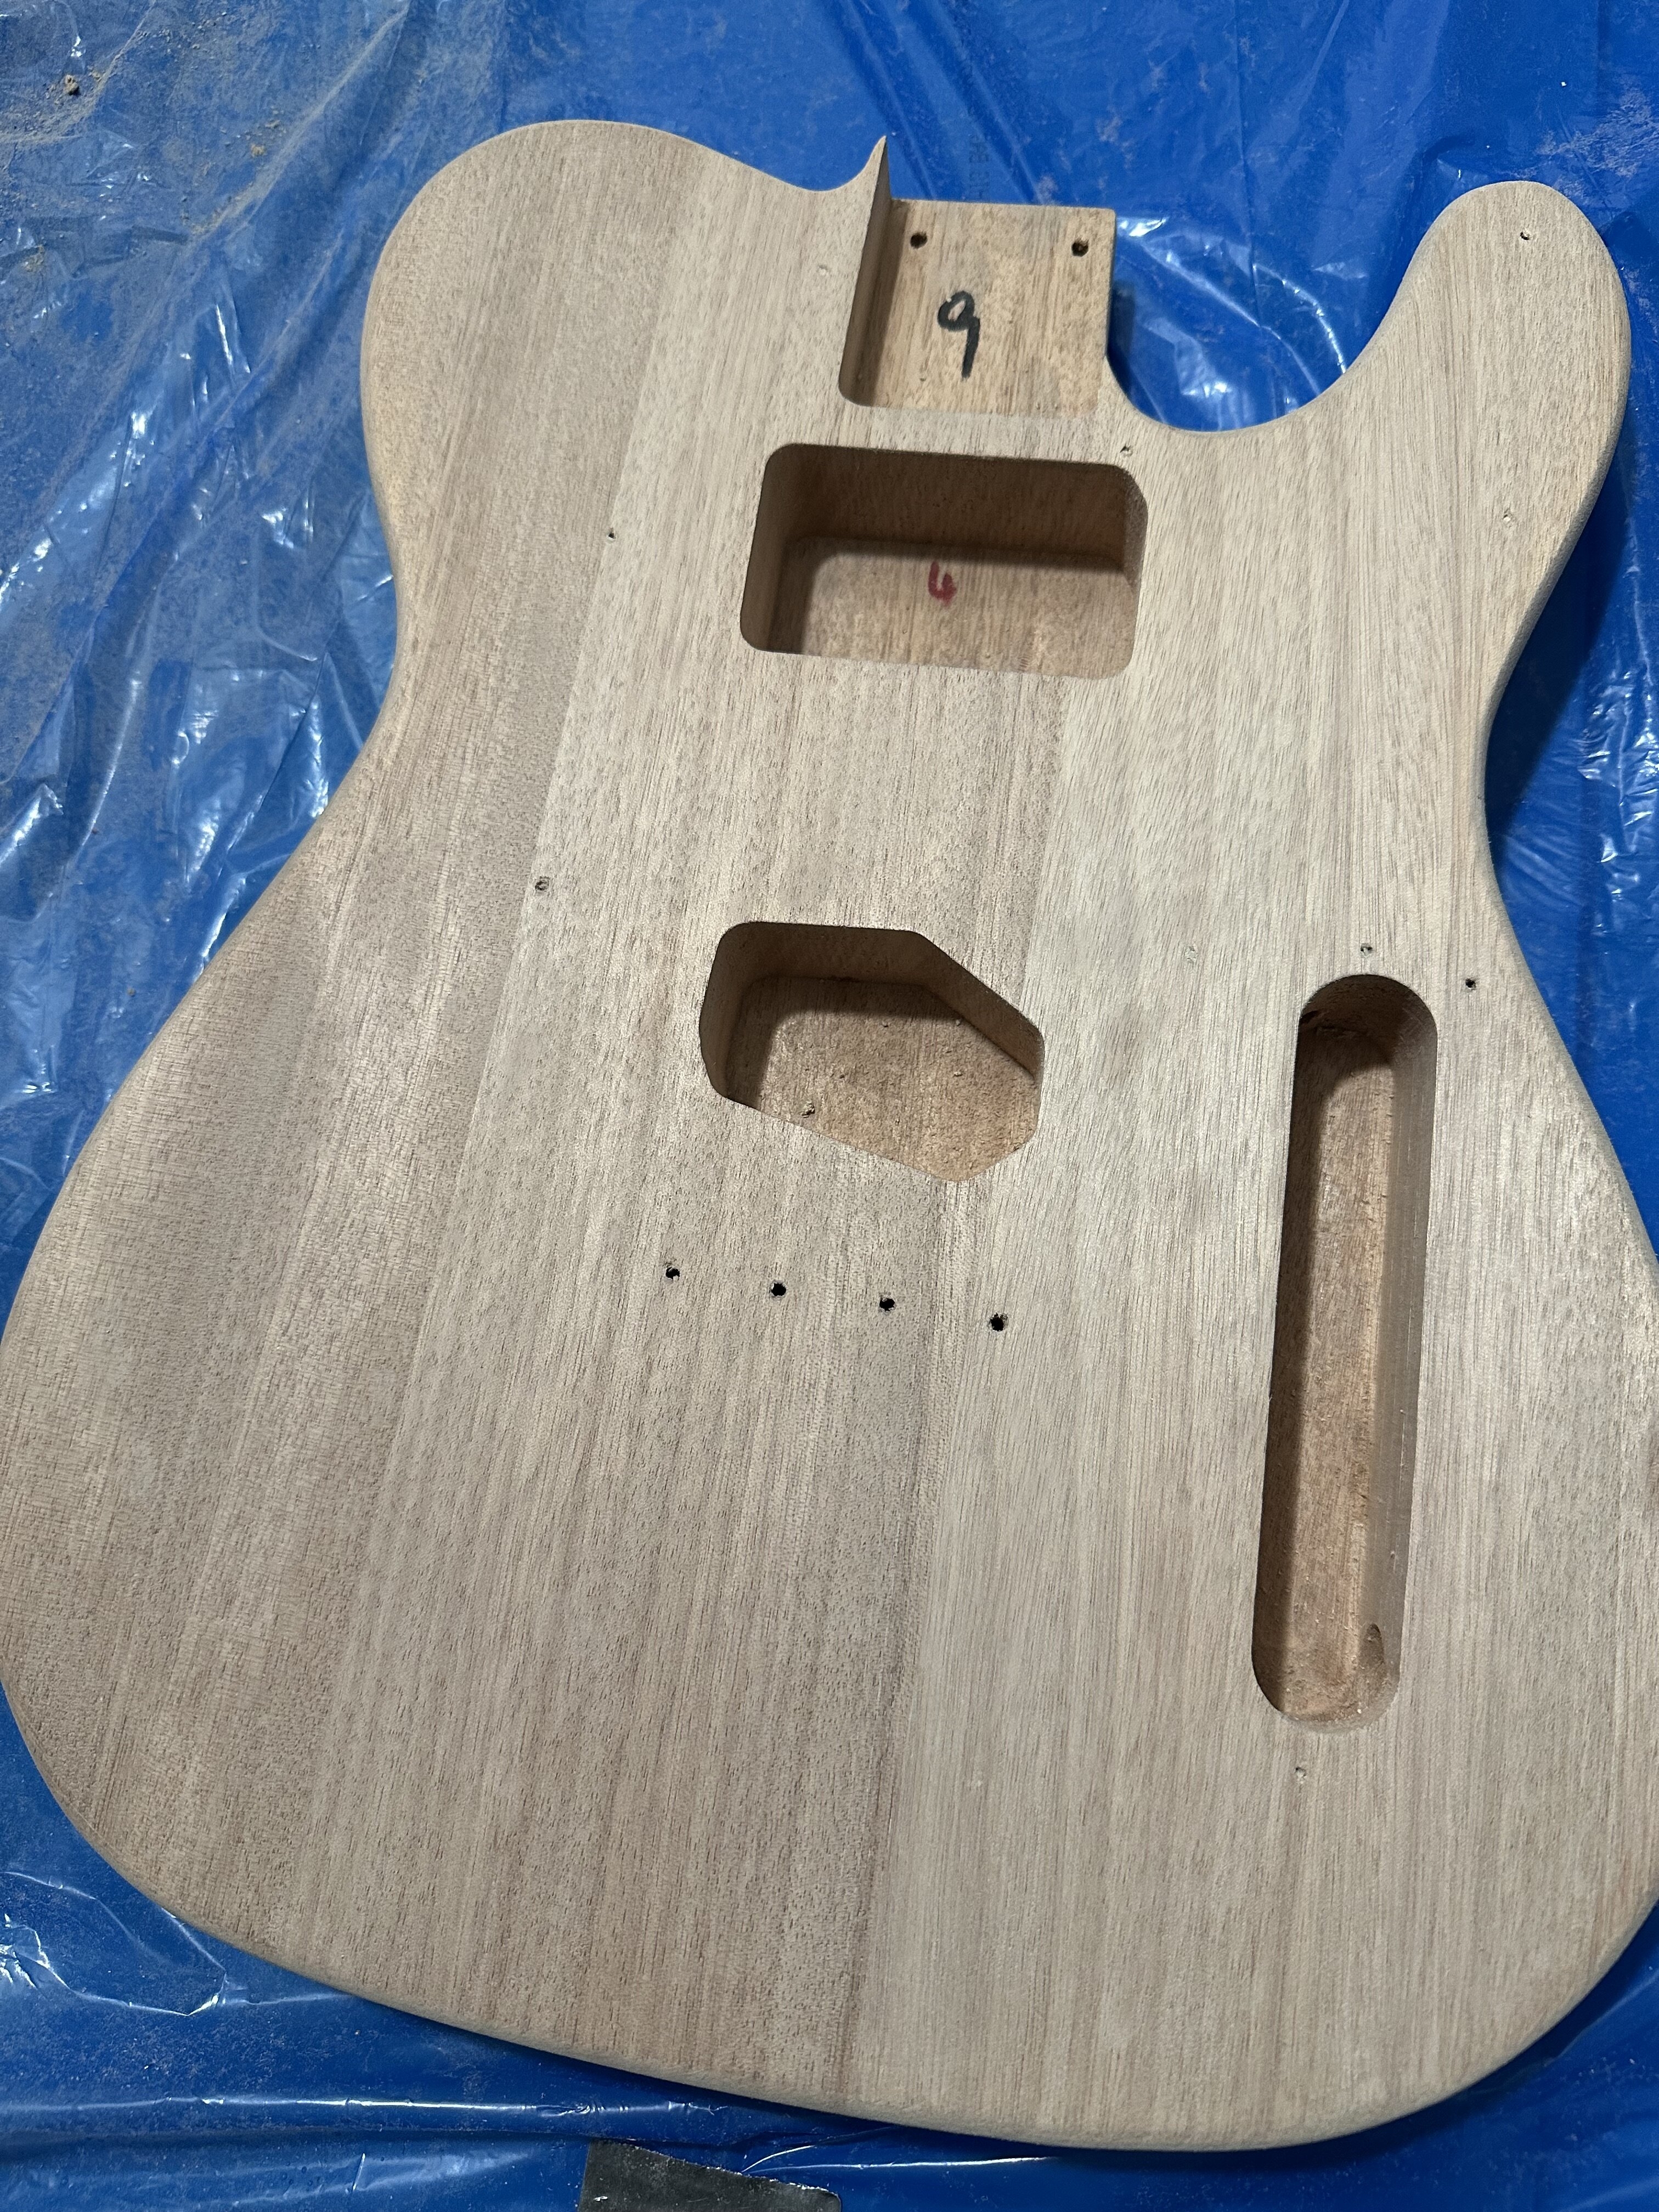
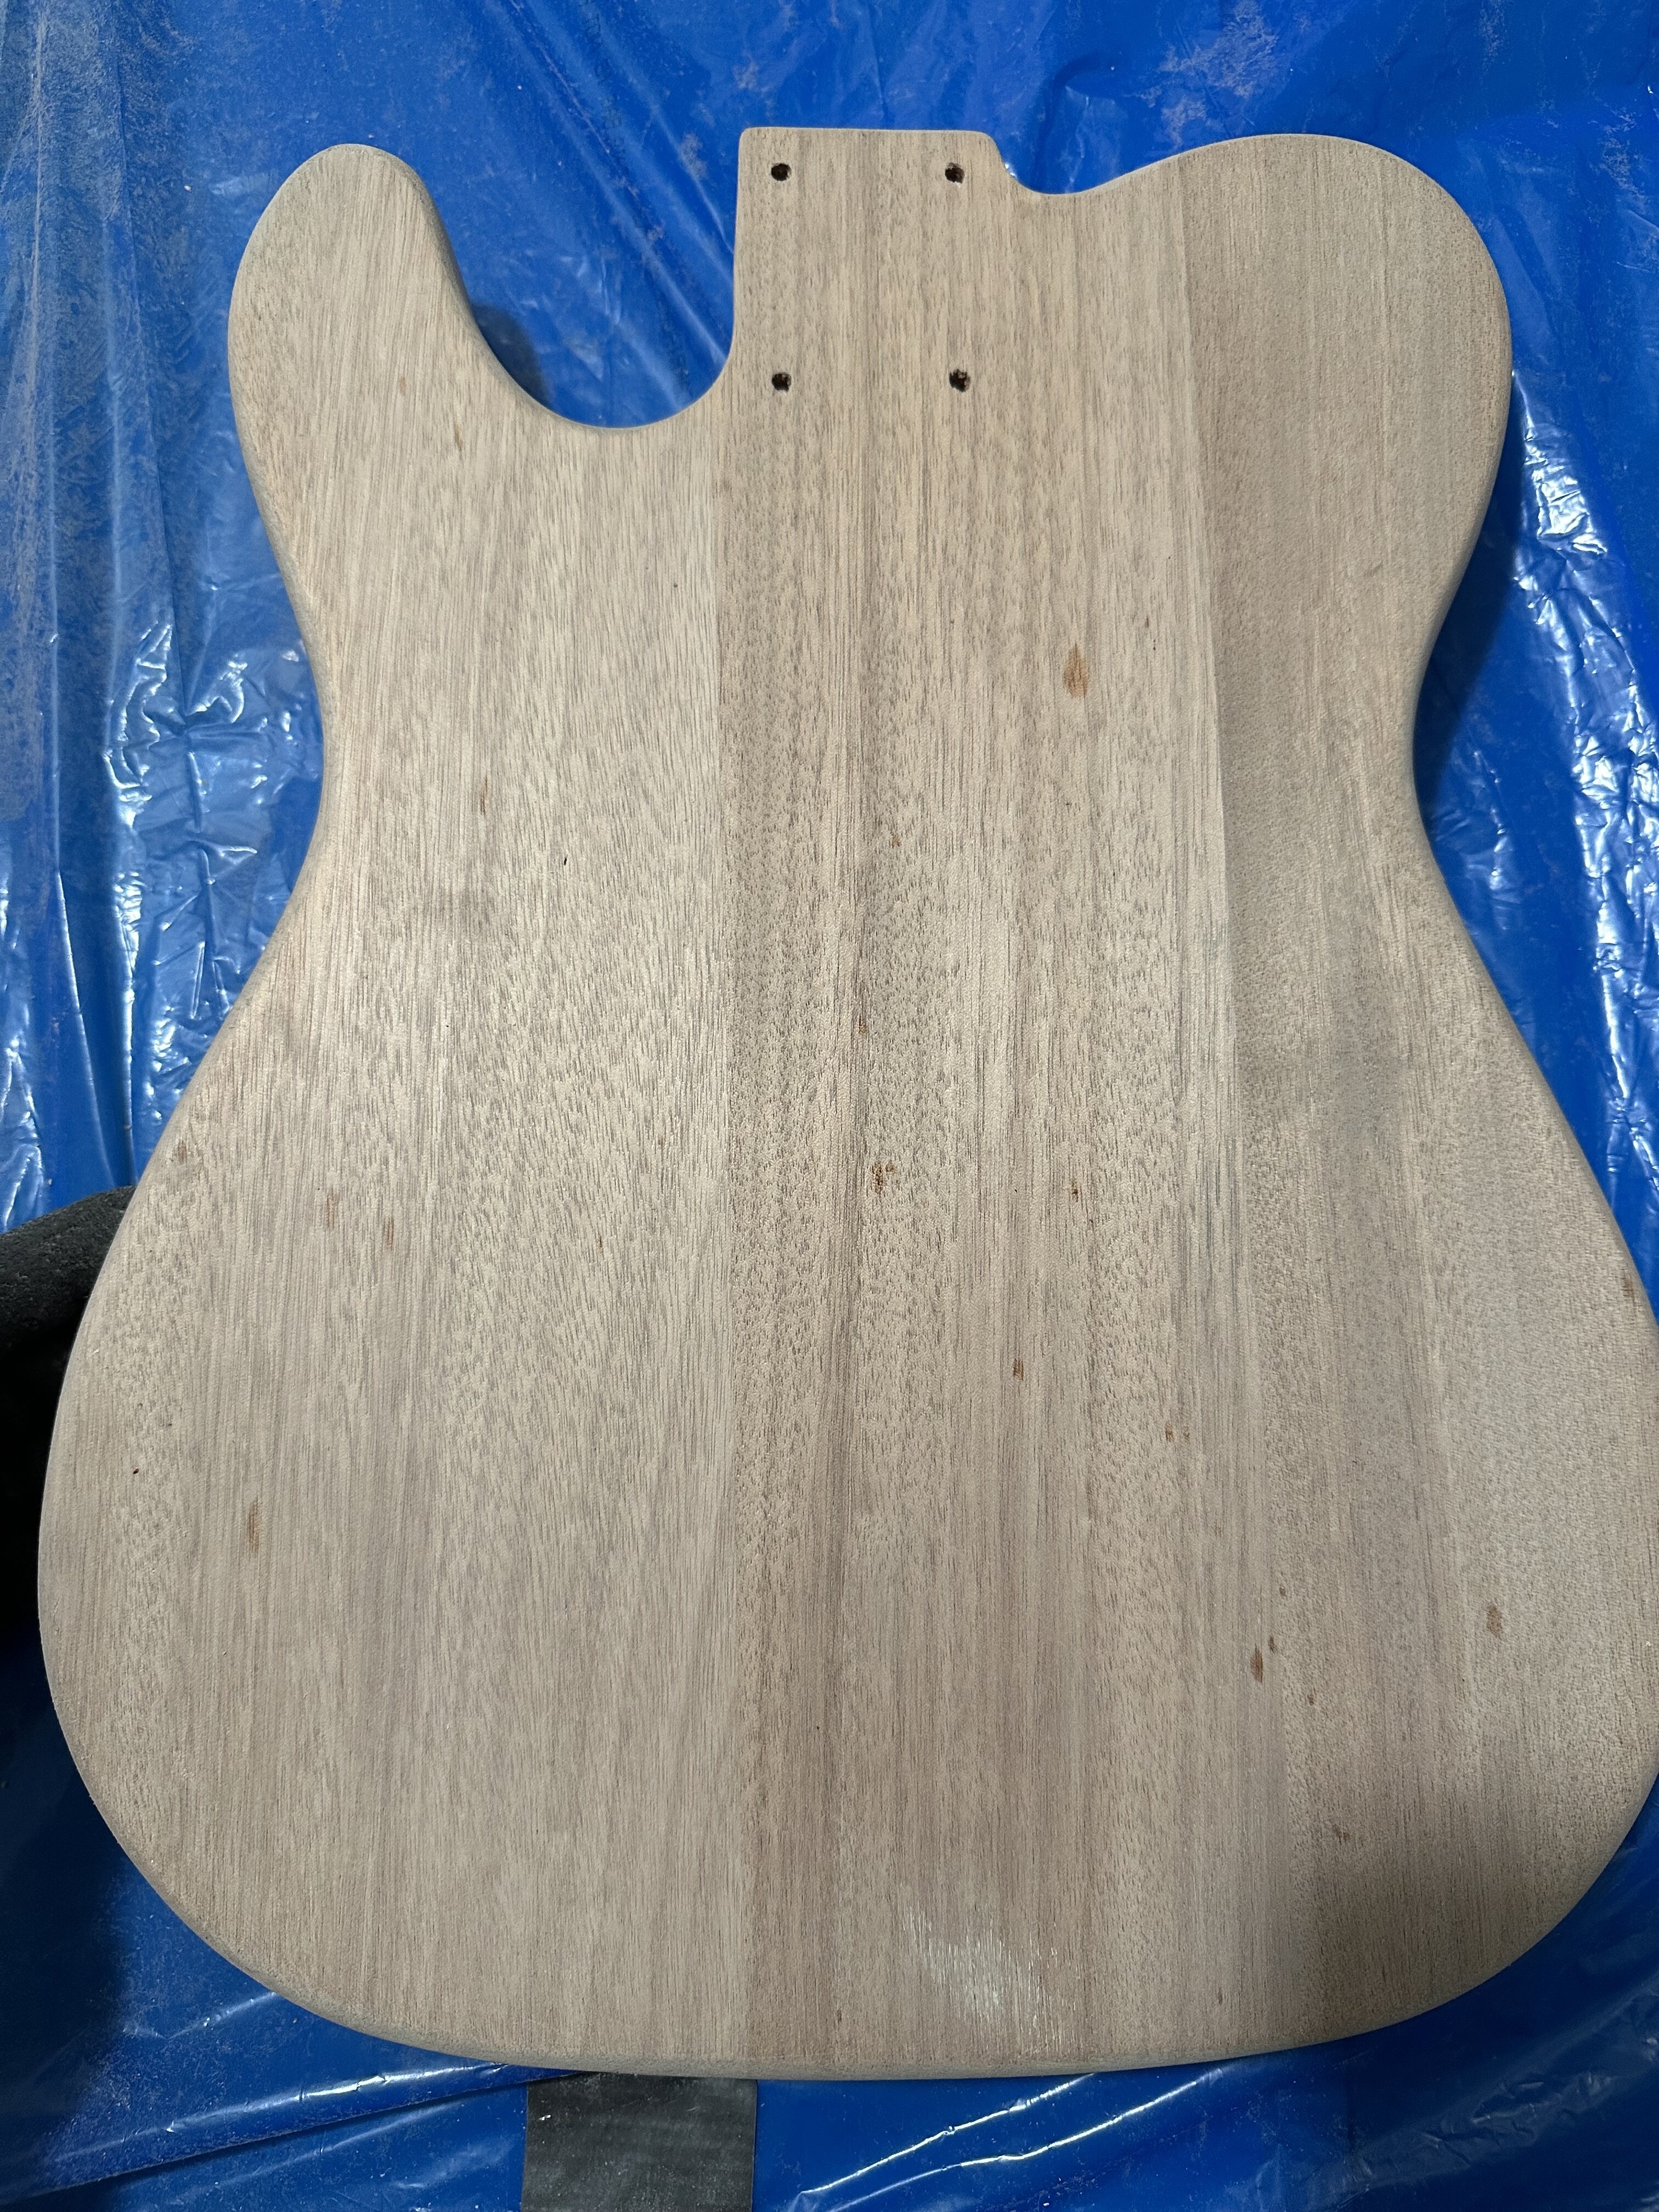
First thing I noticed is that the wood on the kit had a real fuzzy feel from whatever rough sanding they did at the factory. I'm going to guess it was sanded to about 180. 3-piece body they said is mahogany burlywood, and I can see some areas on the side of the body that do look a bit like knots sanded down.
So first thing was first...to Home Depot for sandpaper, a respirator, and some butcher block mineral oil. I first tried the Dunlop 65 Lemon Oil on the fretboard, since it looked very pale and dry. The 65 cleaned it up a bit, but the shine didn't last, so the butcher block mineral oil will eventually get on there. The pic above is post-Dunlop 65 on the fret board.
I also first tried using a regular old N95 for sanding, but that wasn't cutting it. Respirator time.
I don't have a dedicated workbench or space. It's a cold, rainy winter here in New York, so outside work isn't a possibility. What I do have is a room with a window, a dehumidifier, a shop vac, and a plastic table (which I covered in garbage bags ripped along the seam. I like the blue bags because I can see how much material is coming off a lot easier than I can on clear. Plus I could just wrap up the plastic at the end of the day and no worries about sawdust or anything getting anywhere else.
So we got to sanding....180, 220, some wood filler, 320, a little mist to just help keep the dust down and raise the grain. It felt very smooth at this point, and I even thought about leaving the neck to just the bare maple, but this is about trying some different things. I thought I did okay here, but as I got to the later steps, I realize my wood grain filler technique was off. There was still some open grain--and this didn't matter too much for this particular build, but it's a good lesson for moving forward. I tried to really work the wood grain filler in by hand since my putty knife wasn't forcing it in to the pores, but I need to have more patience next go around to force it in the best I can, let it sit and dry, then sand.