I've always wanted a fretless but already having 3 four string basses and being on a budget I wasn't able to buy one. So I decided to convert my first bass I into one. It was an Ibanez GSR100, metallic silver finish. I've been working in a cabinet shop for several months now and so I have access to some great tools to help the project along.
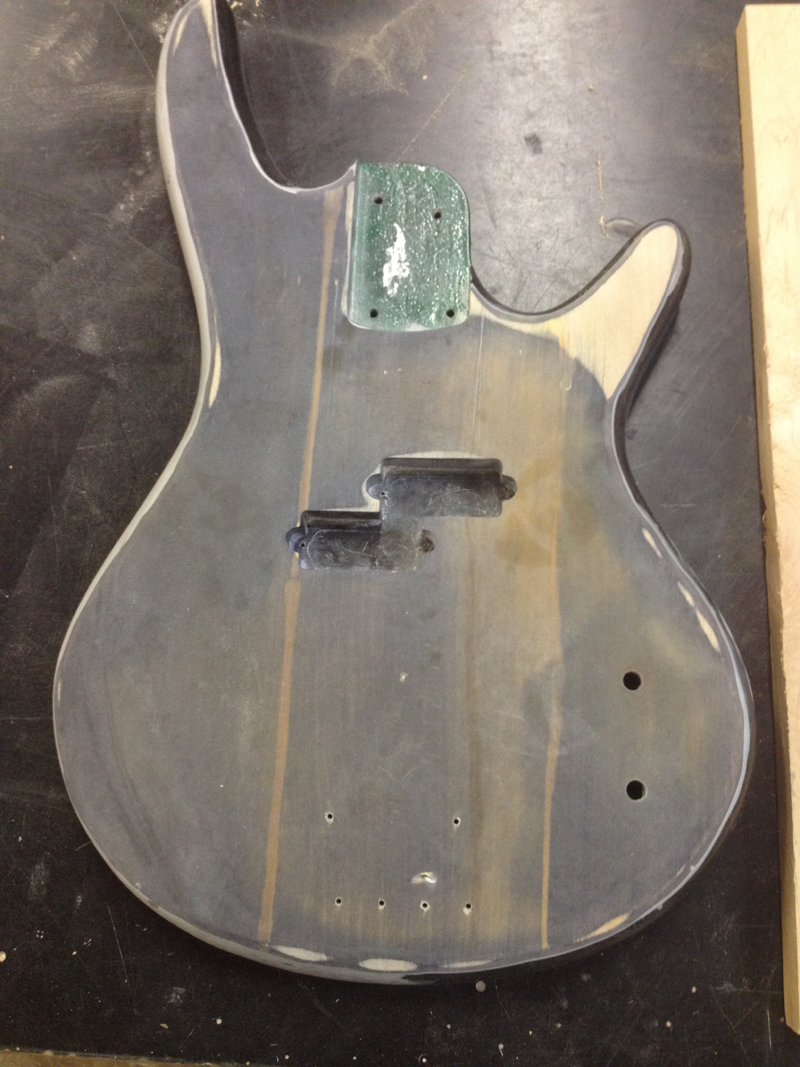
I started sanding off the paint and eventually took the thickness down in a thickness sander.
Trying to keep cost down as much as possible, I waited to find the right pieces of scrap around the shop. Fortunately I managed to find enough wood to work!
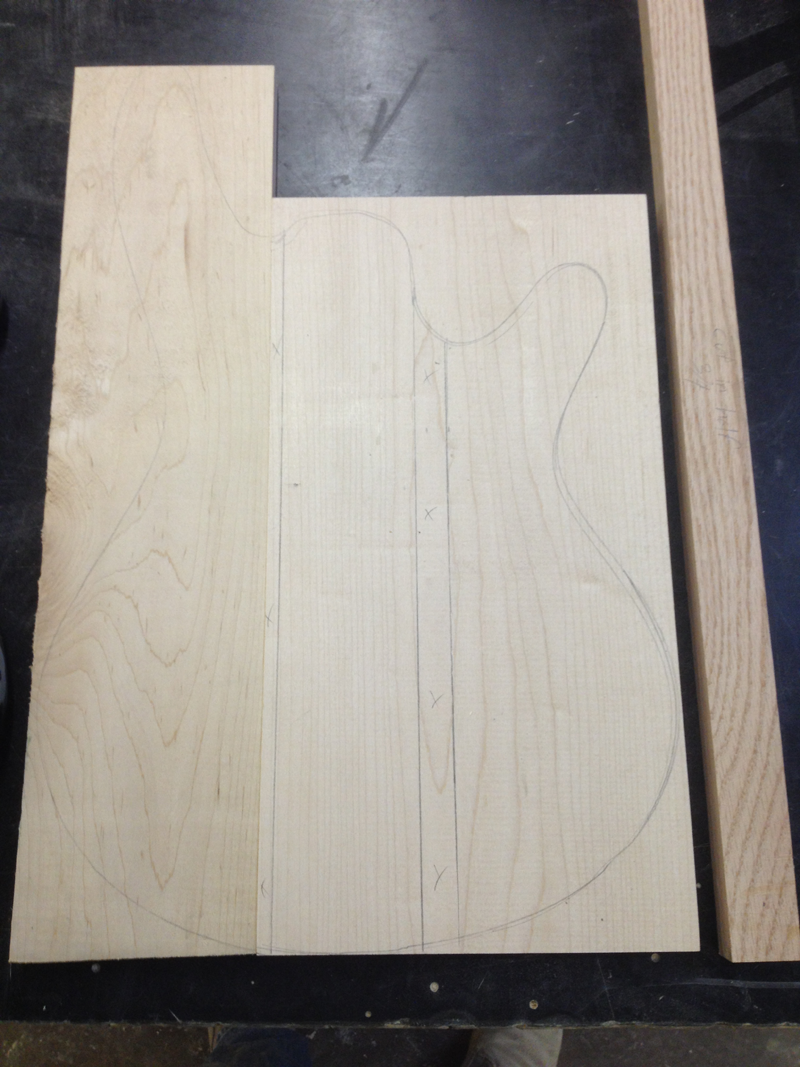
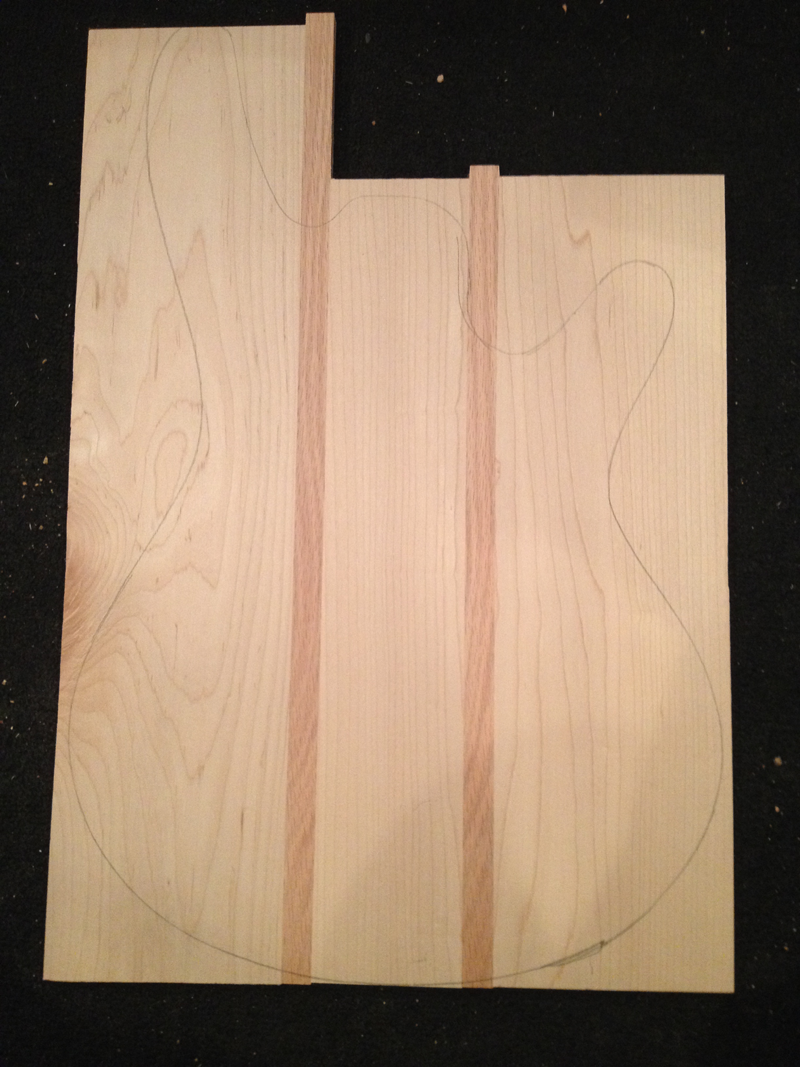
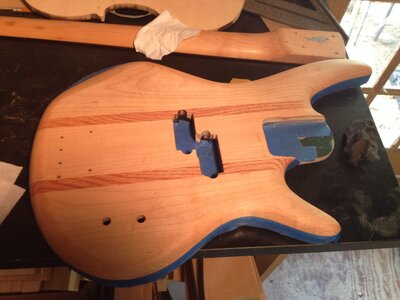
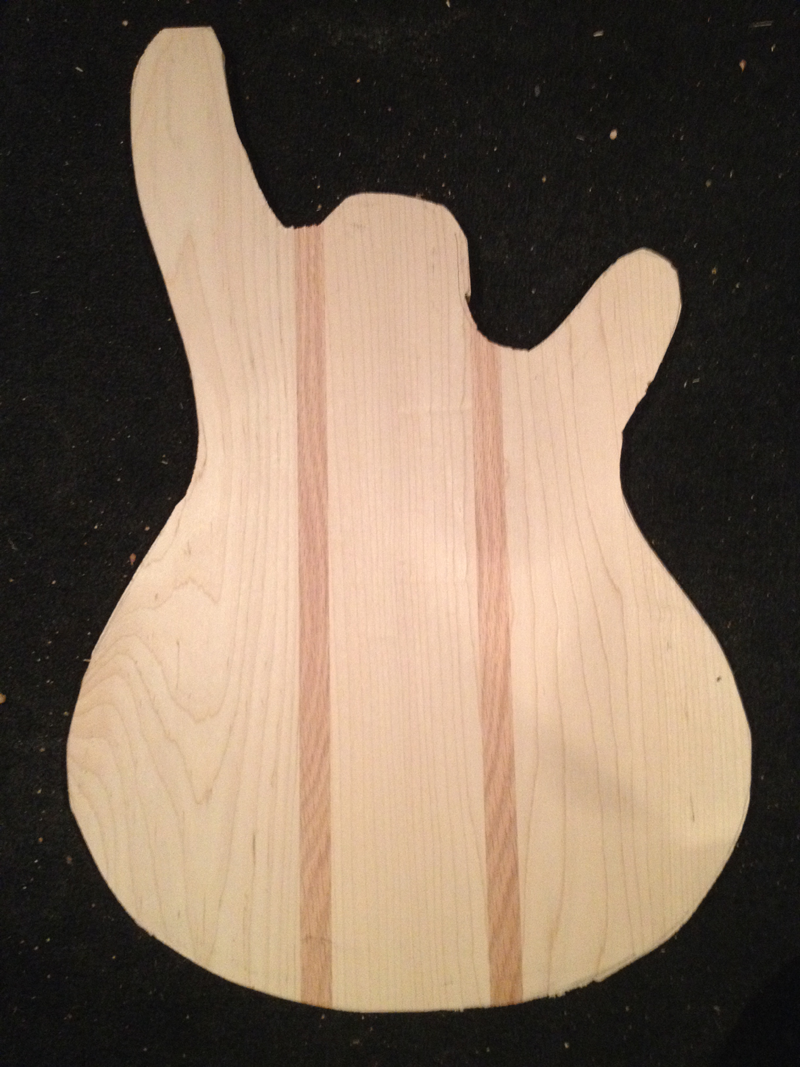
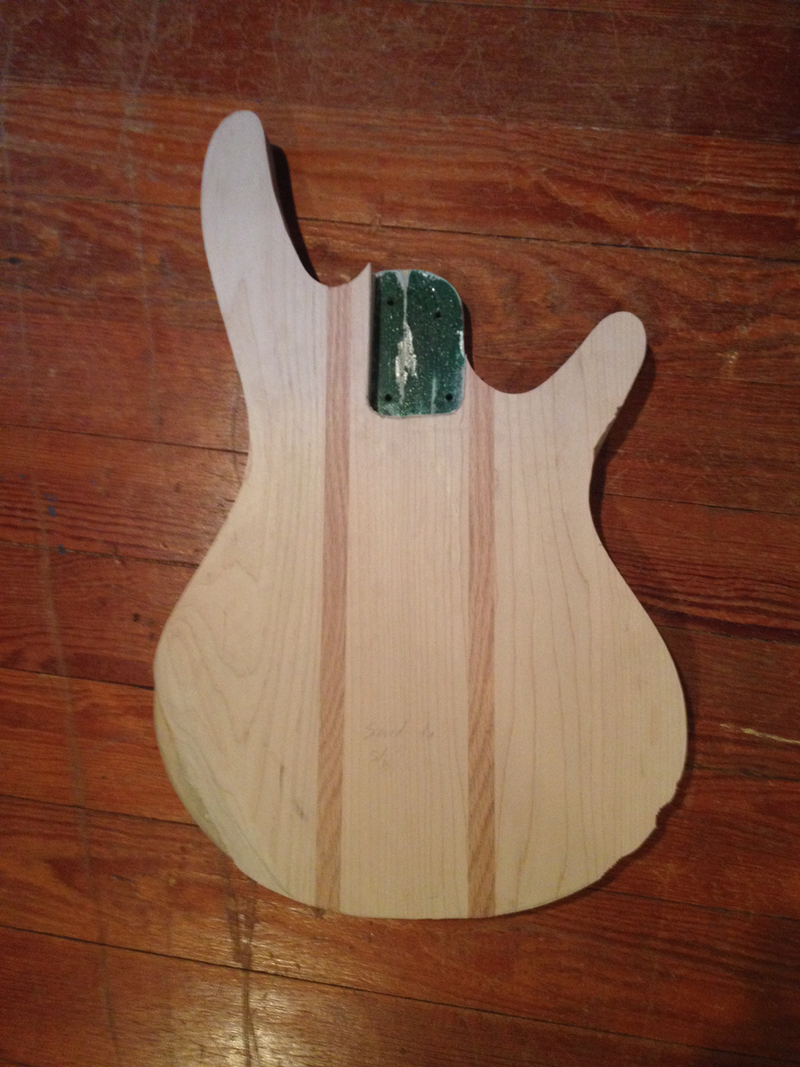
It's made up of 3 pieces of maple with red oak stripes.
This was planed and sanded down then rough cut with a jigsaw. (The shop bandsaw had too big a blade to get the fine cuts done.)
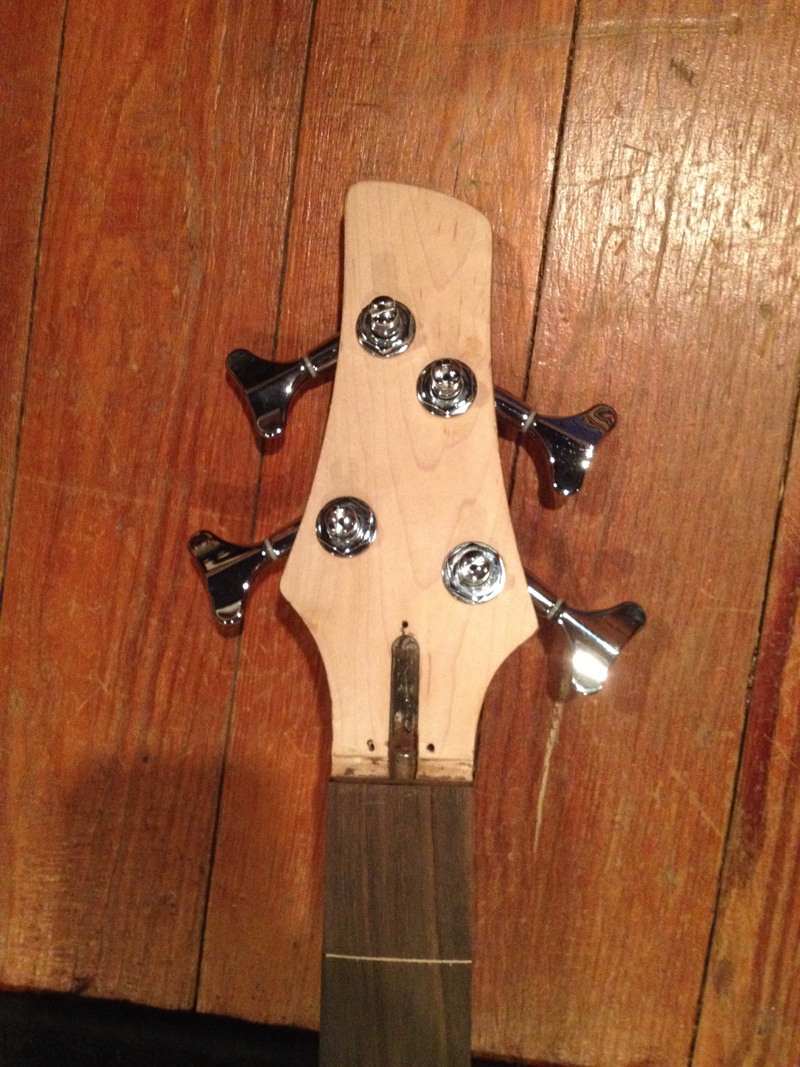
I used a heat gun to take off the paint/logo from the headstock. I also angled the tuners to based off of Warwick.
Using a soldering iron and various prying tools I removed the fret wire. I filled them with a hardening, sandable wood putty. I'm still deciding what type of finish to use on the fingerboard. I'd like to get a good glossy look.
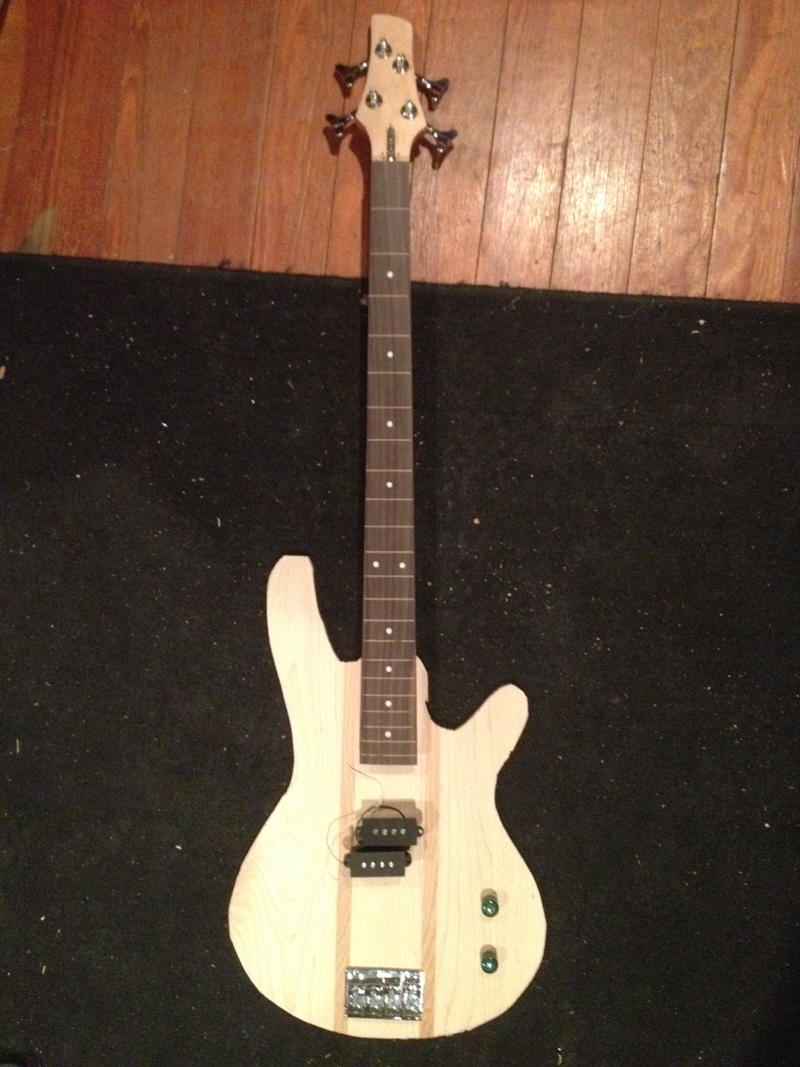
Here is the hardware/pickups laid out to get a preview of how it will look together.
The body still had some (forearm?)slope so the top hovered above it. Using a jigsaw at an angle to get most the meat off then a belt sander the help finish it off I began blending the top and body.
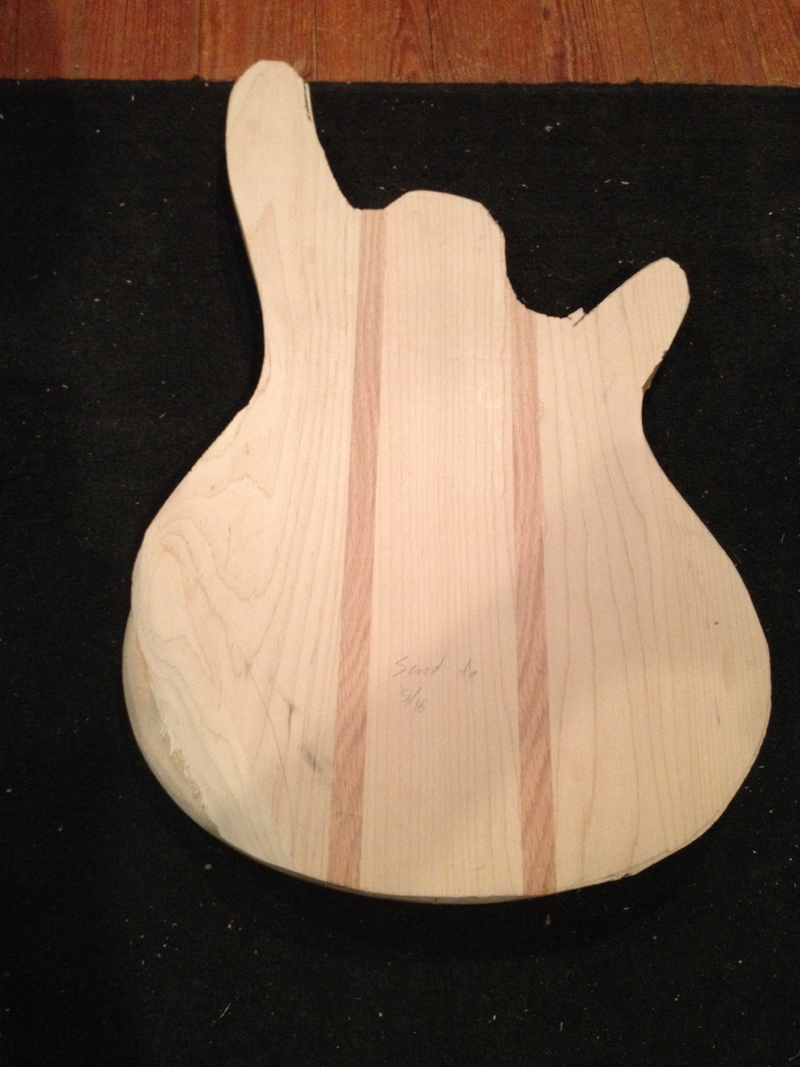
Next I cleaned up most the rough edges using a flush cutting router bit with a bearing. I had to freehand rout the neck pocket then cleanup with chisels. (I couldn't get a flush cutting bit to fist with a bearing. Poor planning with the top.)
After managing to get the bridge lined up and screwed on, I put and old set of strings on for fun and tested it out.
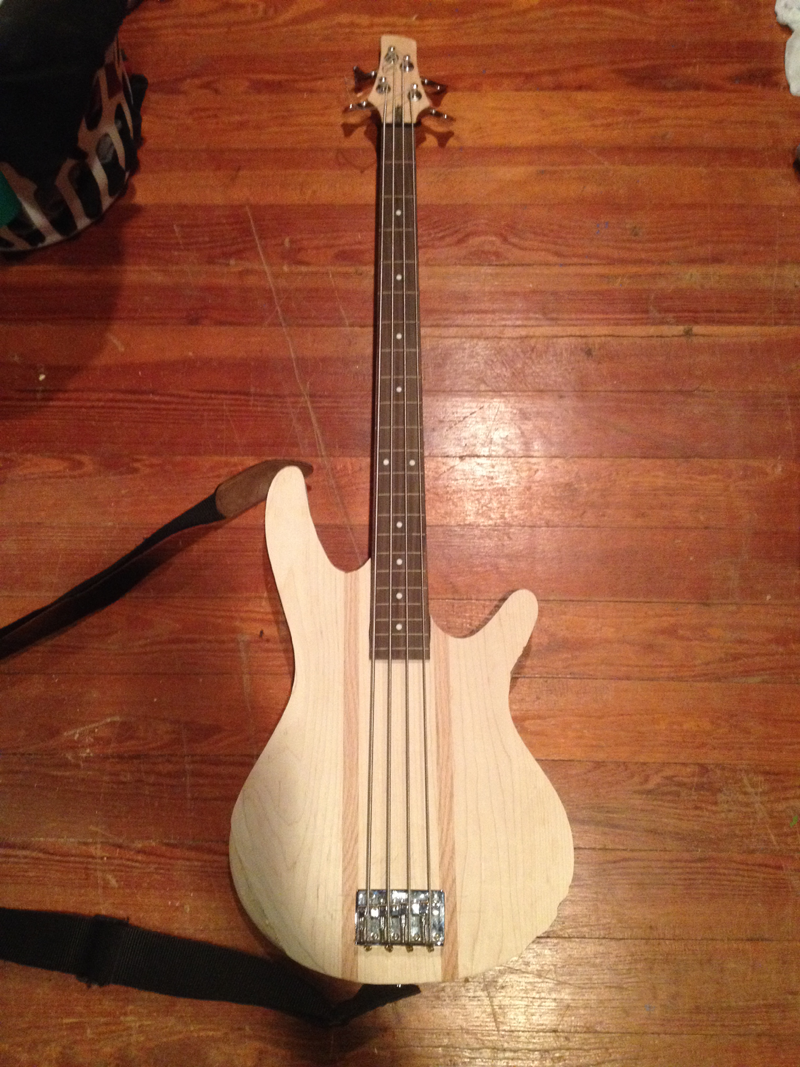
I still have a lot of shaping to do on the body to get it where I want it but I've made some good progress so far. And the best part... it hasn't cost me a thing!
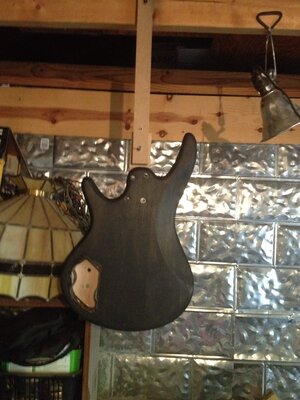
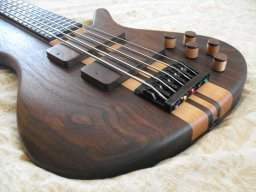
My next challenge is to rout for the pickups. Looking at it in the last pic, I thought it would be really cool if I could hide the pickups so it looks like that. But I don't think the pickups would pick-up (no pun intended) much through about 5/8 of wood. Thoughts?
I started sanding off the paint and eventually took the thickness down in a thickness sander.
Trying to keep cost down as much as possible, I waited to find the right pieces of scrap around the shop. Fortunately I managed to find enough wood to work!
It's made up of 3 pieces of maple with red oak stripes.
This was planed and sanded down then rough cut with a jigsaw. (The shop bandsaw had too big a blade to get the fine cuts done.)
I used a heat gun to take off the paint/logo from the headstock. I also angled the tuners to based off of Warwick.
Using a soldering iron and various prying tools I removed the fret wire. I filled them with a hardening, sandable wood putty. I'm still deciding what type of finish to use on the fingerboard. I'd like to get a good glossy look.
Here is the hardware/pickups laid out to get a preview of how it will look together.
The body still had some (forearm?)slope so the top hovered above it. Using a jigsaw at an angle to get most the meat off then a belt sander the help finish it off I began blending the top and body.
Next I cleaned up most the rough edges using a flush cutting router bit with a bearing. I had to freehand rout the neck pocket then cleanup with chisels. (I couldn't get a flush cutting bit to fist with a bearing. Poor planning with the top.)
After managing to get the bridge lined up and screwed on, I put and old set of strings on for fun and tested it out.
I still have a lot of shaping to do on the body to get it where I want it but I've made some good progress so far. And the best part... it hasn't cost me a thing!
My next challenge is to rout for the pickups. Looking at it in the last pic, I thought it would be really cool if I could hide the pickups so it looks like that. But I don't think the pickups would pick-up (no pun intended) much through about 5/8 of wood. Thoughts?