
• TalkBass has been independent since 1998. Add your voice.
    Create a free account to reply to discussions, view embedded media, and browse with fewer display ads.
    Join freeLog in
    Want zero display ads or expanded classifieds tools? Compare plans.

First Kit Build: Pit Bull EX-5

Hello fellow TB'ers. I noticed when searching that there is a lack of information about the Pit Bull Guitars kits. I found a few threads, but not many. I figured I would add my build experience-in-progress to the mix. I will update as I make progress.

I have always wanted an Explorer styled 5 string bass. I could never find one except custom-built but these are too expensive. I play mostly alone as a way to de-stress, but occasionally with a guitar or drummer friend: nothing that creates income to justify a large expense. So when I found the Pit Bull Guitars kits, I knew I had finally found what I was looking for.

The EX-5 Kit was roughly $220 shipped. I found a steal of a deal on Reverb for a set of EMG 40HZ pickups for $70. I have the tools I will need already, so I am under $300 invested in this bass. Seems like a go so far.

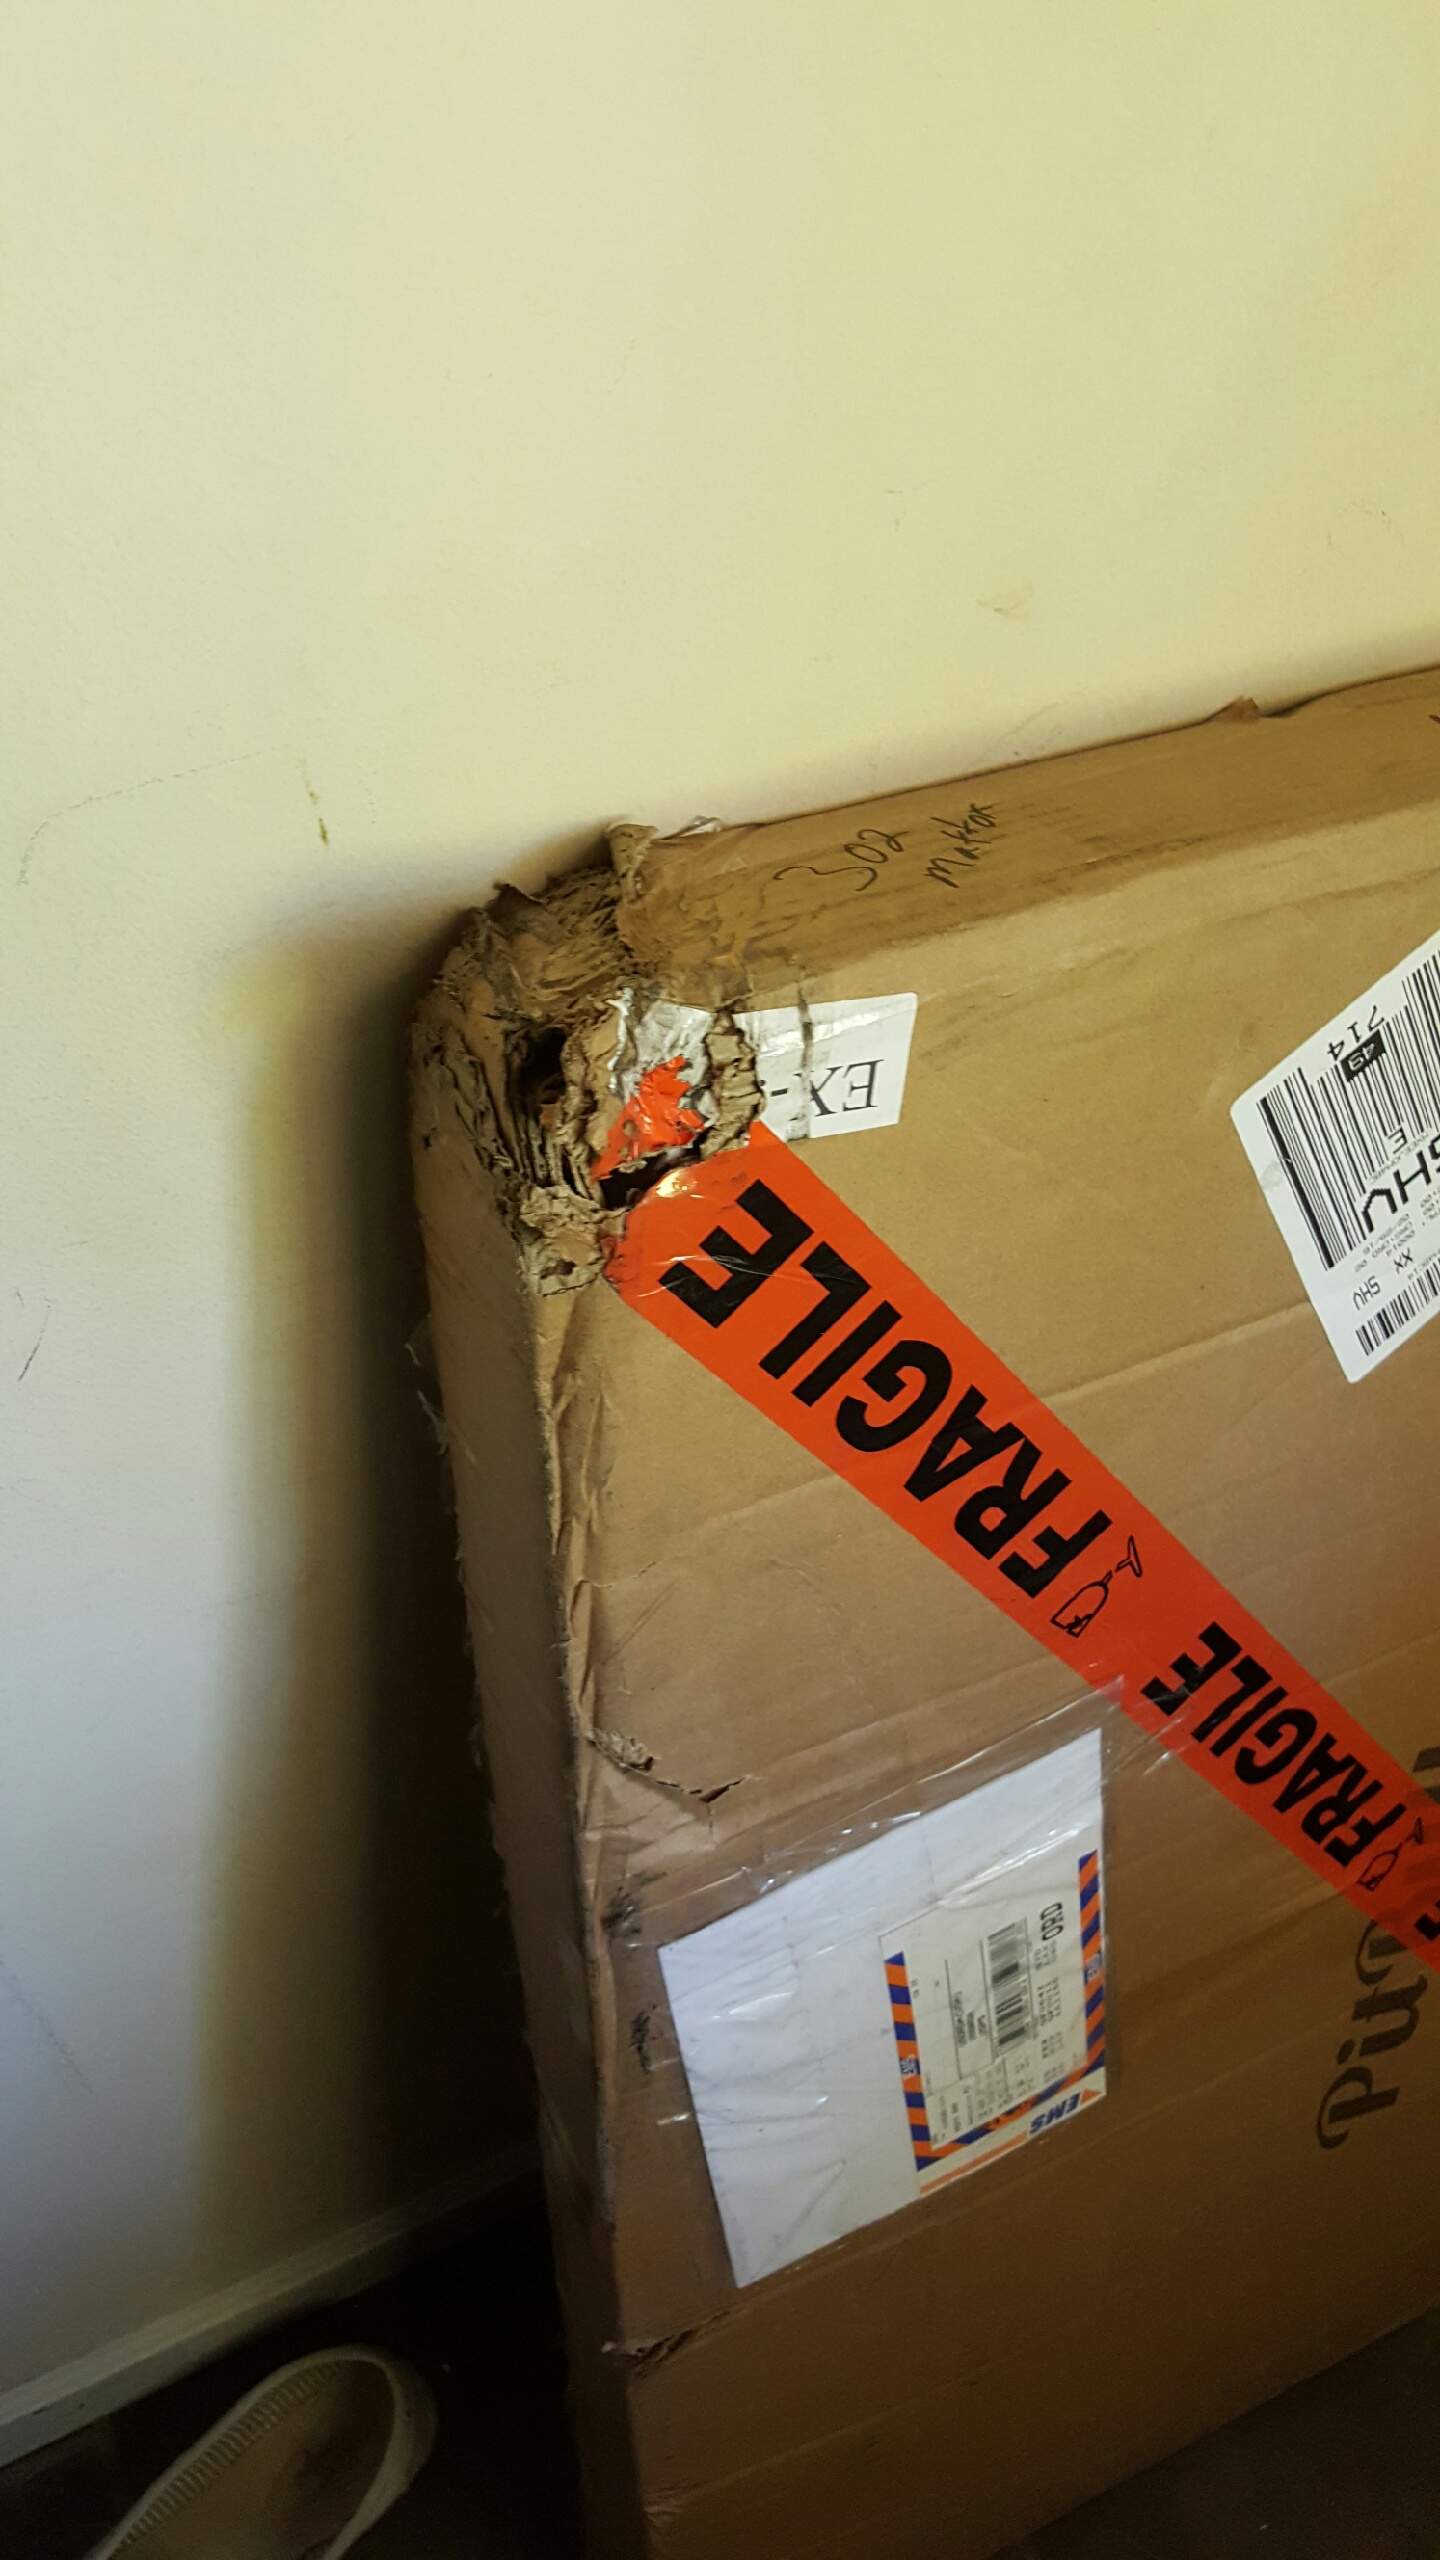
It only took seven days from the time I ordered to reach the house. Not bad considering I can barely get that kind of shipping speed from people in the US. However, the package looks like someone decided to drag it behind the delivery truck:

20160302_095220.jpeg

20160302_095528.jpeg
 
Last edited:
  • Like
Reactions: SunnBass
Unboxed:

20160302_173005.jpg


First impressions:

The body and neck seem pretty nice. The routes and holes seem to be even and in the proper places with two exceptions: the neck bolt holes and the bridge grounding tunnel. I placed the neck plate in place and the holes are not aligned completely even with the plate. There is a slight lump around where the hole was drilled for the bridge grounding wire. Neither of these problems is a deal breaker, and they should all even out with some work.

The nut was detached when the kit arrived, and I originally thought it had become lost in shipping. I later found it in the packing material around the neck. Its obvious that it became unglued, but that was a simple fix.

The hardware feels extremely light, especially the tuners. I am used to the larger clover-leaf shaped tuners like on my Squier VM Jag V and my Peavey Foundation 5, so this may just be a lack of familiarity with the equipment. However, its finished in black and already scratched/chipping in places. It seems like it will work for now, but I will likely replace it at some point in the future.

There was quite a bit of padding paper throughout the package. I believe it was well packed, especially considering the damage to the box. Everything looks undamaged (excluding the nut) and I am excited about starting the kit, hopefully this weekend.
 
Thanks for posting, lots of interest in these kits. I went feet-first on a from scratch build, probably not the best idea for a beginner. How are the frets? Been pondering one of the Ric style kits for a while as a beater/test bed.

The frets seem fairly nice. I noticed the 22nd fret is scratched up a bit, but the others seem okay. They aren't super bright and shiny like I have seen on some basses, but they look solid. The edges are not sharp. I have the neck taped up right now for finishing or I would take a picture.
 
  • Like
Reactions: GKon
I also built an Explorer 5 from Pit Bull. I just went with a simple flat white paint, and a flat clear finish. Oiled finish neck with black on front of headstock.
I did a little mod on the headstock... I rounded the end of the headstock to my liking.

*** you may want to glue in some toothpicks into every hole you will screw into, just to make all your screws solid. ***

004_zpsss3yjmyf.jpg


Pickup routes and control cavity are now shielded and pickups mounted since this photo. and I have to wire up the controls on it yet.
 
So weekend build progress. I apologize for the lack of pictures but I was in the building groove.

I decided to go ahead and pre-drill all the holes I would need. First I attached the neck without pre-drilling any holes... and I broke a screw:

20160303_165304.jpg

This was an unexpected setback. Luckily I was able to use vise grips to unscrew it from the neck. The local pawn shop/music store had replacement screws so I got lucky there as well. Unfortunately my drill slipped when I broke the screw and hit the body. So now I have a small indentation from the bit.

The neck attached firmly. The pocket was just wide enough to accept the neck without forcing it.

With the neck attached I decided to work with the tuning machines next. This was a fairly simple process. I put the machines in their holes, aligned them with a straight edge, and marked the places for their screws. I then removed them and drilled a hole for each.

Aligning the bridge was a challenge. I did not know how to approach it at first. I ended up marking the middle of the bridge on all four sides with a light pencil mark. I then measured the scale length of the bass (34") from the nut and made a mark on the body on both the left and right sides. I then connected these lines by drawing a light pencil mark across the body. I made a mark on the middle of the pickup route on both pickups and again connected them with a light mark across the body. I then aligned the marks on the bridge with the marks on the body. To ensure that this would give me the proper string spacing results I ran the B, A, and G strings through the bridge and nut and had my wife pull them tight while I held the bridge in place. The alignment looked good so I marked the holes for the screws and drilled a hole for each.
 
  • Like
Reactions: GKon
So weekend build progress. I apologize for the lack of pictures but I was in the building groove.

I decided to go ahead and pre-drill all the holes I would need. First I attached the neck without pre-drilling any holes... and I broke a screw:
This was an unexpected setback. Luckily I was able to use vise grips to unscrew it from the neck. The local pawn shop/music store had replacement screws so I got lucky there as well. Unfortunately my drill slipped when I broke the screw and hit the body. So now I have a small indentation from the bit.

The neck attached firmly. The pocket was just wide enough to accept the neck without forcing it.

With the neck attached I decided to work with the tuning machines next. This was a fairly simple process. I put the machines in their holes, aligned them with a straight edge, and marked the places for their screws. I then removed them and drilled a hole for each.

Aligning the bridge was a challenge. I did not know how to approach it at first. I ended up marking the middle of the bridge on all four sides with a light pencil mark. I then measured the scale length of the bass (34") from the nut and made a mark on the body on both the left and right sides. I then connected these lines by drawing a light pencil mark across the body. I made a mark on the middle of the pickup route on both pickups and again connected them with a light mark across the body. I then aligned the marks on the bridge with the marks on the body. To ensure that this would give me the proper string spacing results I ran the B, A, and G strings through the bridge and nut and had my wife pull them tight while I held the bridge in place. The alignment looked good so I marked the holes for the screws and drilled a hole for each.

reinforce all your screw holes... and put a little bar soap on your screws to make them go in easy.
Also... for any little dents or cracks you may find as you sand, and primer.. I used crazy glue to fill and then sanded back level.
 
Once the hardware was squared away I decided to go ahead and start the finishing process. I have read and re-read the reranch guide many times, and those steps are the ones I am using.

I taped up the fingerboard, nut, and truss rod hole with painter's tape. I then sanded down the body and neck with #220 sandpaper followed by #400. I thought they were fairly smooth before the sanding, but I could really tell the difference afterward. The body lacked any real blemishes (besides the one I created when the drill slipped) so the sanding process went smoothly. The "bump" at the bridge grounding wire tunnel I mentioned in an earlier post sanded out without issue. This area is now smooth and flat.

Since this is a basswood body and maple neck, I opted to forgo a grain filler and went straight to sanding sealer. I applied a coat to the body and neck, waited an hour, and applied another. I plan on sanding them today and applying two more coats per the ReRanch instructions. I used sanding sealer to fill the blemish I created:
20160306_155737.jpg


And a terrible shot of the neck:
20160306_155834.jpg
 
  • Like
Reactions: GKon and mbelue
Looks like you are making good progress. Only one note, if the neck pocket is a friction-fit now, it may be a little tight by the time you get some finish on the neck. The pocket can be masked, of course. What neck finish? Nitro clear satin?

I am actually going to finish the neck in the same black lacquer (Valspar) with a clear coat as the body. I had been considering this from the start but once I noticed the difference between the neck and the headstock wood it was finalized. I'll try to get a pic tonight to show what I am talking about: they are two very different pieces of wood.

The neck currently fits easily without any wobble. I am hoping that this will continue once I finish the neck.
 
The weather really put a wrench in my work, but I have managed to get the black coats on. First, a pic of the neck/headstock wood difference:
20160310_182532.jpg


And a pic after 3 days of 3 coats of Valspar black lacquer:
20160312_210449.jpg


I sanded it today, with 600/800/1000/1200/1500 grit sandpaper. Forgot to take pics. I'll post them tomorrow.
 
  • Like
Reactions: Duder