
Enjoy the benefits of a premium membership!
Upgrade Account
-
TalkBass has been independent since 1998. Add your voice.
Create a free account to reply to discussions, view embedded media, and browse with fewer display ads.
Join free Log in
Want zero display ads or expanded classifieds tools? Compare plans.
You are using an out of date browser. It may not display this or other websites correctly.
You should upgrade or use an alternative browser.
You should upgrade or use an alternative browser.
More options
Who Replied?

Tonight I had to kind of get my workspace in order, before this project begins.
Parts are arriving for this build, but the neck will take another week, so I’m changing gears.
Looking back at my first idea, I decided to fit the routing template to my experimental Spector/Vantage conversion mod.

I think, I’m going to do this project, along with my higher end Spector project. I have a few extra parts for this, so being that I paid nothing for the neck and body, and plan to use mostly spare parts, it should bring me a decent profit.
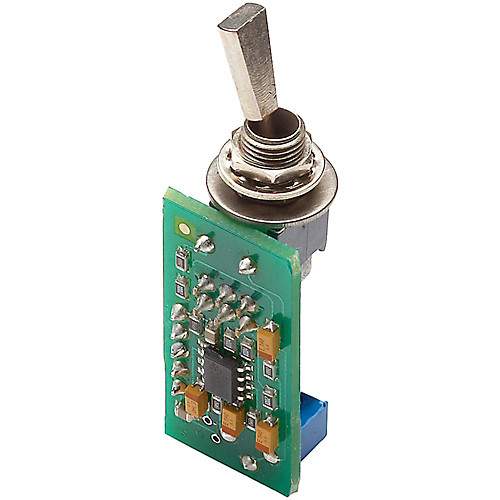
An awesome Talkbass member just sold me an EMG PA-2 for cheap. The neck-through project just got more fun!
Parts are arriving for this build, but the neck will take another week, so I’m changing gears.
Looking back at my first idea, I decided to fit the routing template to my experimental Spector/Vantage conversion mod.
I think, I’m going to do this project, along with my higher end Spector project. I have a few extra parts for this, so being that I paid nothing for the neck and body, and plan to use mostly spare parts, it should bring me a decent profit.
An awesome Talkbass member just sold me an EMG PA-2 for cheap. The neck-through project just got more fun!

Today I made some big moves with my experimental Spector reissue.
The band saw part was rather quick. I think it took 45 minutes to cut it out.

Tonight, I got the router fired up, and mostly finished her off.

Kinda cool that this body is 6 pieces

I have the small nook by the upper horn, tp route, as my bit is too wide. Stupidly, I left my small bits at my dad’s.
I was going to get cracking on the edge routing, but I really need to smooth the body out.
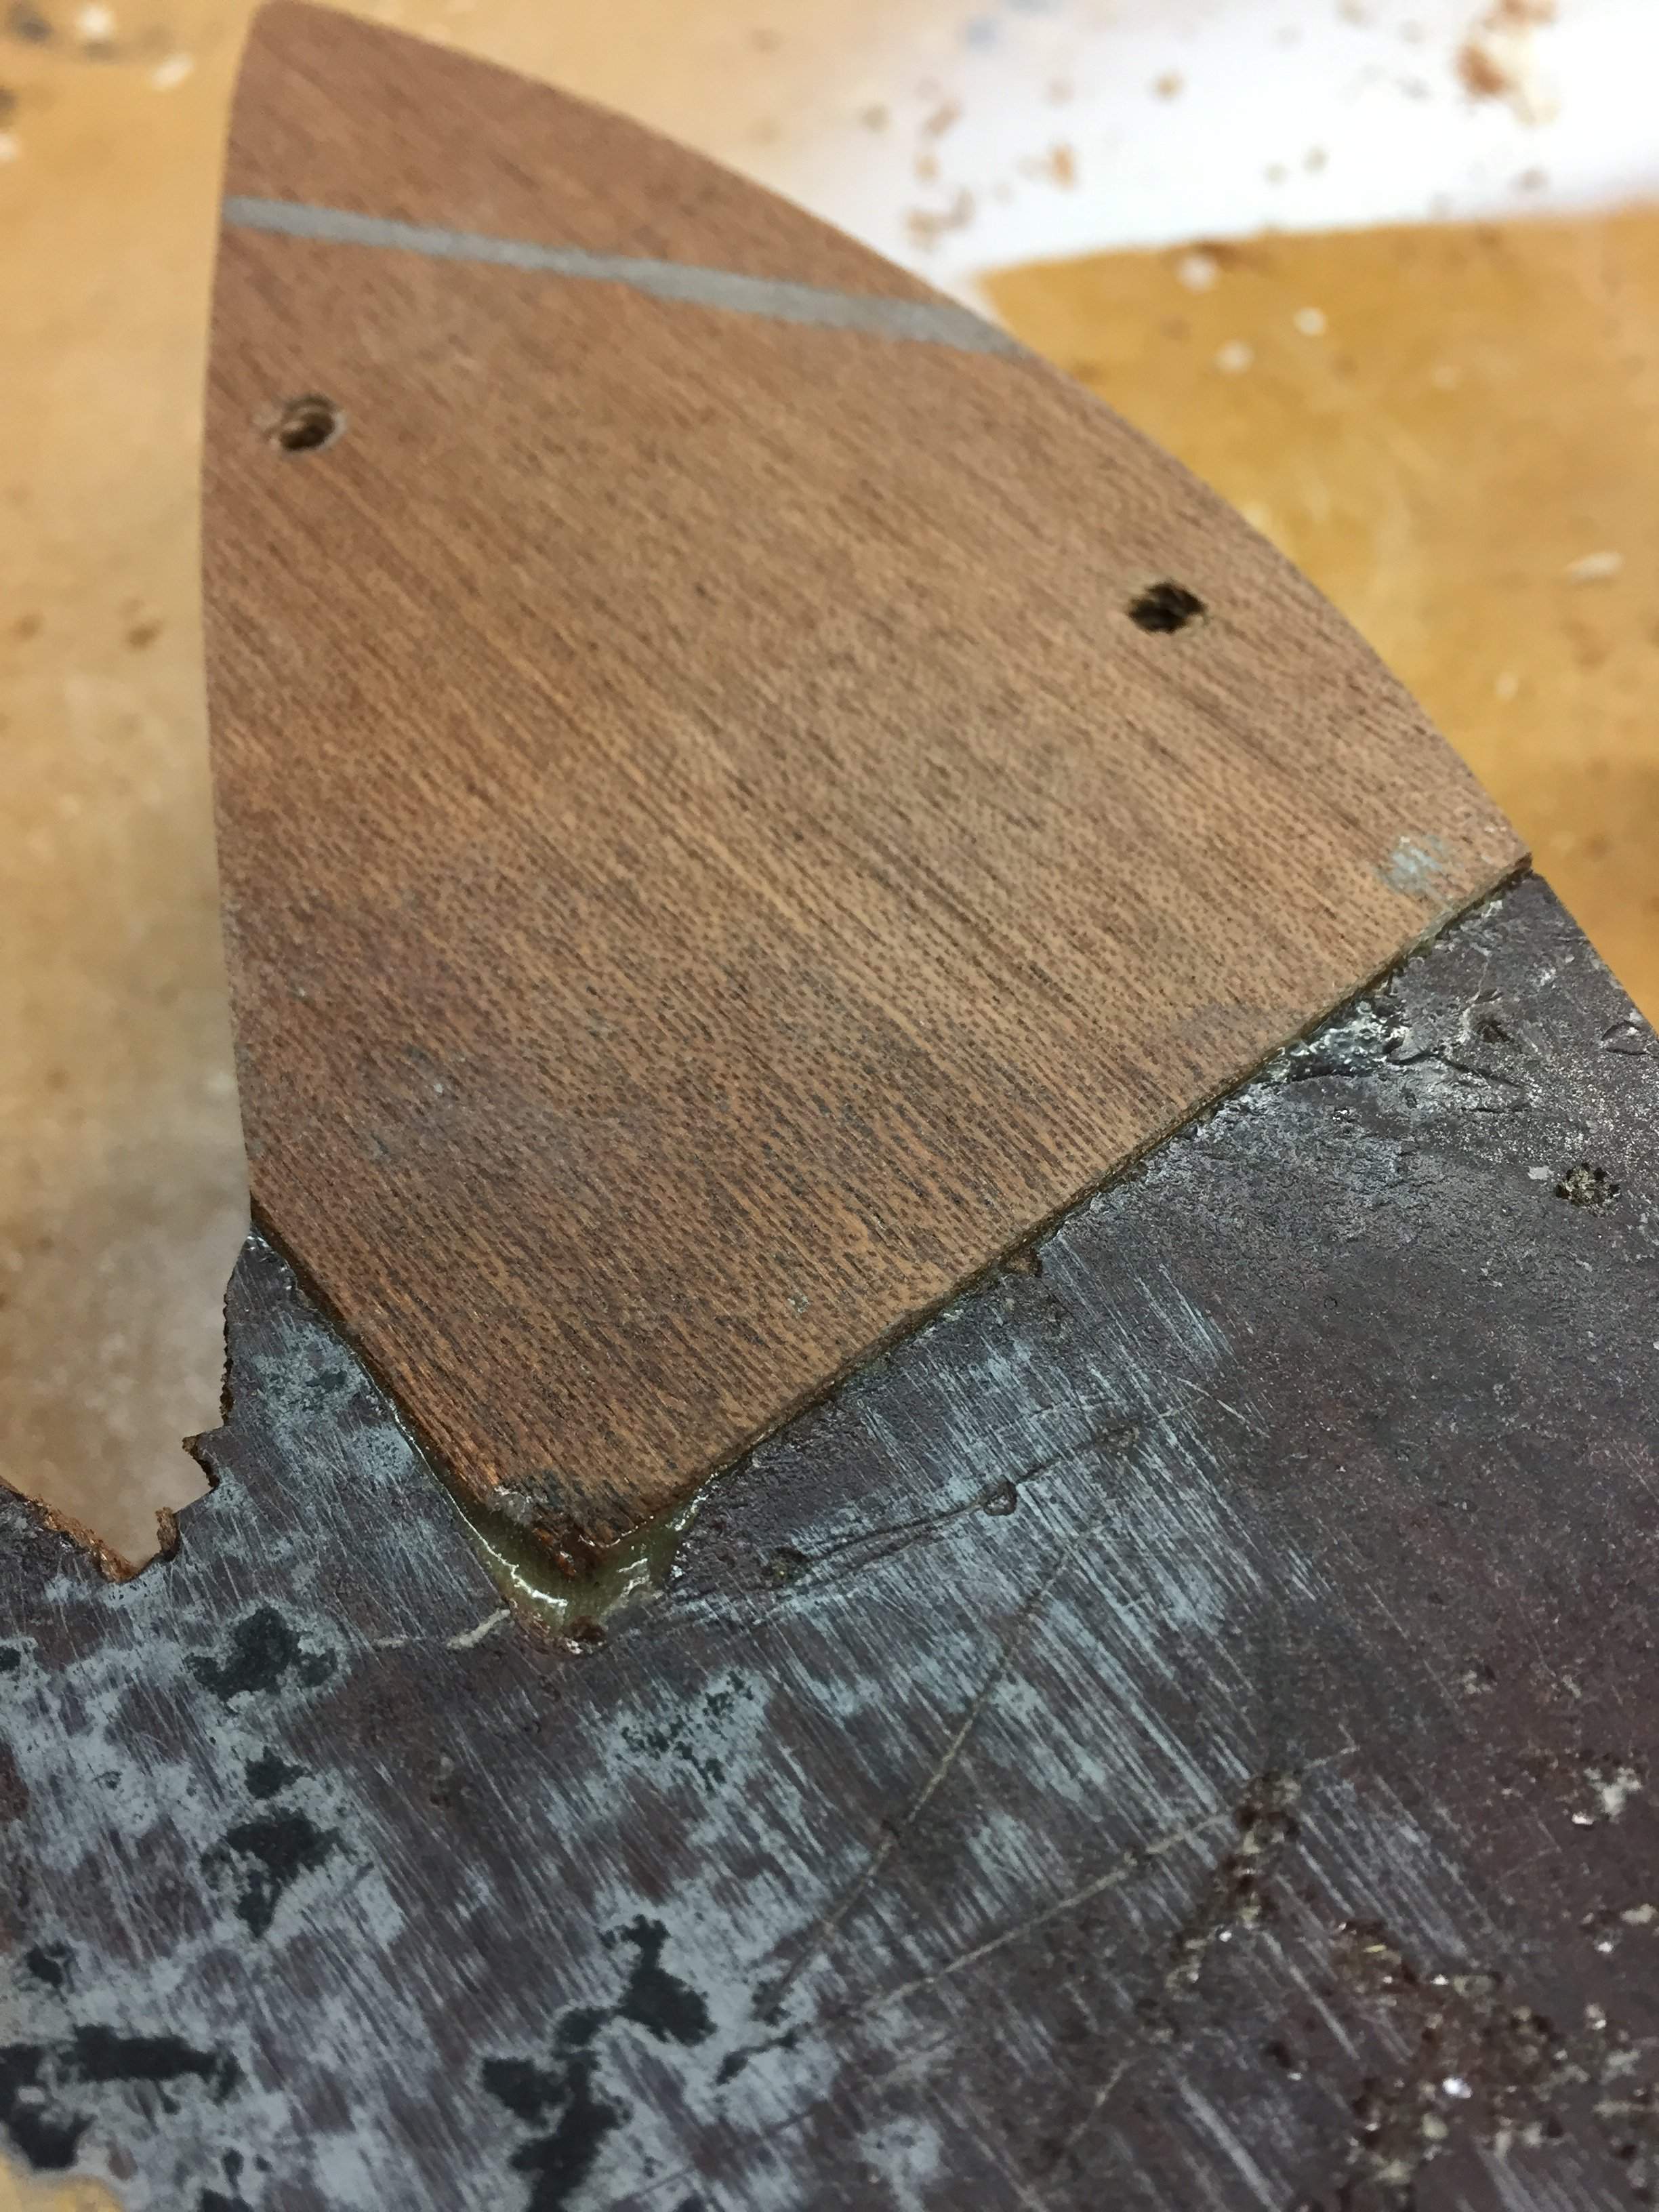
The band saw part was rather quick. I think it took 45 minutes to cut it out.
Tonight, I got the router fired up, and mostly finished her off.
Kinda cool that this body is 6 pieces
I have the small nook by the upper horn, tp route, as my bit is too wide. Stupidly, I left my small bits at my dad’s.
I was going to get cracking on the edge routing, but I really need to smooth the body out.
Tonight I finally got the template off, to see how it came out. Not bad

I also took the time to start some preliminary sanding, just to see how bad my joint was, and how hard it will be to remove the paint. 40 grit does quick work!

My joint turned out well. After sanding, you can’t even feel the transition.
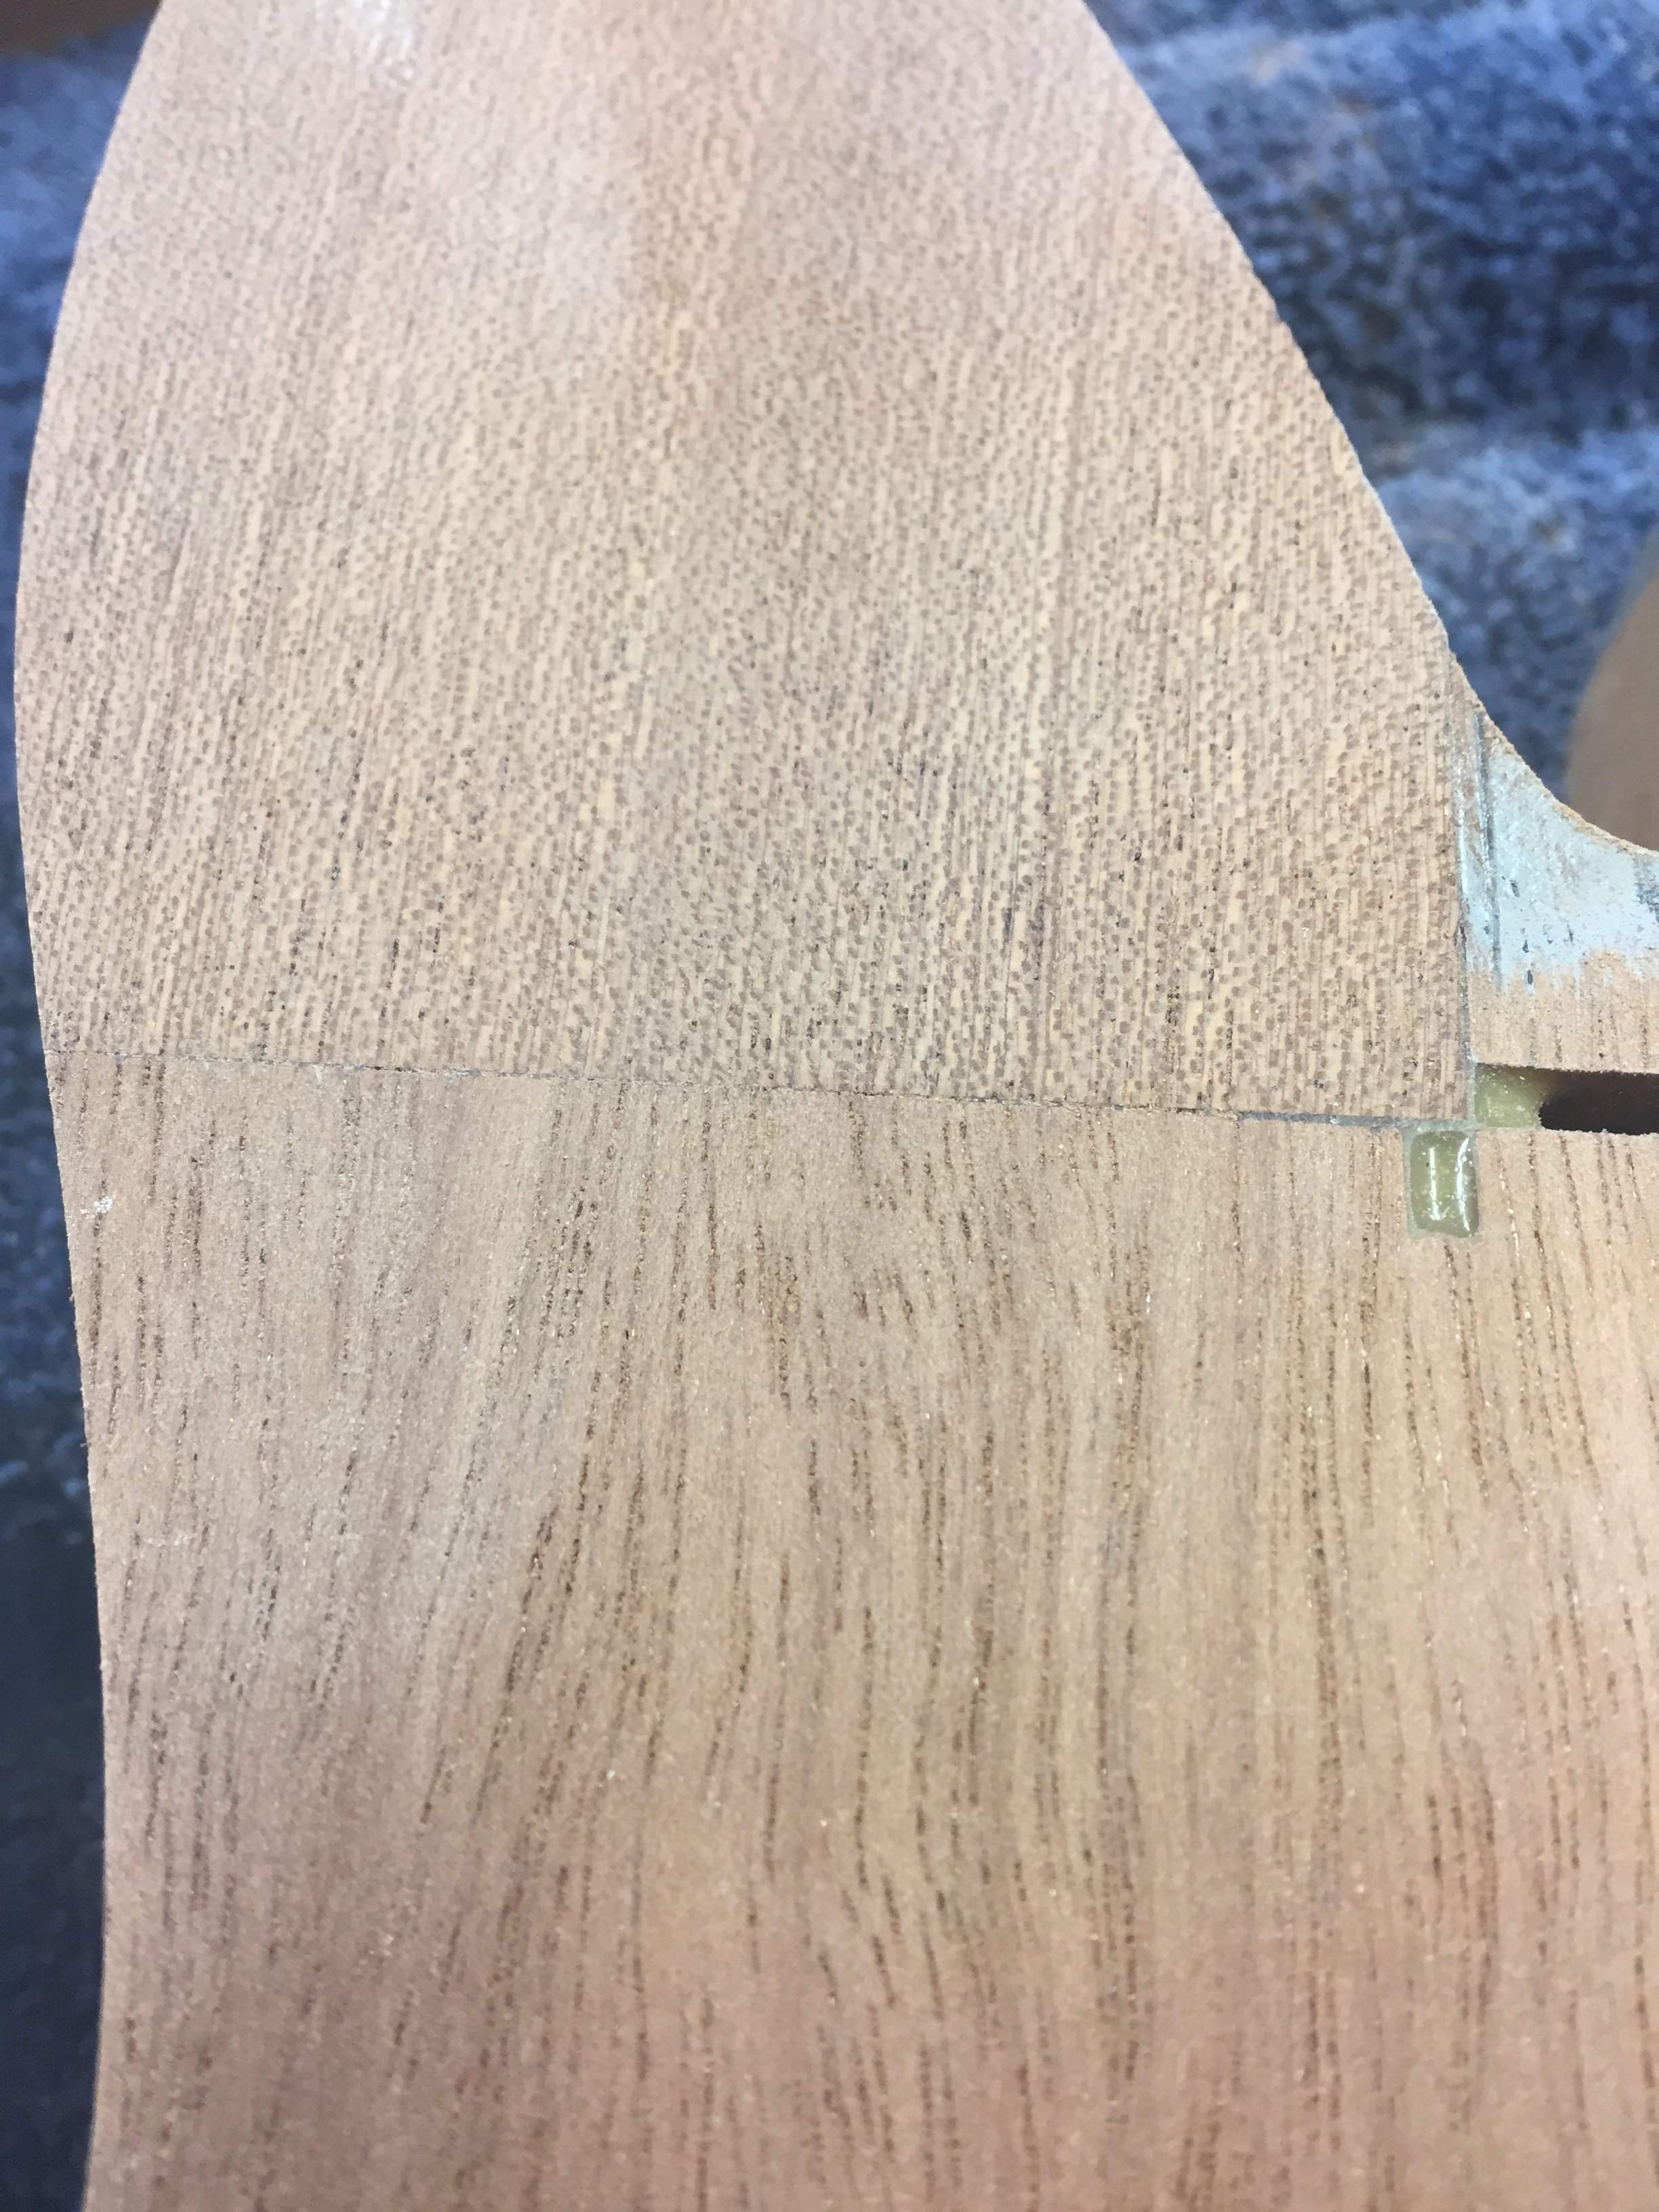
Ofcourse, I will have to address the saw marks with some epoxy love, but I’m having fun with this one!
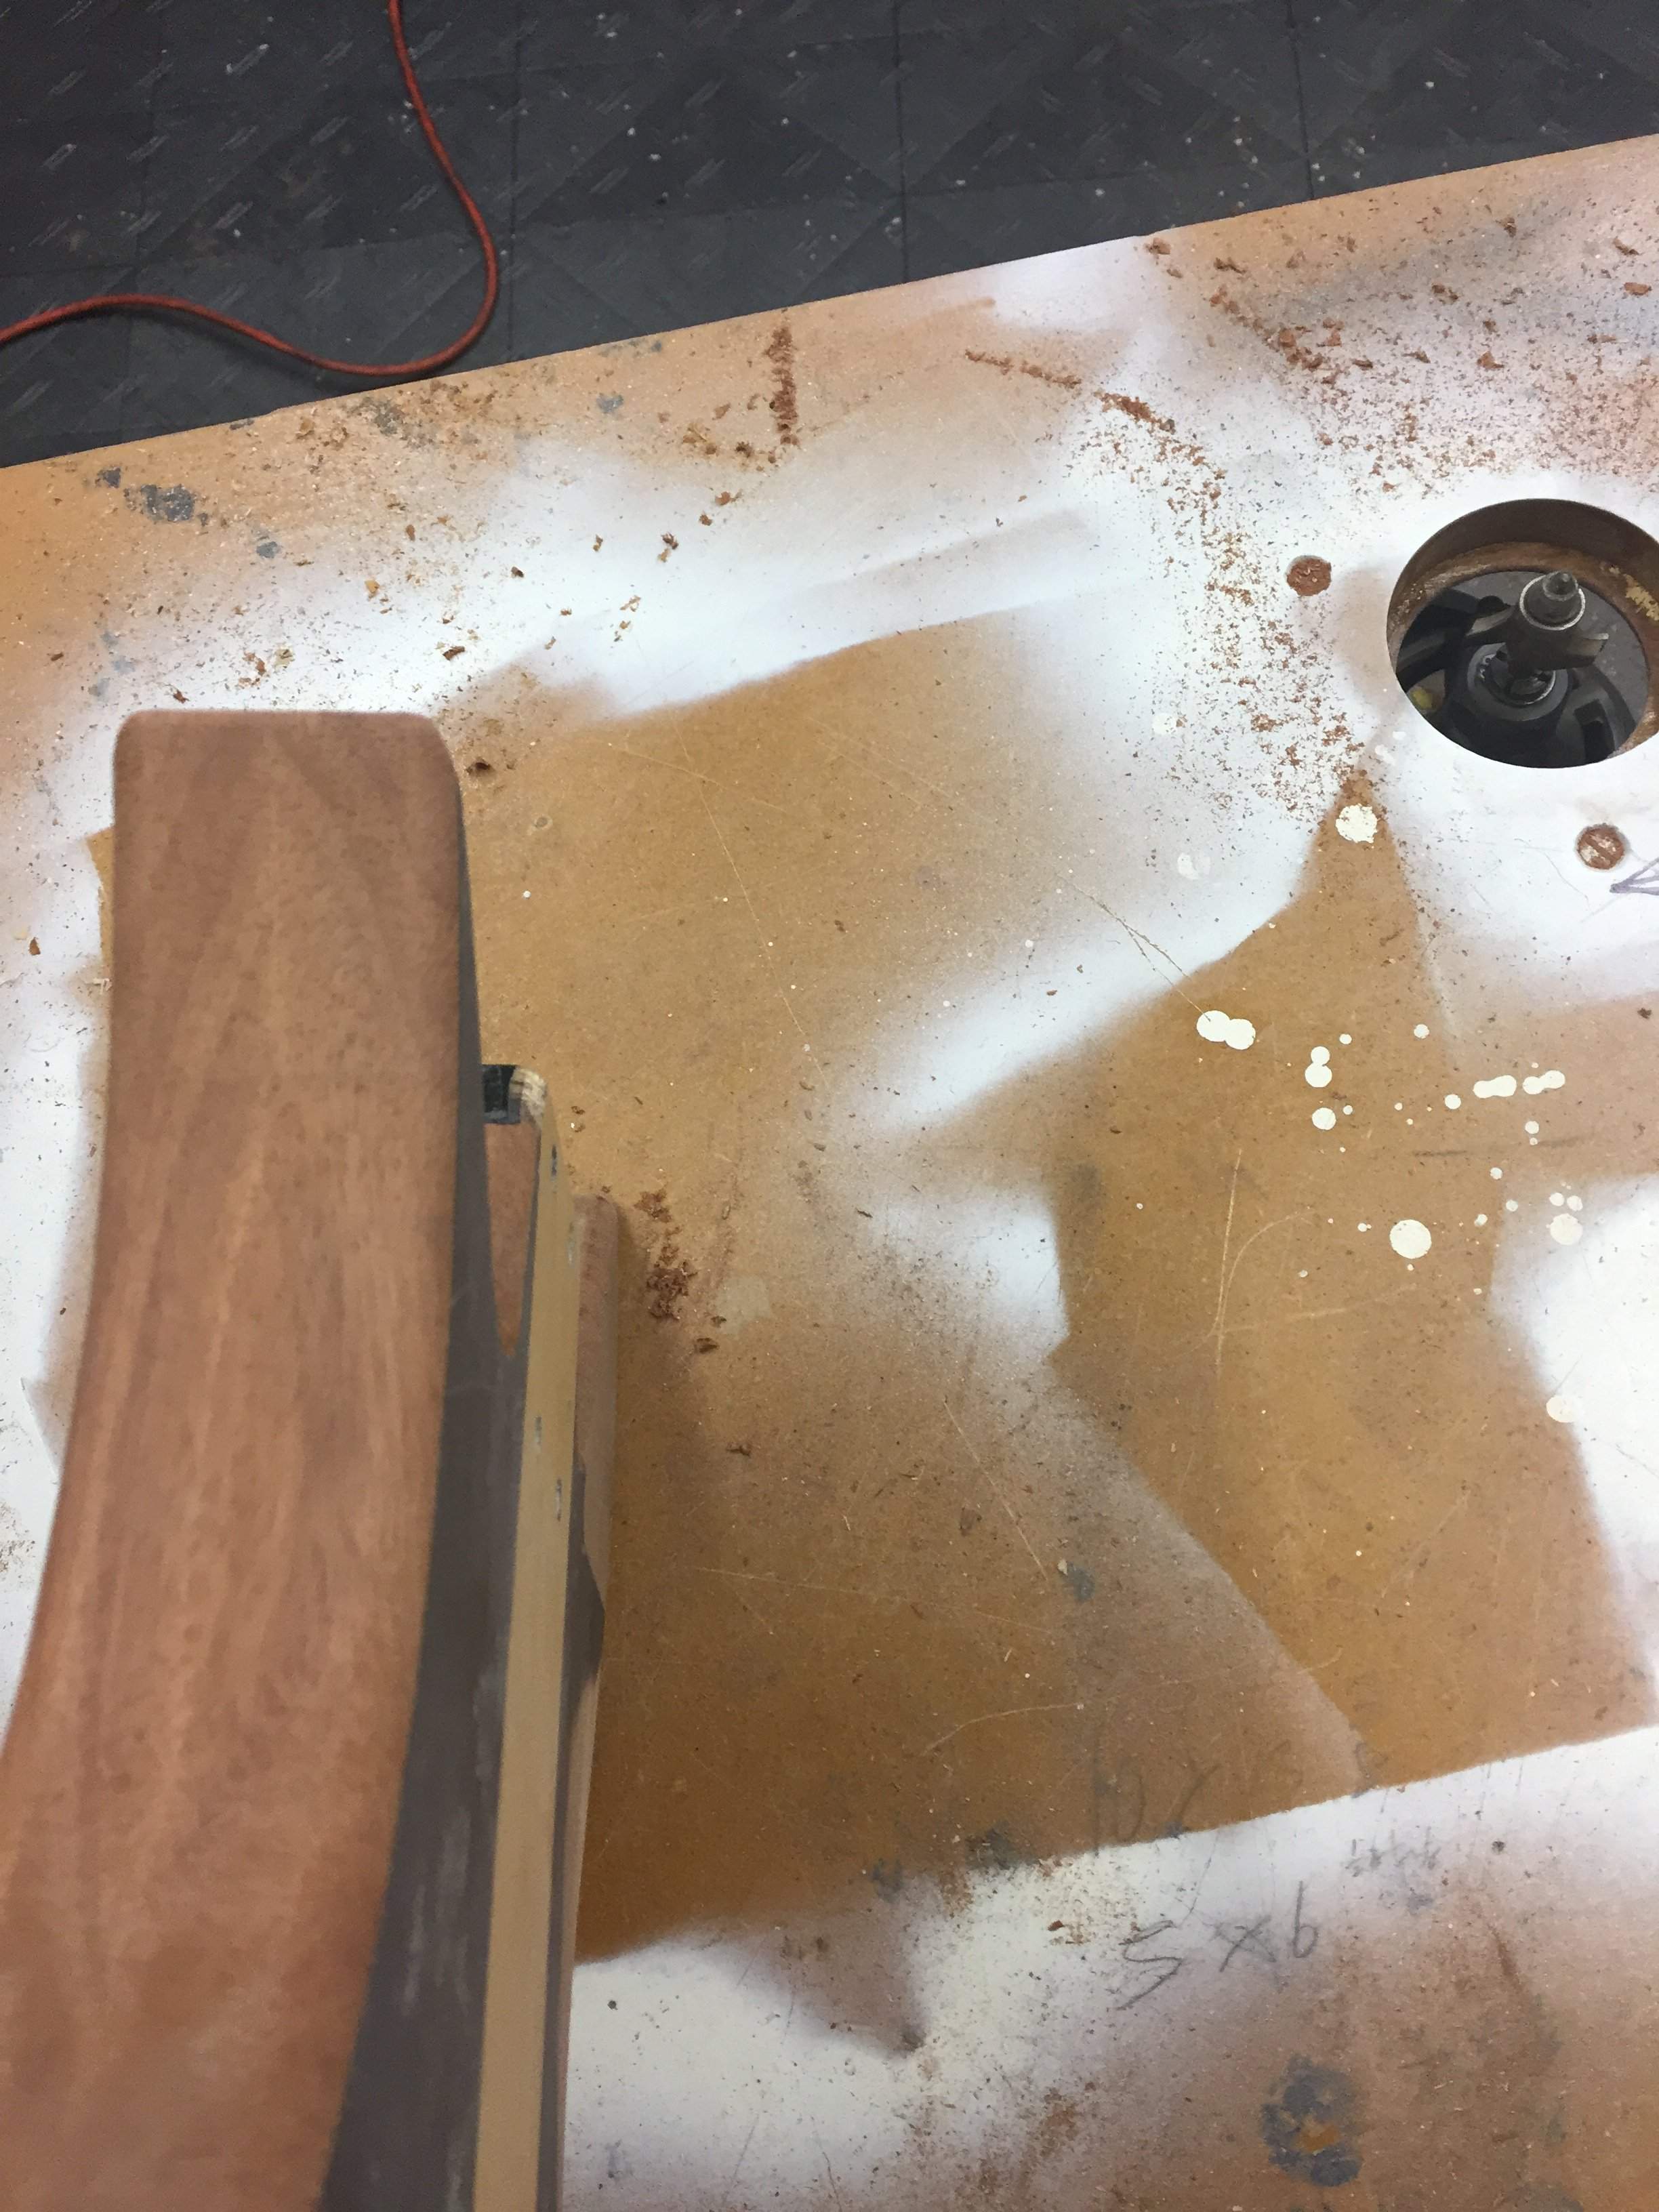
Lastly, I started rounding the edge with my router. I’m not sure if this is round enough.
What do you think?
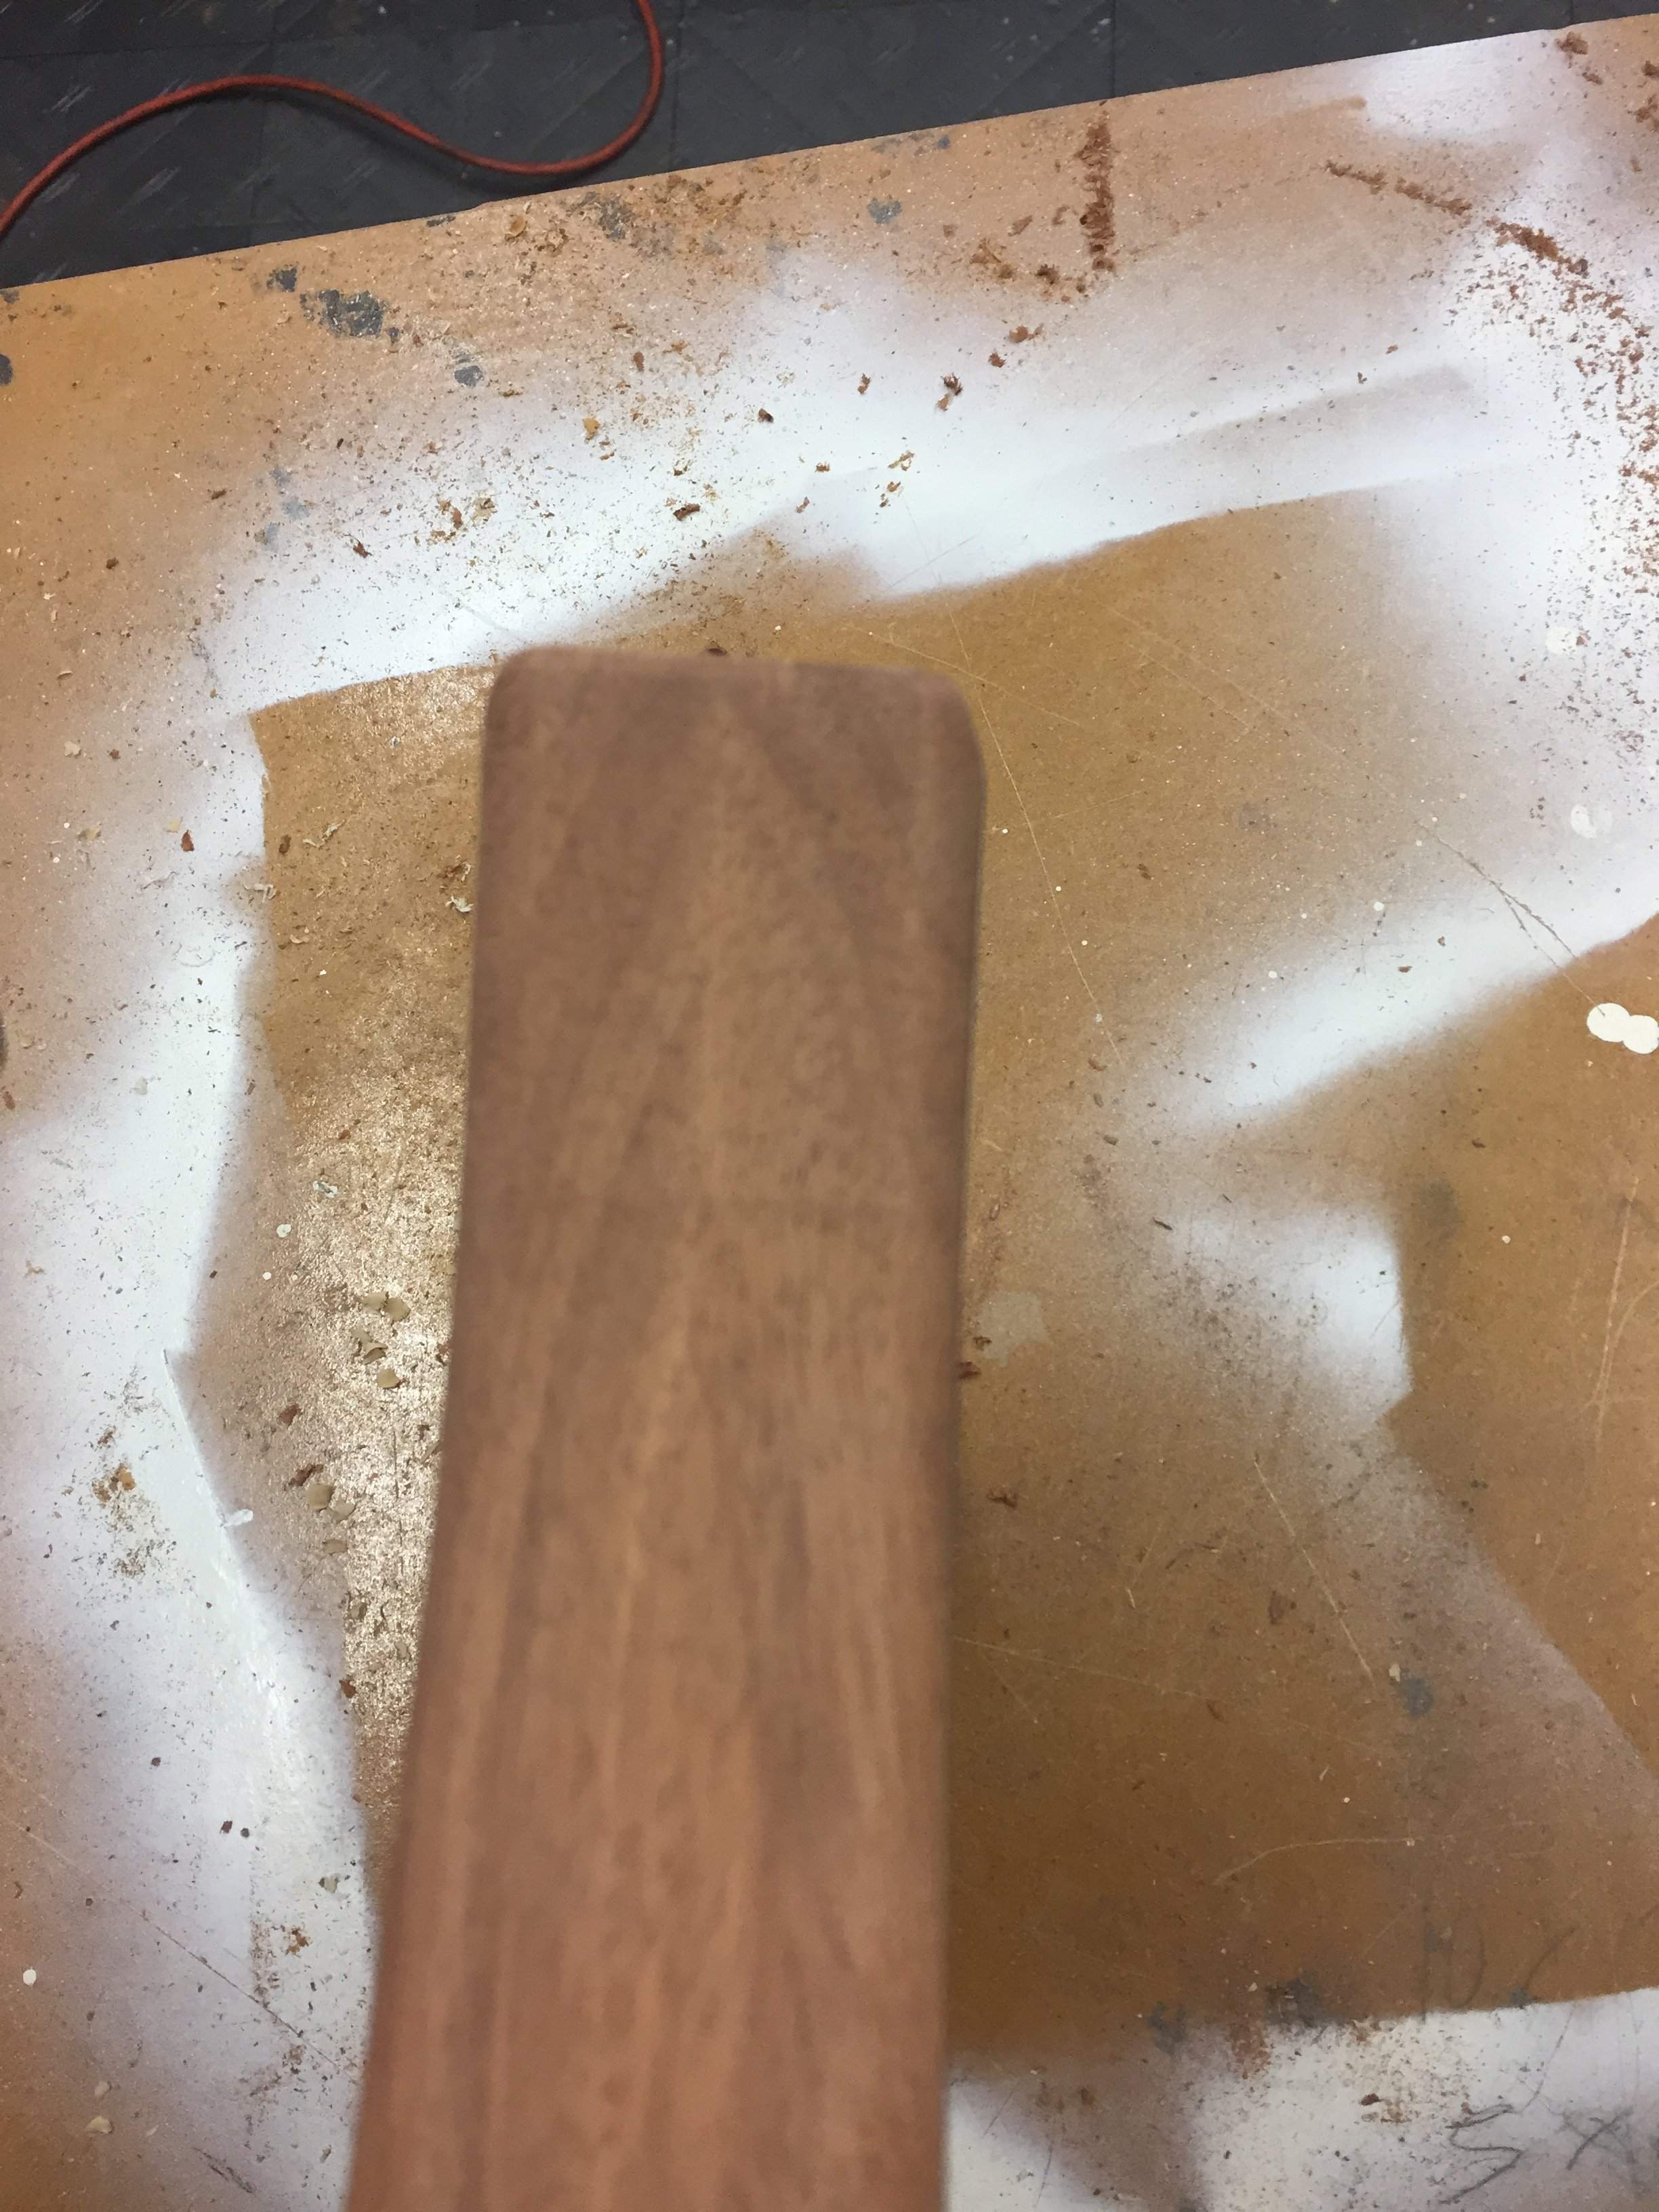


I also took the time to start some preliminary sanding, just to see how bad my joint was, and how hard it will be to remove the paint. 40 grit does quick work!
My joint turned out well. After sanding, you can’t even feel the transition.
Ofcourse, I will have to address the saw marks with some epoxy love, but I’m having fun with this one!
Lastly, I started rounding the edge with my router. I’m not sure if this is round enough.
What do you think?
I think I need to round the edges more.
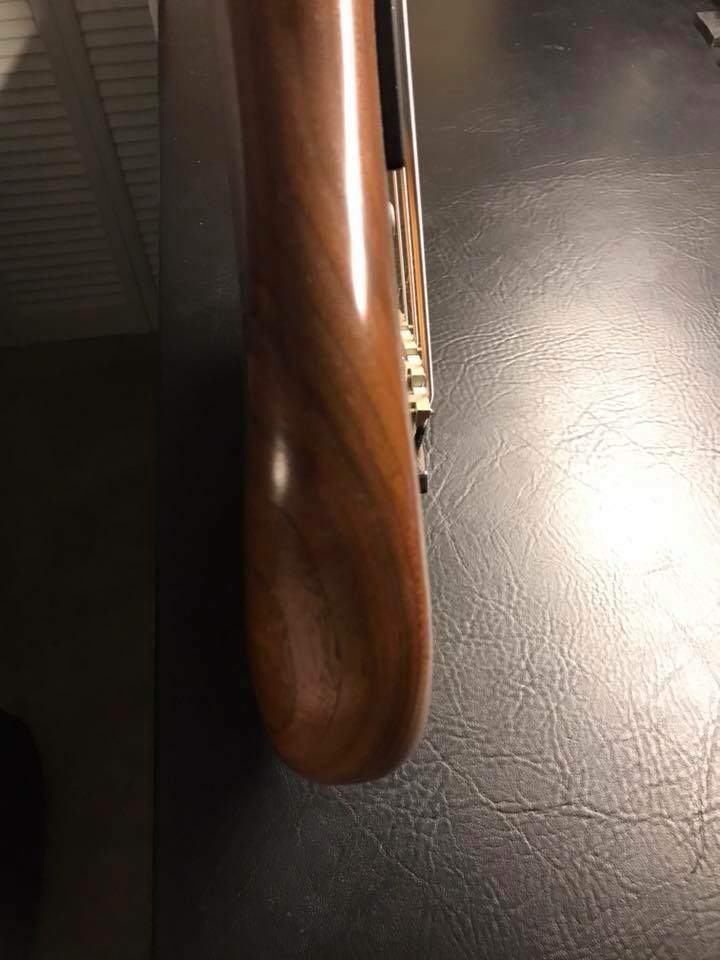
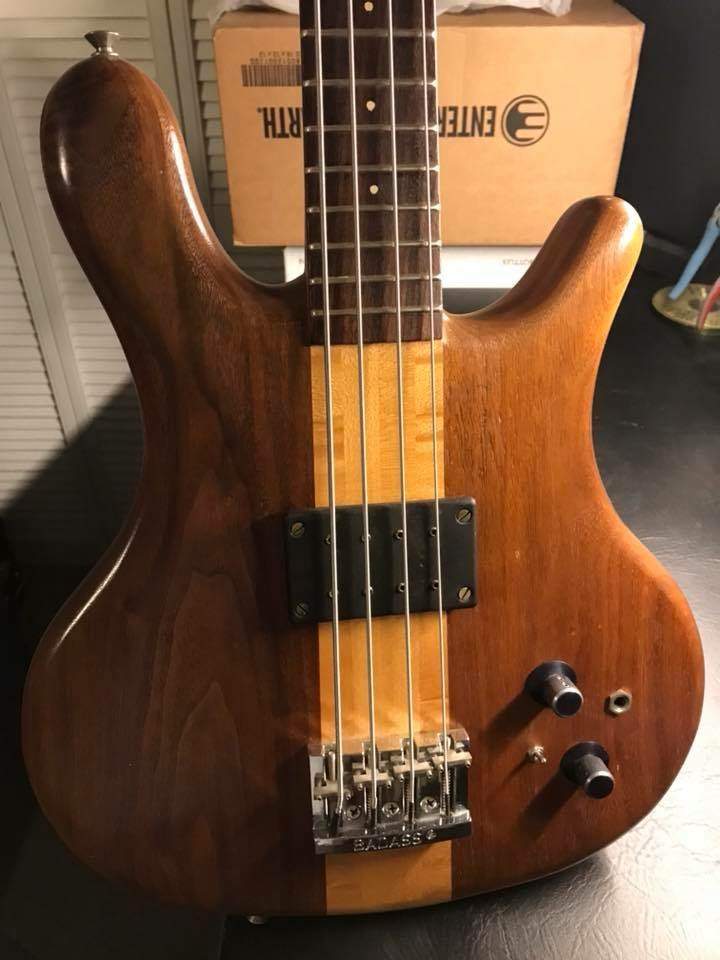
An interesting tidbit is how they manipulated the bridge to get the strings to travel over the pickup
An interesting tidbit is how they manipulated the bridge to get the strings to travel over the pickup
So tonight I added a more aggressive Rounder bit to my router. I needed rounder, and the bit delivered.
I still have a ton of sanding, but it’s much better.


I still have a ton of sanding, but it’s much better.

Personally, I like a sharper edge. That looks good to me.Tonight I finally got the template off, to see how it came out. Not bad
View attachment 2876182
I also took the time to start some preliminary sanding, just to see how bad my joint was, and how hard it will be to remove the paint. 40 grit does quick work!
View attachment 2876183
My joint turned out well. After sanding, you can’t even feel the transition.
View attachment 2876184
Ofcourse, I will have to address the saw marks with some epoxy love, but I’m having fun with this one!
Lastly, I started rounding the edge with my router. I’m not sure if this is round enough.
What do you think?
View attachment 2876185
View attachment 2876186
View attachment 2876187
View attachment 2876188
Tonight, I continued 40 grit sanding and shaping.
I also had to fill some holes in the cavity, and had to correct holes I drilled, for the controls and jack.
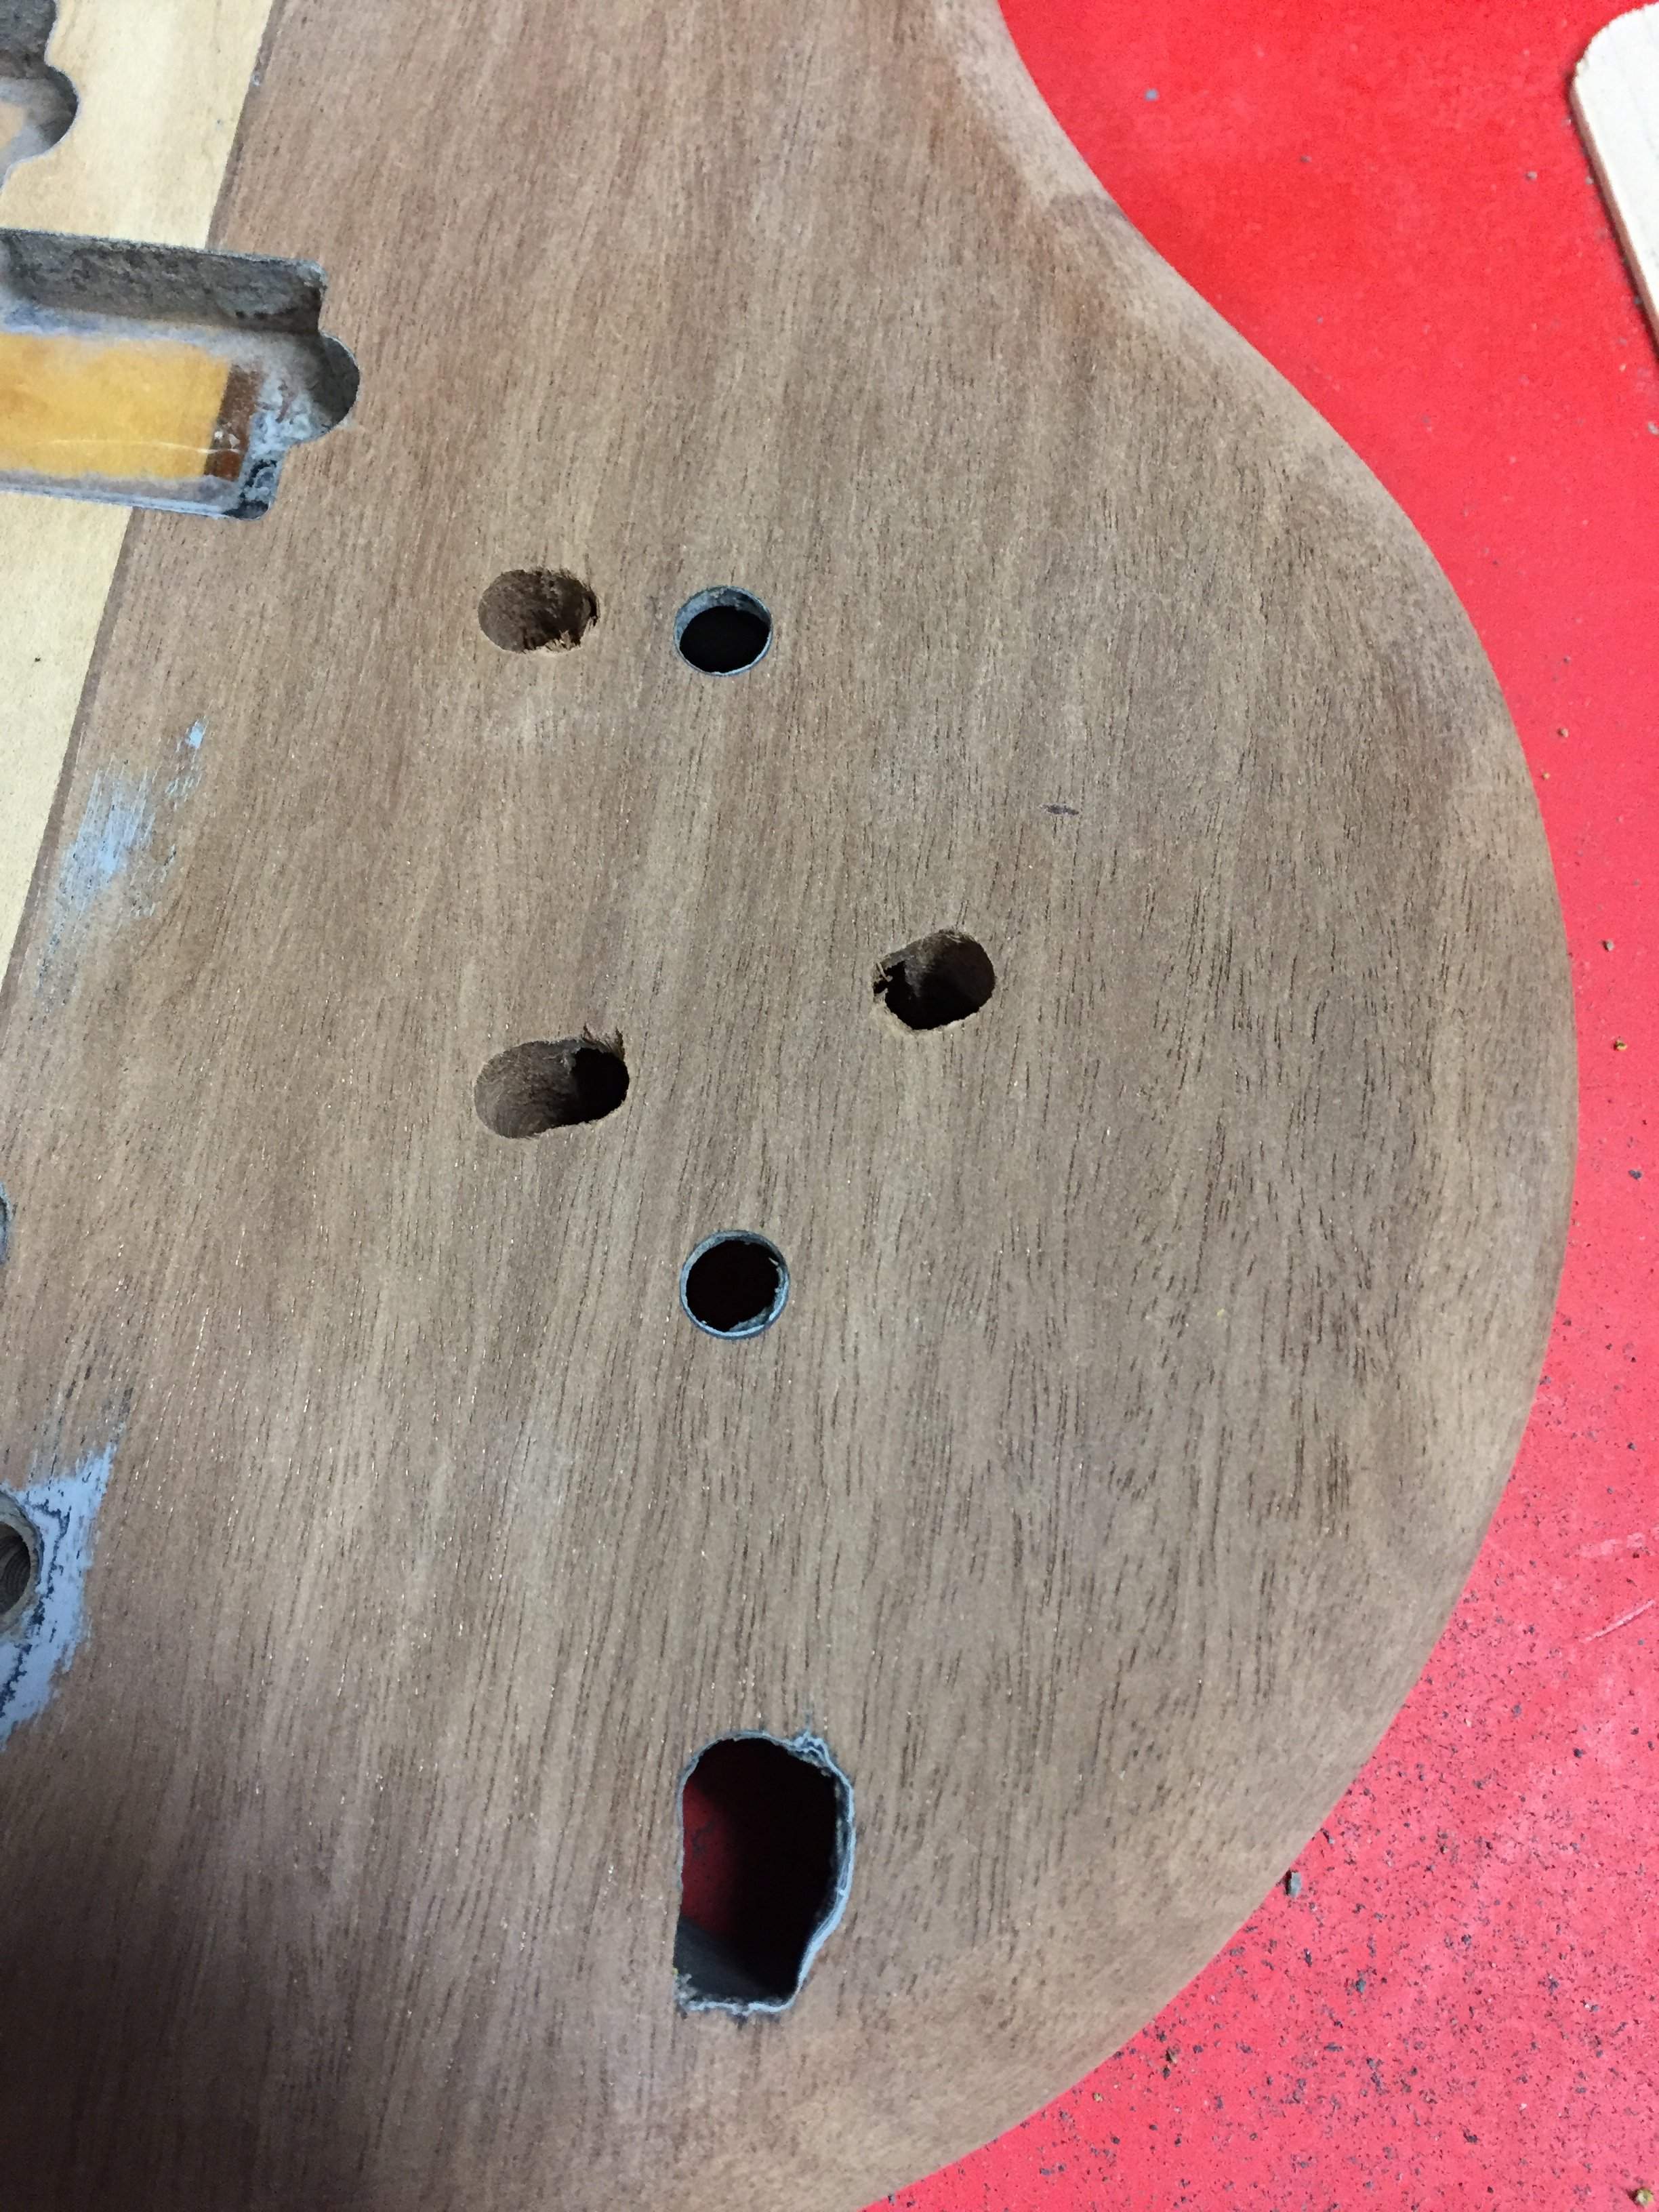
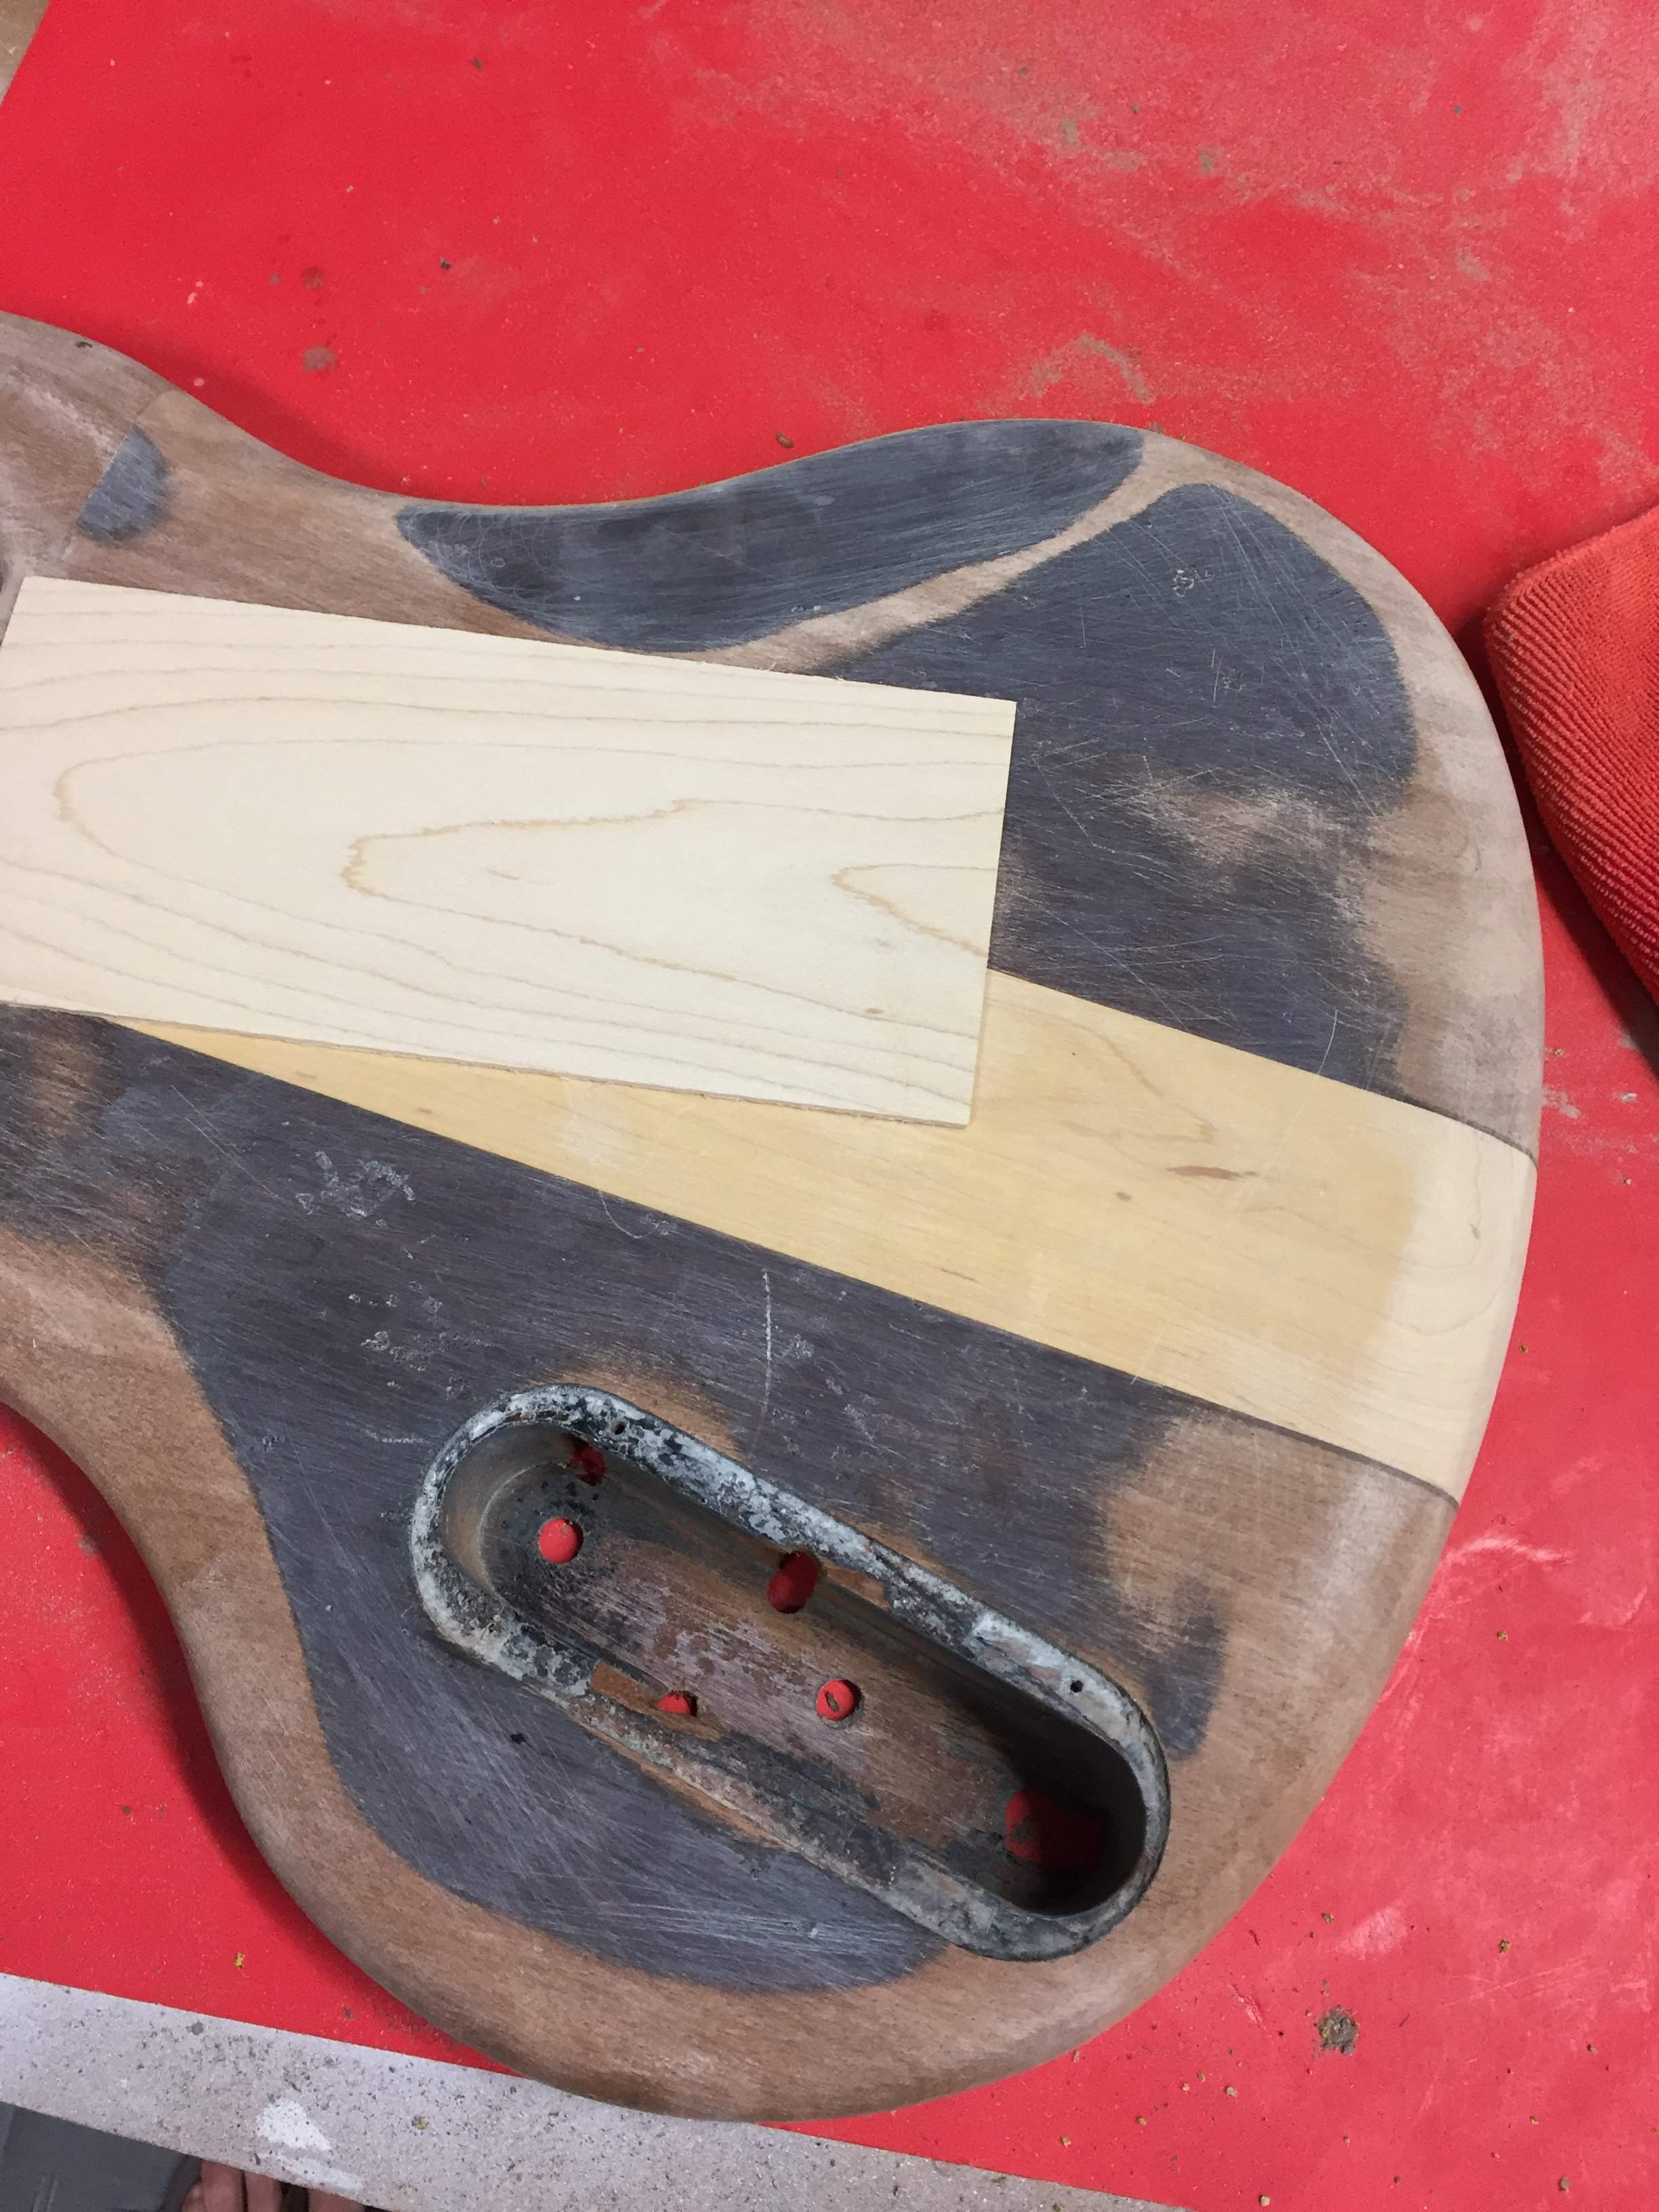
I created a maple “floor” that would be glued to the inside of the cavity.
My maple piece
A tape template is made

The wood is cut into shape
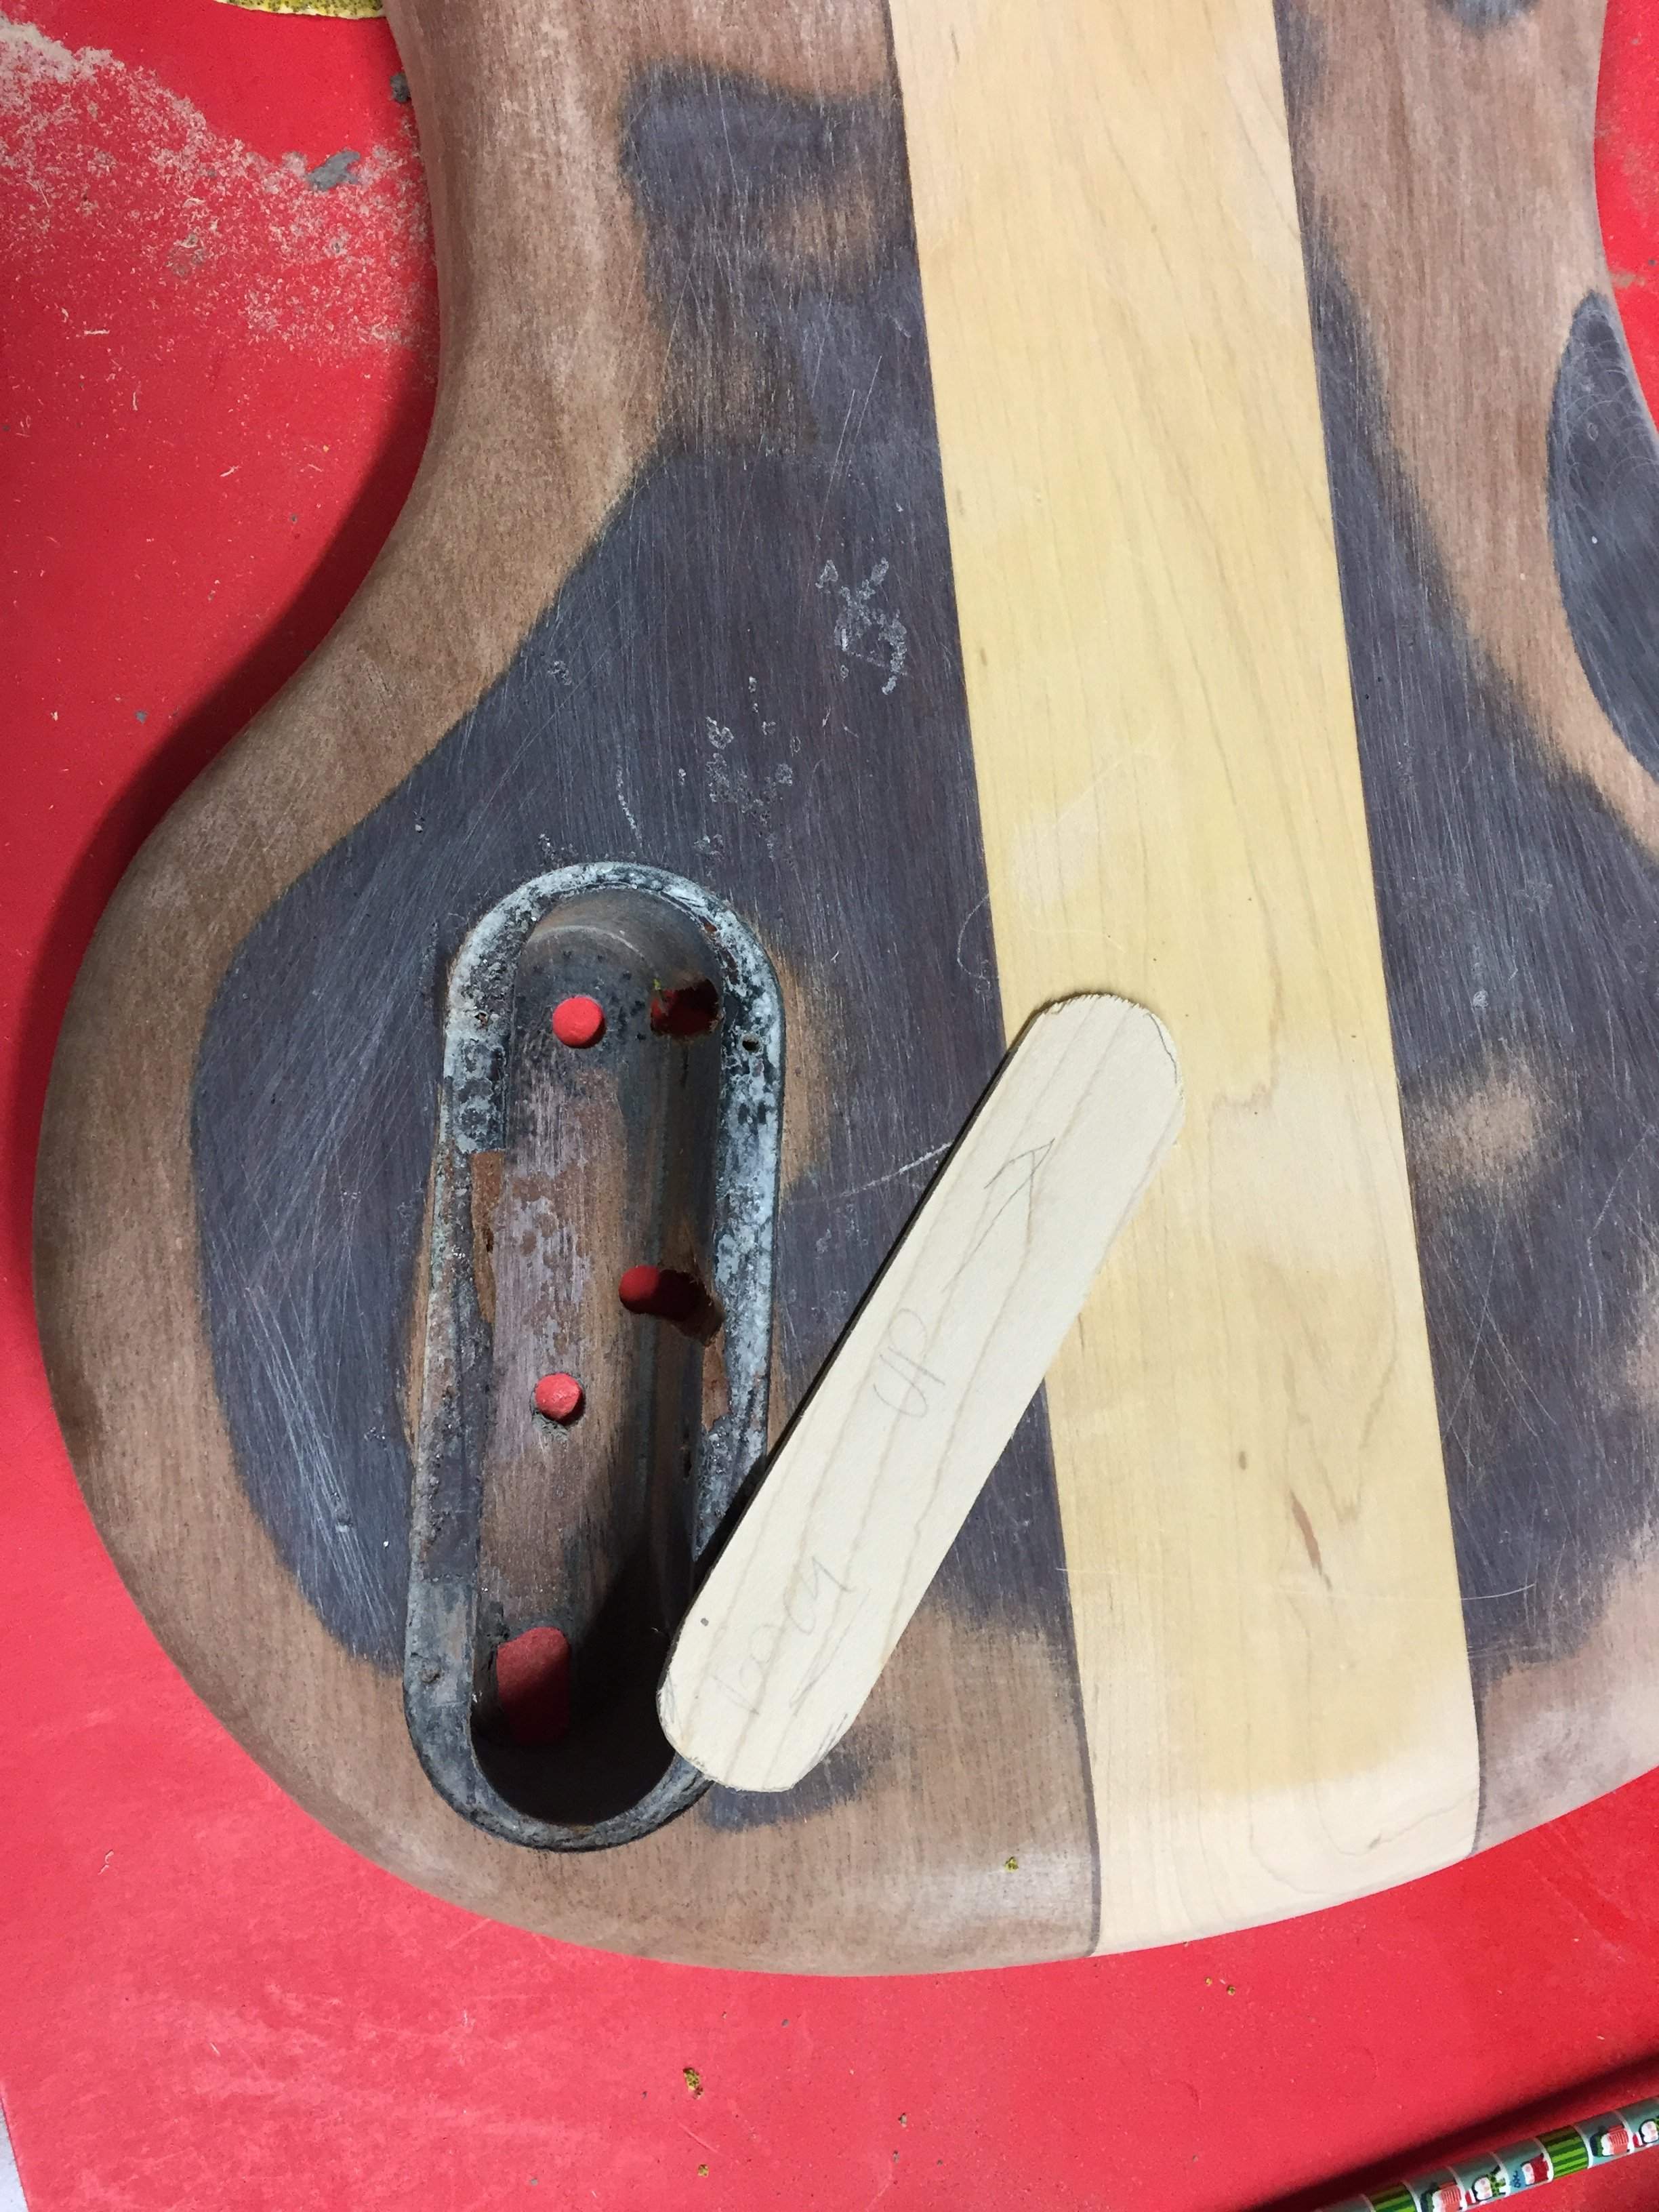
Sanded, until I have a nice fit.
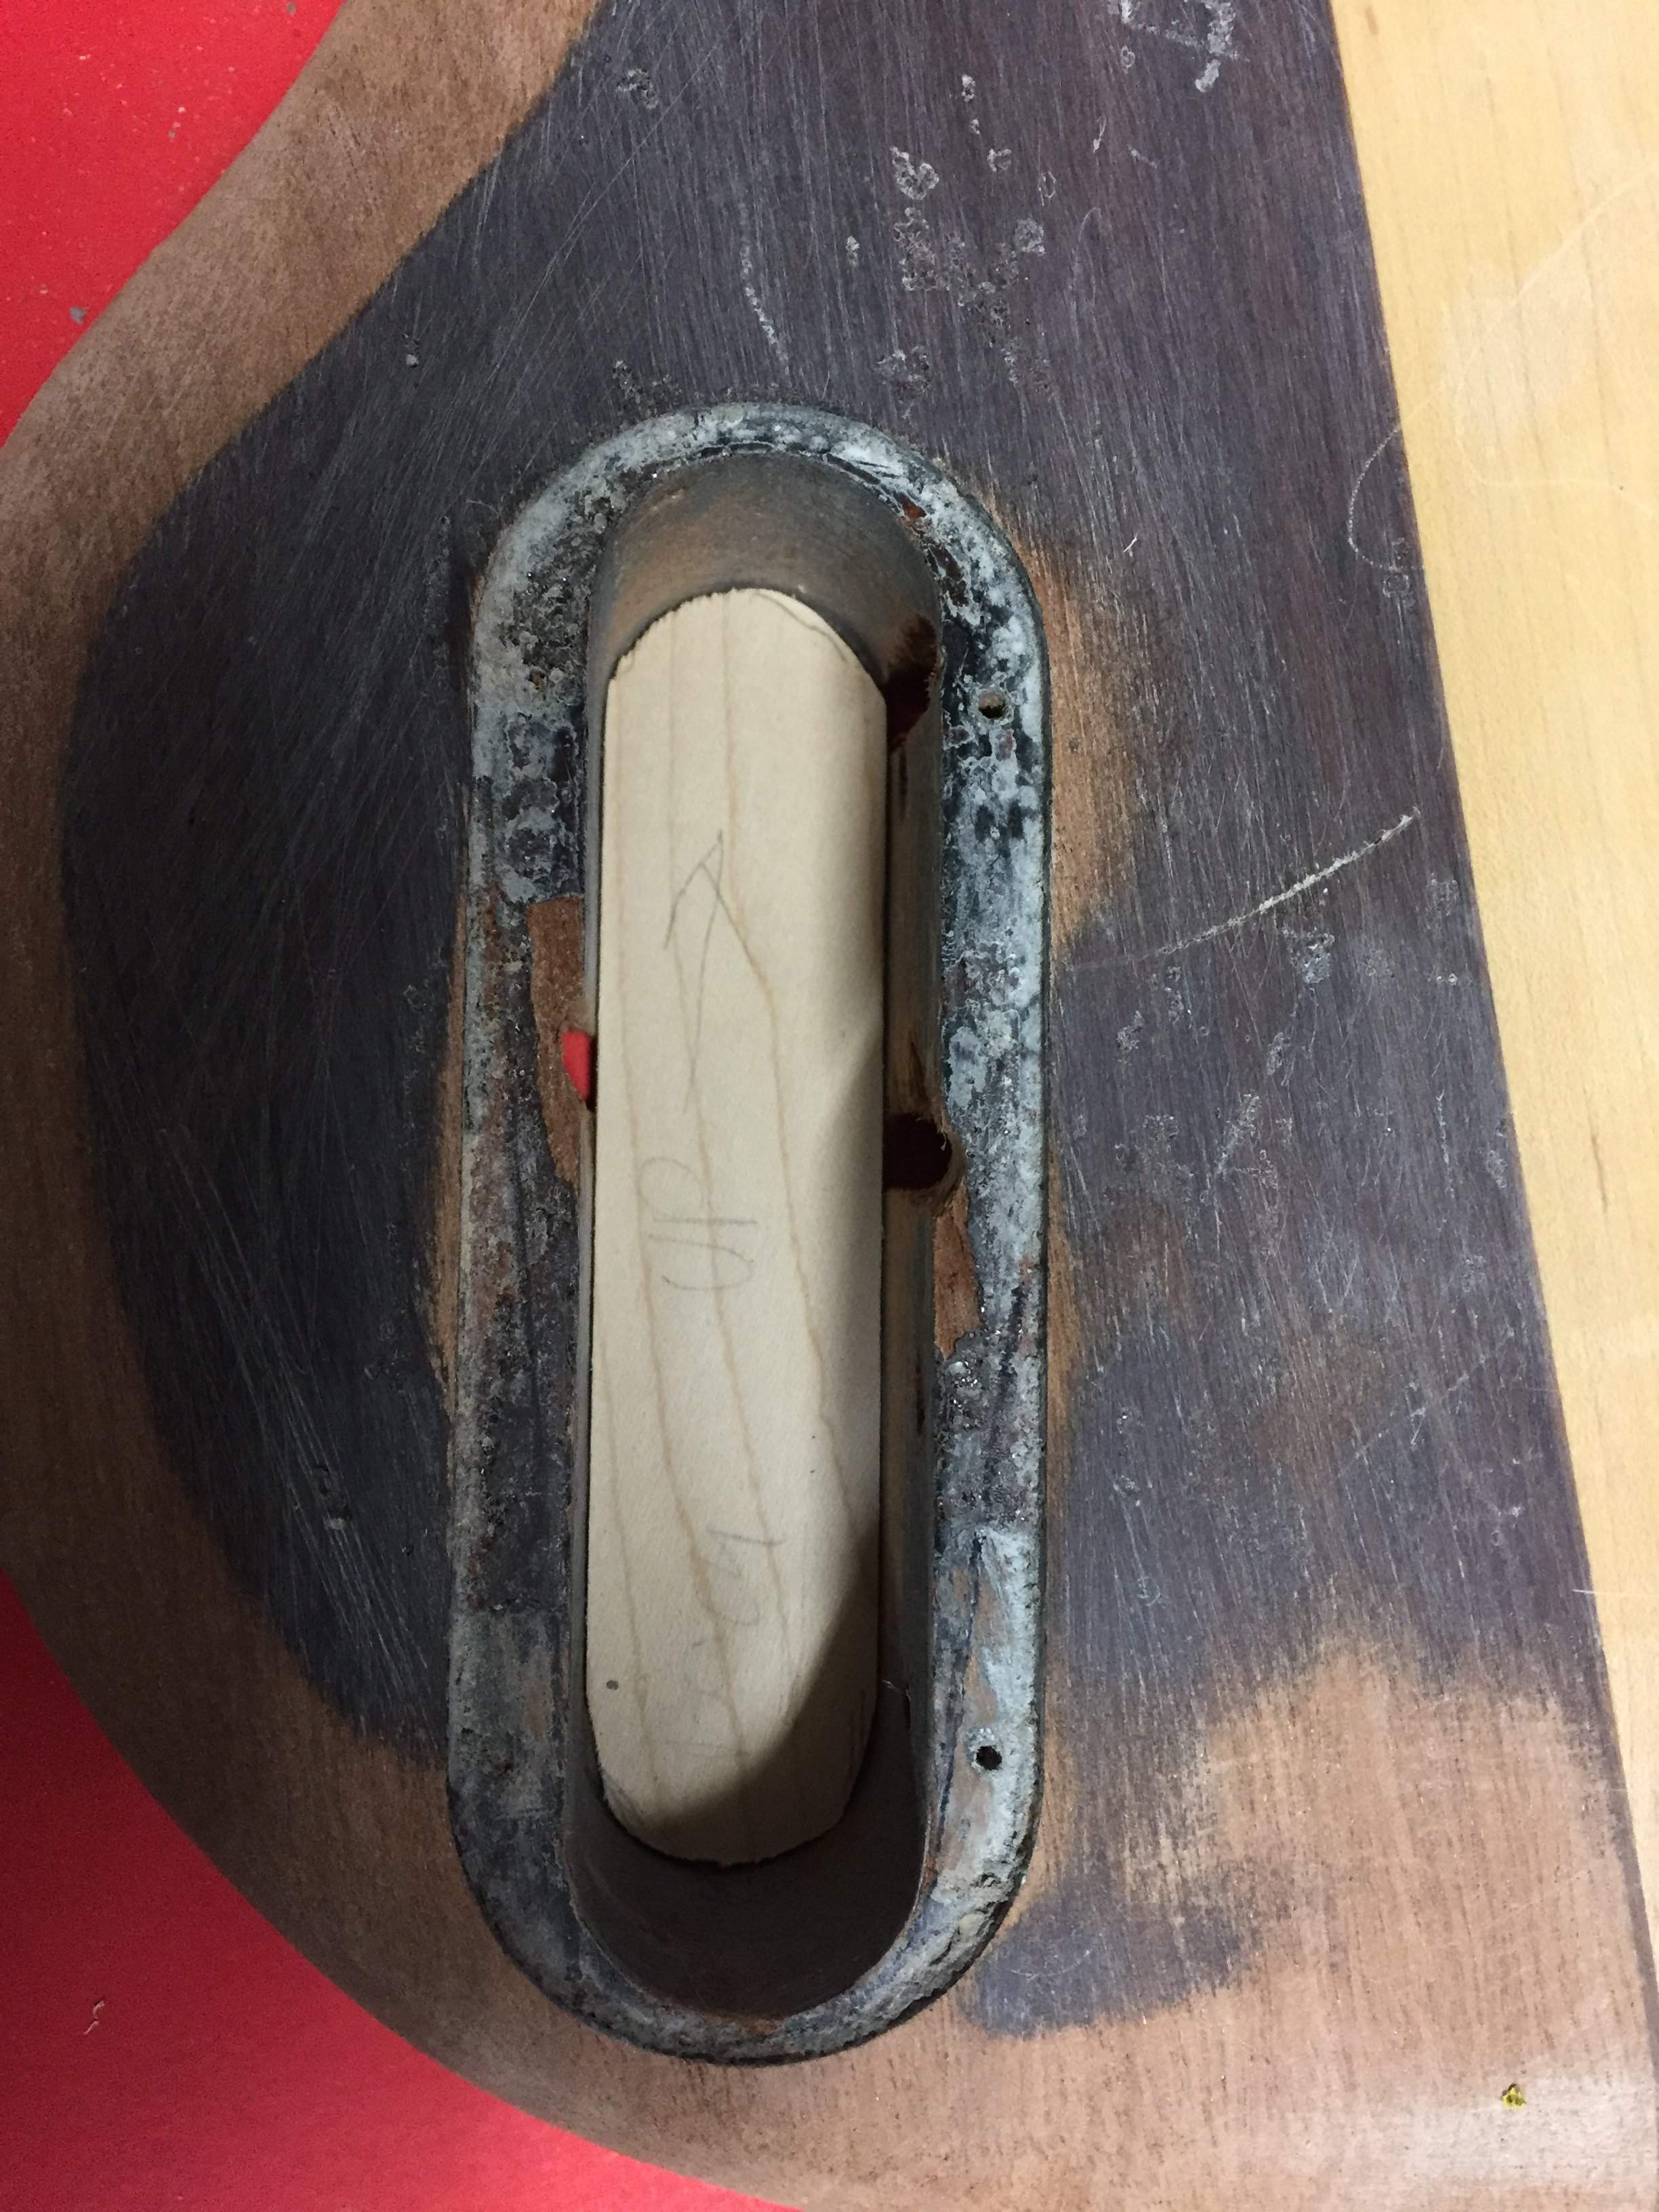
Glued!
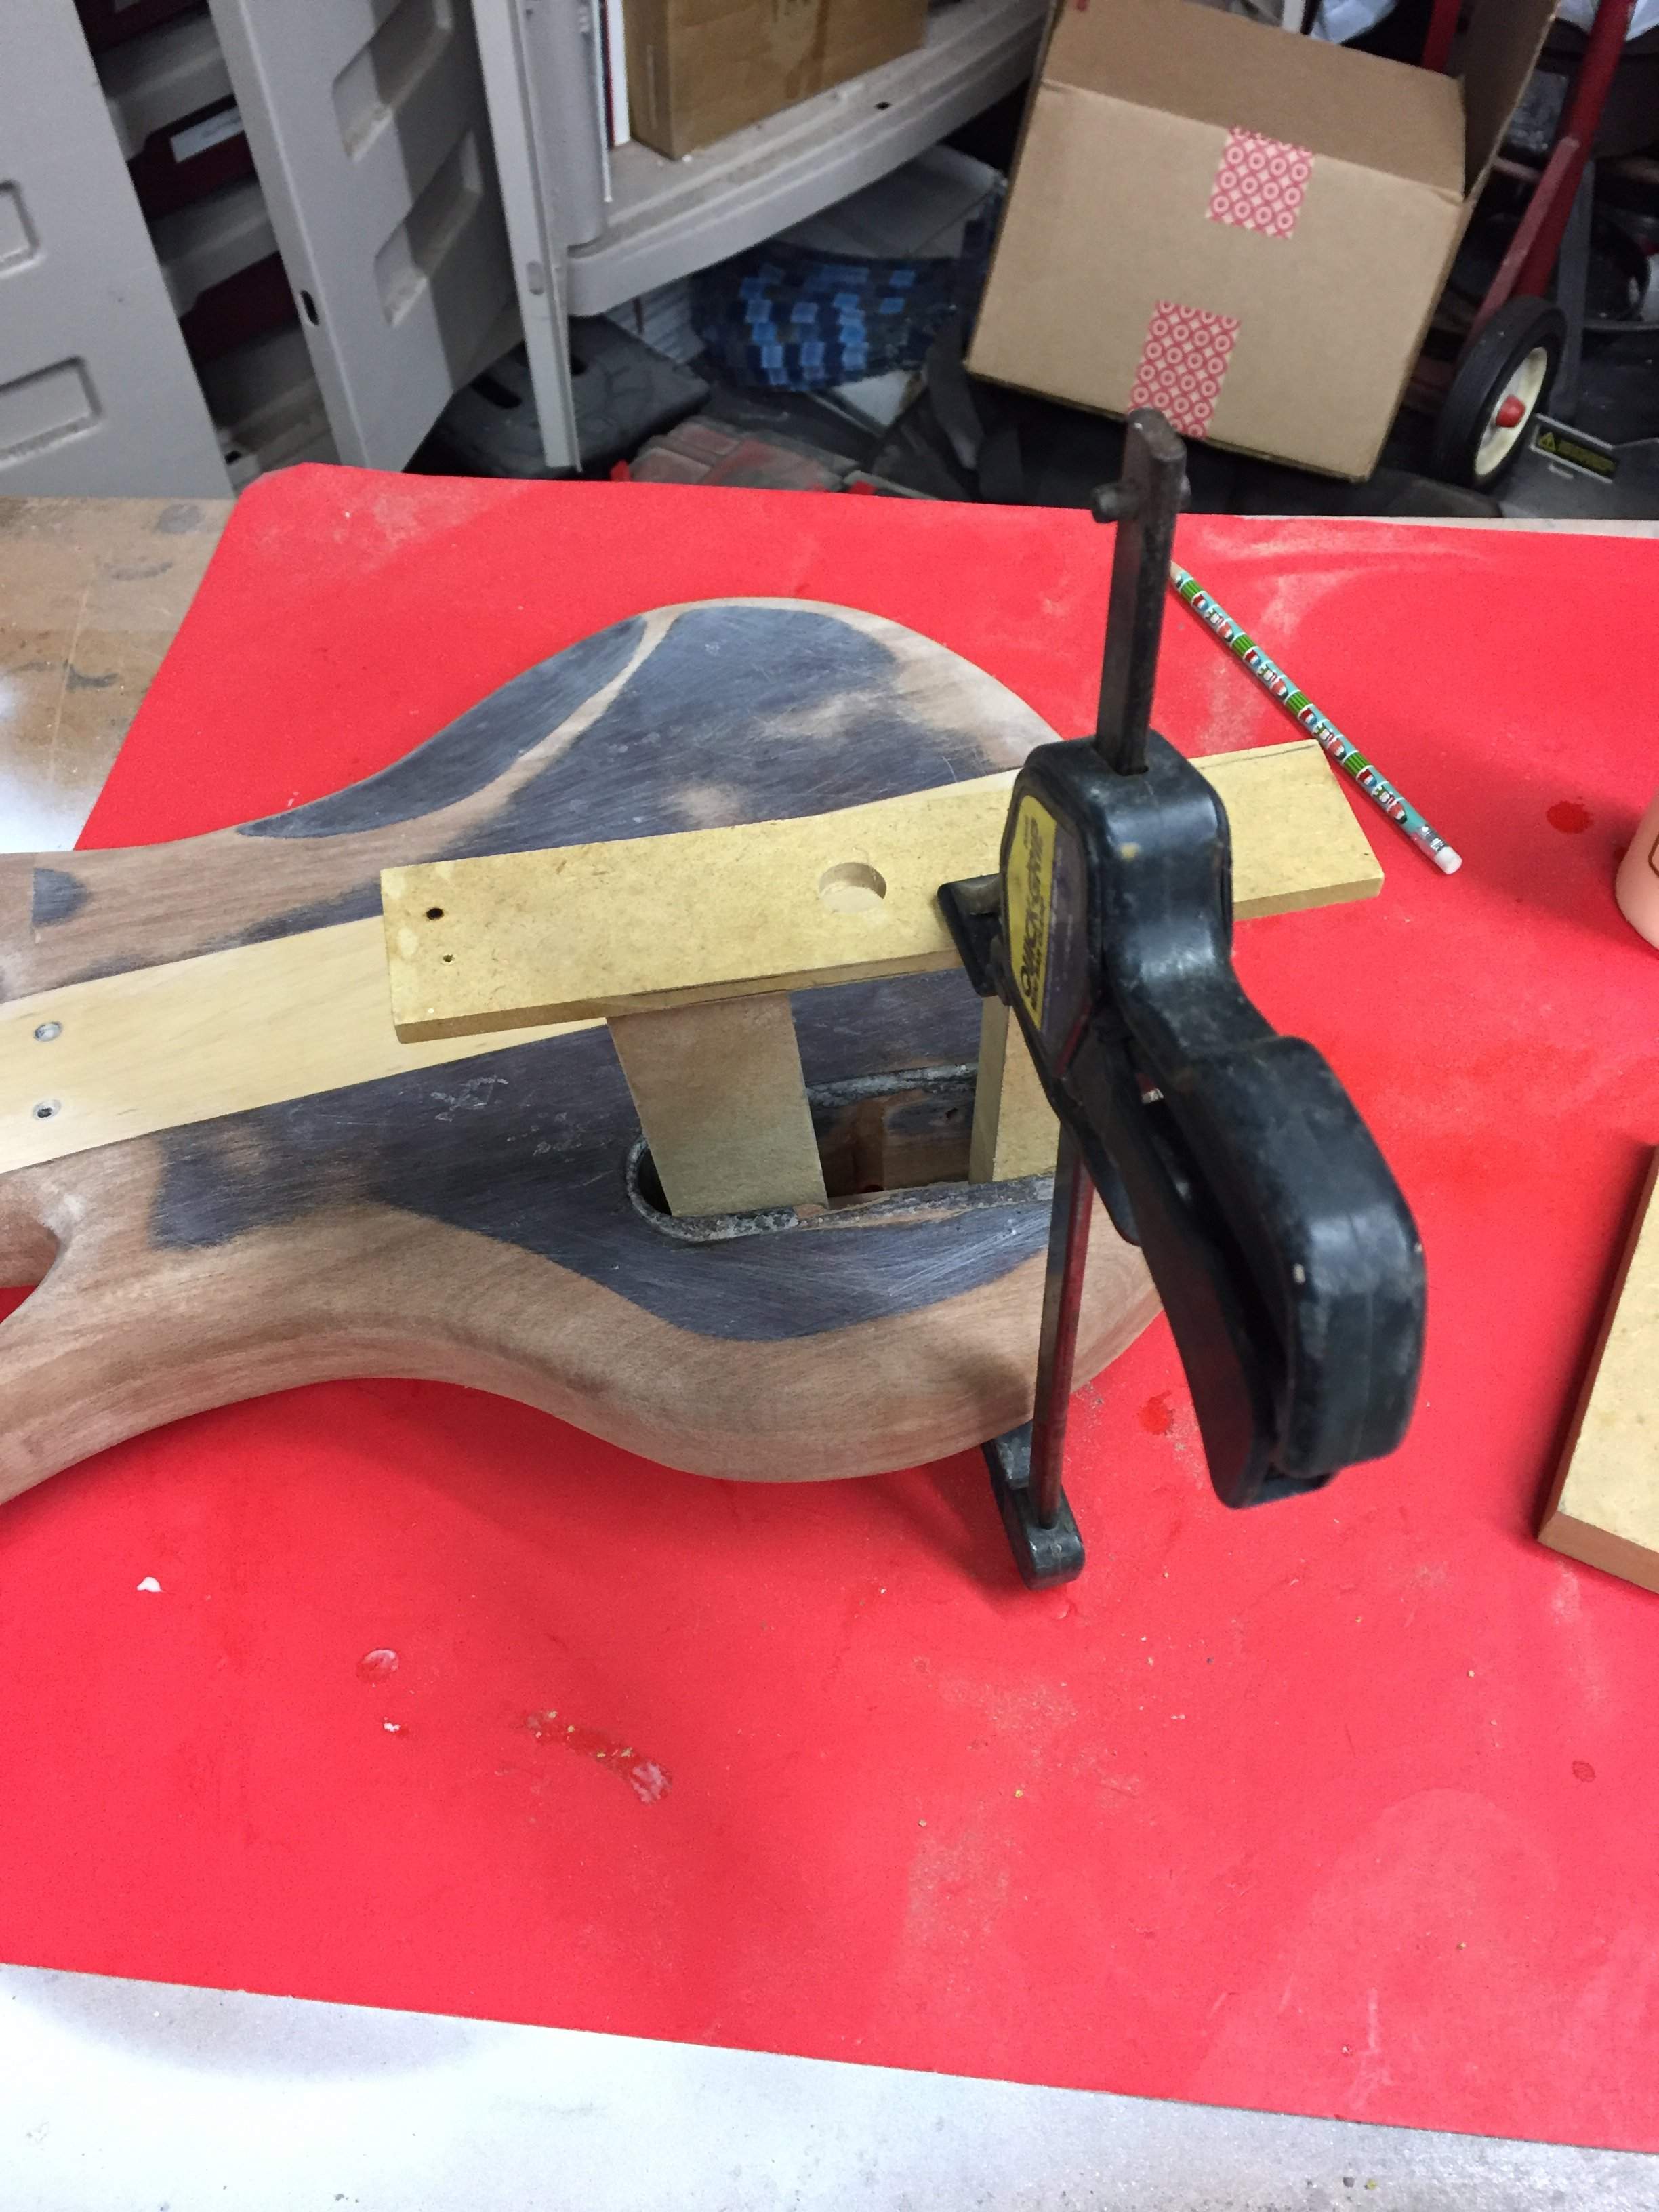
I also had to fill some holes in the cavity, and had to correct holes I drilled, for the controls and jack.
I created a maple “floor” that would be glued to the inside of the cavity.
My maple piece
A tape template is made
The wood is cut into shape
Sanded, until I have a nice fit.
Glued!
This weekend, I finished plugging the original holes in the body.
With a 7/8” and 1/2” Forstner bits, I created three depressions in the body, from where I’d inlay maple veneer. I’d use mahogany, but I’m painting this bass black.

Some also may have just doweled and sanding flush the excess, but I find that the end grain of the dowel, causes the finish to crack around the dowel, making a circle mark in the finish.
My theory is that if I glue a maple strip/dot, with grain going the same direction of the body, I will have less issues. We will see...
I sanded each piece to a tight fit, glued, clamped, sanded the excess, topped any uneven or gaps with epoxy, let it dry, them sanded everything flush.
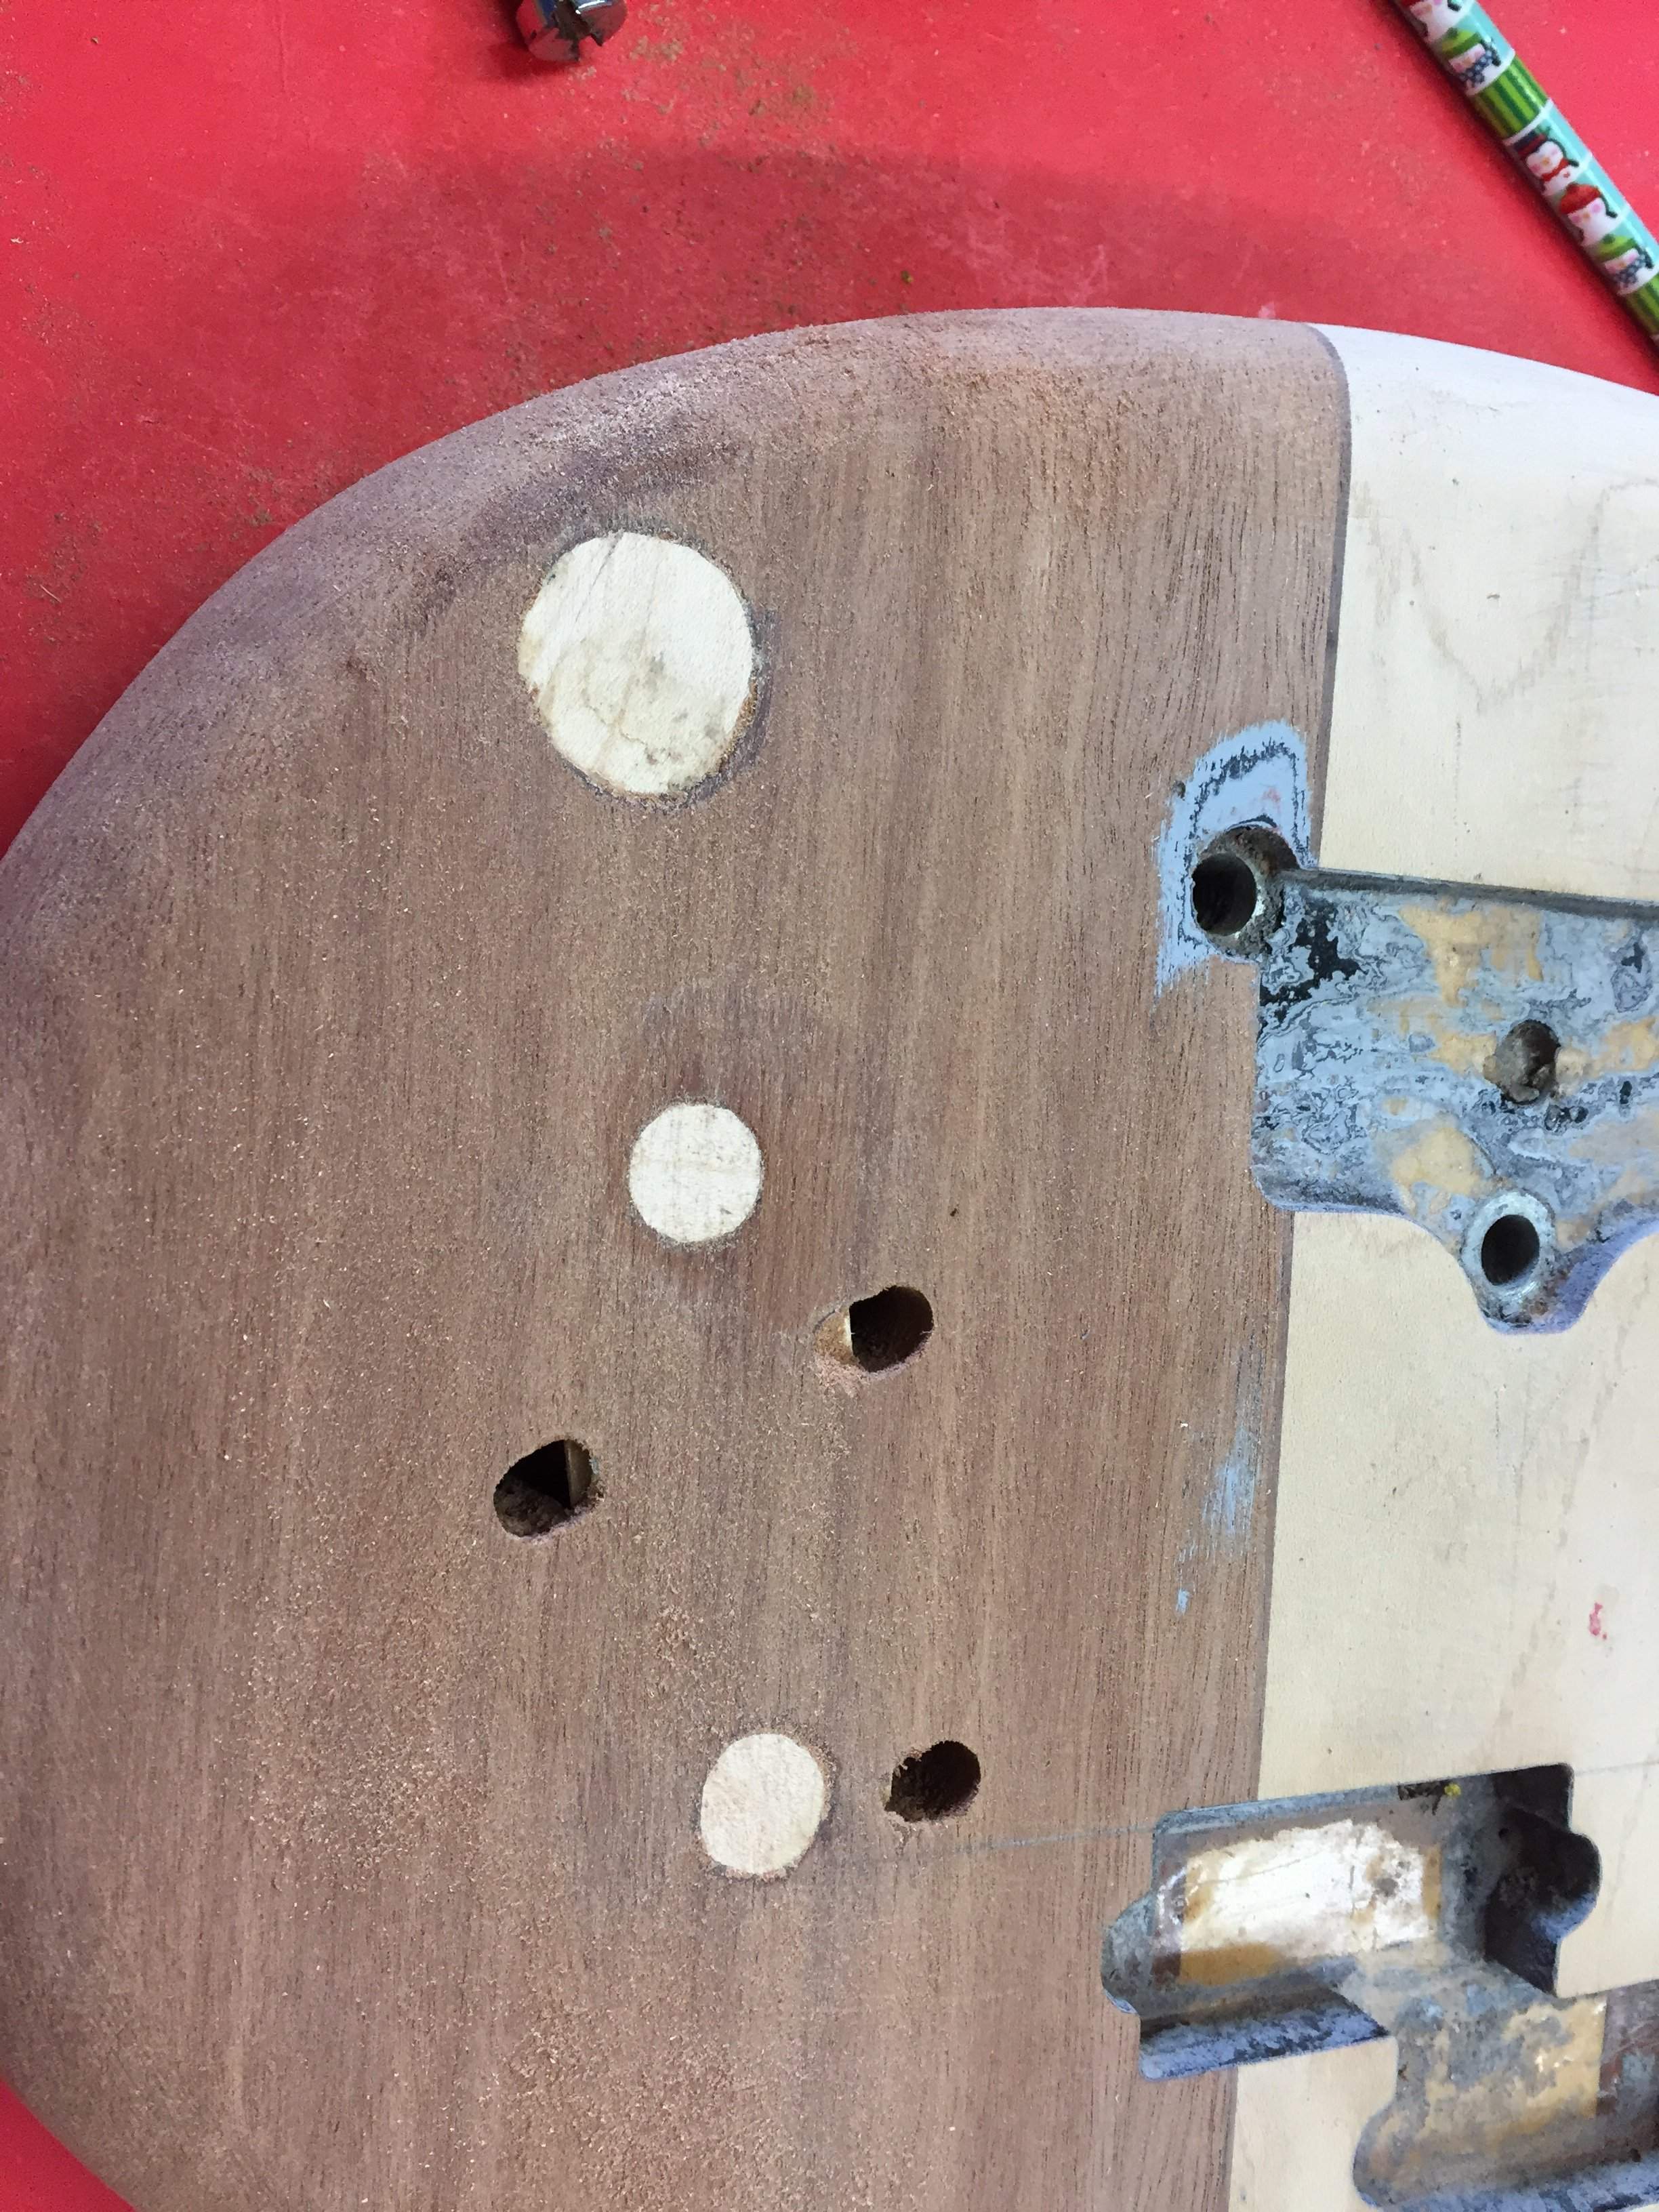
I have a bunch more finishing, but I will save it until all the other body mods are complete.
I’m going to tackle this, this week, but I’m wondering if I can get these metal inserts out? Any ideas?

I have already tried epoxying the bridge mount threads, screwing them into place, allowing to dry, and suddenly cranking them counterclockwise, but nothing happened.
I’d like to remove these, before gluing the veneer in place.
With a 7/8” and 1/2” Forstner bits, I created three depressions in the body, from where I’d inlay maple veneer. I’d use mahogany, but I’m painting this bass black.
Some also may have just doweled and sanding flush the excess, but I find that the end grain of the dowel, causes the finish to crack around the dowel, making a circle mark in the finish.
My theory is that if I glue a maple strip/dot, with grain going the same direction of the body, I will have less issues. We will see...
I sanded each piece to a tight fit, glued, clamped, sanded the excess, topped any uneven or gaps with epoxy, let it dry, them sanded everything flush.
I have a bunch more finishing, but I will save it until all the other body mods are complete.
I’m going to tackle this, this week, but I’m wondering if I can get these metal inserts out? Any ideas?
I have already tried epoxying the bridge mount threads, screwing them into place, allowing to dry, and suddenly cranking them counterclockwise, but nothing happened.
I’d like to remove these, before gluing the veneer in place.

This weekend, I finished plugging the original holes in the body.
With a 7/8” and 1/2” Forstner bits, I created three depressions in the body, from where I’d inlay maple veneer. I’d use mahogany, but I’m painting this bass black.
View attachment 2884732
Some also may have just doweled and sanding flush the excess, but I find that the end grain of the dowel, causes the finish to crack around the dowel, making a circle mark in the finish.
My theory is that if I glue a maple strip/dot, with grain going the same direction of the body, I will have less issues. We will see...
I sanded each piece to a tight fit, glued, clamped, sanded the excess, topped any uneven or gaps with epoxy, let it dry, them sanded everything flush.
View attachment 2884730
I have a bunch more finishing, but I will save it until all the other body mods are complete.
I’m going to tackle this, this week, but I’m wondering if I can get these metal inserts out? Any ideas?
View attachment 2884731
I have already tried epoxying the bridge mount threads, screwing them into place, allowing to dry, and suddenly cranking them counterclockwise, but nothing happened.
I’d like to remove these, before gluing the veneer in place.
If you think they're glued in, it may help to heat them up by holding a soldering iron against them. The heat kills the glue joint. Worked for me on superglued inserts, they were a lot smaller though. A nice puff of smoke after a while was a good indication that the glue had disintegrated. After that you can be sure it's only the friction of the wood you're battling.

If you think they're glued in, it may help to heat them up by holding a soldering iron against them. The heat kills the glue joint. Worked for me on superglued inserts, they were a lot smaller though. A nice puff of smoke after a while was a good indication that the glue had disintegrated. After that you can be sure it's only the friction of the wood you're battling.
If it is glued, follow the above. To remove afterwards, just install the bridge screw studs inside, put a piece of fabric over to teh body, & pry with a hammer. I've done it many times, no damage to the bass. Just go by increments as it wont be fully pulled with one shot.

I followed your lebeau build very closely, glad to see you're back at it with another!
I actually have two going. I’m just waiting for my neck to arrive, and I will have two very different builds going.
I’m trying to be done by May
Tonight I pulled out those bridge inserts. A pry bar, sheet of MDF, very little force, and they slid out.

Next, I needed a piece to fill in the pickup holes I was filling in. Luckily, I had this scrap piece!

I cut it into shape, but when I got to the part of thinning it from 1.75”, to .5”, I needed something to hold on to, so I didn’t slice my fingers off.
Thank god for double sided tape!
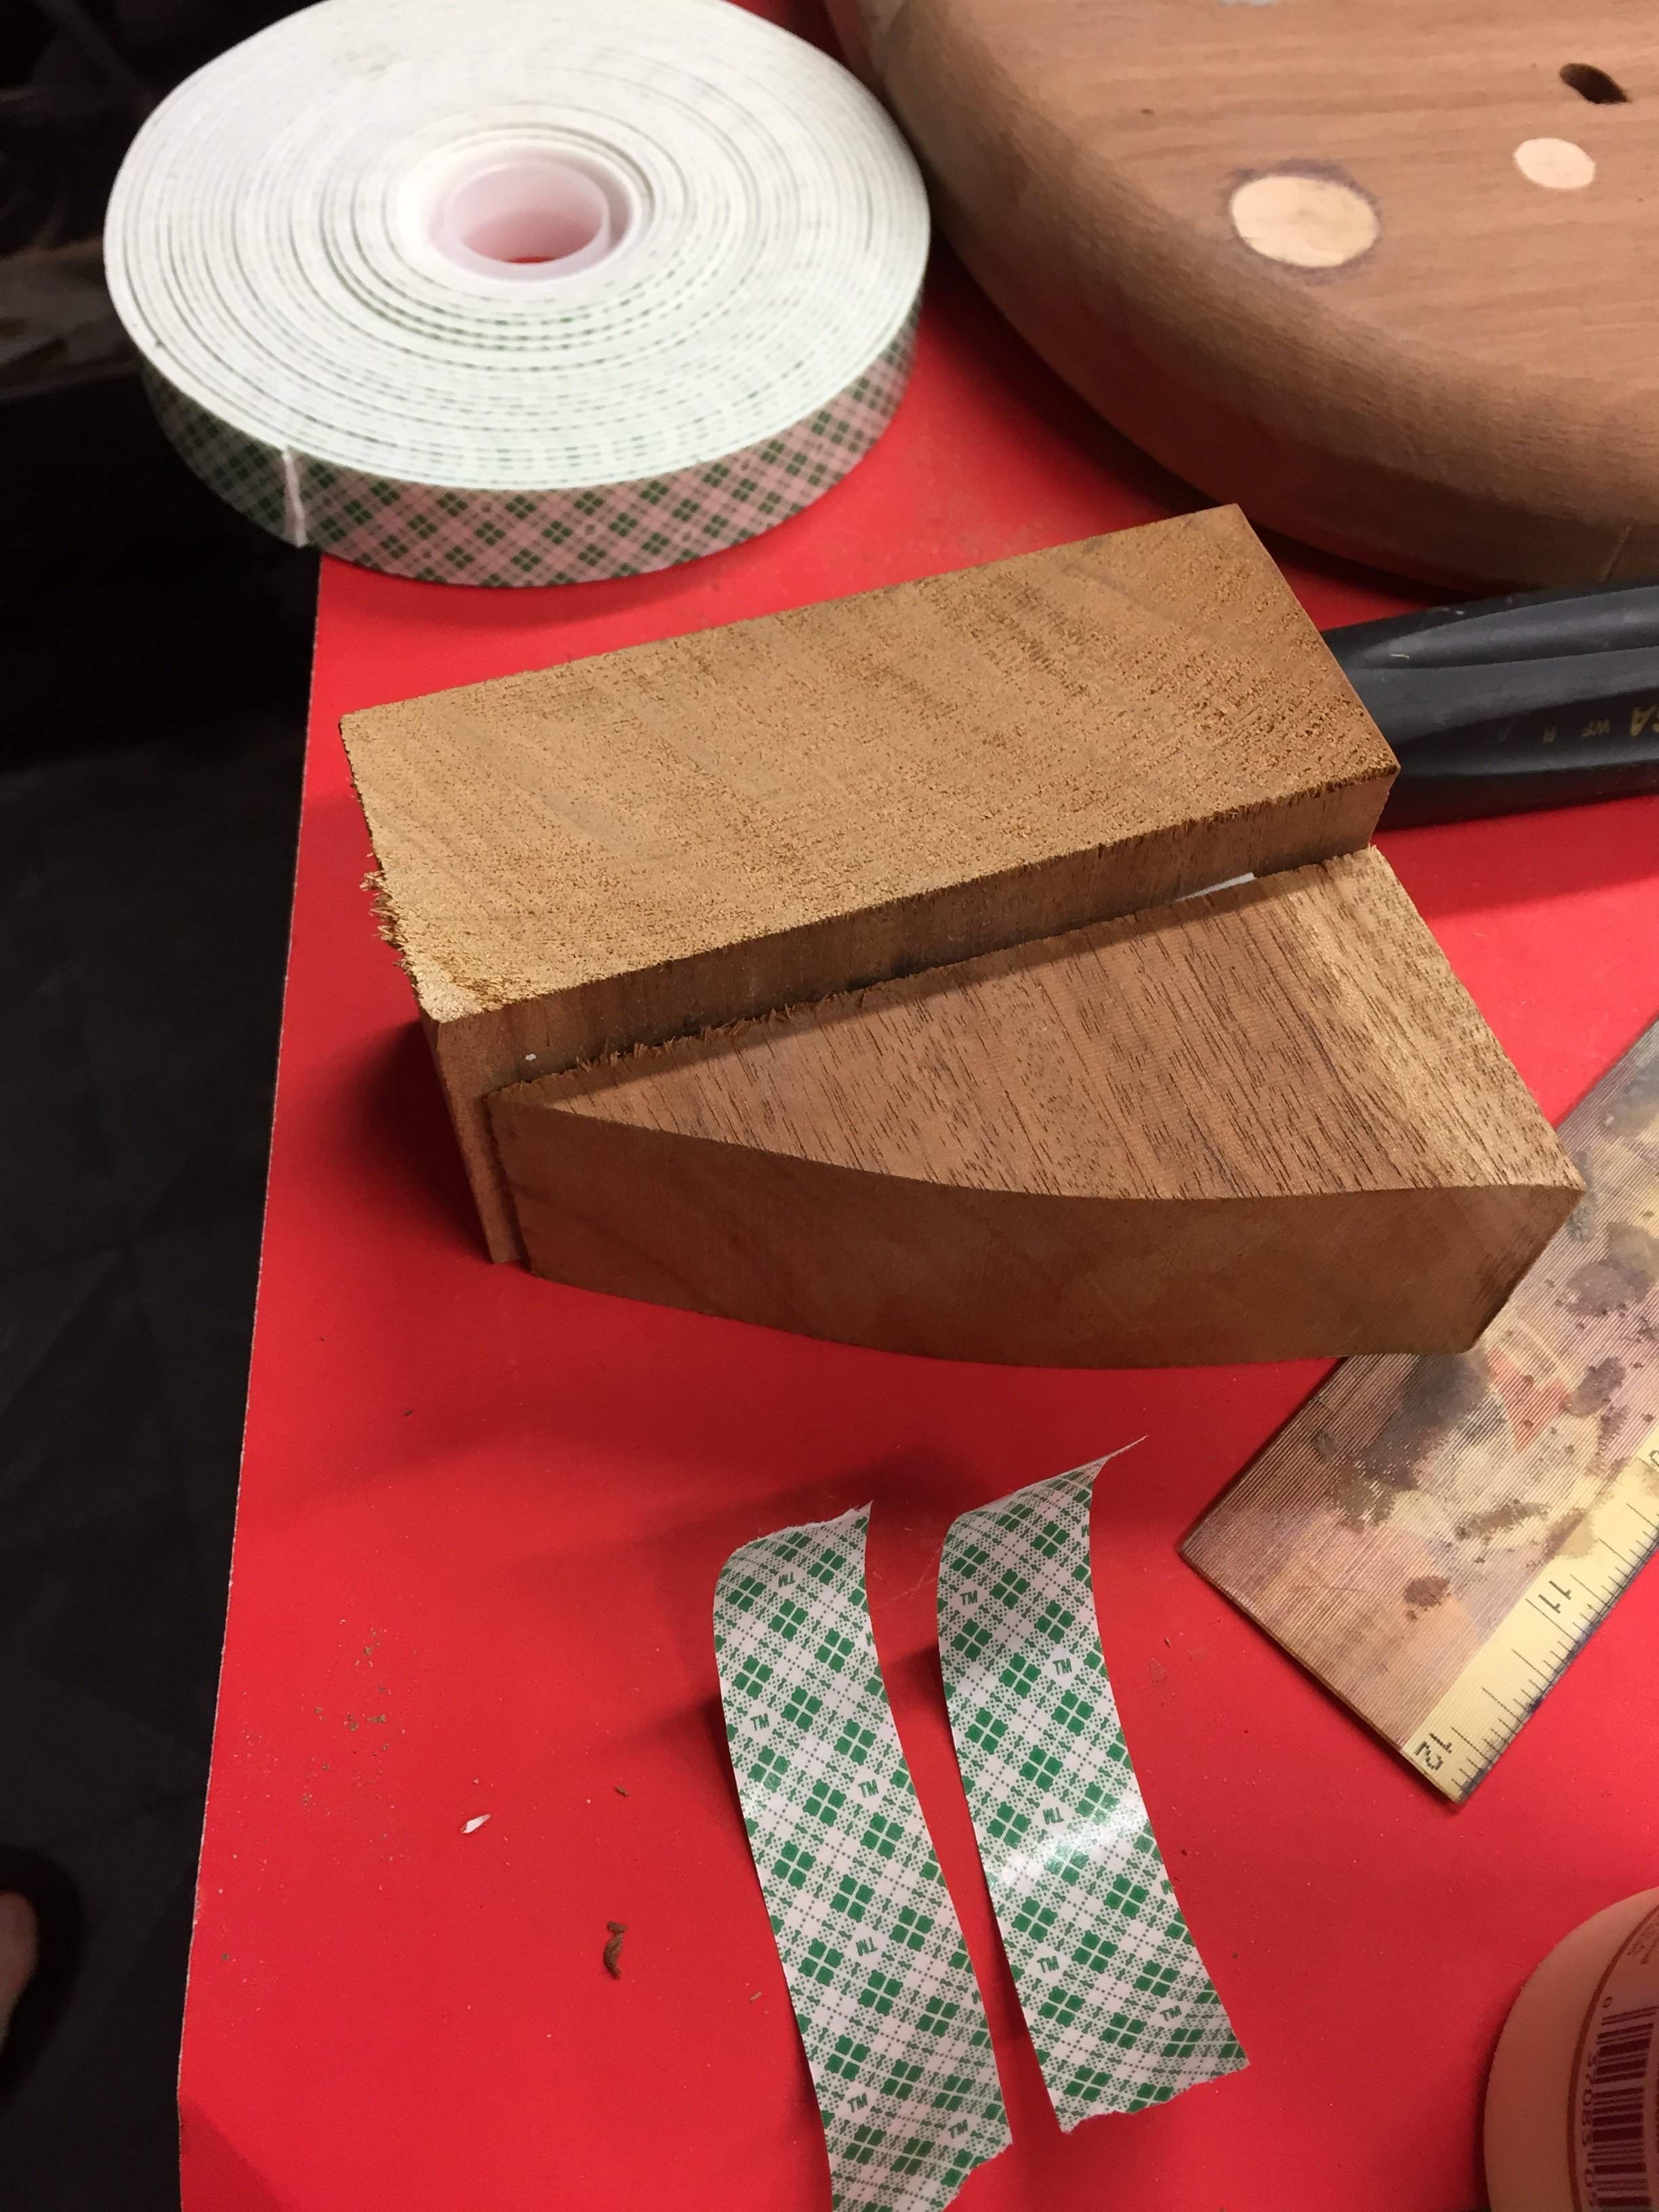
Perfect cover!

With my piece marked, I lightly taped the bottom, to make sure it stays in place.

I used the piece to form my routing template around.
I also started clearing out some material.
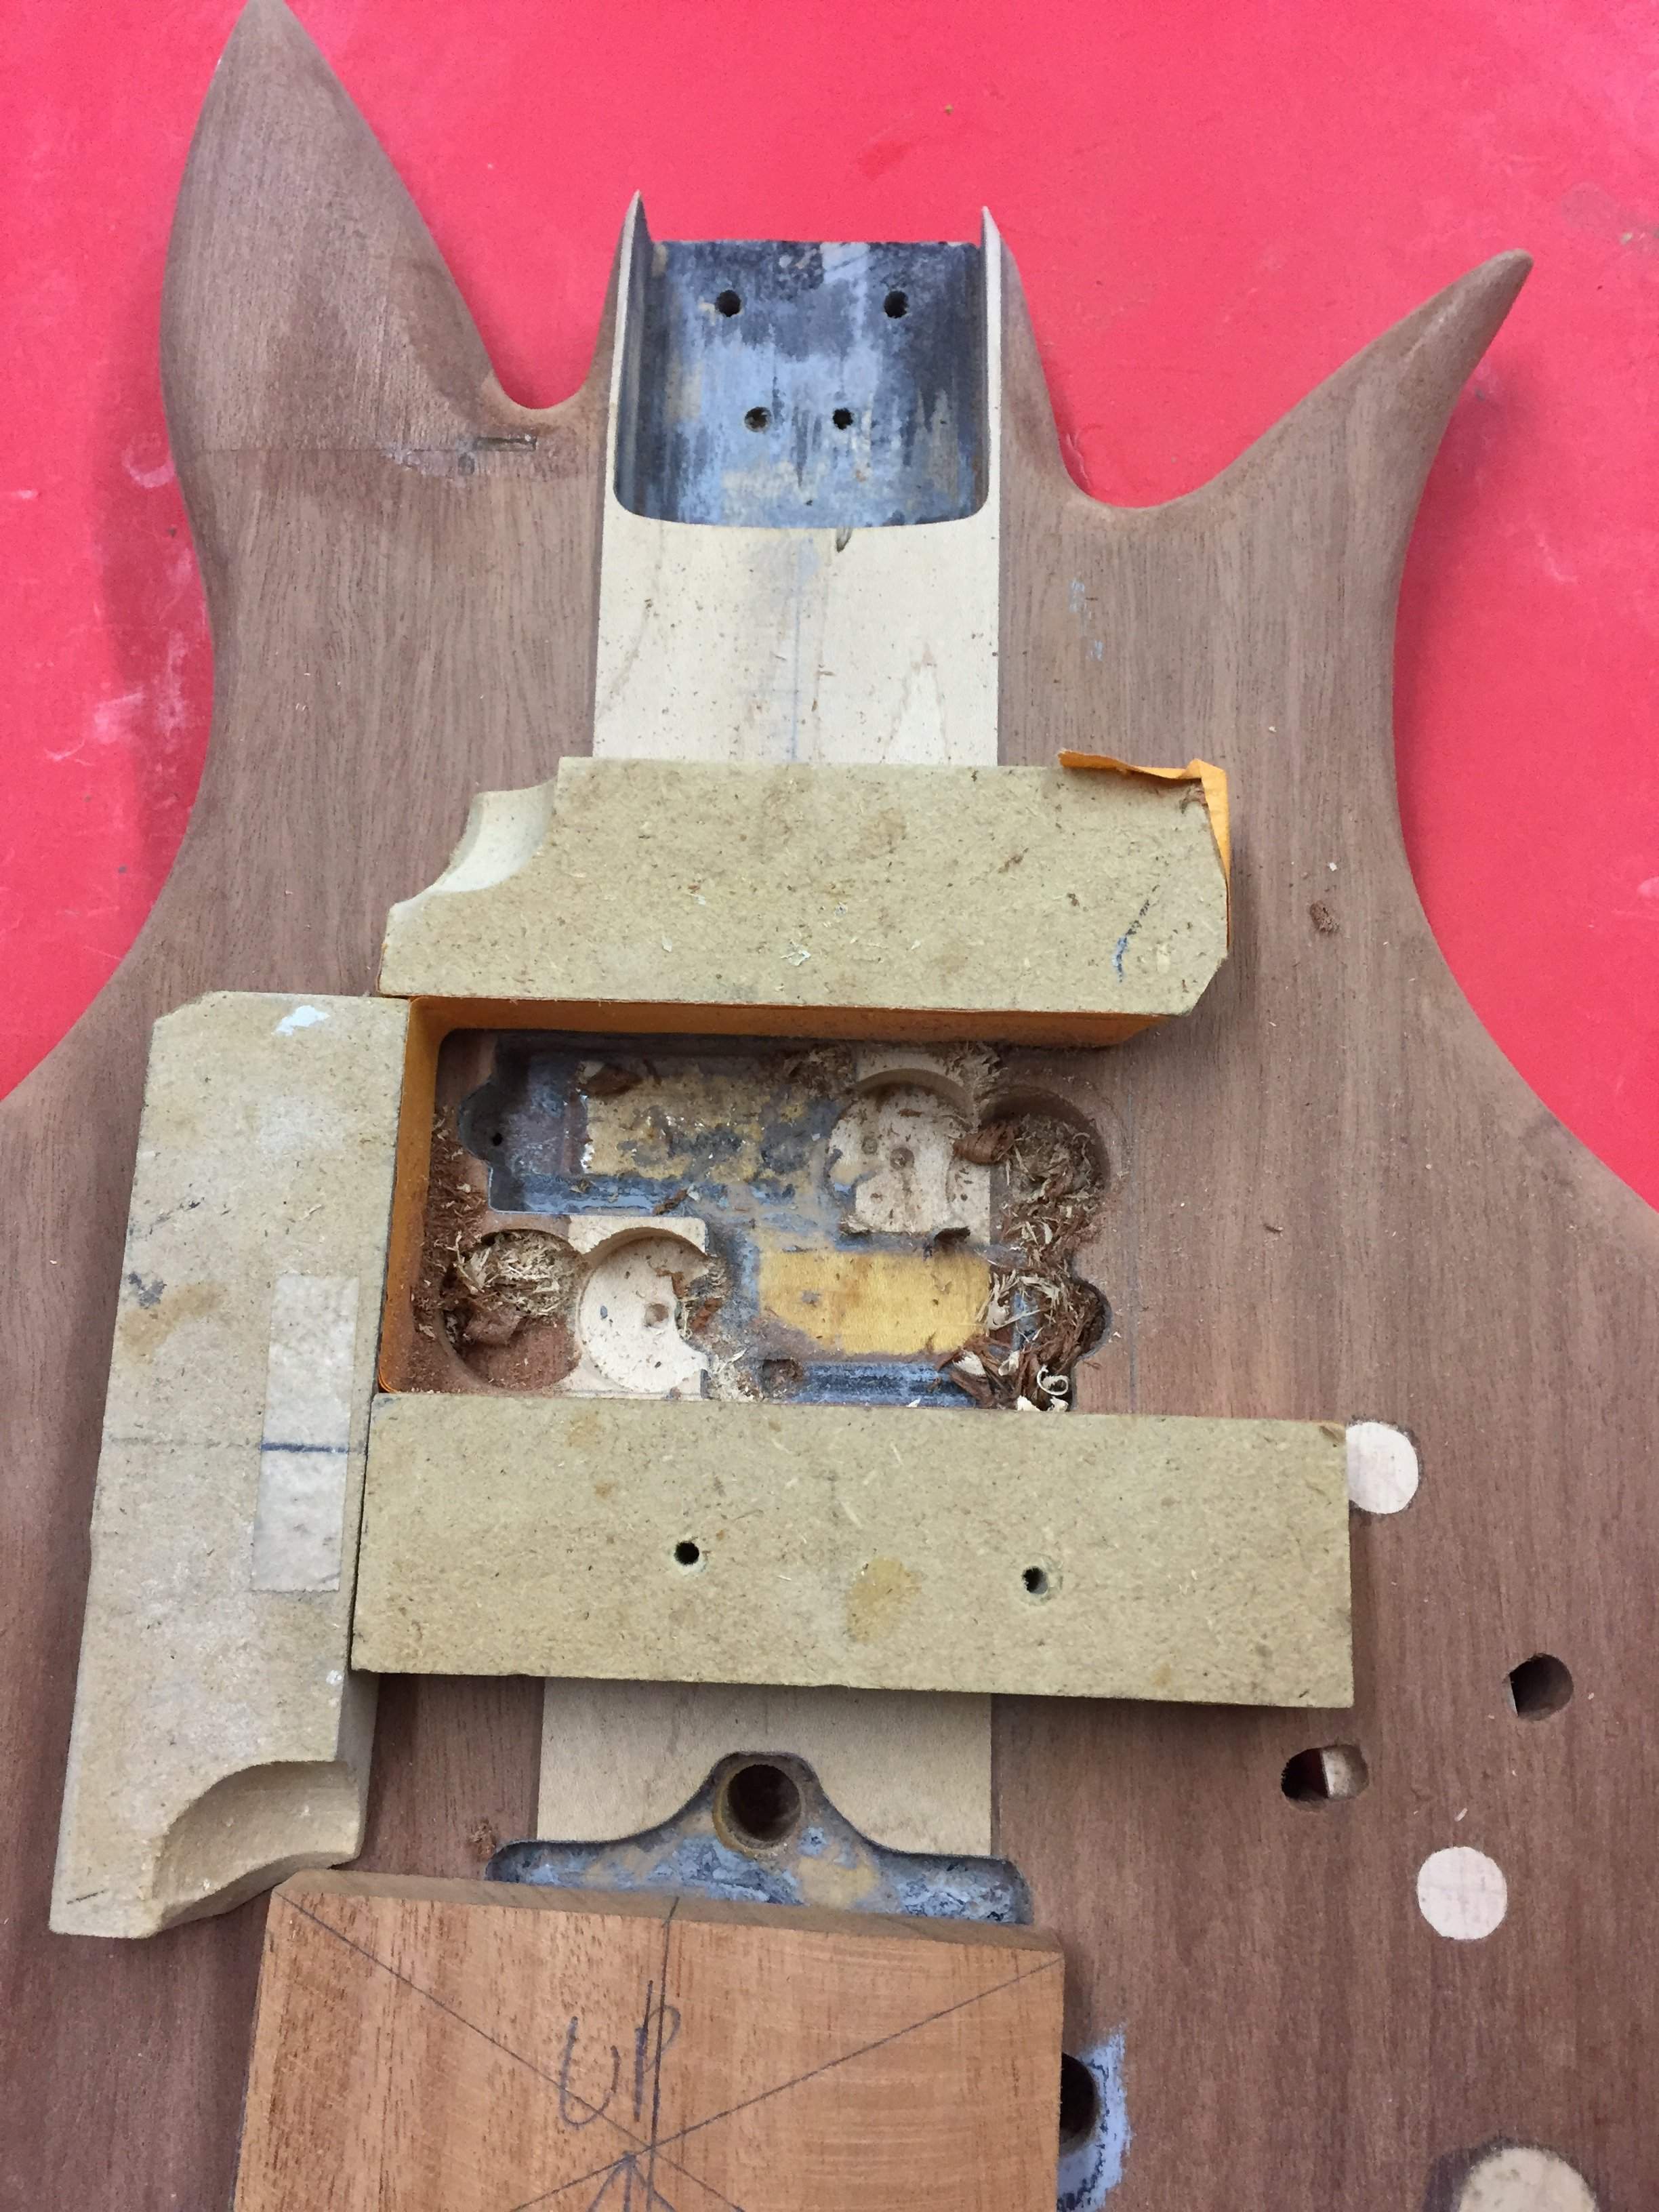
Tomorrow we rout!
Next, I needed a piece to fill in the pickup holes I was filling in. Luckily, I had this scrap piece!
I cut it into shape, but when I got to the part of thinning it from 1.75”, to .5”, I needed something to hold on to, so I didn’t slice my fingers off.
Thank god for double sided tape!
Perfect cover!
With my piece marked, I lightly taped the bottom, to make sure it stays in place.
I used the piece to form my routing template around.
I also started clearing out some material.
Tomorrow we rout!
Last edited:
Tonight, I routed the cavity. Because I used a Forstner bit to clear out much of the material, the routing took less than 10 minutes. The strange part is the rivet I discovered at the bottom of the cavity.

After some sanding, it’s ready to go in.
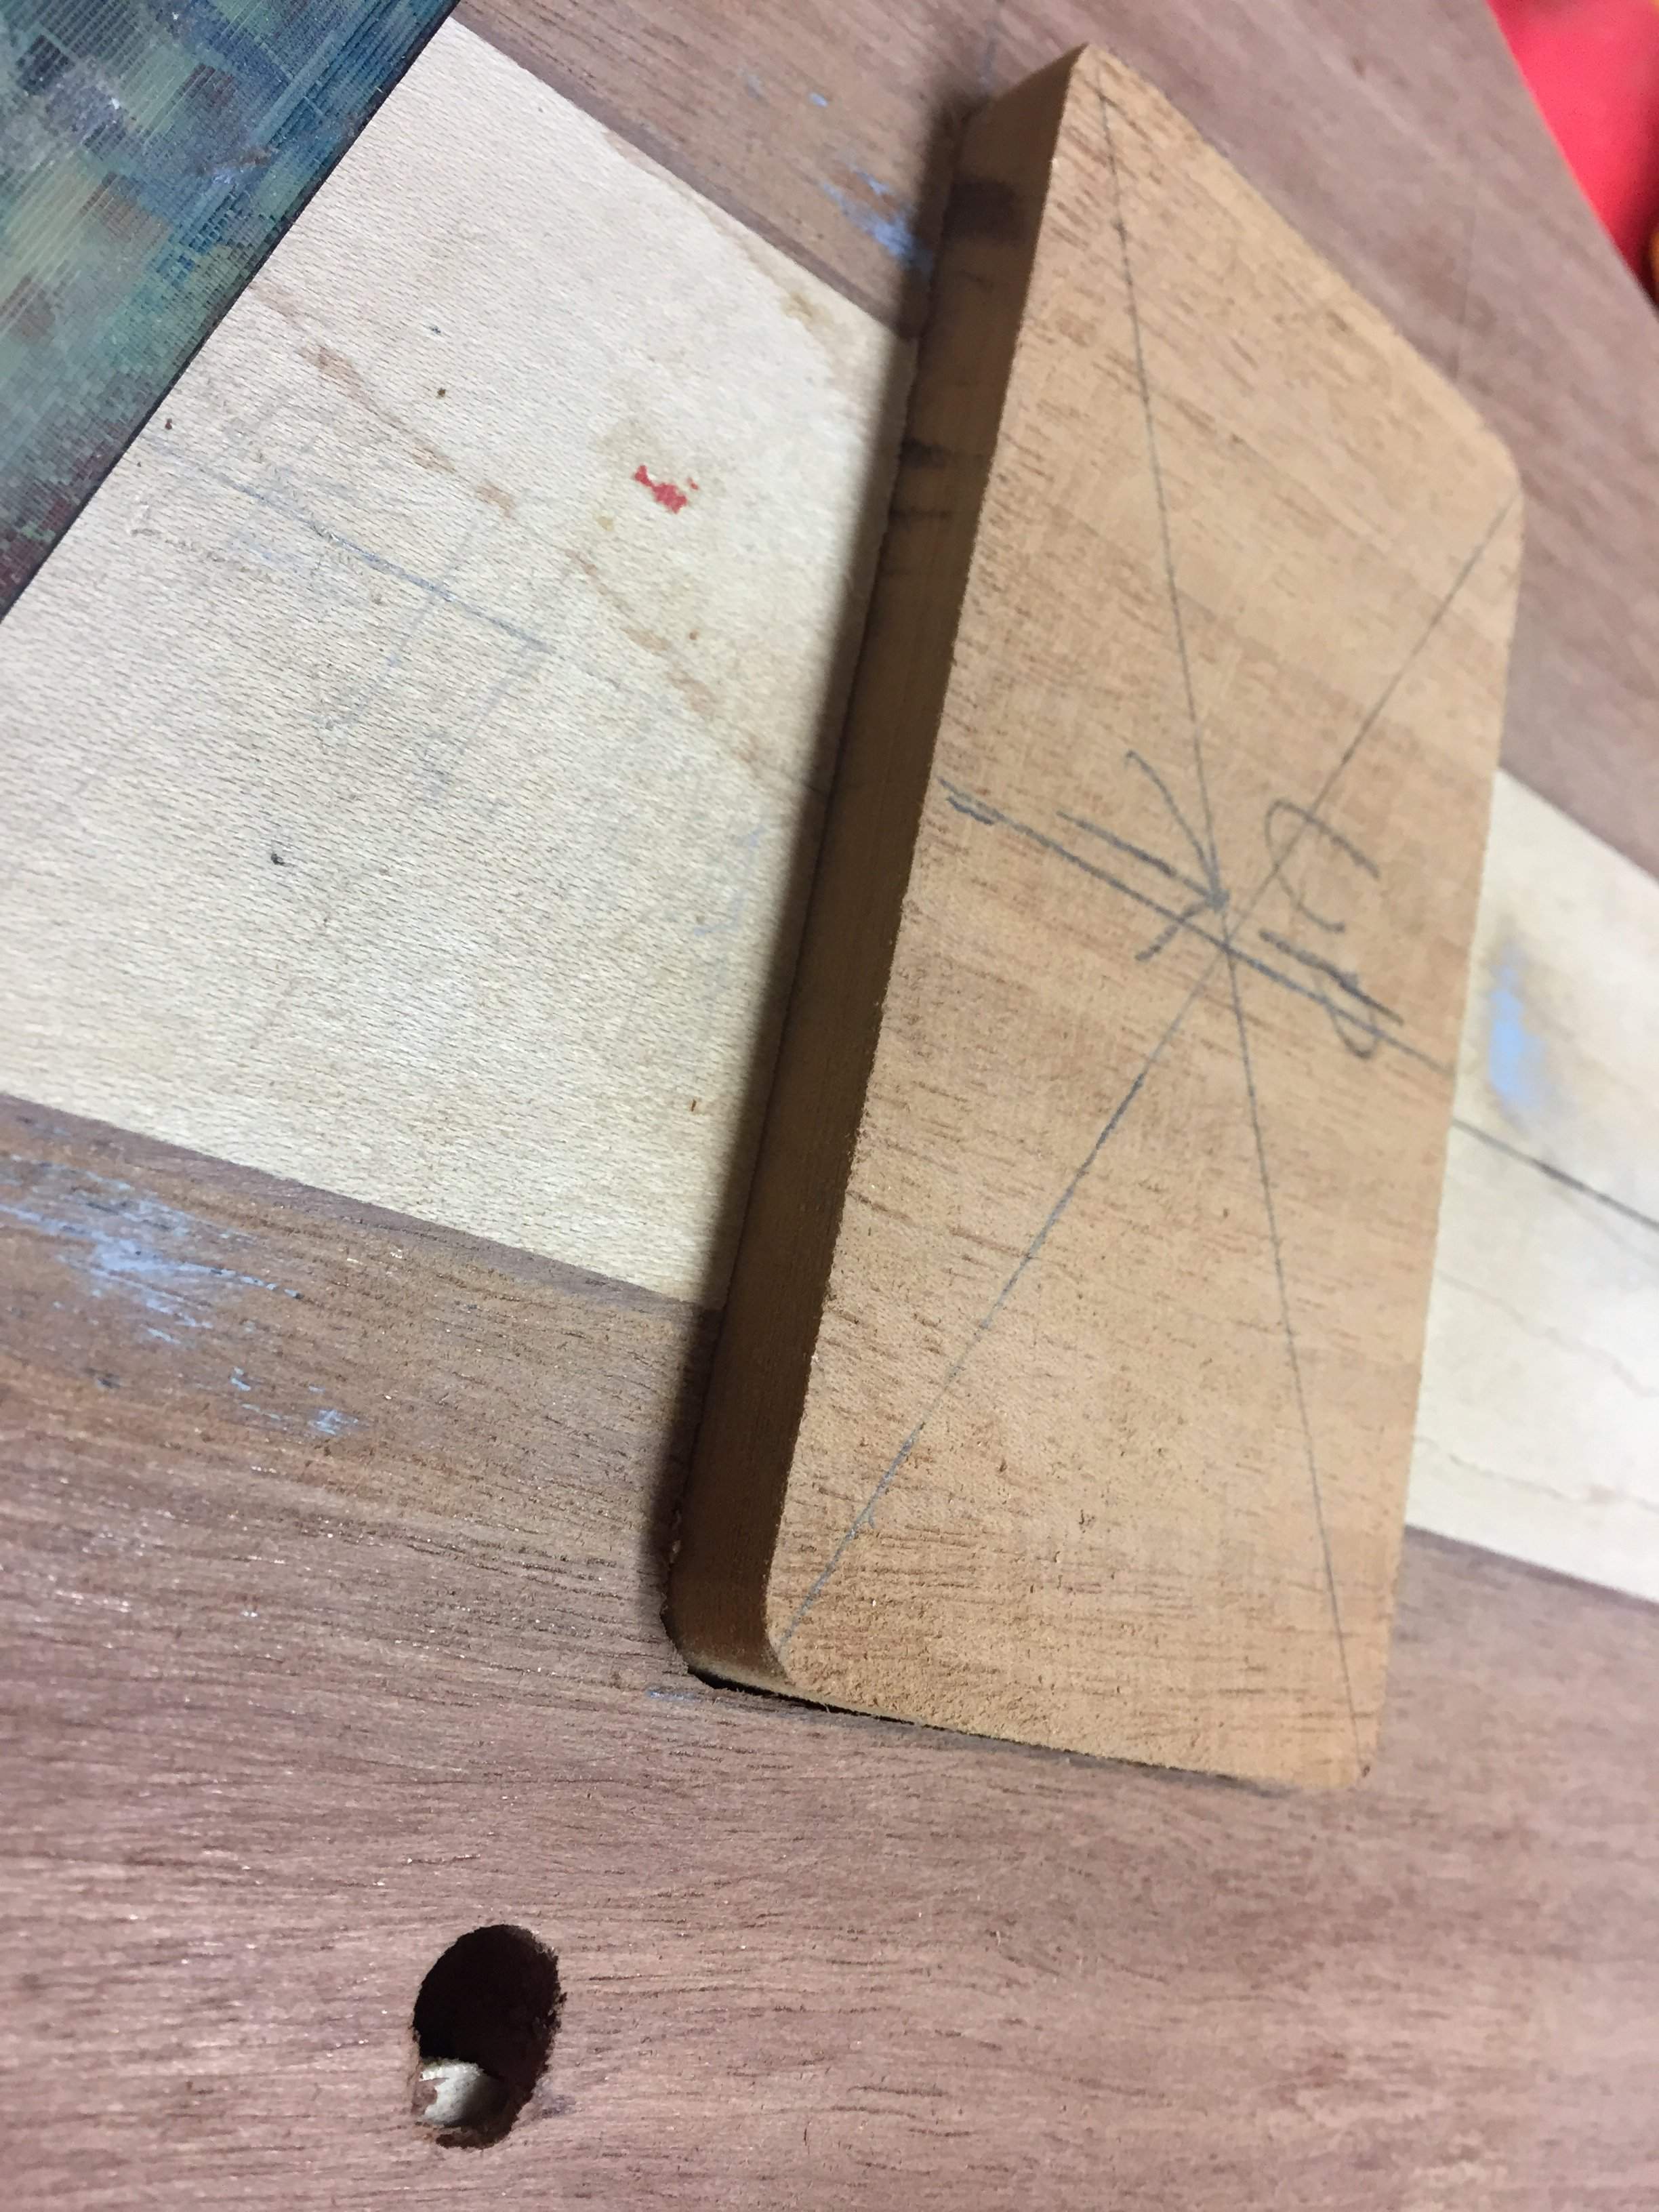
Glued!
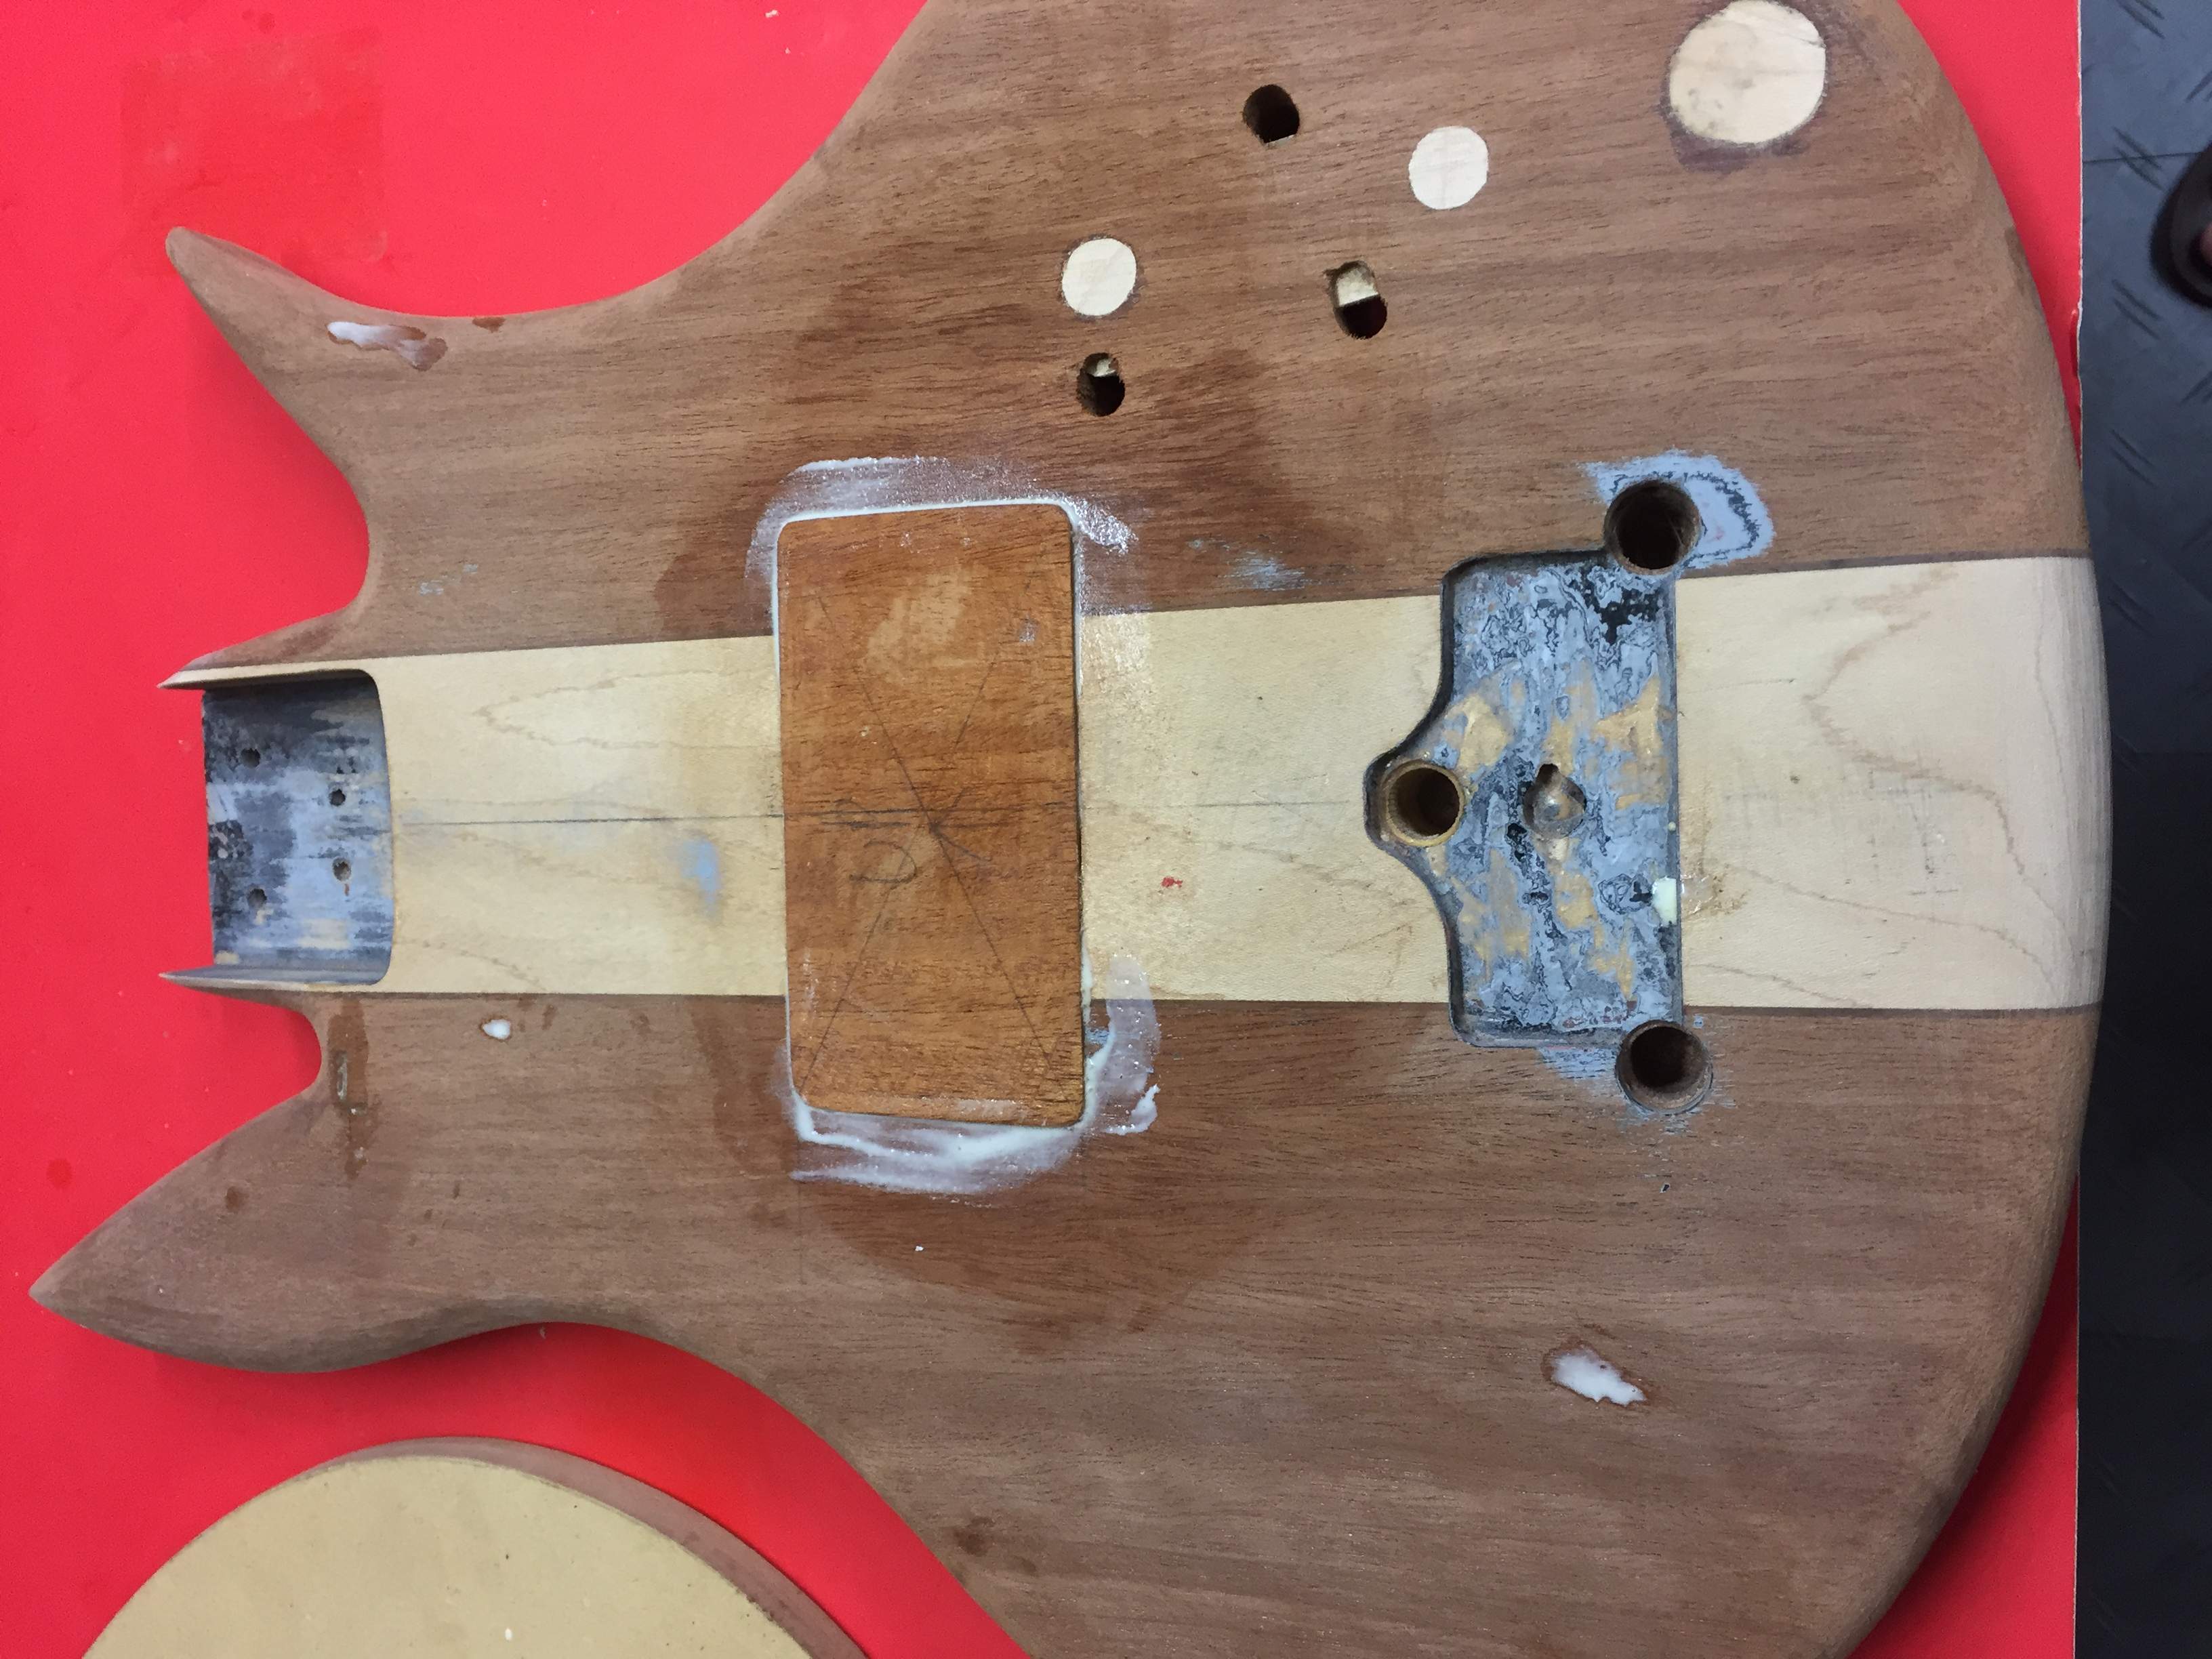
There was a 1/32” lip I need to remove, but my plan is to set up a rout jig, and slightly use my router, to trim the excess. Anything left, I will sand out.

After some sanding, it’s ready to go in.
Glued!
There was a 1/32” lip I need to remove, but my plan is to set up a rout jig, and slightly use my router, to trim the excess. Anything left, I will sand out.
Tonight was a quick one. My goal is to have all body fabrication done by month end, and I think I will make it
I decided that routing off the excess to my wood addition, was the best idea.
Routing blocks in place.

With lots of caution, I slowly shaved off the excess. It was scary, but it worked out.
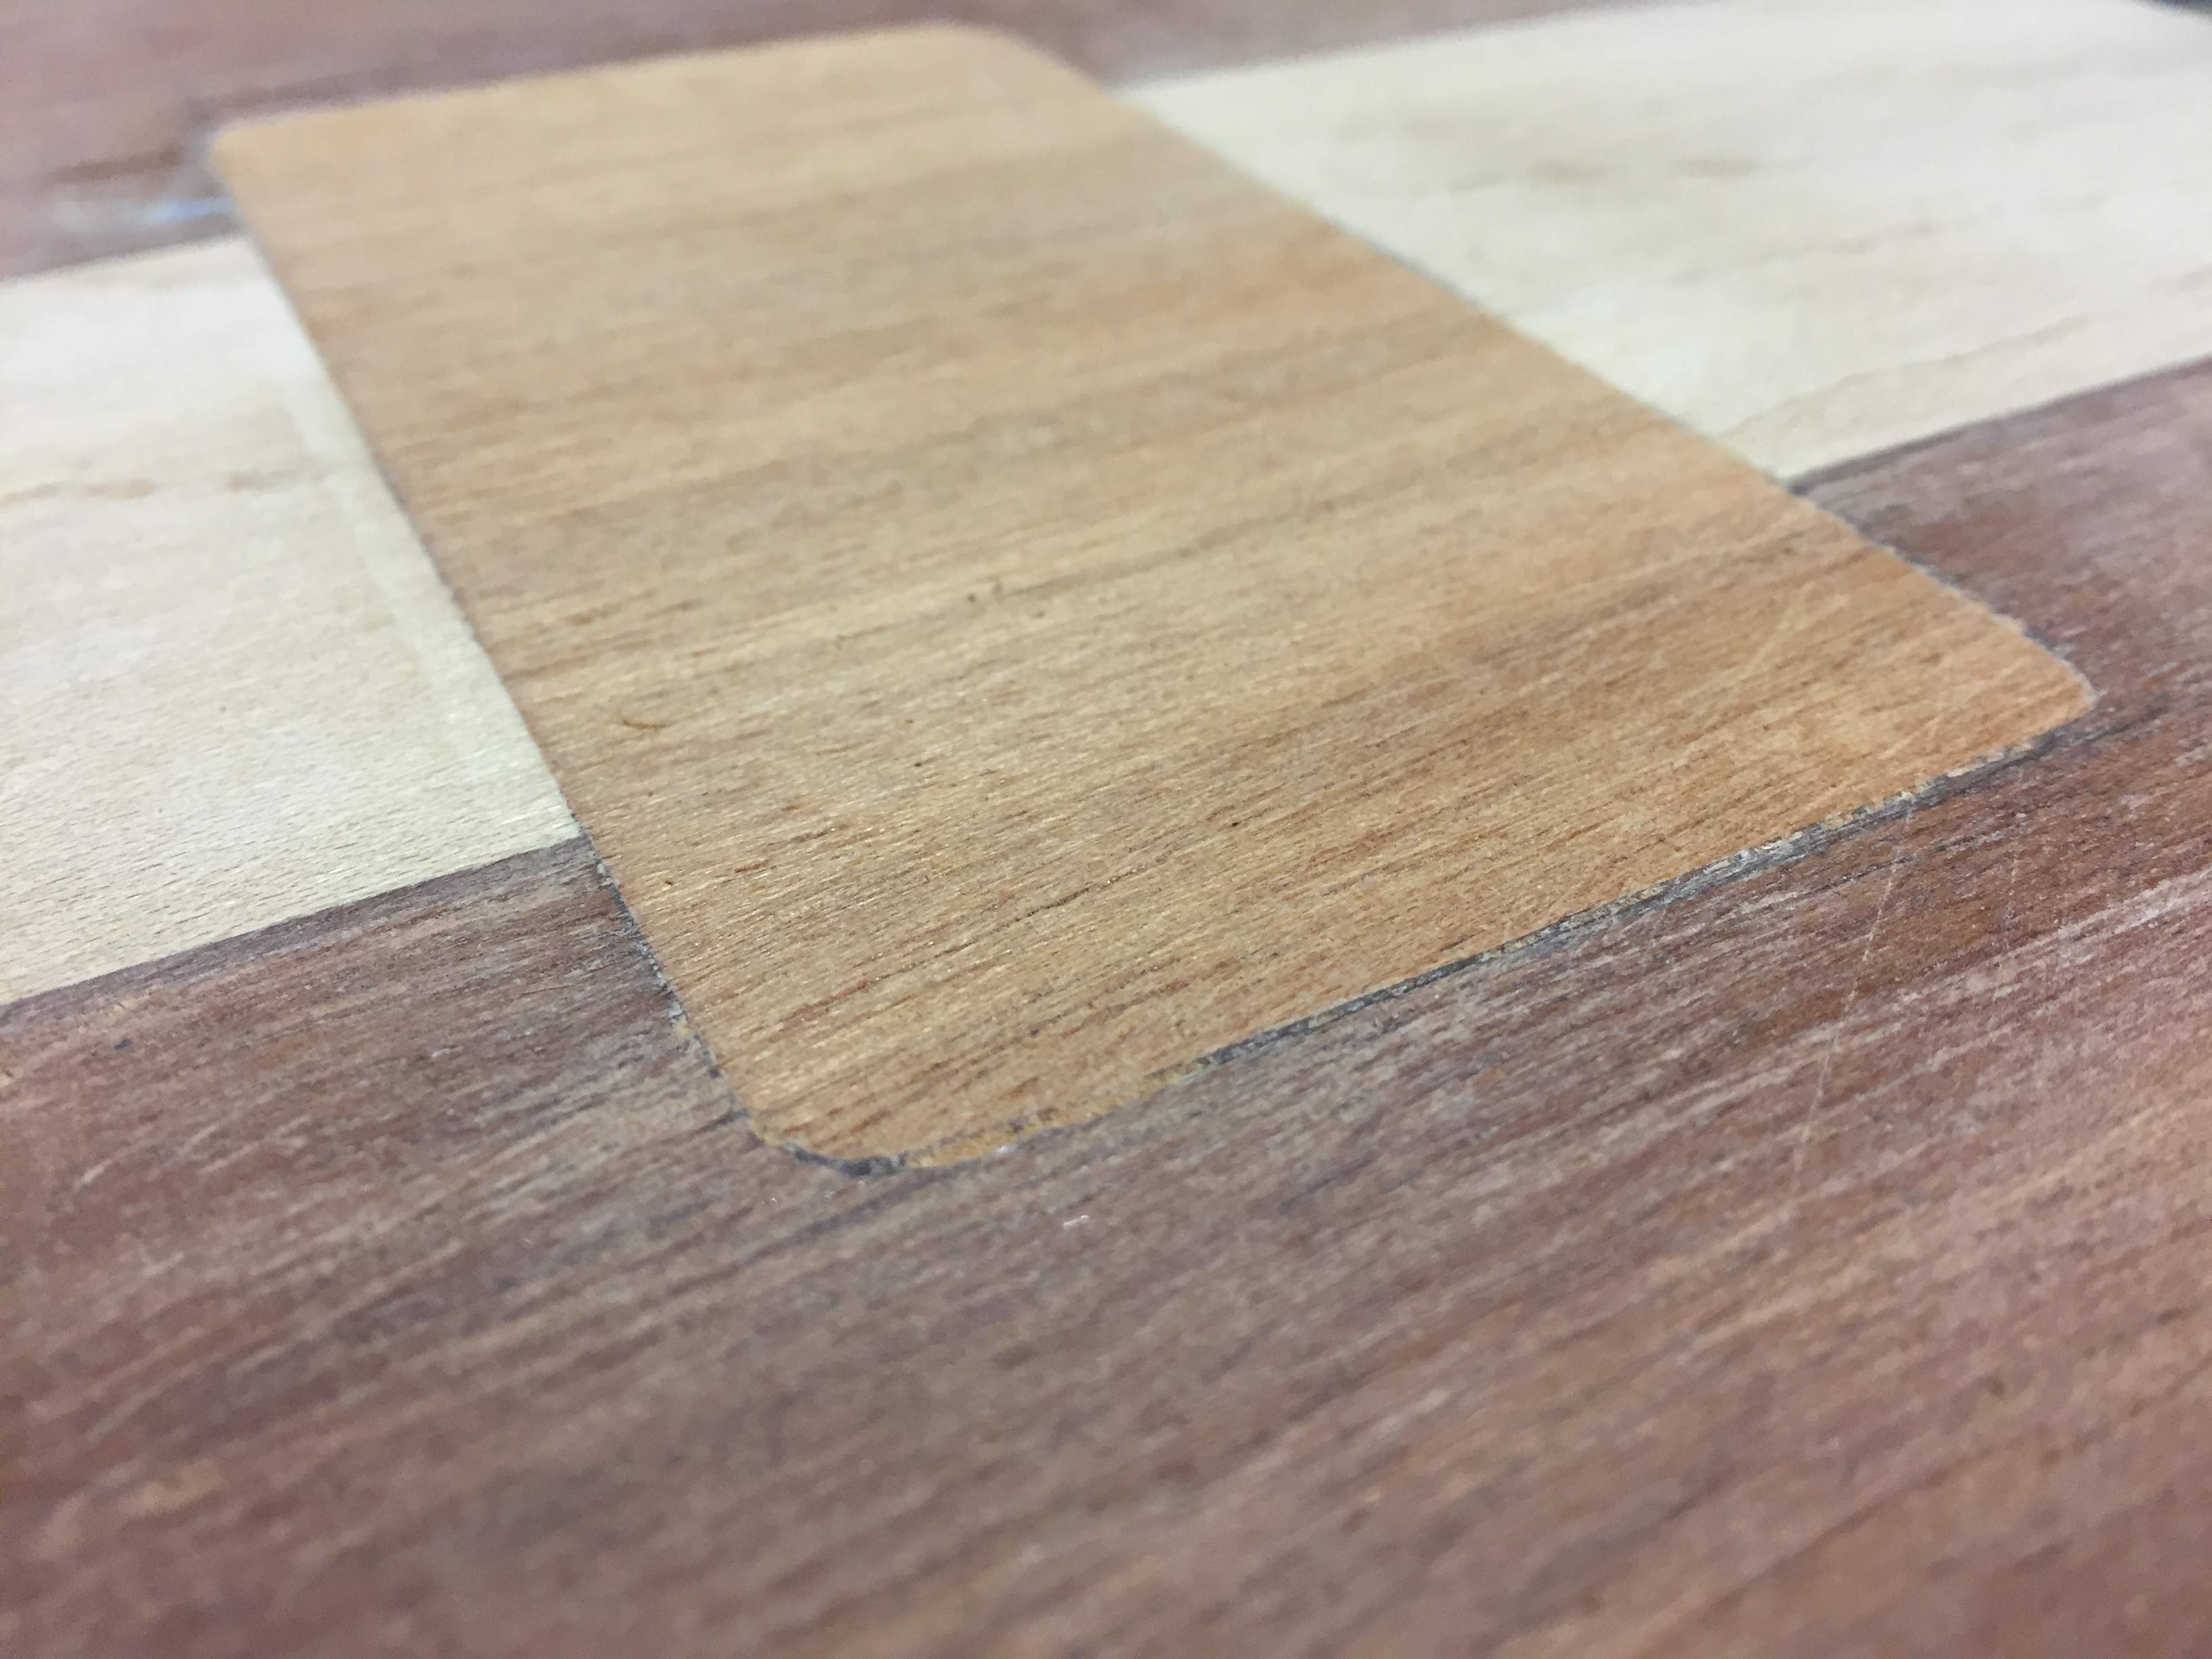
I’ve got way more sanding ahead of me, but that’s one less thing to deal with.
I also plugged my old bridge mounting holes.

My goal is to insert wood veneer inside the cavity, and sand it flush.
I need to go to my parent’s house, to cut out the inserts. Stay tuned
I decided that routing off the excess to my wood addition, was the best idea.
Routing blocks in place.
With lots of caution, I slowly shaved off the excess. It was scary, but it worked out.
I’ve got way more sanding ahead of me, but that’s one less thing to deal with.
I also plugged my old bridge mounting holes.
My goal is to insert wood veneer inside the cavity, and sand it flush.
I need to go to my parent’s house, to cut out the inserts. Stay tuned
I got a ton done, tonight.
I had my kids with me, so I couldn’t do all the step by step, but I got the whole rear cavity routed.
Plotting it out.
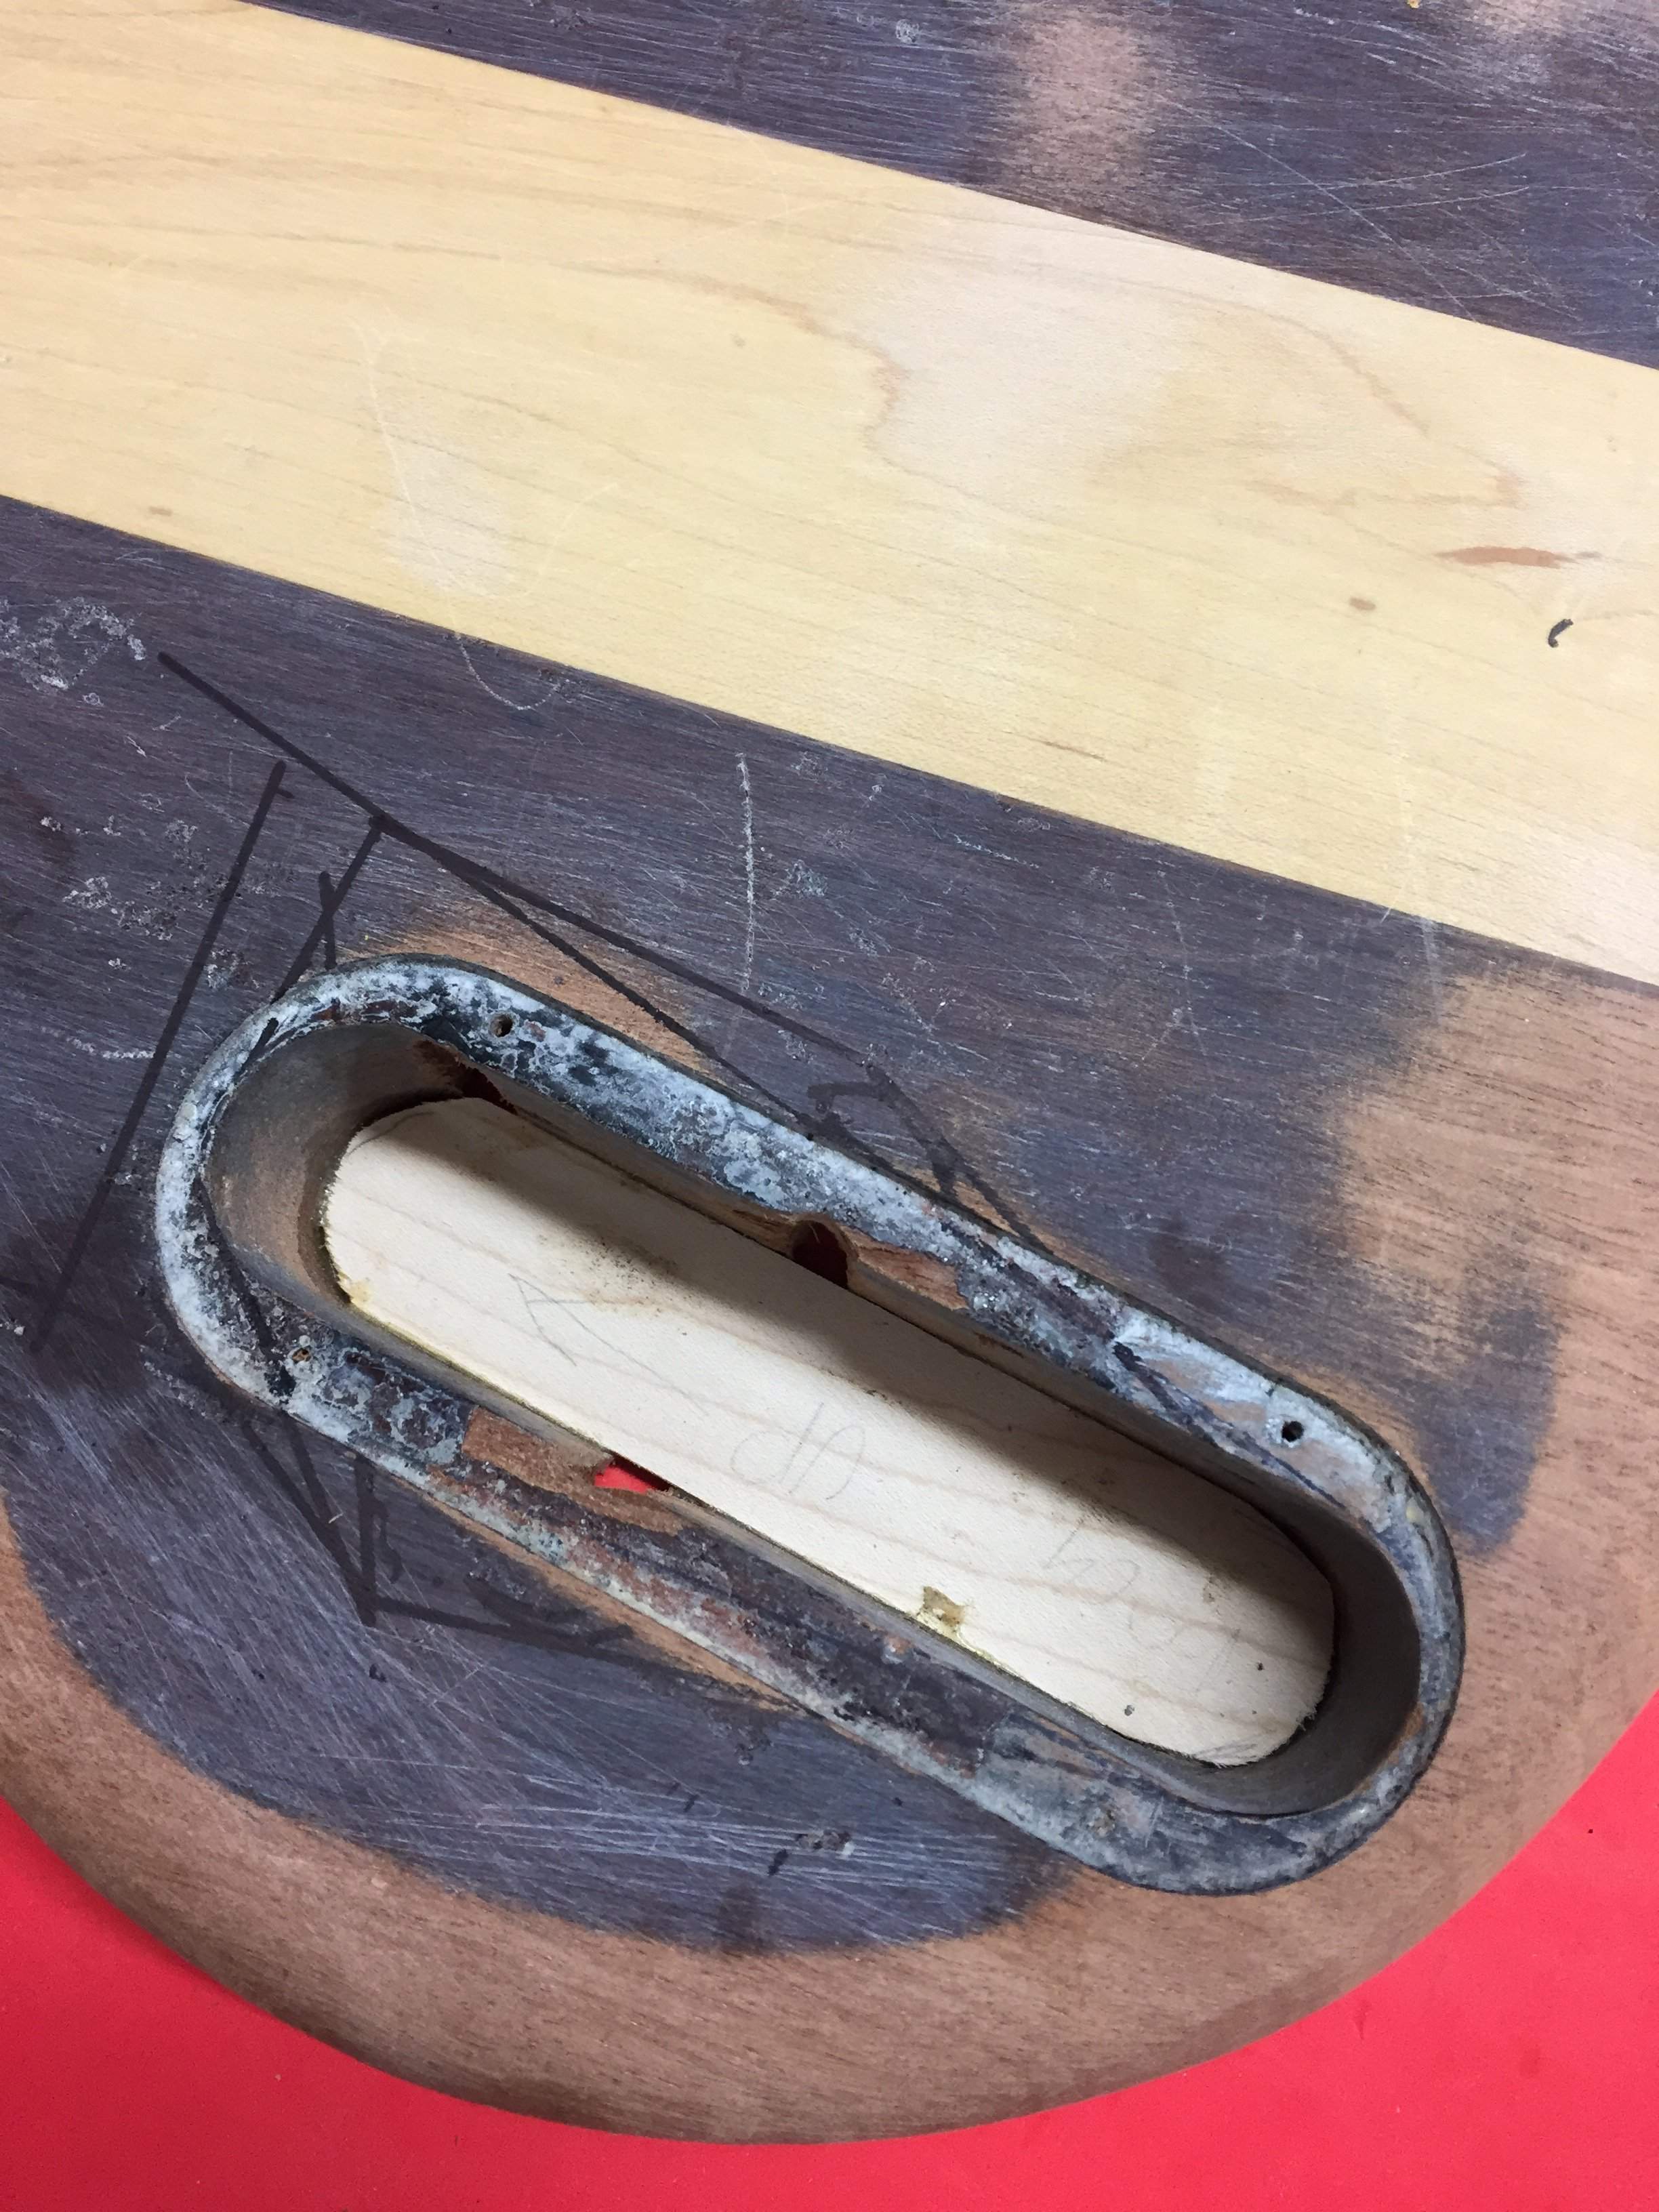
Done

My good fortune continued, as I was able to get my pickup routed out. It even fit perfectly, the first try! A first for me!

Next, I decided to get the blend and seams puttied.
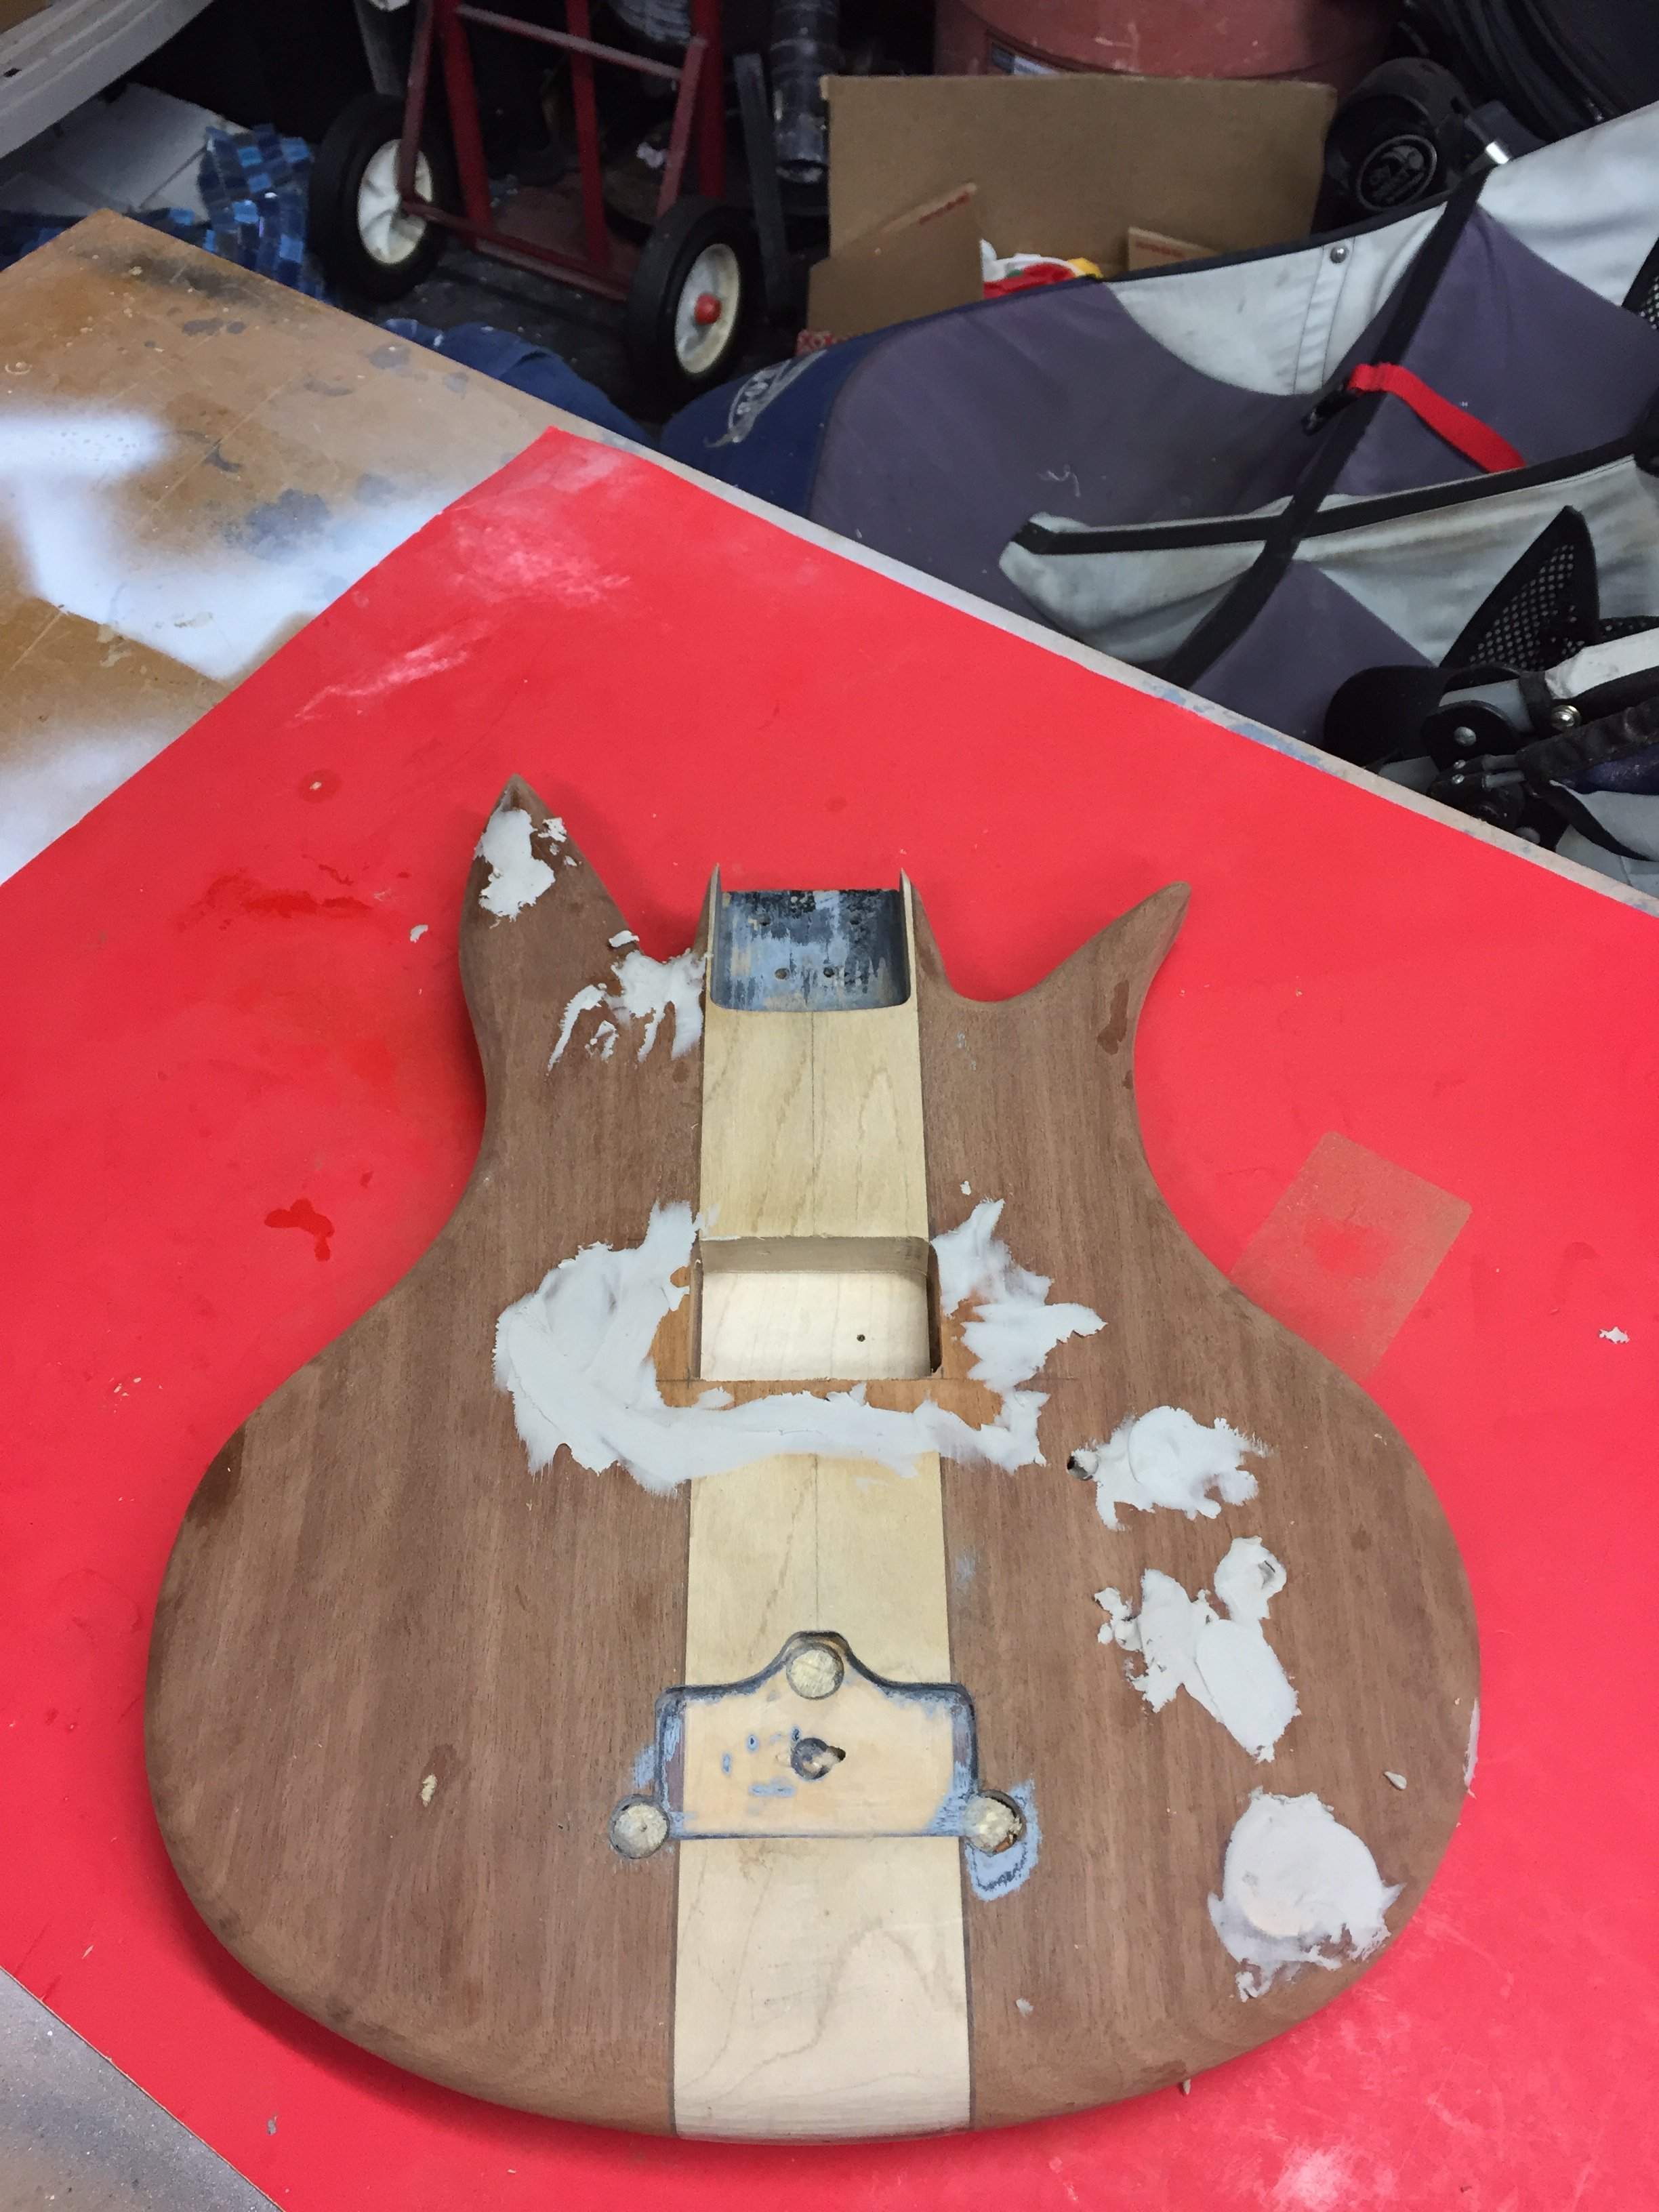
While the body cured, I focused on the neck.
Tuners need to go!
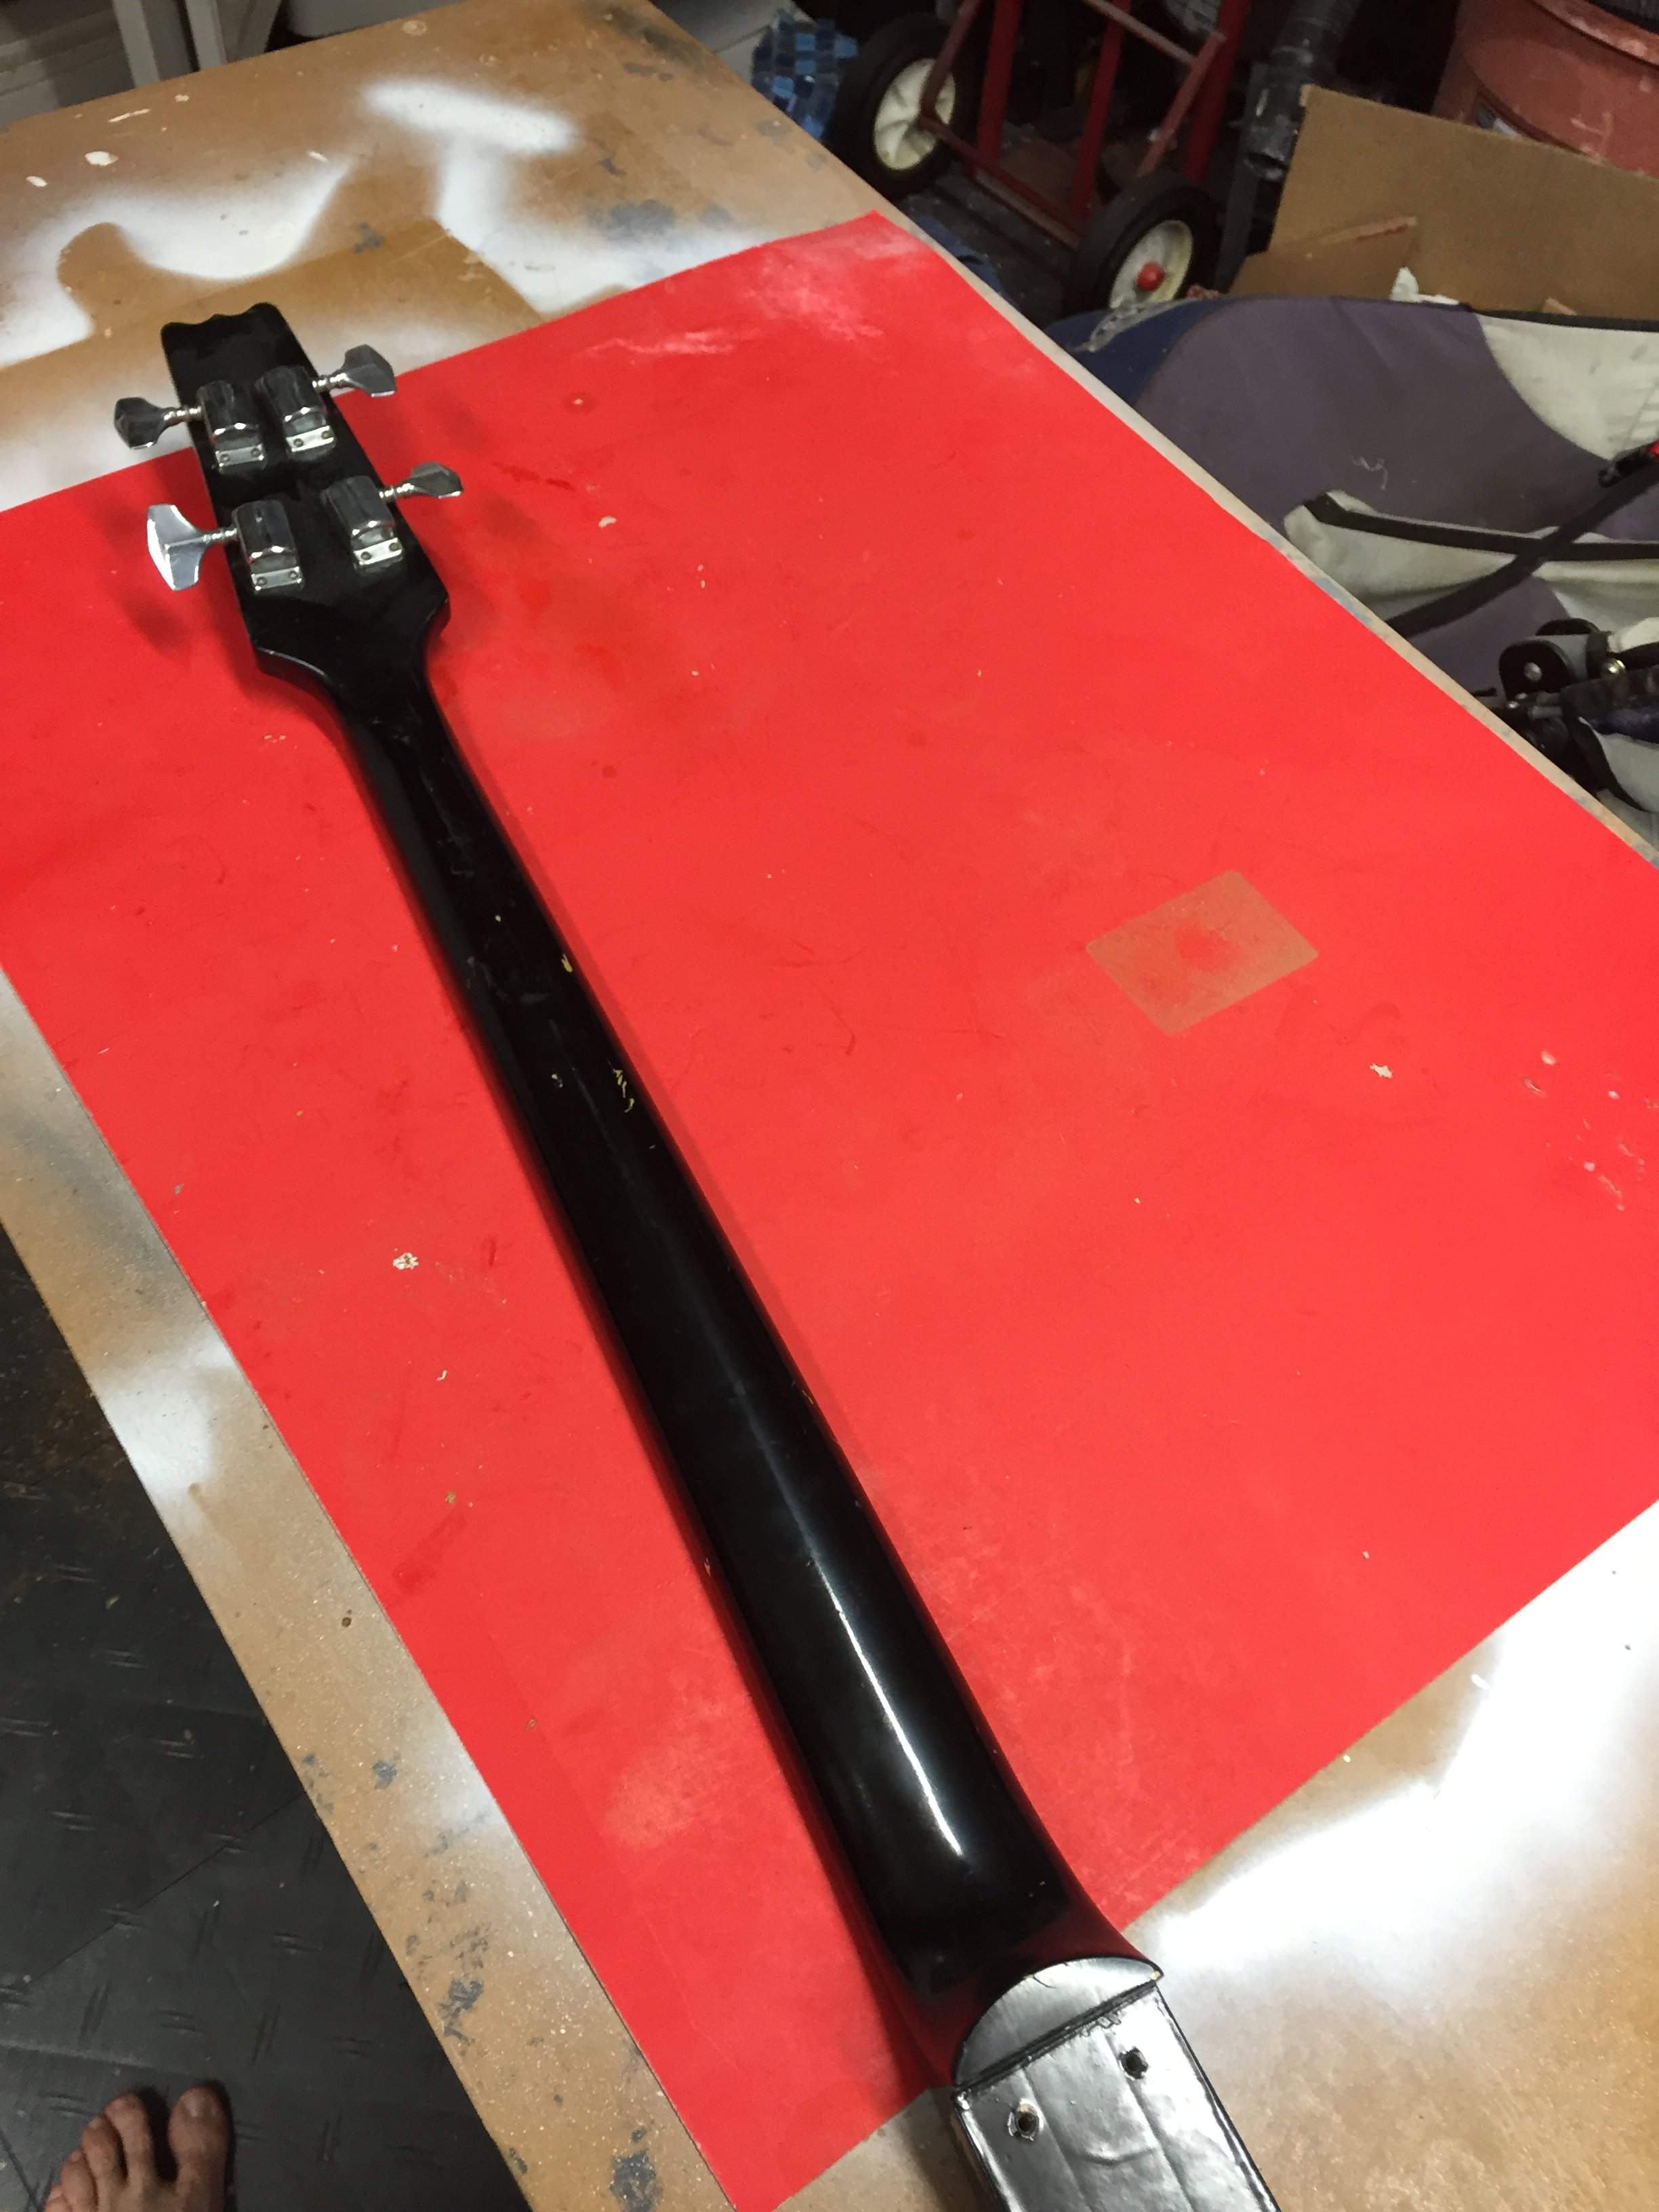
Paint stripper goes on.

Most of it comes off in one spraying!
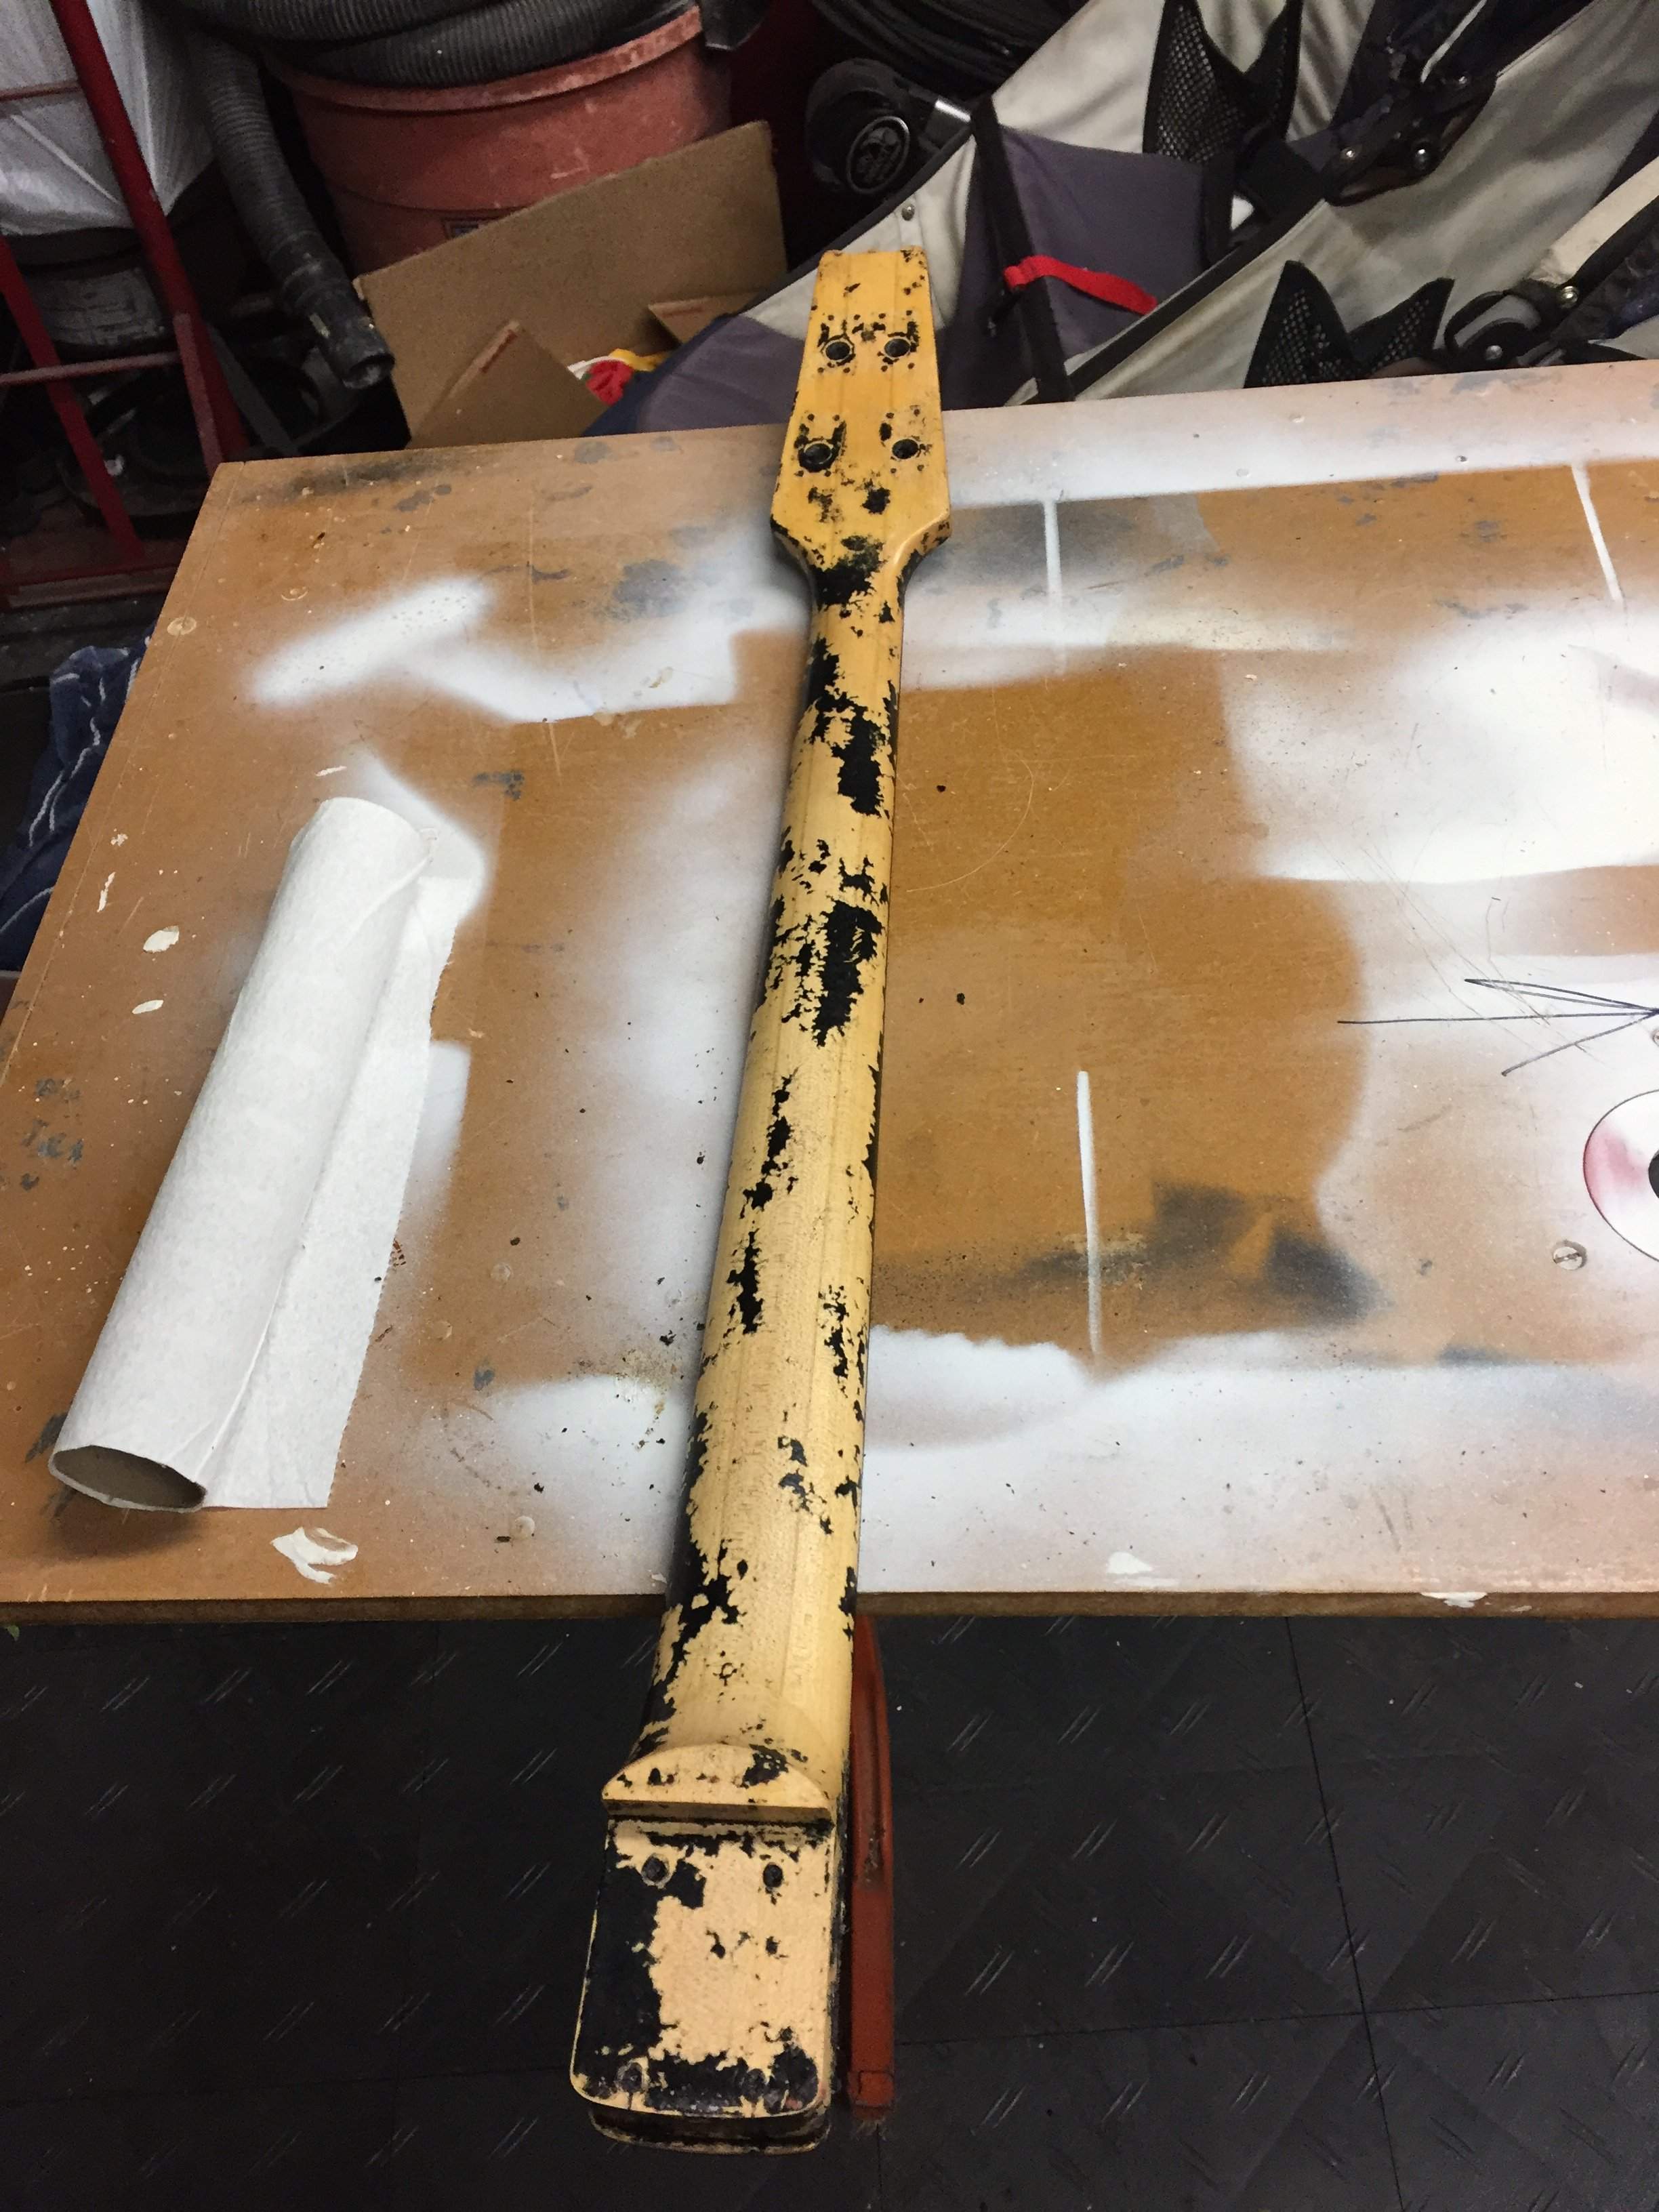
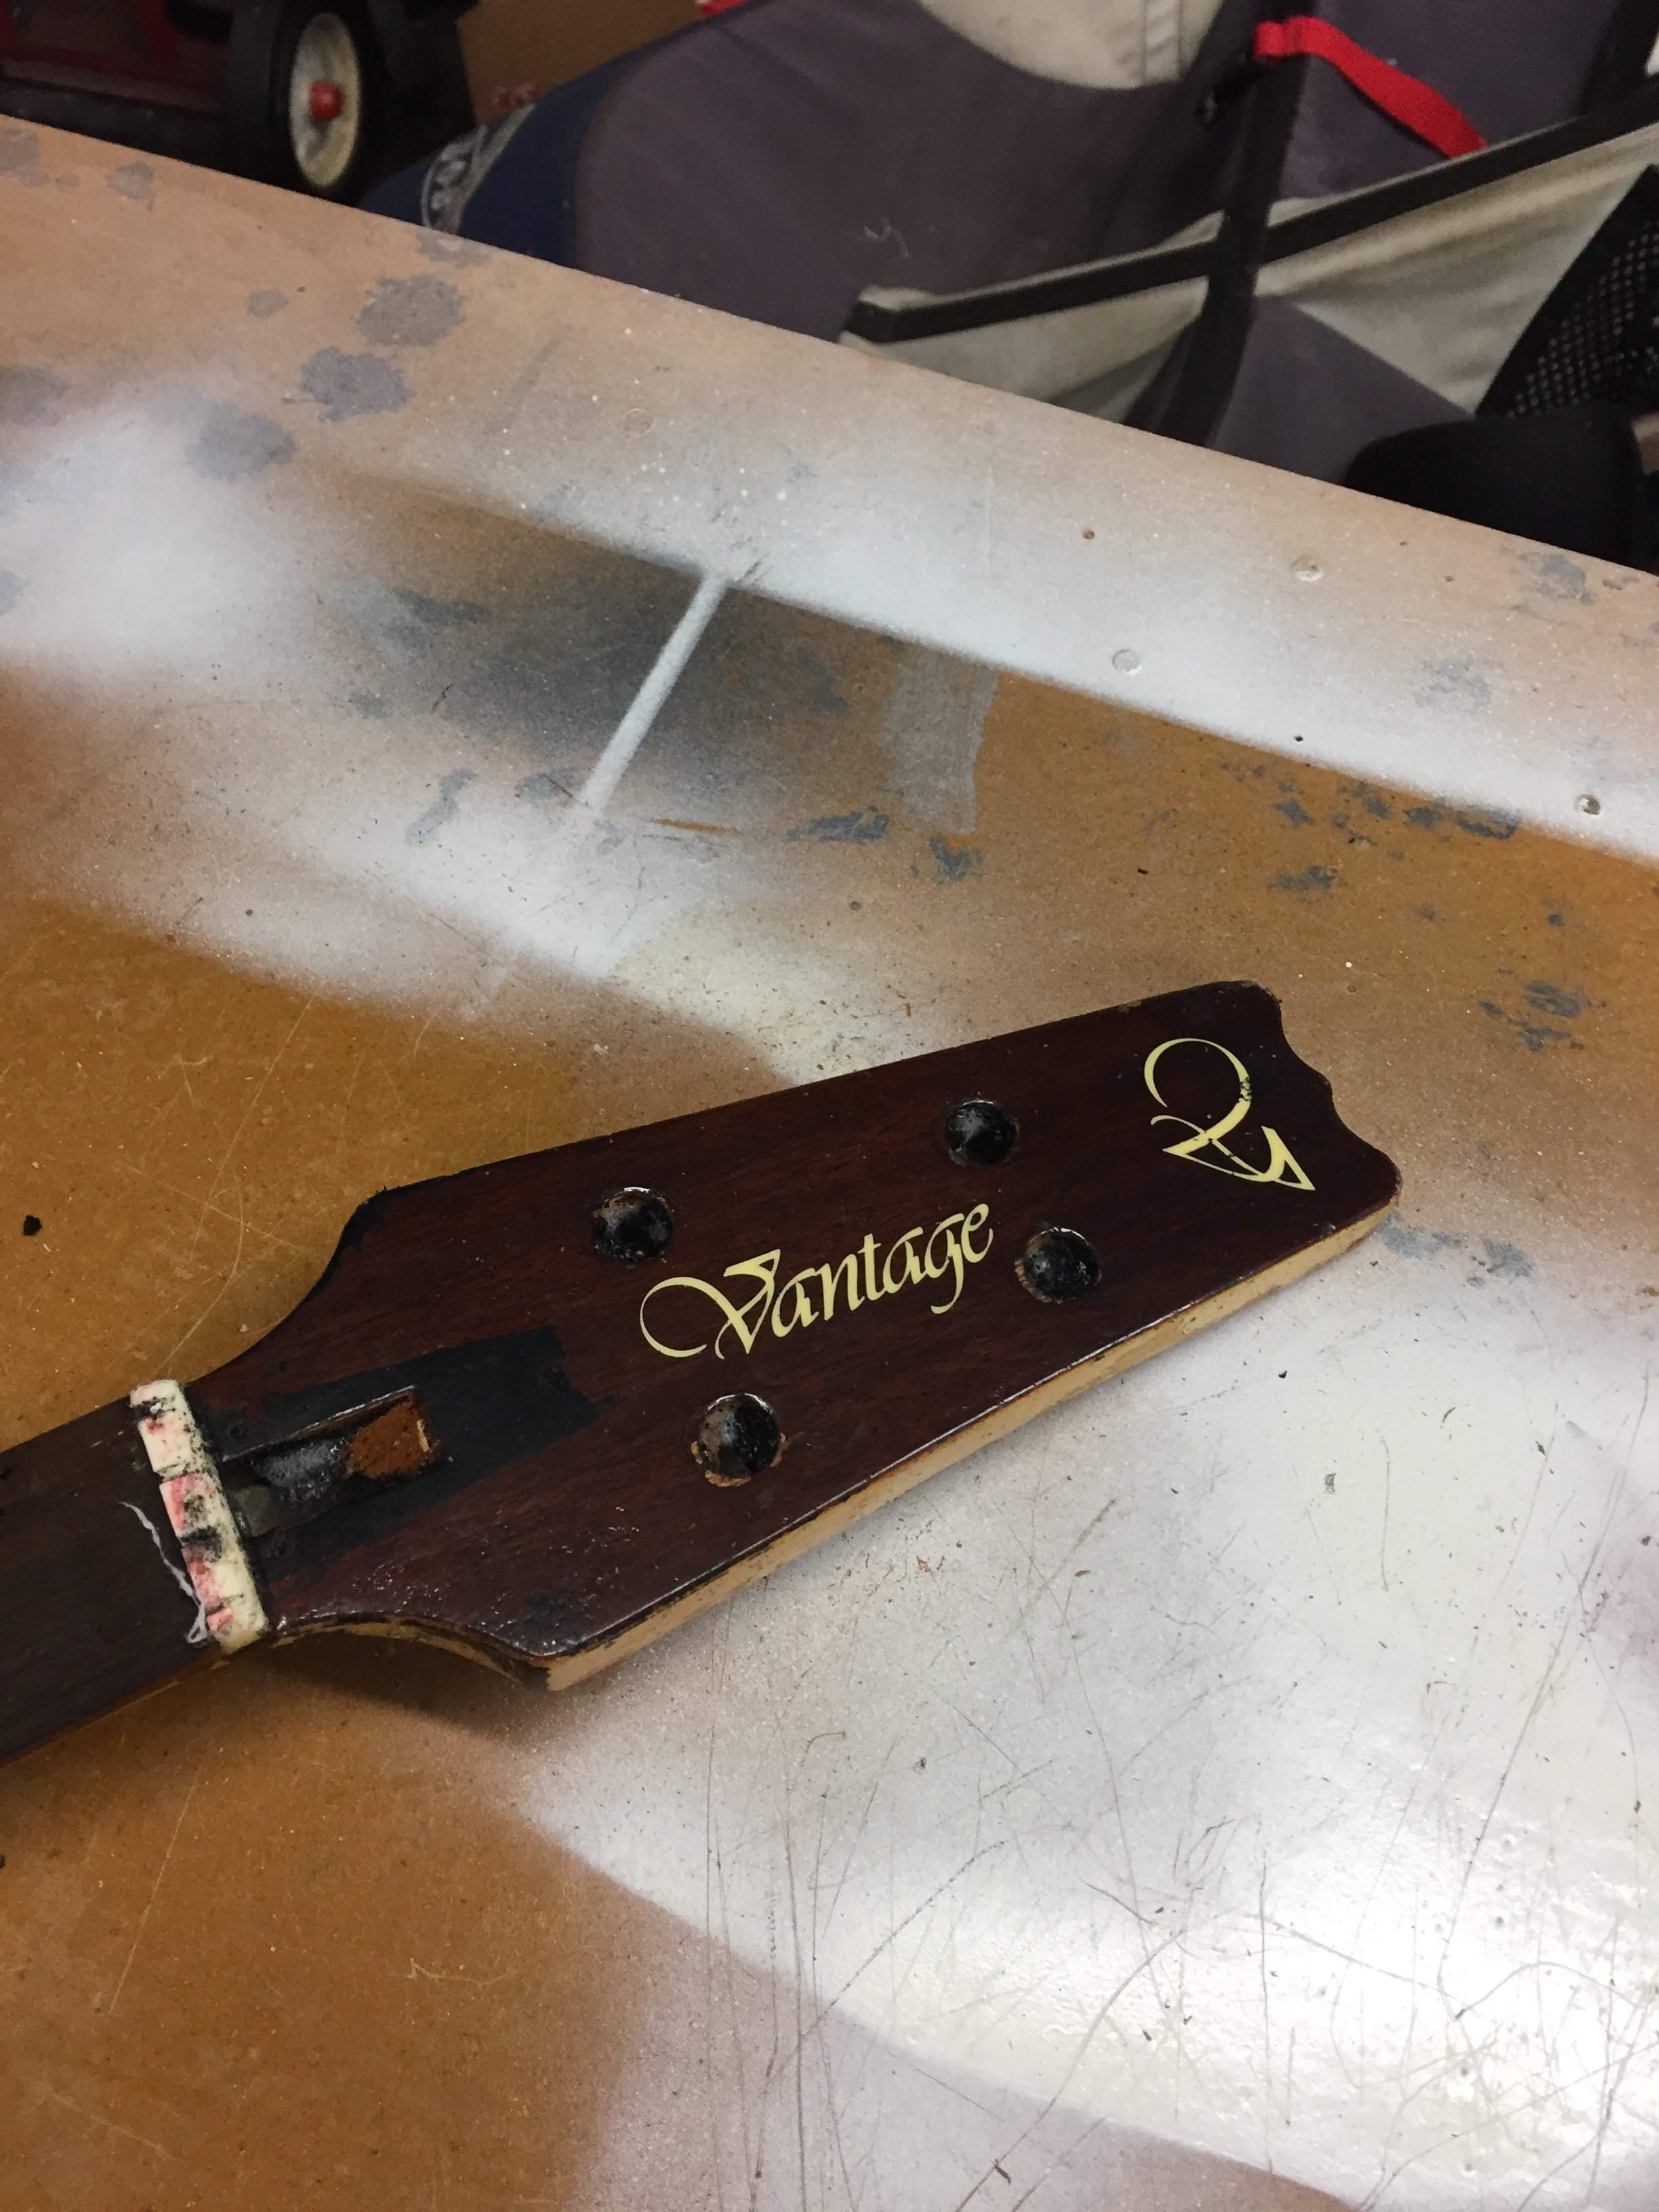
45 minutes of sanding, and she is stripped!
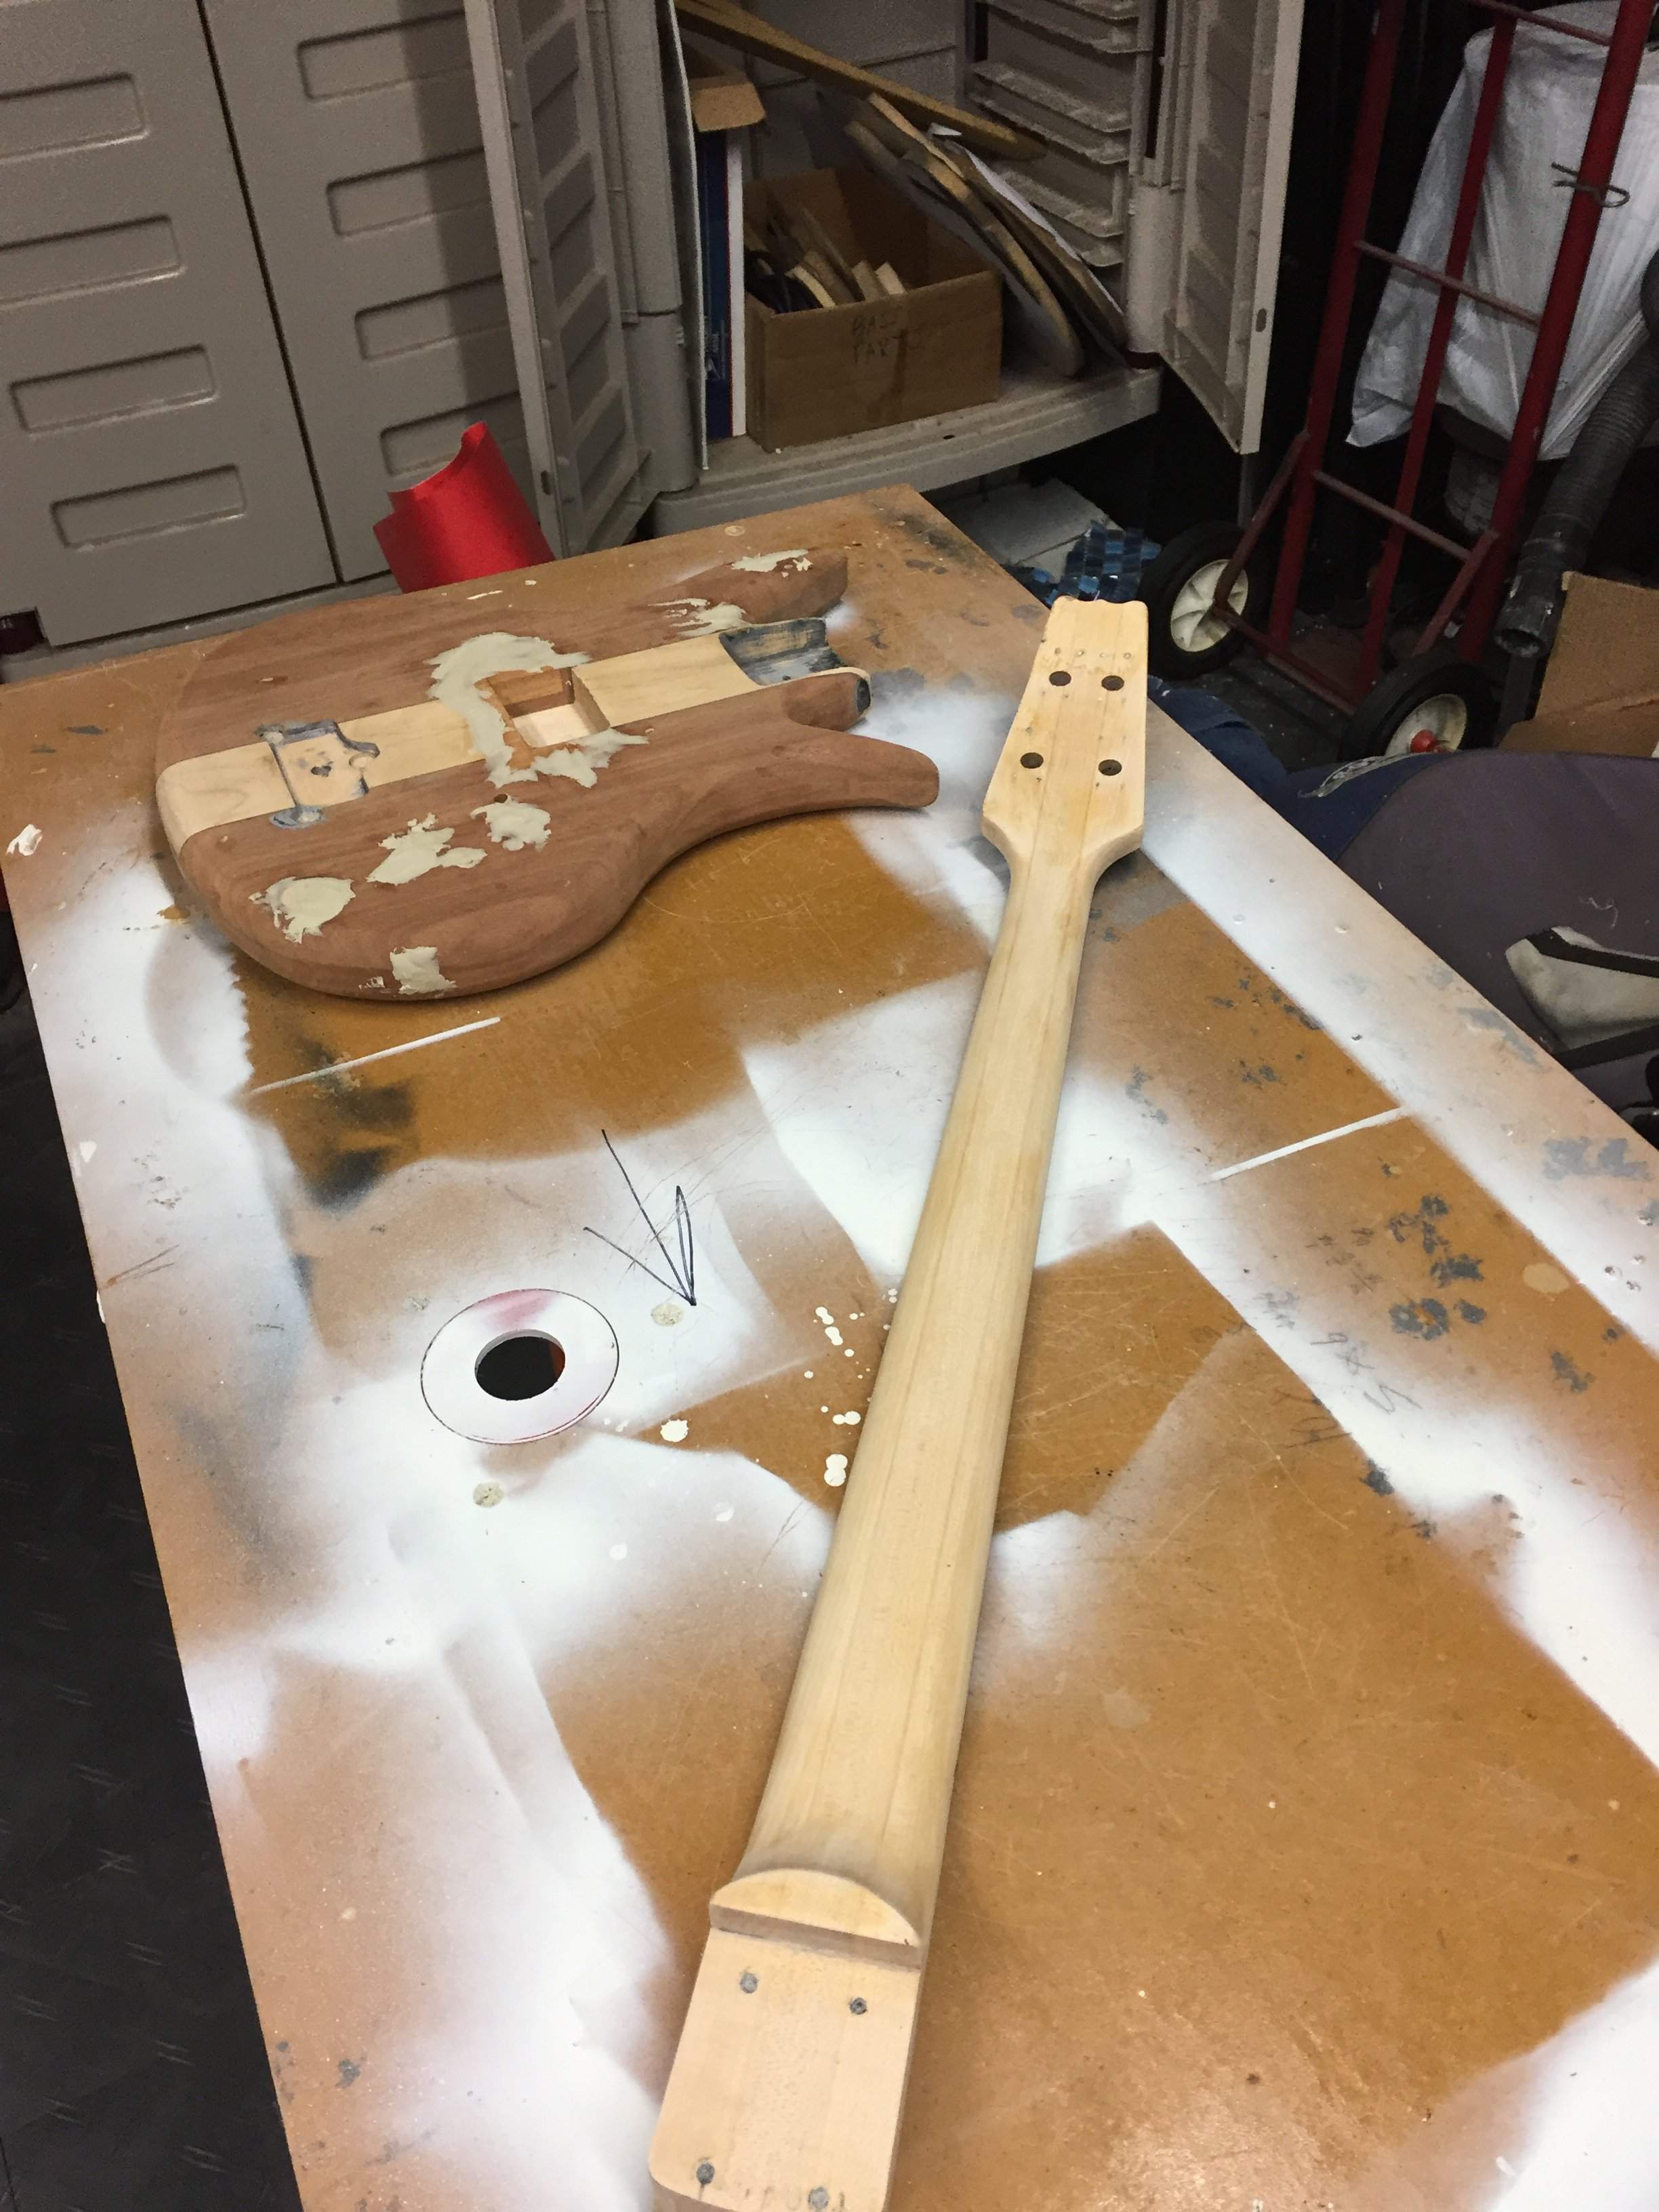
I had my kids with me, so I couldn’t do all the step by step, but I got the whole rear cavity routed.
Plotting it out.
Done
My good fortune continued, as I was able to get my pickup routed out. It even fit perfectly, the first try! A first for me!
Next, I decided to get the blend and seams puttied.
While the body cured, I focused on the neck.
Tuners need to go!
Paint stripper goes on.
Most of it comes off in one spraying!
45 minutes of sanding, and she is stripped!
So I’m basically at a standstill, now. Today, I’ve got the build to the point where I have to visit my dad’s house, to use his band saw.
Sanding down was made easy by my new hand sander and fresh 60 grit paper. I have a ton for filling and sanding, but I’m happy at how it looks, now.

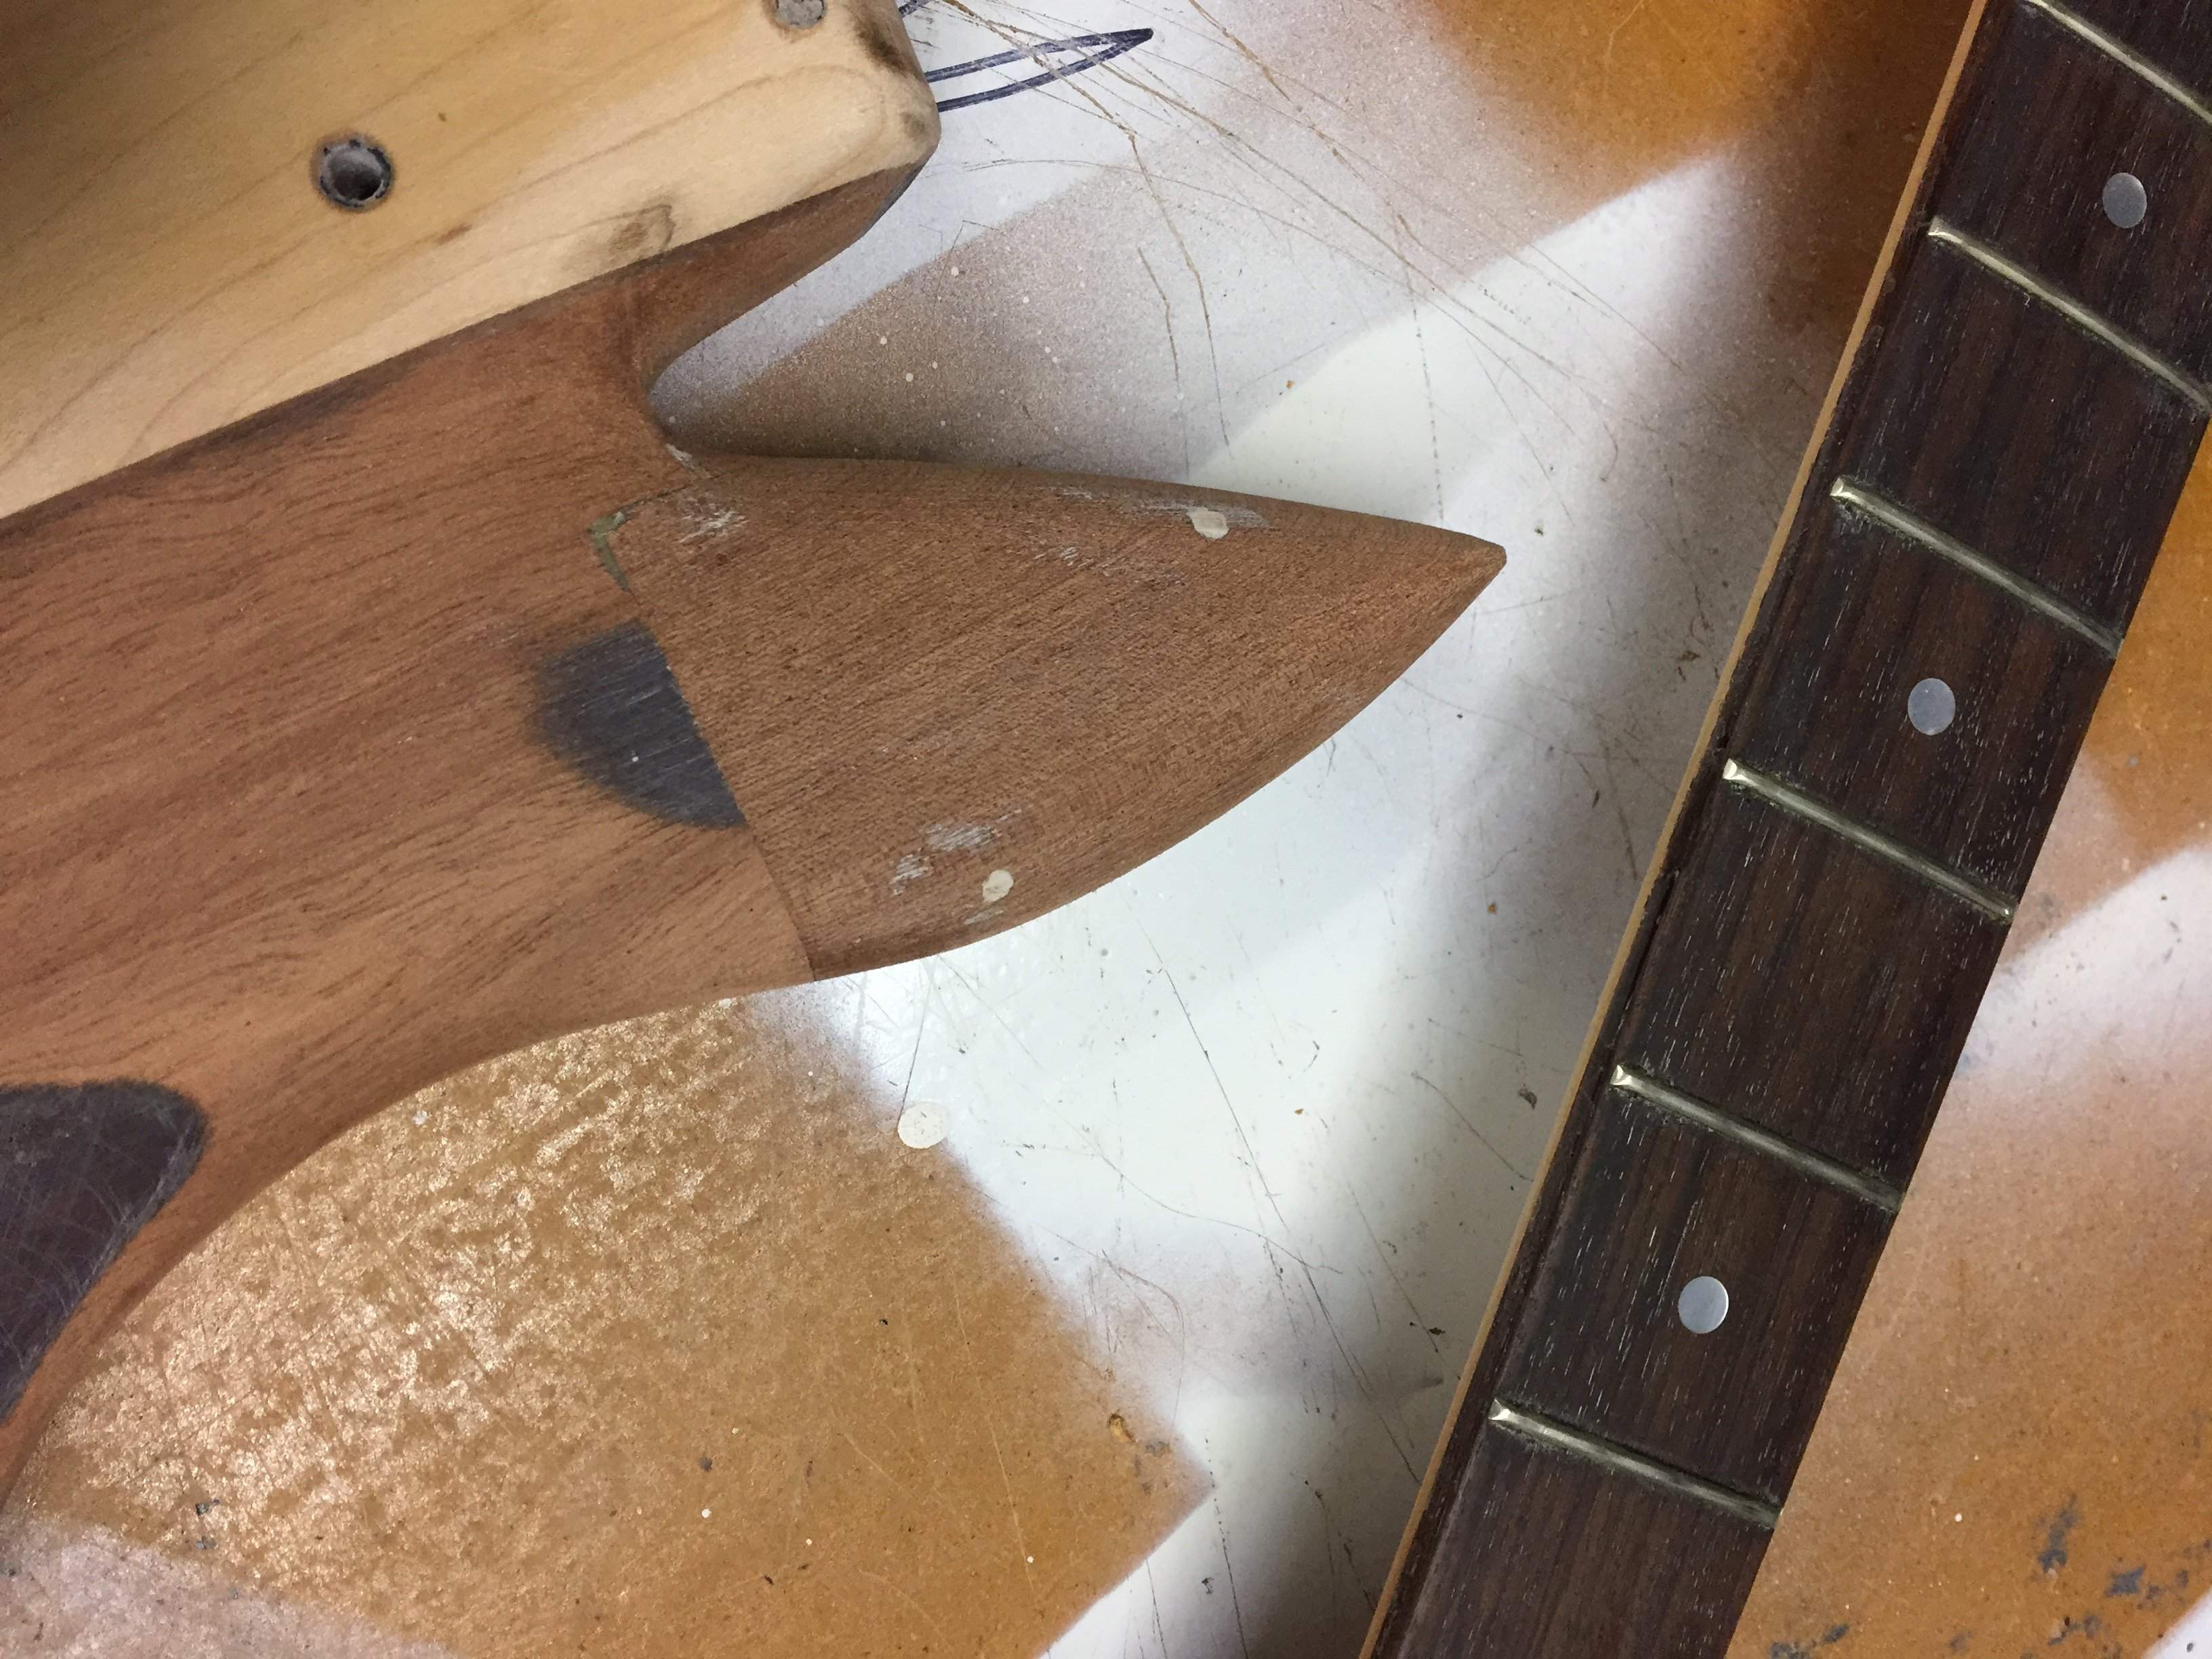
I took the time to drill out and fill the old tuner holes, as they are nowhere near the Spector head holes.
Using a wood sandwich, I decease the drill bit causing damage, by blasting through the wood.

All four drilled, with minimal carnage!

Next, I glued dowels in the holes, but left the fronts of the holes with a space to inlay maple dots. The end grain on the dowels show through the finish, after it dries, so the inlays should help me avoid end grain finish circles.
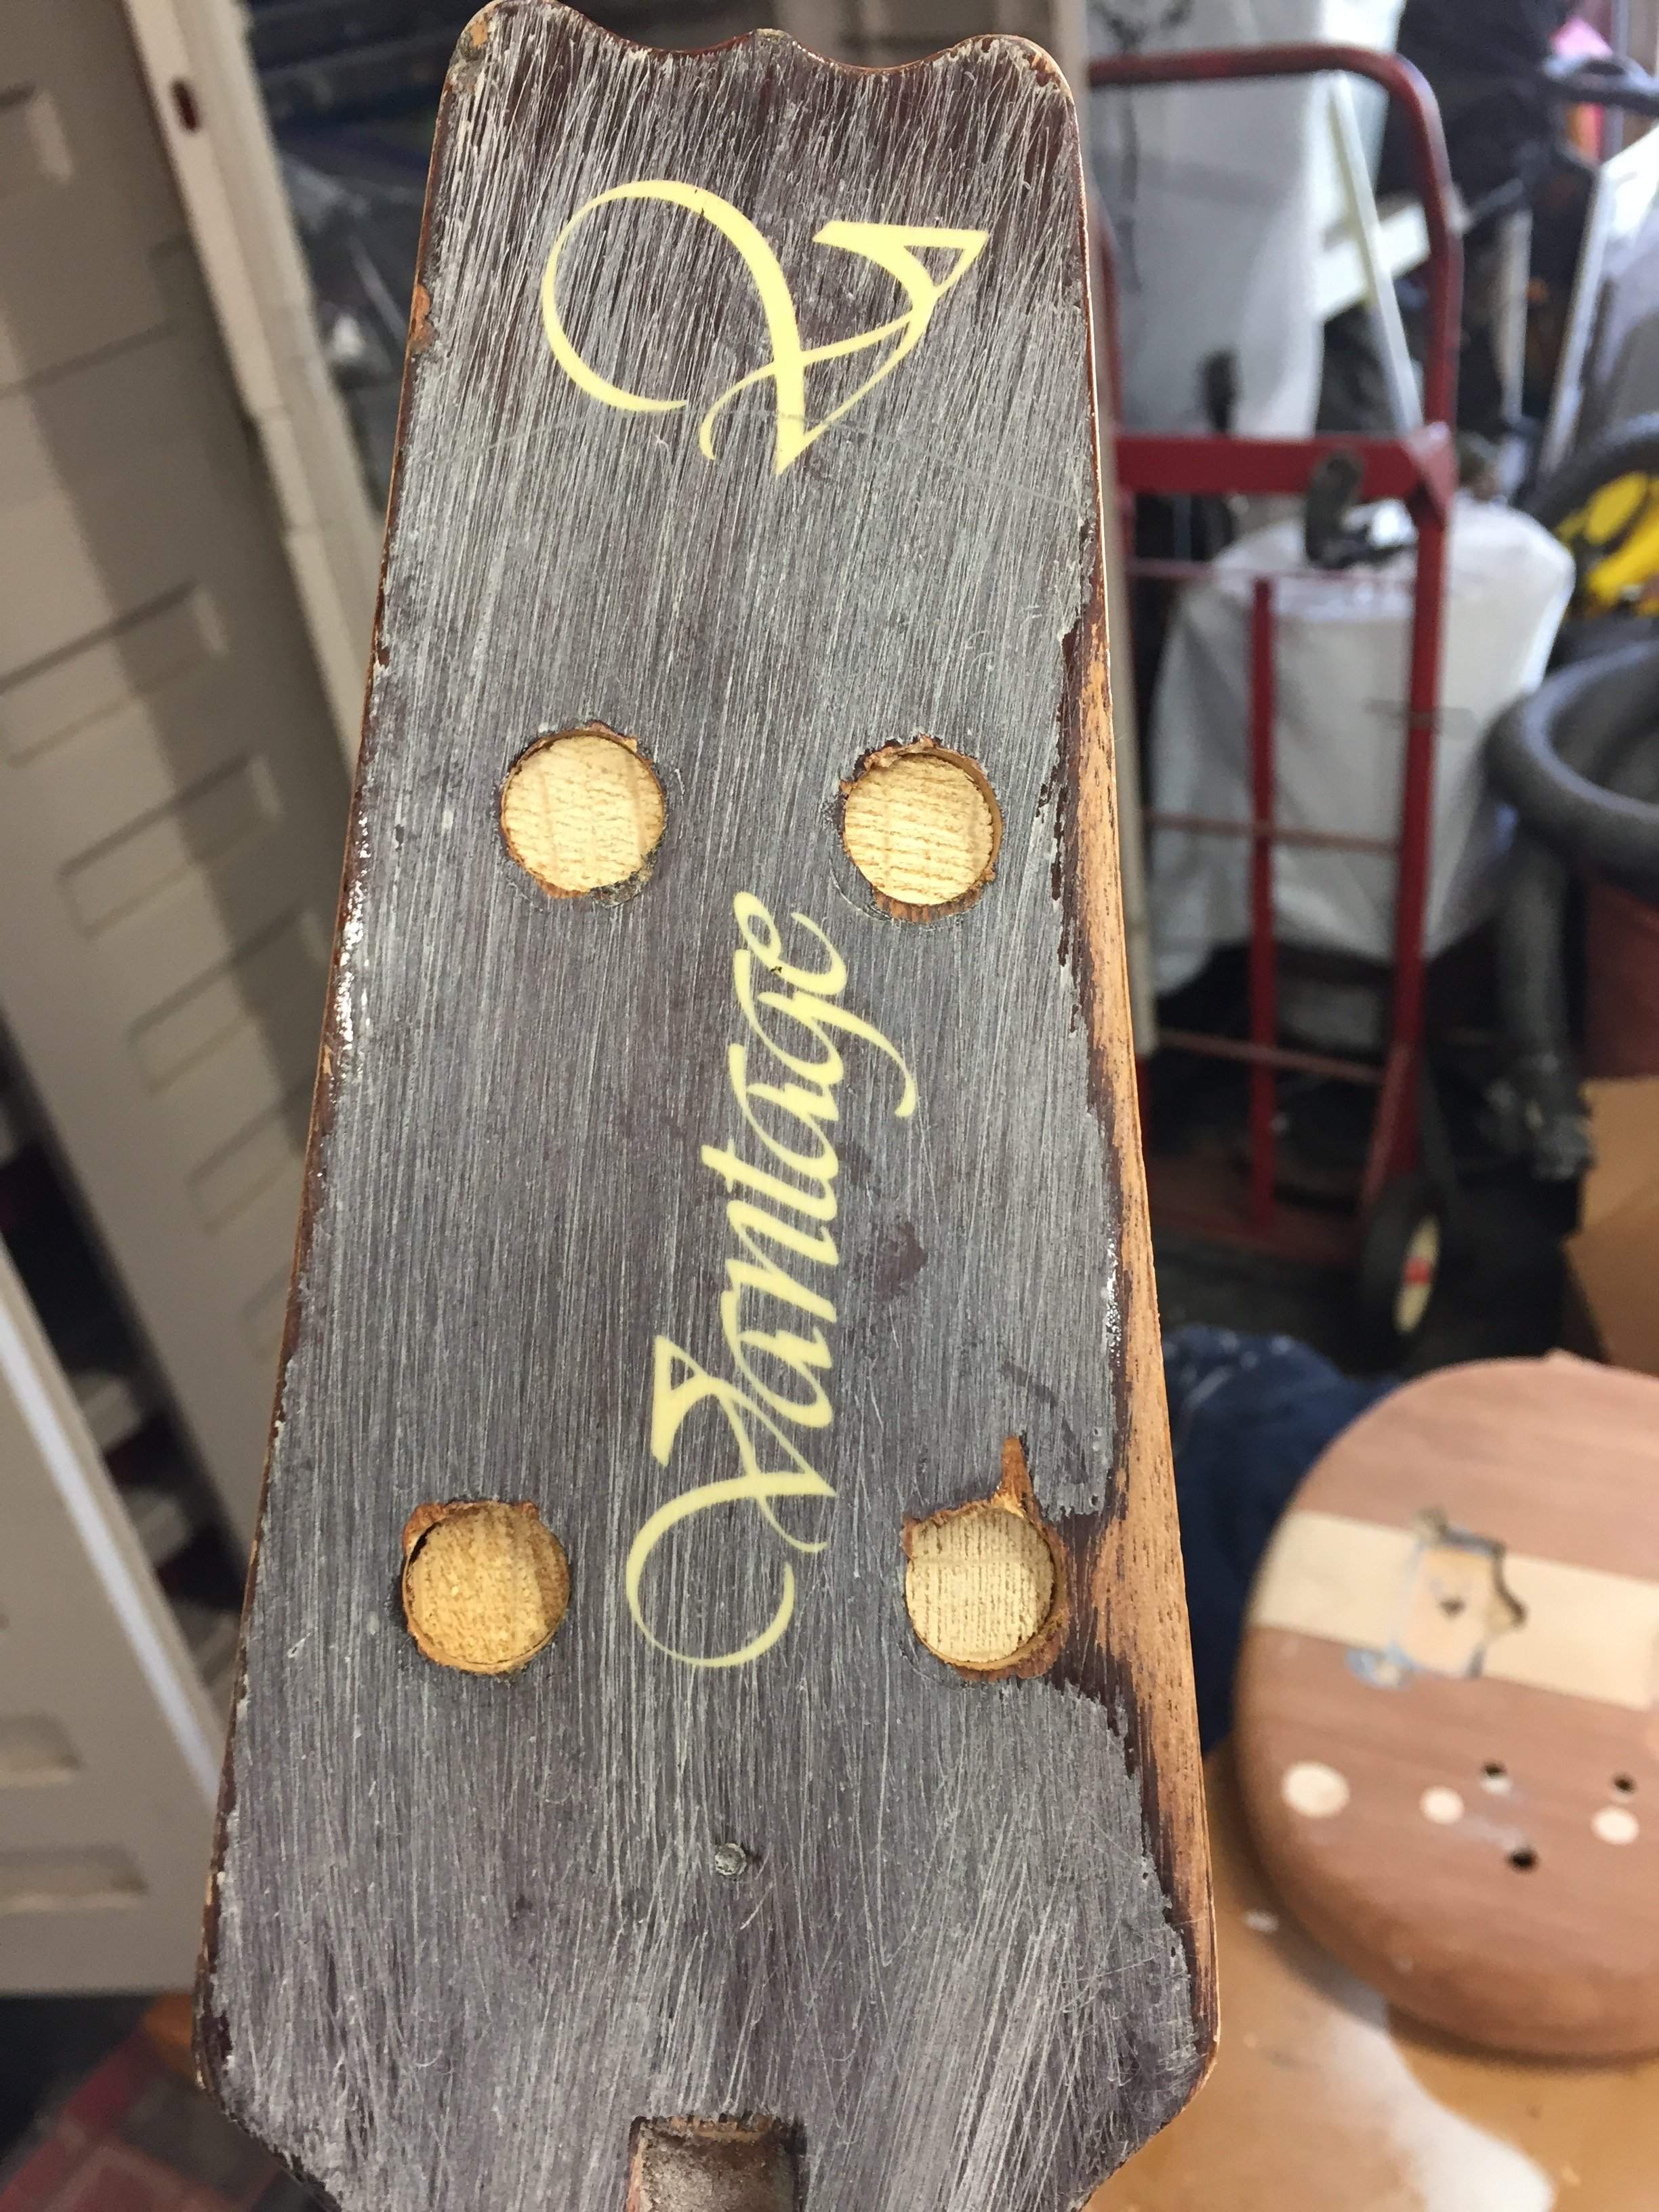
On the back of the headstock, I had the dowels set flush, as the tuner machines will likely obscure any finish dowel imprints.

Side view. Flush!

These are the next elements.
I have to band saw:
-4 maple dots for the headstock
-the plastic control cavity cover
-the bridge fill-in pieces
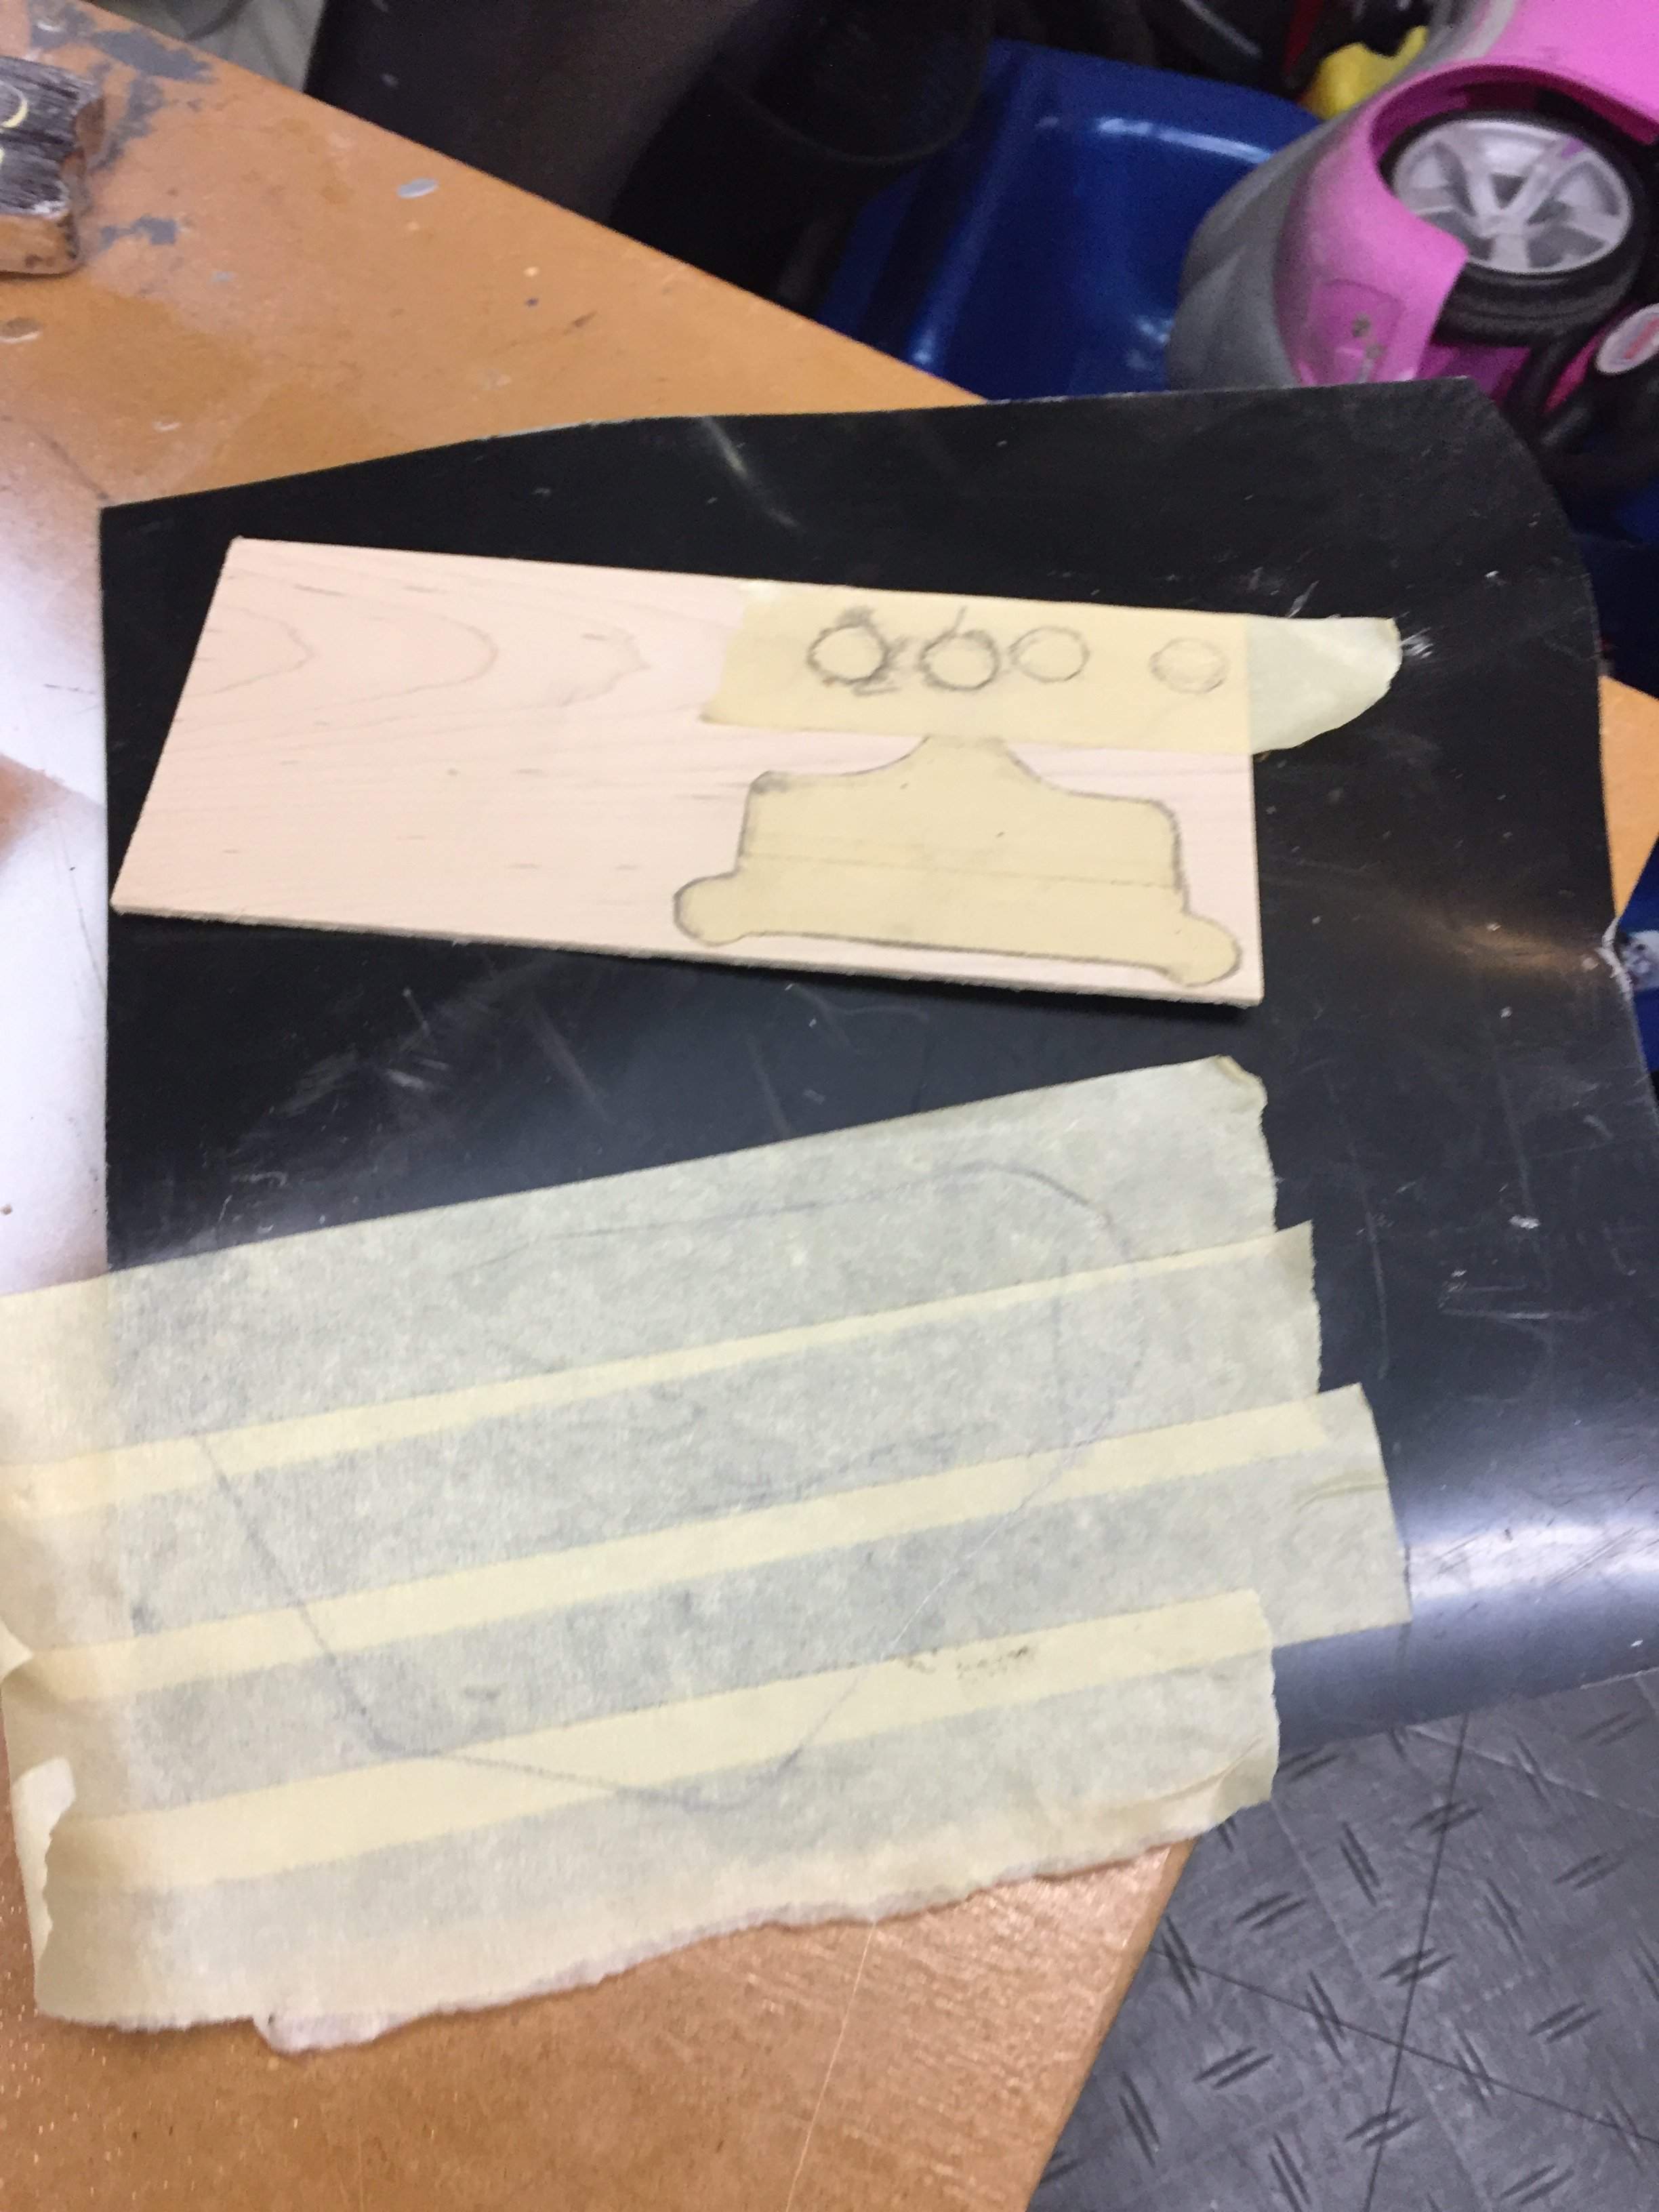
Sanding down was made easy by my new hand sander and fresh 60 grit paper. I have a ton for filling and sanding, but I’m happy at how it looks, now.
I took the time to drill out and fill the old tuner holes, as they are nowhere near the Spector head holes.
Using a wood sandwich, I decease the drill bit causing damage, by blasting through the wood.
All four drilled, with minimal carnage!
Next, I glued dowels in the holes, but left the fronts of the holes with a space to inlay maple dots. The end grain on the dowels show through the finish, after it dries, so the inlays should help me avoid end grain finish circles.
On the back of the headstock, I had the dowels set flush, as the tuner machines will likely obscure any finish dowel imprints.
Side view. Flush!
These are the next elements.
I have to band saw:
-4 maple dots for the headstock
-the plastic control cavity cover
-the bridge fill-in pieces
The past two nights, I have installed my band saw items.
My control cavity cover is sanded and fitted.

Screws in!

There are a few small gaps in the fit and finish, but:
1. I think paint will mute any discrepancies
2. This is a test project for my neck through Spector project.
I think going forward, I will just buy Stew Mac control covers, as I already have the routing templates
Tail piece maple inlays placed and glued
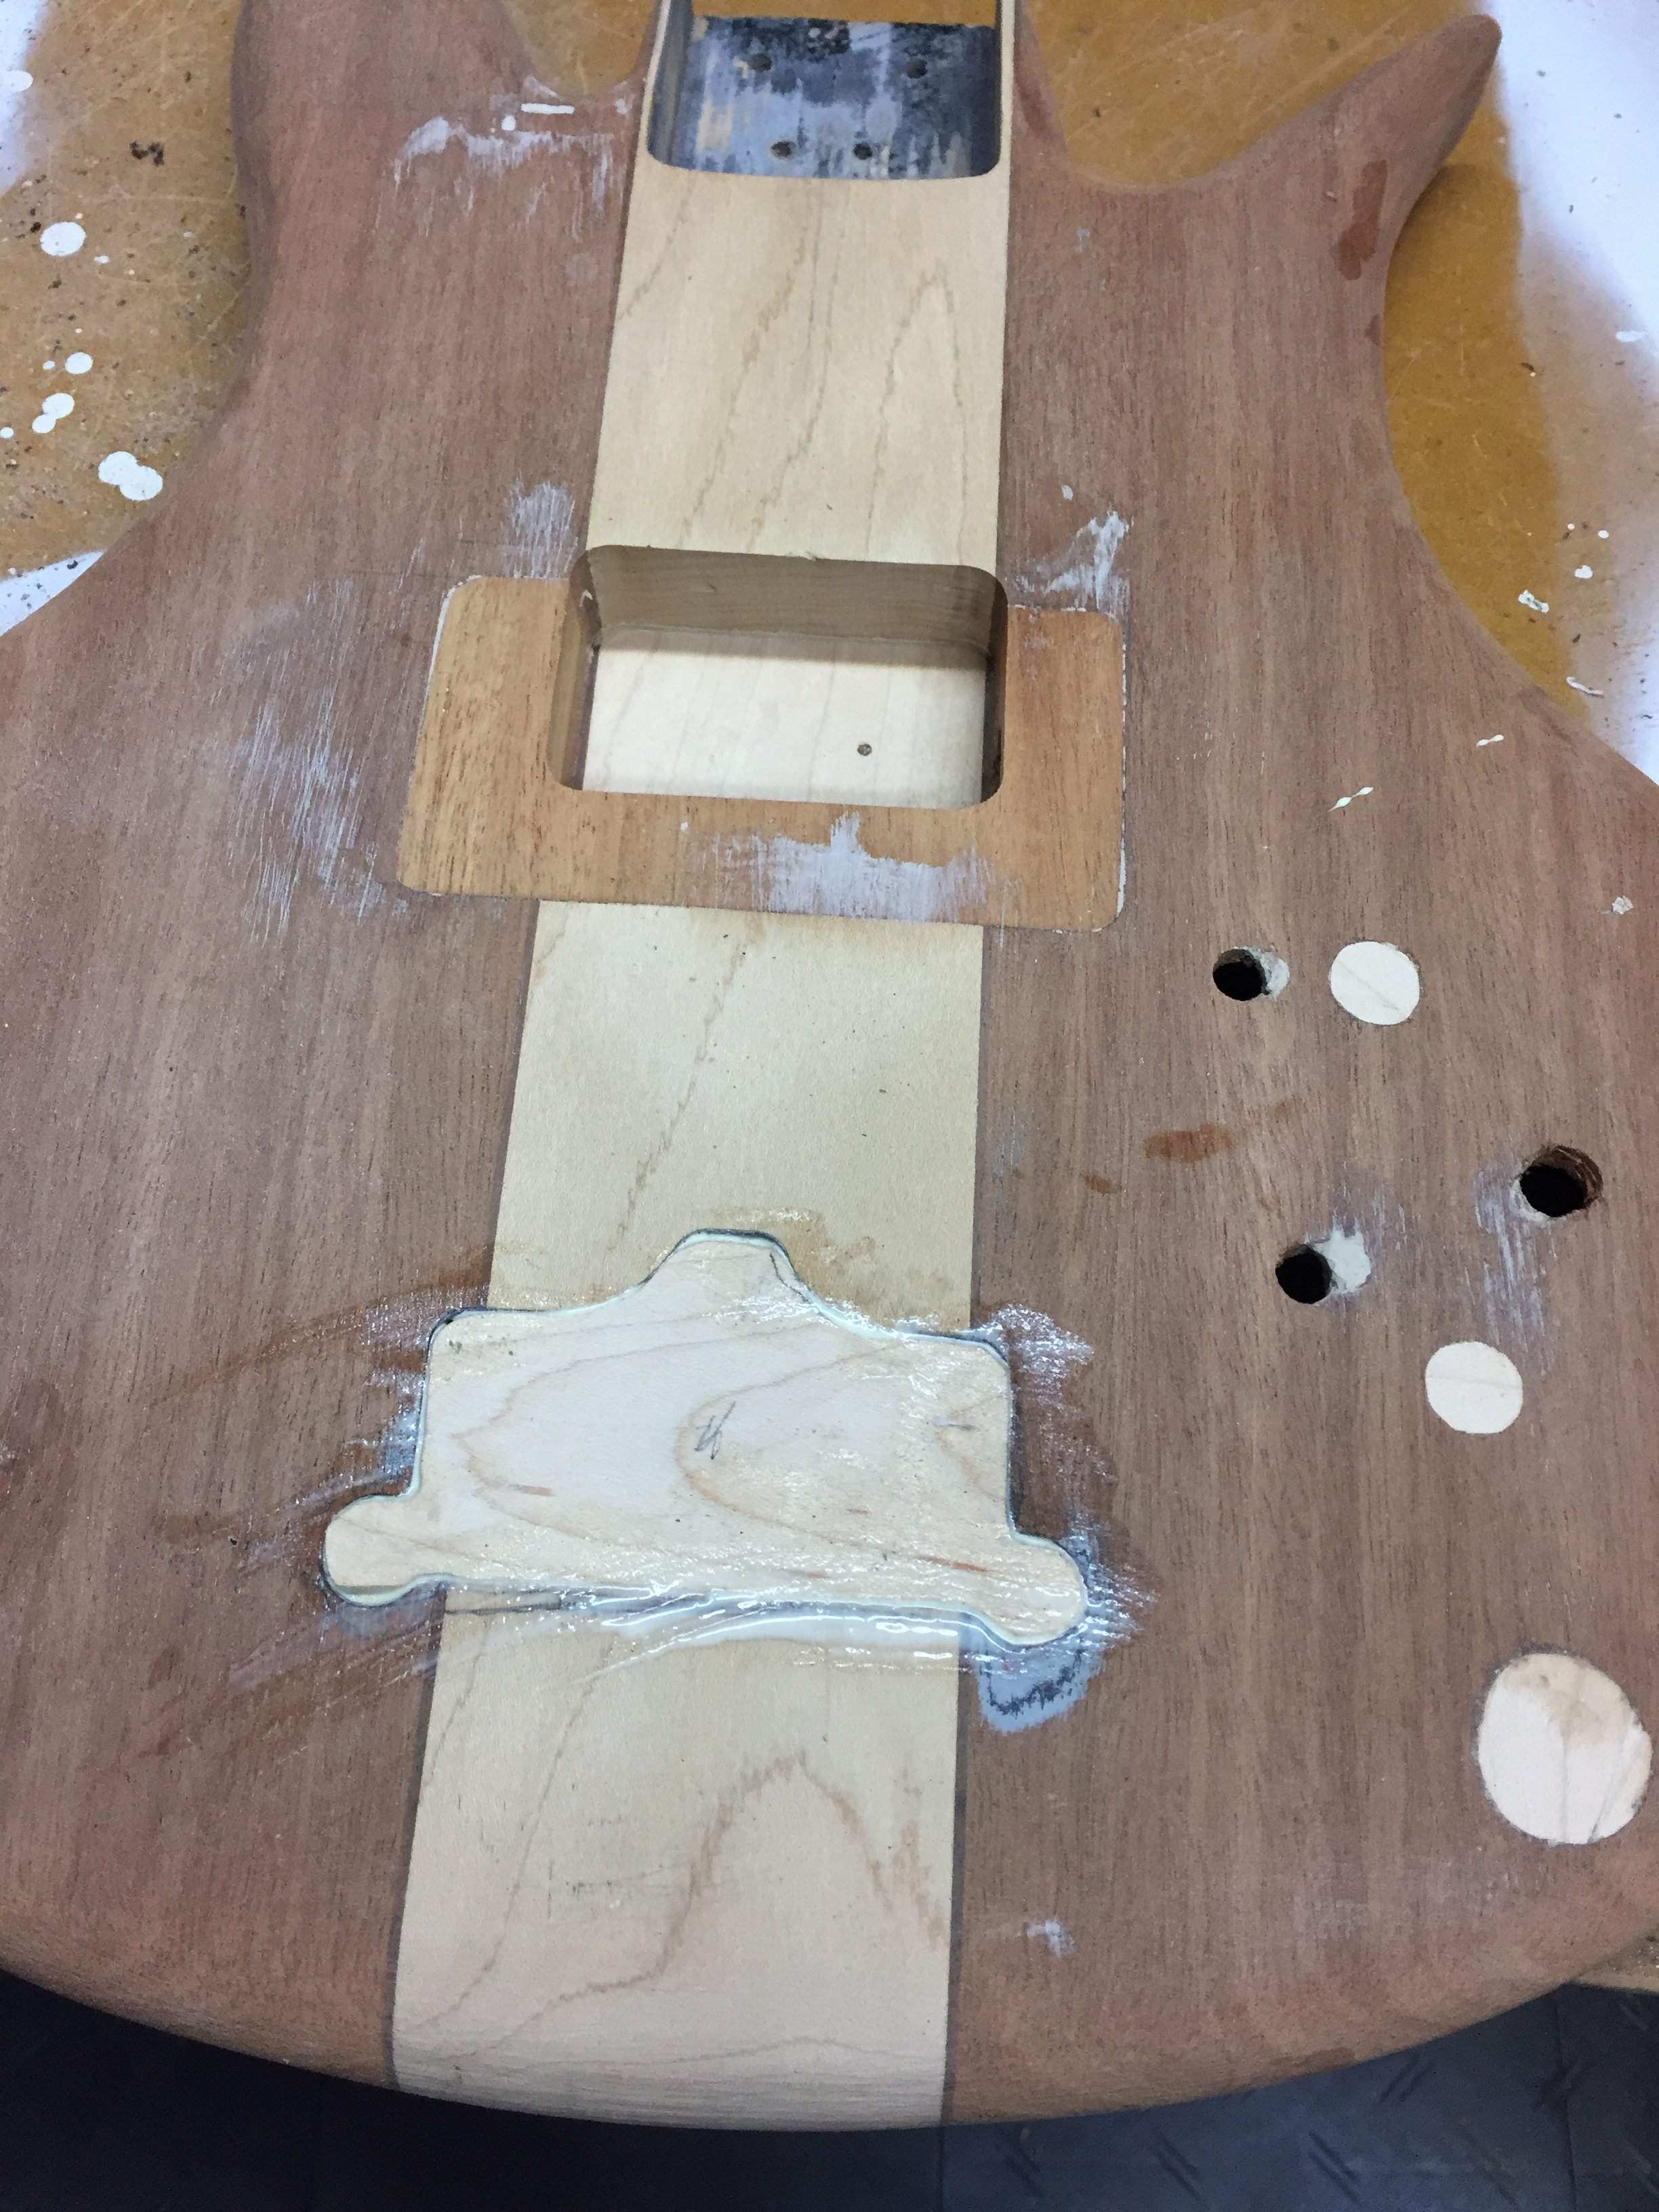
Clamped!
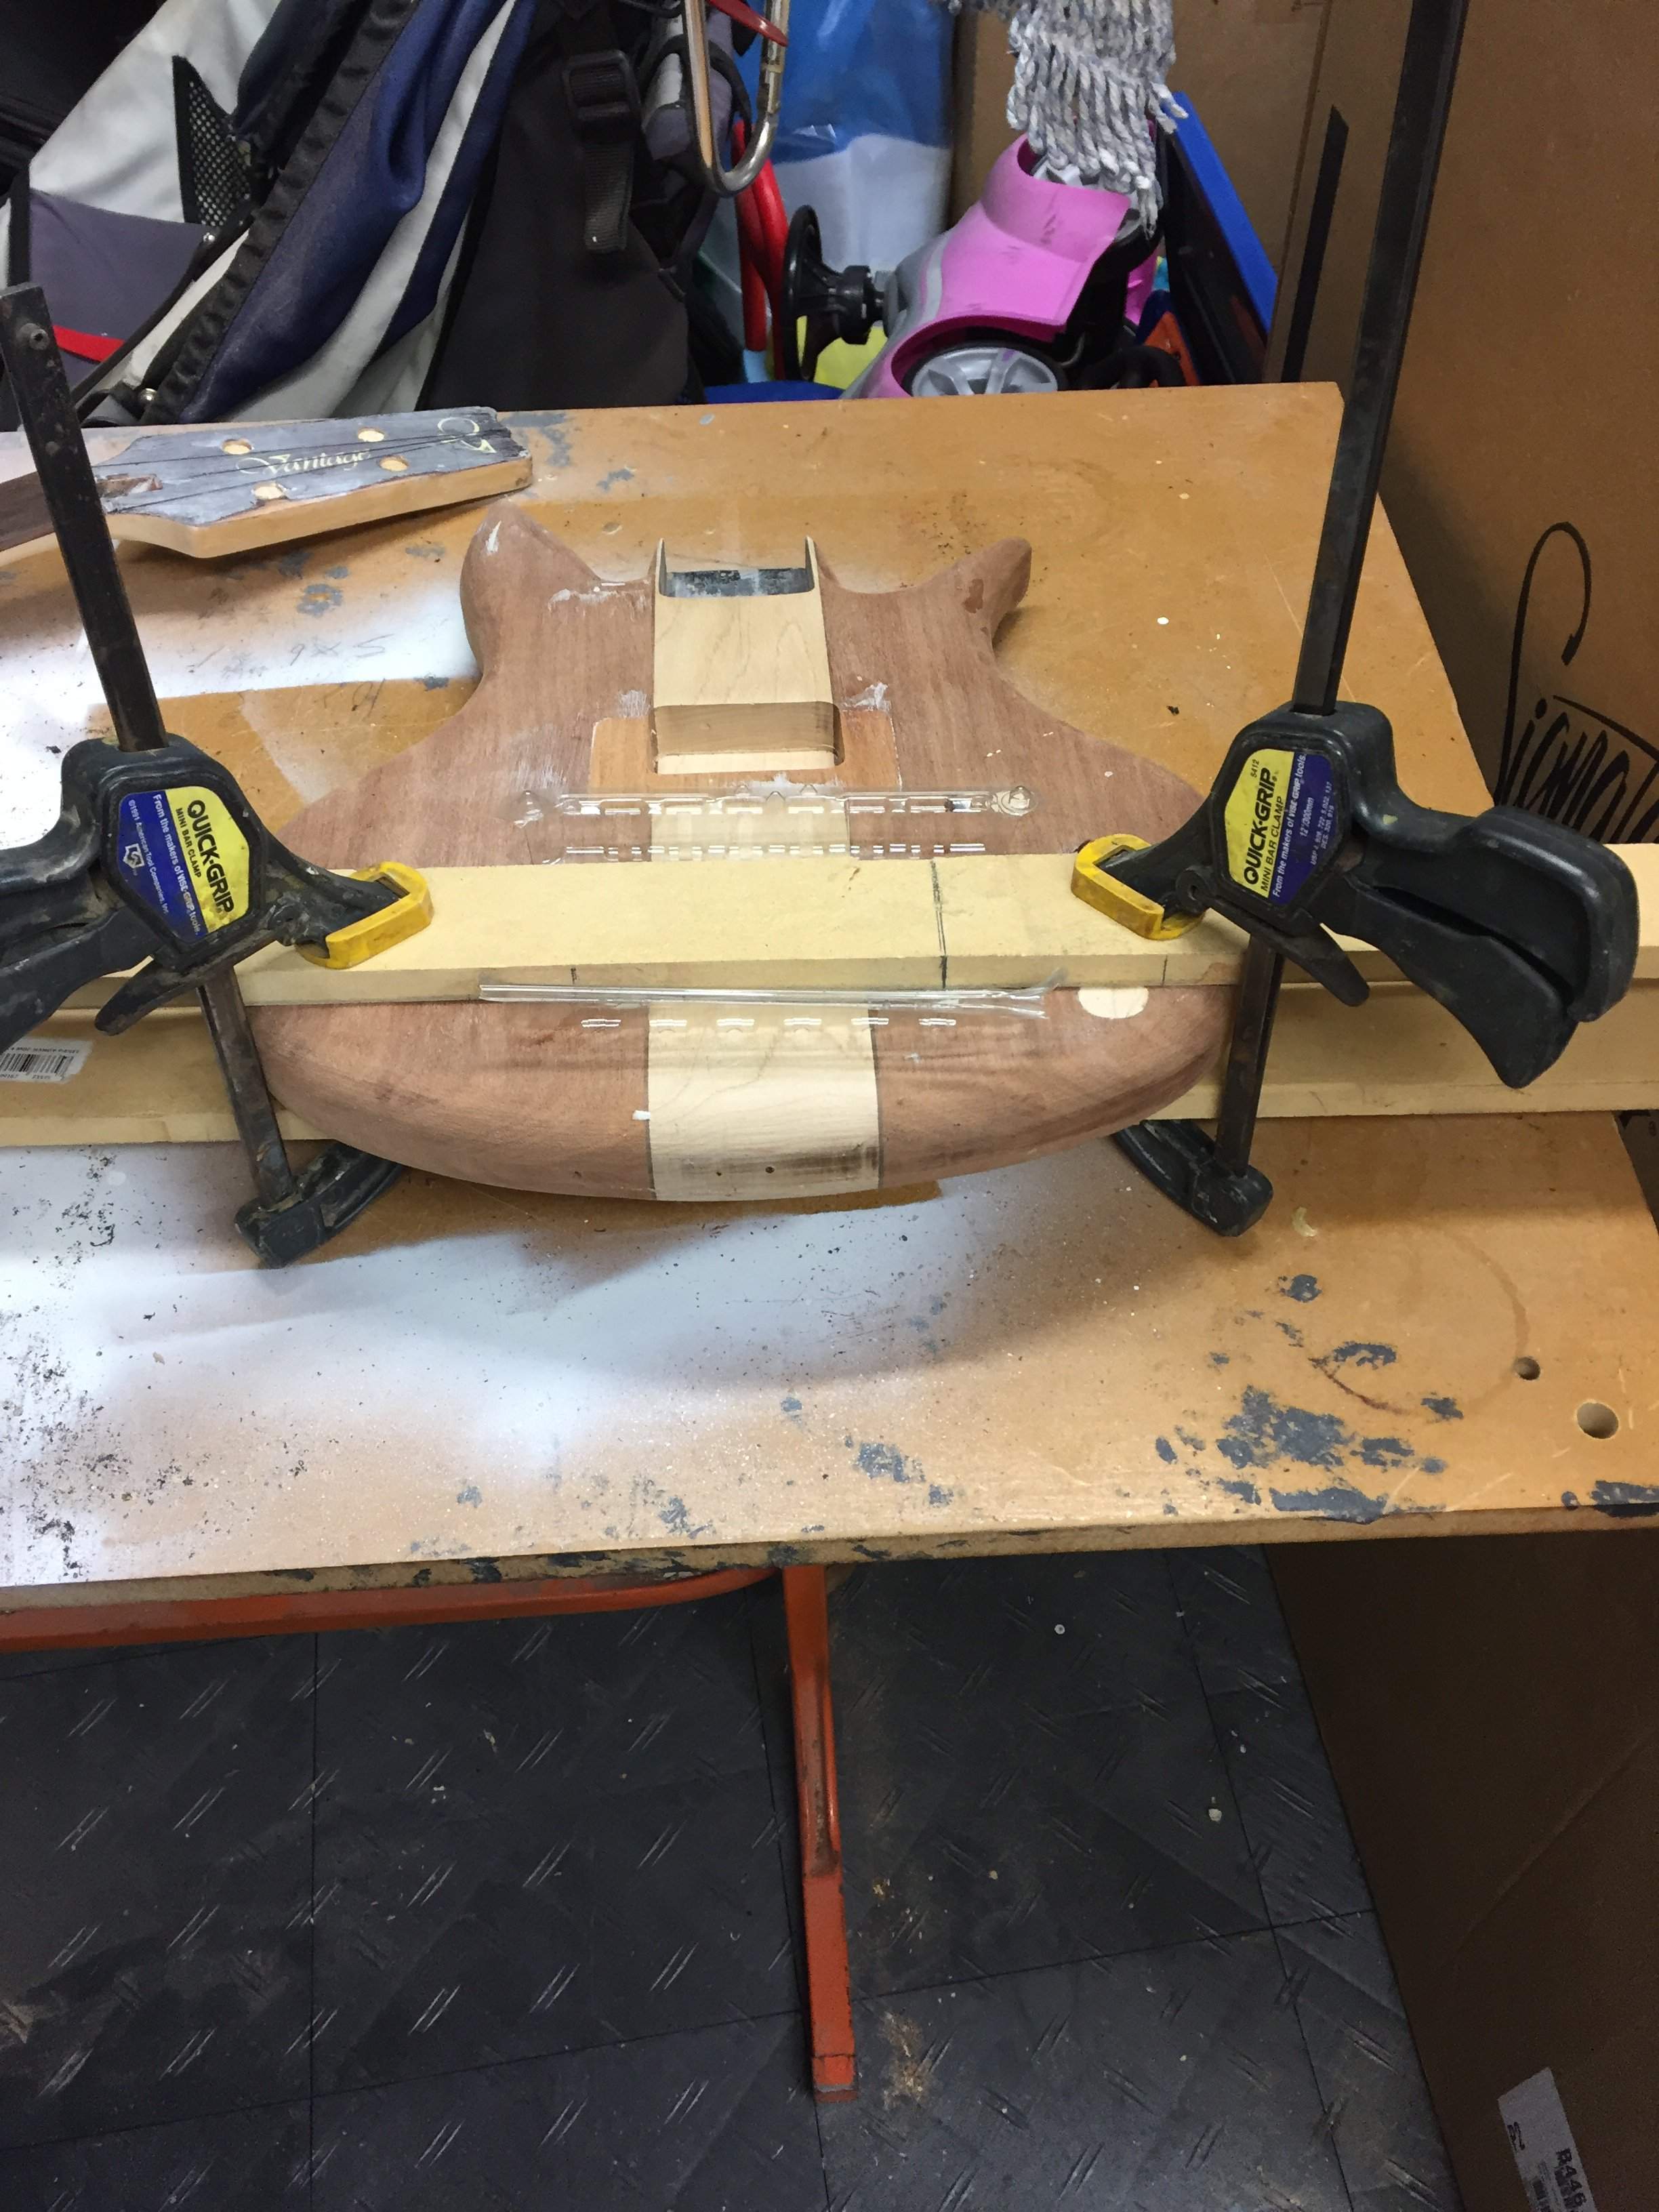
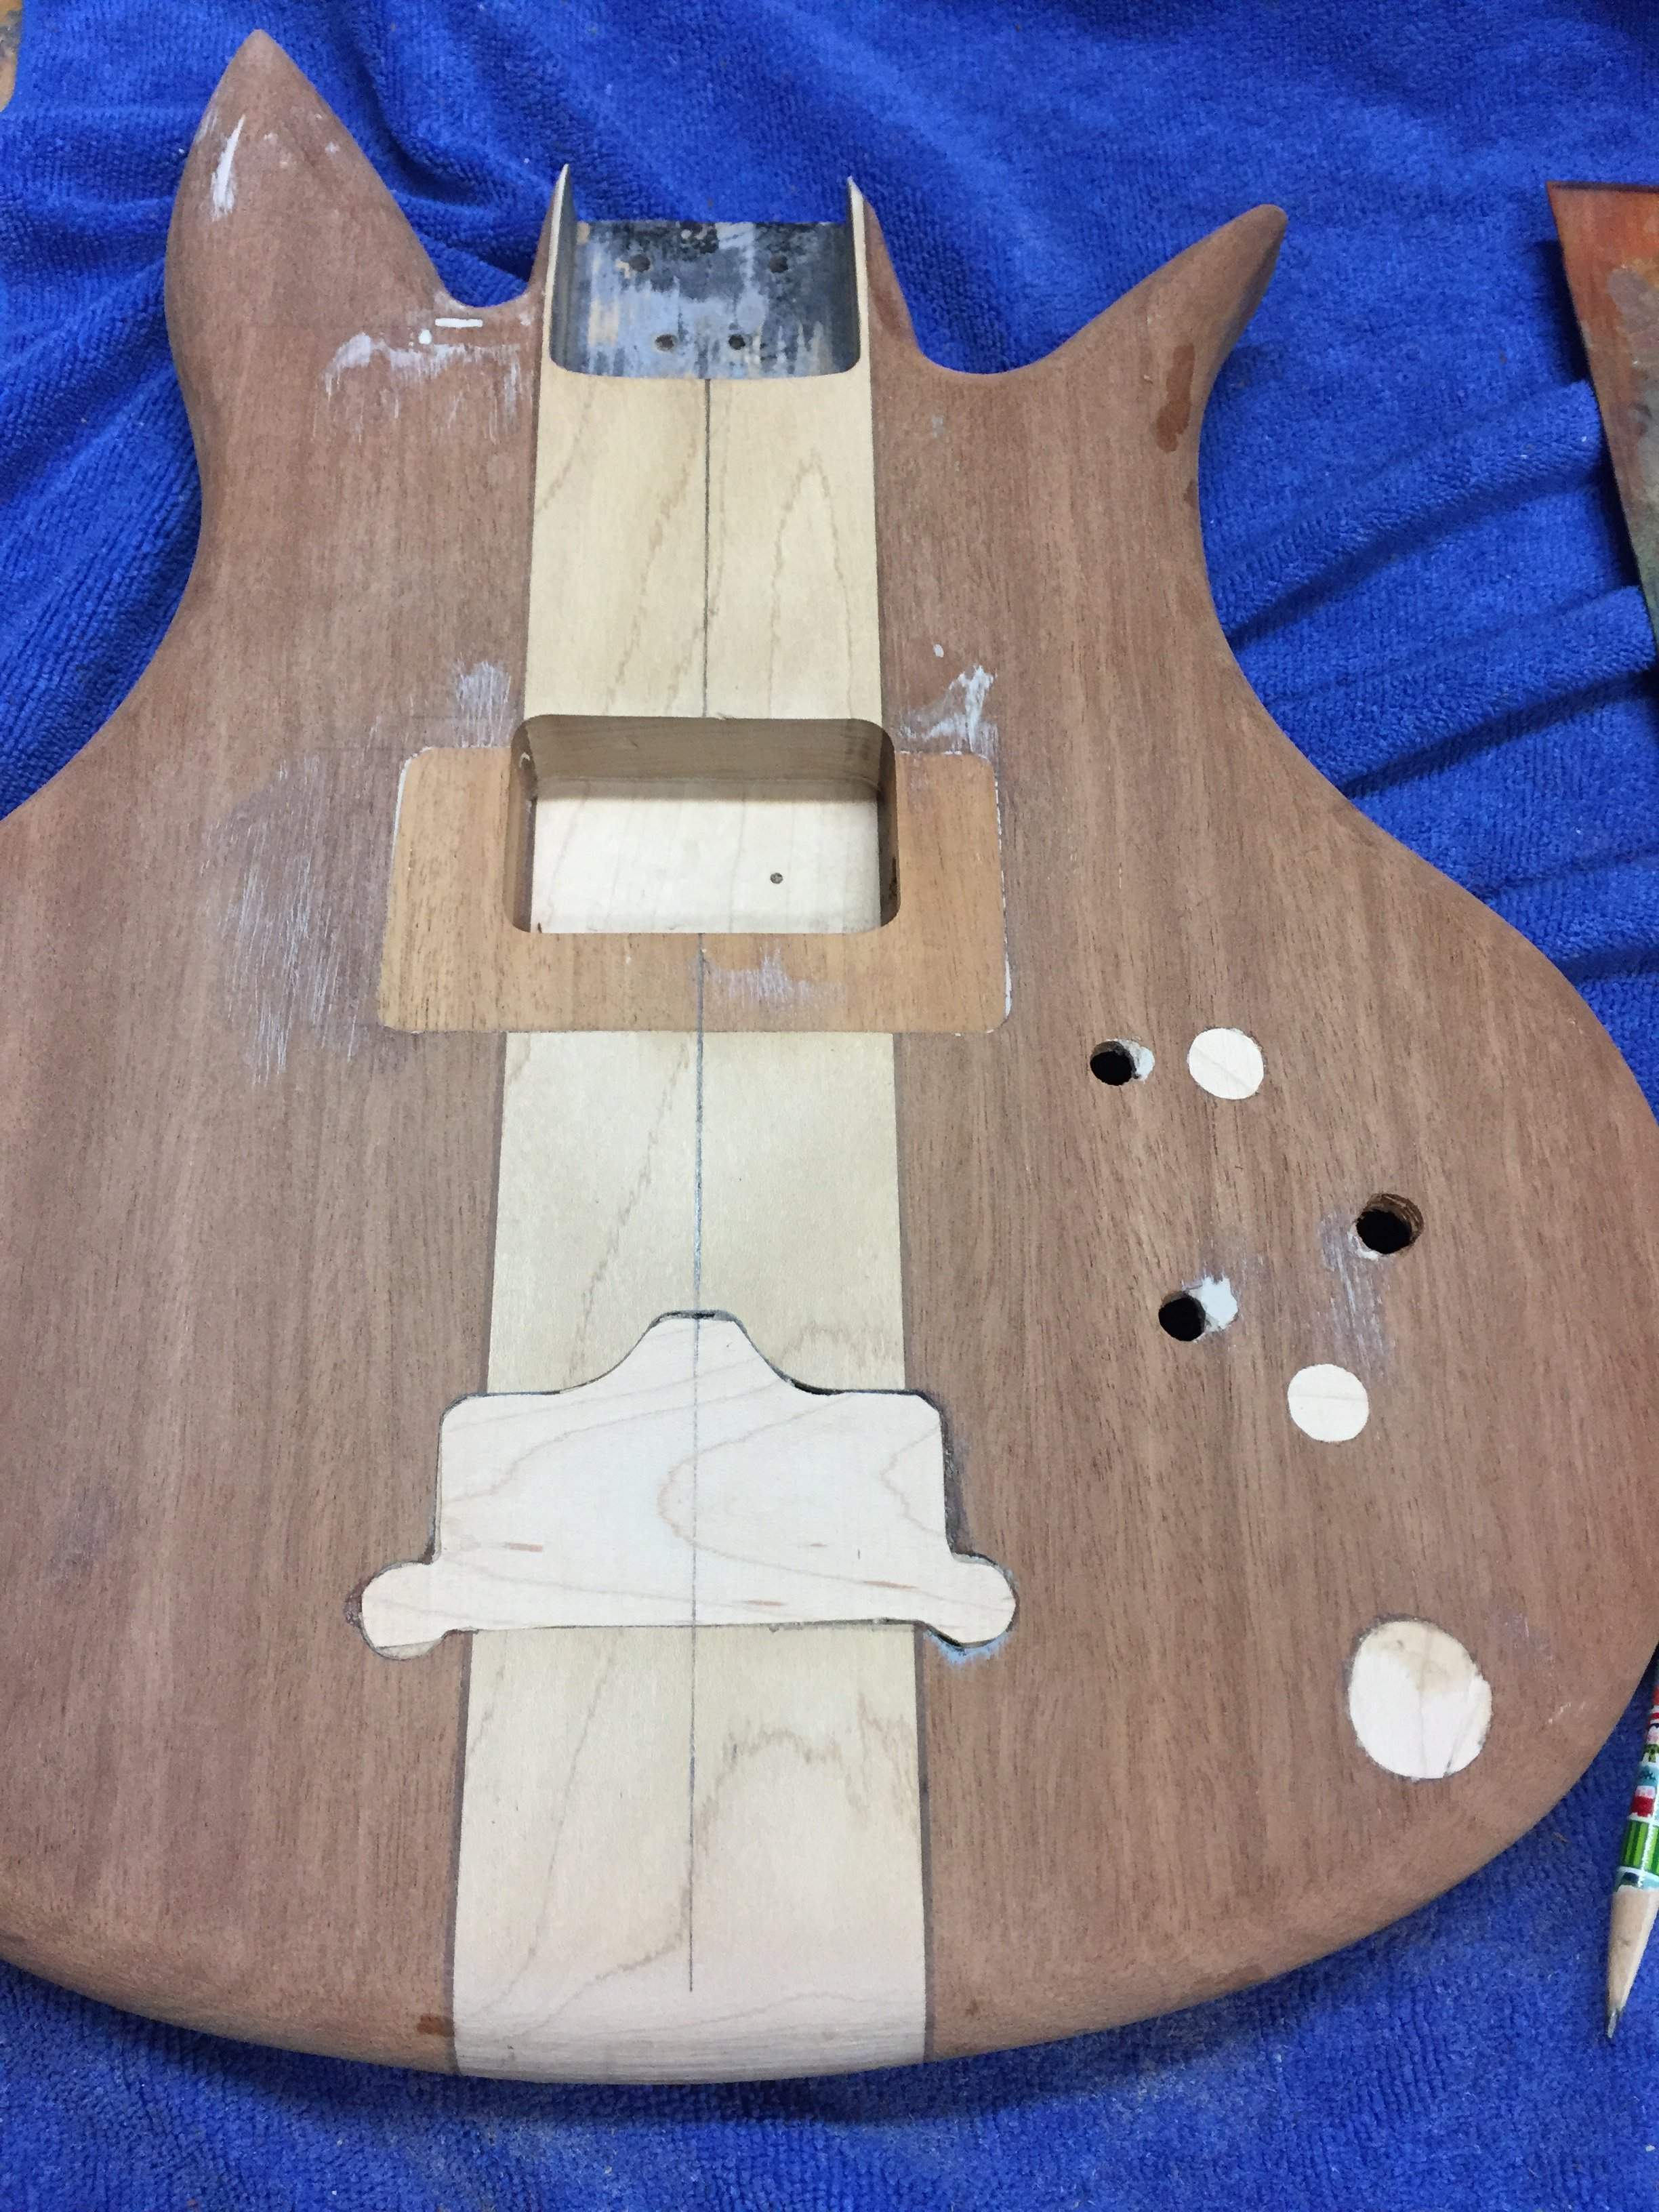
One day later, she is dry.
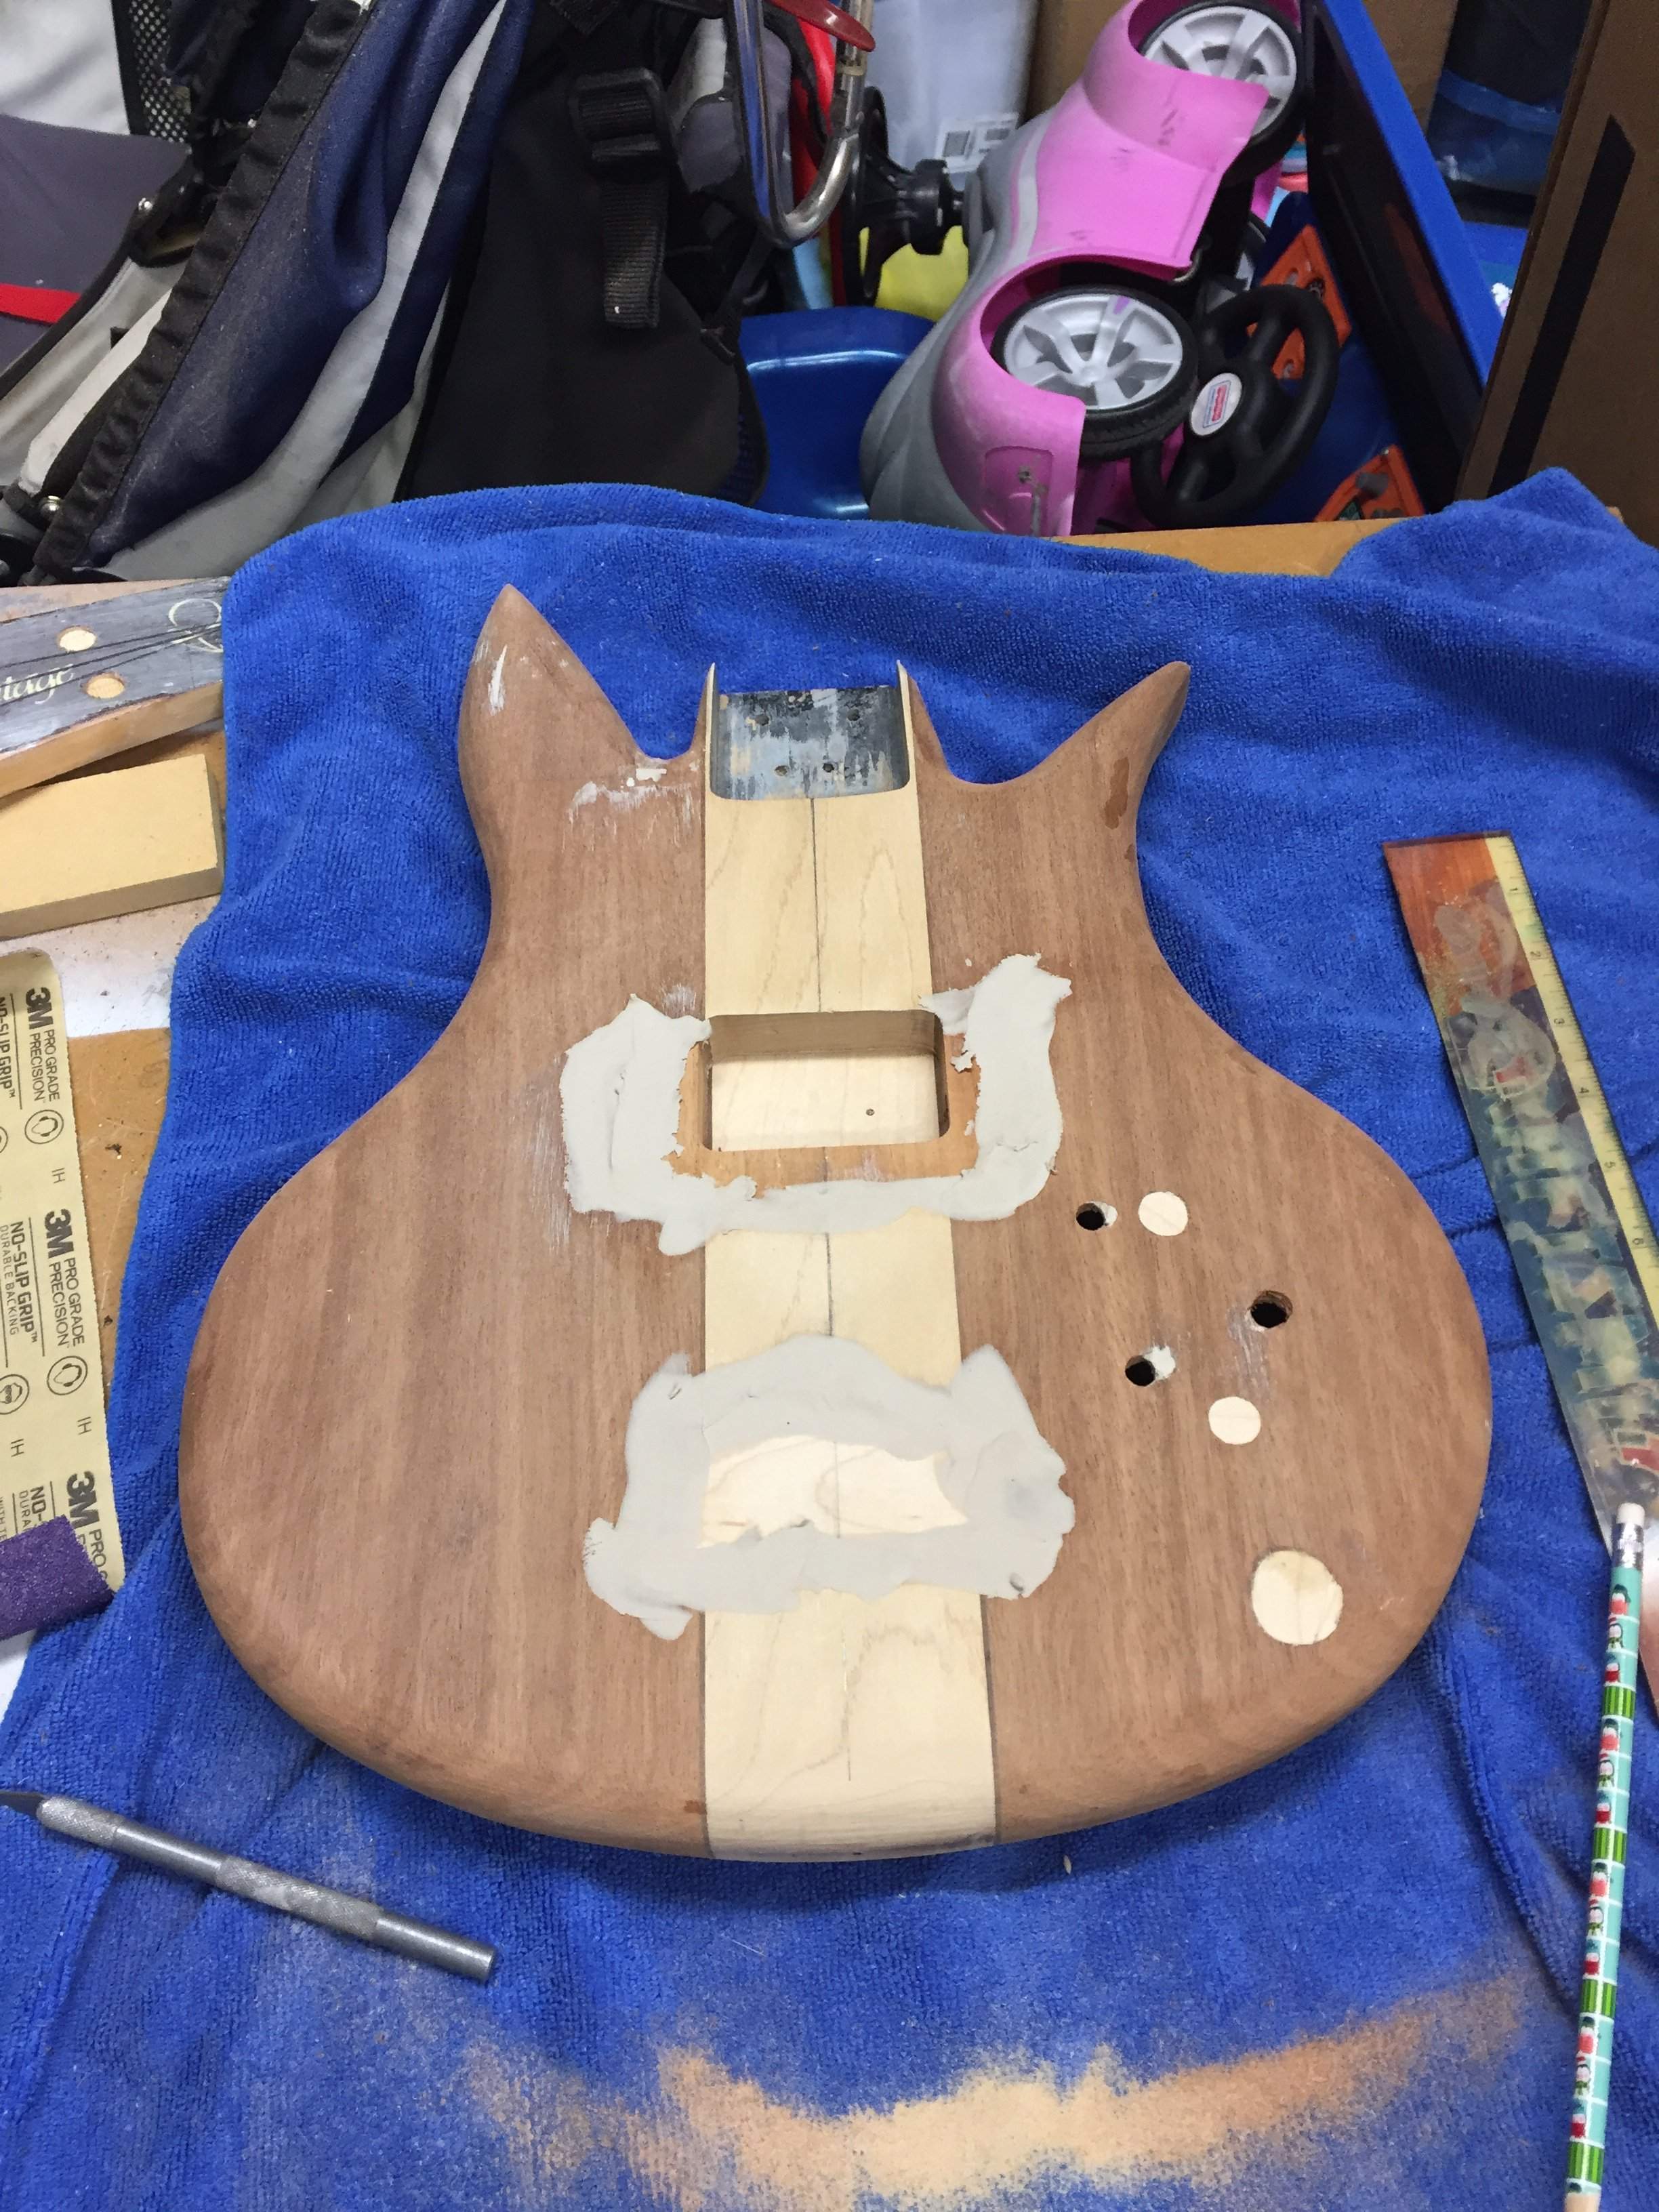
I then filled the gaps, and gave the pickup rout seam, a second coat.
Lastly, I glued the maple dots into the headstock.

My control cavity cover is sanded and fitted.
Screws in!
There are a few small gaps in the fit and finish, but:
1. I think paint will mute any discrepancies
2. This is a test project for my neck through Spector project.
I think going forward, I will just buy Stew Mac control covers, as I already have the routing templates
Tail piece maple inlays placed and glued
Clamped!
One day later, she is dry.
I then filled the gaps, and gave the pickup rout seam, a second coat.
Lastly, I glued the maple dots into the headstock.


