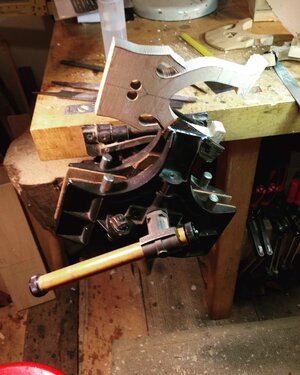
I purchased this bass to learn bass repair restoration. I quickly evaluated it while it was in the bag, the seller said it was all there just needed seams reglued. It was held together w/masking tape, I thought it looked like a doable project. After getting it home and out of the bag I saw it needs a fair amount of repair work - cracks, open seems, wood patched etc. Here are some initial pictures of work done so far. I am not a luthier, I do have extensive woodworking experience. I am not trying to restore this instrument but get it together and returned to decent playable shape.

Enjoy the benefits of a premium membership!
Upgrade Account
-
TalkBass has been independent since 1998. Add your voice.
Create a free account to reply to discussions, view embedded media, and browse with fewer display ads.
Join free Log in
Want zero display ads or expanded classifieds tools? Compare plans.
You are using an out of date browser. It may not display this or other websites correctly.
You should upgrade or use an alternative browser.
You should upgrade or use an alternative browser.
More options
Who Replied?



- Jan 12, 2004
- 1,493
- 1,270
- Disclosures
- Owner, Stand Up Guy Basses (Repair/Sell/Buy upright basses)
Your work looks good, and please keep us posted! Always nice to get a non-functioning bass back to playability....
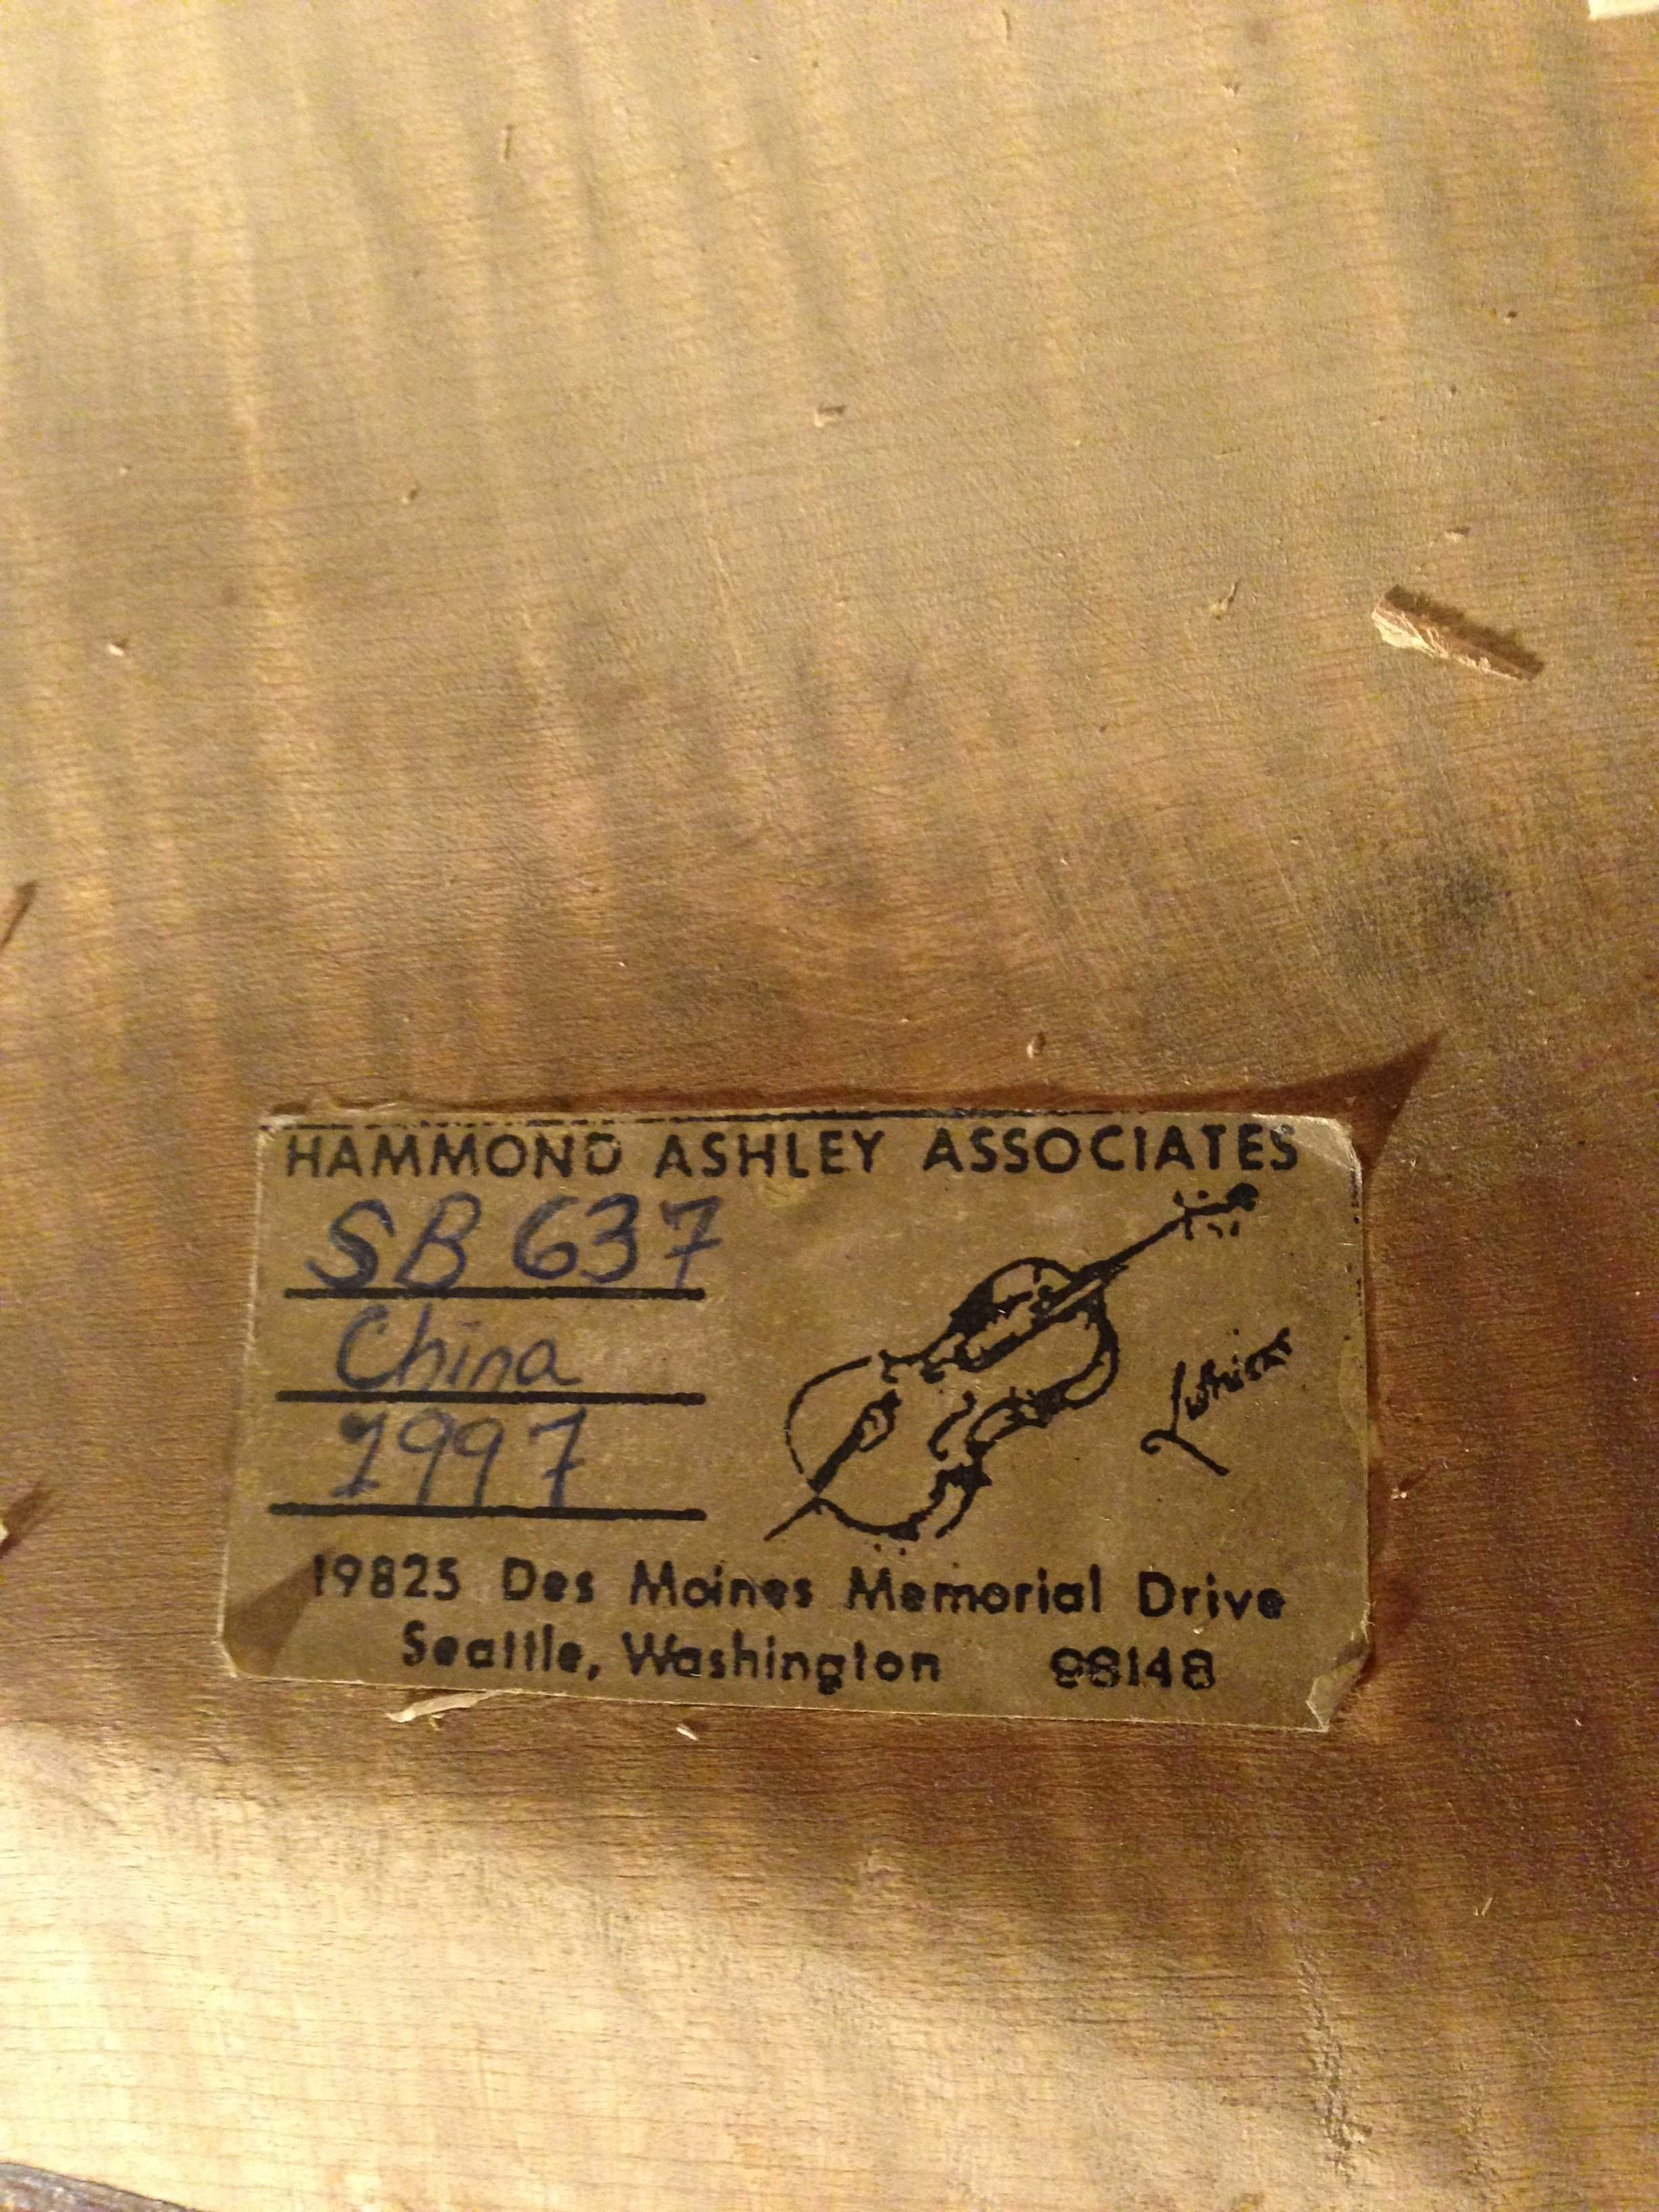
When I saw the subject line, I thought maybe you had a bass made by Hammond Ashley. He reportedly made 10 basses between 1970 and 1990.
Cheers,
Paul
When I saw the subject line, I thought maybe you had a bass made by Hammond Ashley. He reportedly made 10 basses between 1970 and 1990.
Cheers,
Paul

It's my understanding that the cleats' grain should be at an angle to the grain of the wood they're reinforcing. You might want to check that out before putting the top back on.
Last edited:
Correct. If those cracks want to open up again, cleats with aligning grain won’t put up much of a fight.
Personally, I prefer much smaller and lighter cleats in much greater numbers set at a 45-degree angle to the top grain to provide adequate strength and also avoid weighing down and dampening the top.
Flax will also work if you keep the patches small; soaked in hide glue it clenches as the glue sets. Too big and the top will buckle around the crack.
Denim in a pinch.
Personally, I prefer much smaller and lighter cleats in much greater numbers set at a 45-degree angle to the top grain to provide adequate strength and also avoid weighing down and dampening the top.
Flax will also work if you keep the patches small; soaked in hide glue it clenches as the glue sets. Too big and the top will buckle around the crack.
Denim in a pinch.
Thanks for the feedback, I did one set of cleats 90º and the other set w/the grain - go figure! I'll go back and redo those 45º. I made the cleats 3/4" wide 1.5" long and 1/8" thick. I put the top on dry to see how it fits, I lined it up using the finish/stain line which is clearly visible. I checked the alignment w/a string (my plumb bob fits nicely in the end pin hole). I had to re adjust the rib/top fit to get the whole bass and neck straight.
Attachments


Wait — did you take the top AND the back off the ribs at the same time? Some do that, but others of us feel that doing so allows the rib garland to wander around more than is preferable.
Look at the neck joint carefully before you replace the back. The lighting makes it hard to see, but there appears to be significant empty space therein.
Look at the neck joint carefully before you replace the back. The lighting makes it hard to see, but there appears to be significant empty space therein.
I
I did not take the bass apart, I purchased it that way. Yes, I can see why it is not a good idea to take both top/back off at the same time. It appears that bass had a significant fall that caused cracks and damage to both top/back and one spot on the ribs. Yes the neck joint doesn't look pro. I'm trying to draw a line between making playable and not restoration.Wait — did you take the top AND the back off the ribs at the same time? Some do that, but others of us feel that doing so allows the rib garland to wander around more than is preferable.
Look at the neck joint carefully before you replace the back. The lighting makes it hard to see, but there appears to be significant empty space therein.
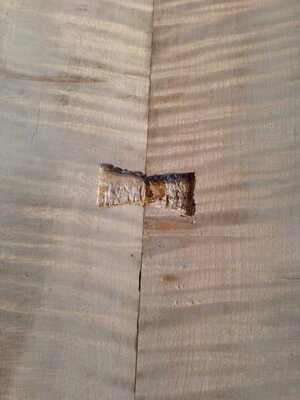
I recently put some time into the bass restore project, here are some new pictures. The back seam was split open, attached only in a small area at the top, it had butterfly cleats only one was good. The seam wasn't going back together since the wood had moved, I used a small rabbet plane to clean up the joint, removing as little wood as possible.
Attachments




Since I had received this bass in pieces I wasn't sure if the ribs, top and back plates would all line up. Refitting the back to the ribs was a head scratcher, I needed the ribs/neck to be stable and in a good position to do this. Face down or face up didn't work (unless I made a cradle system) the neck is heavy and distorts the ribs in any position so I decided to hang the neck/ribs from the shop ceiling. This position allowed me to work all sides of the bass easily. I basically fit the back using the varnish line as a guide. This hanging process worked well, the next step was to fit the front which required removing the clamps. I used small beads of hot melt glue on the inside to fix the back to the ribs, this held the shape w/out clamps. The front plate was test fit easily, it looks like everything will go together!
Attachments


Recent pictures: I redid the cleats on the top plate, glued both top and back plates to ribs using the steam method (worked great), could have used even more spool clamps. After getting the bass glued and before the cosmetic/finish work I made a new soundpost and strung it up to see how it would handle the stress of string tension - bass stayed together played well and sounds good. After stringing it up I learned the fingerboard was loose and the bridge needed help. The last picture shows the top w/a coat of fresh spirit varnish
Attachments


I received the bass in pieces, I assumed the bridge fit this bass and would work w/minimal fuss, after closer inspection however it was obvious the bridge was in rough shape (poorly installed adjusters, feet out of alignment, too much adjuster length to achieve good string height). Instead of purchasing and fitting a new bridge I decided to repair this one first. Eventually I will replace the bridge but for now these repairs make the bridge usable. I added wood to the bridge feet and reshaped them to fit, I also added wood to the legs this should "close up" the gap between adjuster and foot and make the bridge more stable. You can see the new wood if you look closely. The other picture is removing the loose fingerboard - I will add a carbon fiber 1/4" x 3/8" stiffing bar
Attachments


There is never enough light nor enough clamps.
I had to make a new bridge, the height of the bridge is 8"+ which is a lot, I'm not sure if there was some rib deformation that resulted in the increase. Instead of purchasing a new bridge I went to a local sawmill and purchased some quatersawn birch and maple, this bridge is birch, I had to glue 2 pieces together. I found a cello bridge design I liked using a standard bass bridge for a template wouldn't work because of proportions