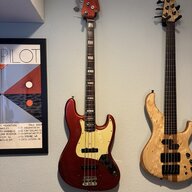
I had recently got a nice 1993 Stingray 5 and its frets had some oxidation.
So I ordered a set of Hosco fret erasers and after watching a couple of YT tutorials, I tried to polish the frets myself, having absolutely no previous experience at all.
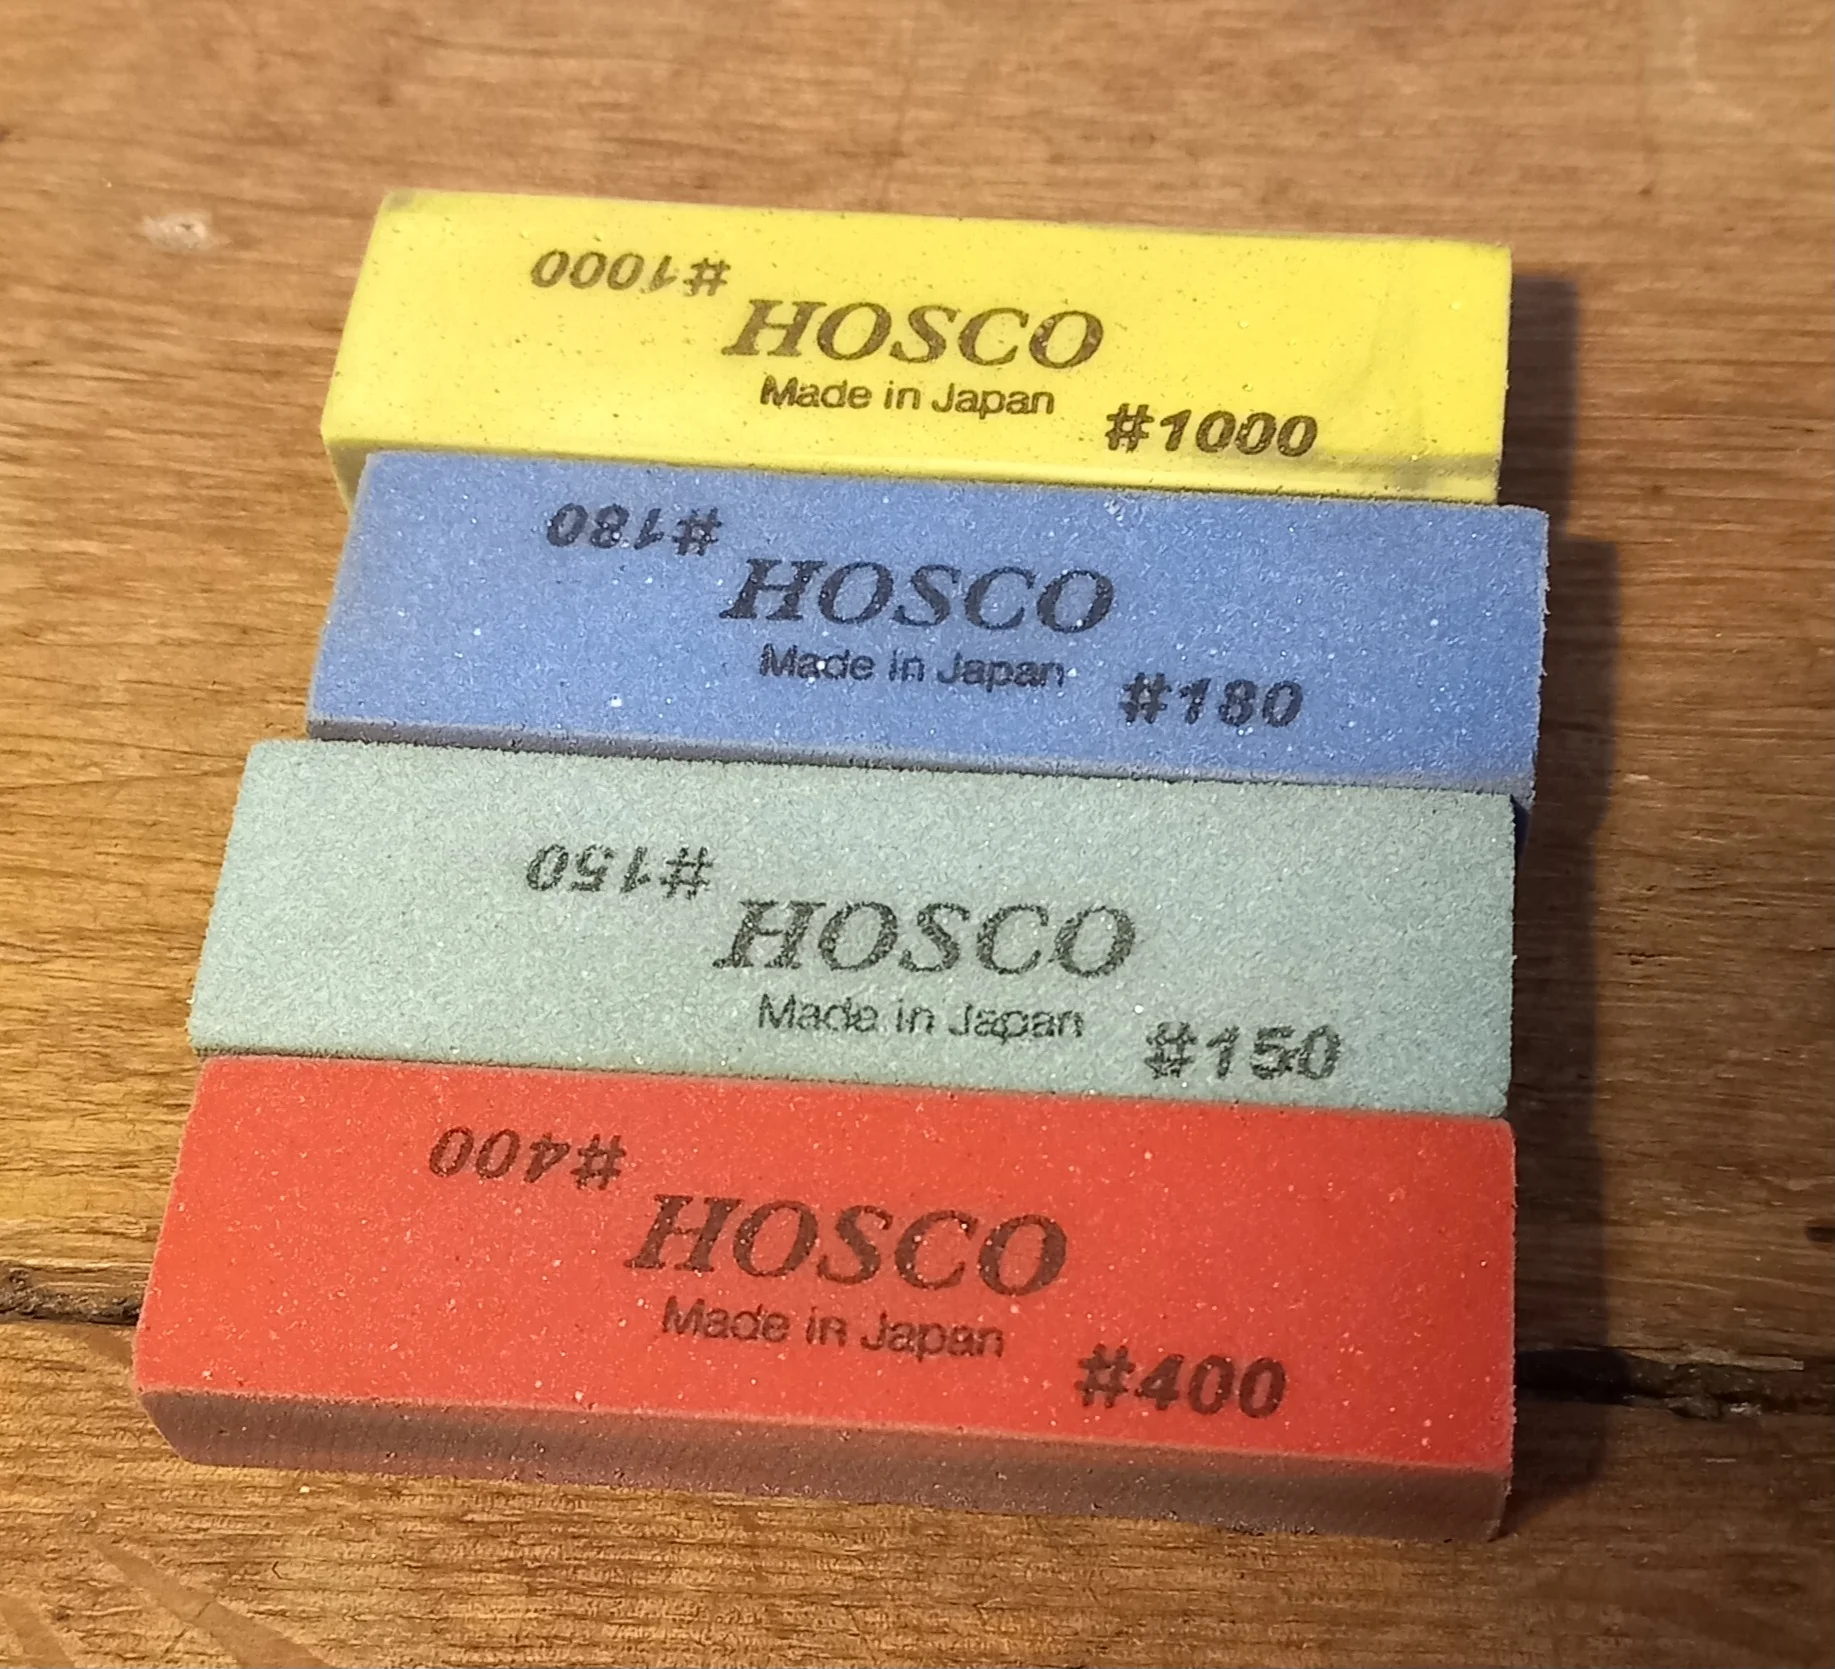
I used masking tape to protect the fingerboard and I started polishing with #150 grade and worked my way up to #1000, using two different angles, one for the top of the frets and a one for the sides:
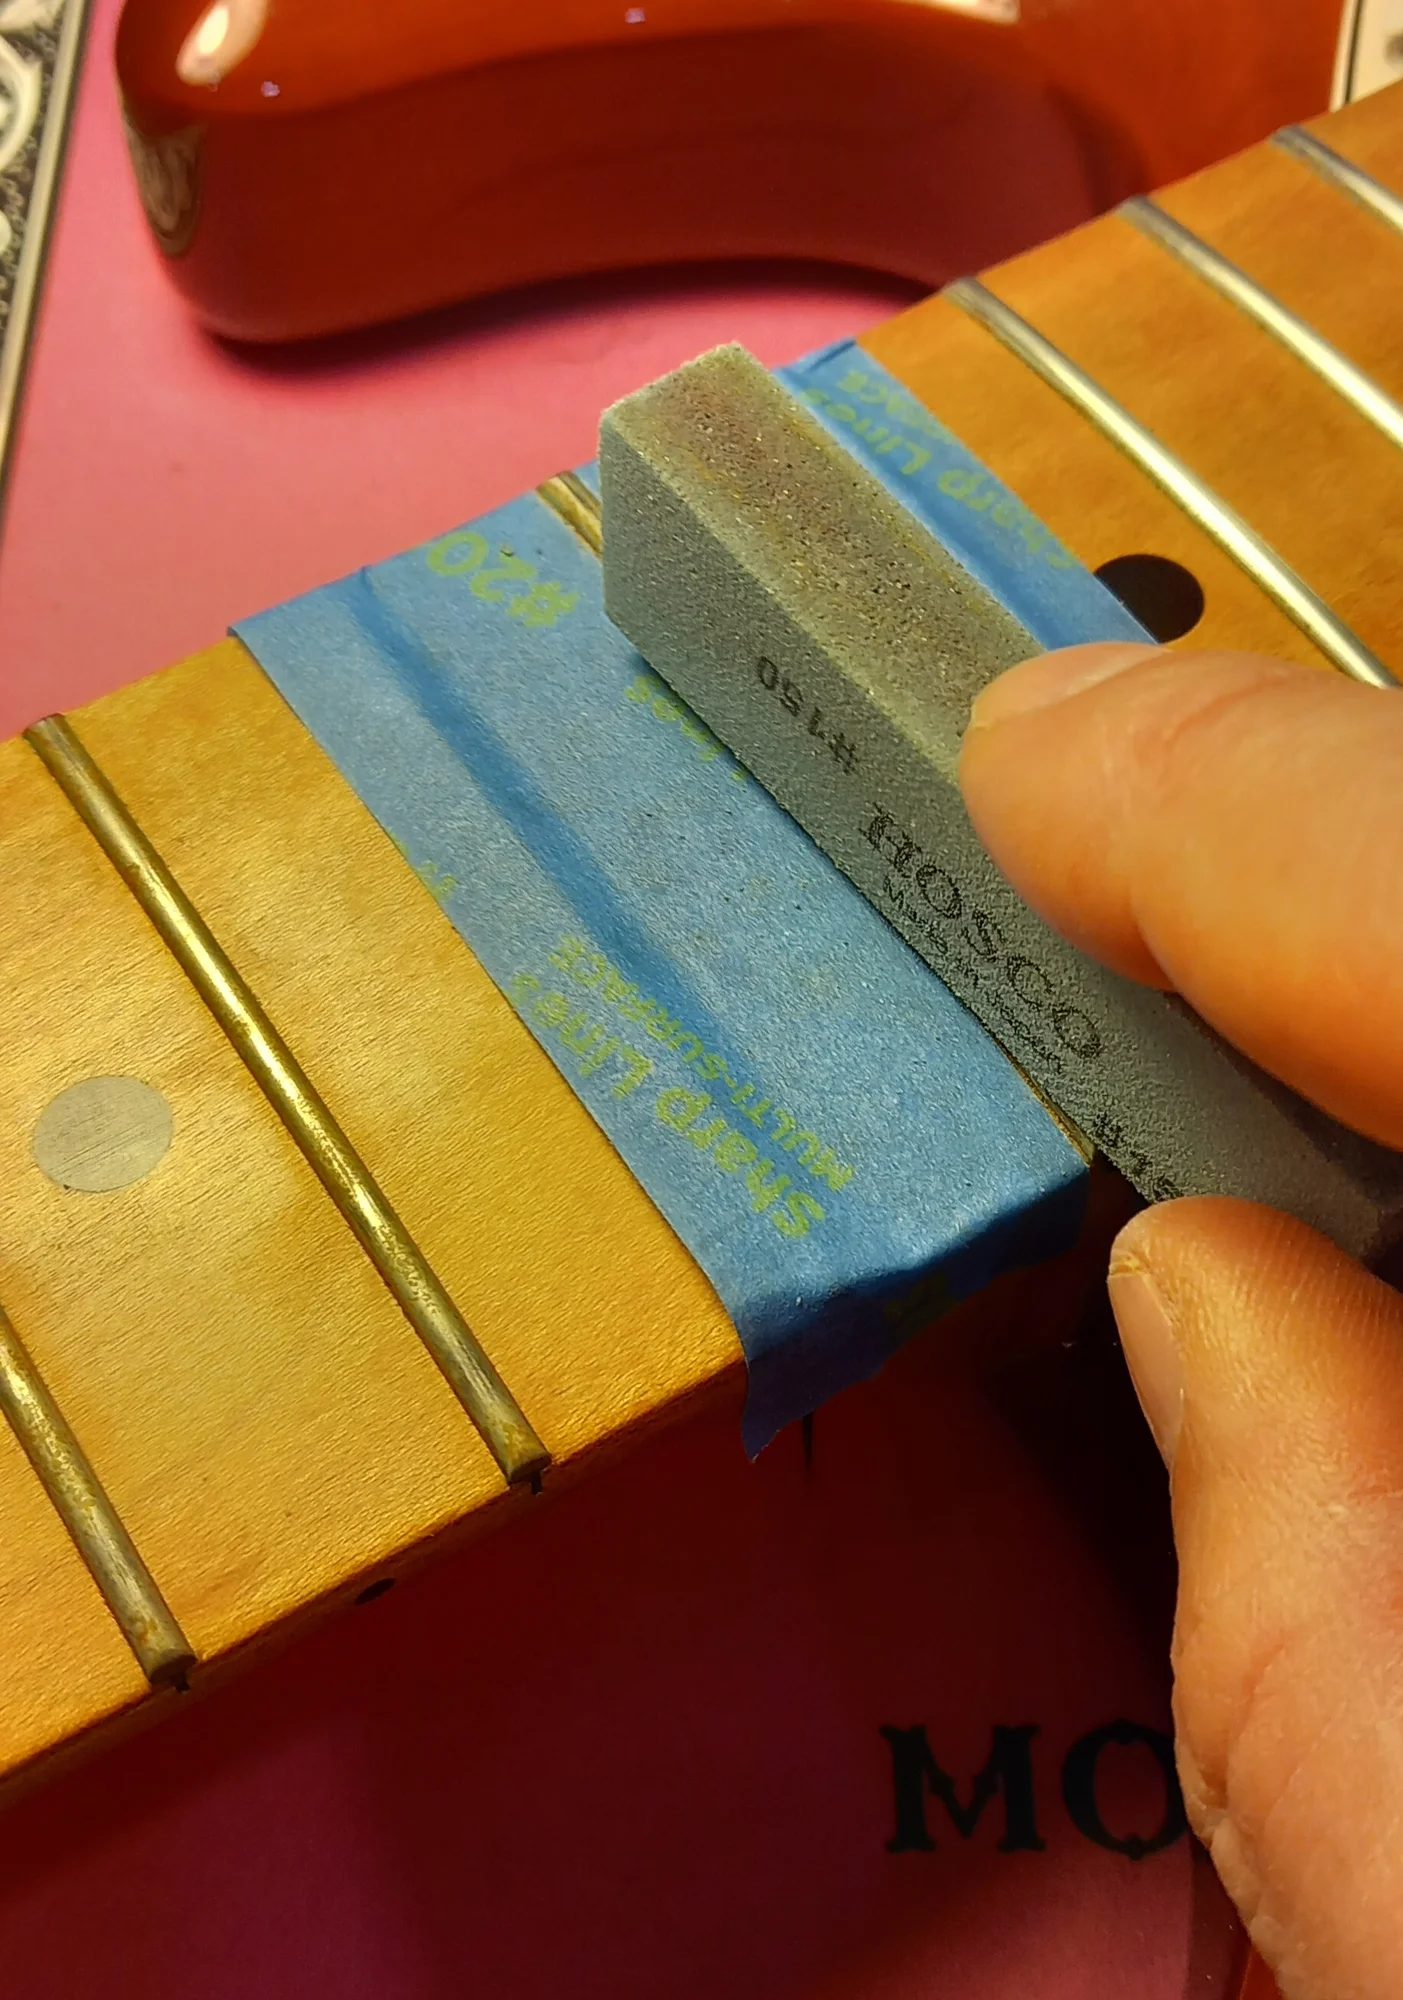
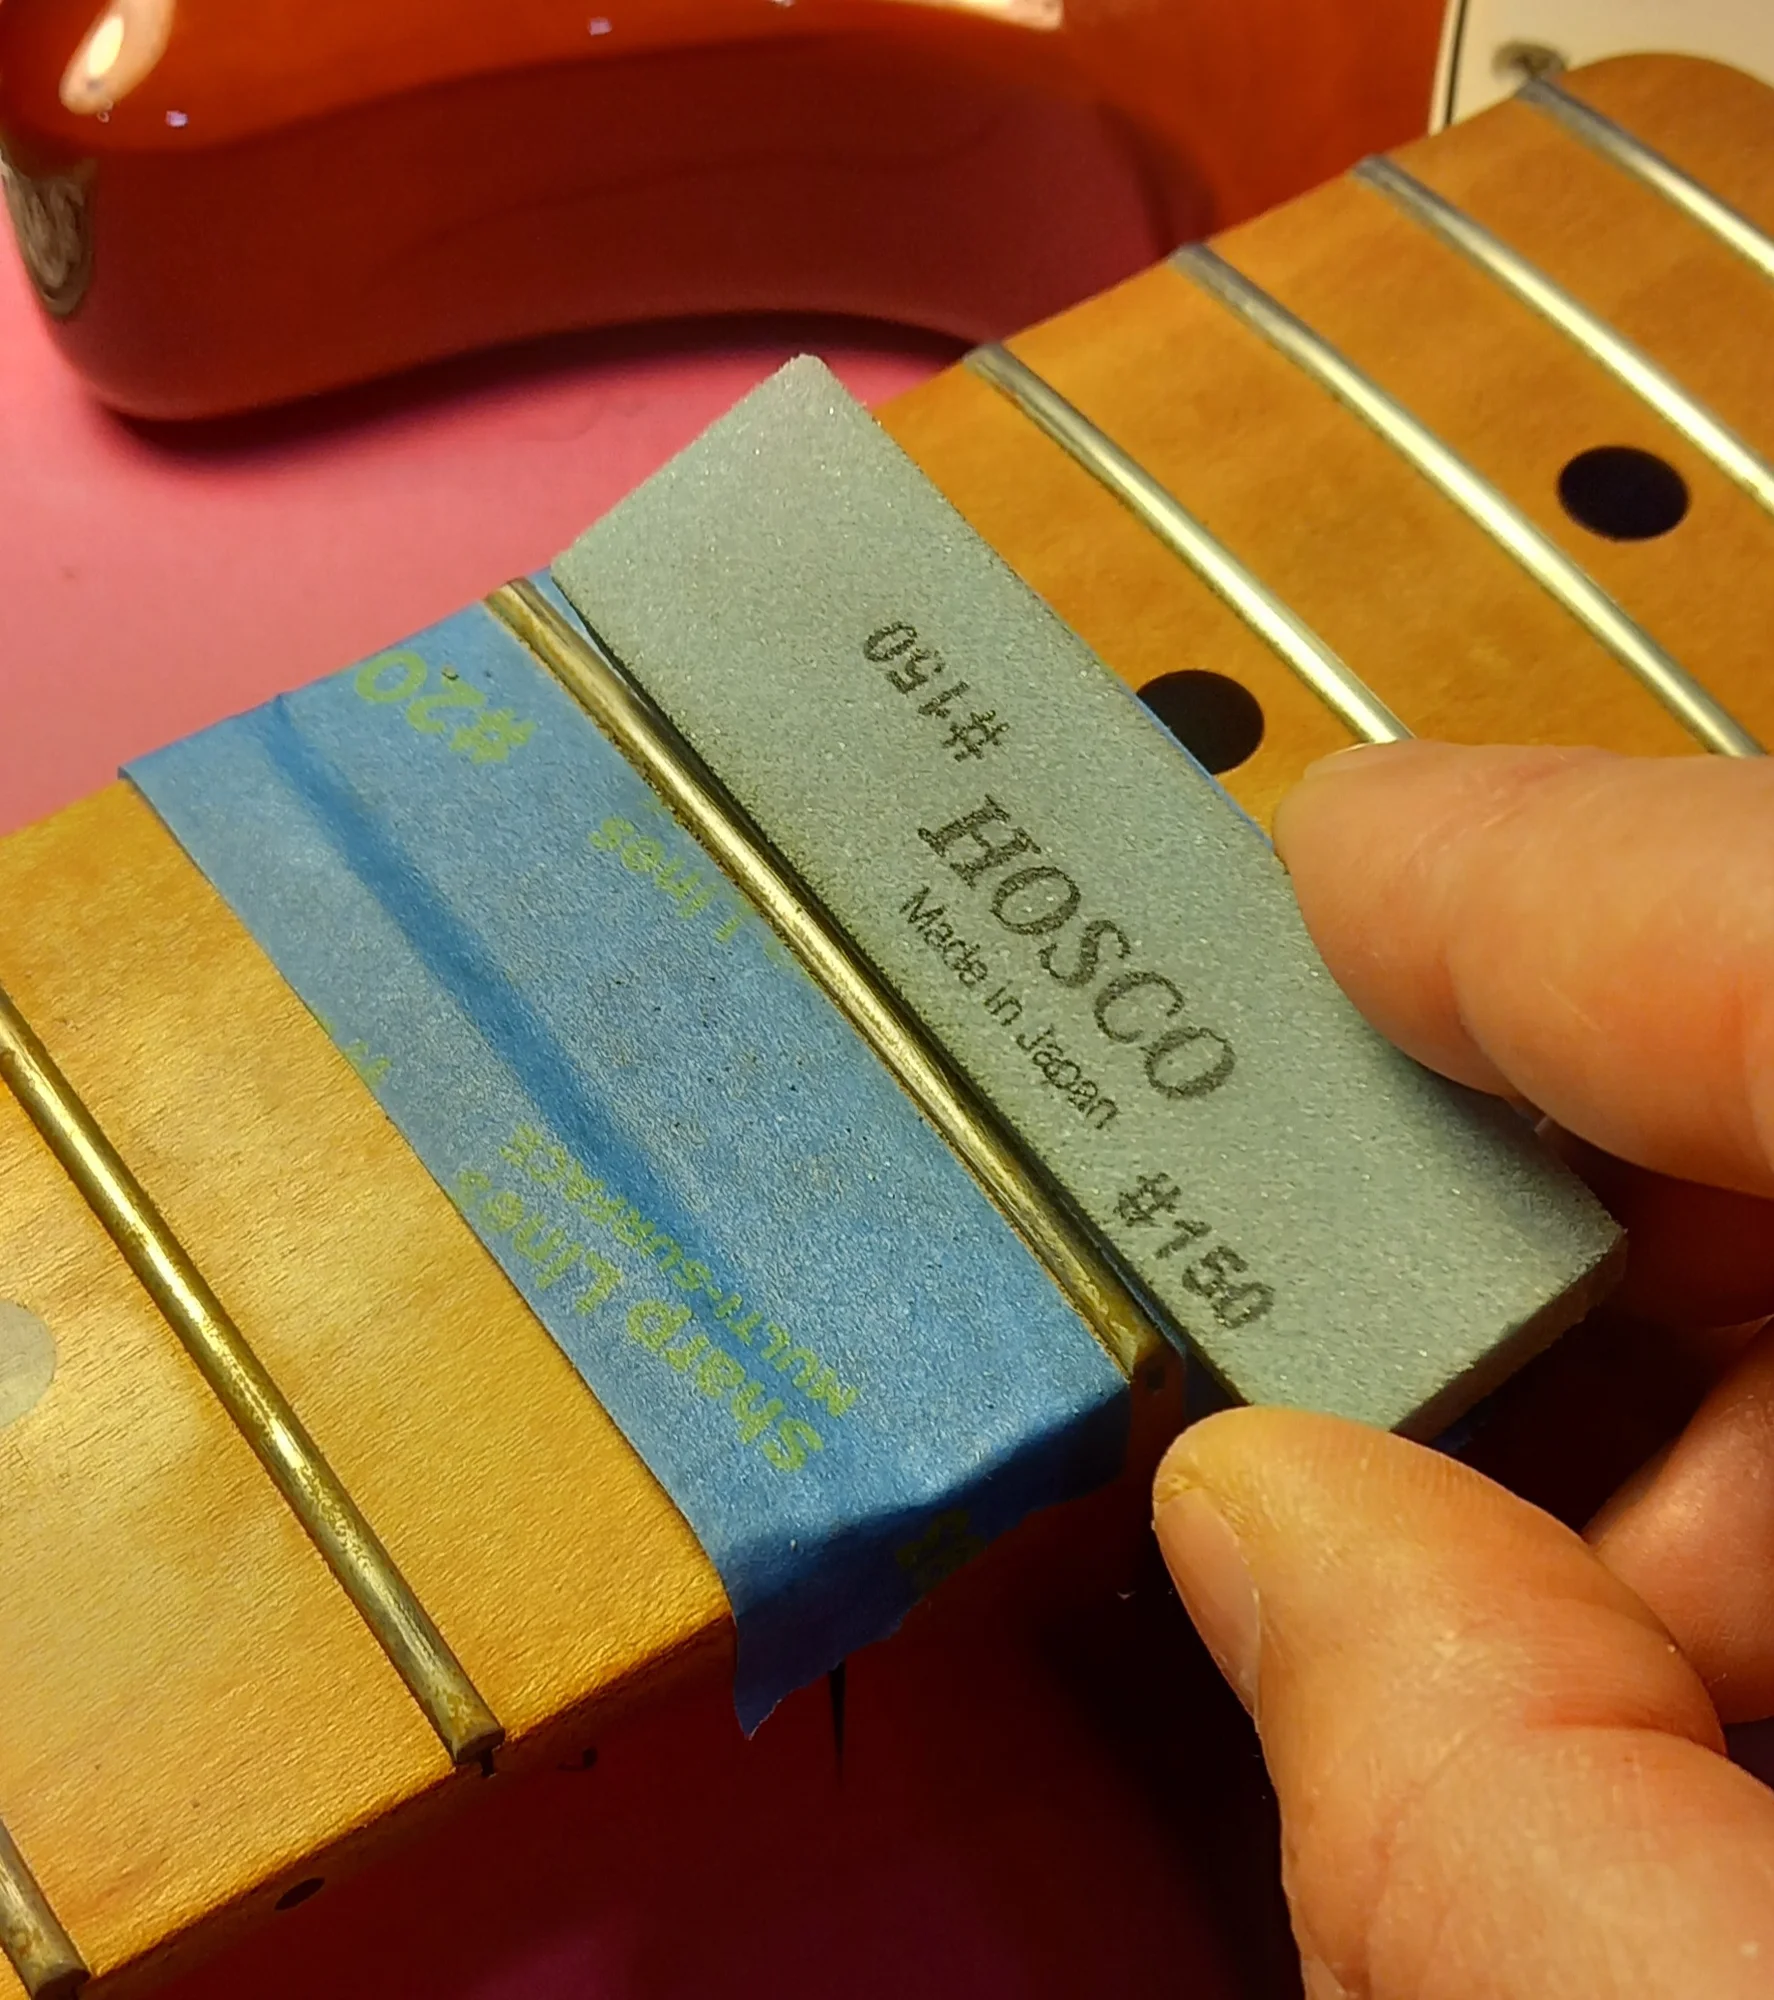
You can also see the difference between the untreated frets and the polished ones.
Overall I'm really happy with the result, this is a nice tool, easy to use if you protect the fingerboard properly (the masking tape worked great). Needless to say, my bass looks and feels amazing now.
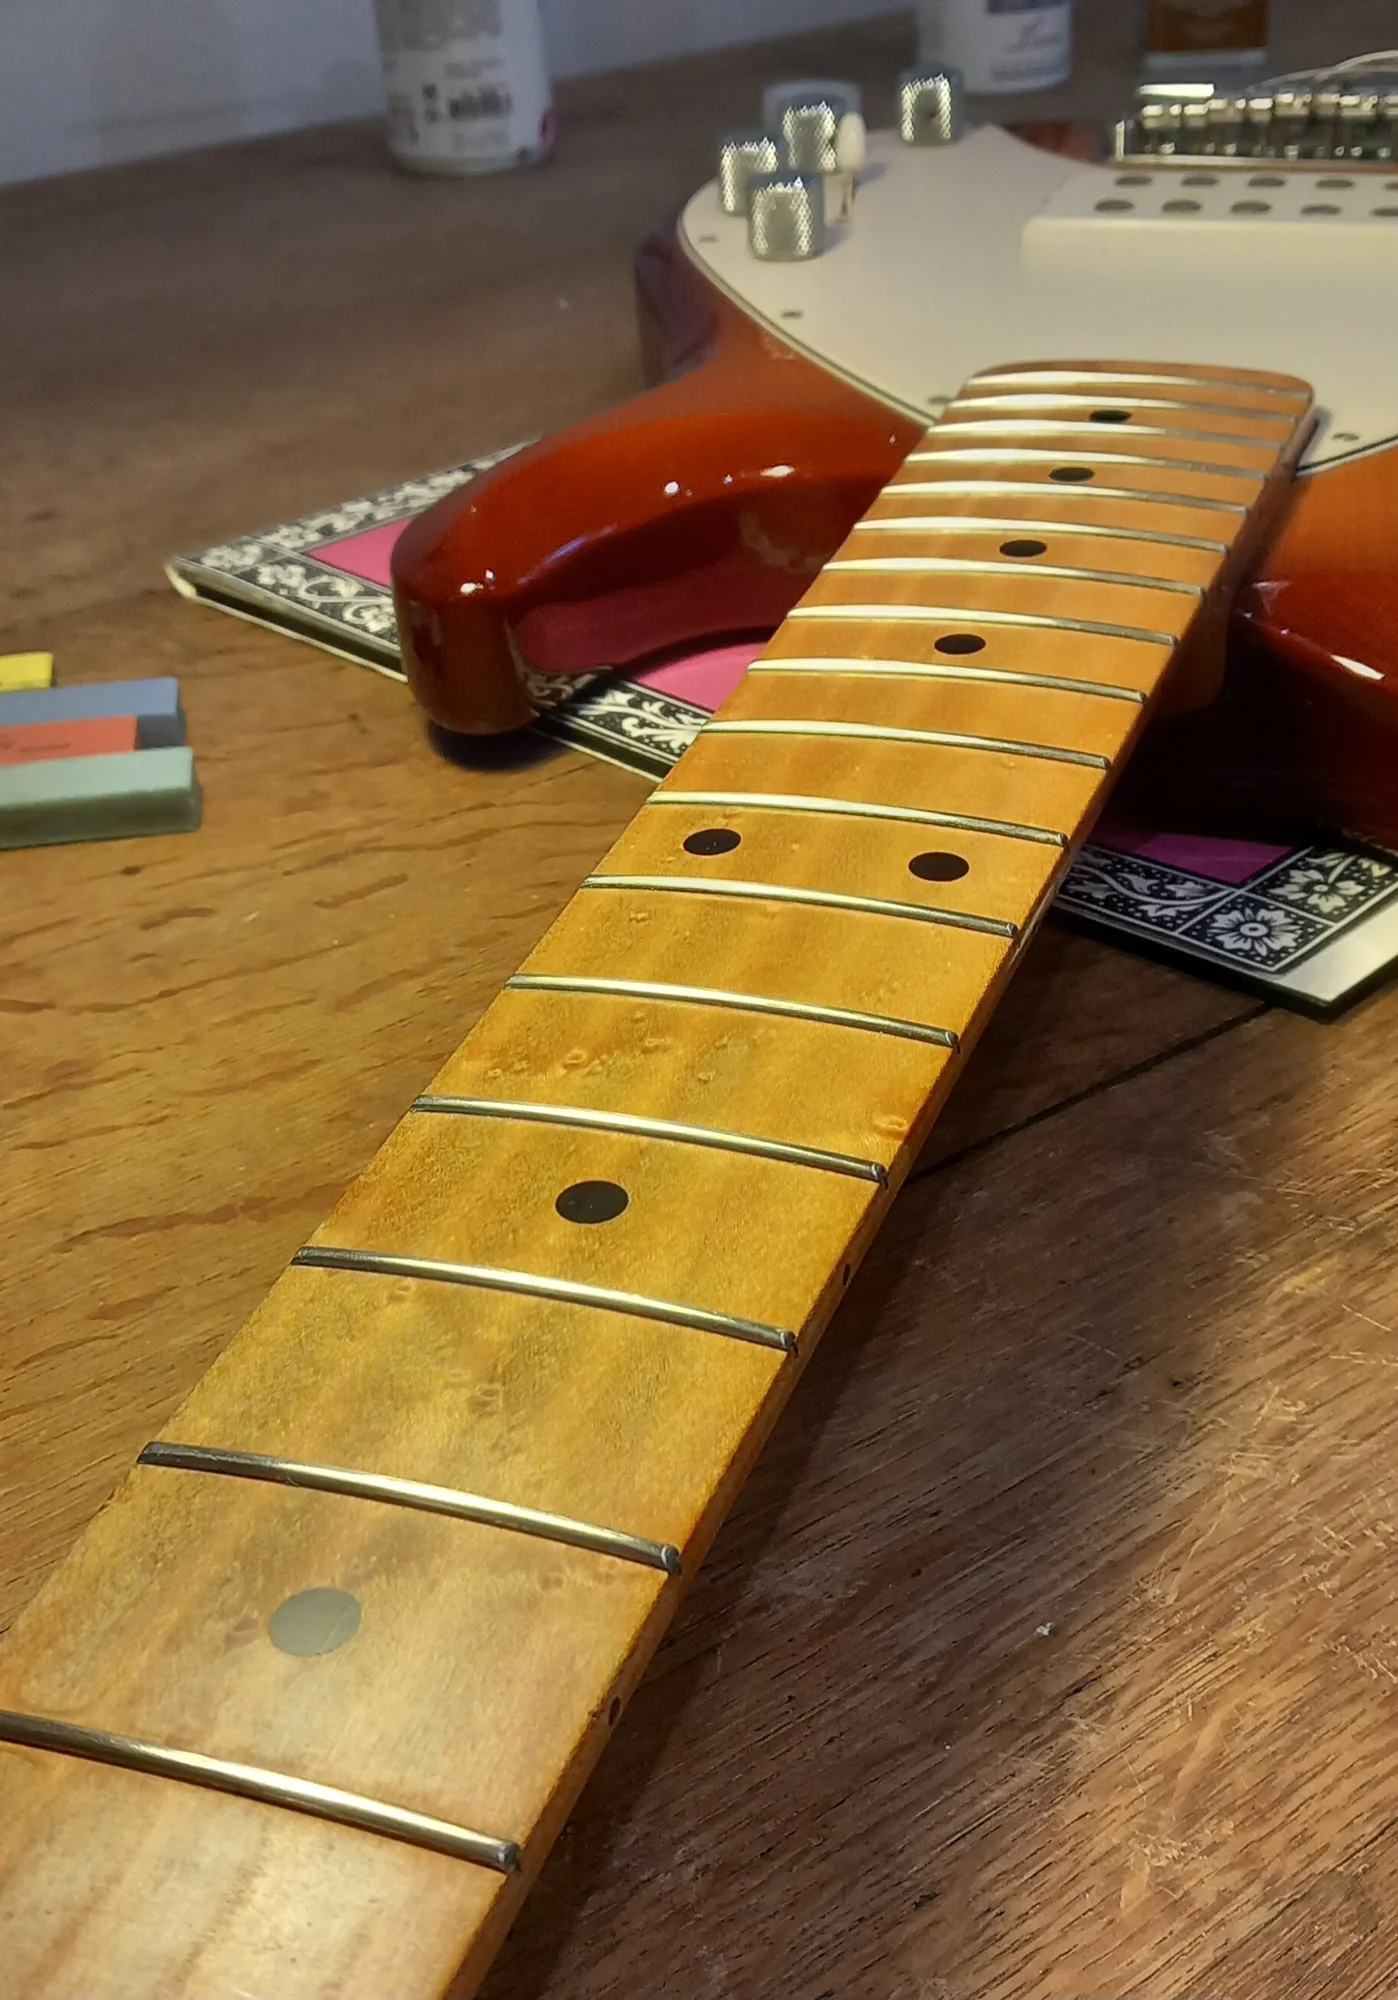
I also used them to fix some fret ends issues on my other bass, a Japanese Fender Jazz, and they did the job, although there are probably better tools for that.
So I ordered a set of Hosco fret erasers and after watching a couple of YT tutorials, I tried to polish the frets myself, having absolutely no previous experience at all.
I used masking tape to protect the fingerboard and I started polishing with #150 grade and worked my way up to #1000, using two different angles, one for the top of the frets and a one for the sides:
You can also see the difference between the untreated frets and the polished ones.
Overall I'm really happy with the result, this is a nice tool, easy to use if you protect the fingerboard properly (the masking tape worked great). Needless to say, my bass looks and feels amazing now.
I also used them to fix some fret ends issues on my other bass, a Japanese Fender Jazz, and they did the job, although there are probably better tools for that.
Last edited: