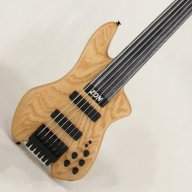
LedBelli Noah #001 always had some issues that came with my own inexperience during that first build. I could never quite get the set-up the way that today I find to be optimal. While the bass was perfectly playable, it lacked the kind of precision action and setup that I prefer today.
Recently, the truss-rod socket stripped out, thus rendering adjustment impossible. Also, I have wanted to replace the fingerboard (or at least rework the existing one) for a long time.
So, it was time to remove the fingerboard and the truss rod for replacement! The following is how I remove a fingerboard.
Step 1 (if you are able; I was not able) adjust the truss rod with as much back bow as you are comfortable with. This way, the truss rod itself will actually help lift the fingerboard off the neck-bed.
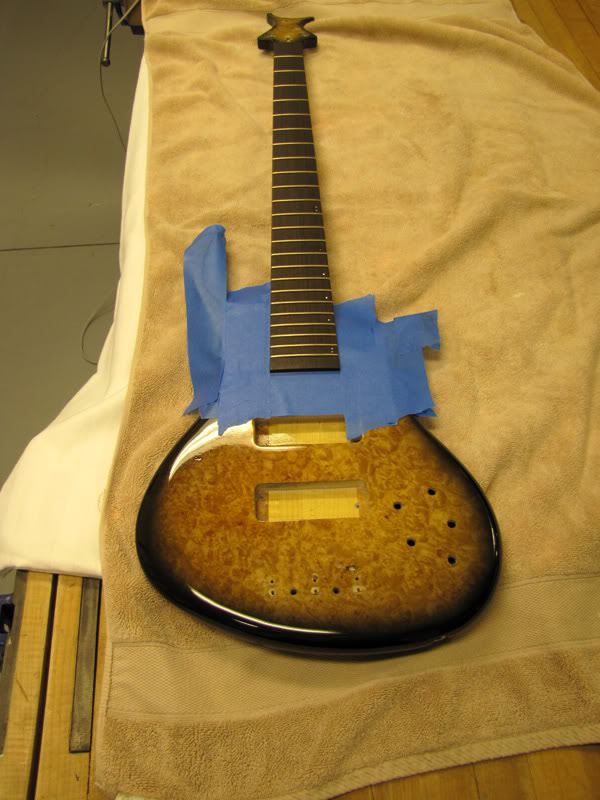
Step 2 Use painter's tape (triple layers) to protect the finish around where the body meets the fingerboard. (On a bolt on neck, simply remove the neck).
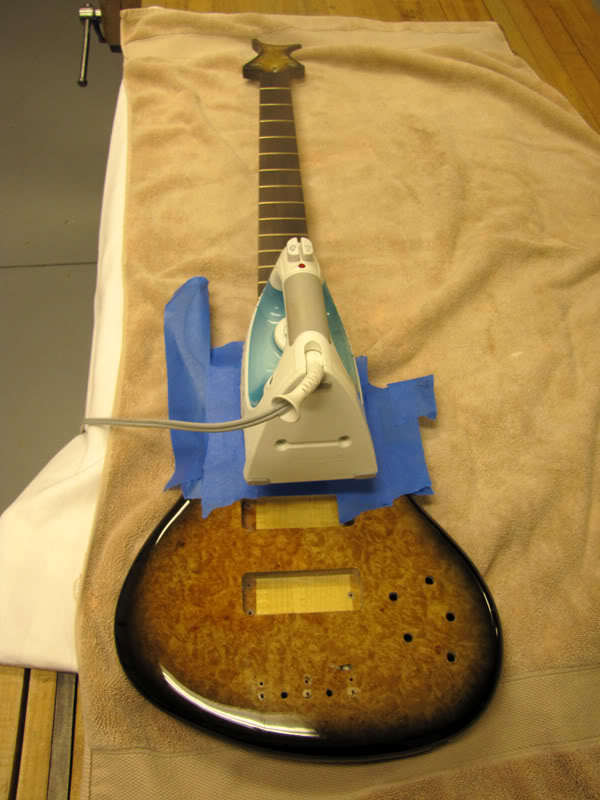
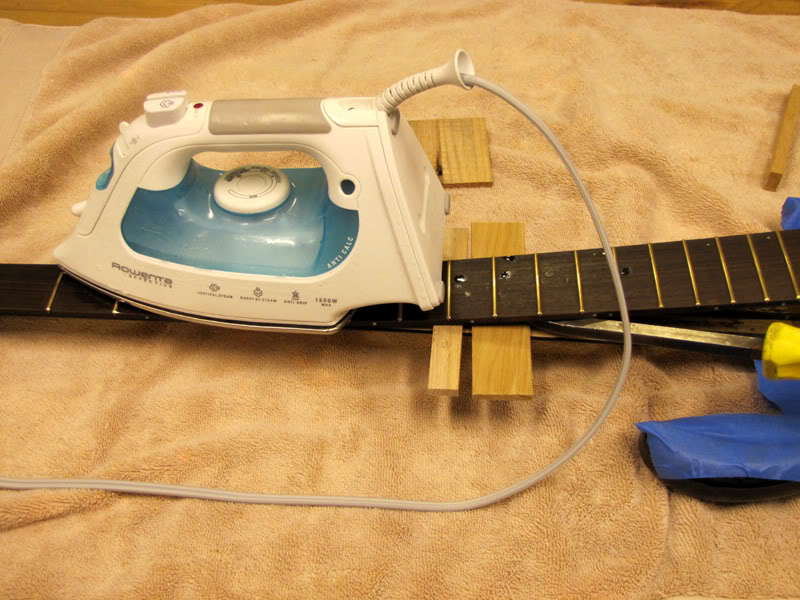
Step 3 Get an iron and turn it up to full steam setting, and set it on the fingerboard
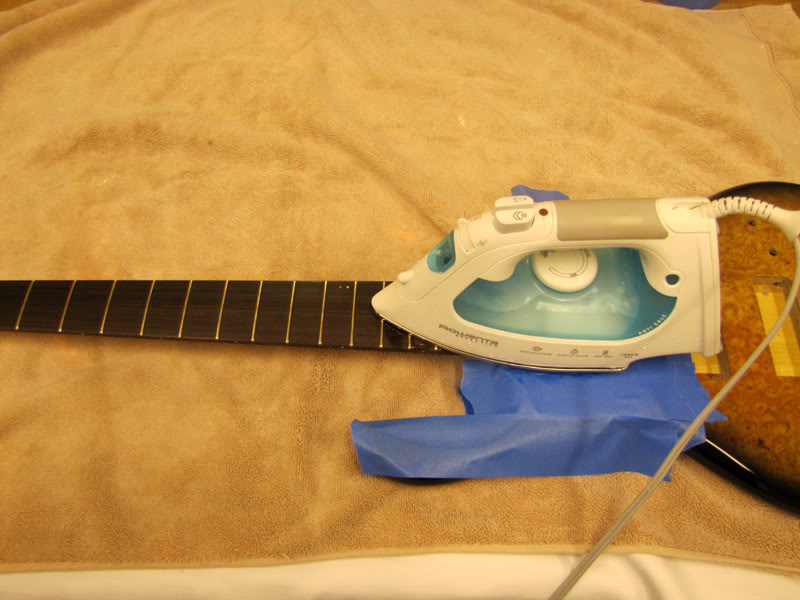
Step 4 Get a small piece of scrapwood and a pry bar. A standard large slotted screwdriver would work also, but a prybar is preferred. Use the scrapwood as a fulcrum over the taped area of the body. It should only take about 2 minutes for the iron heat and steam to do its work.
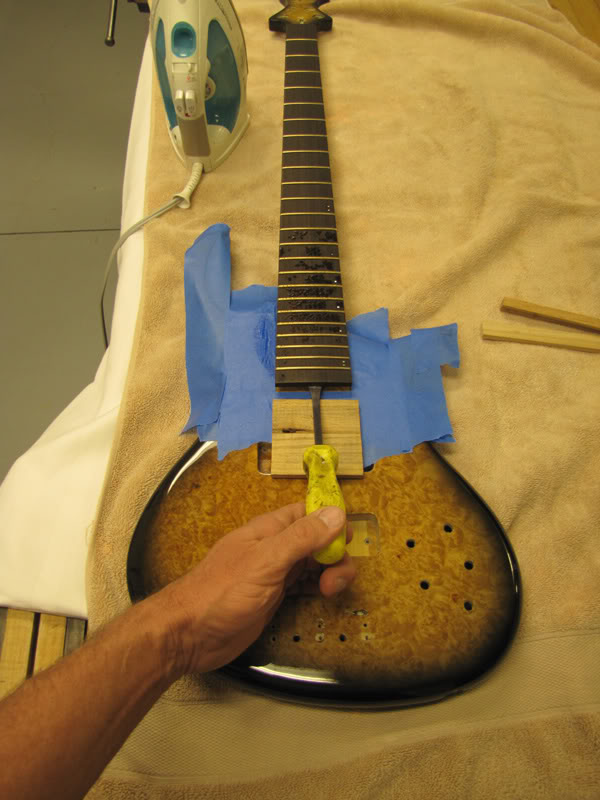
Step 5 Gently pry up the end of the fingerboard:
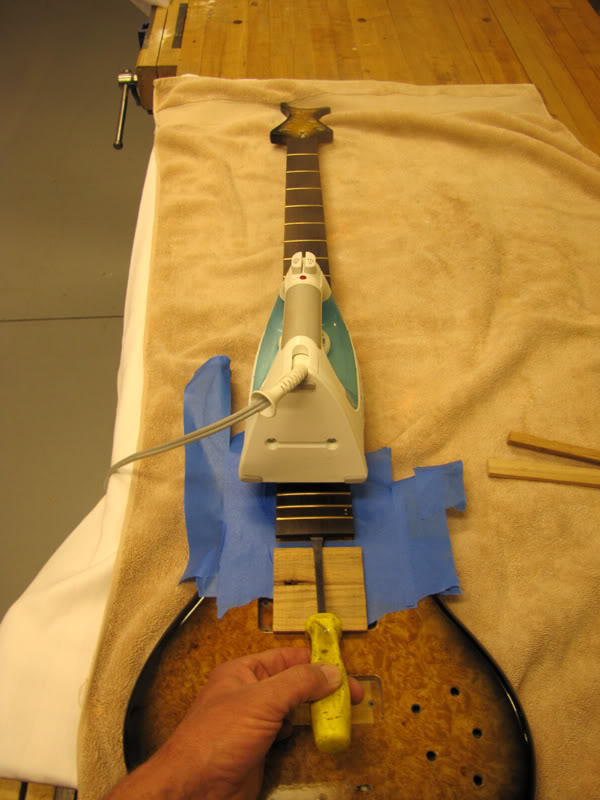
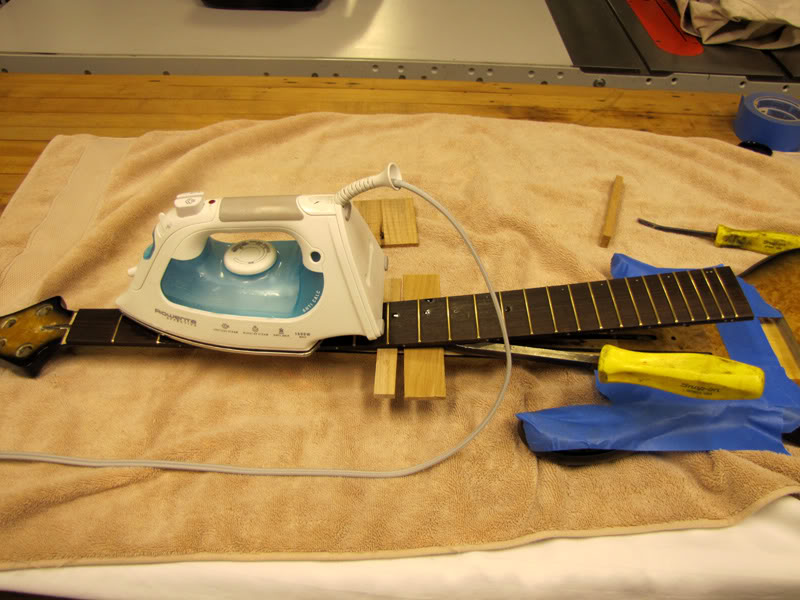
Step 6 Once you have lifted the fingerboard to a comfortable height, take a second piece of scrapwood and place it under the fingerboard as pictured:
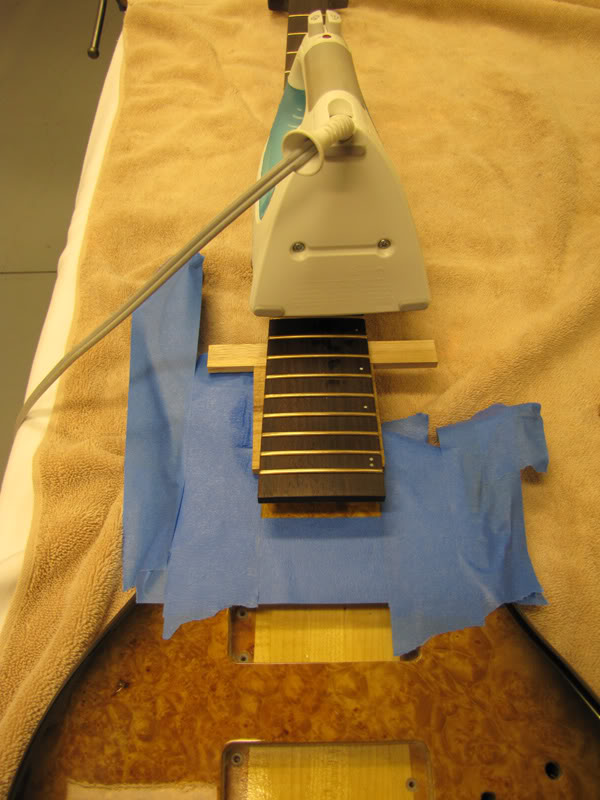
In this next picture, although you cannot see it, the truss rod is actually helping the fingerboard lift from the neck. This is the point of setting the truss rod with lots of backbow for this process . . .
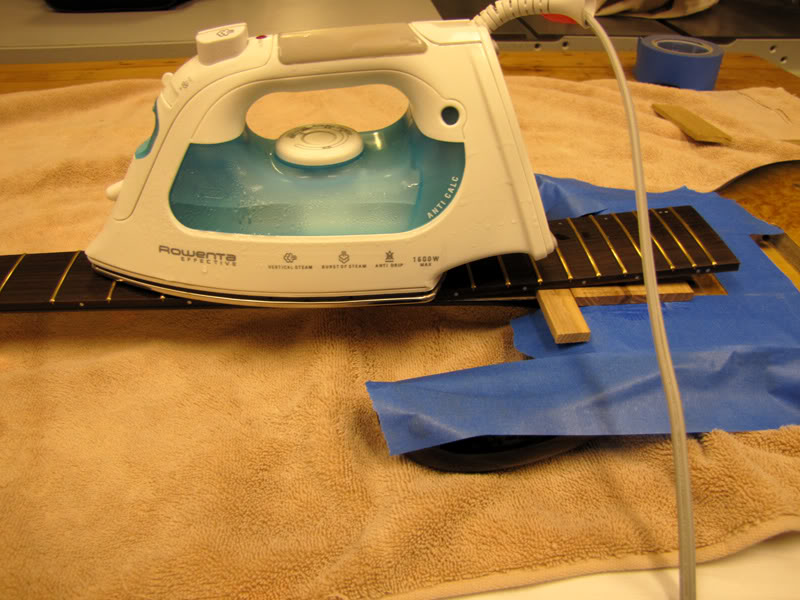
Step 7 onward: Then, simple repeat this process as you work your way down the fingerboard:
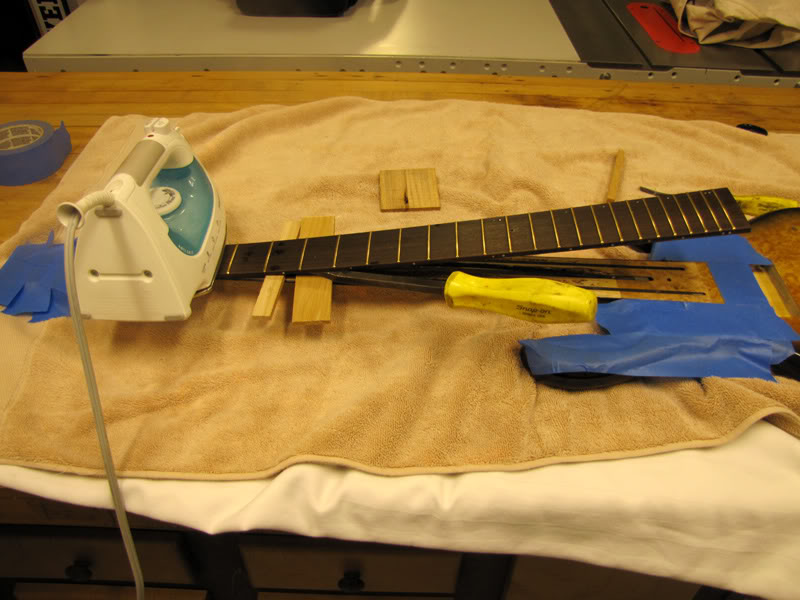
In this photo you can see how the truss rod helps lift the fingerboard:
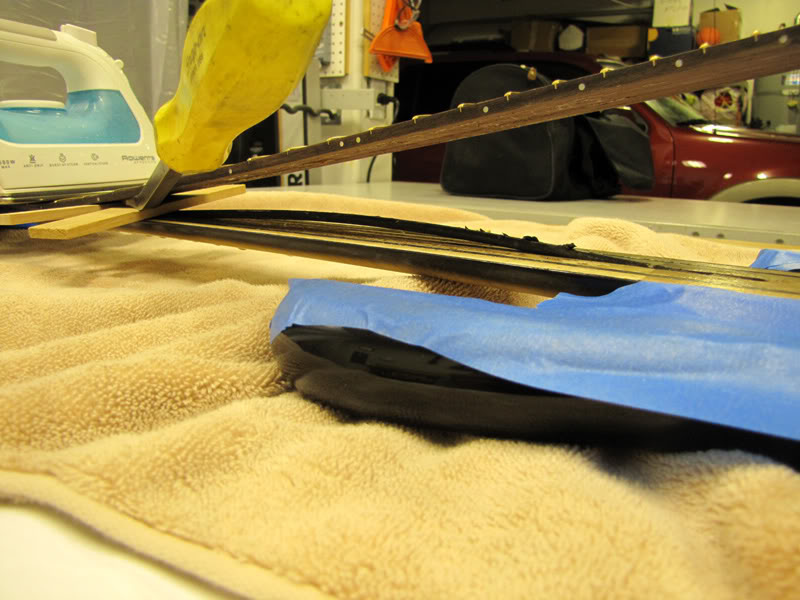
Viola', and done!
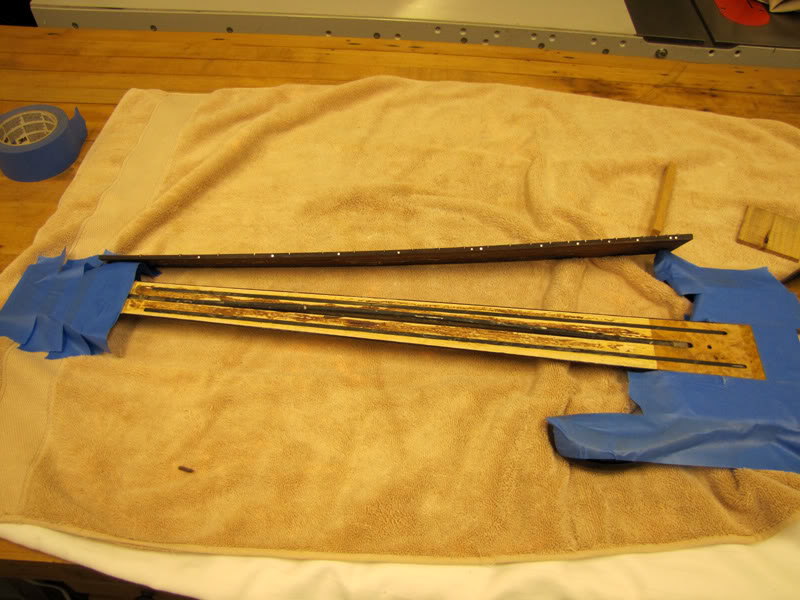
Total time from pluggin in the iron to this picture? 15 minutes, total!
I hope this helps somebody out! Thanks!
Recently, the truss-rod socket stripped out, thus rendering adjustment impossible. Also, I have wanted to replace the fingerboard (or at least rework the existing one) for a long time.
So, it was time to remove the fingerboard and the truss rod for replacement! The following is how I remove a fingerboard.
Step 1 (if you are able; I was not able) adjust the truss rod with as much back bow as you are comfortable with. This way, the truss rod itself will actually help lift the fingerboard off the neck-bed.
Step 2 Use painter's tape (triple layers) to protect the finish around where the body meets the fingerboard. (On a bolt on neck, simply remove the neck).
Step 3 Get an iron and turn it up to full steam setting, and set it on the fingerboard
Step 4 Get a small piece of scrapwood and a pry bar. A standard large slotted screwdriver would work also, but a prybar is preferred. Use the scrapwood as a fulcrum over the taped area of the body. It should only take about 2 minutes for the iron heat and steam to do its work.
Step 5 Gently pry up the end of the fingerboard:
Step 6 Once you have lifted the fingerboard to a comfortable height, take a second piece of scrapwood and place it under the fingerboard as pictured:
In this next picture, although you cannot see it, the truss rod is actually helping the fingerboard lift from the neck. This is the point of setting the truss rod with lots of backbow for this process . . .
Step 7 onward: Then, simple repeat this process as you work your way down the fingerboard:
In this photo you can see how the truss rod helps lift the fingerboard:
Viola', and done!
Total time from pluggin in the iron to this picture? 15 minutes, total!
I hope this helps somebody out! Thanks!