

Enjoy the benefits of a premium membership!
Upgrade Account
-
TalkBass has been independent since 1998. Add your voice.
Create a free account to reply to discussions, view embedded media, and browse with fewer display ads.
Join free Log in
Want zero display ads or expanded classifieds tools? Compare plans.
You are using an out of date browser. It may not display this or other websites correctly.
You should upgrade or use an alternative browser.
You should upgrade or use an alternative browser.
I got some Peavey parts...
- Thread starter Reedt2000
- Start date
More options
Who Replied?

That happened for me to. I ordered a Nova bridge and headpiece and got them before parts I ordered from Arizona at the same time. The brass nut should work unless you use coated strings or tapewounds. I don’t think they are conductive.

I'm a SS guy so shouldn't be any issues thereThat happened for me to. I ordered a Nova bridge and headpiece and got them before parts I ordered from Arizona at the same time. The brass nut should work unless you use coated strings or tapewounds. I don’t think they are conductive.


Good point. But, those strings will eliminate shielding on a bass with any type of bridge or nut.The brass nut should work unless you use coated strings or tapewounds. I don’t think they are conductive.
Last edited:
Had a little time after work. Took a bunch of measurements, marked things out, and got to work gently massaging the neck heel to like this new pocket. I cut the rounded end of the heel off, brought the sides in about 1 mm on each side, and smoothed it all out so that this

Is now this
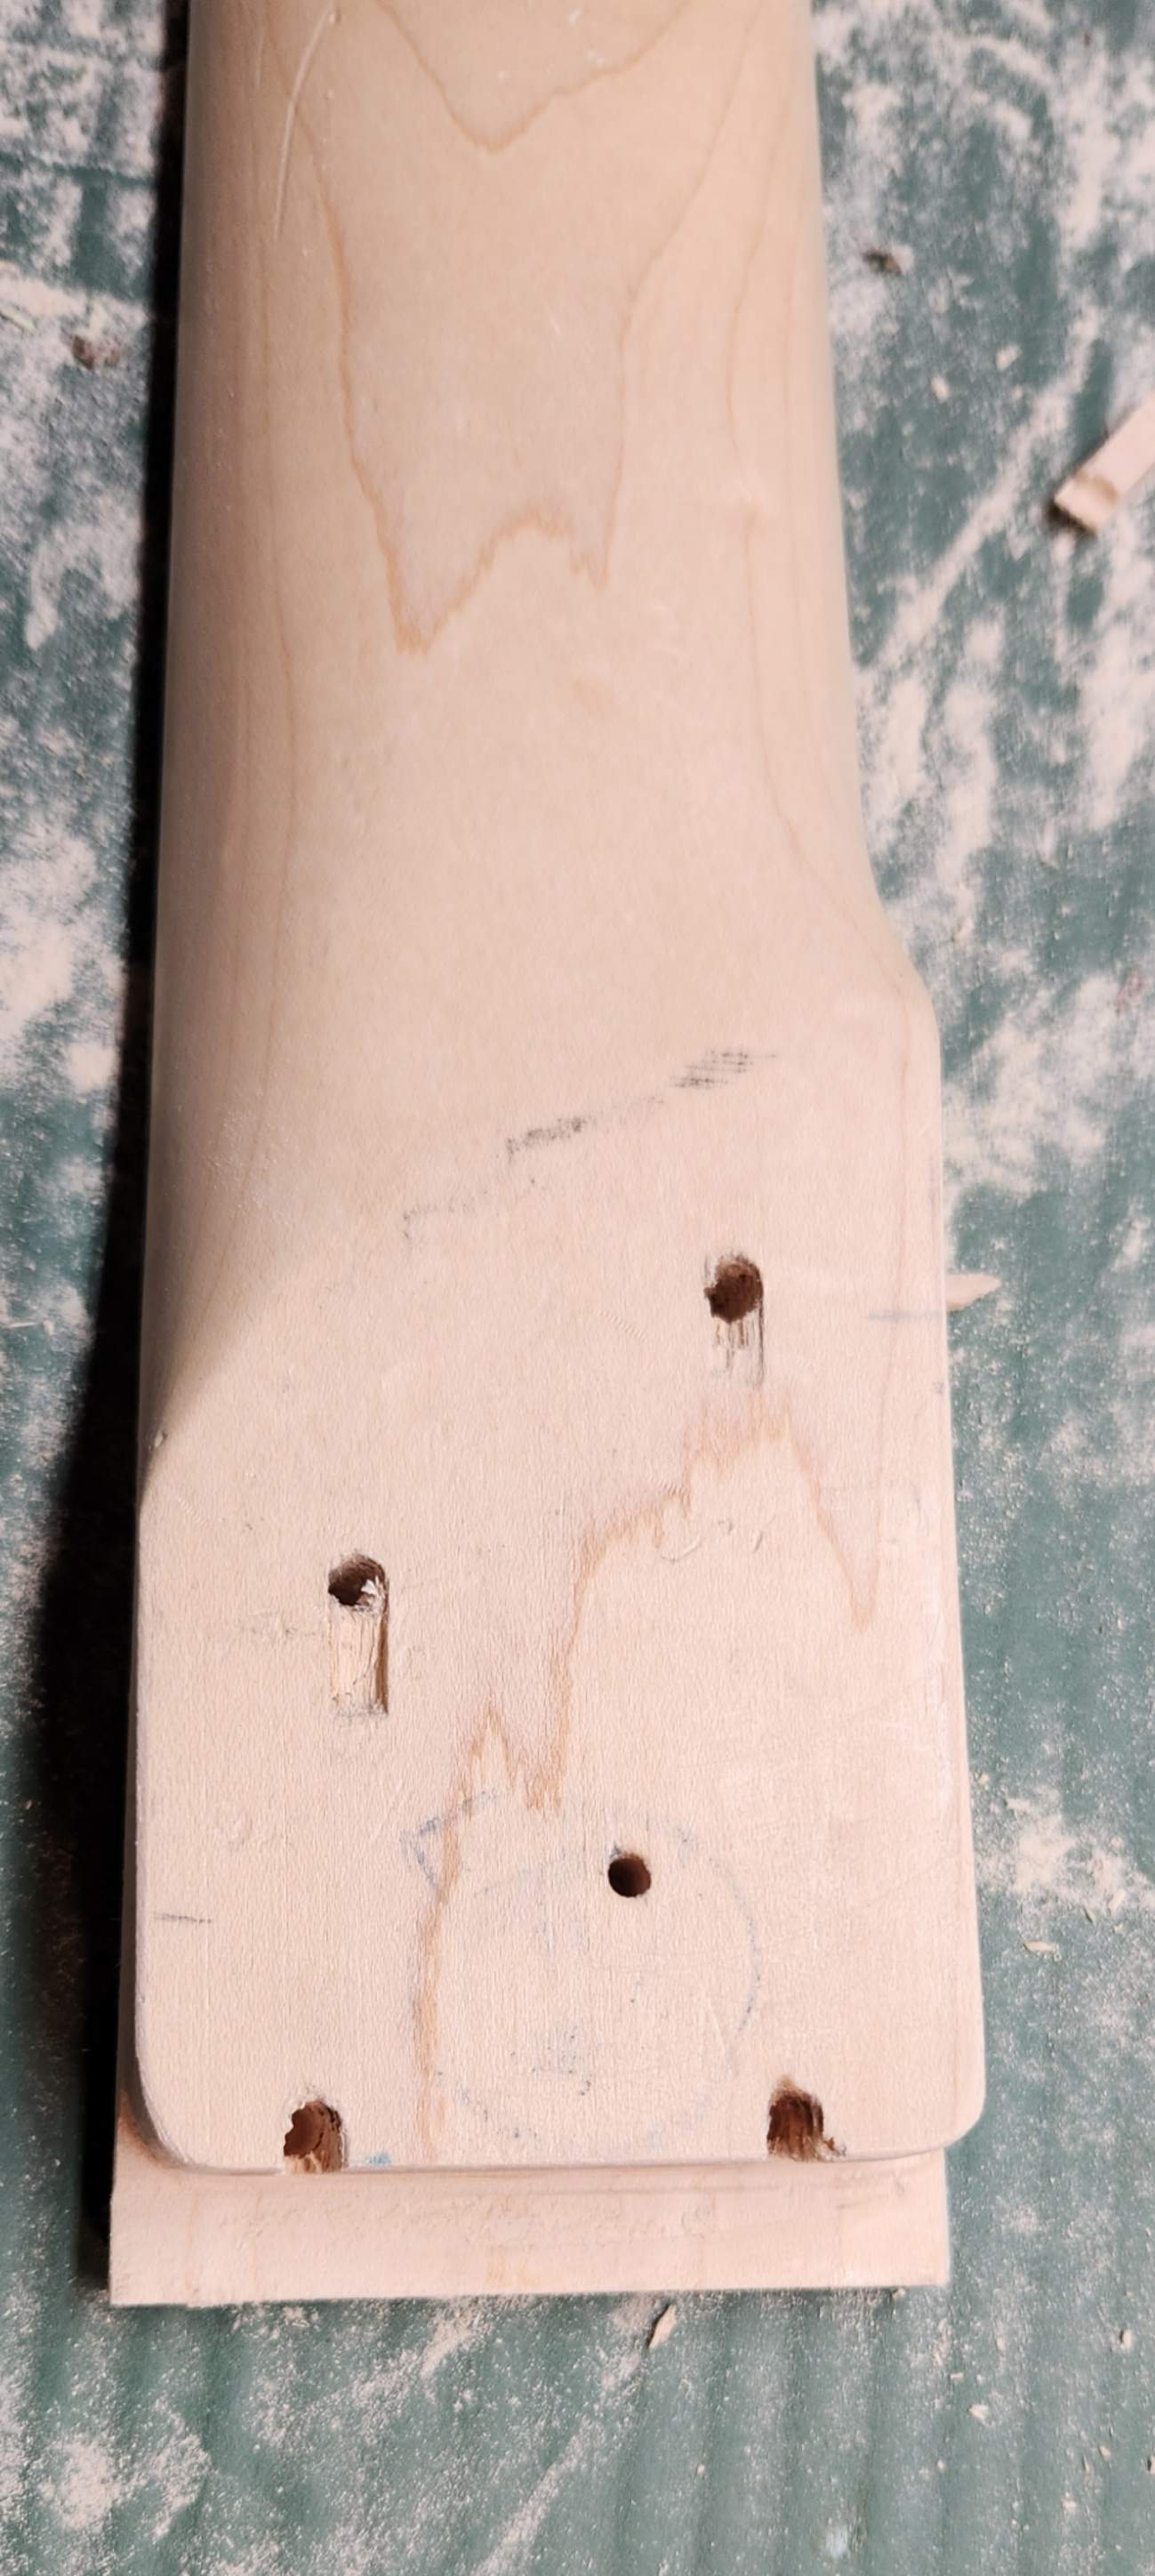
And it fits nicely, snug but not needing to be forced in.
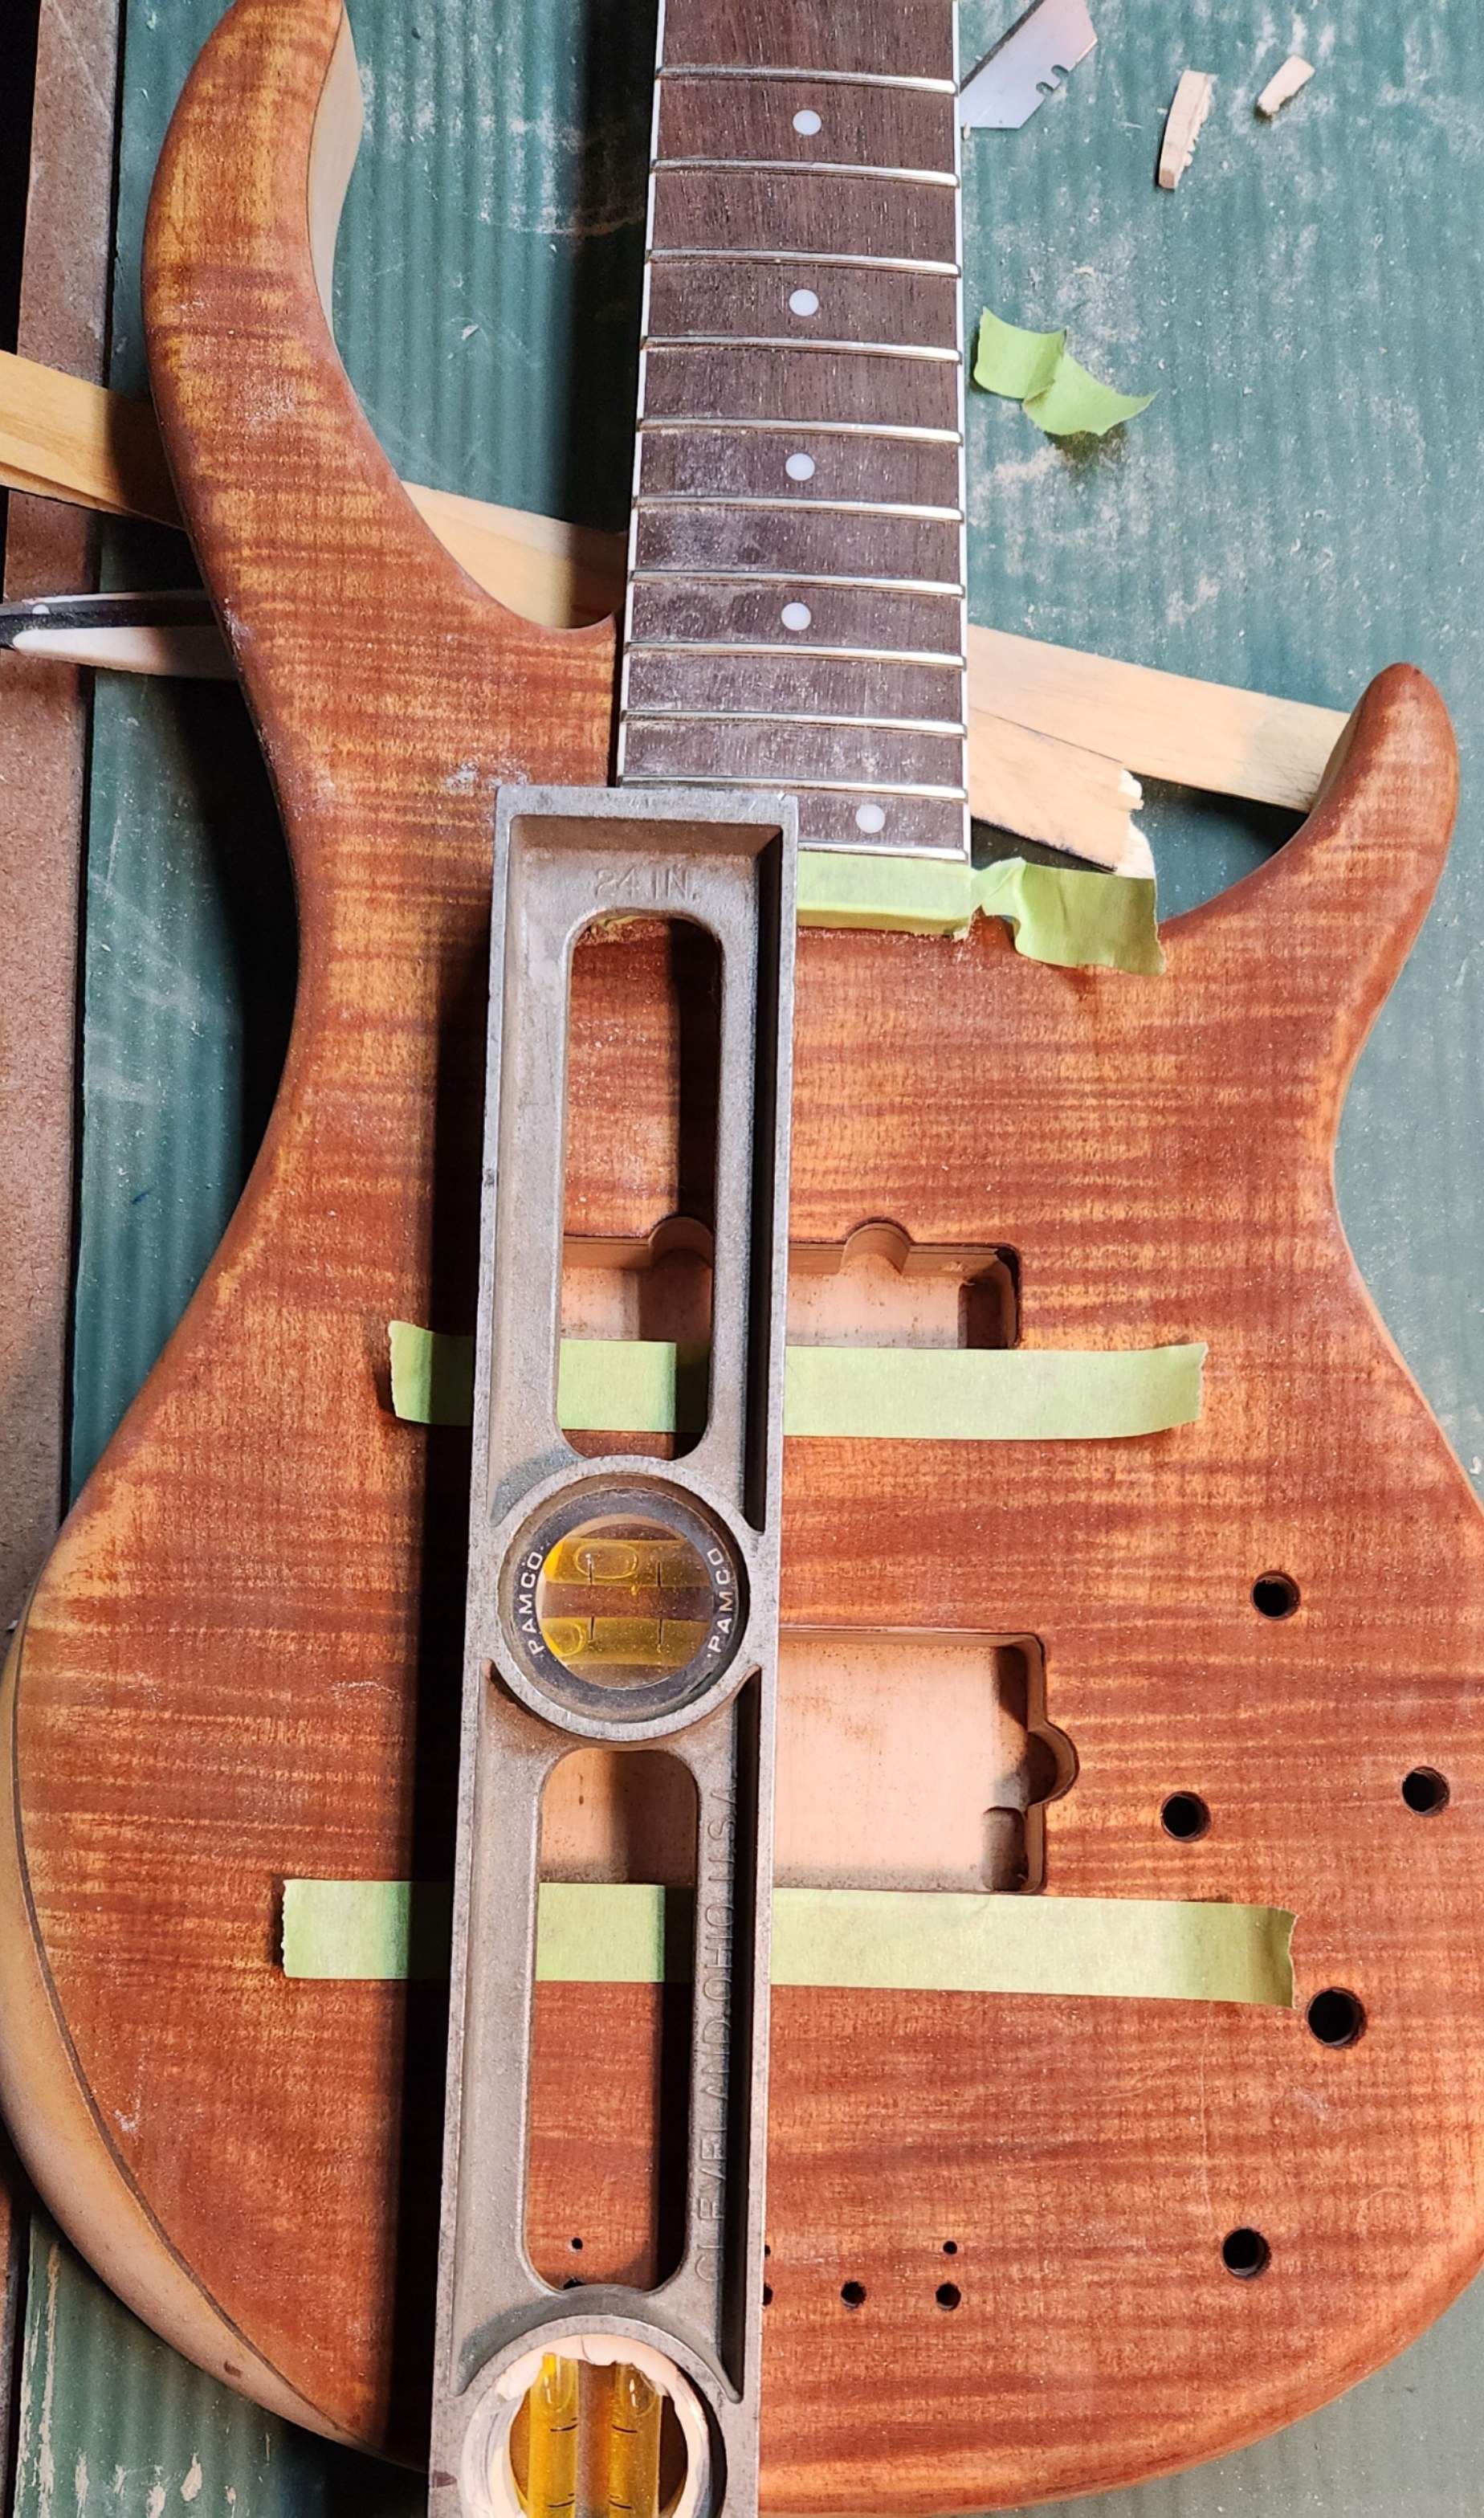
It also lands nice and square with the center line of the fretboard lining up perfectly with the maple bookmatch and the center of the pickup routes
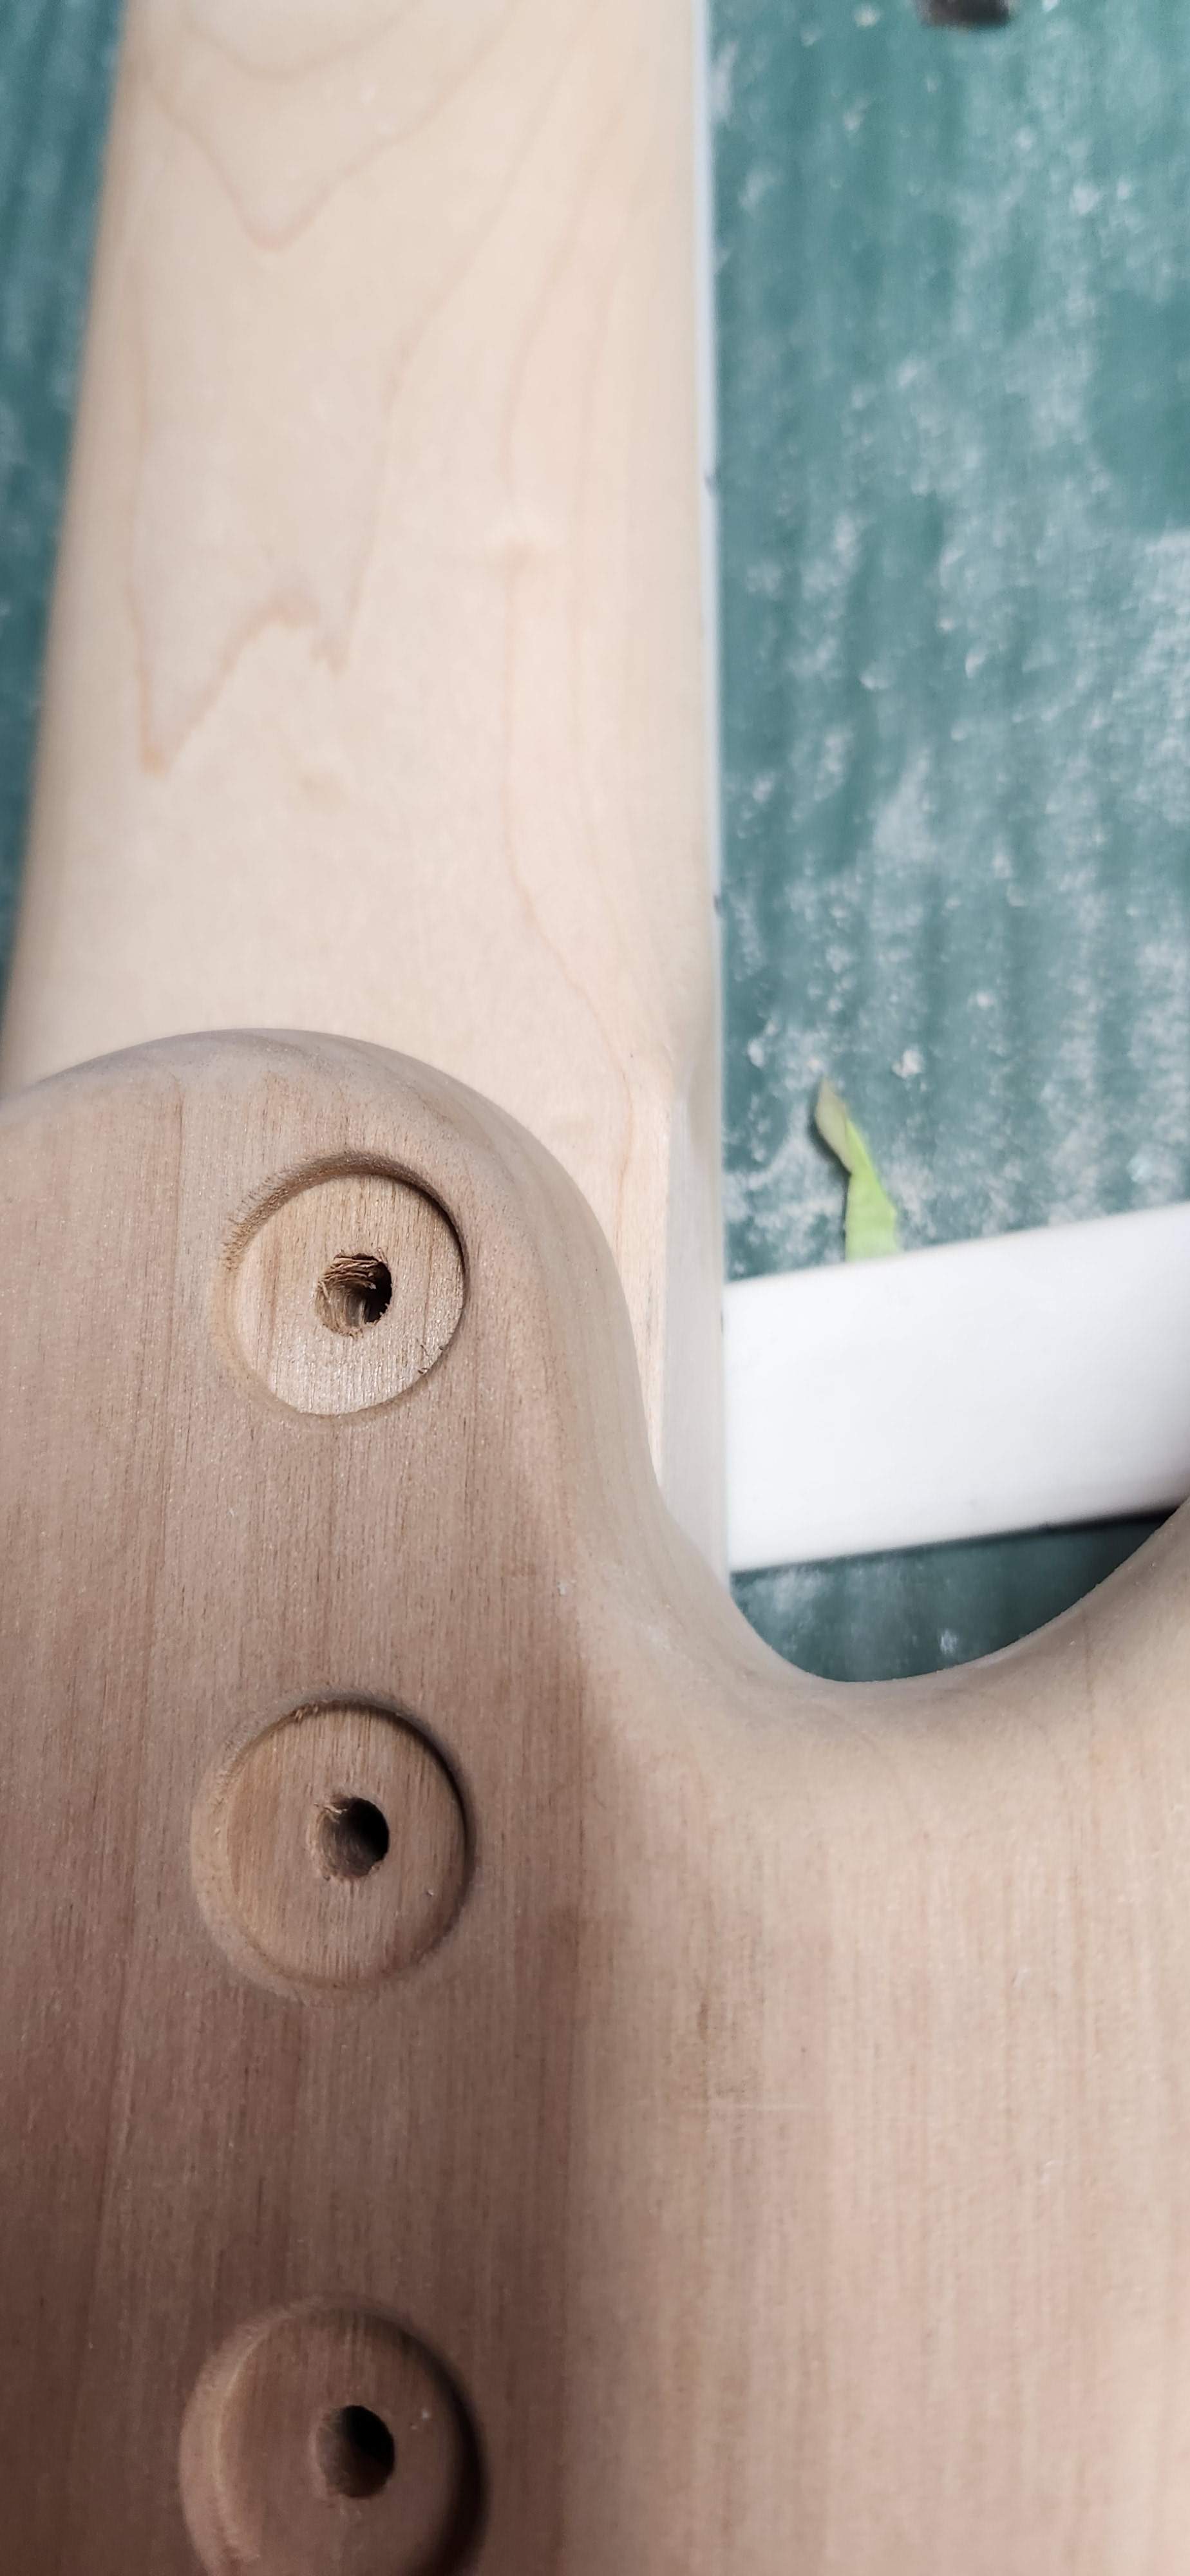
There's this square bit that needs smoothing
And there's this
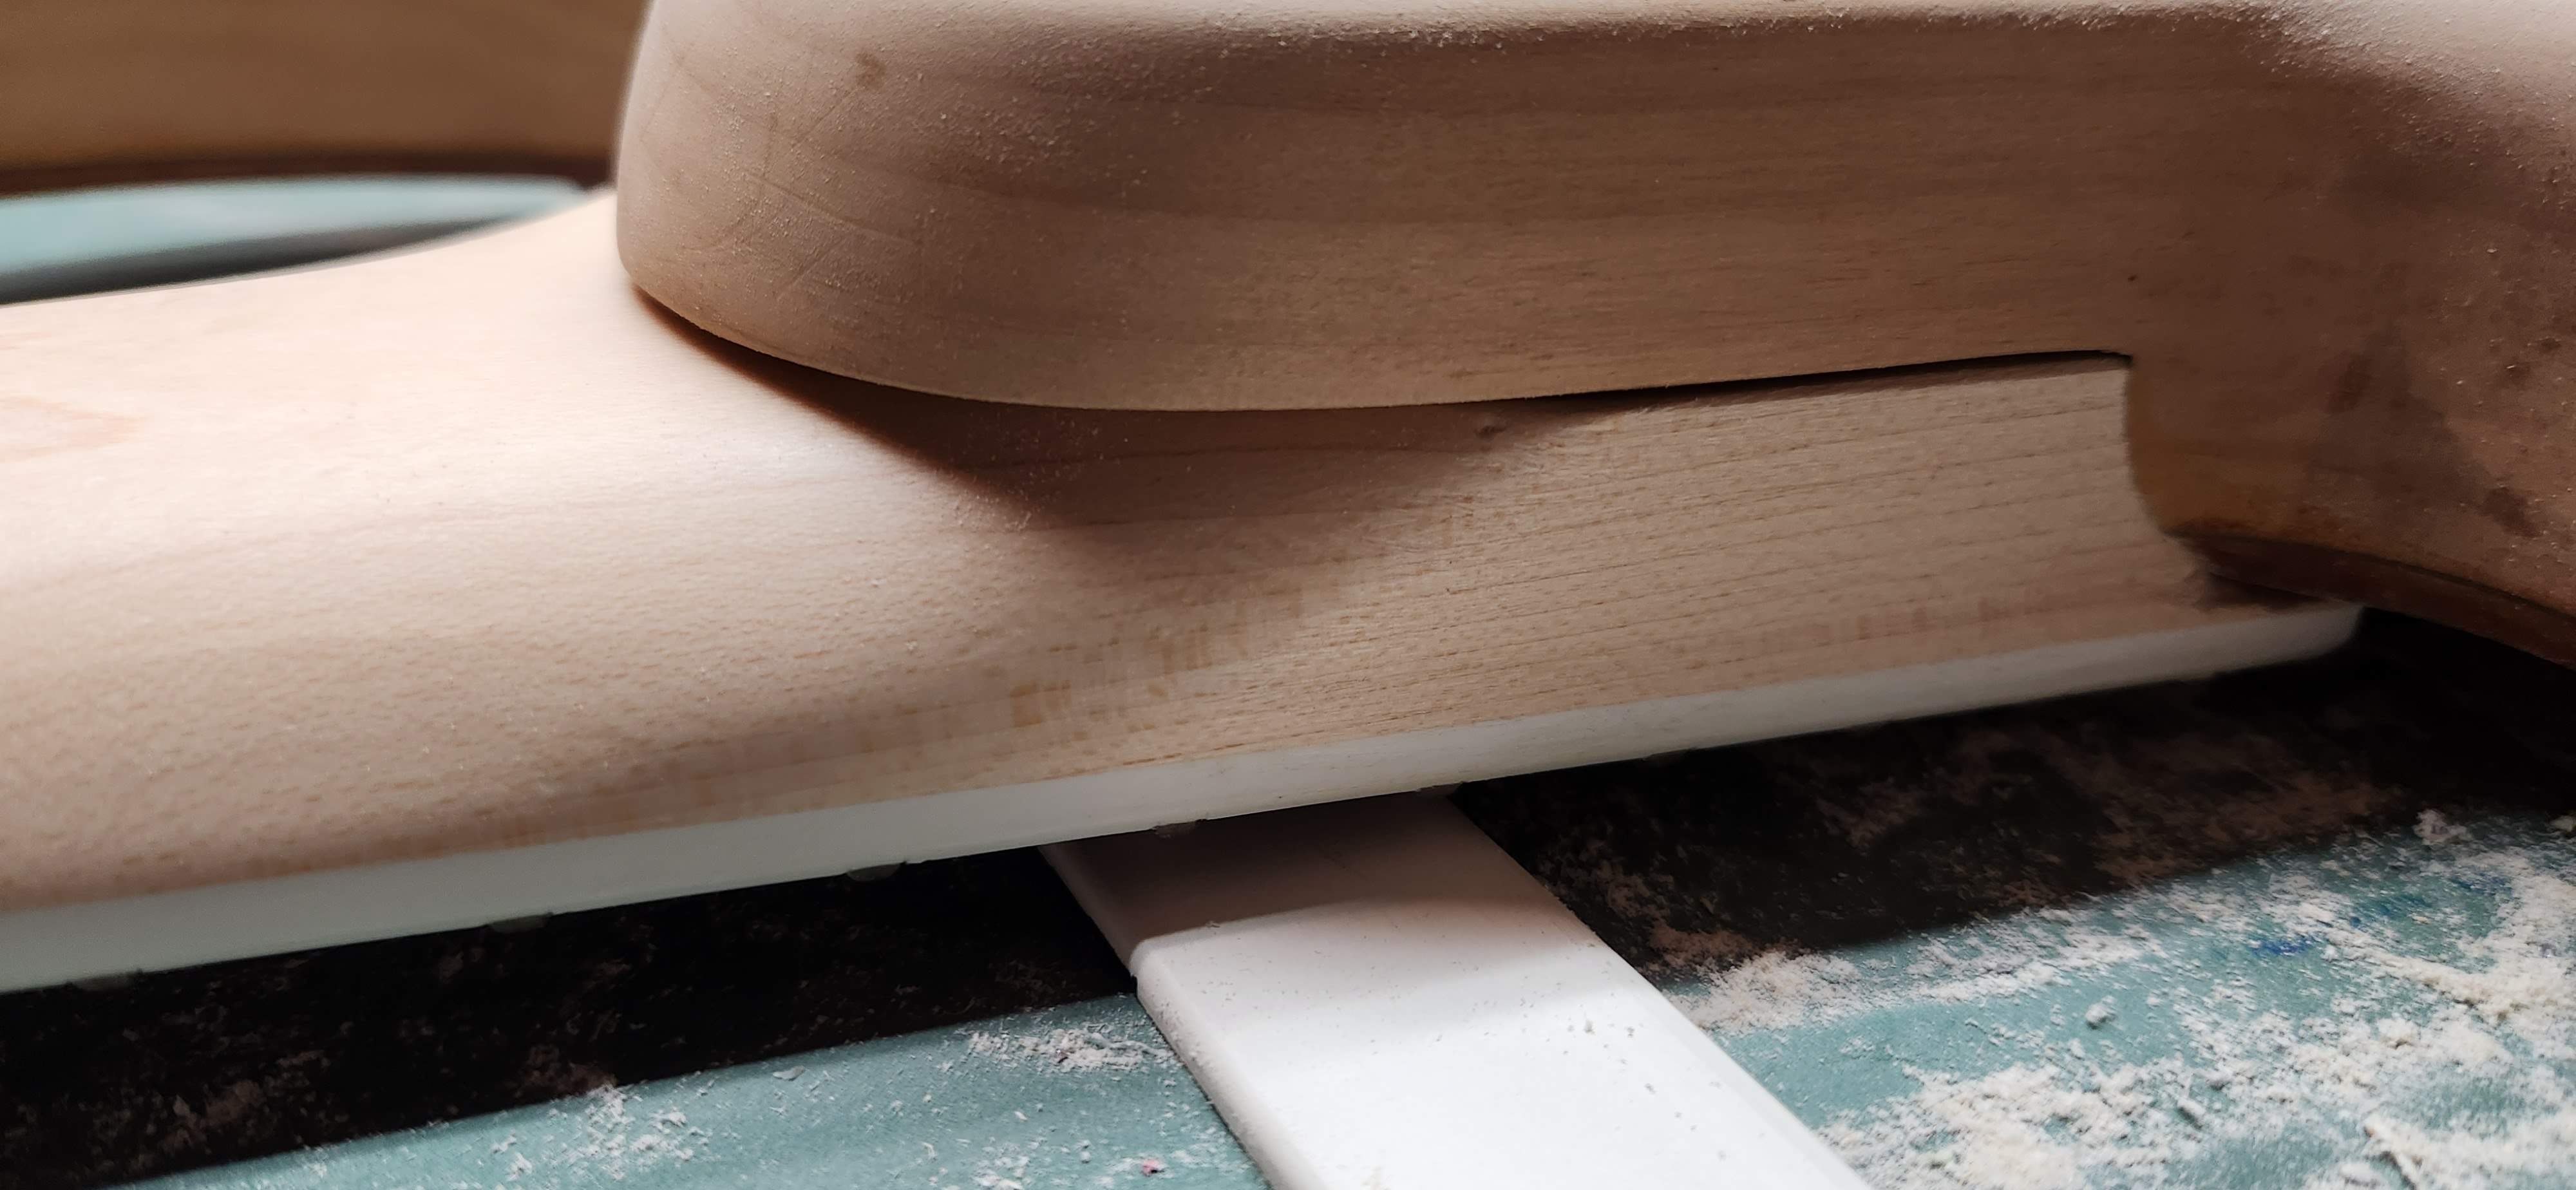
I knew something like this overhang was possible. Thankfully the screw lands where it's still flat. Gonna have to do some creative shaping to blend that in but I think I can do it.
With this neck that has 24 frets, the bridge saddle witnes points will end up much closer to the pickup than a millennium does. This is cool on a couple fronts. One: I hoped to cut out the strings through body holes as part of clearancing the tuners and I think I'll be able to do that. Two: it should be a punchy funk machine , and the J should land close to the P Bass sweet spot
Is now this
And it fits nicely, snug but not needing to be forced in.
It also lands nice and square with the center line of the fretboard lining up perfectly with the maple bookmatch and the center of the pickup routes
There's this square bit that needs smoothing
And there's this
I knew something like this overhang was possible. Thankfully the screw lands where it's still flat. Gonna have to do some creative shaping to blend that in but I think I can do it.
With this neck that has 24 frets, the bridge saddle witnes points will end up much closer to the pickup than a millennium does. This is cool on a couple fronts. One: I hoped to cut out the strings through body holes as part of clearancing the tuners and I think I'll be able to do that. Two: it should be a punchy funk machine
, and the J should land close to the P Bass sweet spot Had the day off, but also a gotta-weekday-off list of not bass-related stuff to do 
Still got some time in. Shaped the neck to better transition into the pocket:
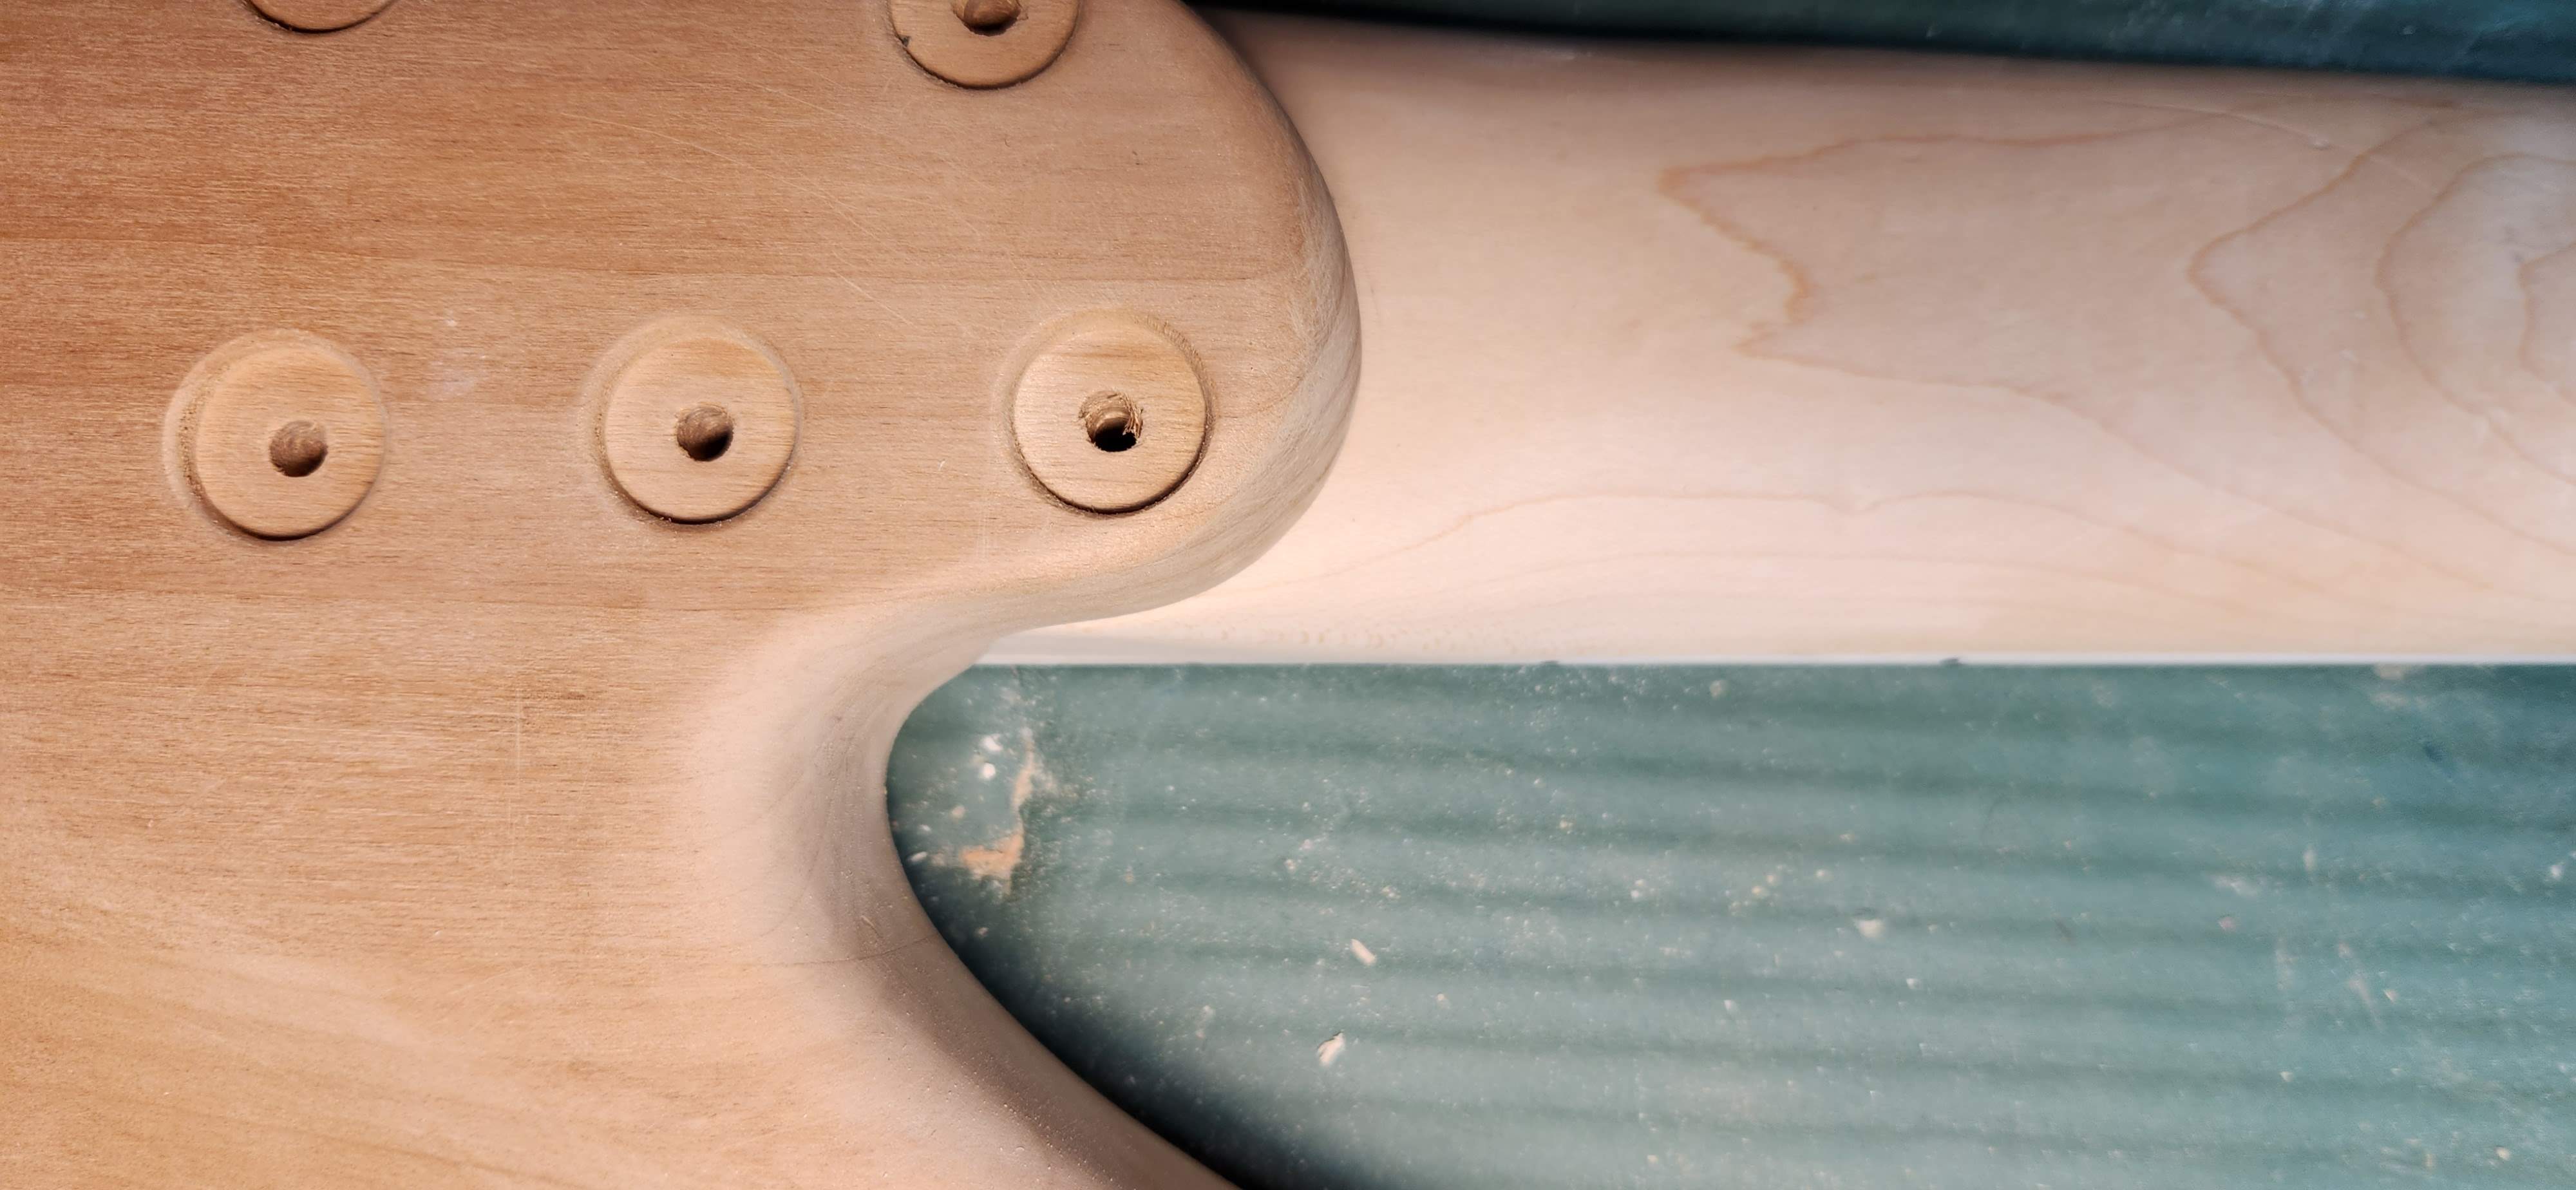
And the pocket to better transition to the neck:
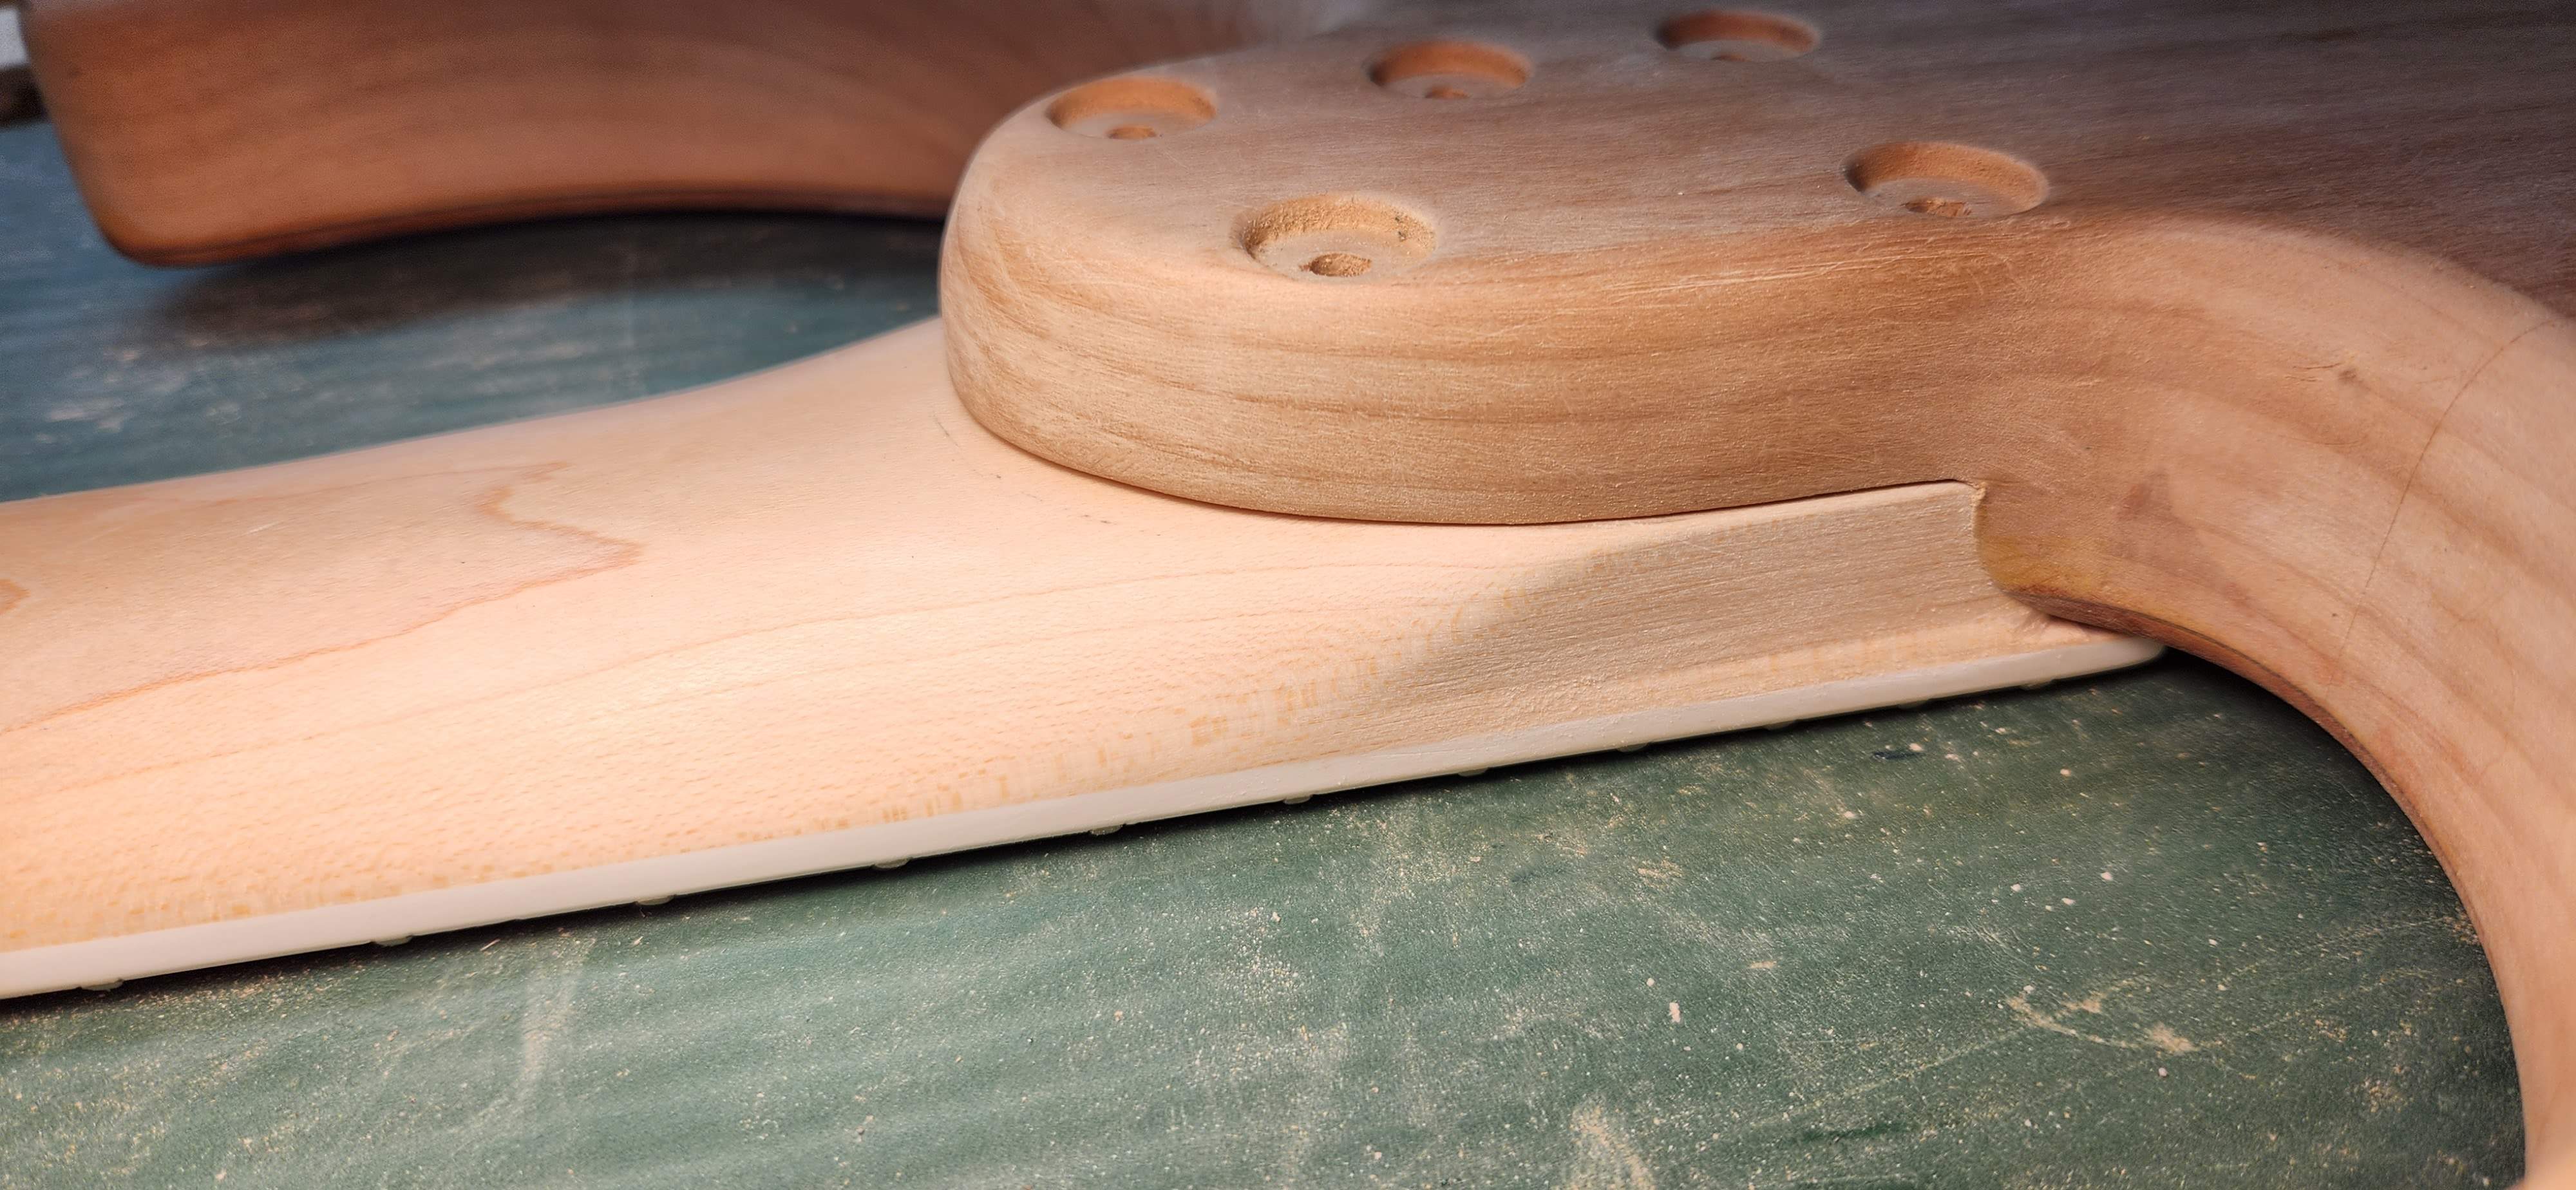
Came out pretty nice, still needs some final sanding but that will happen when it's time for finishing. I'm gonna lightly sand the whole neck (the maple bit anyway) and refinish it with satin wipe-on poly (after the head is chopped of course  ).
).
Now need some dowels to plug the old holes and I can finalize the neck joint and move on to locating the bridge(s) and working on the head chop
Still got some time in. Shaped the neck to better transition into the pocket:
And the pocket to better transition to the neck:
Came out pretty nice, still needs some final sanding but that will happen when it's time for finishing. I'm gonna lightly sand the whole neck (the maple bit anyway
) and refinish it with satin wipe-on poly (after the head is chopped of course ).Now need some dowels to plug the old holes and I can finalize the neck joint and move on to locating the bridge(s) and working on the head chop

- Apr 18, 2008
- 16,013
- 1
- 31,725
- Disclosures
- I'm highly opinionated and extremely self-assured
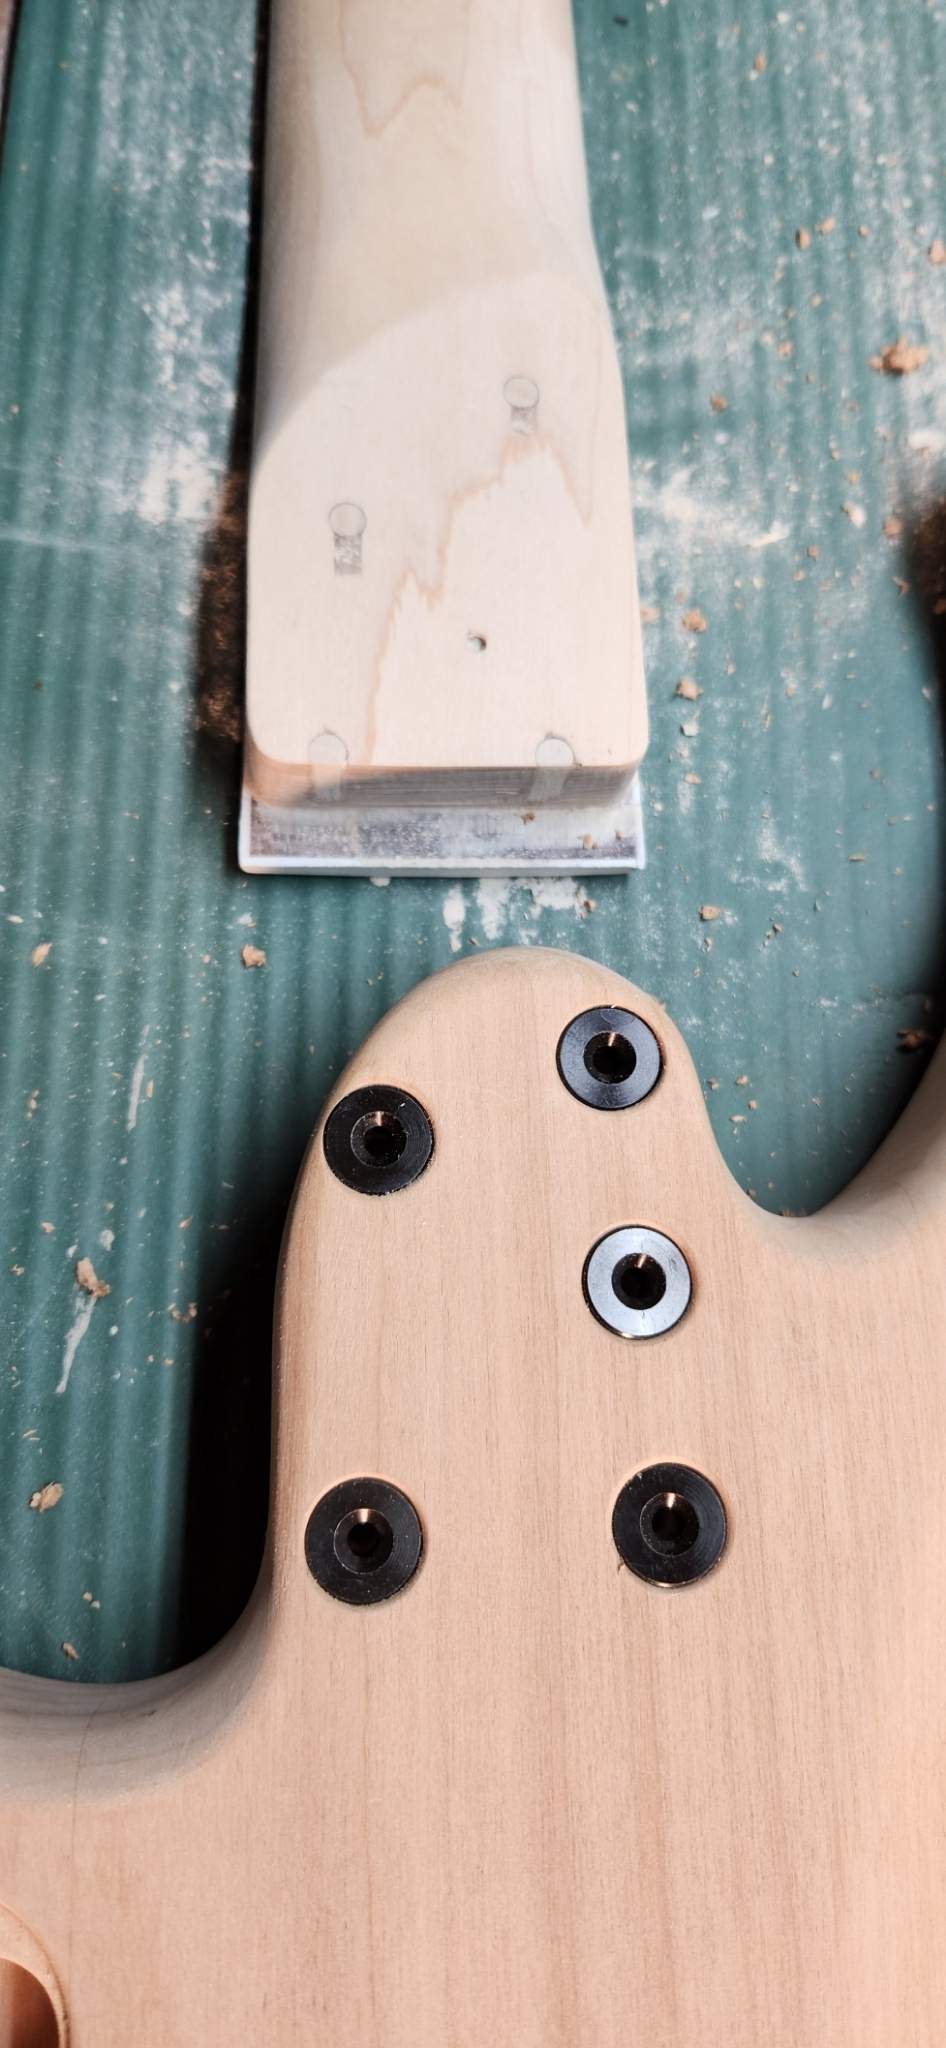
Putting time in today. I plugged the holes w dowels and epoxy, did some final fitment sanding, and reamed out the body for my ferrules
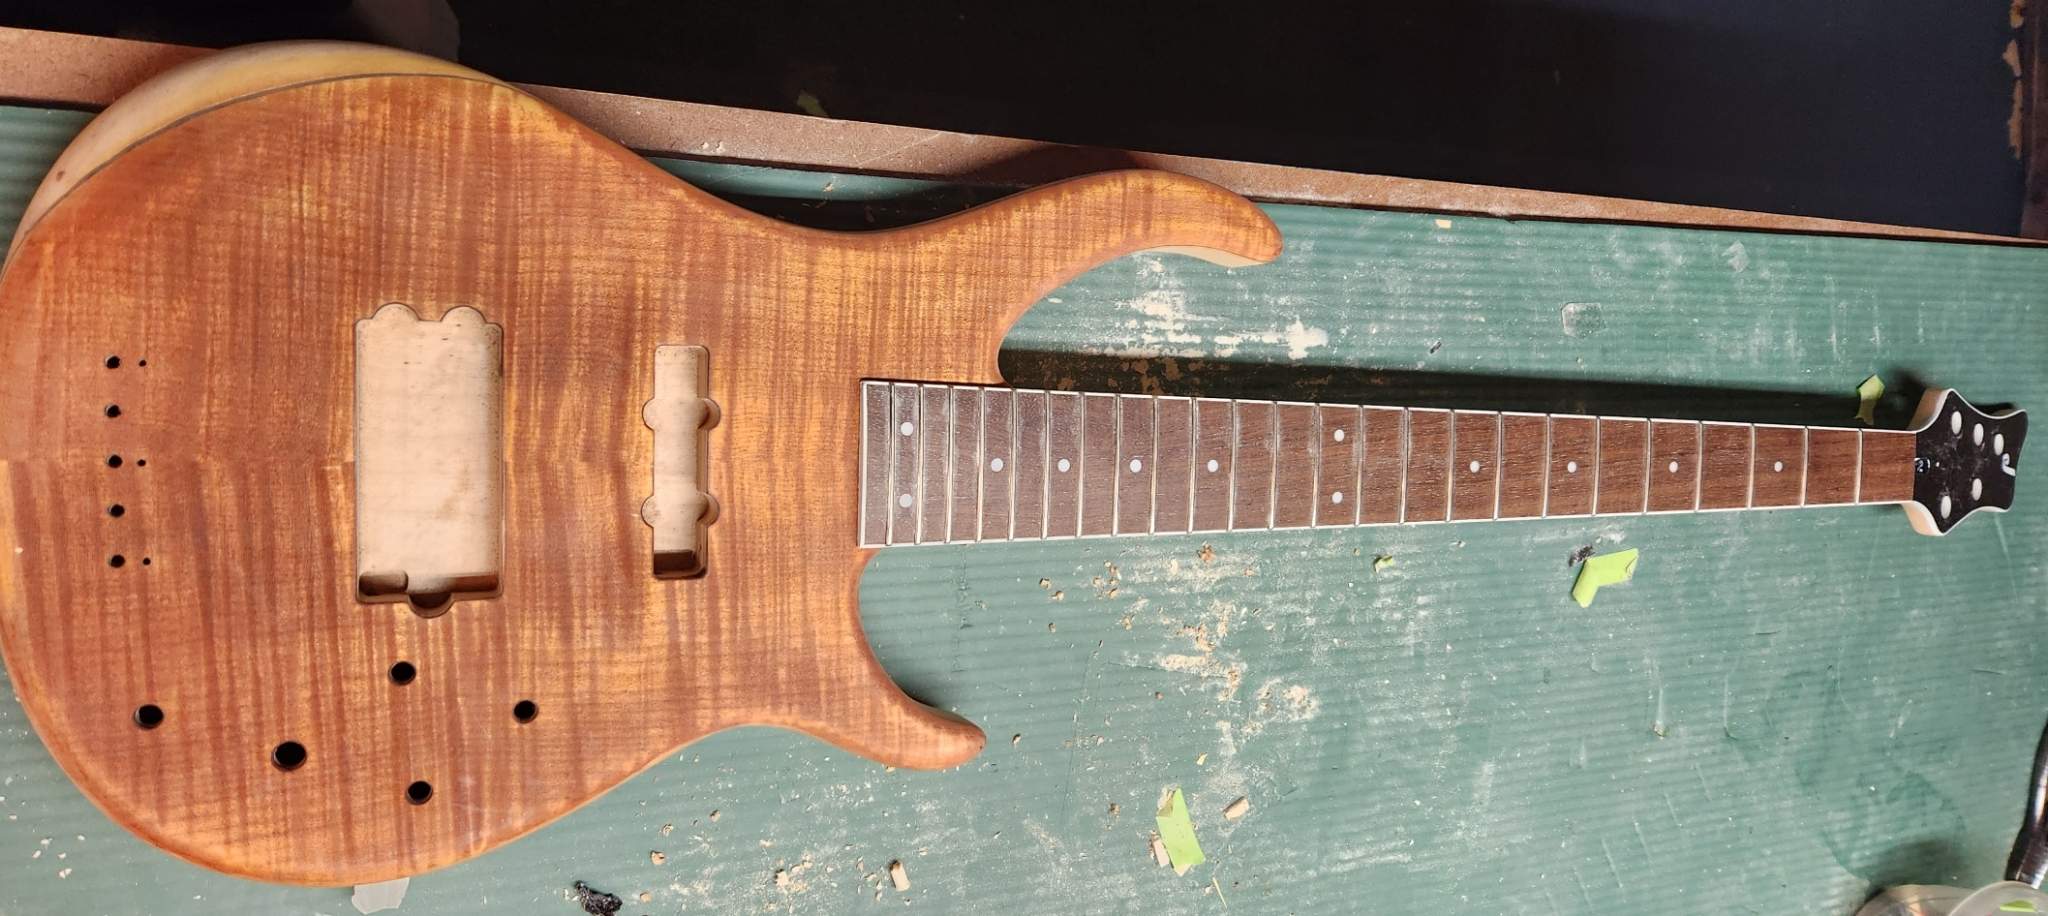
The measured like 8 times, drilled holes, and mounted the neck. It looks good, the transition into the pocket looks natural, and most importantly it is dead centered on the pickup routes!

Now I can play with the head chop
The measured like 8 times, drilled holes, and mounted the neck. It looks good, the transition into the pocket looks natural, and most importantly it is dead centered on the pickup routes!
Now I can play with the head chop
Last edited:
Yes, the deed is done! Last time I did this I used individual headpieces (but a single bridge, must be some sort of irony there...) which required more design work and thought. The single headpiece was much easier. Get it centered and located where it clears the old tuning machine holes, draw a little around it, chop!
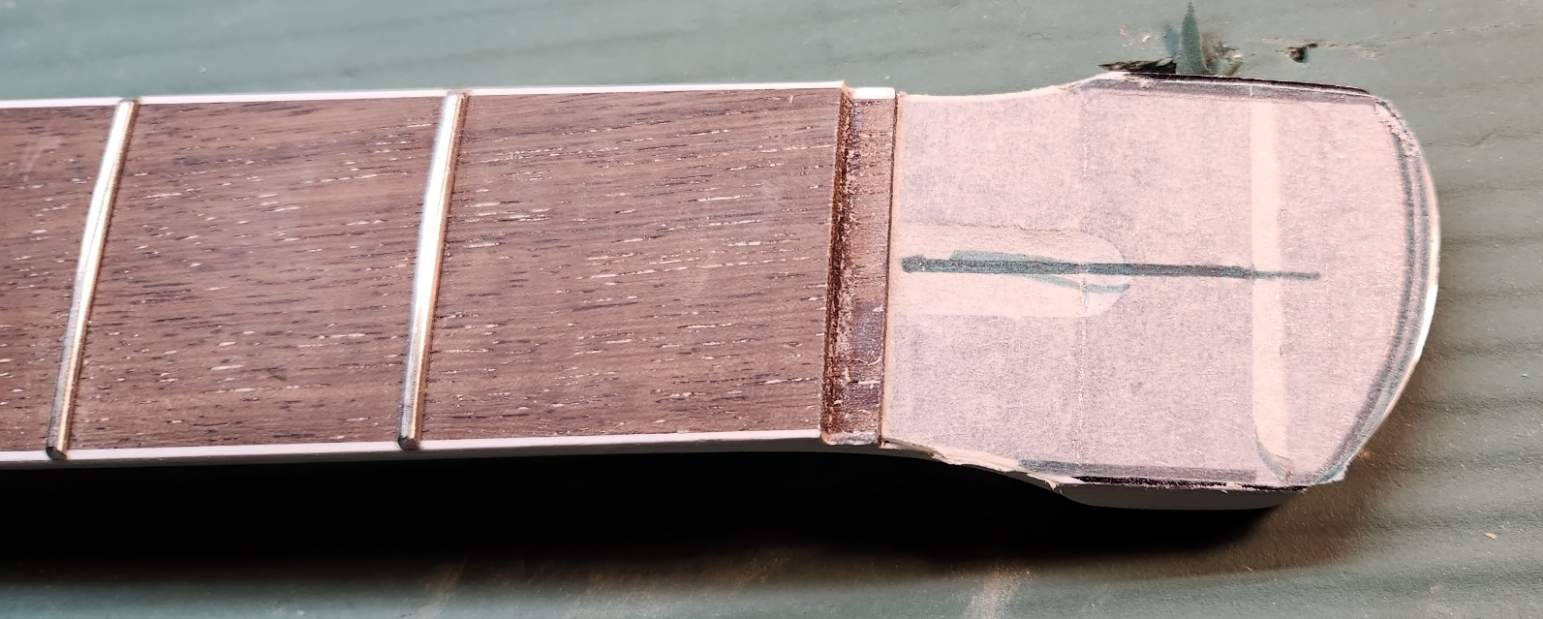
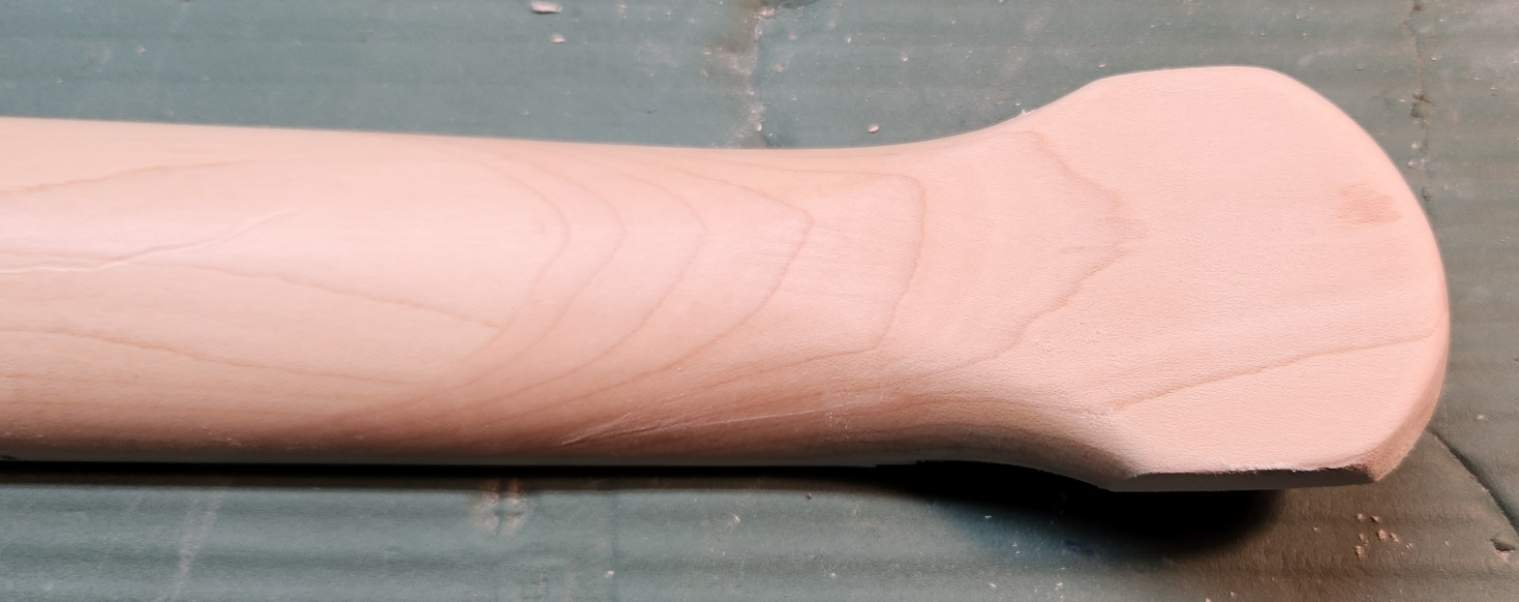
I've been pondering what to do about the binding. As it happens, jackson took care of it for me
The headstock "binding" is really a piece of white plastic laid over the whole headstock. So, it stays and I don't have to do anything
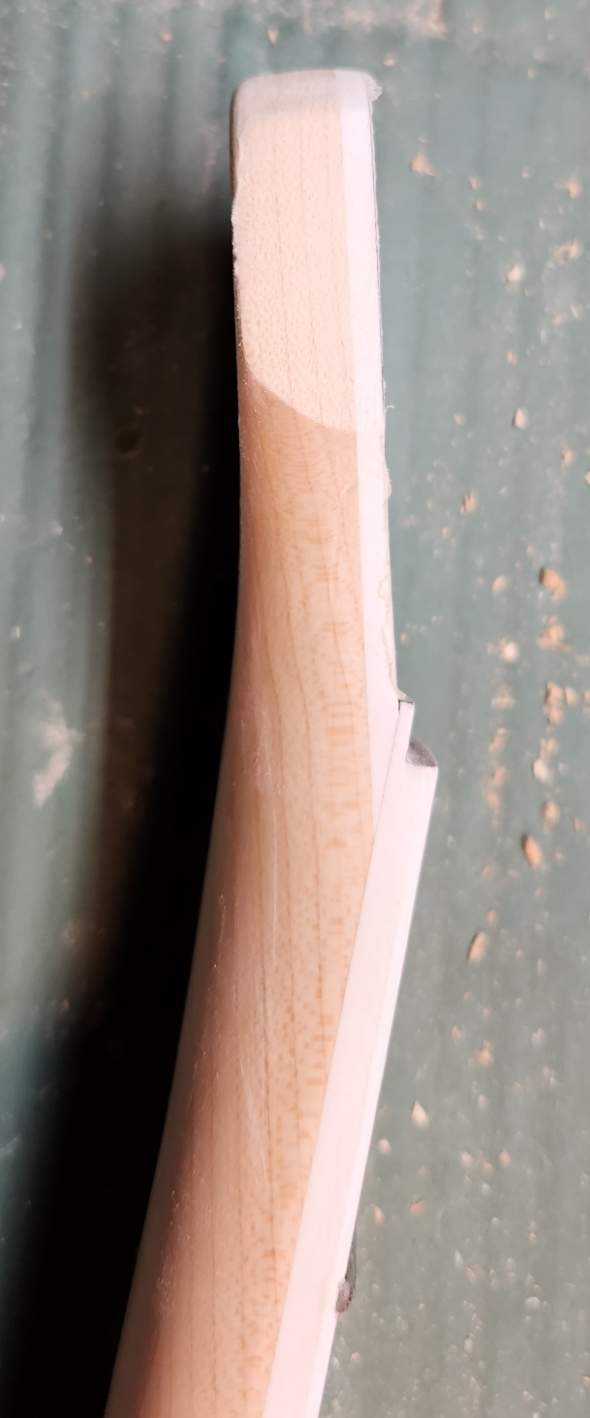
That does potentially change my plans. I was planning on drilling out the truss rod access, and gluing a 1/8" piece of maple across the front of the remaining headstock nub. Now that would have to be glued to the plastic. I'm not sure if that will work? What glue? Epoxy? CA? Anybody have any insights?
It's starting to take shape
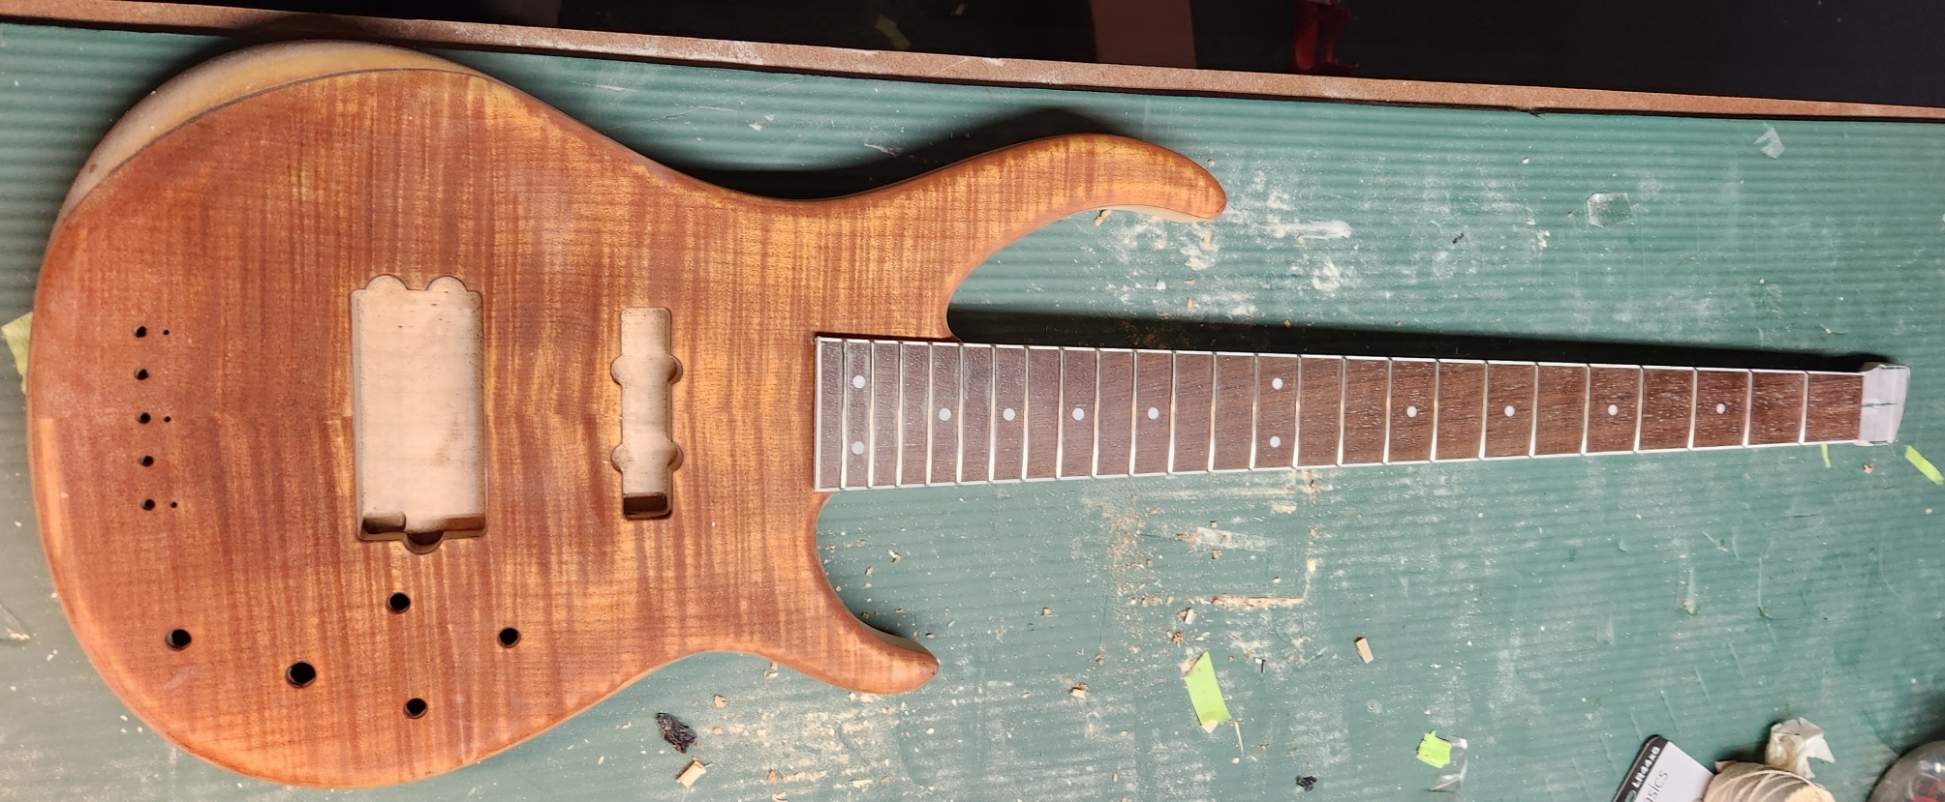
I've been pondering what to do about the binding. As it happens, jackson took care of it for me
The headstock "binding" is really a piece of white plastic laid over the whole headstock. So, it stays and I don't have to do anything
That does potentially change my plans. I was planning on drilling out the truss rod access, and gluing a 1/8" piece of maple across the front of the remaining headstock nub. Now that would have to be glued to the plastic. I'm not sure if that will work? What glue? Epoxy? CA? Anybody have any insights?
It's starting to take shape
- Apr 18, 2008
- 16,013
- 1
- 31,725
- Disclosures
- I'm highly opinionated and extremely self-assured
Guillotine... yeah... I totally didn't use a sawzall...Sweet! Another head succumbed to the guillotine!
Decided against drilling out for truss rod access from the back. Thinking about it, the headstock tilt back facilities truss rod access from the front, and will make it less accessible from the back. I think access is ok, worst case scenario I might have to relieve a little material from the headpiece  but I don't think so, gonna cross that bridge when I get there.
So, with no plan to add a layer, I took a fine file and very carefully took away the paint so I now have a bound headstock
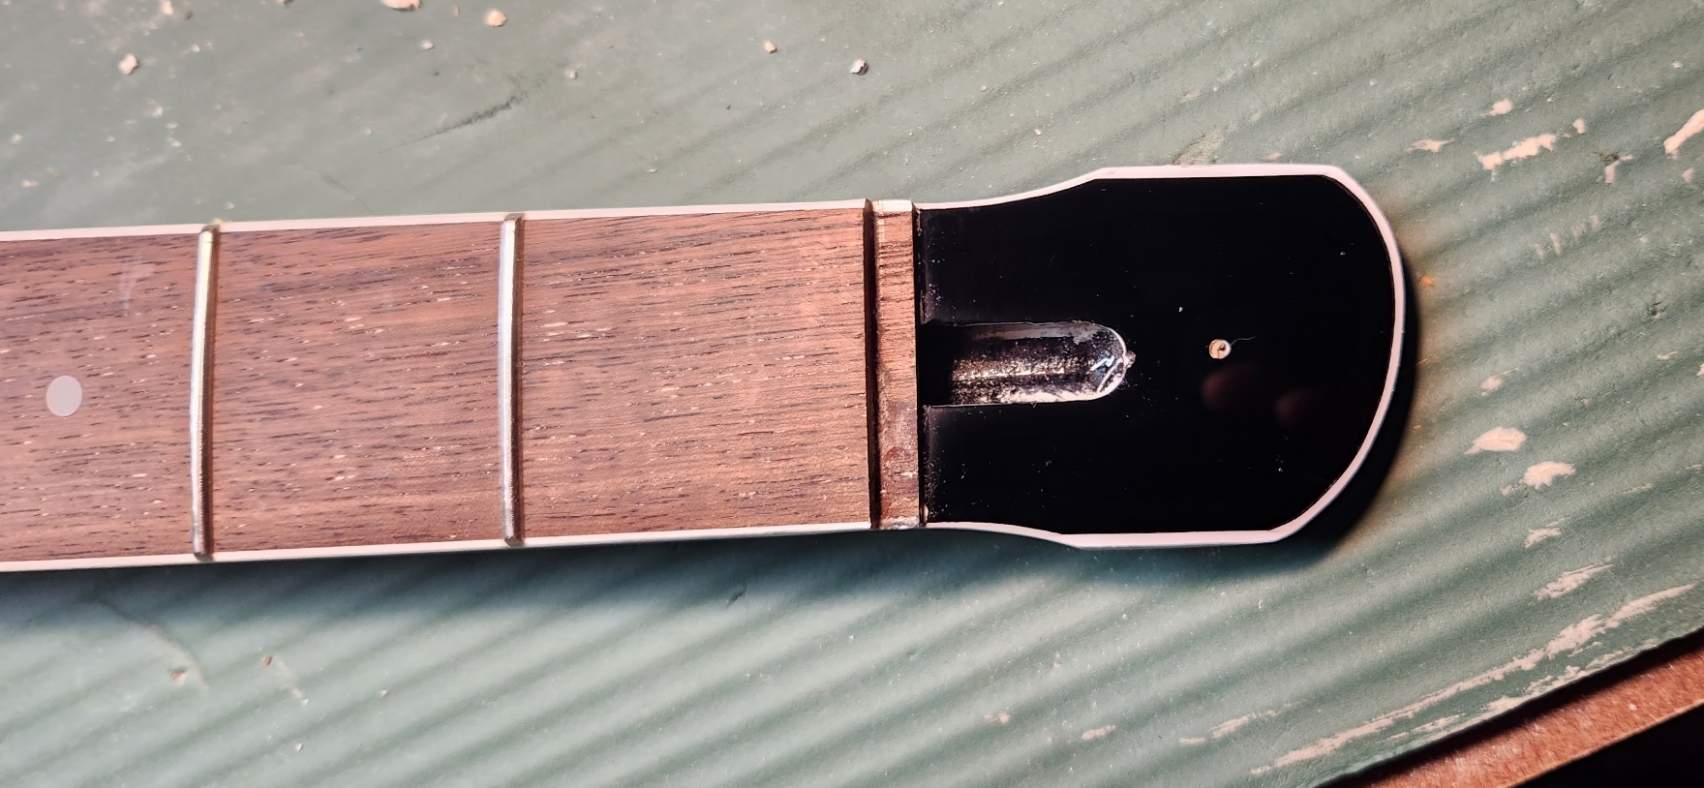
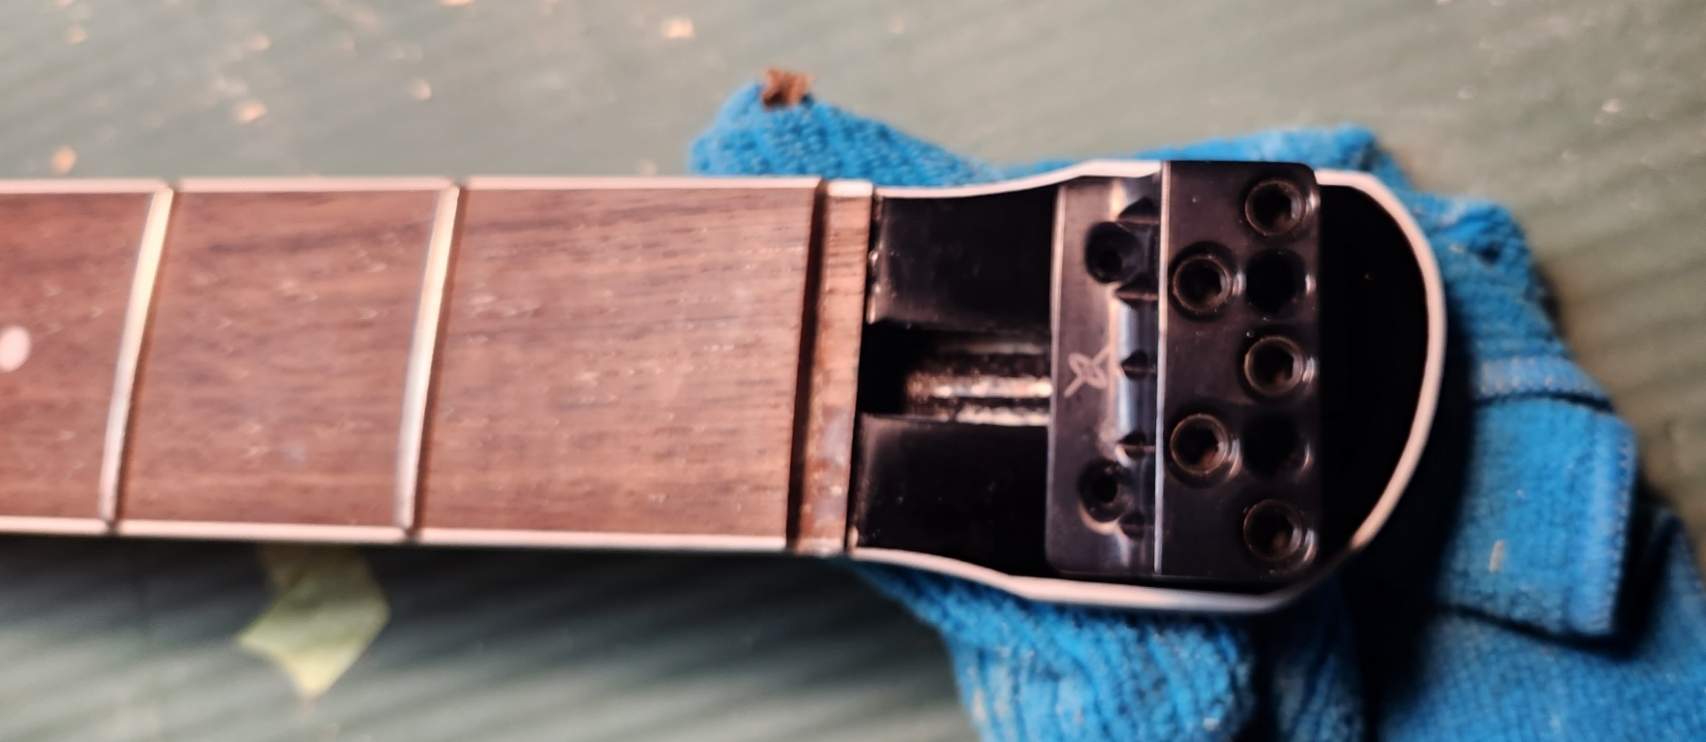
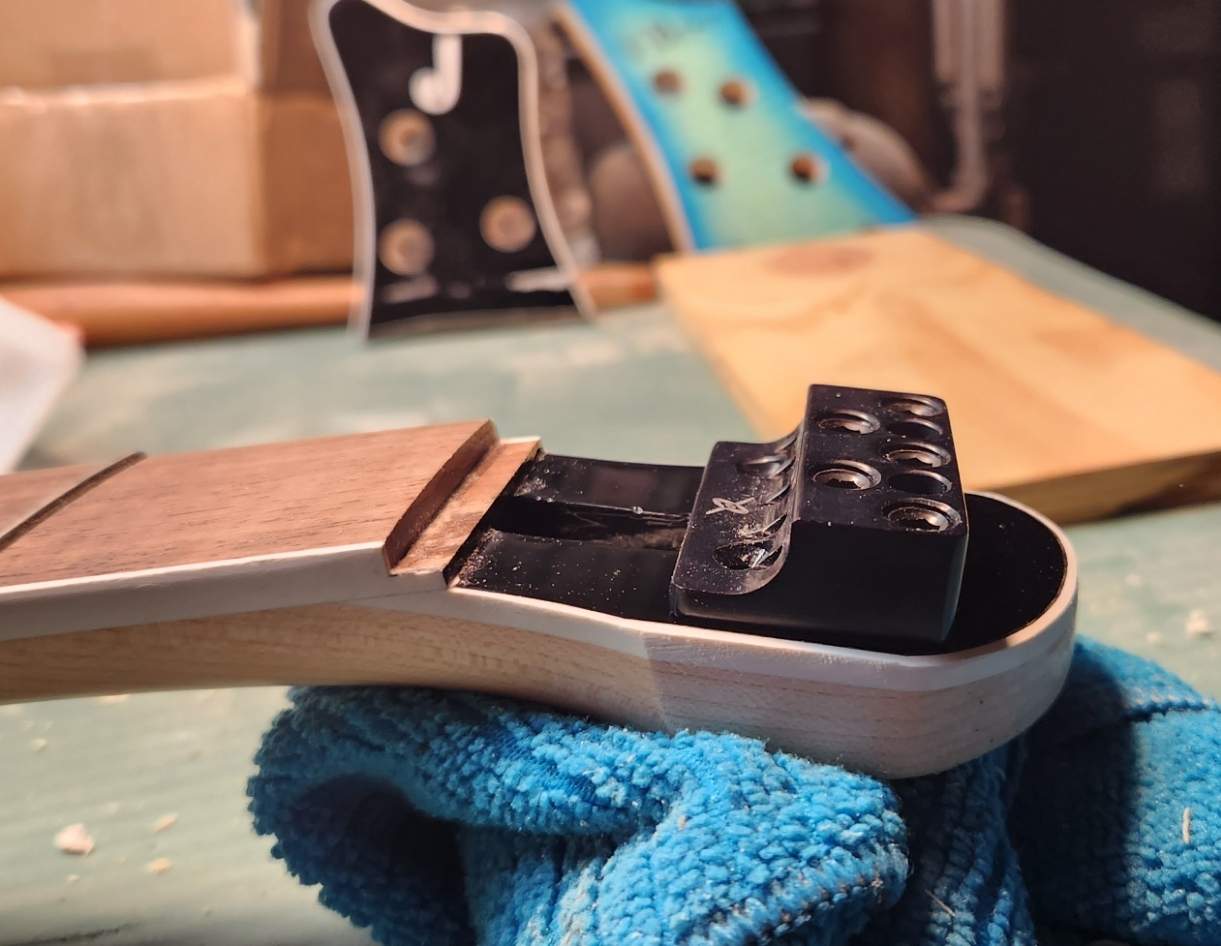
but I don't think so, gonna cross that bridge when I get there.So, with no plan to add a layer, I took a fine file and very carefully took away the paint so I now have a bound headstock
Last edited:
Love the headstocks in the background. You should hang them on the wall like hunting mounts.
I'll admit to staging them there for dramatic effect

What if you make a cap, like the toe cap of a shoe, to go on the end? It would cover the cut ends of the strings and could attach with magnets.

Like a Fender bridge cover, but for the other end of the strings. I like it and may steal it.What if you make a cap, like the toe cap of a shoe, to go on the end? It would cover the cut ends of the strings and could attach with magnets.

Freekmagnet
Commercial User
Very cool
In reading up on the Peavey forum bass, the original P/J model was poplar, but these single and dual soapbar basses were either alder or swamp ash. If the neck didn't have a black headstock I'd strip the body (still might, gonna depend a lot on what shape the body is in). I figure the black glitter will let me keep the original paint on it, just scuffed for adhesion. That way I'm updating the look, and adding a layer to cover the widening of the neck pocket and pickup route (and routing of a 2nd pickup if I go that direction).
Cool project! I played a PV Forum in my local music store a couple years back. It was the one with a single humbucker in the middle position. It played and sounded great and they were selling it for a couple hundred bucks. I wanted it, but I have way too many basses. I talked my nephew into buying it instead. It really was a steal. I think he still has it.
I decided to square off the head, mounted the headpiece, drew some lines, removed material and it's starting to look like something


Now I can work on locating and mounting the bridges. Then cutting a sacrilegious chunk out of the body
Now I can work on locating and mounting the bridges. Then cutting a sacrilegious chunk out of the body


